In this guide, we’ll show you how to make a reservoir mount for a PC case, so you can position your reservoir in the exact space you want in your water-cooling loop. Many cases don’t have mounts for reservoirs, and if they do, they’re not always where you want them, or they might not fit your specific model.
Thanks to the magic of 3D printing you can easily design and create objects with none of the mess or fuss of dealing with metals. In this guide, we’ll show you how to design and print your own custom reservoir mount, to save drilling holes in your case. You don’t even need to own a 3D printer to do it.
At Custom PC, we’ve been modding PC cases and components since 2003, giving us loads of experience in the art of customizing your system to make it your own. We know exactly what tools you need and which methods work best.
1. Work out what you want to print
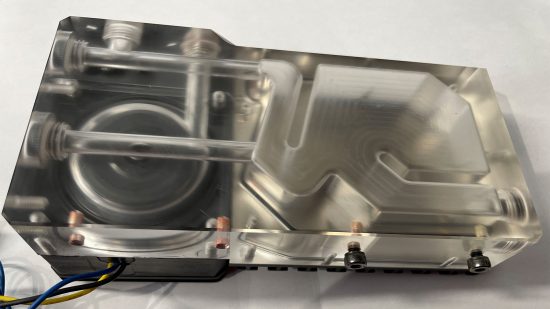
You can design practically any object you like and 3D-print it. There are thousands of PC-related objects you can download for free that have been created by other people too. Don’t be afraid to create a new design, though, as it’s simple to do. We’ll be creating a custom reservoir mount to allow us to secure it anywhere in our case.
2. Check manufacturers’ websites
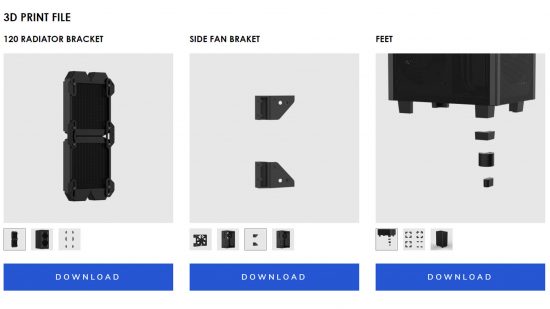
A lot of PC case manufacturers offer a variety of 3D-printable objects for some case models, so it’s worth checking your case manufacturer’s website to see if it offers components you can download for free. These options often include alternative case feet and fan mounts.
3. Check online databases
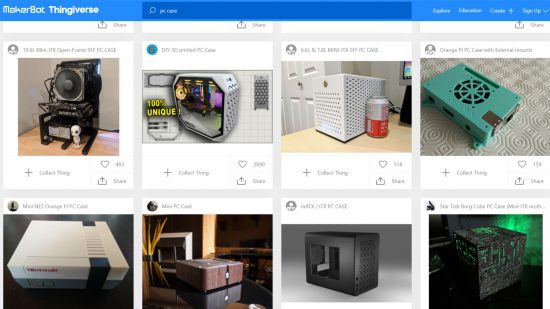
Websites such as Thingiverse are online databases of pre-rendered objects you can download, usually for free. These are user-created objects, so you’ll probably find objects here that are more varied or universal than those available on manufacturers’ websites.
4. Work out mounting points
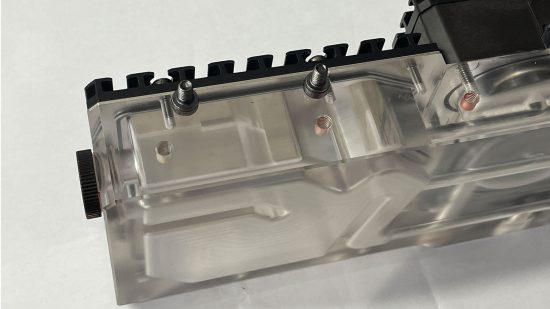
If you want to create a custom hardware mount, perhaps for a reservoir or motherboard, you first need to work out how to fix it to the object. Most components have existing mounting points you can use to attach custom 3D-printed objects.
5. Work out measurements
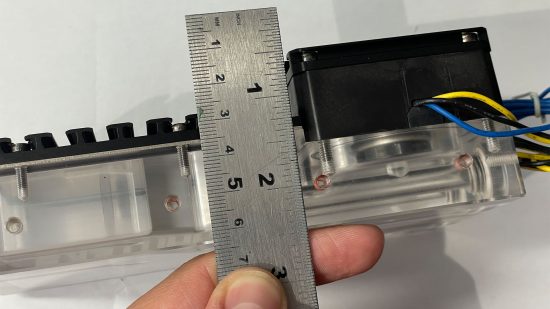
In order to work out the size of your object, you’ll need to make some accurate measurements of the area to which you want to fit it. For example, with our reservoir, we want the mount to sit on the side and to reach far enough back to clear the pump.
6. Use Tinkercad
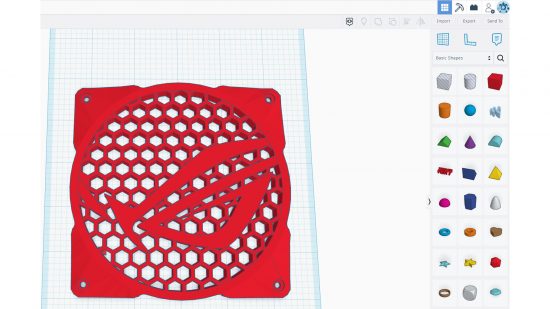
Tinkercad is a fantastic and easy-to-use online program that can create 3D objects. You can also download what’s known as an STL file, and upload this file to your 3D printer software or a 3D printing service. There are excellent beginner guides on YouTube too.
7. Create flat square
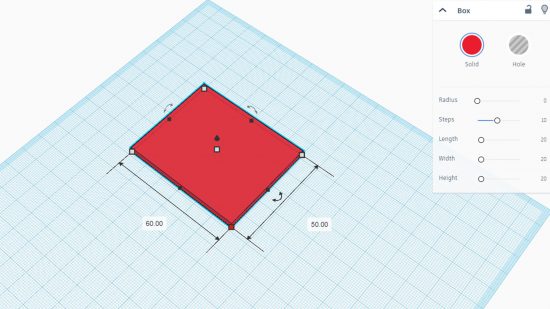
Start by creating a flat square object with the correct width and length. In our case, this needed to be 50mm long and 60mm wide in order to align with our Phanteks reservoir’s mounting holes, and clear the pump mounted on the rear. You want all the sections to be 3mm thick in order to be strong enough.
8. Add angled section
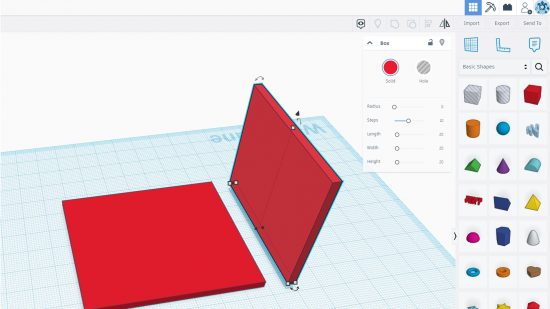
We’re making a right-angled section to mount our pump to our case, so we need to add an end piece to our first part. You can do this by adding another square section, but this time raise it upwards.
9. Group object
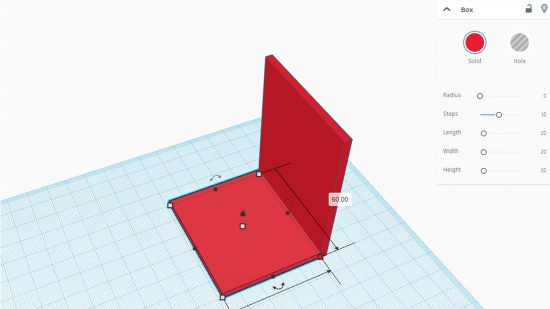
Select the whole object by holding down the left mouse button and moving the selection tool over both sections. Now click the ‘group object’ button at the top to merge the two objects into one. You can now move the two sections as one, so saving the STL file will create a single object to print.
10. Add supports
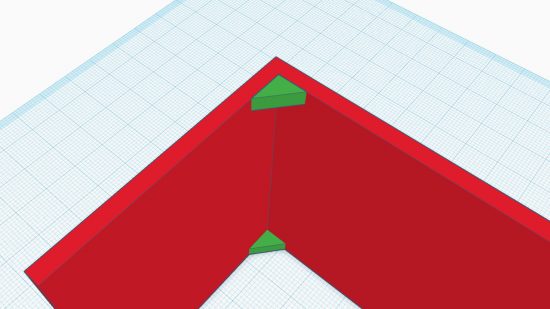
If your object is going to be load-bearing then you need to add supports. Small triangles inserted into the corners will provide added strength to prevent it from bending.
11. Place object flat
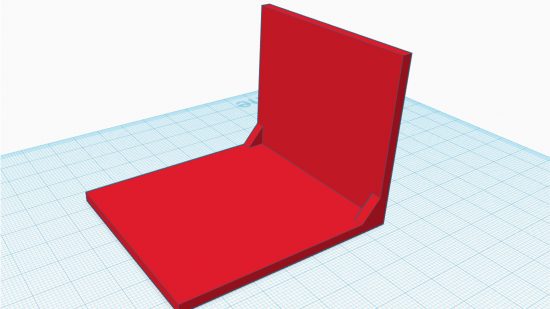
Finally, group the object again to combine the supports and then place it with the largest flat side pointing face down. The printer will set the filament down from the bottom up, so you need to avoid overhangs as well.
12. Use high-density, high-quality settings
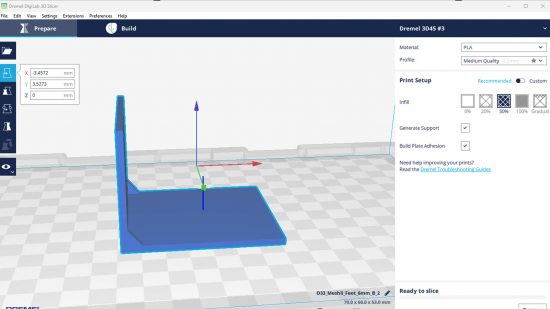
For any 3D-printed object that needs strength, you need to aim for at least 20 percent infill, ideally 50 percent. You want the object to be aesthetically pleasing too, so a quality of 0.2mm or better is recommended for avoiding obvious 3D print lines.
13. Print your objects
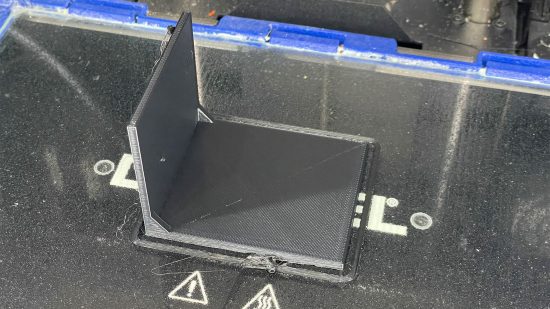
We recommend using PETG or PLA filament. Send the file to your printer and, once it’s completed, check for imperfections. If the object is on full view then ideally you want your object to be blemish-free. However, you can sand 3D-printed objects, drill them and even paint them.
14. Use a third-party printing service
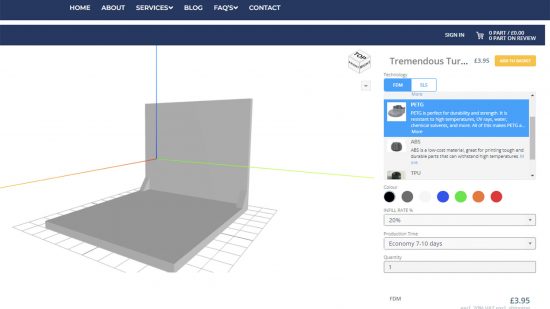
You don’t need your own 3D printer to create your objects cheaply. Using third-party services such as surfacescan.co.uk enable you to create them for a few quid. The reservoir mount we made here cost less than $5 to print and post using PLA or PETG filaments.
15. Get your STL file
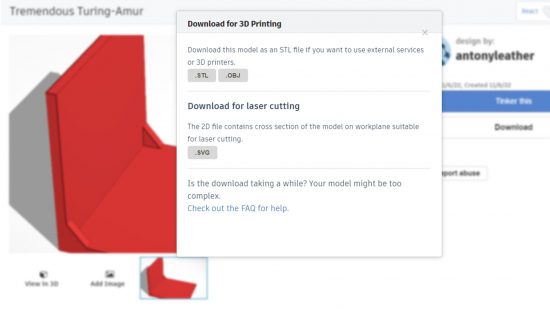
To use a 3D-printing service, grab your STL file from Tinkercad, then upload it to your preferred printing service website. The service should be able to give you an instant quote for your part.
16. Mark up drill holes
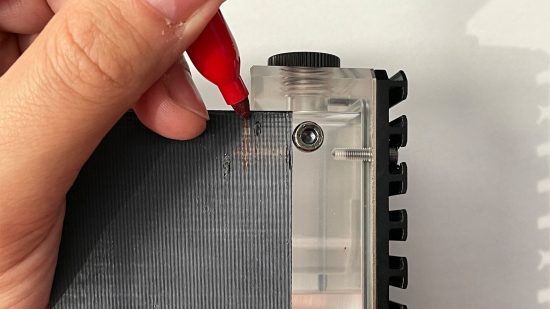
You can either add additional measurements to your object, in order to leave areas open for screws, or if you’re not confident with such precise measurements, you can drill them afterward. Mark up the hole locations using the mounting holes on your object as a guide, or measure the distance between the hole centers.
17. Drill holes
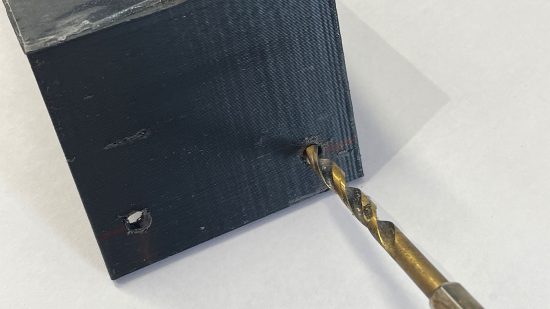
Check the screw thread size and use a drill bit 0.5mm larger for the holes, so the thread passes easily through the holes. Use a low pressure and low speed to drill the holes, in order to avoid cracking or separating the print lines.
18. Add mounting tape
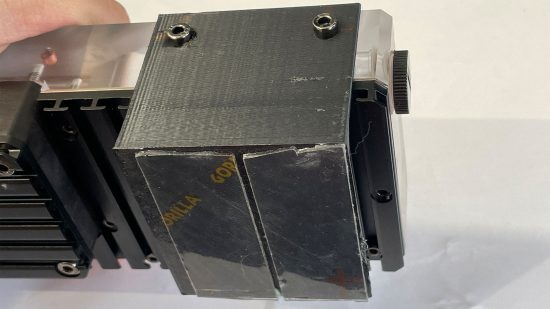
We want to place our reservoir mount in a custom location without drilling holes, but still be able to remove it easily by detaching the screws. We’ve used Gorilla mounting tape, which is strong enough to hold any reservoir. Apply this to the mount then attach your object.
19. Install object
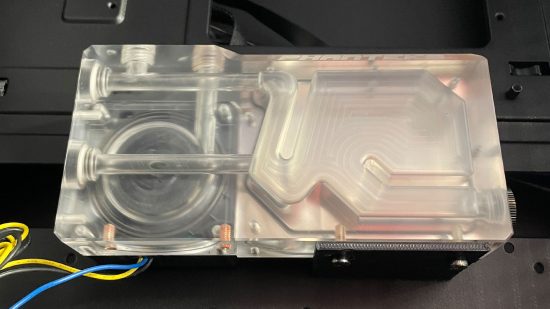
Now place your object in the location you need, ensuring it’s level and in the right spot – in our case, the reservoir needs to be in the right place for our tubing routes. Press it firmly into place in order to ensure the mounting tape sticks to the case.
It can take a little while to get to grips with Tinkercad, but once you know the ropes you’ll find it an invaluable tool for creating custom PC parts. Enjoy putting your reservoir in the exact spot you want it, and in pretty much any case you like, as long as it’s big enough.
For further water-cooling ideas, check out our guide on how to install a fill port, as well as our article on how to leak-test water-cooling loops. If you’re new to the world of water-cooling, then make sure you also read our full guide on how to water-cool your PC. If you’re planning a new build, then you’ll also want to read our full guide on how to build a gaming PC, which covers every step of the process.