Once your water-cooling loop is set up, it needs very little maintenance apart from cleaning dust from the fans and radiators once or twice a year.
However, the filling and leak-testing stage is undoubtedly the most tedious and hazardous part of the setup process, and getting it wrong can result in your loop taking much longer to build. Plus, we all know what can happen if it leaks all over your live circuitboards.
What’s more, if air remains in your loop after you fill it, the noise created by this air will make your PC noisier than a typical air-cooled PC, rendering all your hard work pointless.
There are some tried and tested methods of dealing with leak testing, filling and bleeding your loop of air, though, and they’re quick and easy to perform. In this guide, we’ll take you through these essential parts of any water-cooled build process.
1. Identify a spare port
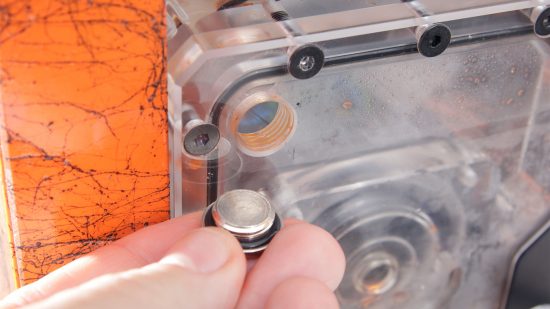
The leak tester needs to be attached to a port in order to pressurise the loop and identify leaks. Ideally, you want to attach it to a spare port on a reservoir, rather than dismantling part of your loop, to ensure that you’re testing the whole loop.
2. Assemble leak tester
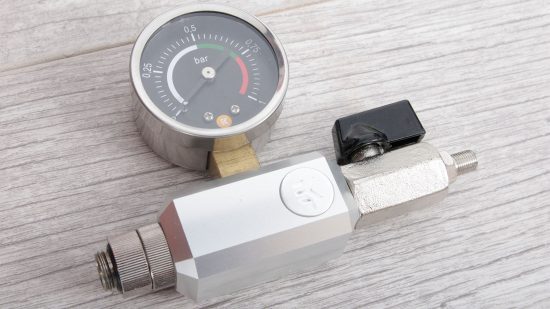
EKWB’s leak pressure tester uses a G1/4in port to connect to your
water-cooling loop. Connect the fitting to it so that you can plumb it into your water-cooling loop.
3. Fit to vacant port
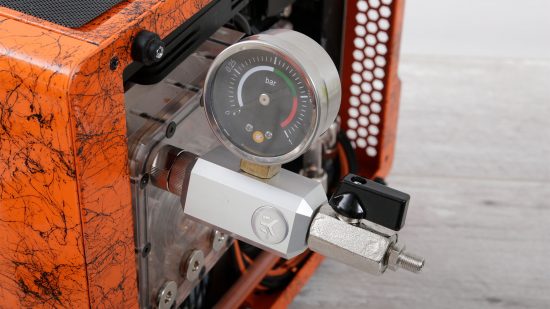
Make sure the spare port has enough clearance for you to connect the pressure tester, and then screw it into the port. You may need to use a wrench to lightly tighten it, as it can be difficult to access the rotary fitting at the end.
4. Attach pump section
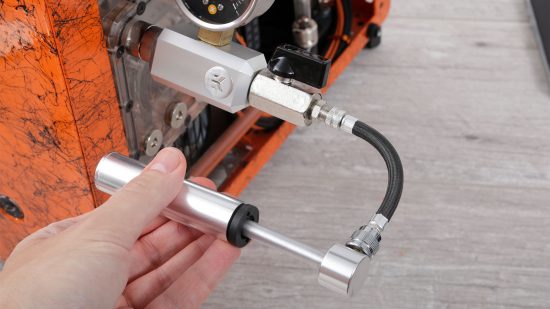
Once the tester is connected, attach the pump section. The pump works like a bicycle pump, and you can test it by holding a finger on one end first to make sure it works properly.
5. Ensure 2-way valve is open
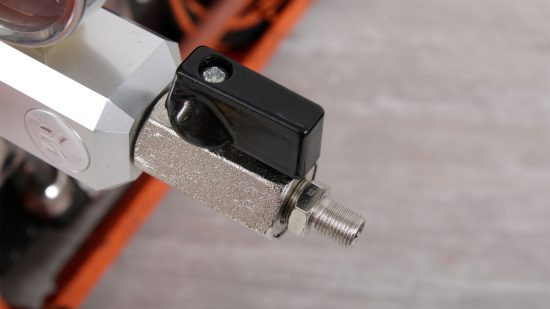
The pressure tester has a valve at the end, so once you’ve added enough pressure, you can lock it off to prevent air from escaping, which can give a false leak reading. Make sure this valve is open when you’re pumping.
6. Pump up to correct pressure
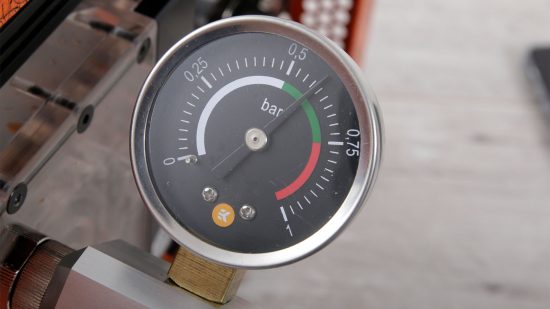
Aim to increase the pressure for an entire loop to 0.3bar. This will be more than enough pressure to find any leaks. To test individual components, refer to EK’s manual, as some of them need higher pressures.
7. Close valve
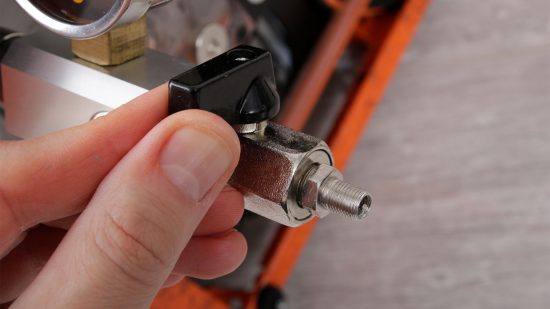
Once you’re up to pressure, lock the valve to the closed position and, if necessary, disconnect the pump section to stop it dangling down. Leave it set up like this for ten minutes. Any loose fittings and so on will then be immediately obvious, as the air will quickly leak out and the gauge will drop.
8. Find the leak
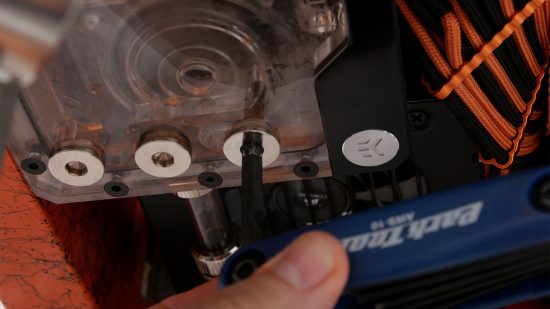
Your first job in the event of finding a leak is to tighten all your fittings and connectors, but you can also get someone to pump up to the redline on the gauge with you listening inside the case. You can usually identify a loose section by the sound of a faint hiss.
9. Use a funnel
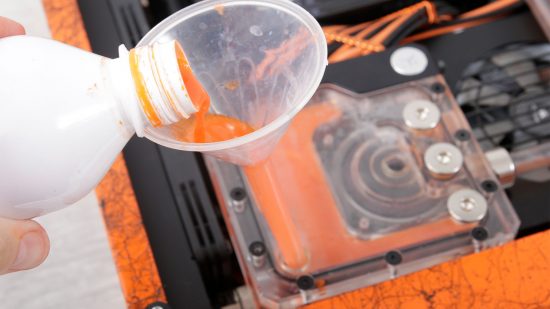
Once your loop is leak-tested, it’s time to fill it. You can usually pour coolant straight into the reservoir, but if it only has a small fill hole, and not a cap, you can use a funnel to add coolant quickly.
10. Use a fill bottle
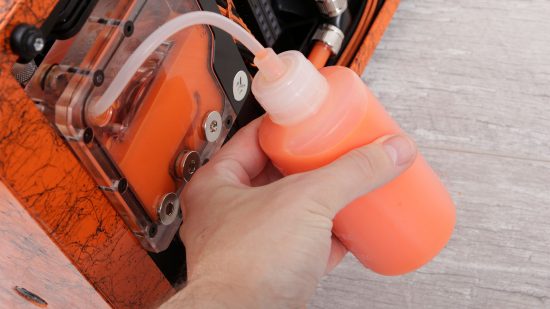
For adding smaller amounts of coolant, a fill bottle is a great tool for topping up your system. This can be particularly useful in the latter stages, when your loop is shedding air bubbles and the reservoir coolant level drops.
11. Adjust D5 pump speed
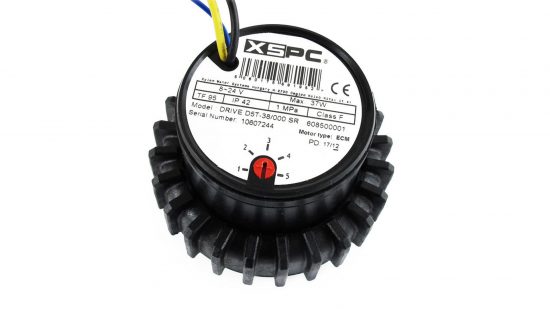
Depending on your loop’s layout and pump power, it may be necessary to take some extra steps to bleed the loop of air, especially if it’s still gurgling several hours after you’ve filled it. You can try speeding up your pump to shift air bubbles, or slow it down to help trap air in the reservoir.
12. Adjust pump speed via software
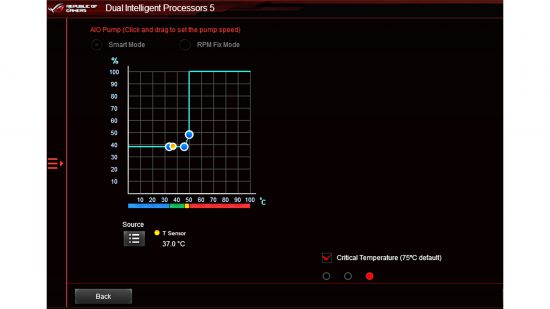
If your pump doesn’t have a speed adjuster, many have PWM connectors that enable you to change their speed in your motherboard’s EFI or software. If your pump speed is too fast, it can sometimes hinder bleeding, especially if you have a small reservoir.
13. Watch for bubbles
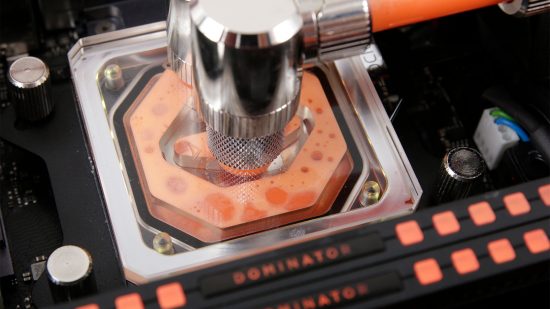
An easy way to tell when your loop still requires bleeding is to check for air bubbles. These bubbles will be present in the reservoir, and larger ones may form in waterblocks, potentially impacting on performance.
14. Tilt the system
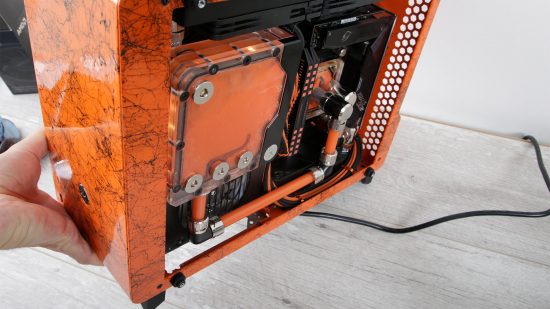
If adjusting your pump doesn’t shift the air, you may need to tilt your system to dislodge bubbles. This is common with smaller systems or low-power pumps. Laying the PC on its side can also work here.
15. Top up reservoir
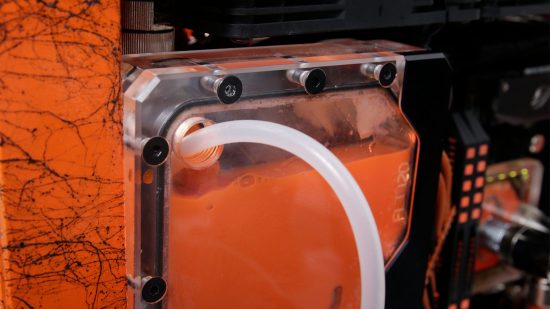
As the air is gradually bled from your system, it should become trapped in the reservoir, which will cause the coolant level to drop. That’s good, but you need to top it up with coolant, so inspect the level every hour and add more coolant when necessary.
If you’re planning a new build, then you’ll also want to read our full guide on how to build a gaming PC, which covers every step of the process. If you’re new to the world of water-cooling, then make sure you also read our full guide on how to water-cool your PC.
