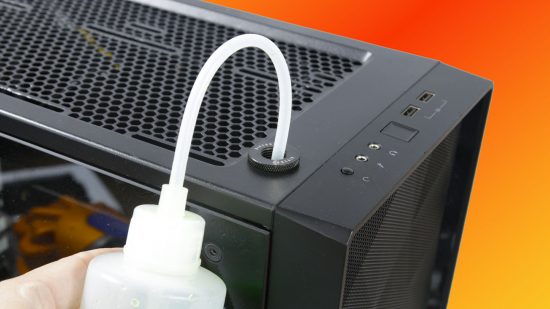
In this guide, we’ll show you how to fit a fill port to your PC water cooling system. While filling a reservoir isn’t hard, doing it in close proximity to your hardware, or with your PC powered on, can be hazardous, as well as inconvenient. Installing a fill port is simple, plus the port itself will only cost you a few bucks.
Even after you’ve filled the reservoir and primed your loop, air bubbles can take hours or even days to work their way to the reservoir where they’re trapped, eventually resulting in the coolant level dropping. If you’re planning to water cool your PC, a fill port makes filling your reservoir much easier. Any spills will then happen away from your components, and you won’t even need to remove your case’s side panel.
1. Check for existing fill port hole
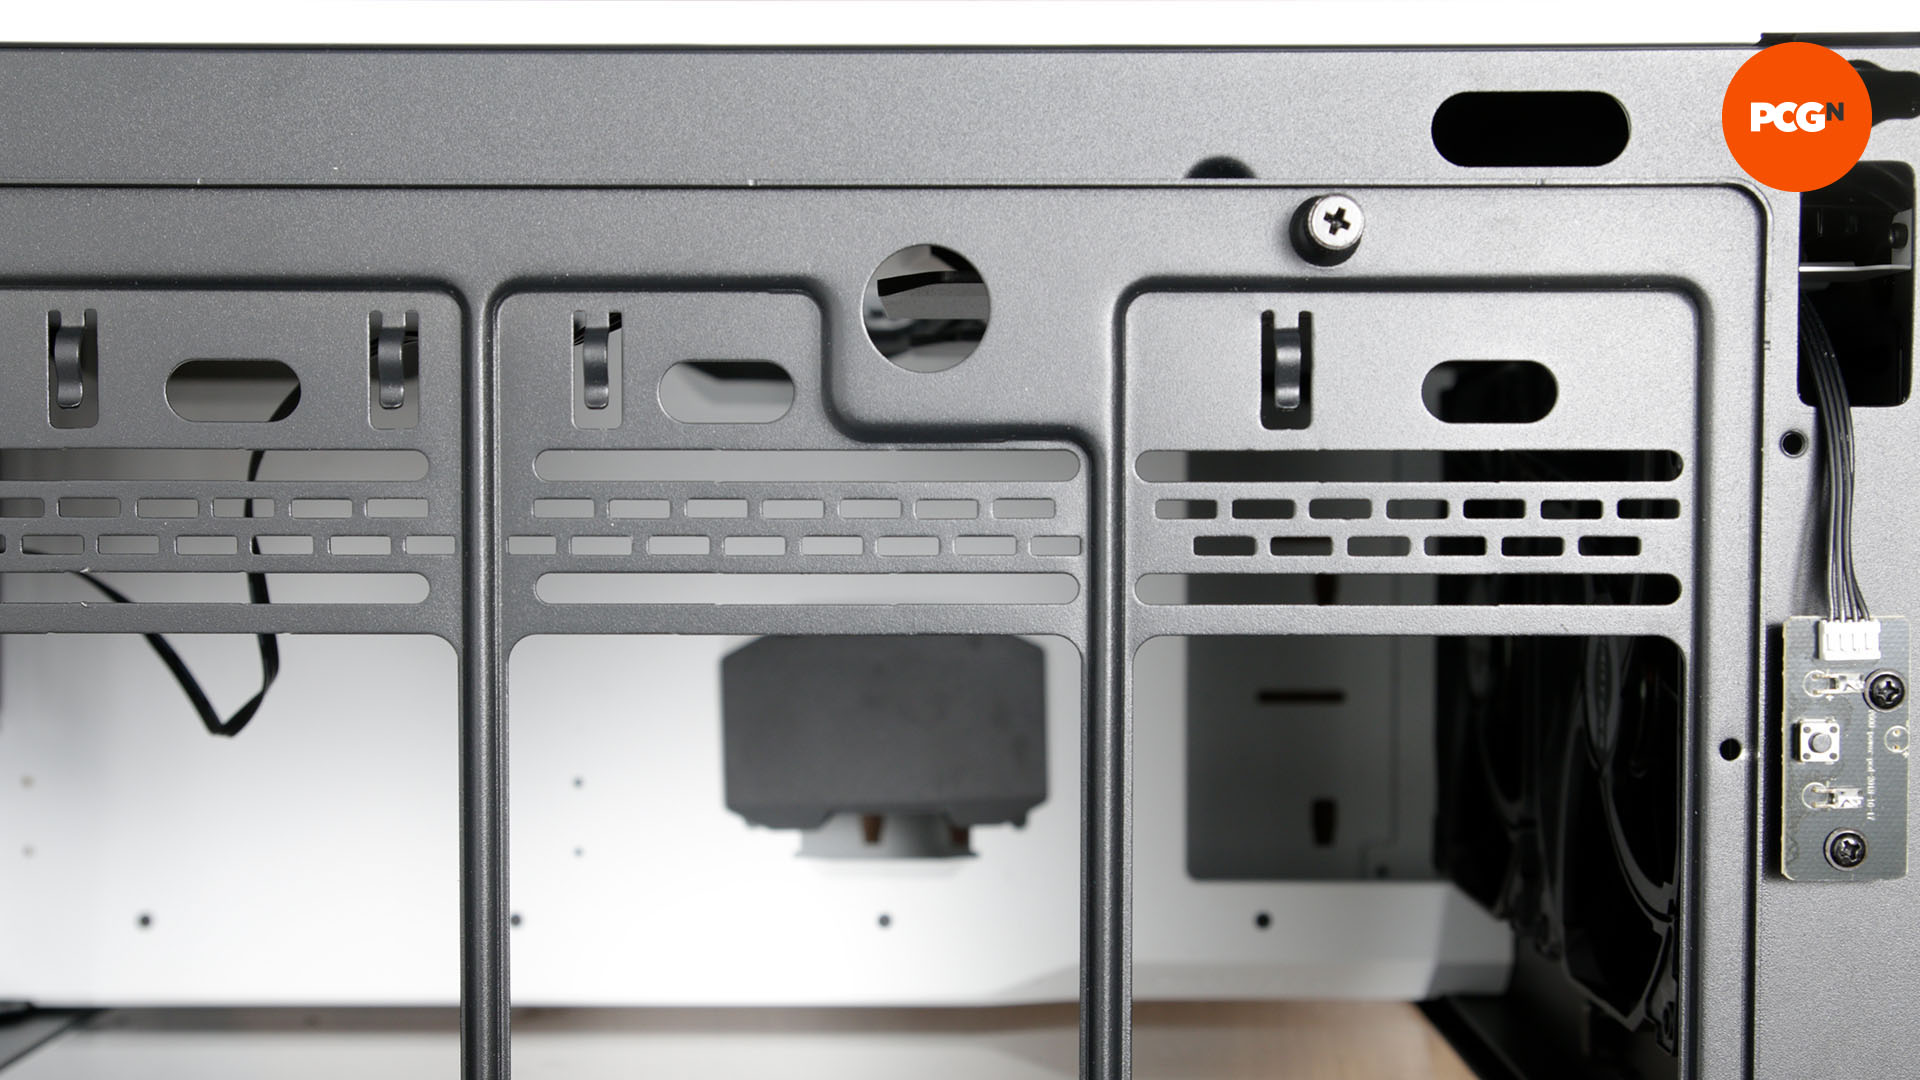
Some cases, especially high-end models from the likes of Phanteks and Fractal Design, already include the hole necessary to fit a fill port, usually in the top fan mount panel. It’s worth checking your case’s manual or product page first to see if it has one.
2. Identify fill port location
If you need to make your own fill port hole, it should be positioned above your reservoir, ideally in the roof of your case. You could add it next to the front panel ports, or even underneath a mesh panel, but you’ll need to check there’s clearance for it.
3. Mask up fill port area
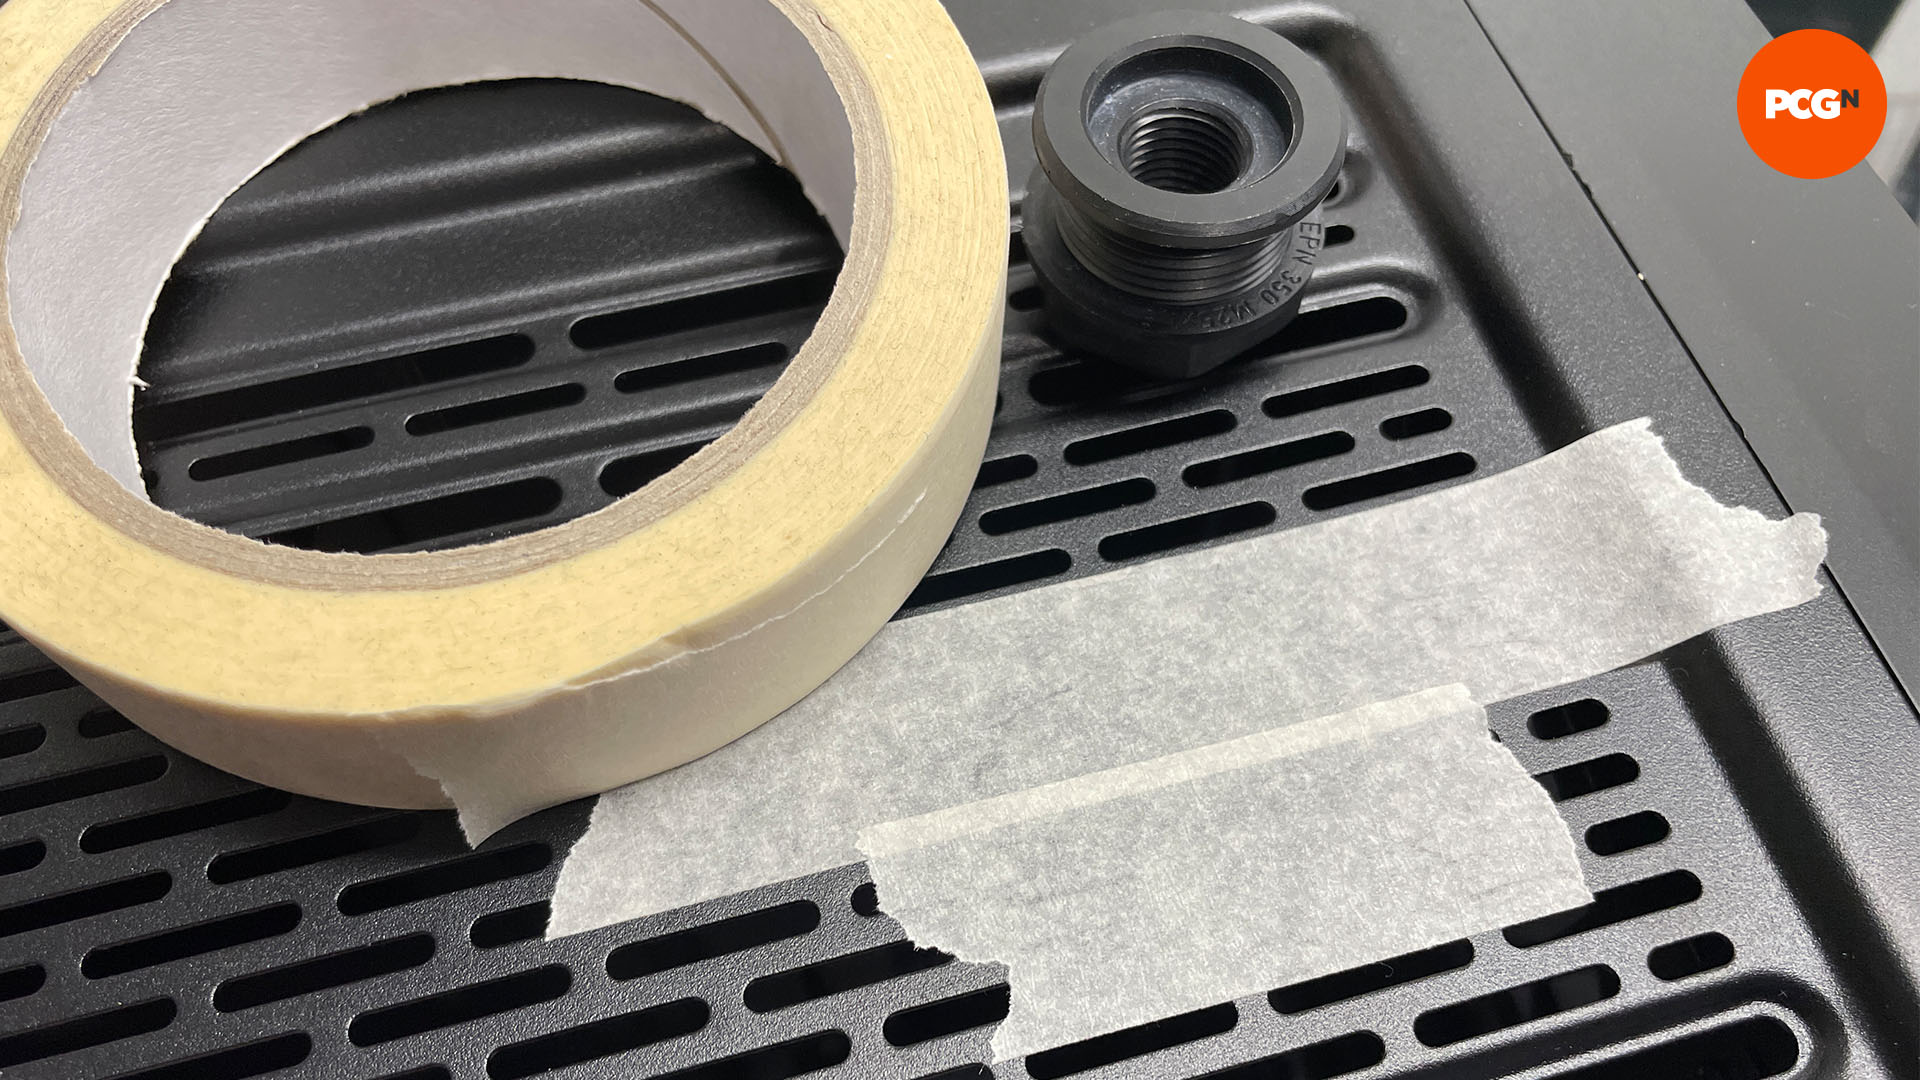
You’ll be using a drill to cut the hole, and drill bits can easily slip and scratch your case’s paint. For this reason it’s essential to cover the area in masking tape, which will prevent damage to your case if this happens.
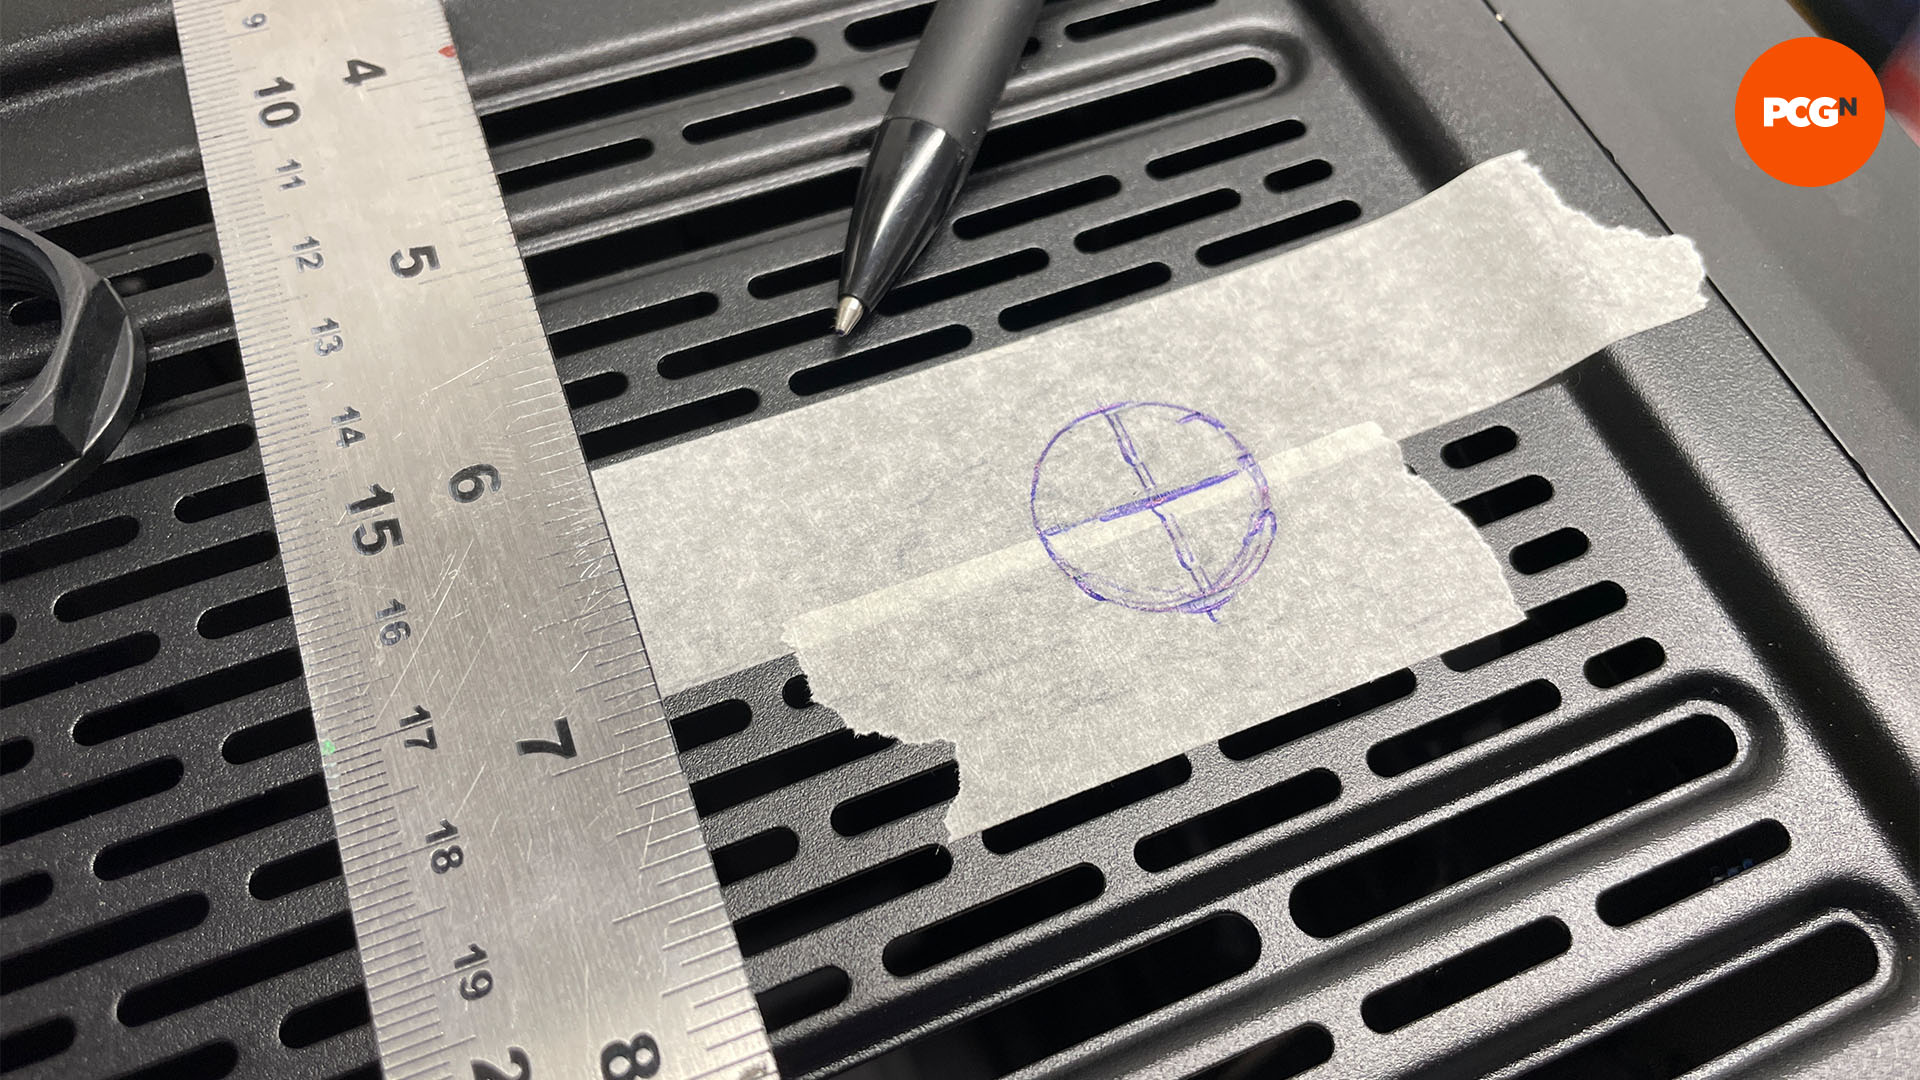
4. Mark fill port location
The fill port will have a specific size of shaft, and you need to use a step drill of this size, or a millimeter wider, but no more or you risk the port cover not hiding the hole. Mark the center position of the hole where you need it.
5. Use step drill
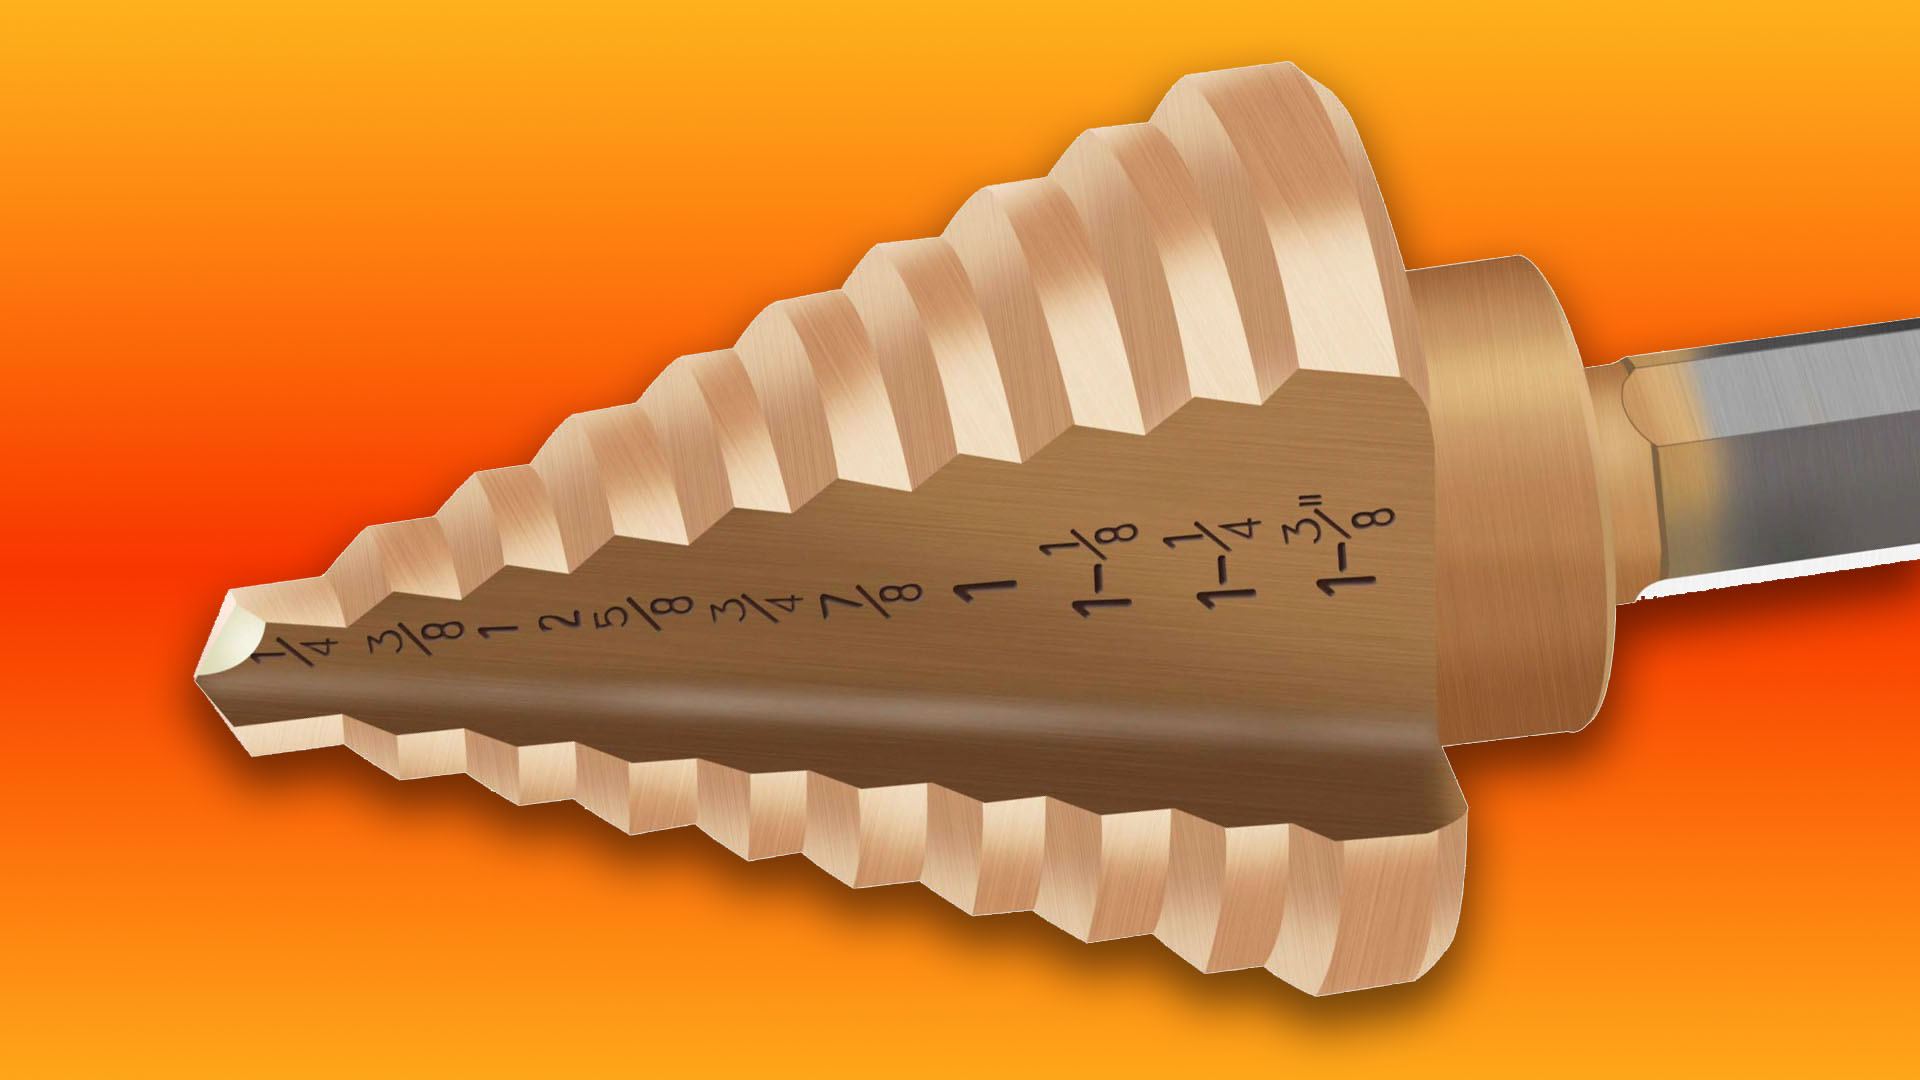
A step drill can gradually open a hole with its graduated cutting sections, starting with a small one as an anchor point. A step drill will also enable you to cut into mesh areas, as in our example. A hole saw shouldn’t be used here, as it will tend to tear up the slim mesh sections.
6. Drill the hole
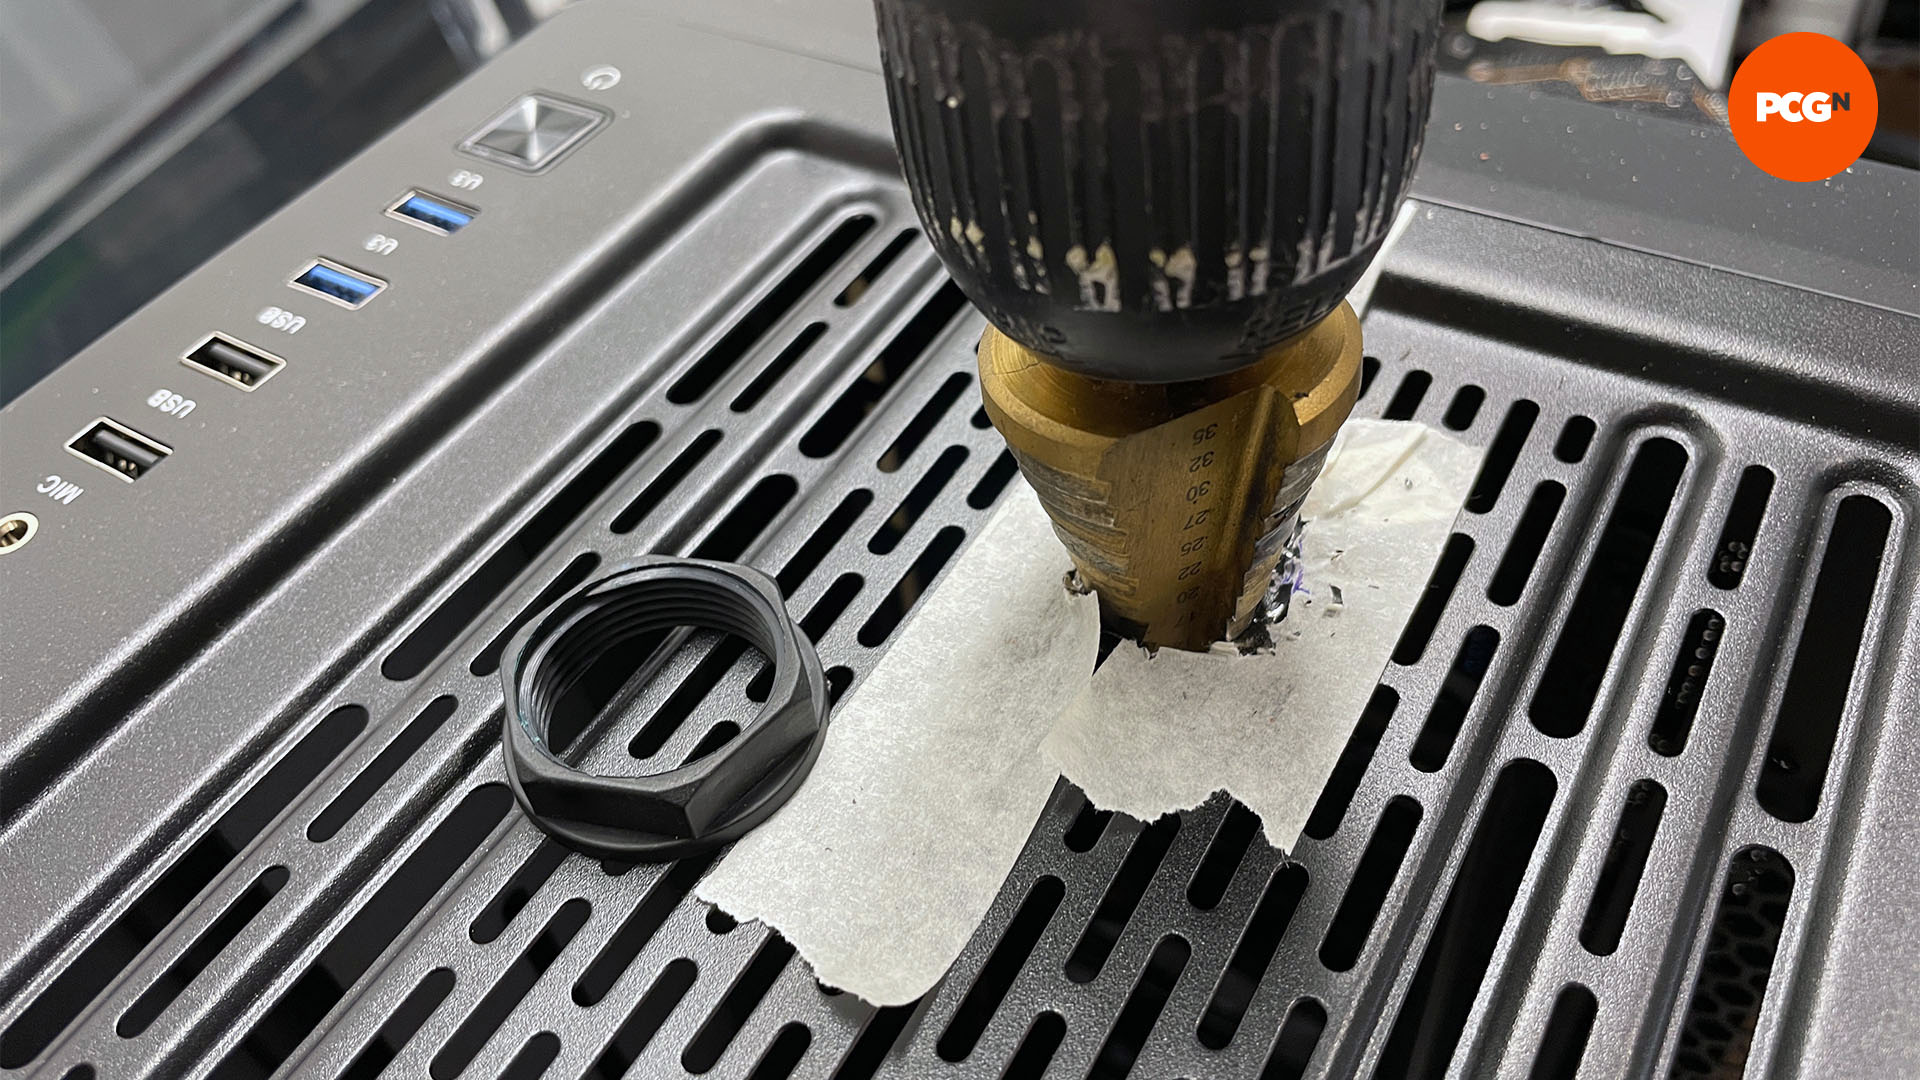
Remove all the hardware from your case, if you haven’t done so already. Then, when you’re ready to start drilling, use the weight of the drill to cut into the case using your step drill. Do this at a slow speed.
7. File the edges
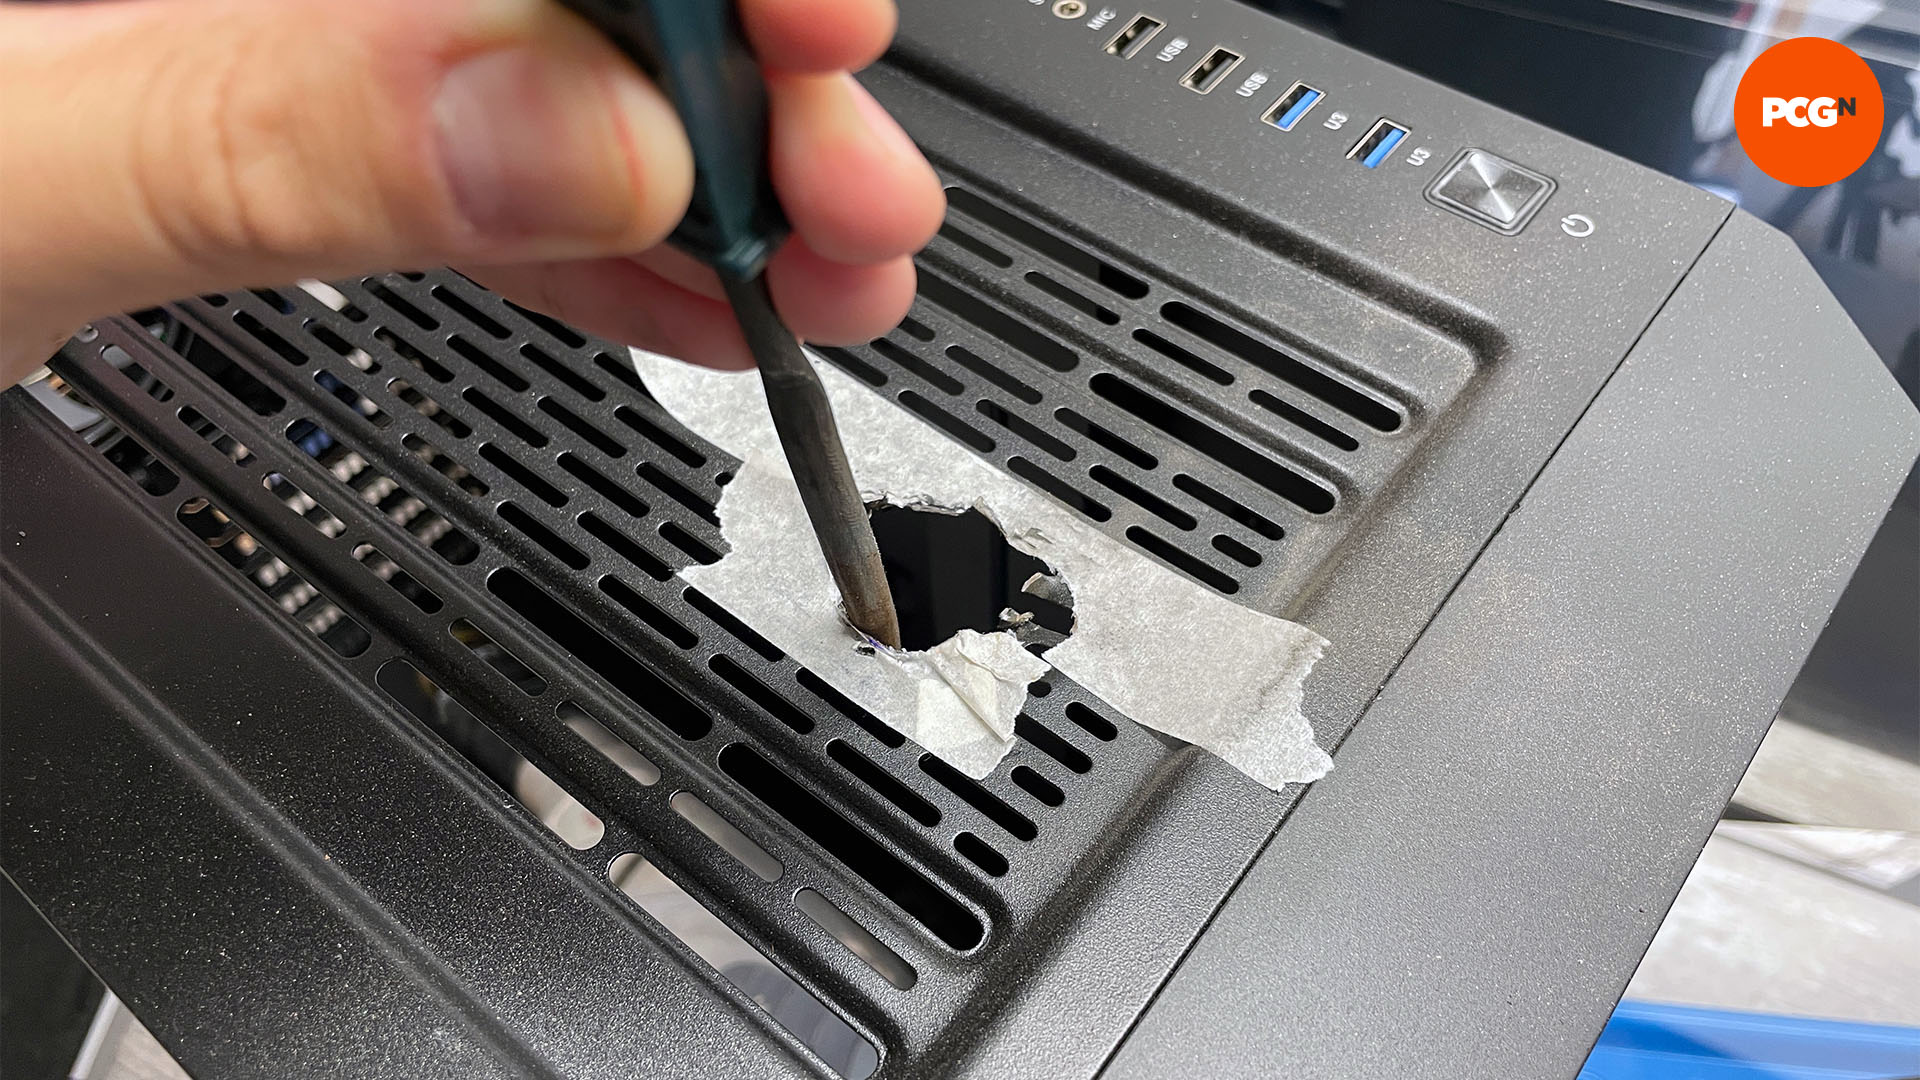
Once the hole for your fill port has been created with the step drill, use a rounded metal file to smooth down the hole, as it will very probably be sharp and have a serrated edge.
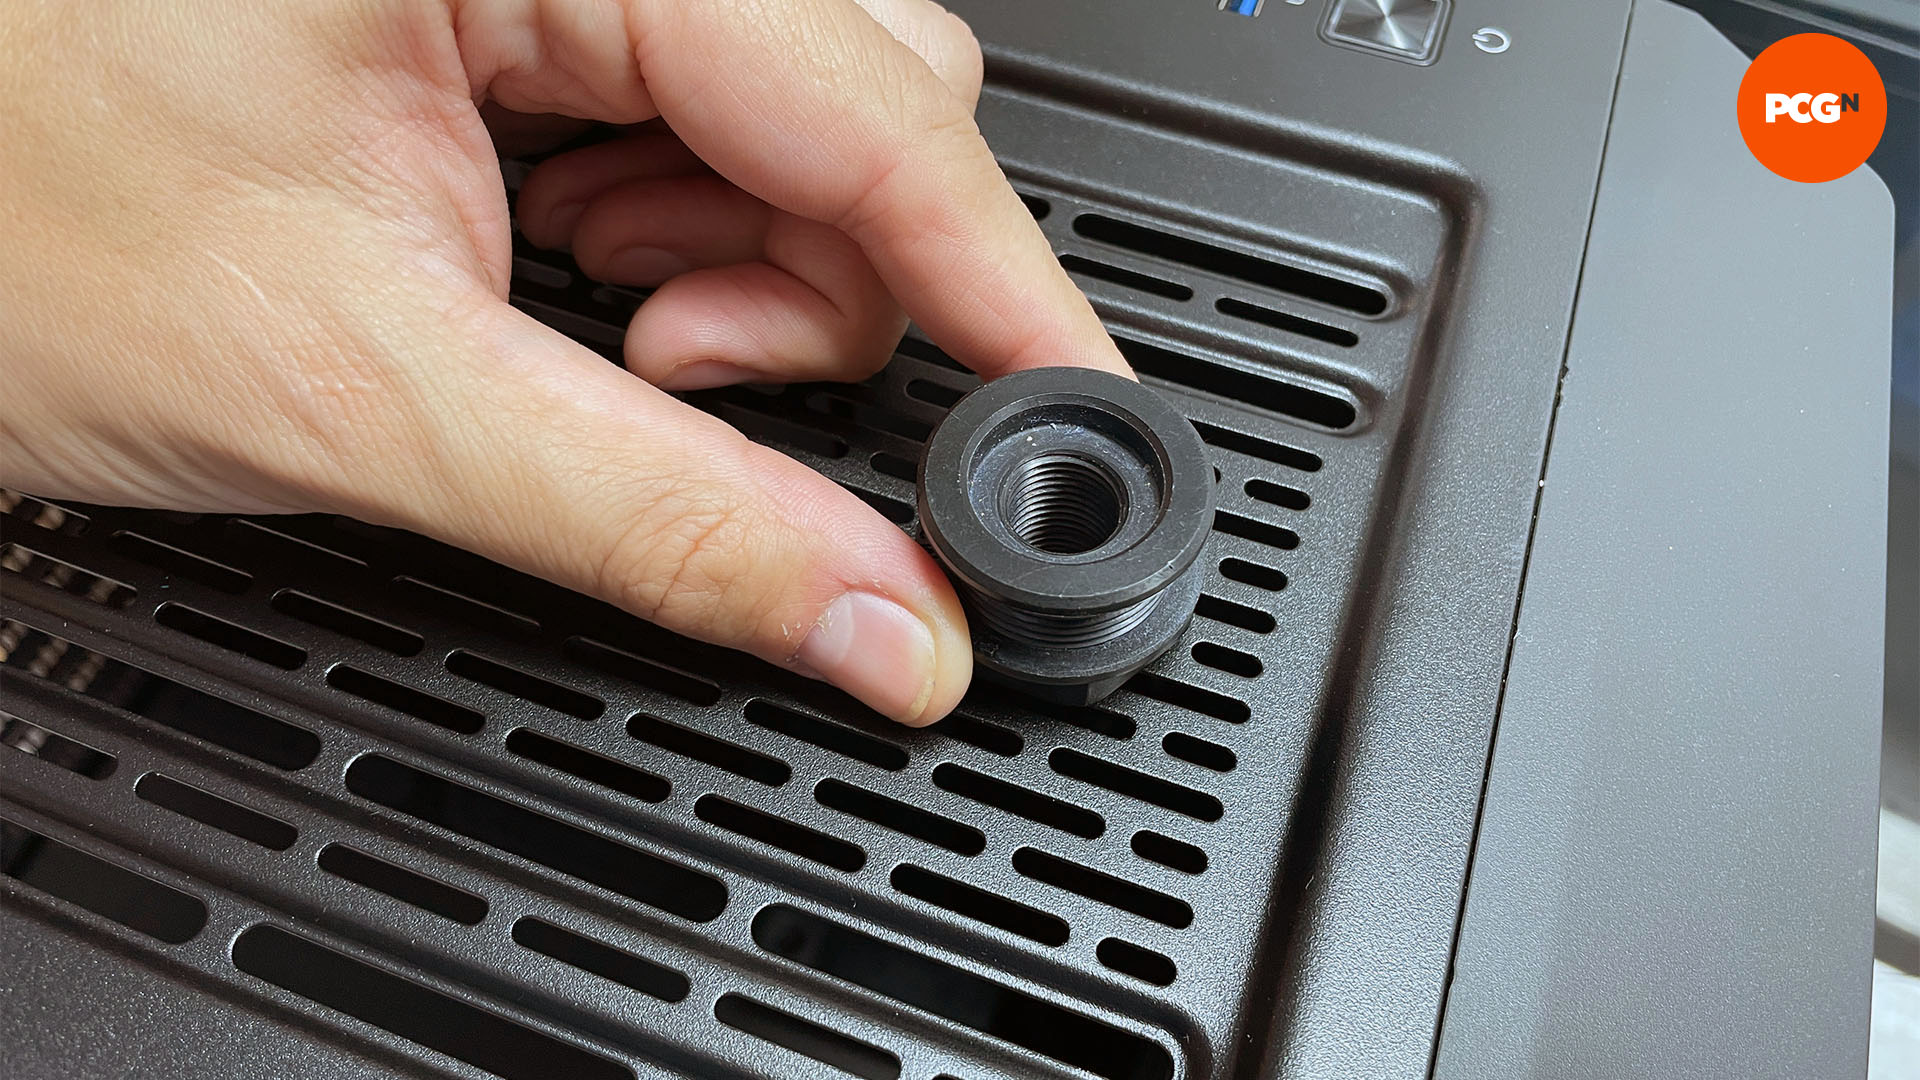
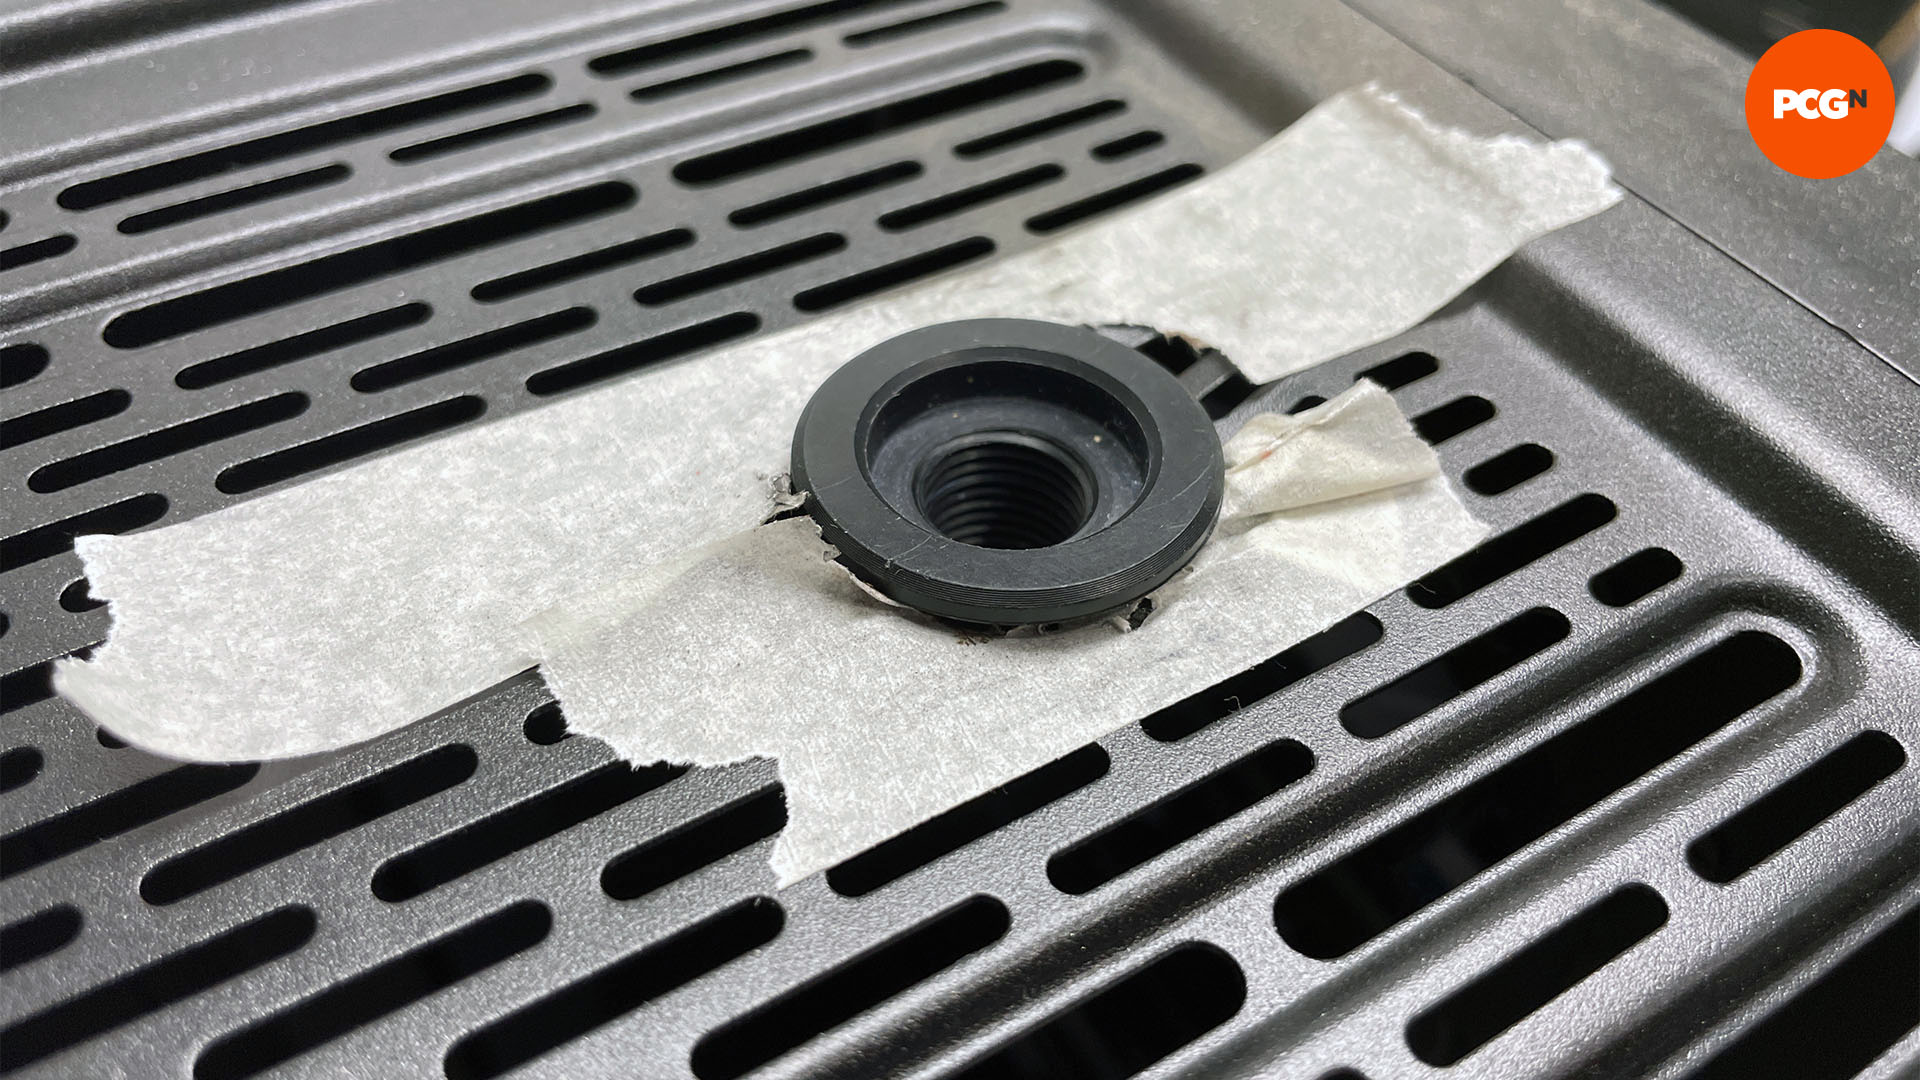
8. Test-fit fill port
Next, place the fill port into the hole. It should slot freely into place. Don’t force it or screw it into the hole, as the metal case can damage the plastic threads on the fill port. If this happens, file away more of the edge or open the hole another millimeter.
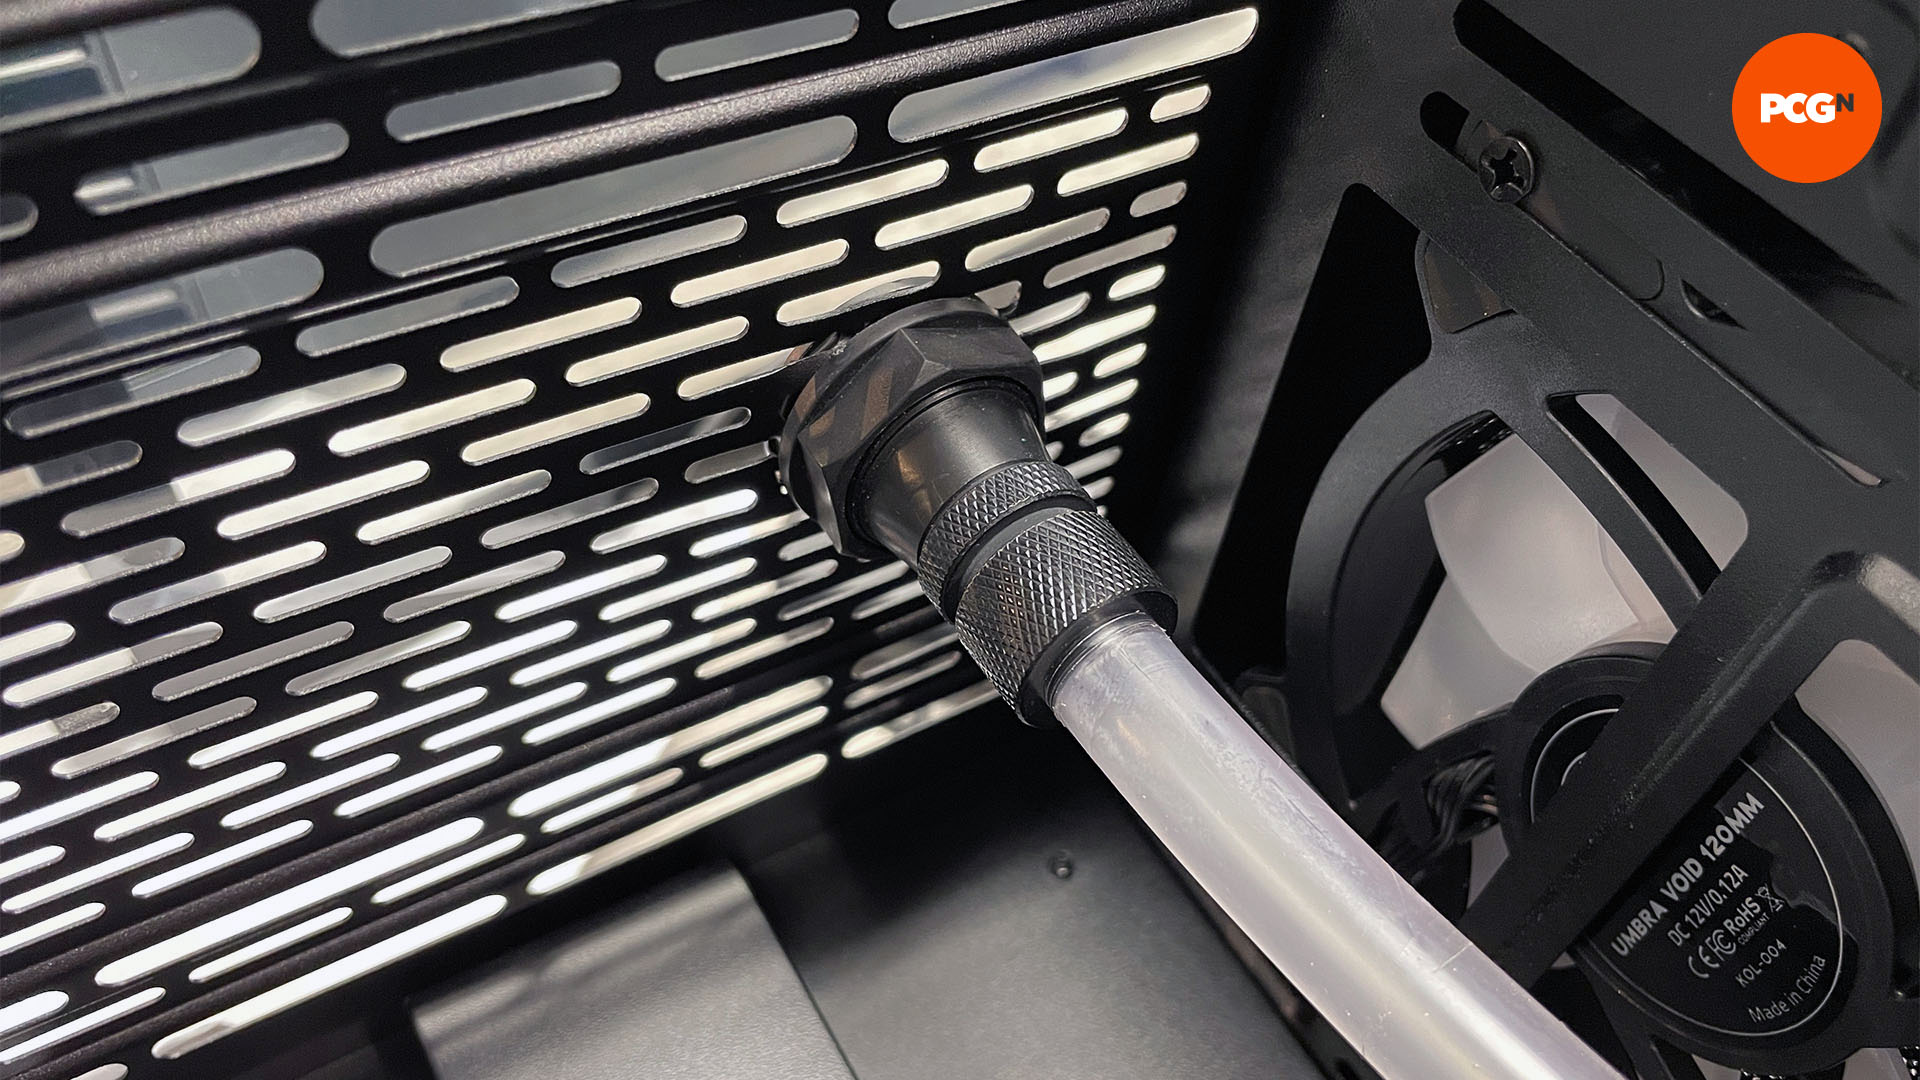
9. Connect fittings and tubing
The fill port secures using a nut from underneath, leaving just a couple of millimeters on top. Both ends have a G/14″ threaded hole, with a port plug going in the top and your tube fitting in the base. This needs to connect to a port on the main reservoir chamber, ideally its main fill port.
Once you’ve fitted your fill port, you’ll wonder how you ever lived without it – this simple little port makes refilling and topping up your loop so much easier! For more water cooling ideas, check out our guide on how to mount a reservoir. Plus, if you’re planning a new build, then you’ll also want to read our full guide on how to build a gaming PC, which covers every step of the process.
