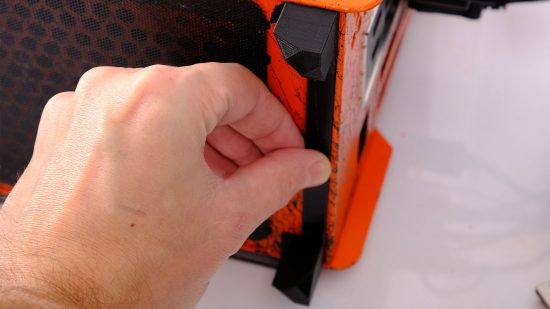
In this guide, we’ll show you how to make PC case feet, using a 3D printer, which can not only improve its looks but also boost its cooling. It’s easy to design and 3D-print case feet, which can add a subtle difference to your case compared with its out-of-the-box configuration, and you can create feet in all manner of shapes and colors.
You can use your own custom feet to raise your case off the floor for better cooling, or to allow extra fans to be installed. Some case manufacturers even offer pre-rendered case feet files for you to download for free and print at home. In this guide, we’ll look at where you can find pre-rendered files, how to design them yourself in Tinkercad, and how to fit your finished feet to your case.
At Custom PC, we’ve been modding PC cases and components since 2003, giving us loads of experience in the art of customizing your system to make it your own. We know exactly what tools you need and which methods work best.
1. Check case manufacturer’s website
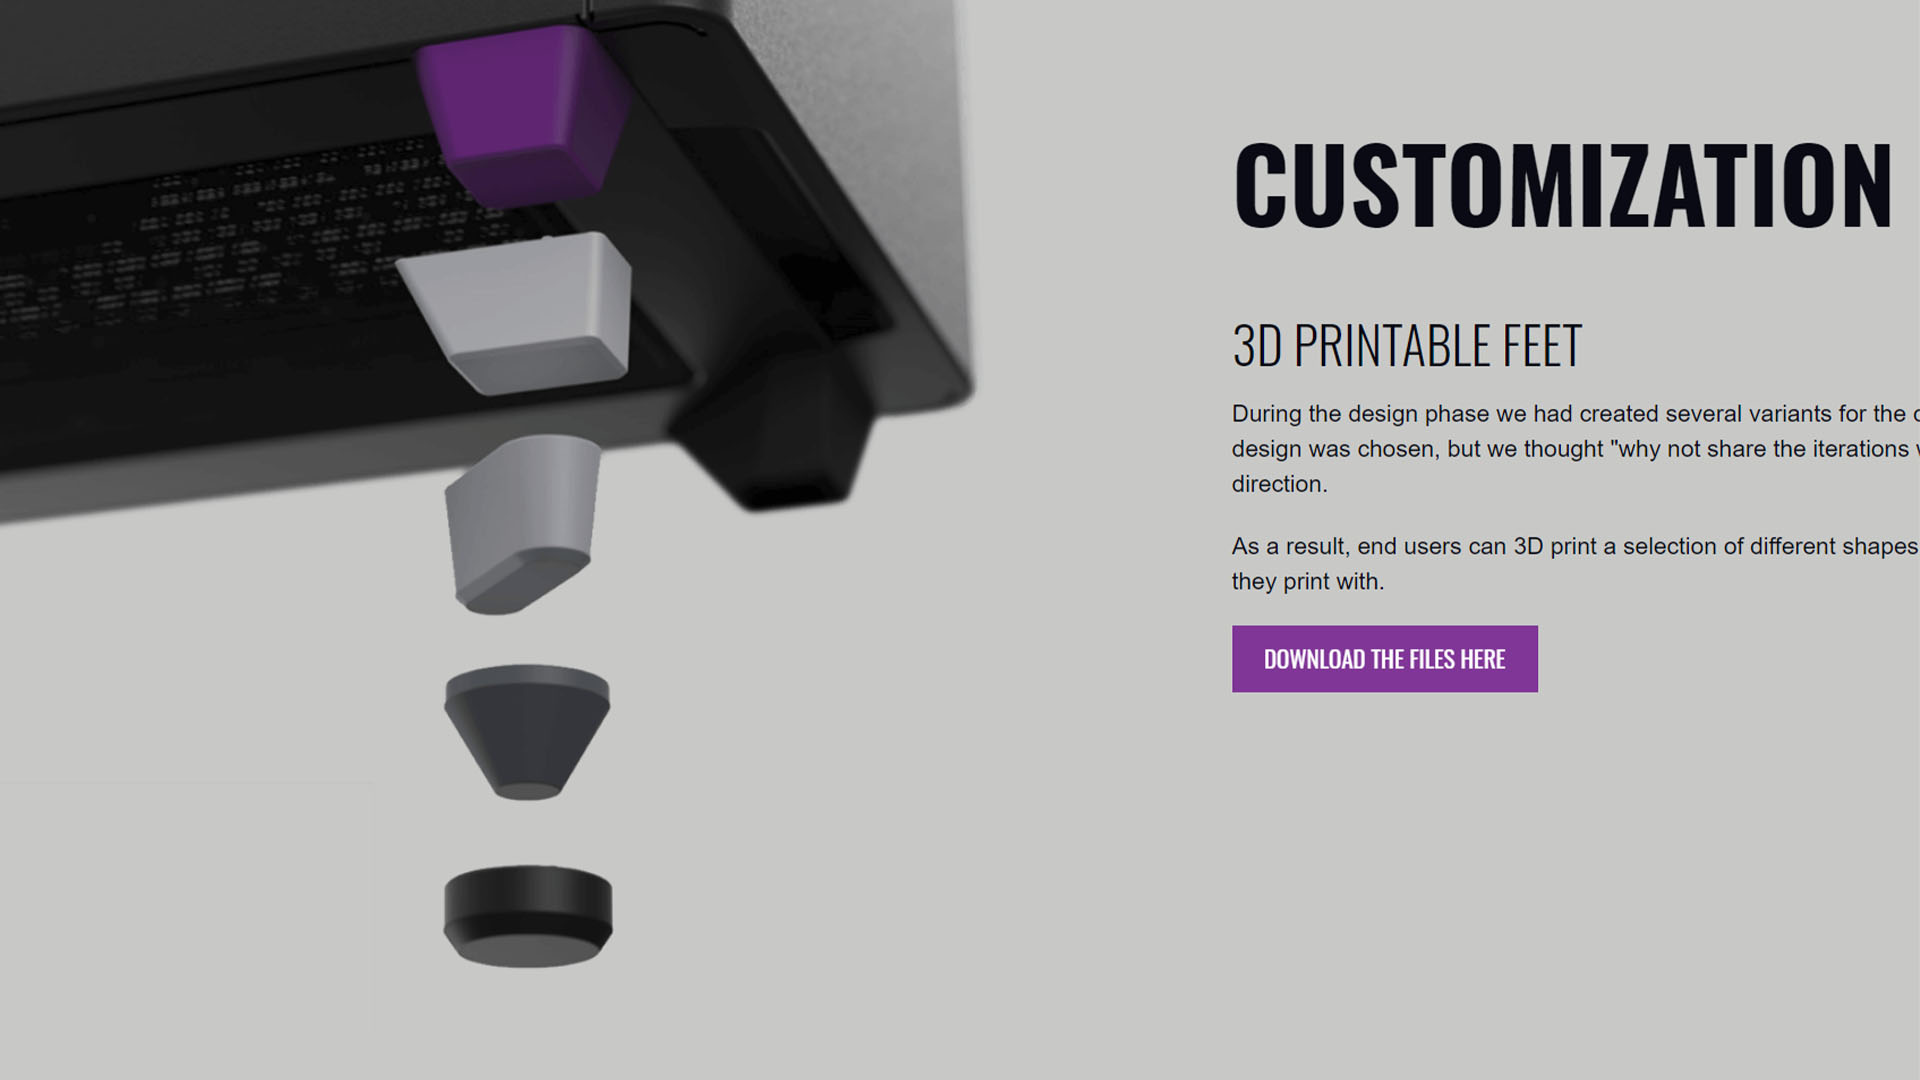
Many case manufacturers offer downloadable files for 3D printers, which makes it super-easy to create your own feet. Cooler Master has half a dozen designs ready to go for its Master Case NR200P, for example.
2. Check 3D object databases
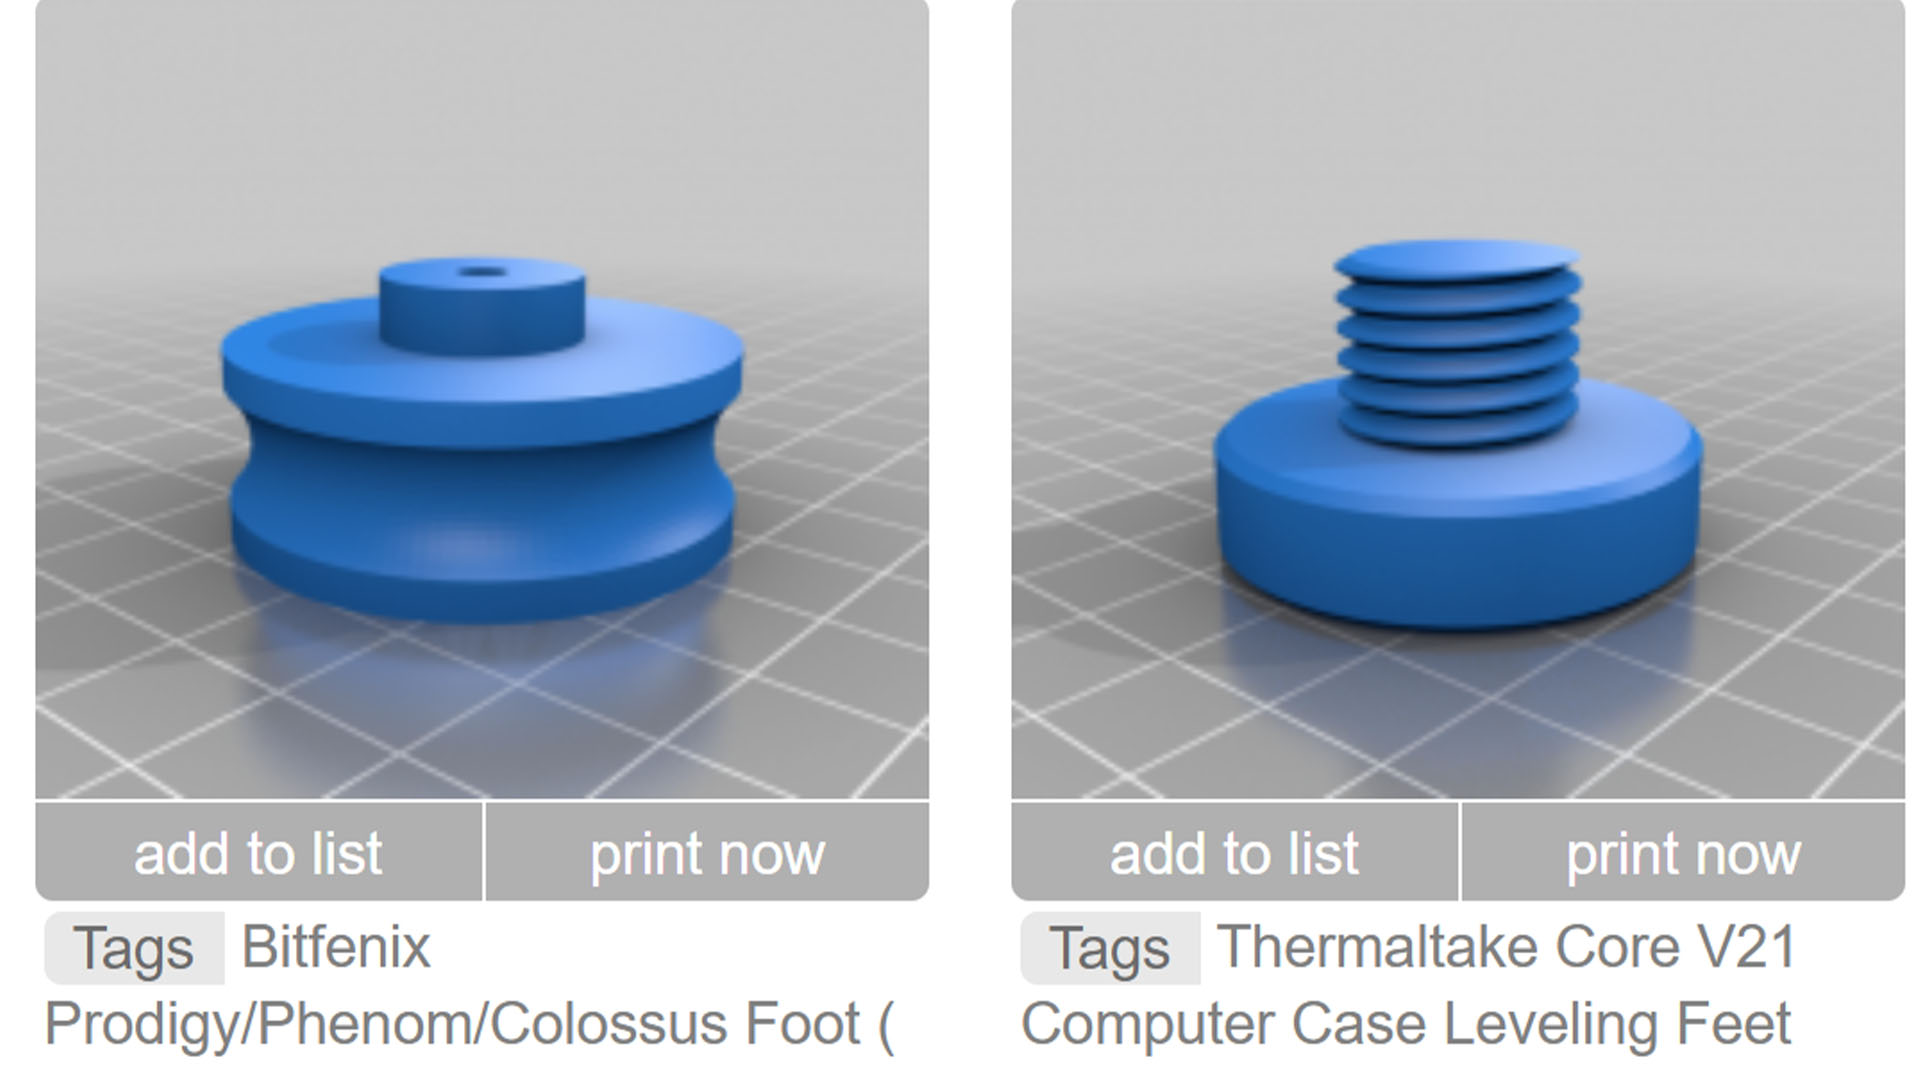
Failing that, you can search the vast databases of 3D objects for files that other hobbyists have created first. Be sure to check for any instructions, and ensure that they’re for your specific case model.
3. Decide on color
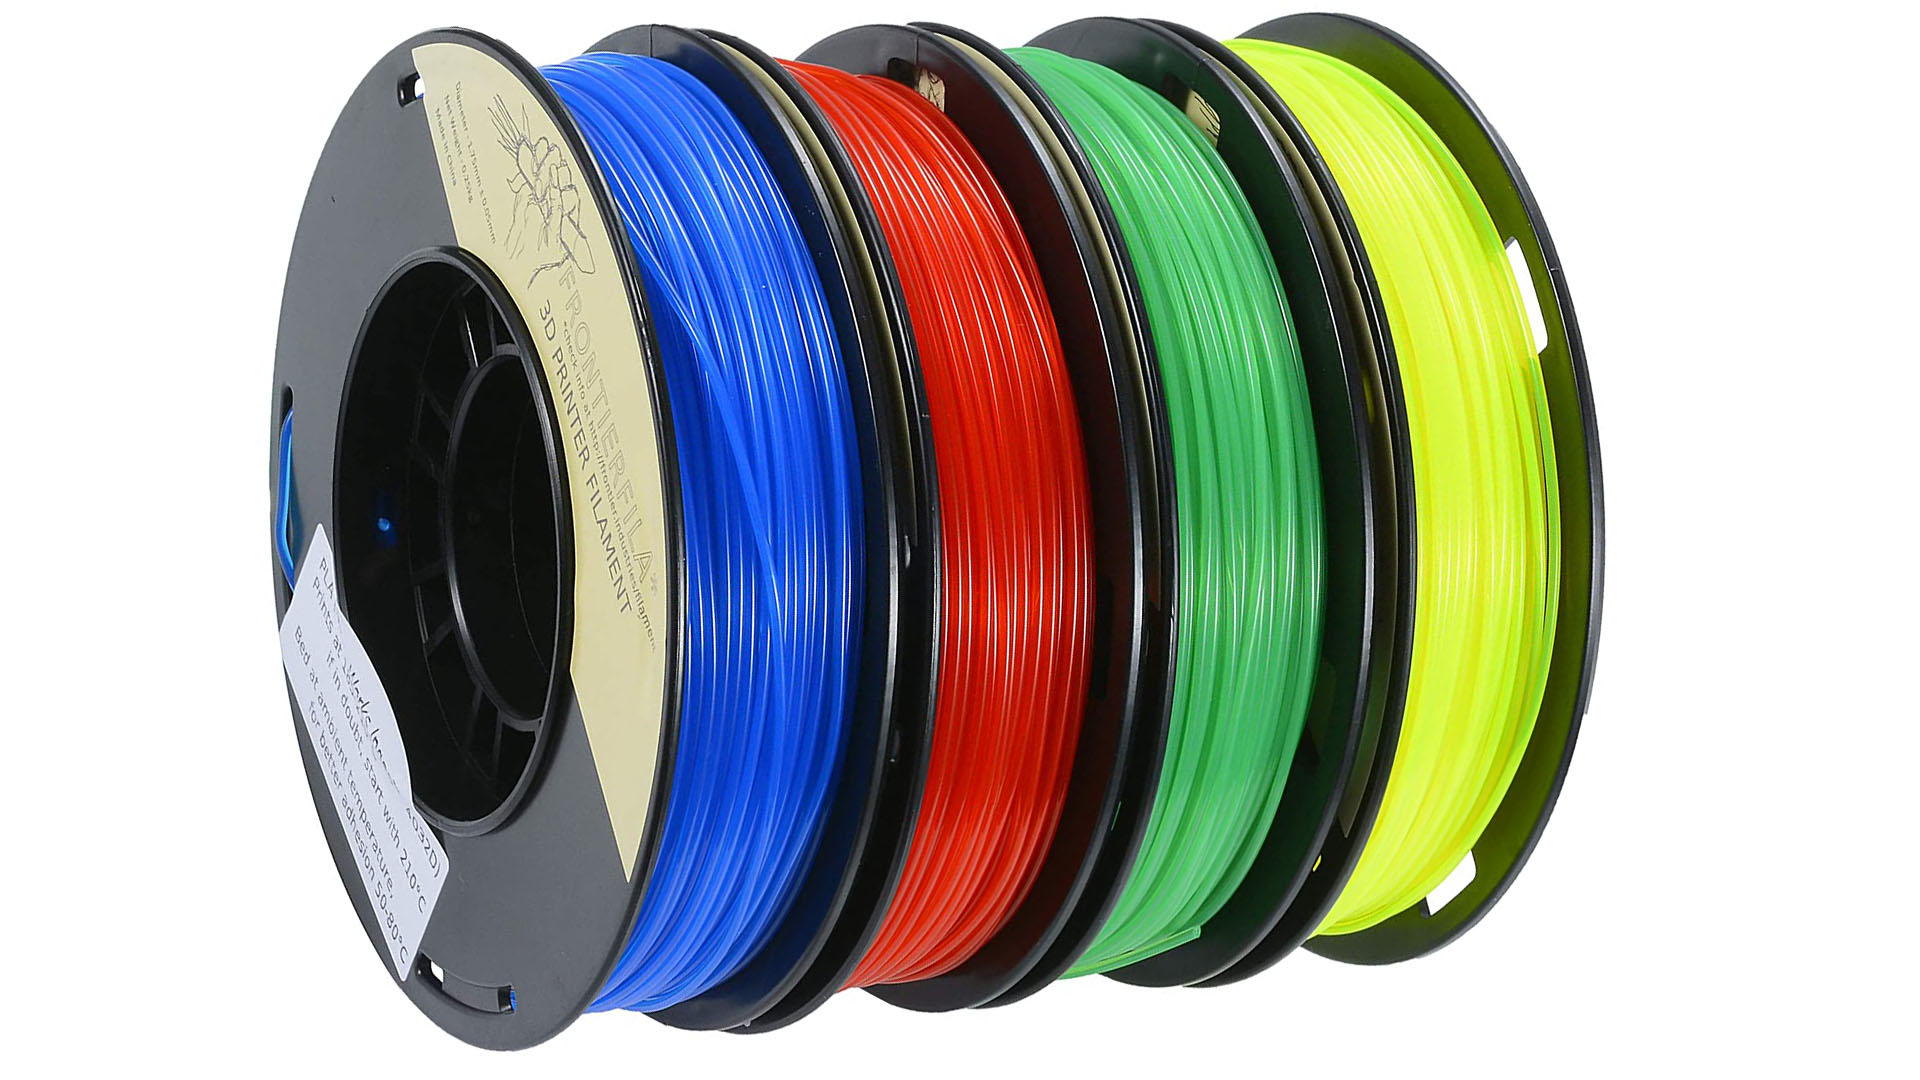
Whether you’re printing at home or sending your files away to be professionally printed, there are dozens of colors from which to choose, and you can even get 3D printing filaments with wood and metal effects.
4. Check for screws
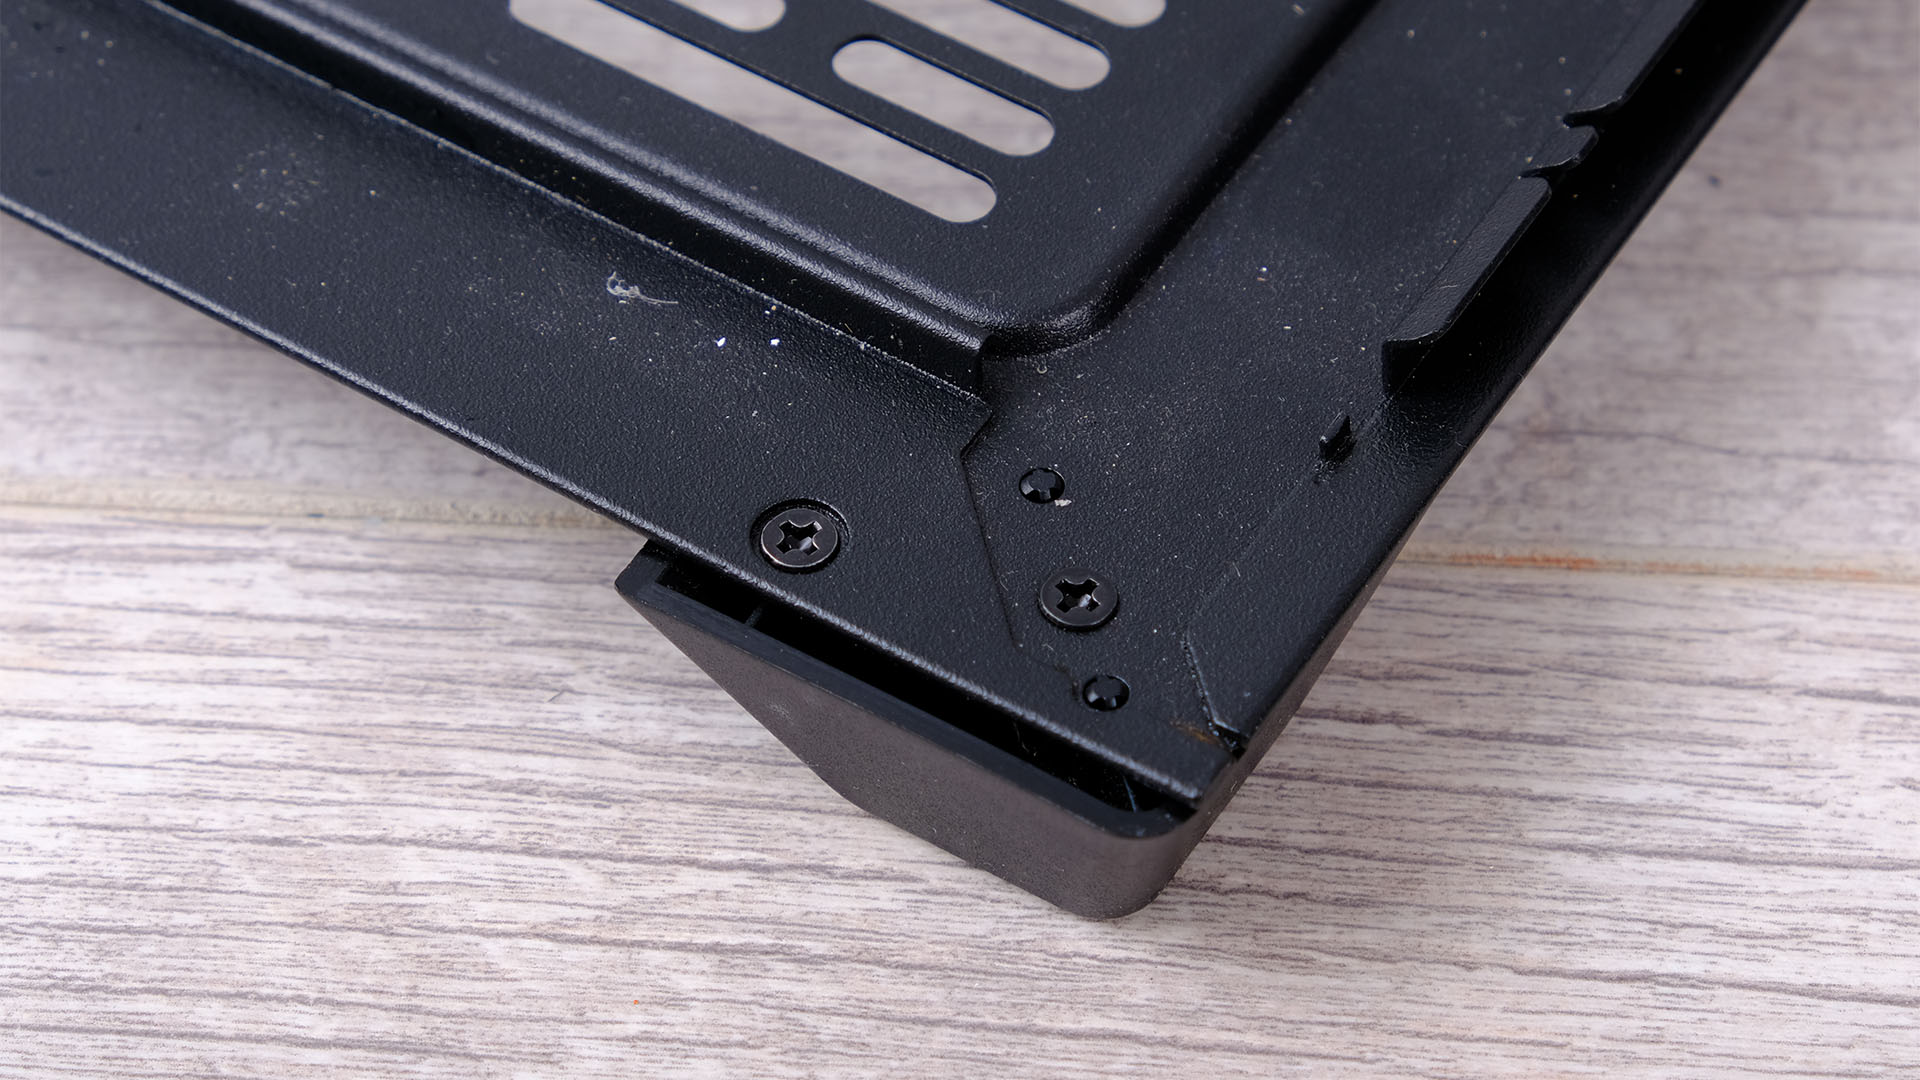
To remove your stock case feet, first identify any screws or bolts holding them in place. They will likely be located above the case feet inside the chassis.
5. Remove case feet
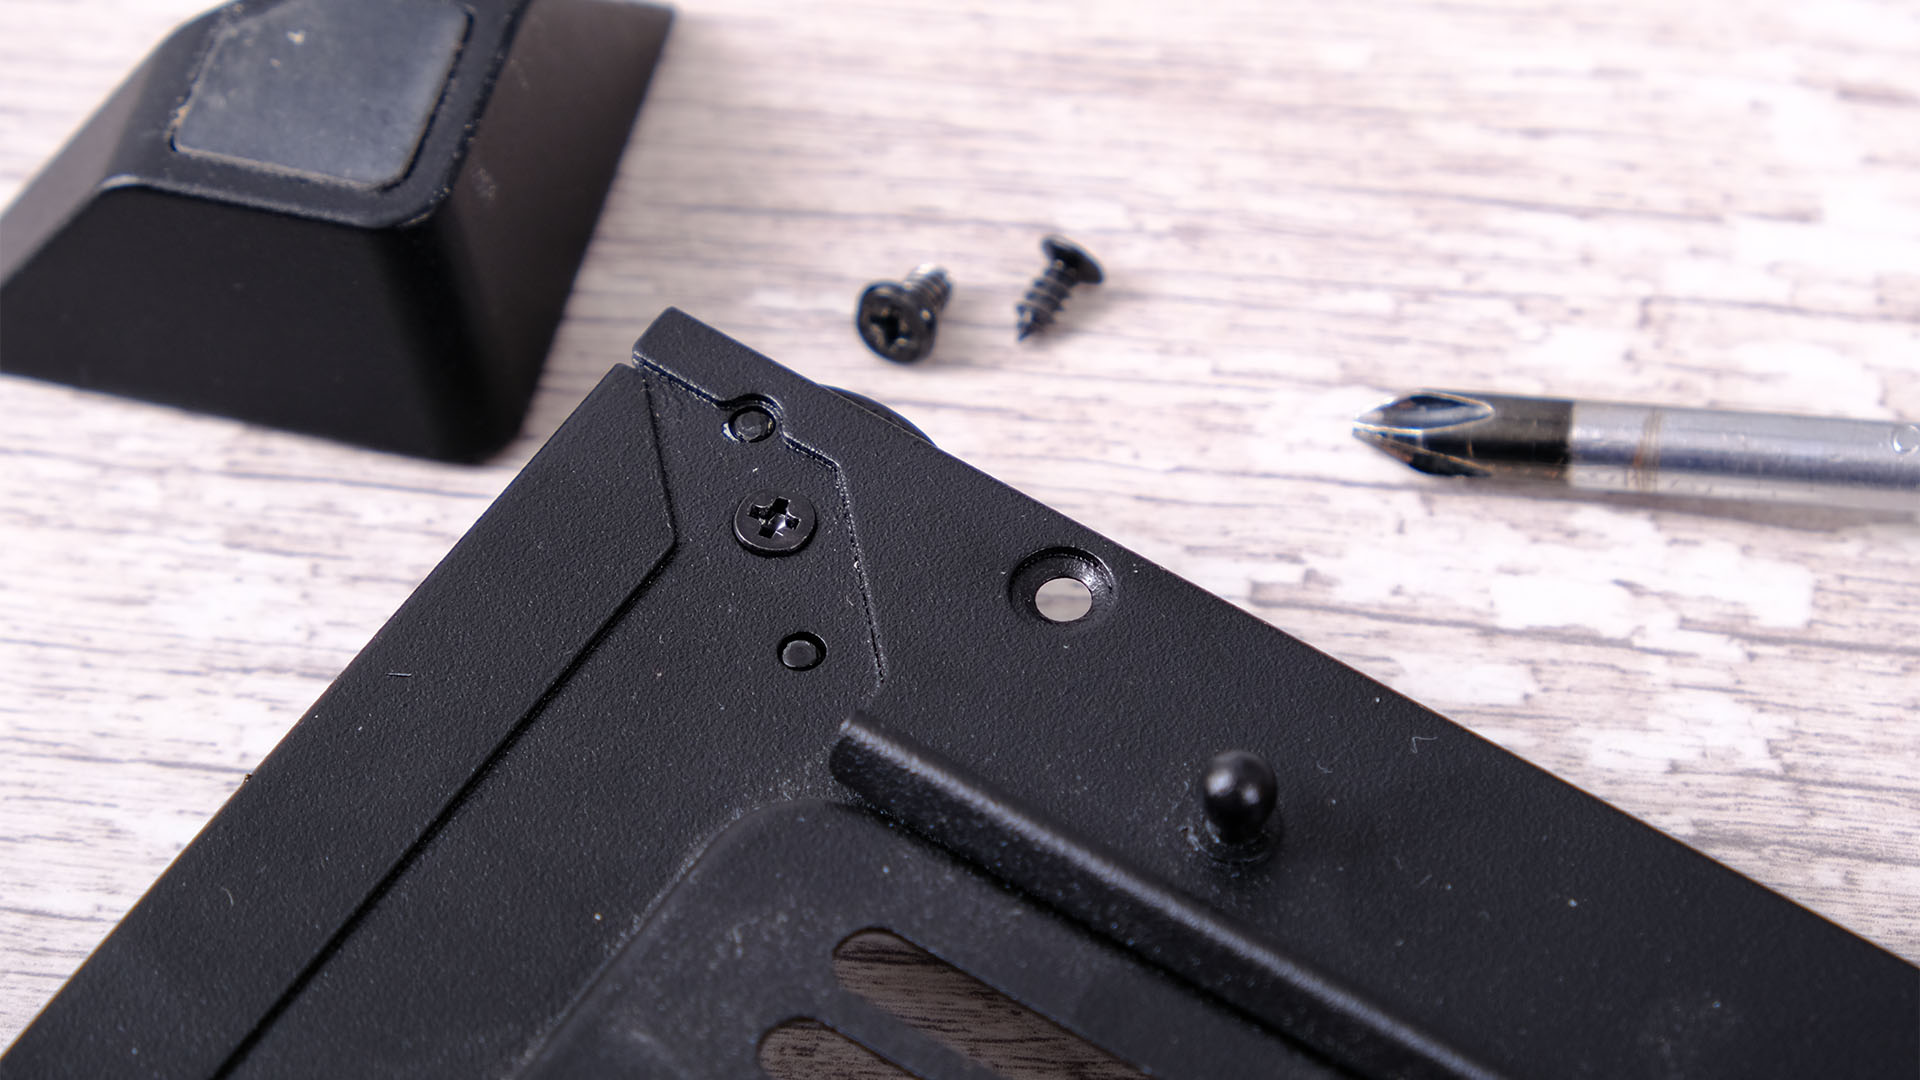
Remove any hardware blocking your efforts, then unscrew any bolts or screws and detach the case feet. Keep them in the case’s box, so you know where they’re located in case you want to sell the case at some point in the future.
6. Measure dimensions
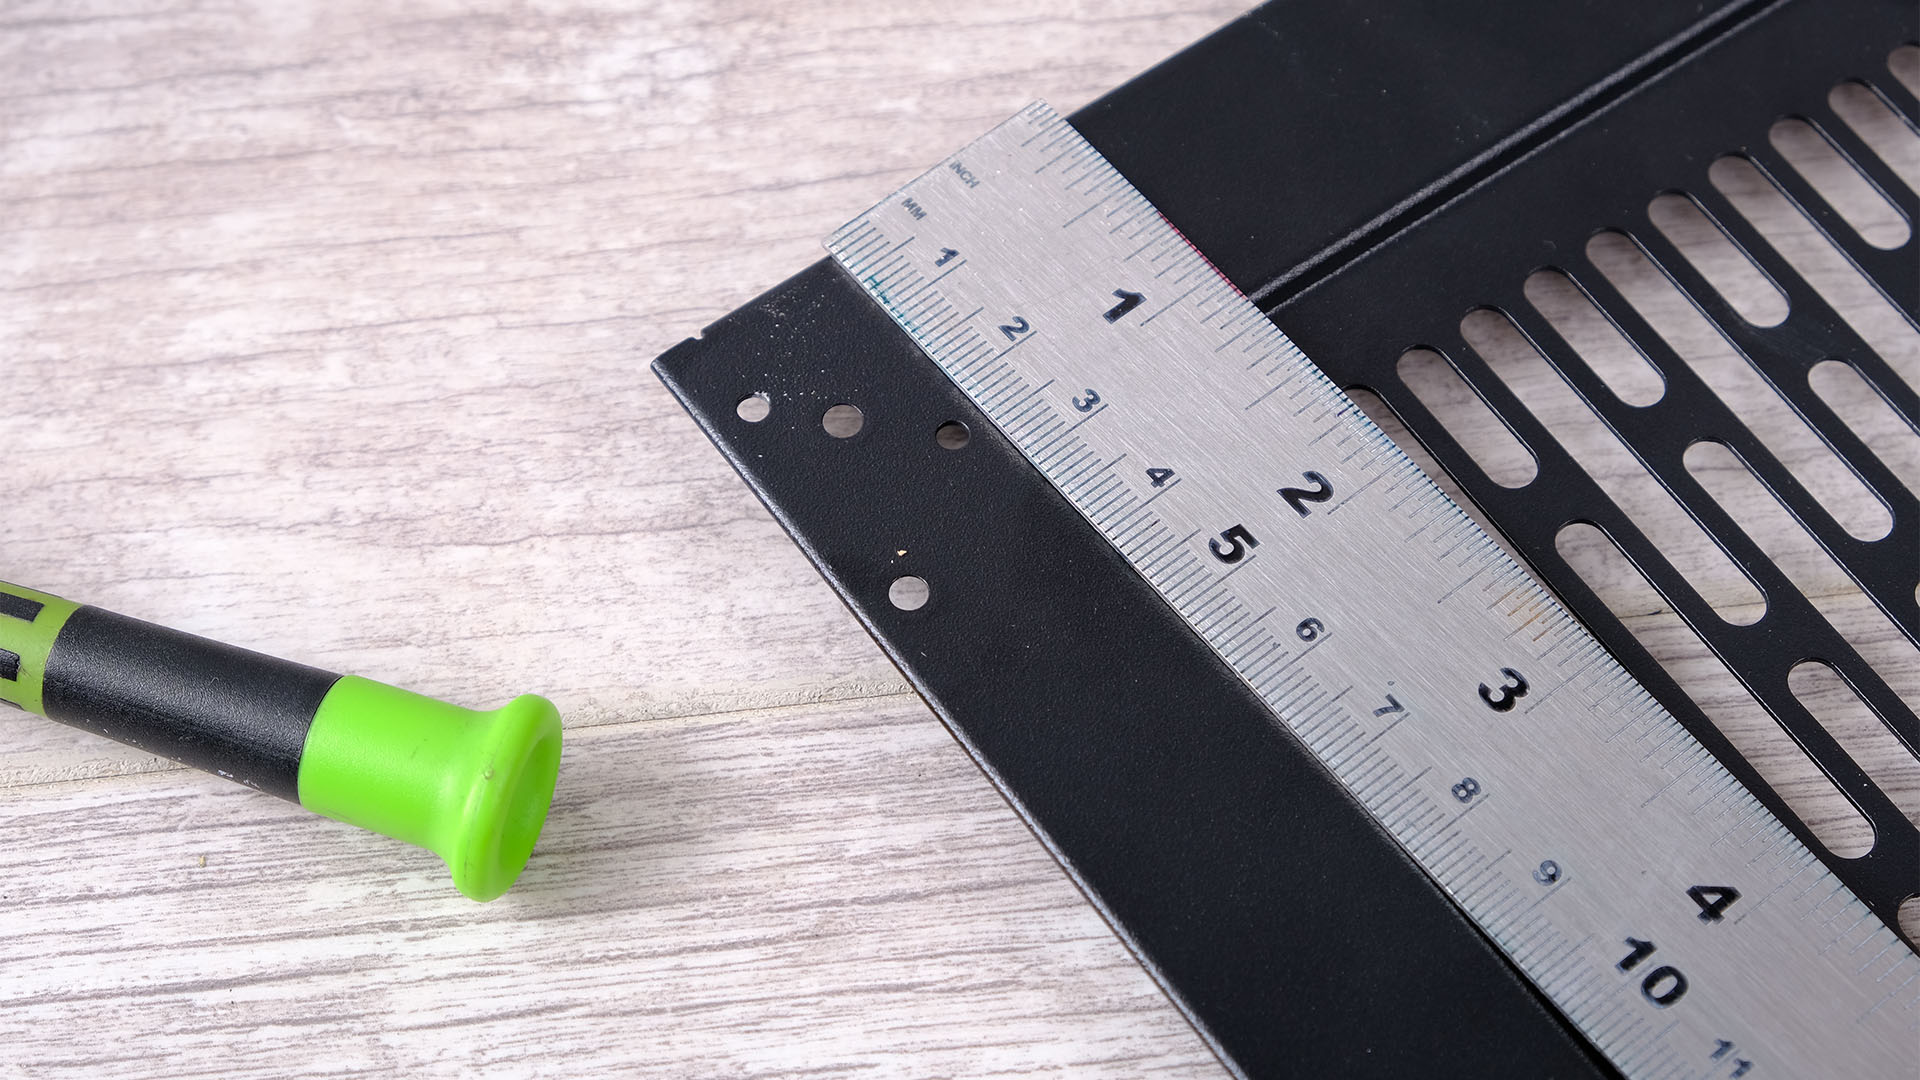
If your case has specific mounting points, use a ruler to accurately measure the size of these areas. Alternatively, measure the areas that you could potentially use to mount a new set of feet.
7. Check for rubber pads
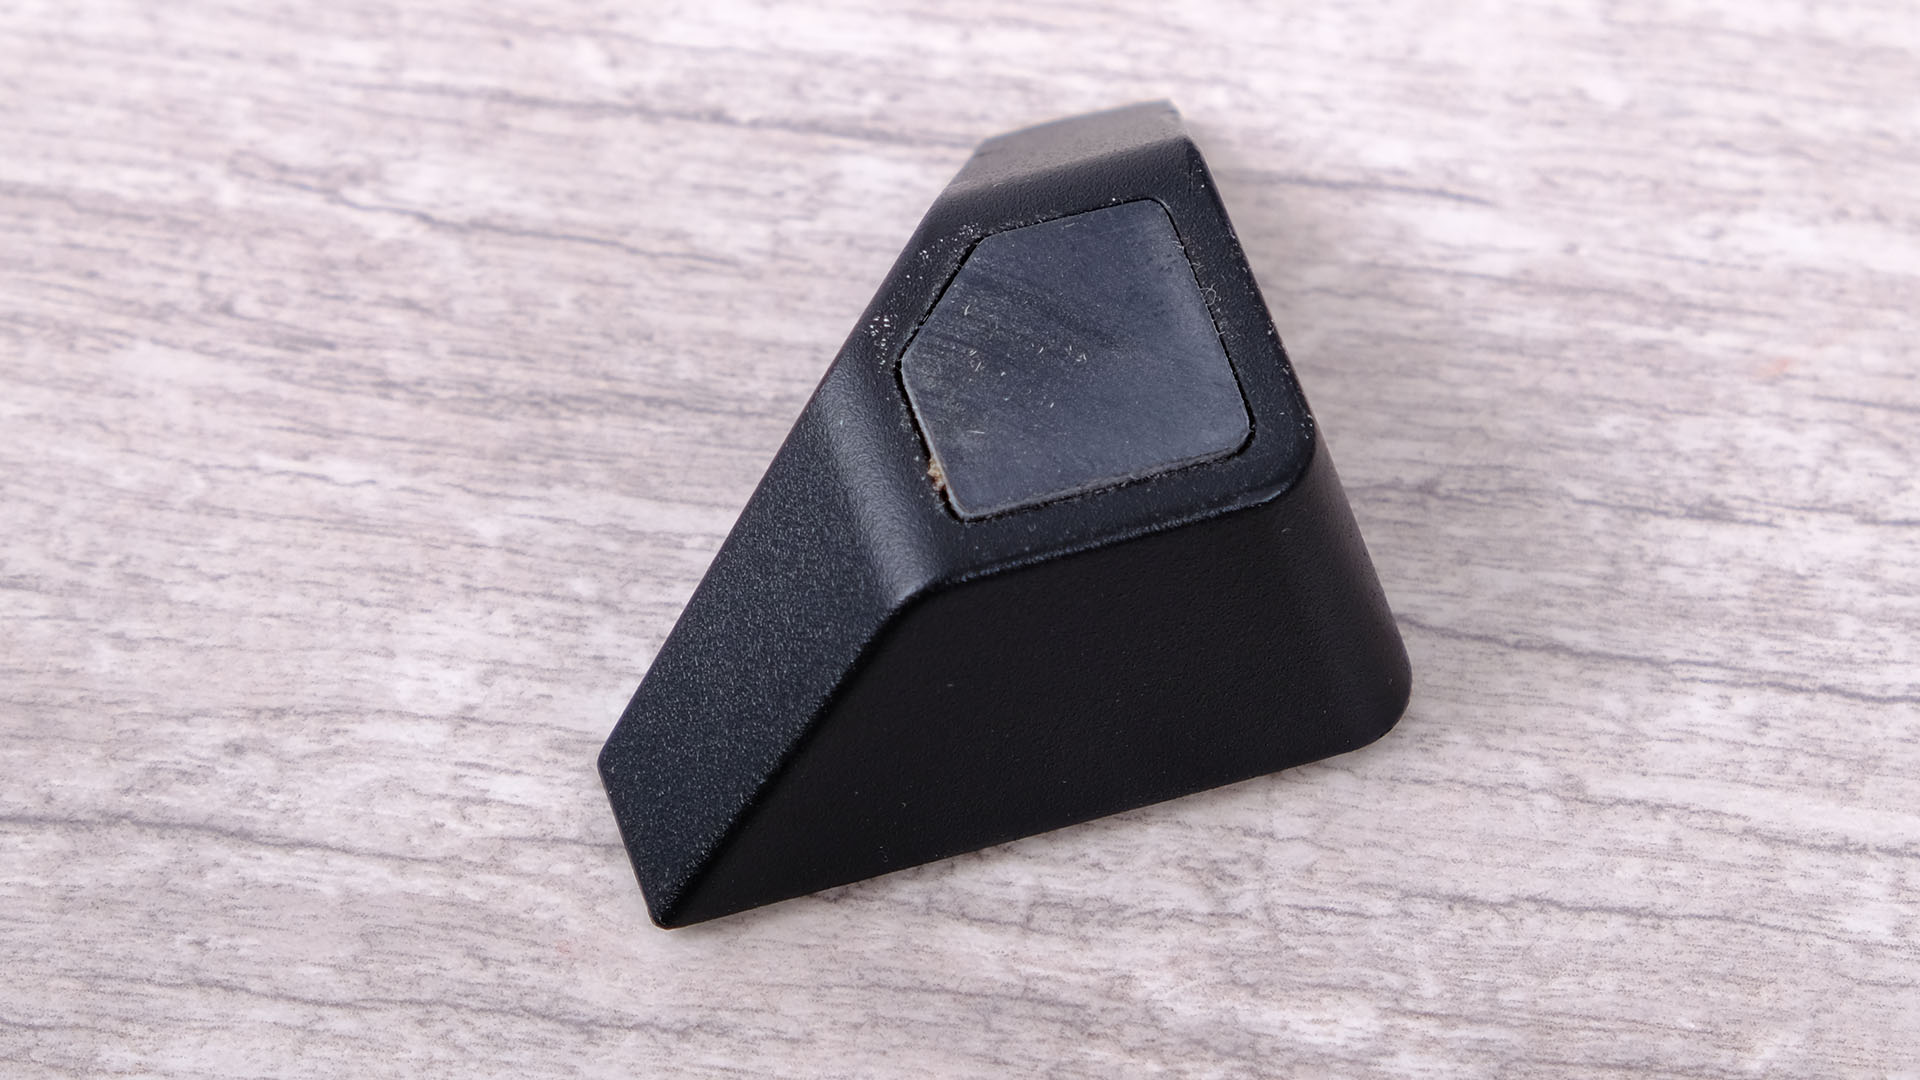
If your case uses rubber pads to reduce vibrations then it’s well worth adding these pads to the new case feet. Most of them are embedded into the feet, so you’ll want to create a similar design with your new feet.
8. Choose feet design
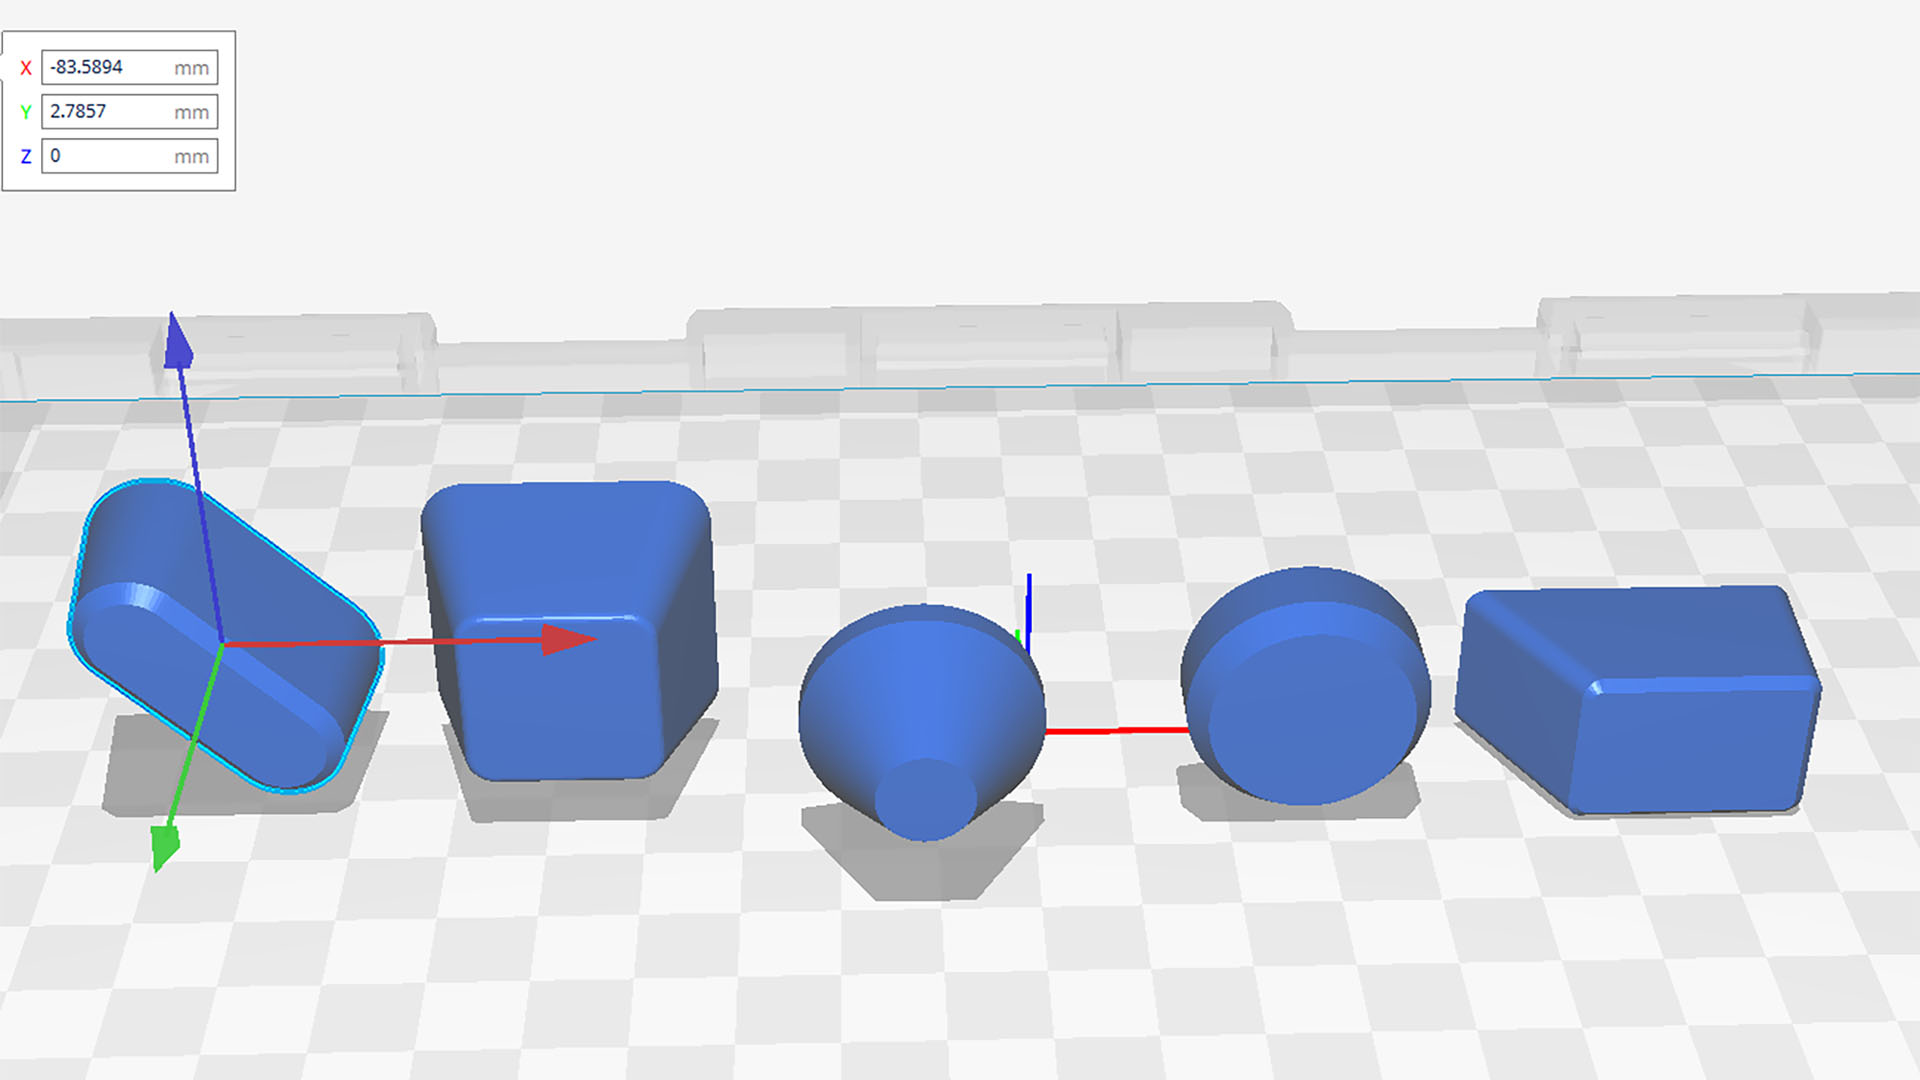
You can create feet of almost any shape, but avoid any spindly designs, especially if you’ll be moving the case a lot. You’ll also need to make it 3D printing-friendly, so ensure there’s one flat side for the base with no large holes or overhangs.
9. Consider external components
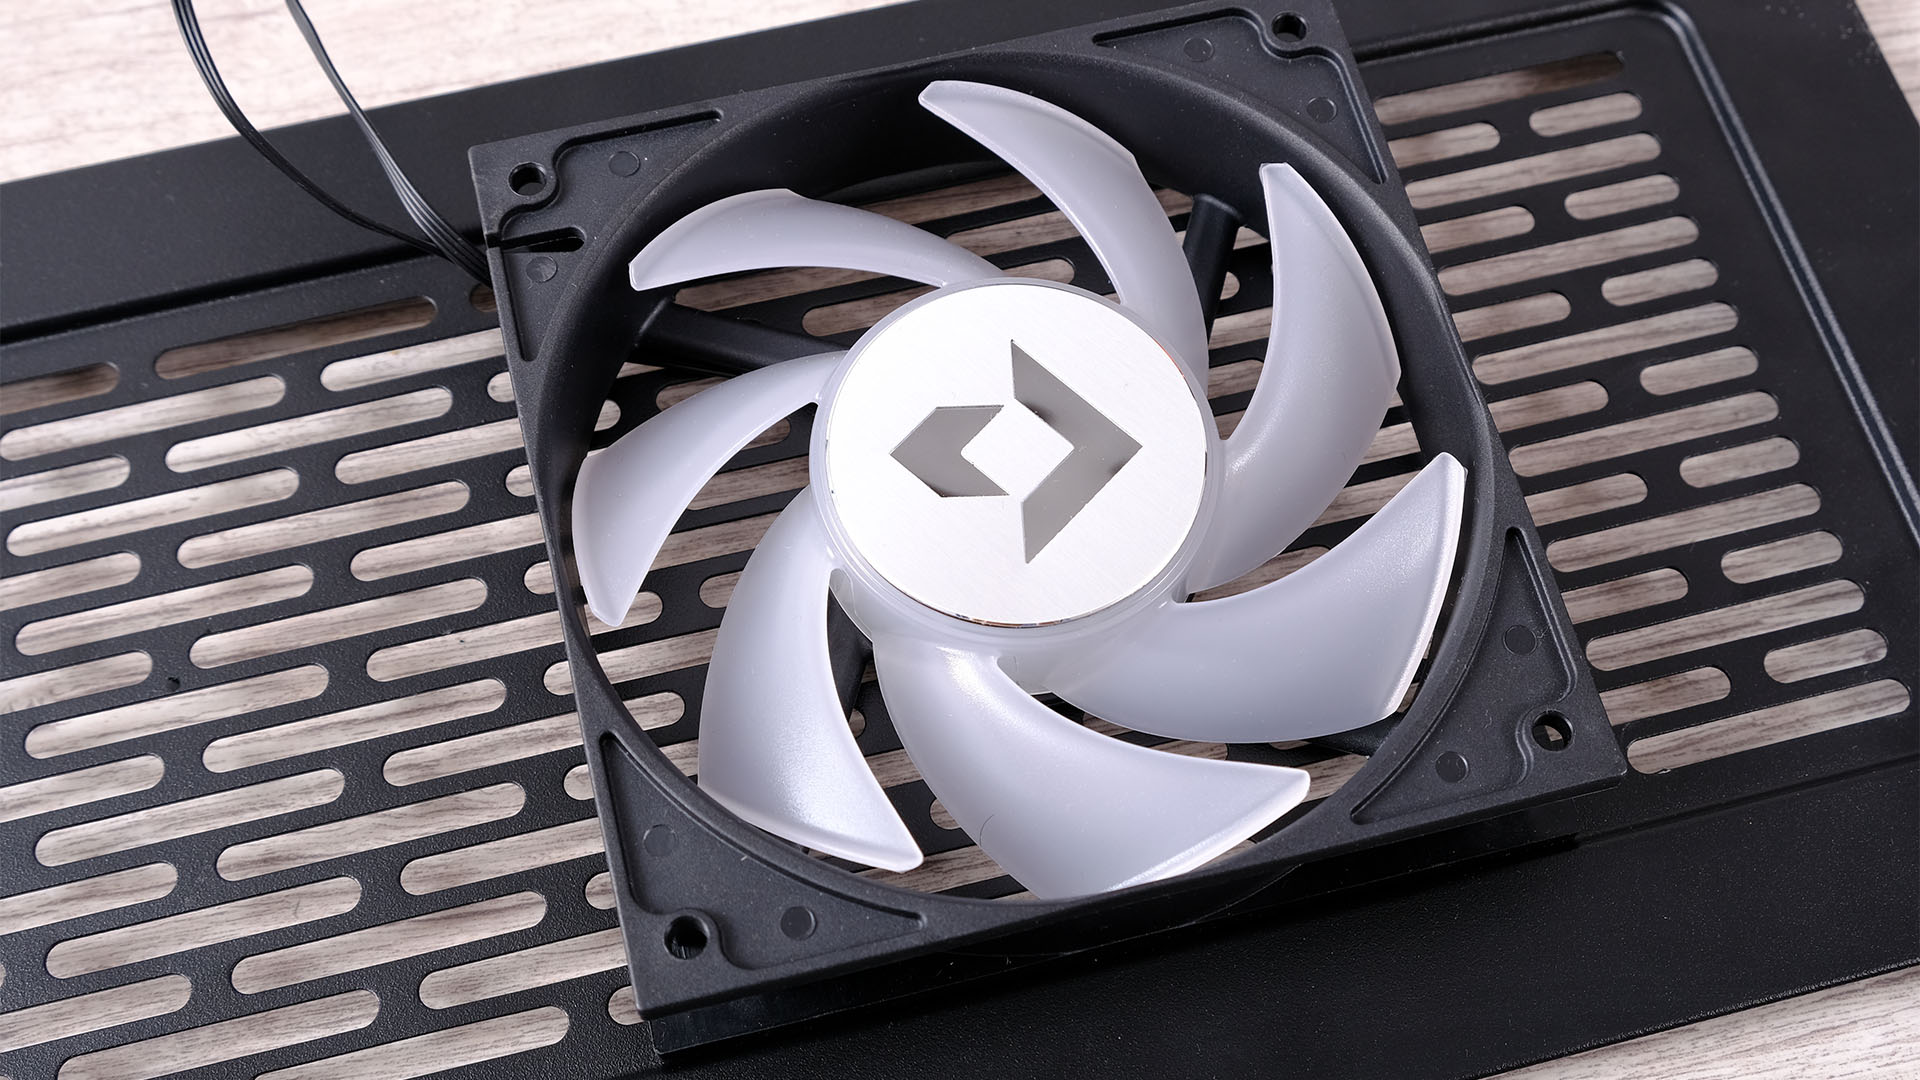
You can lower your case by using thinner feet than the stock ones, or raise it with taller ones, perhaps making way for an external fan or even a radiator. Now is the time to consider doing the latter and working out how much room you’ll need.
10. Measure case
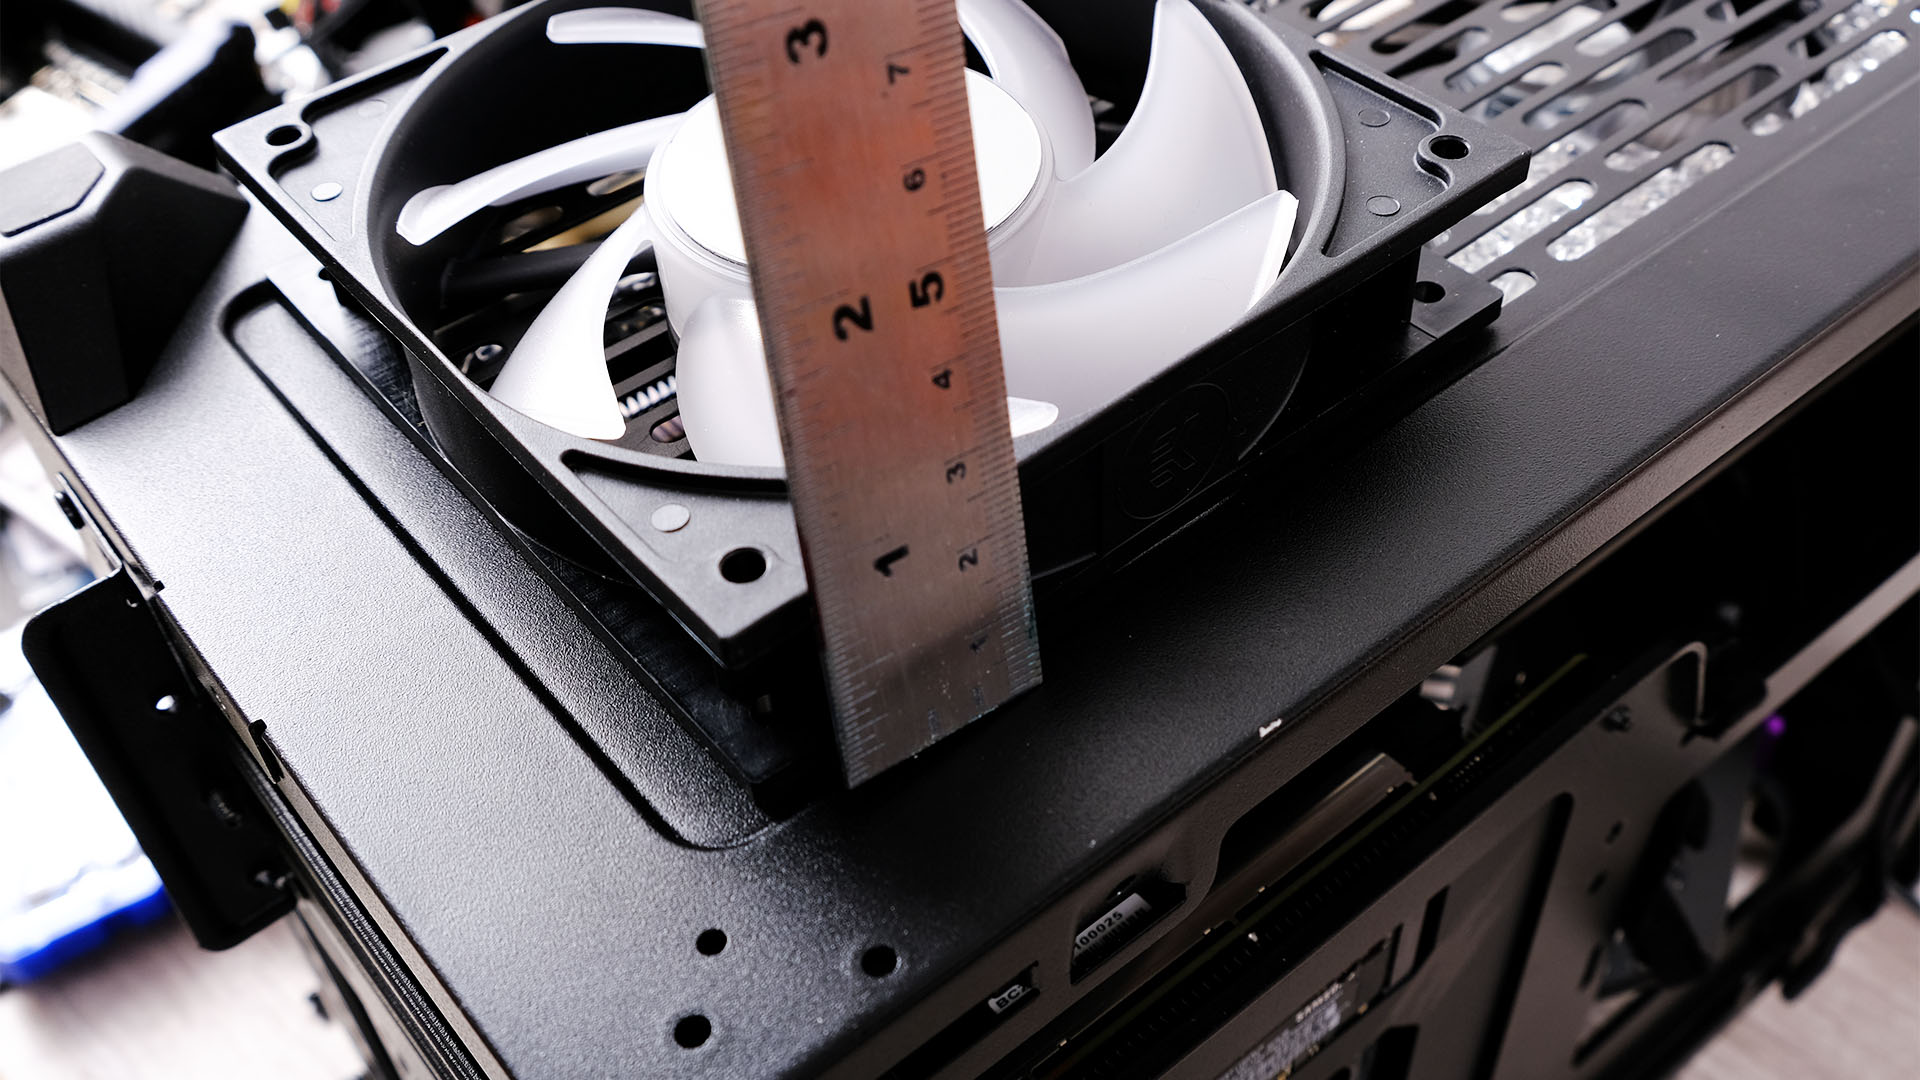
If you want to add fans underneath your case, put them in place and allow at least 15mm between them and the floor, so there’s room for them to breathe. Make sure your feet are tall enough to allow for that amount of breathing space.
11. Choose mounting method
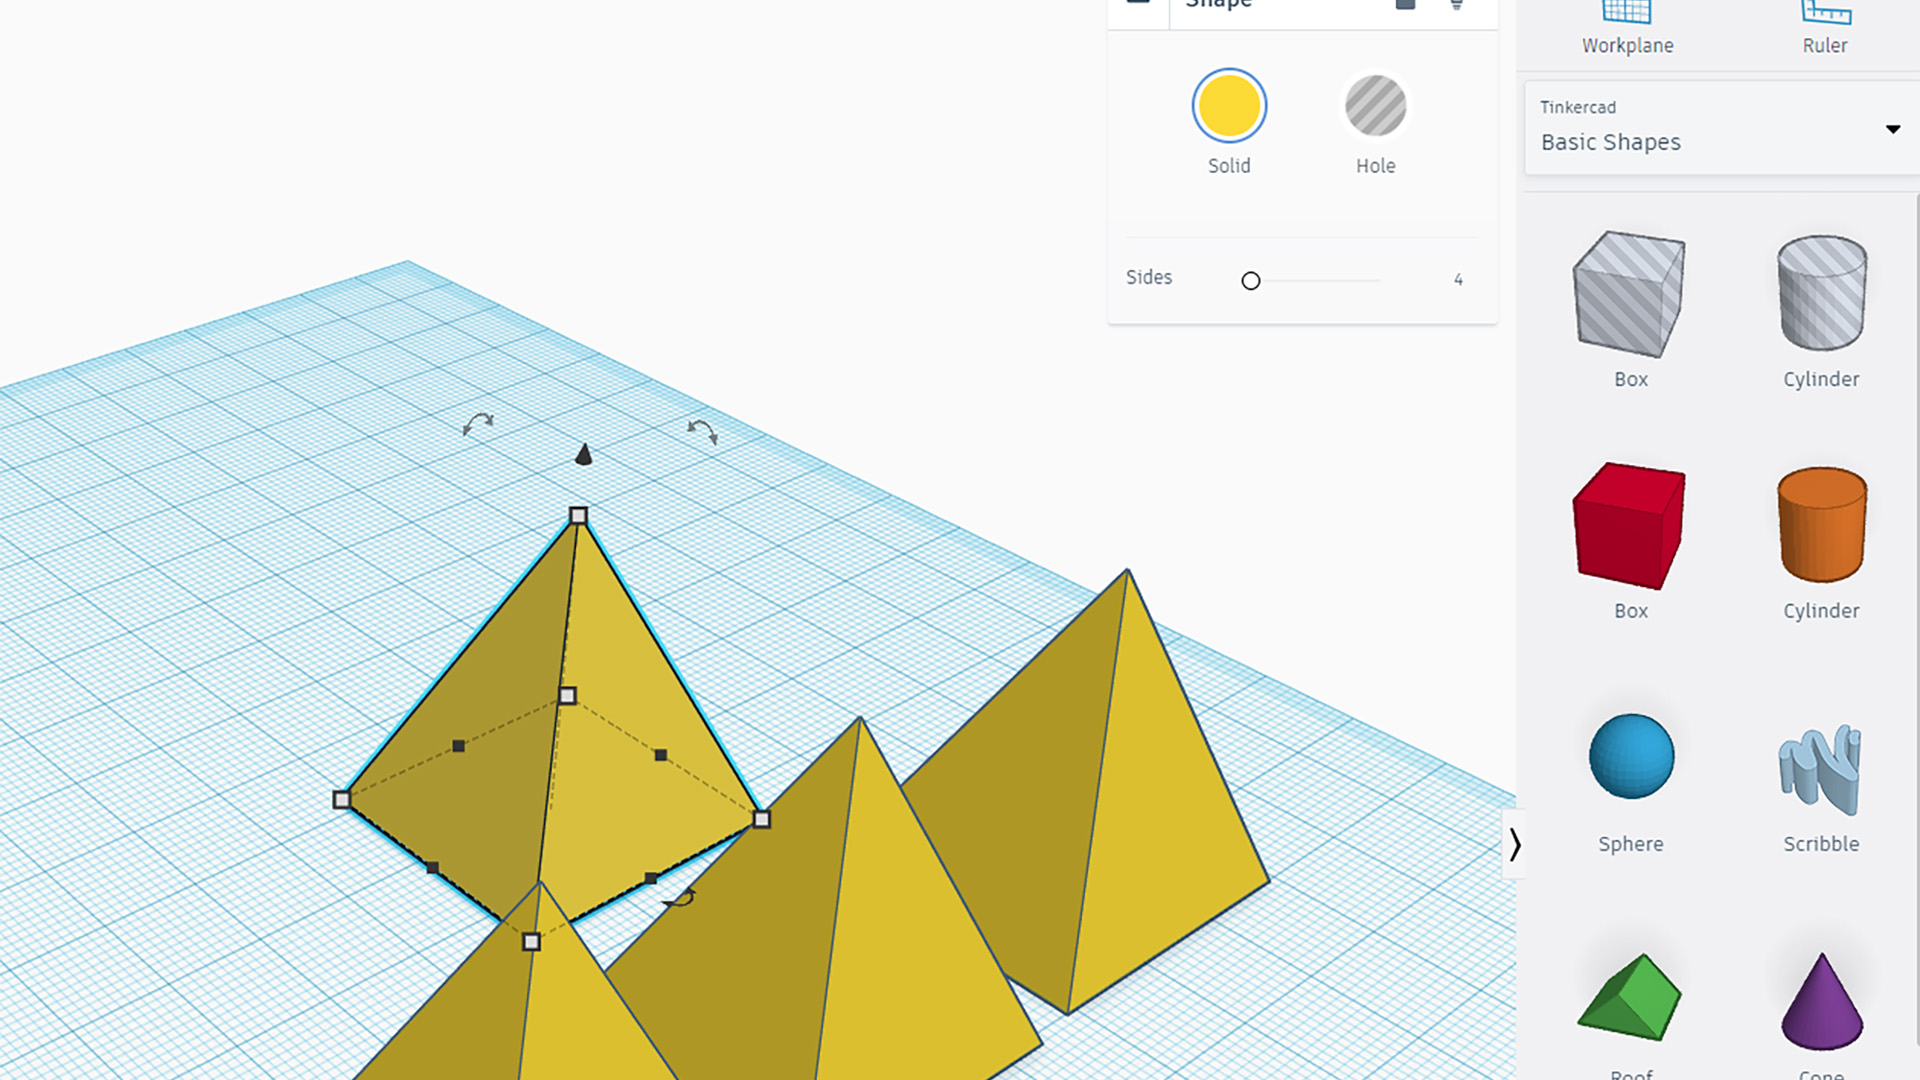
If you’re making your own feet design, first consider how you‘ll mount them. It’s possible to use heavy-duty mounting tape, especially with large feet, but it’s usually best to create mounting points such as screw holes. We recommend using Tinkercad to create 3D-printable objects.
12. Insert mounting points
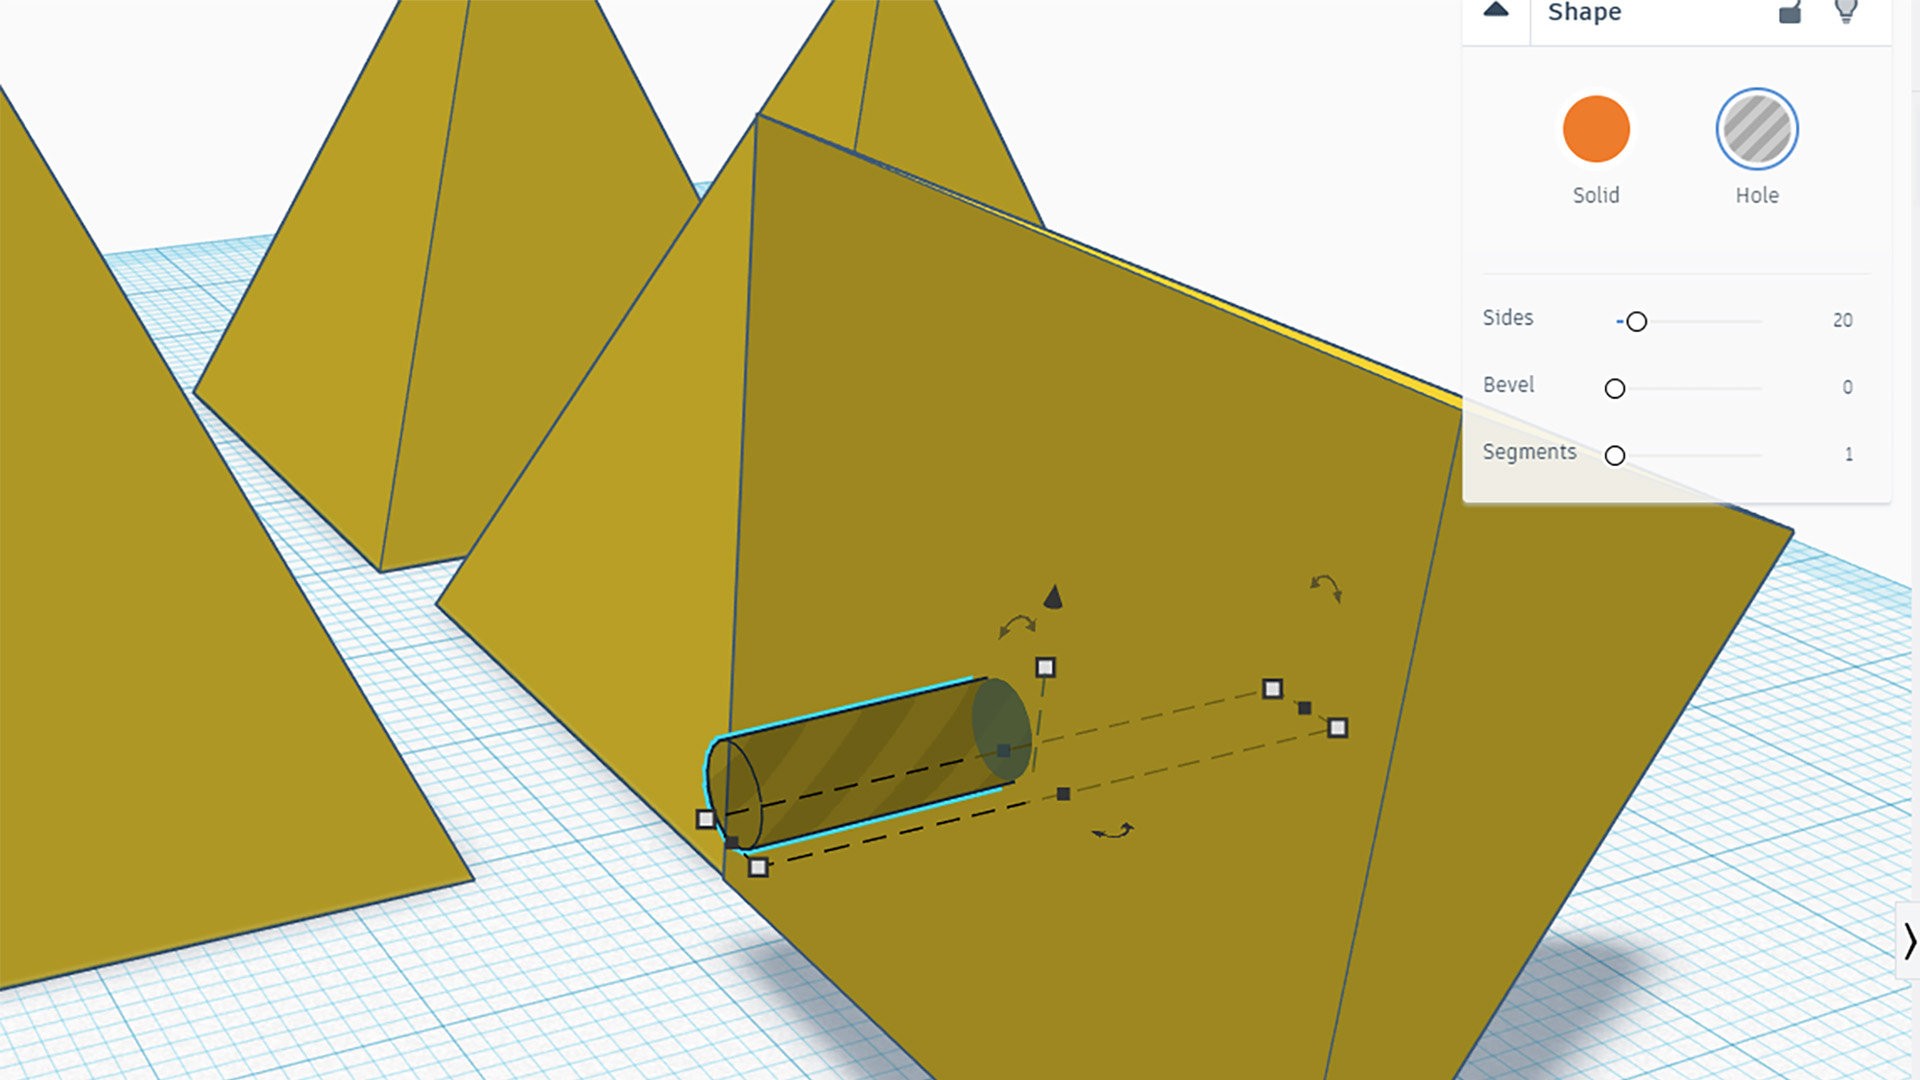
To create a screw hole, make a cylinder object a little smaller than the thread of the screws you intend to use. Place it in the right location and then convert it to a hole object. Group the projects and you’ll have a small, neat hole in your case foot.
13. Allow for rubber pads
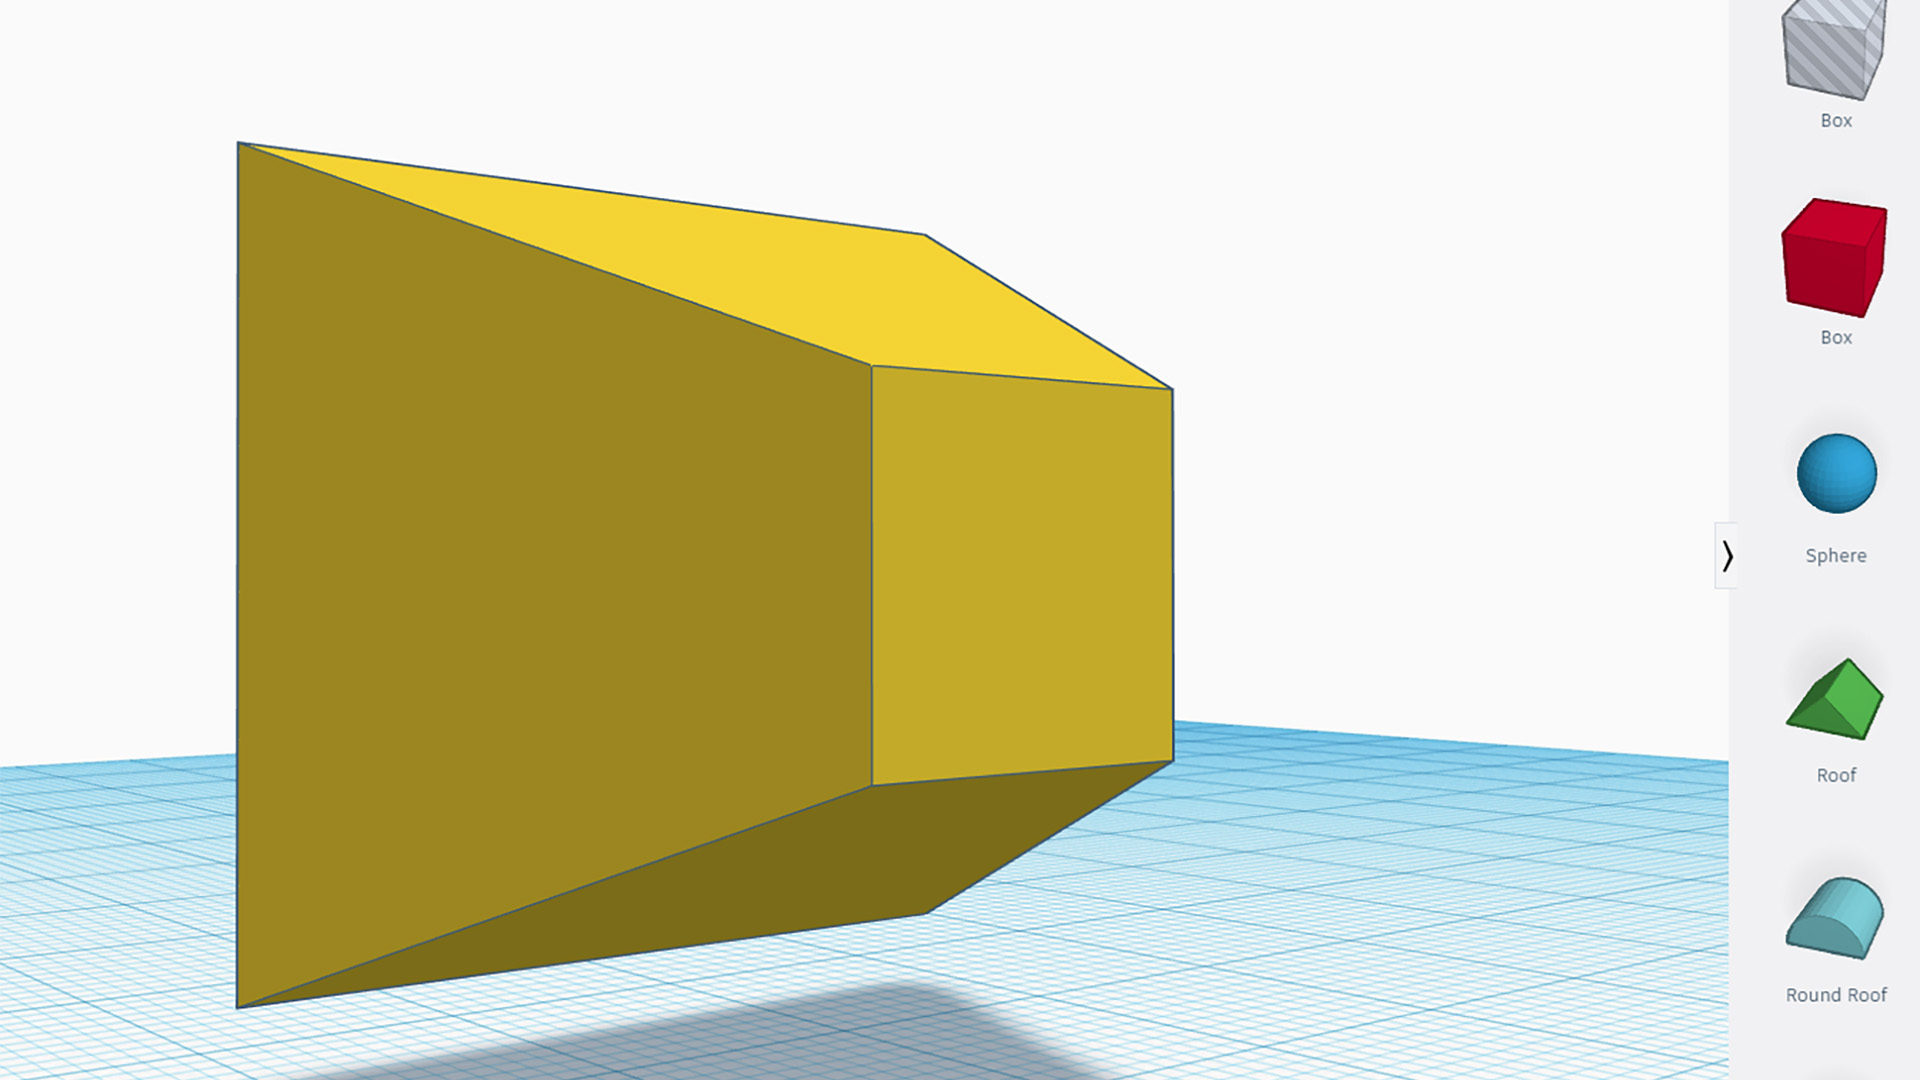
It’s always a good idea to install some kind of anti-vibration pads between the case feet and floor or desk. Create small flat areas in the design to apply rubber pads.
14. Measure larger contact area
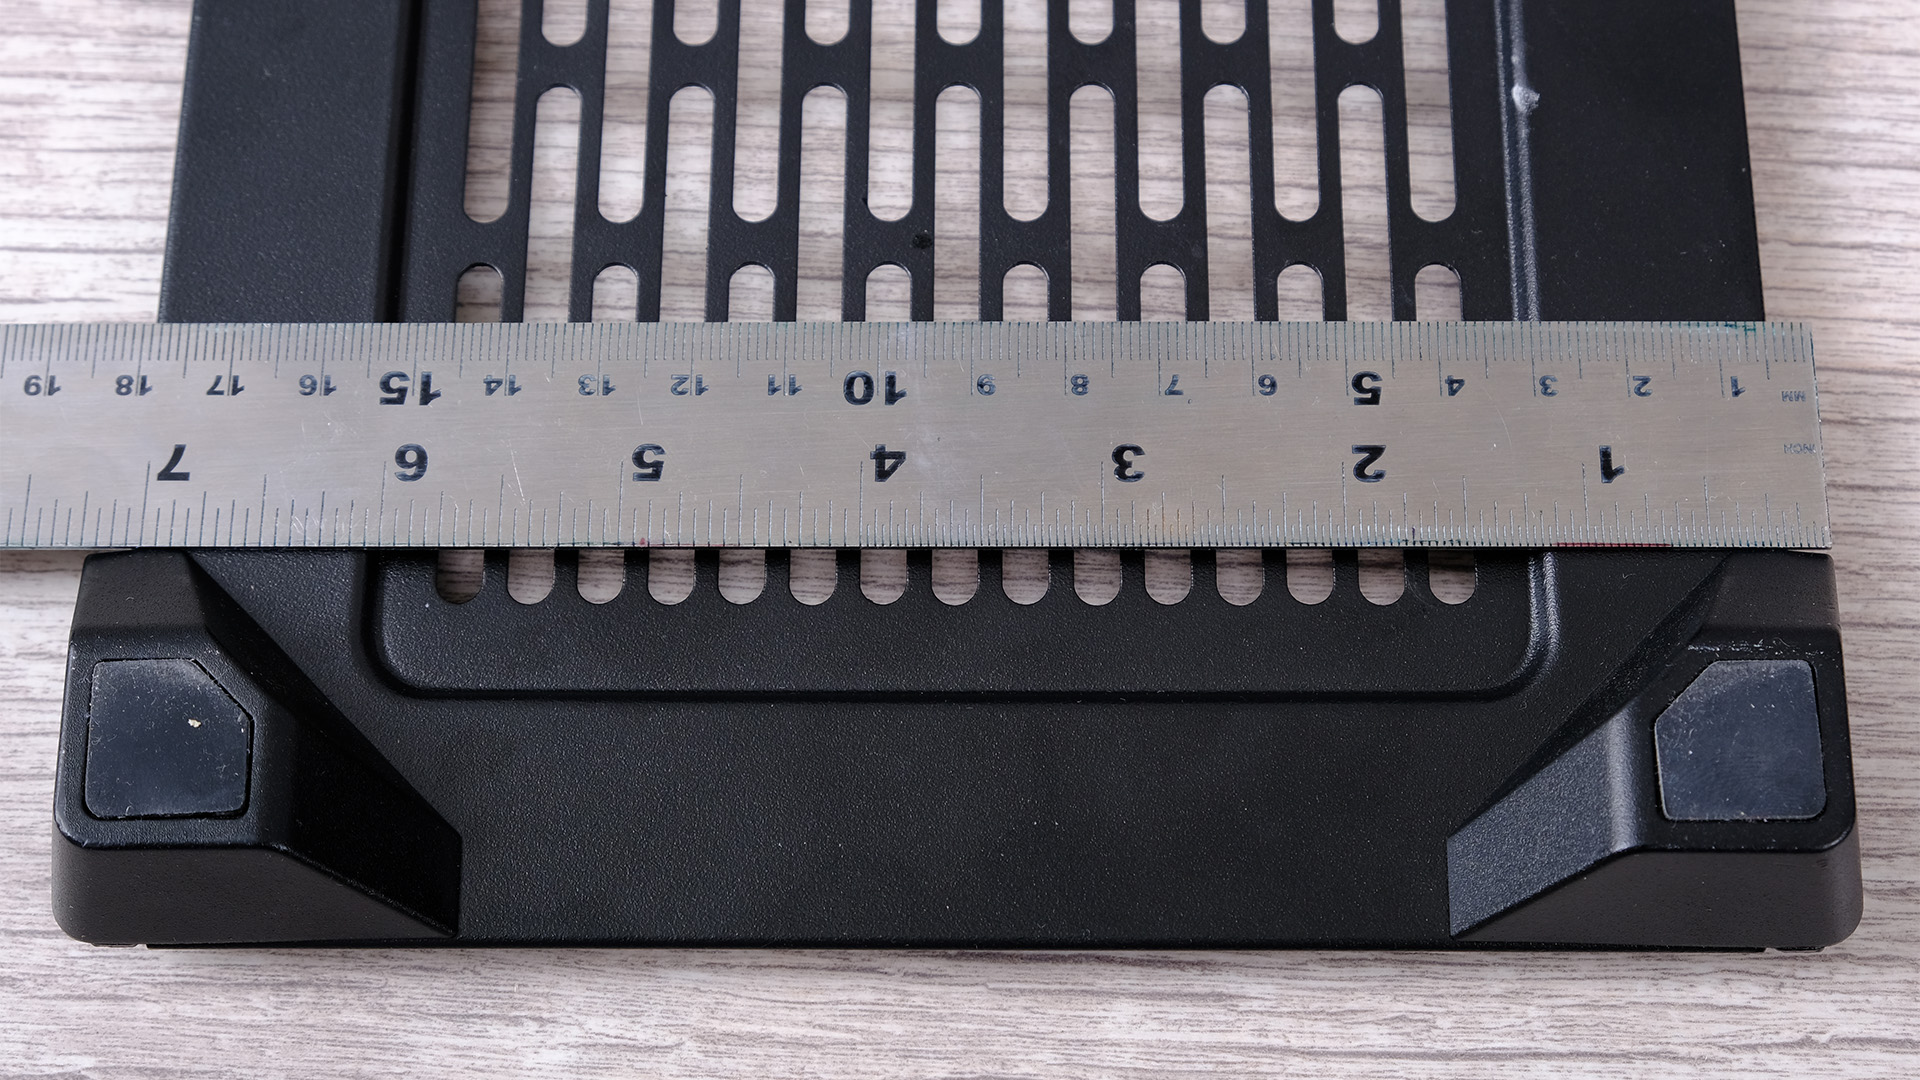
If you want to use mounting tape to avoid drilling holes, it’s a very good idea to link your feet together across your case, from side to side, rather than front to back. This allows you to use more tape and provides extra support.
15. Create linked feet
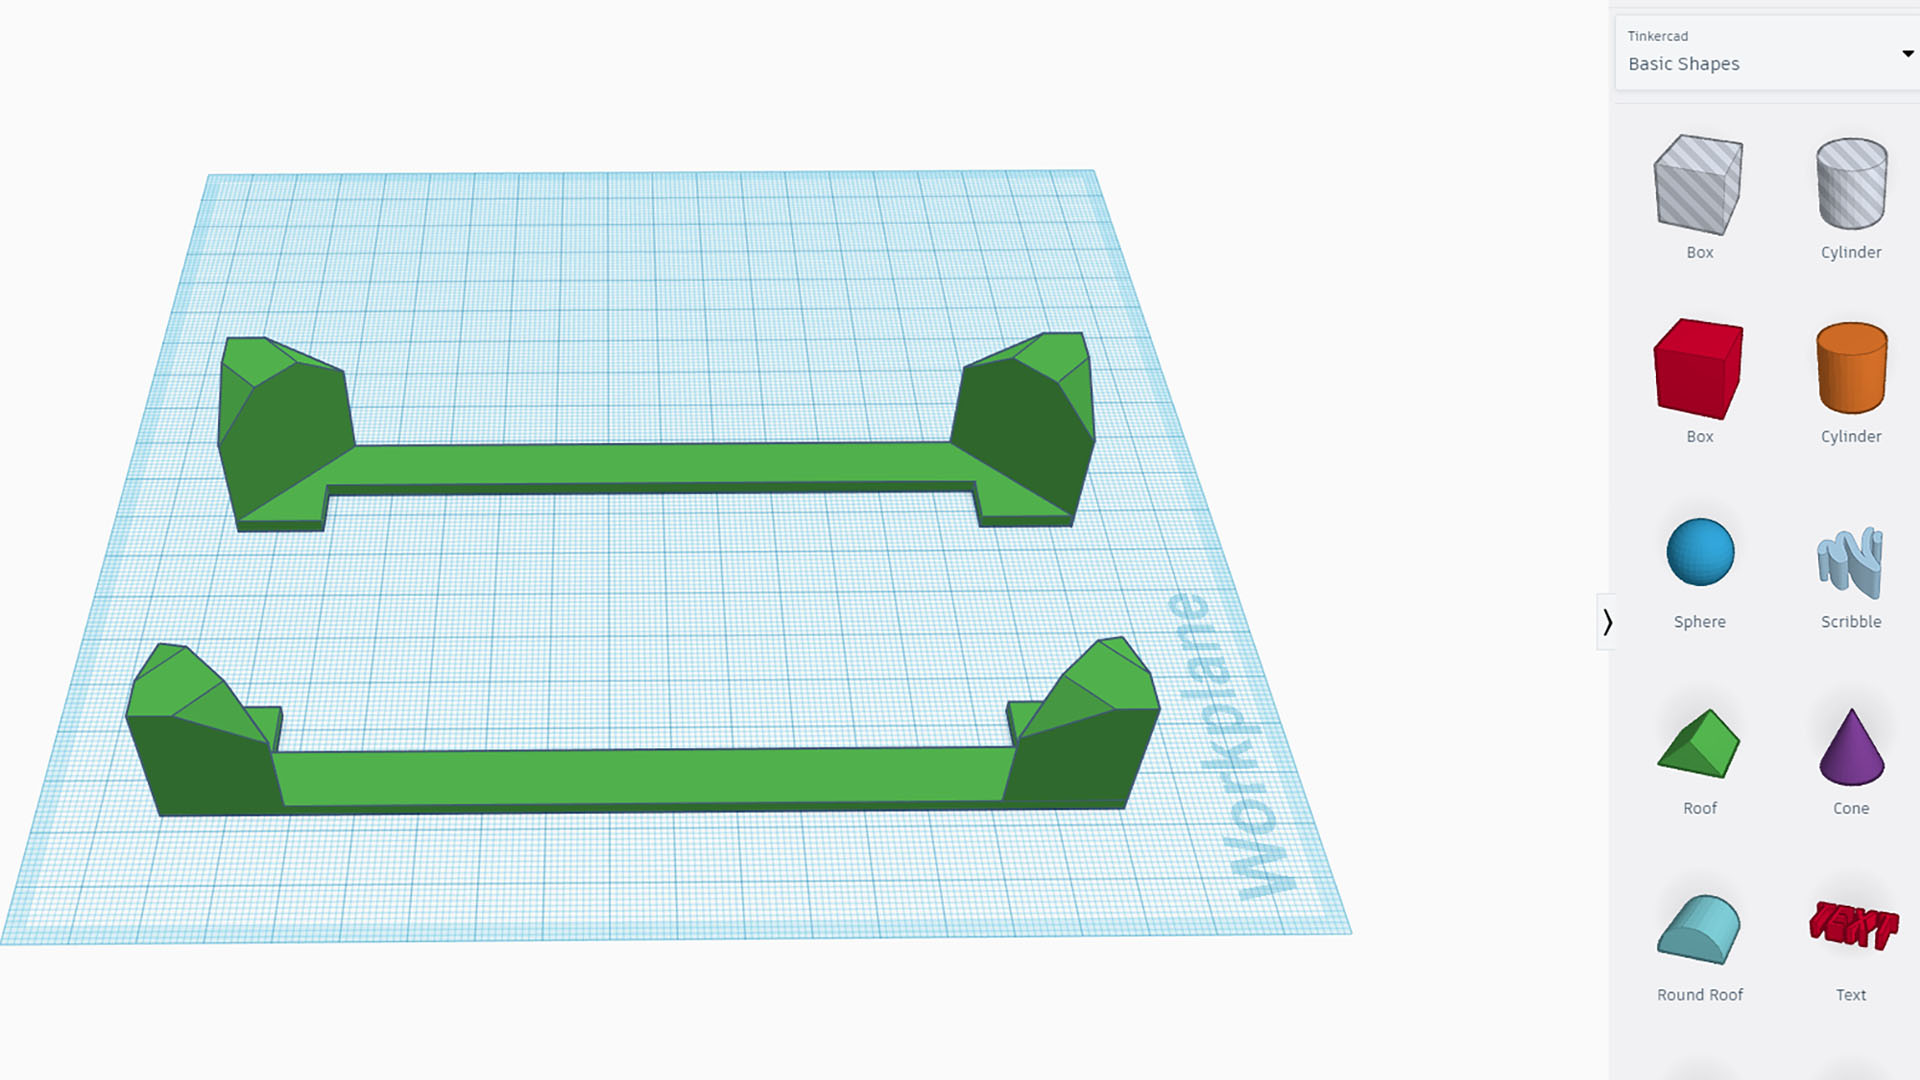
Creating linked feet will provide better support, especially if they’re small. Create your feet using the cube tool, then link them with a long, flat rectangular section using the same tool. Click the Group button at the top of the page to join them into a single object.
16. Align for printing
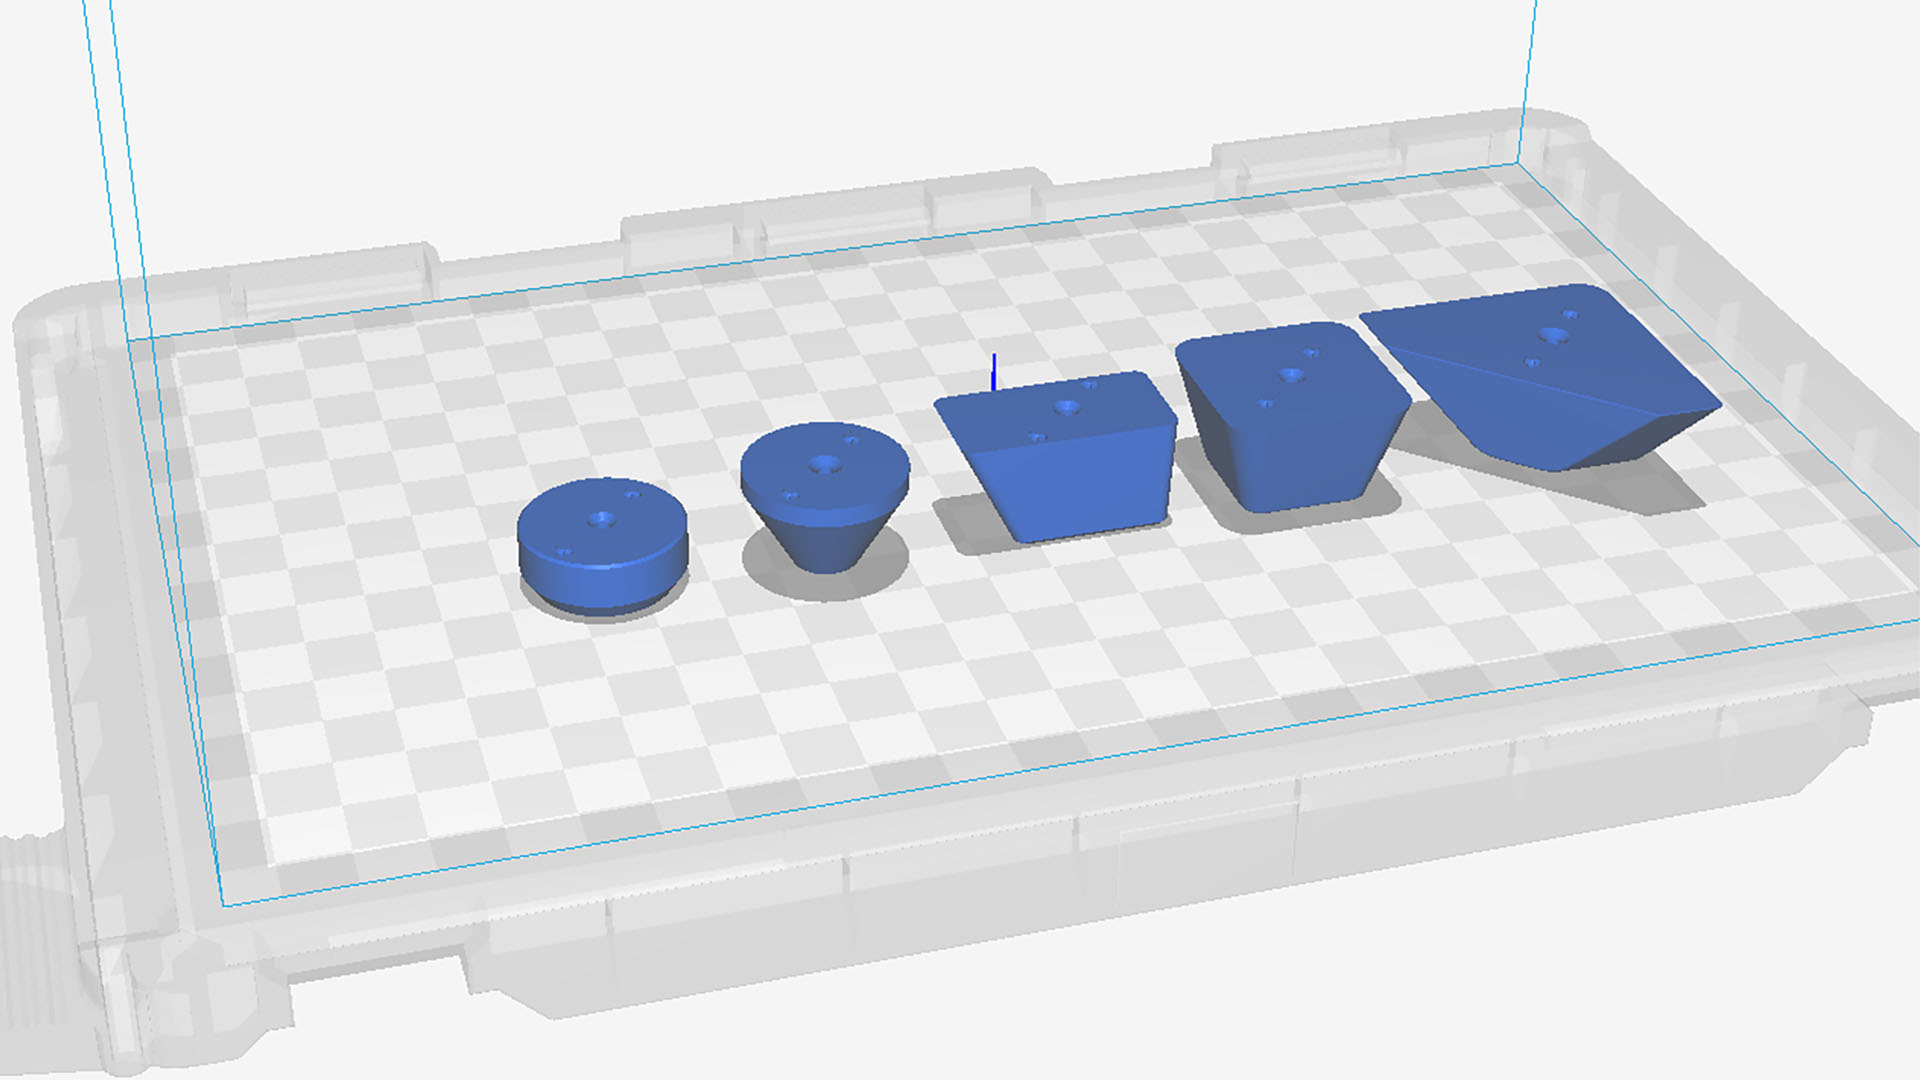
Your feet need to be aligned for problem-free printing, so you need a flat base with no large overhangs. Rotate them until they’re in position, then group them close together to reduce print times. For example, the feet for the Cooler Master NR200P case have small pins on one end, which will need to face upwards.
17. Print your feet
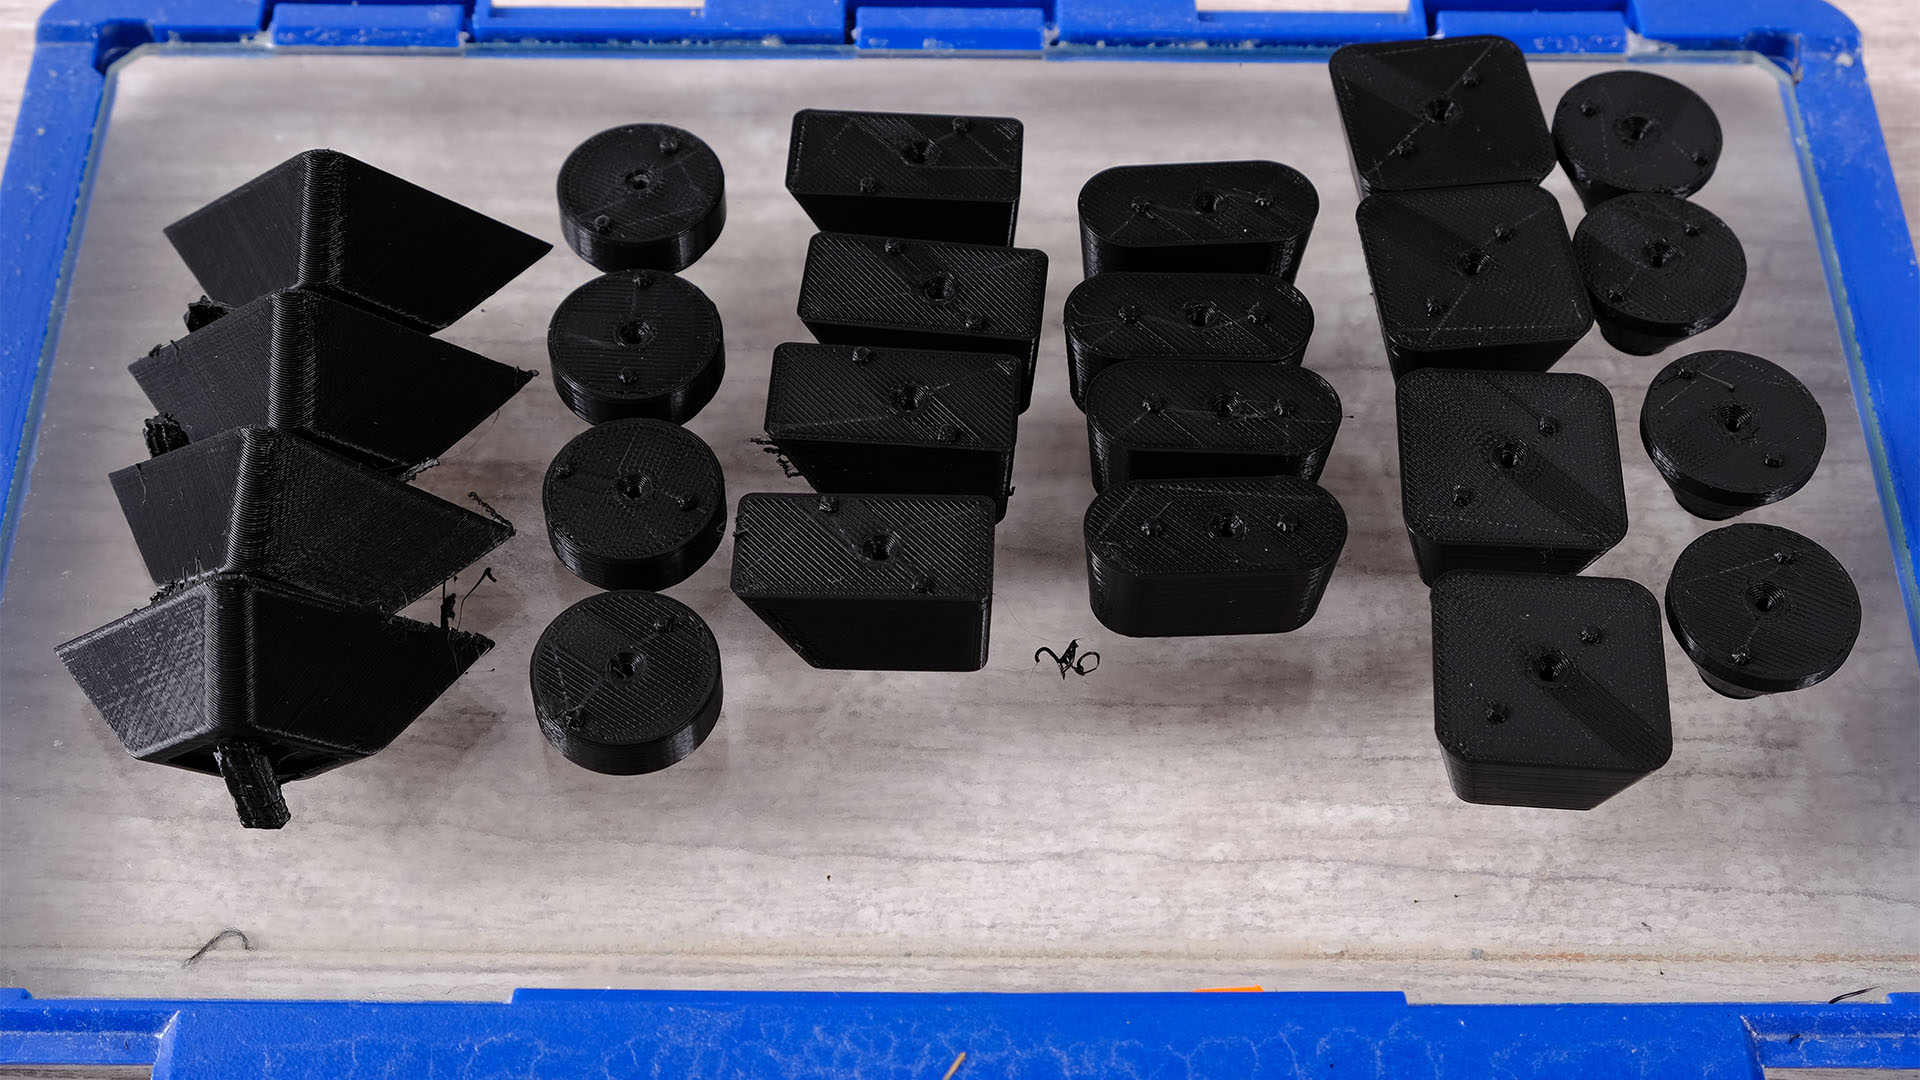
Now go ahead and print your feet using your printer. PETG is a good material, as it’s tough, but PLA also works well. If you don’t have a printer, there are plenty of online services that can do this job for you.
18. Remove supports and stray filament
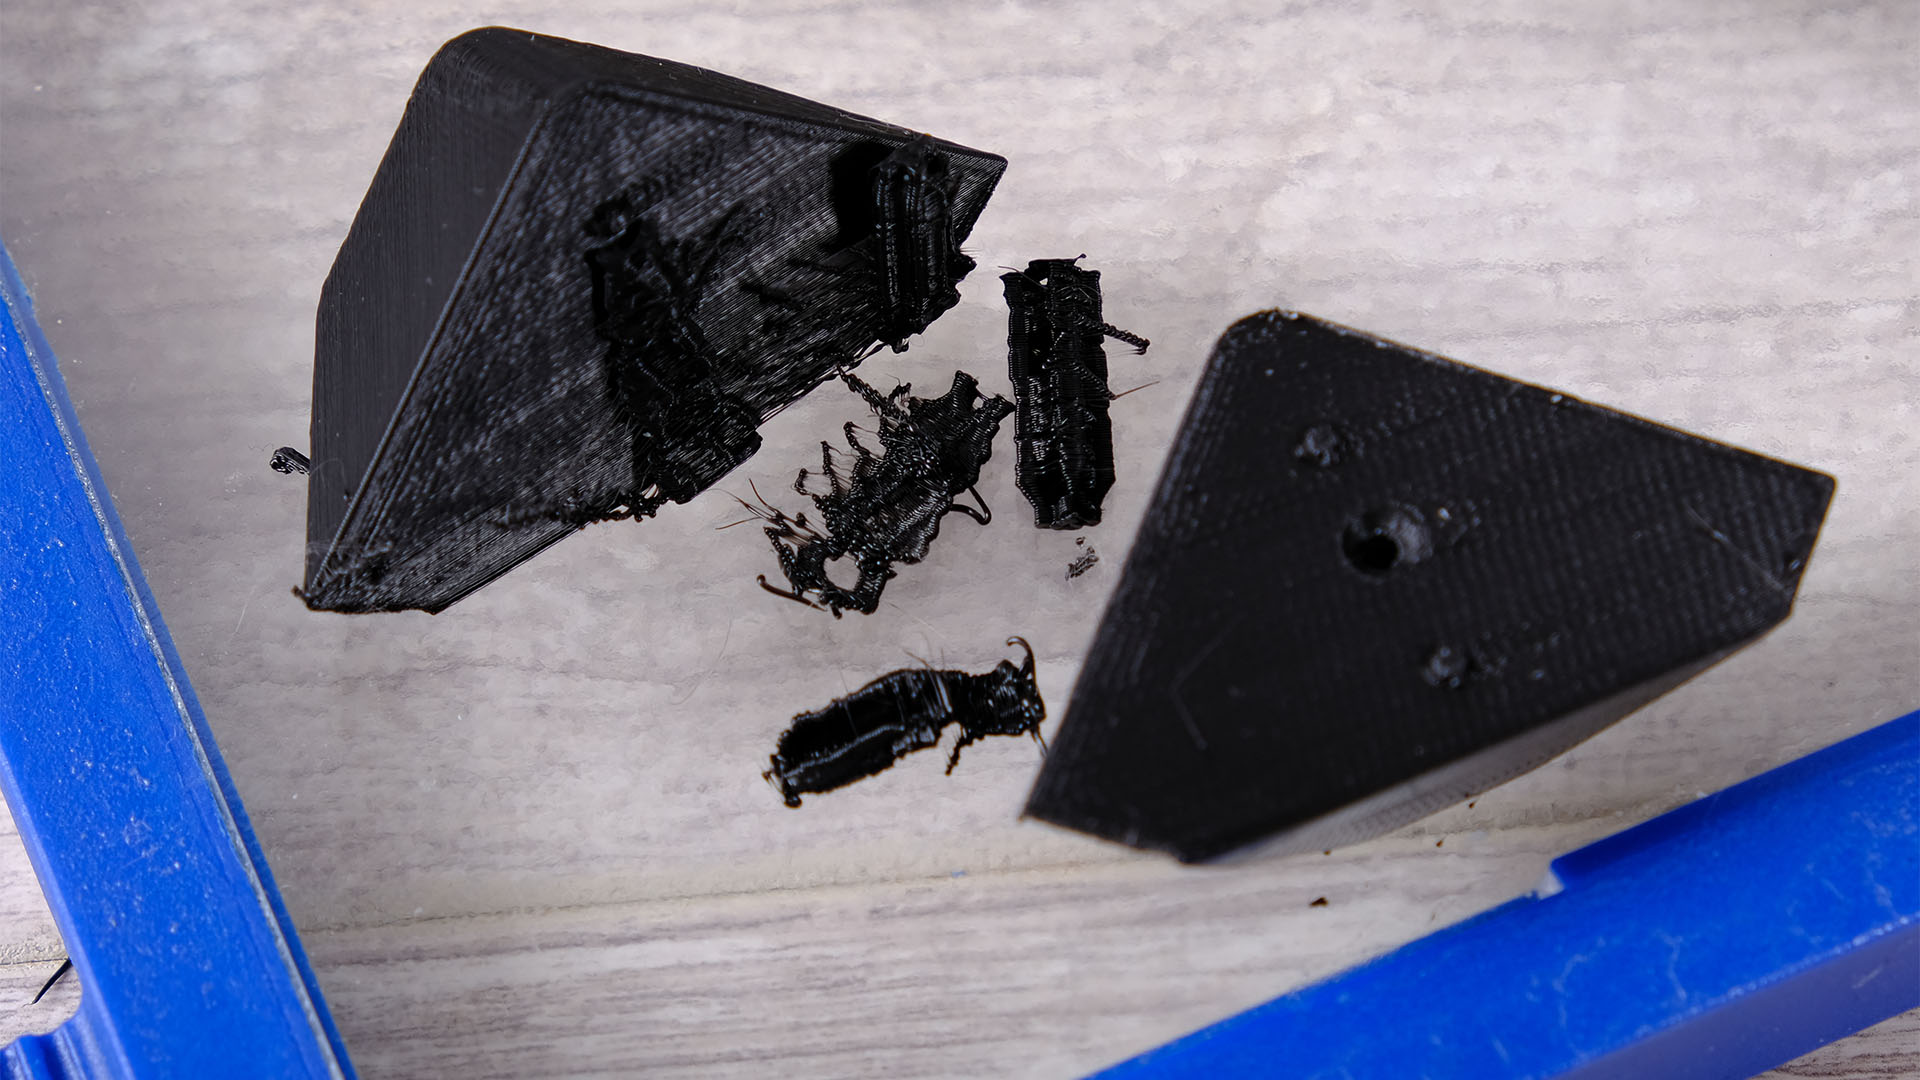
Once the feet are printed, remove any stray filament and supports used to fill in holes and overhangs. You can use a cocktail stick to dig out support material from smaller openings.
19. Test-fit feet
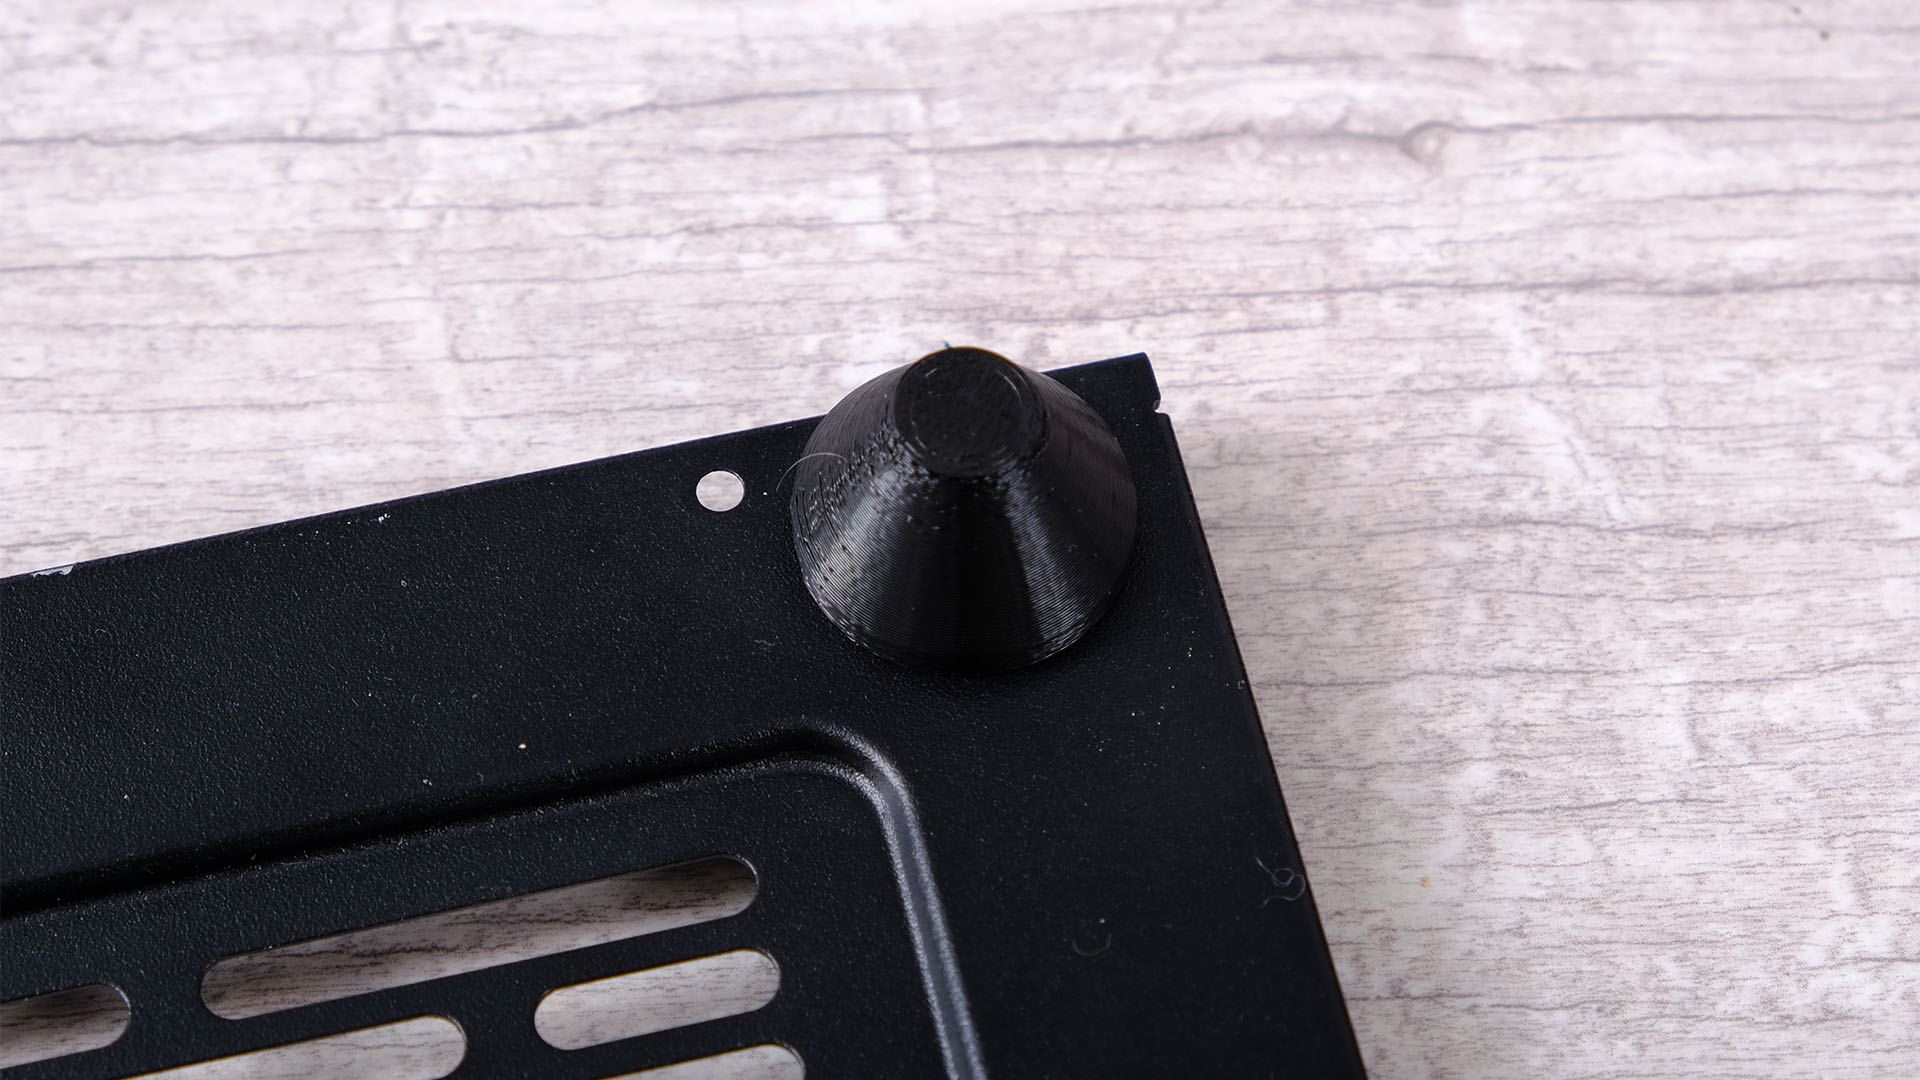
Once your objects are clean, test-fit them on the case. The Cooler Master case feet come with small support pins, so make sure they slot into place correctly if your feet also use support pins.
20. Tap in screw
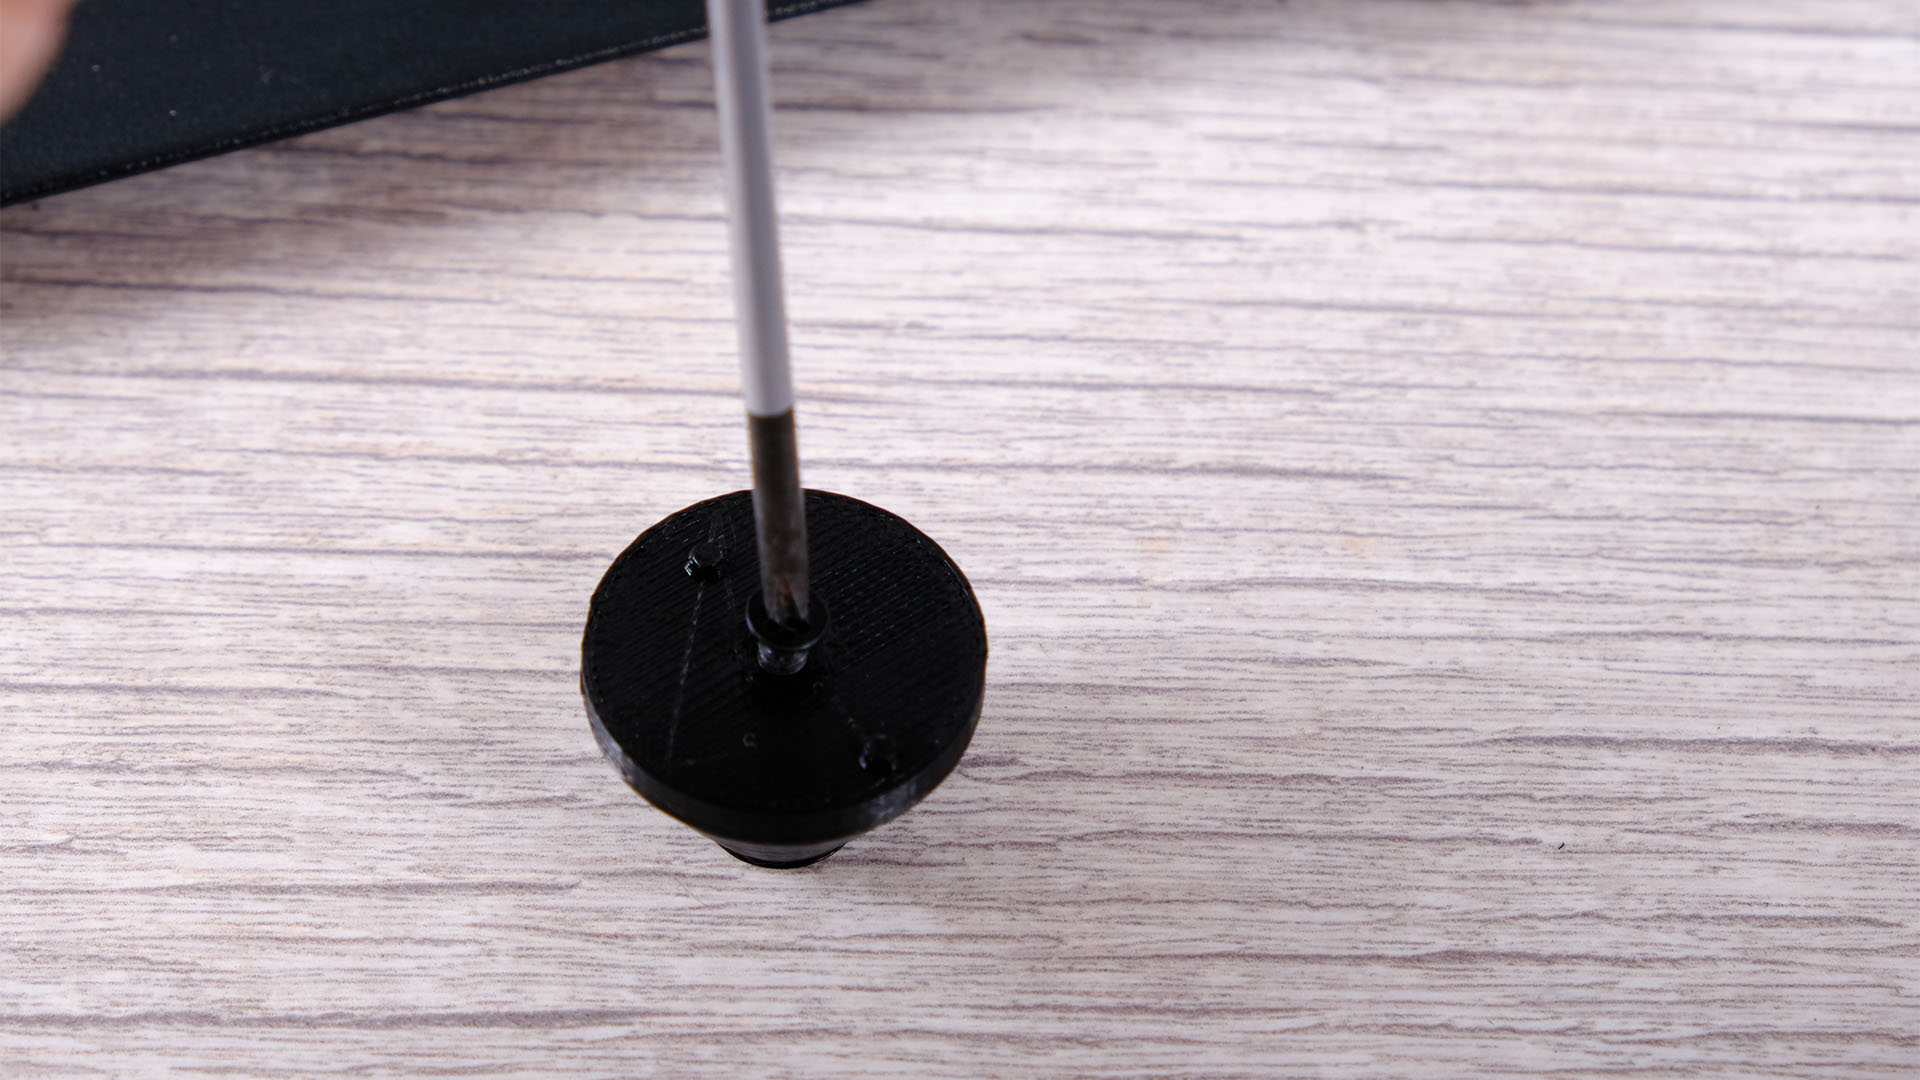
Check the screw holes line up correctly, and then insert a screw with a reasonable amount of force out of the case first. Our Cooler Master example case uses self-tapping screws, which will need to bite into the plastic, and we recommend using these screws for your feet too.
21. Align feet correctly
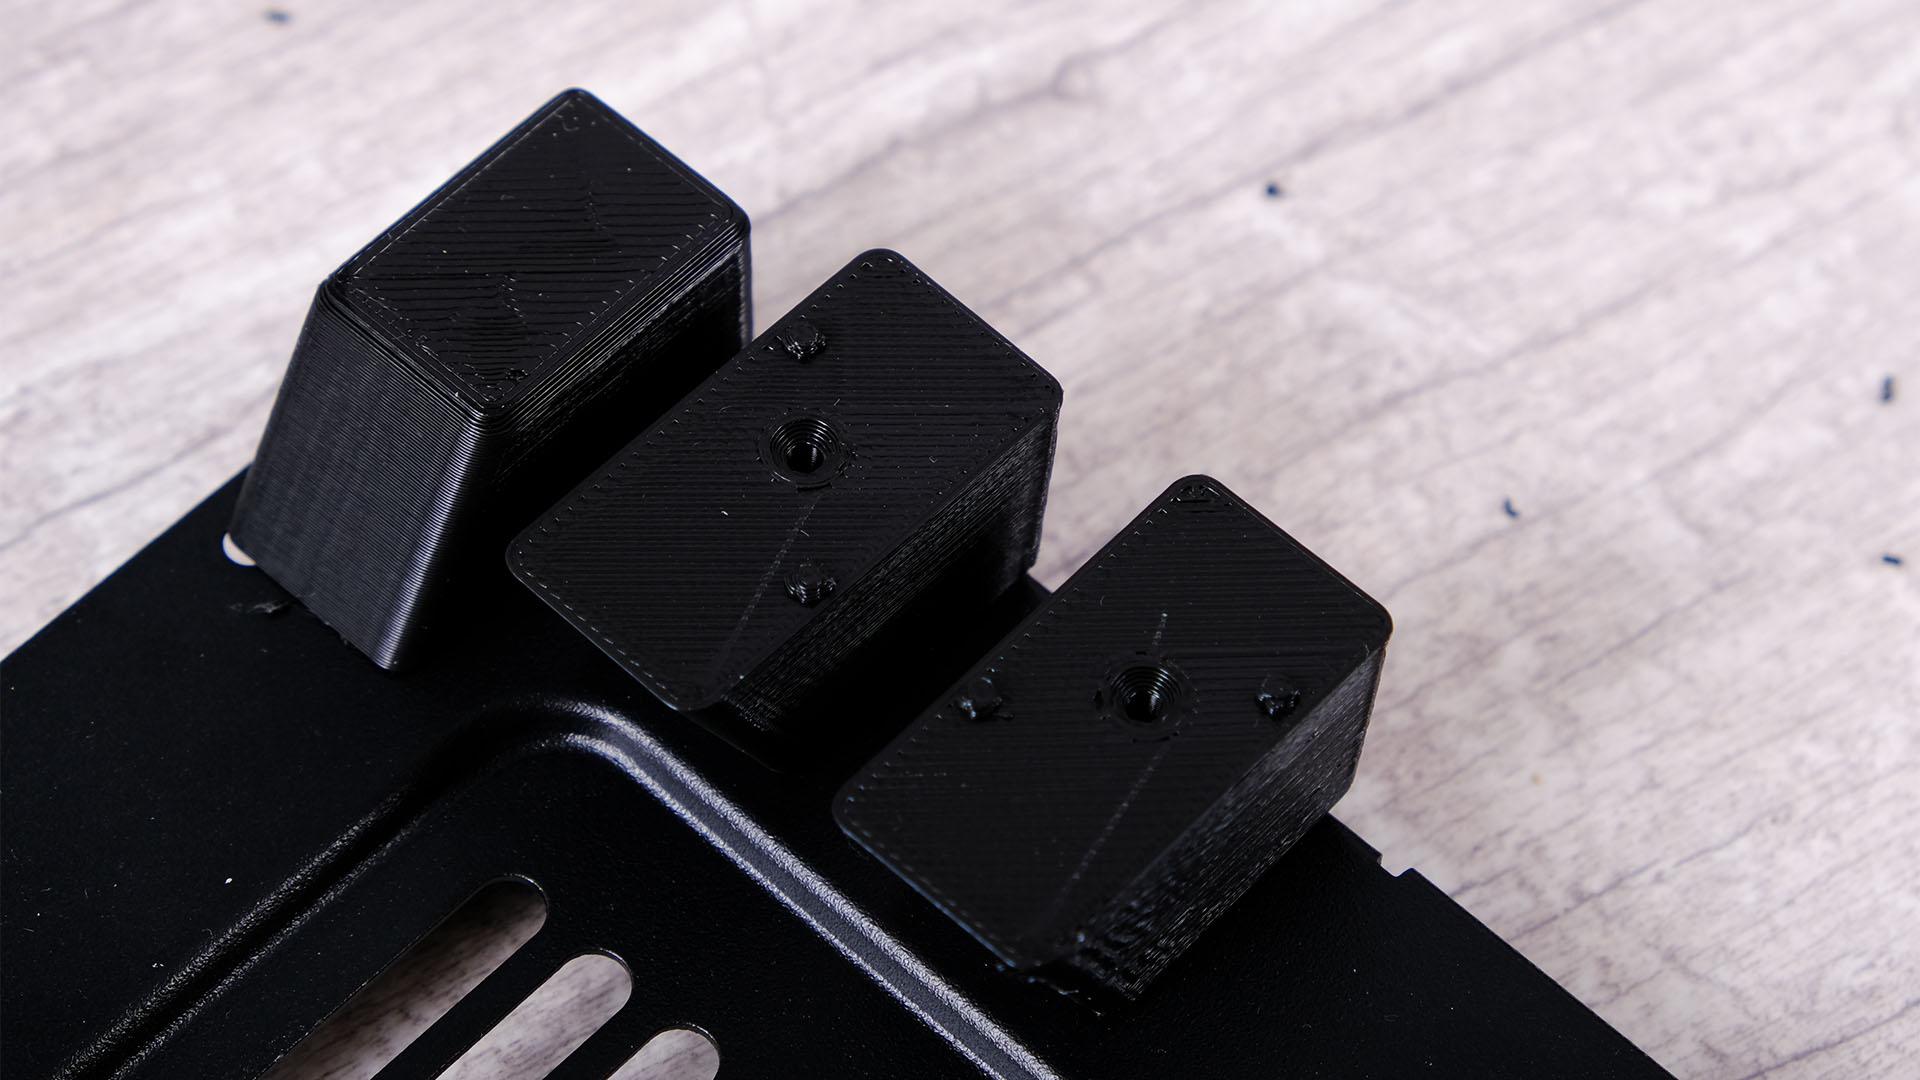
Some feet are aligned to the right or left side of the case, so identify the right location first before mounting them. The pins on top can only be aligned one way, so use them as guides.
22. Screw in place
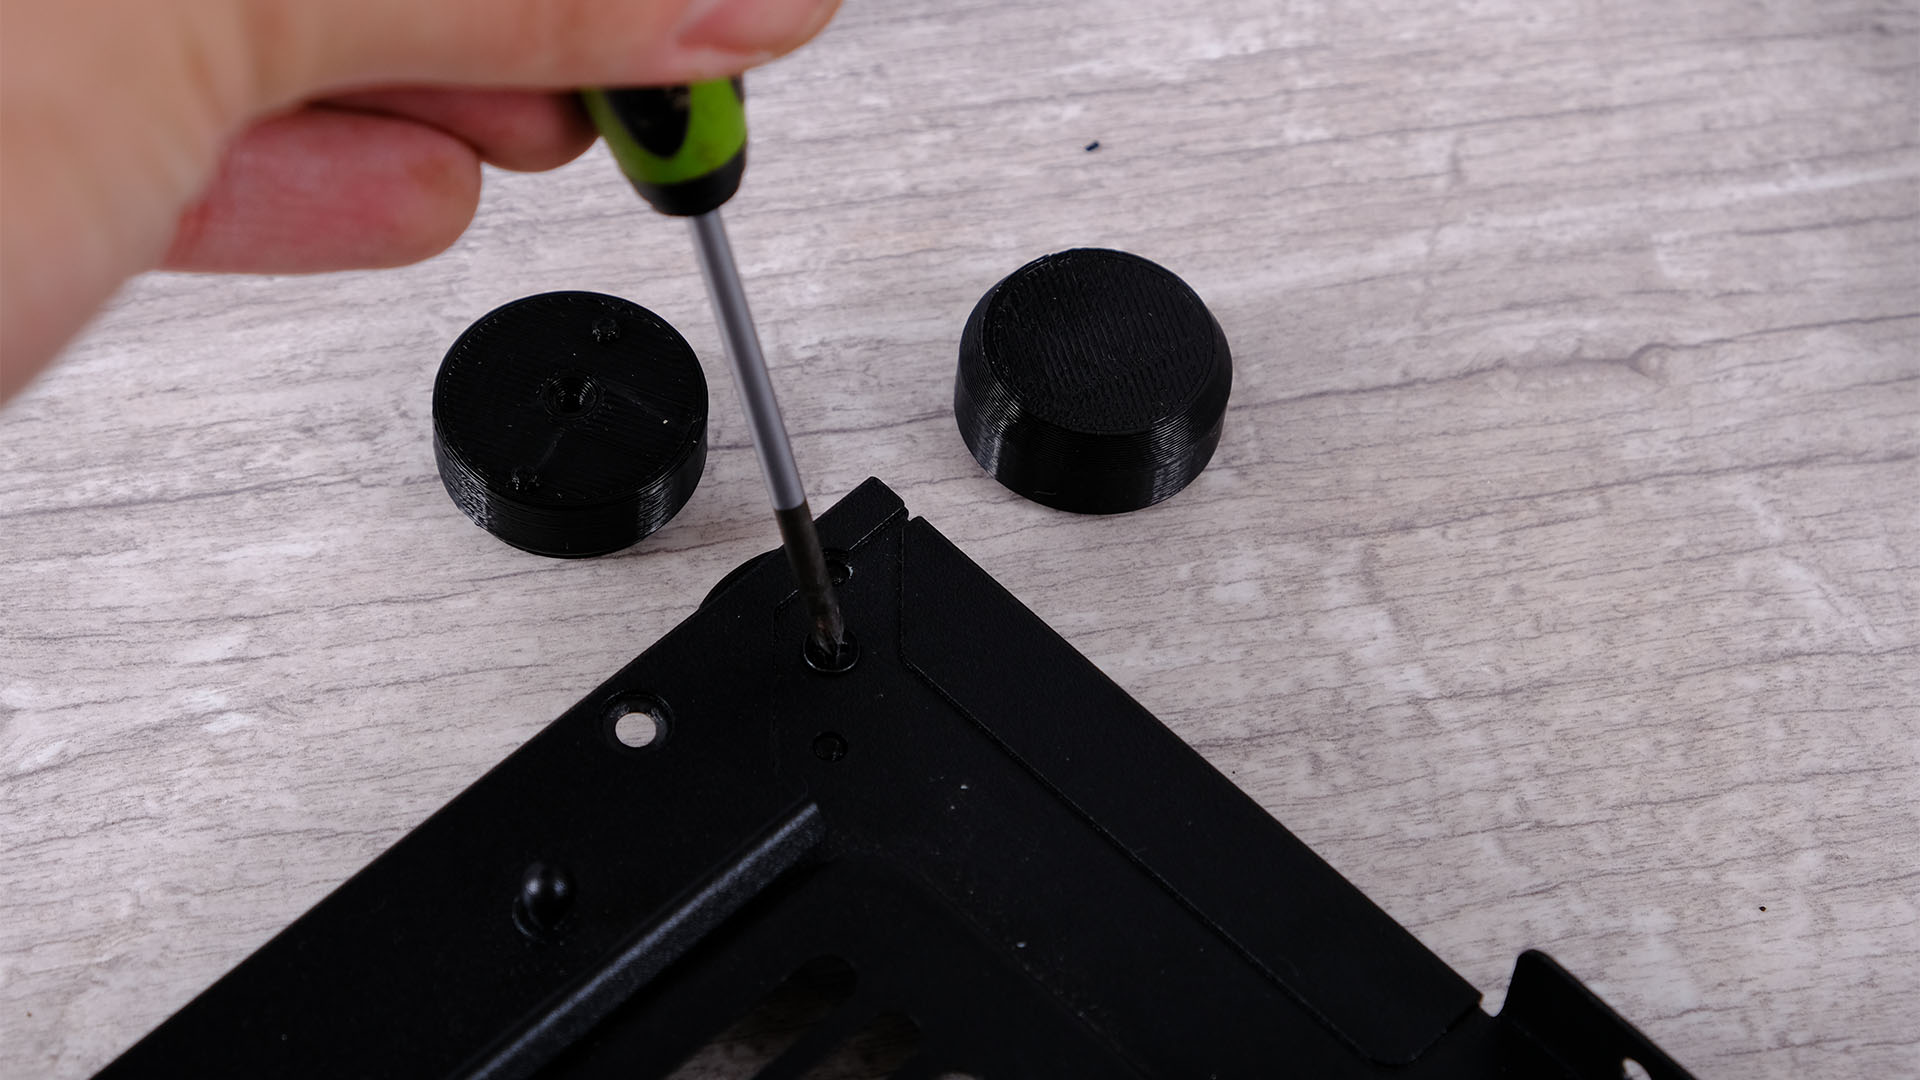
With the thread hole-tapped using the screw, go ahead and insert the foot into the case, then insert the screw firmly to secure it.
23. Test-fit linked feet
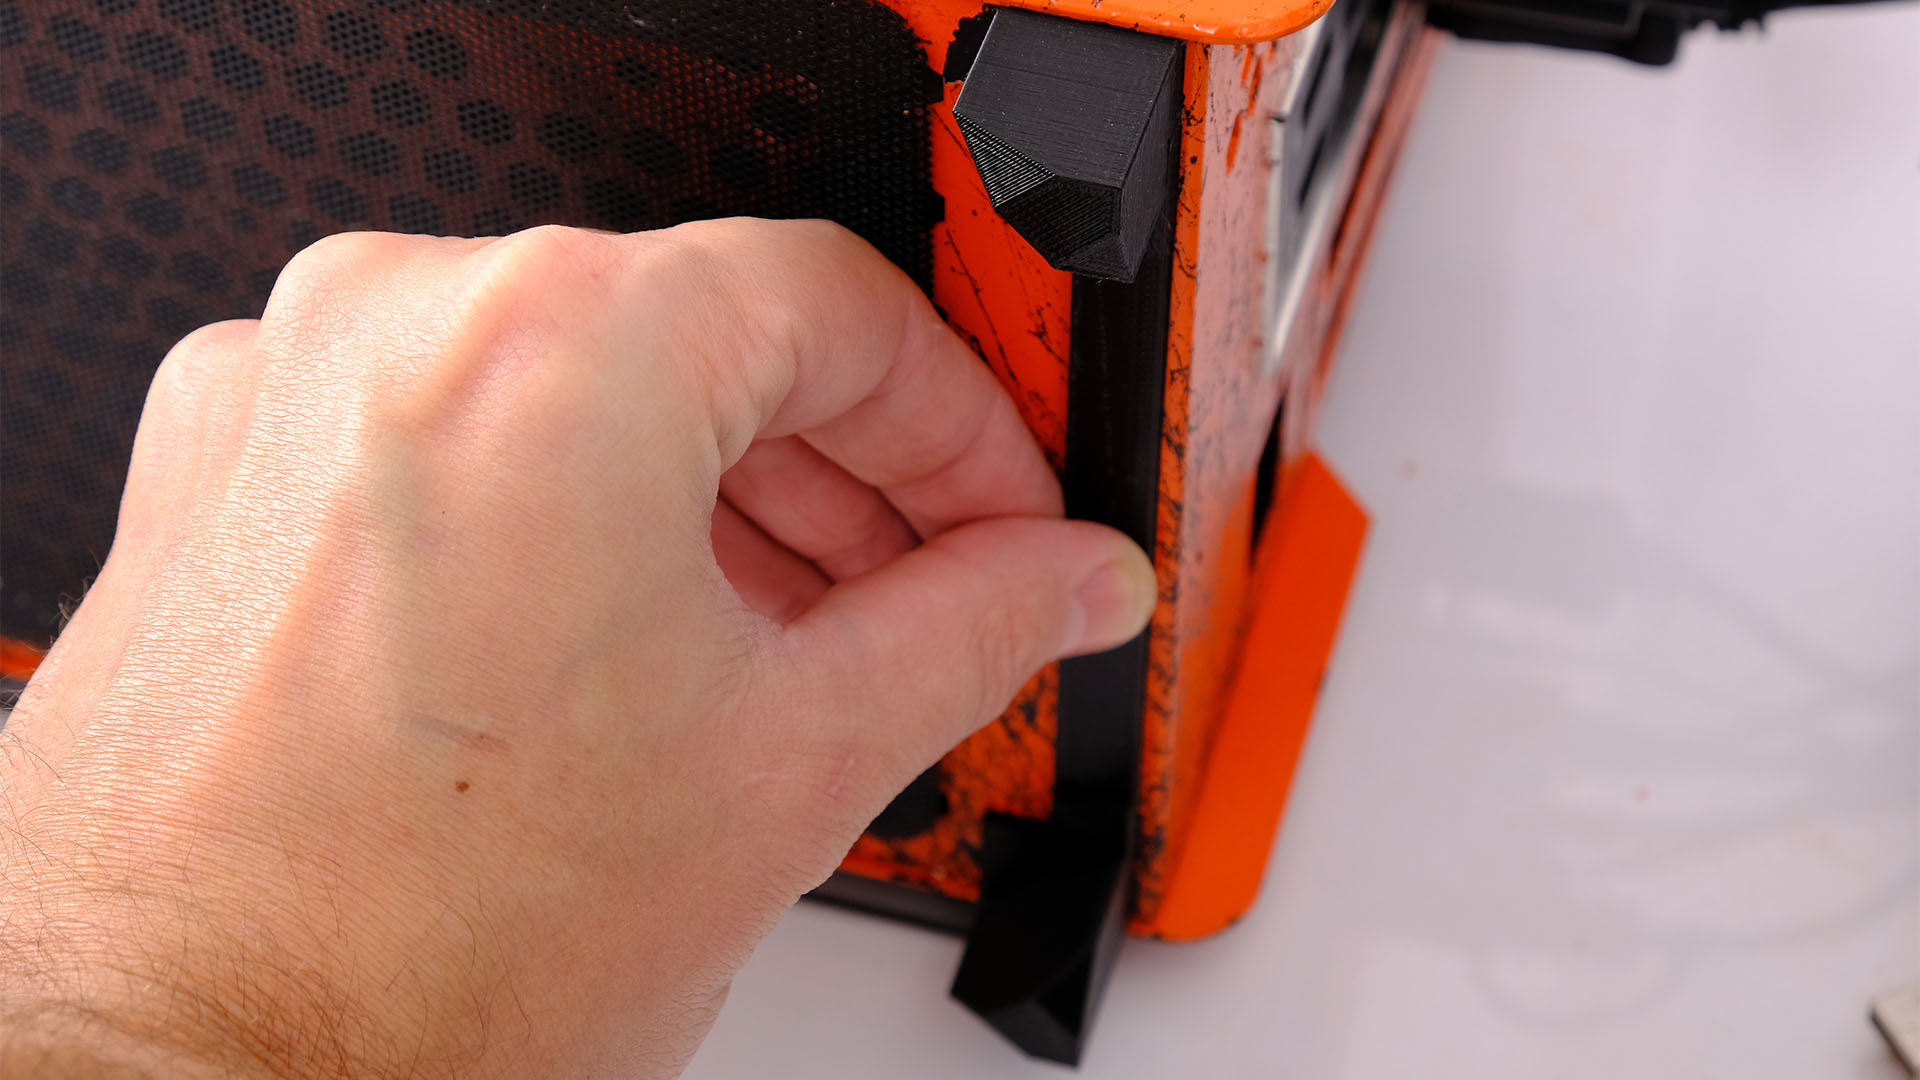
If you’ve chosen to create linked feet without screws, test-fit them on the base of the case before you reach for the mounting tape. Make sure the surface is even and that no protrusions will prevent the adhesive from doing its job.
24. Apply mounting tape
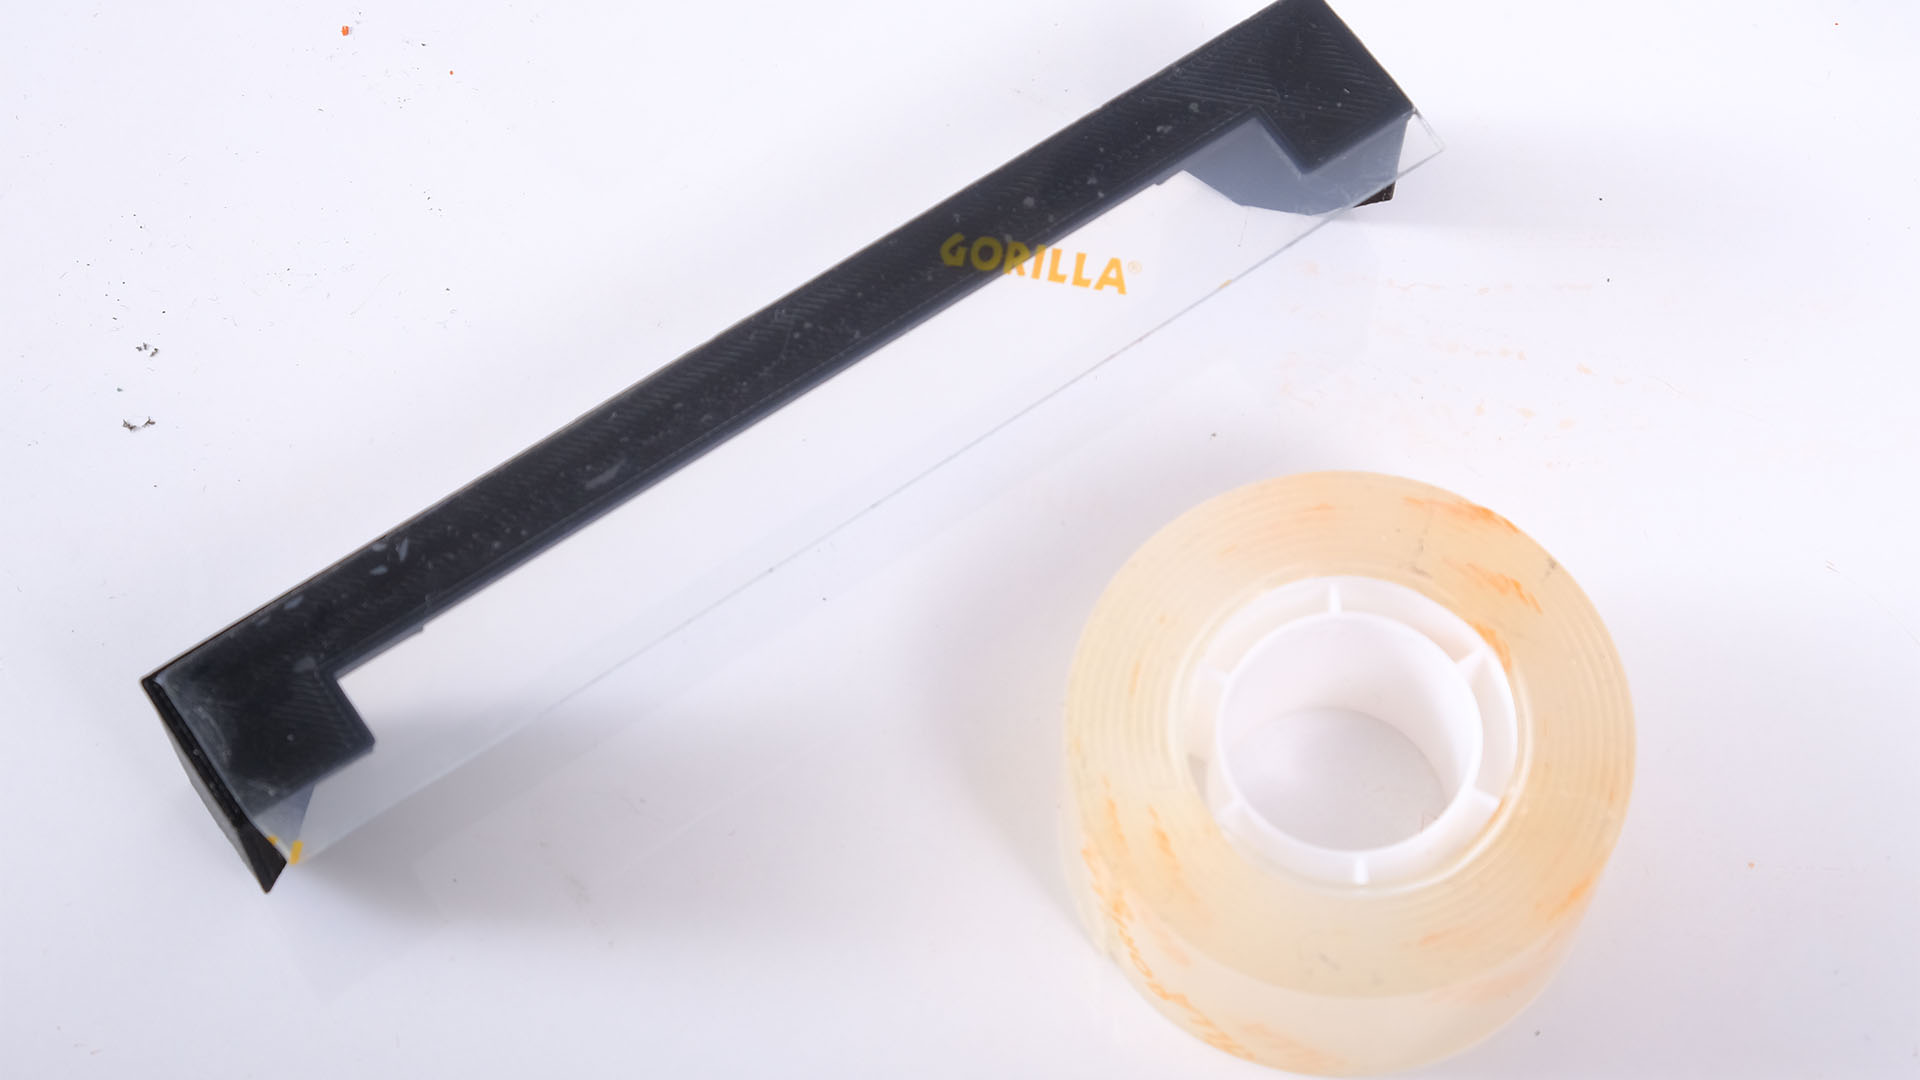
We’ve used Gorilla mounting tape to secure the feet in our example. Place strips covering the entire top side of the feet and then trim them to size. Avoid removing or touching the tape, as this can affect its adhesion.
25. Press onto case
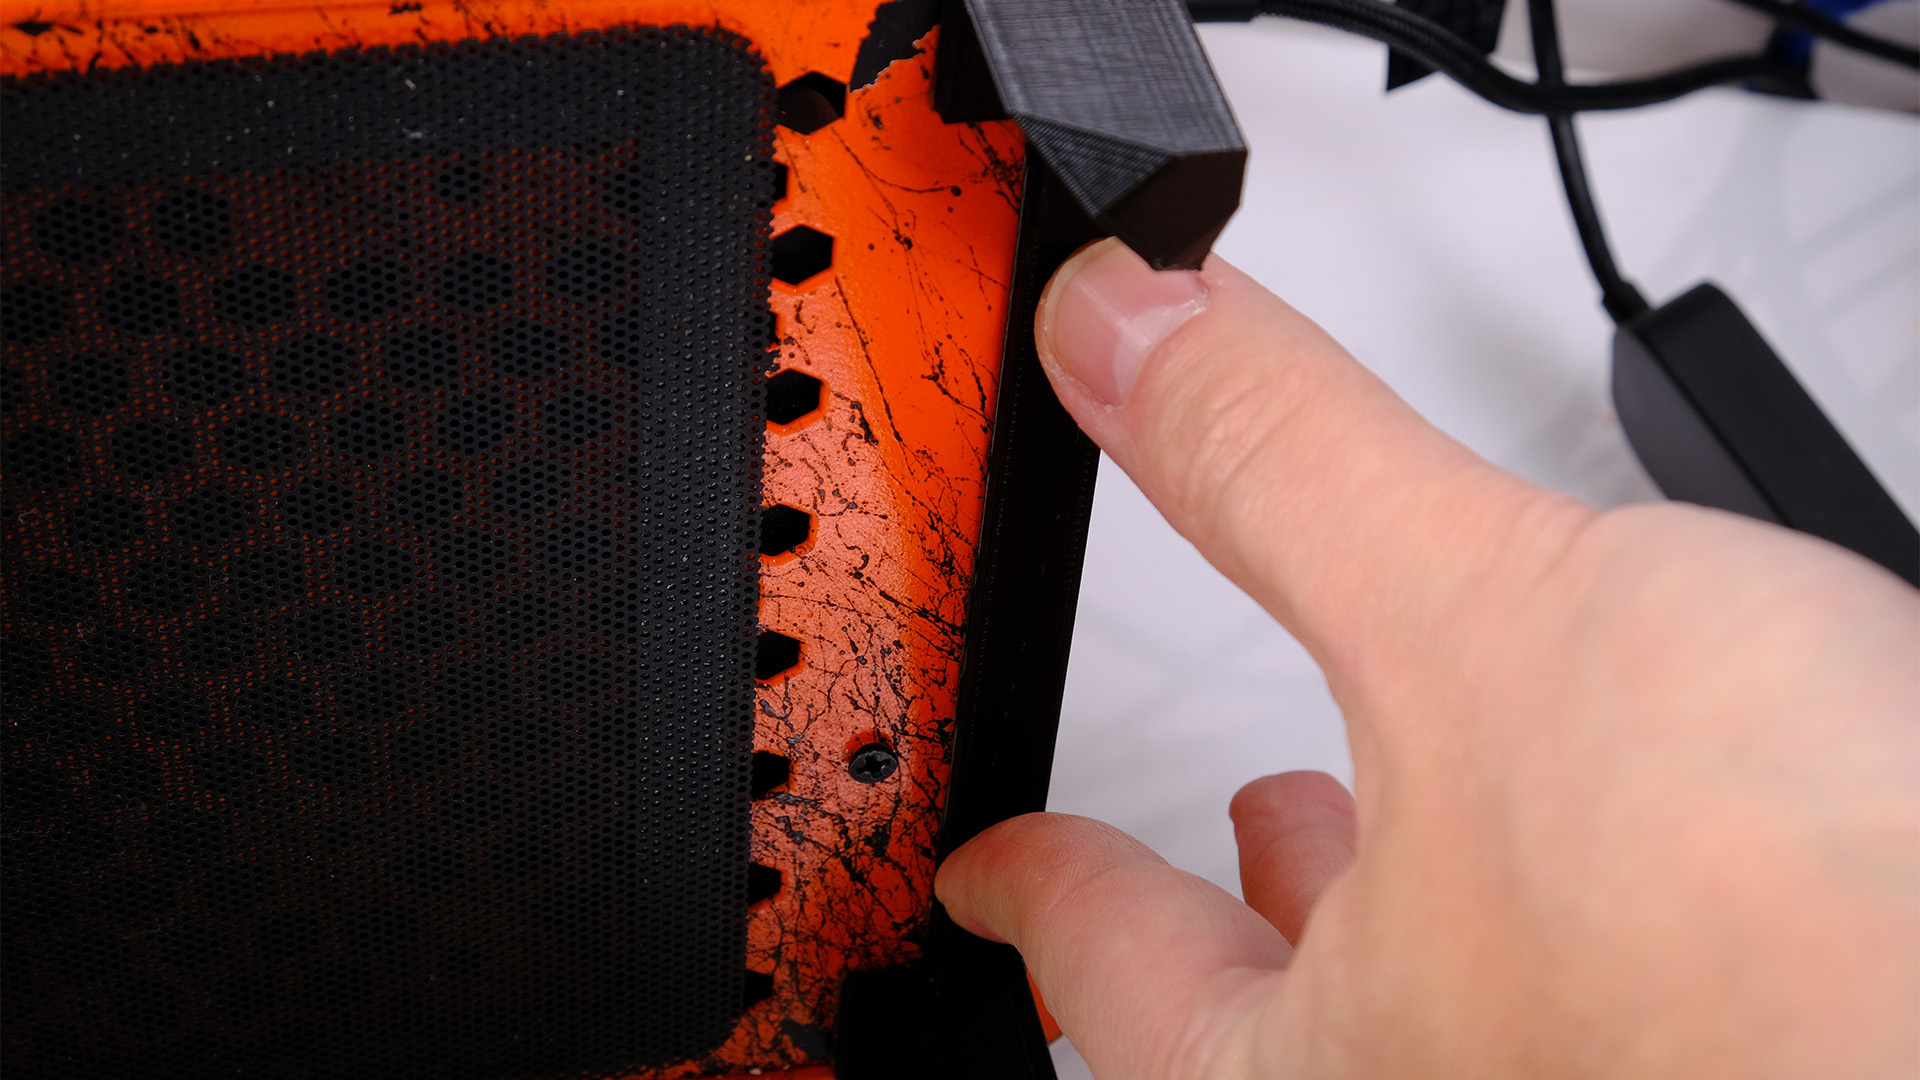
Press the feet firmly into place with reasonable pressure, making sure to apply force along the entire length. The whole section should feel firm, and not wobble back and forth.
26. Cut rubber pad to size
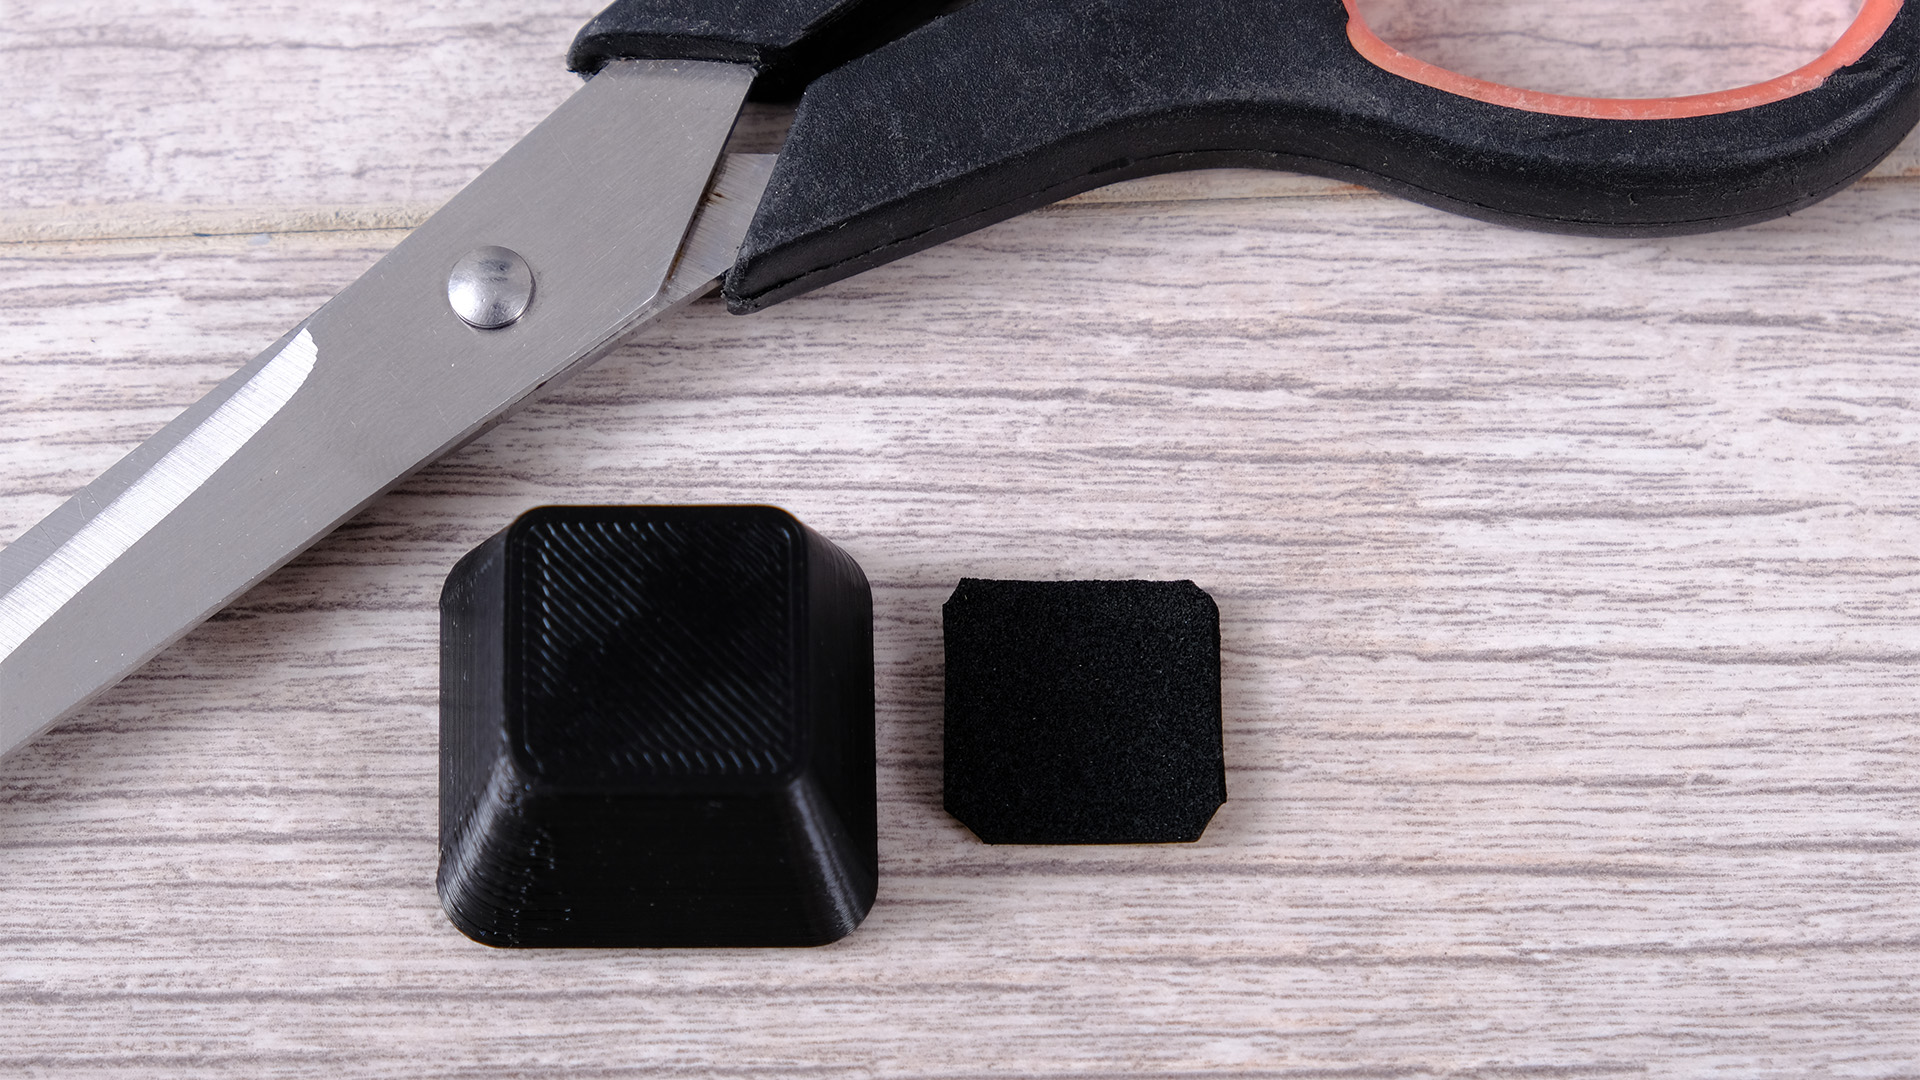
Finally, whatever feet you decided to print, cut the rubber pads to size, so they fit on the ends of the feet. We’ve used 3mm self-adhesive neoprene for ours. Remove the backing and then press firmly to stick the pads in place.
27. Test case feet
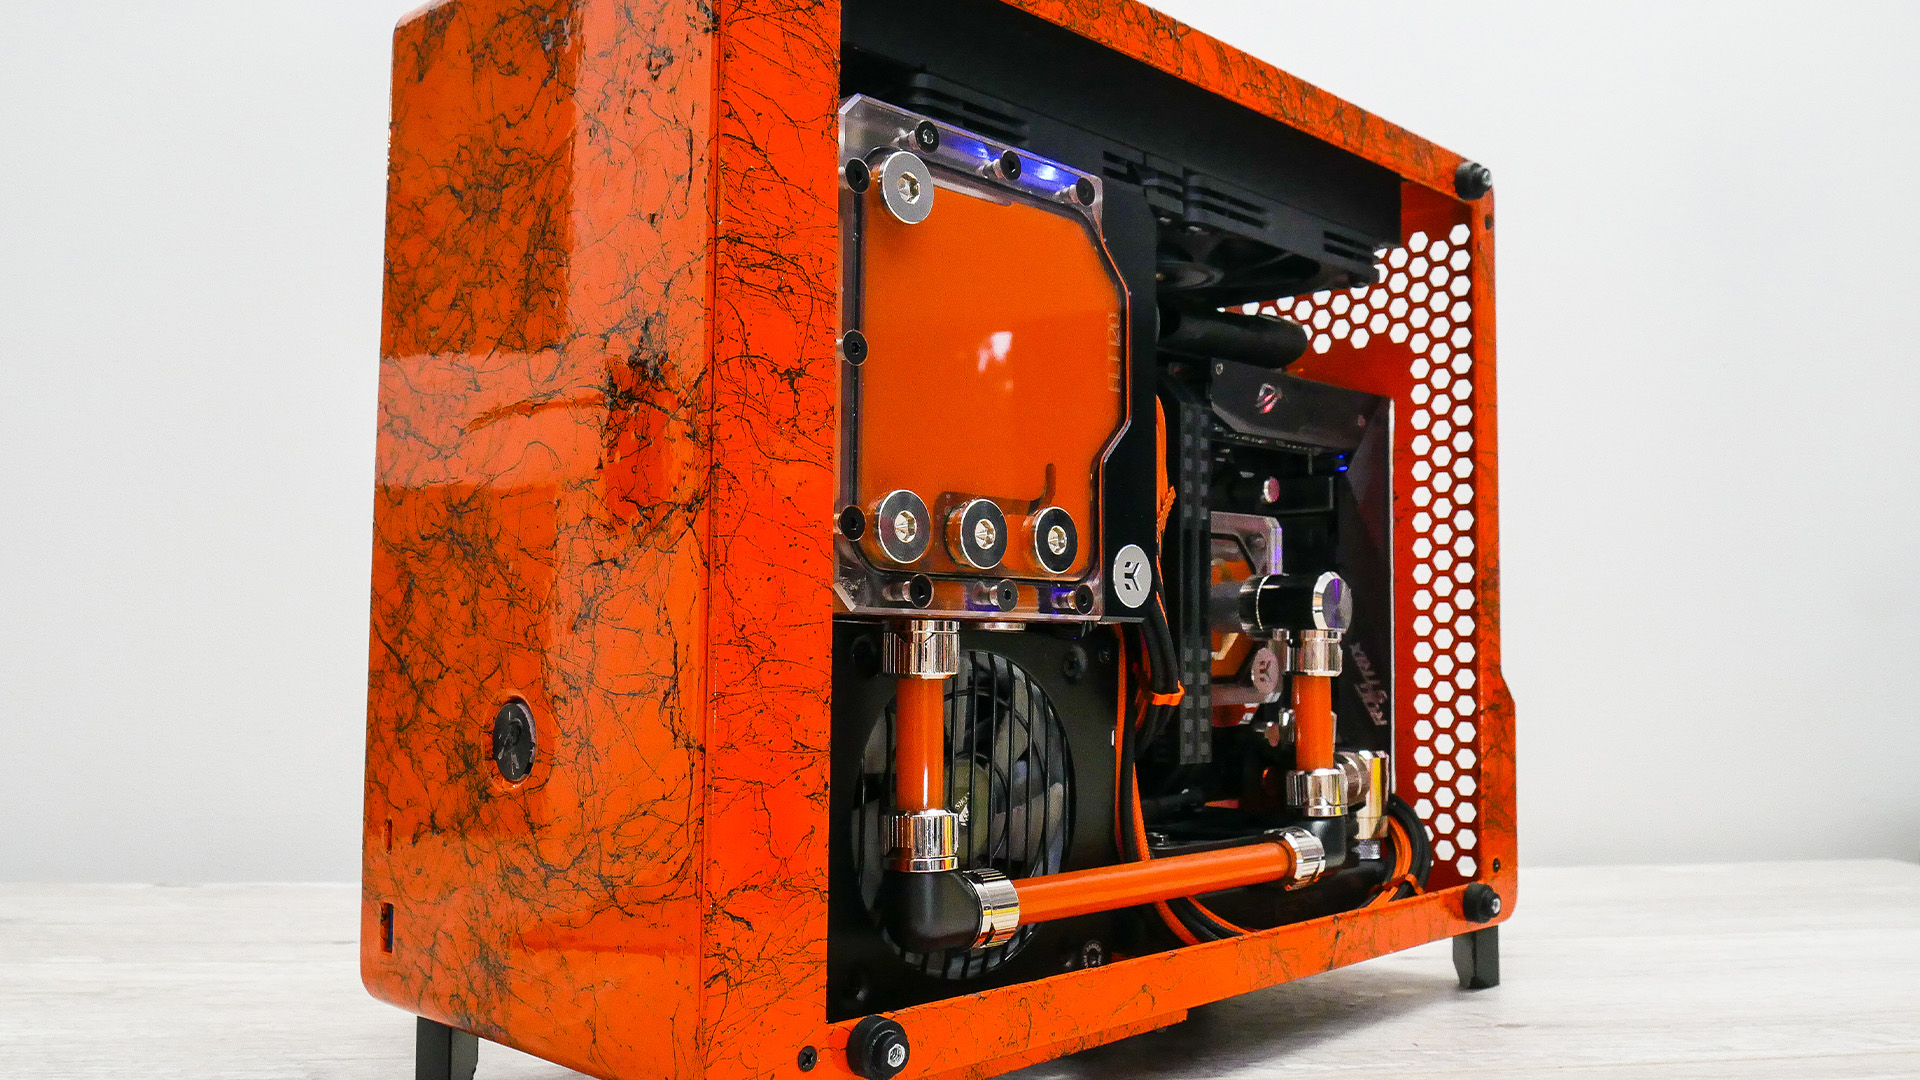
Even small cases can weigh a considerable amount once packed full with hardware, so it’s important to test the feet to make sure they’re up to the job. Place an object such as a book under the PC so it won’t have far to fall if the feet fail.
That’s the end of our guide to making your own case feet – you now just need to enjoy the extra airflow in your case, or its smarter appearance. For more 3D printing ideas, check out our guide on how to 3D print a PC case, as well as our tutorial on how to 3D print a reservoir mount. If you’re looking to build a new PC, make sure you also read through our full guide on how to build a gaming PC, where we take you through every step of the process.
