In this guide, we’ll take you through the magic of PC cable management. If you’ve ever looked at a professionally built gaming PC and wondered where all the cables are hiding, then this cable routing guide is for you. Cable tidying is a polarizing task among PC builders, with some people relishing spending a weekend ensuring their PC is as tidy as possible. Some even go as far as creating custom cables for their power supplies that fit perfectly in their case.
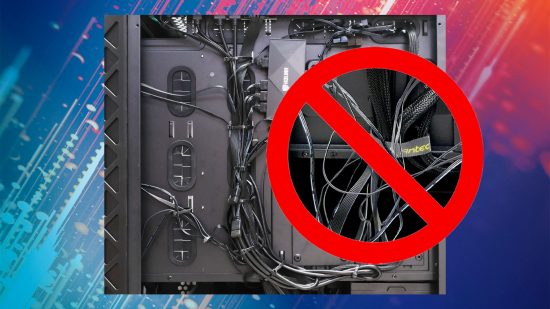
It’s easy to just plug in all your components and leave the cables trailing anywhere, but poorly tidied cables can kill airflow by getting in the way, and a mass of wiry spaghetti can also hinder upgrade access and troubleshooting, plus it looks terrible. Thankfully, the best PC case designs from the likes of Fractal Design and Corsair make it relatively easy to do a decent job of cable tidying, but it’s still easy to mess it up if you don’t know what you’re doing.
1. Only use necessary PSU cables
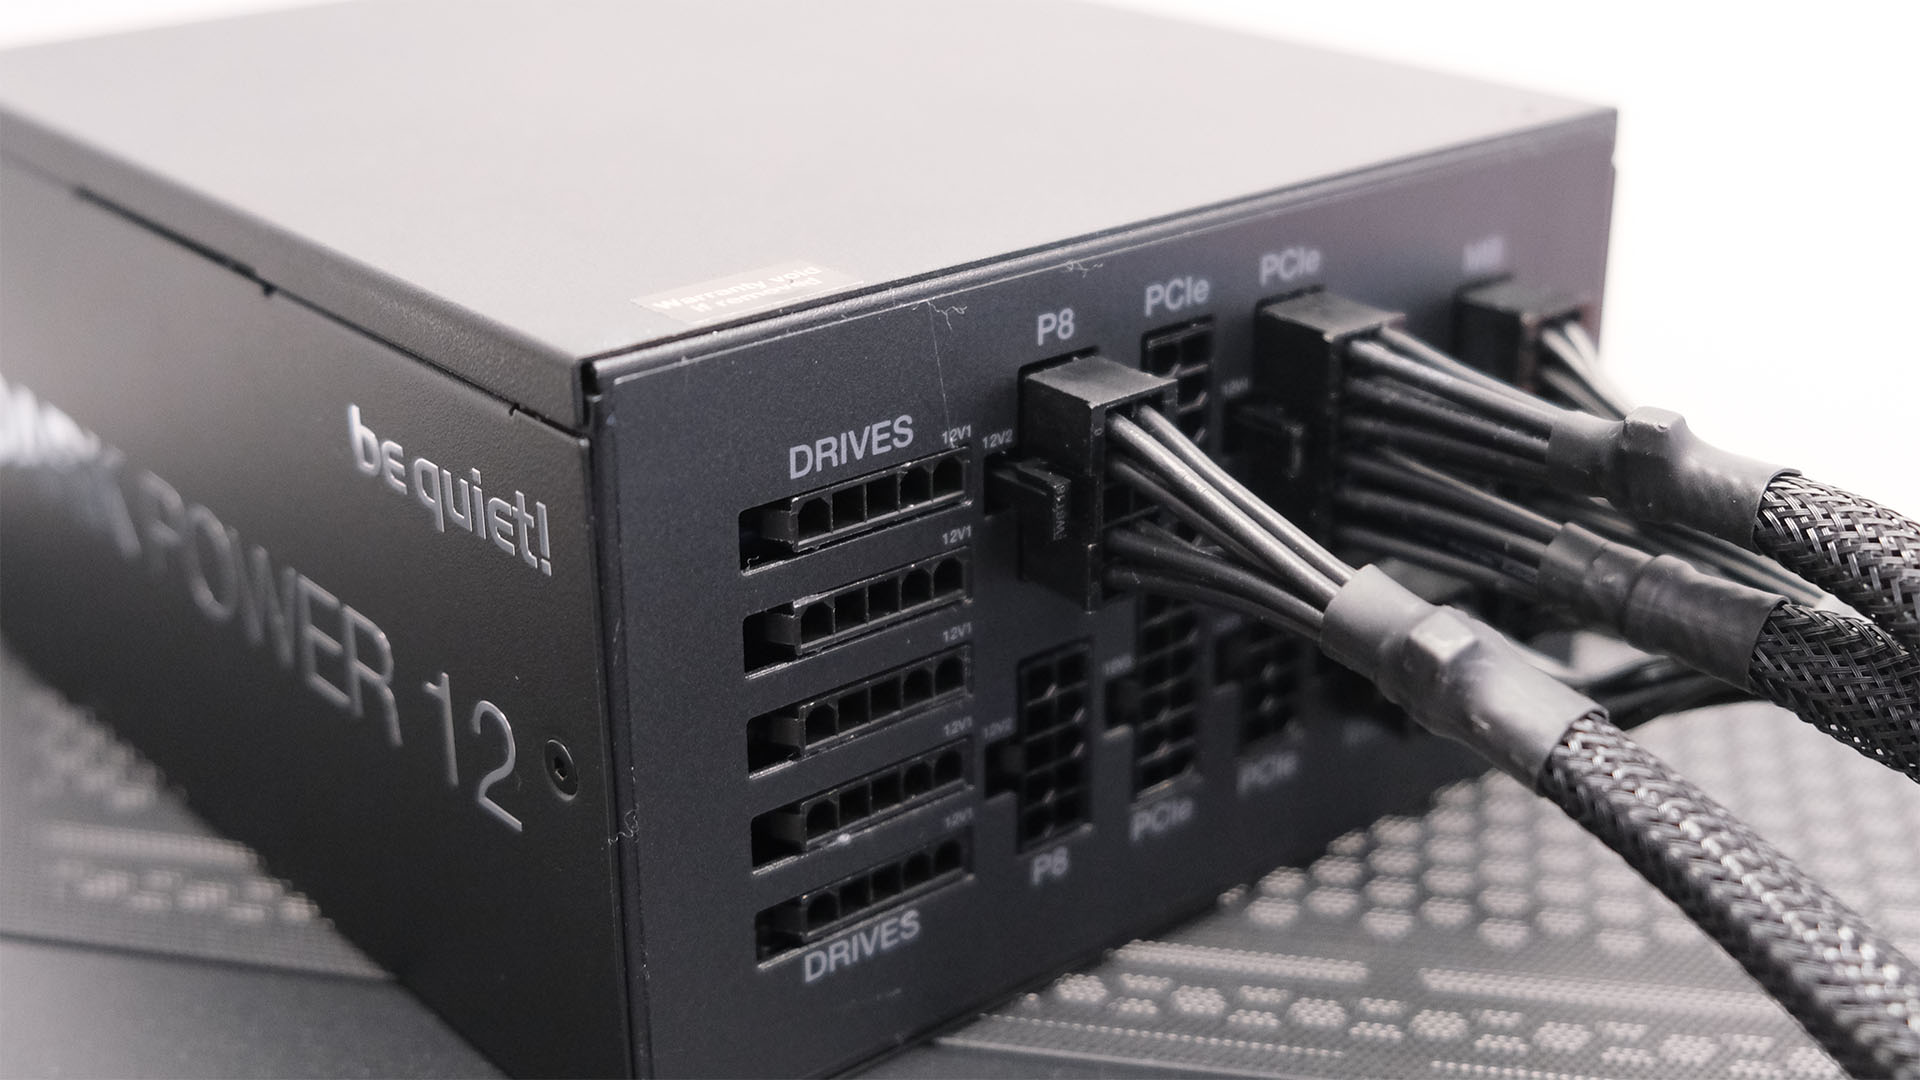
If you have a modular PSU, only use the cables you need. However, if you think future additions to your PC warrant using extra cables, such as SATA and Molex cables, or an extra graphics card PCIe cable, it’s worth attaching those cables now rather than doing it once you’ve installed your PSU, especially if you can easily tuck them away out of sight.
2. Start with main PC cables
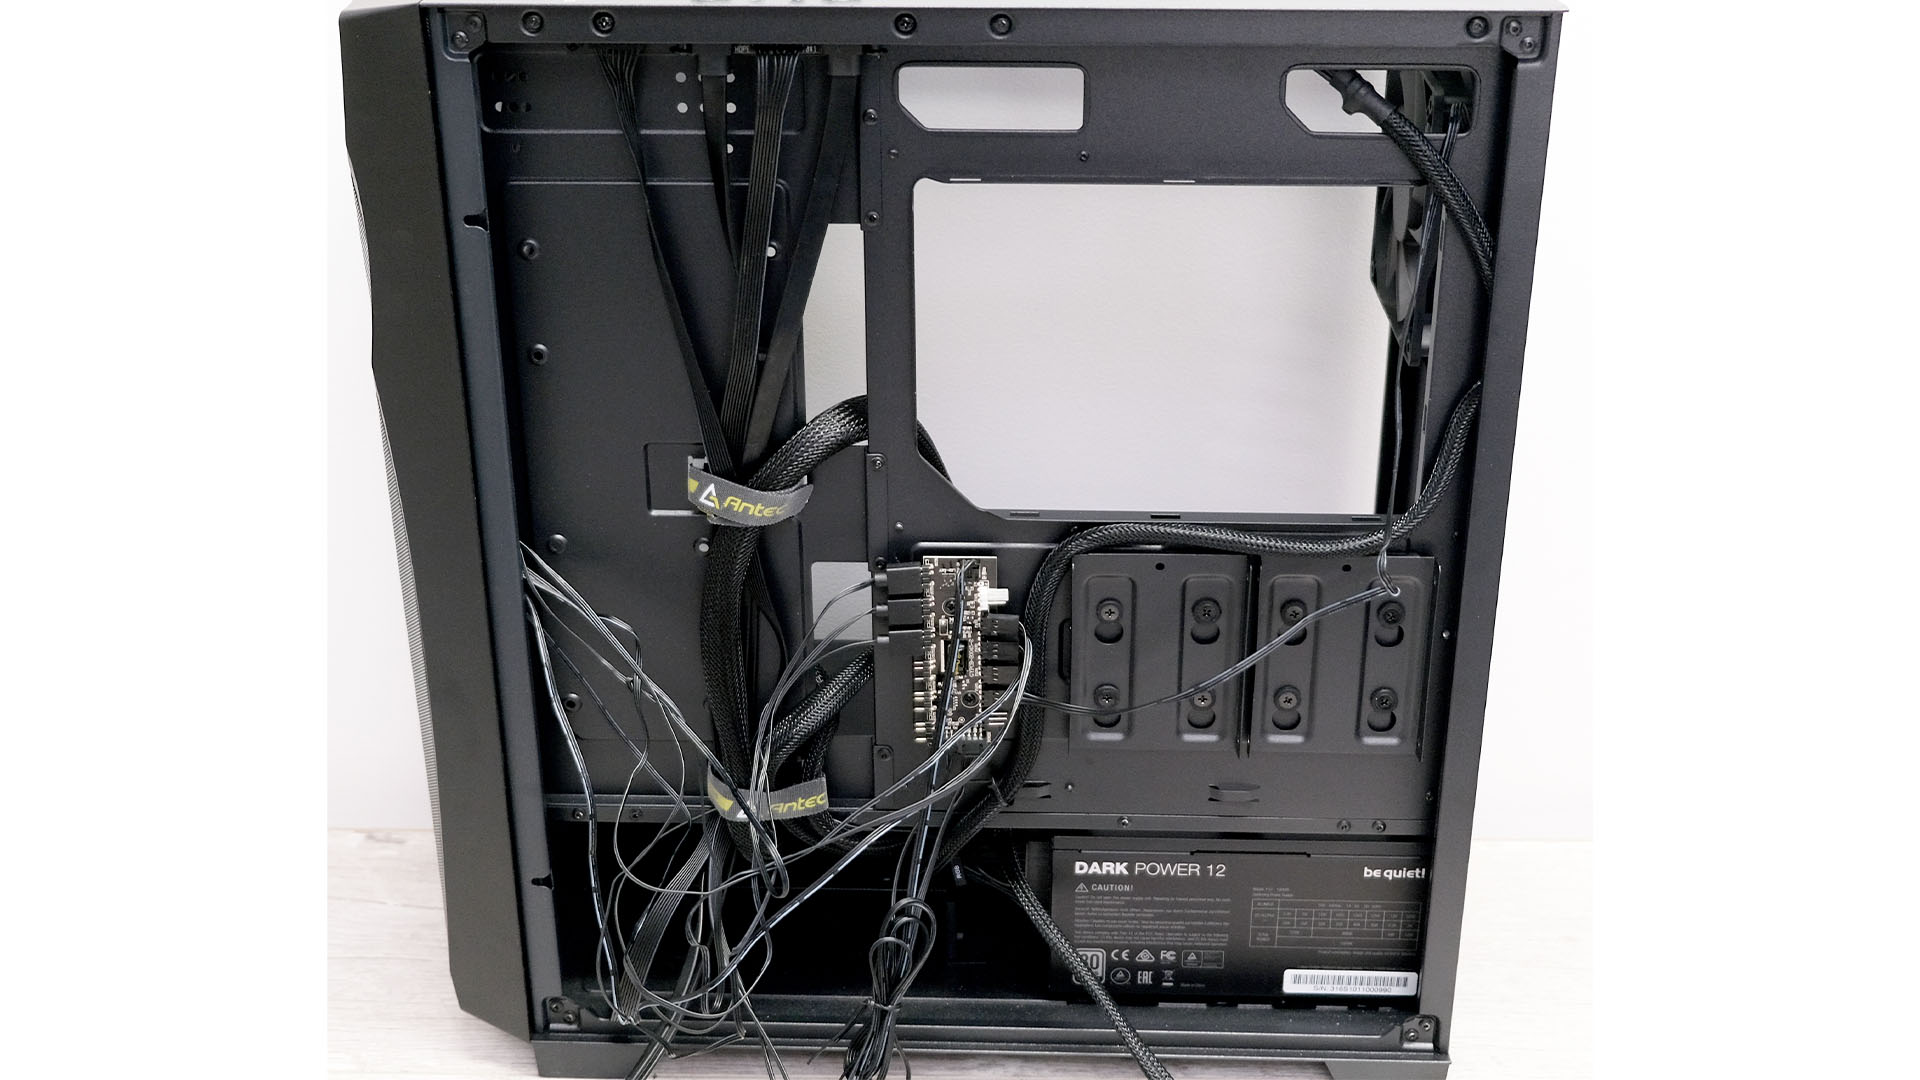
Each case is different regarding cable tidying, but they often require you to tie up all your cables between the motherboard tray and side panel. Doing so can often mean the side panel becomes impossible to fit, so the first step is to anchor the main cables in place.
Start by routing the 24-pin ATX and 8-pin CPU12V cables from your PSU. Thread the former through the cable-routing hole that will be nearest to the position of the ATX connector on your motherboard, and thread the 8-pin CPU cable through the hole above where your motherboard will be installed. Ideally, you want to do this before you install your motherboard to make installation as easy as possible. Once these cables are in place, install your motherboard and graphics card.
Thread the latter’s power cables through the hole nearest to the graphics card, whether they’re old-fashioned 6-pin or 8-pin PCIe cables, or a 12VHPWR cable. Some cases have PSU covers with cable-routing holes in them, and these can be a better place to thread your graphics card’s power cables than the side holes, especially if its connectors are on the side rather than the far edge. Route these cables up the left side of your motherboard tray, which is where case manufacturers usually place the main cable-routing features, such as anchor points or Velcro ties.
3. Deal with the other cables
This part is very case-specific and one rule definitely does not fit all. Some cases have limited stowage space for cable slack under the PSU cover, and some cases don’t have a PSU cover at all.
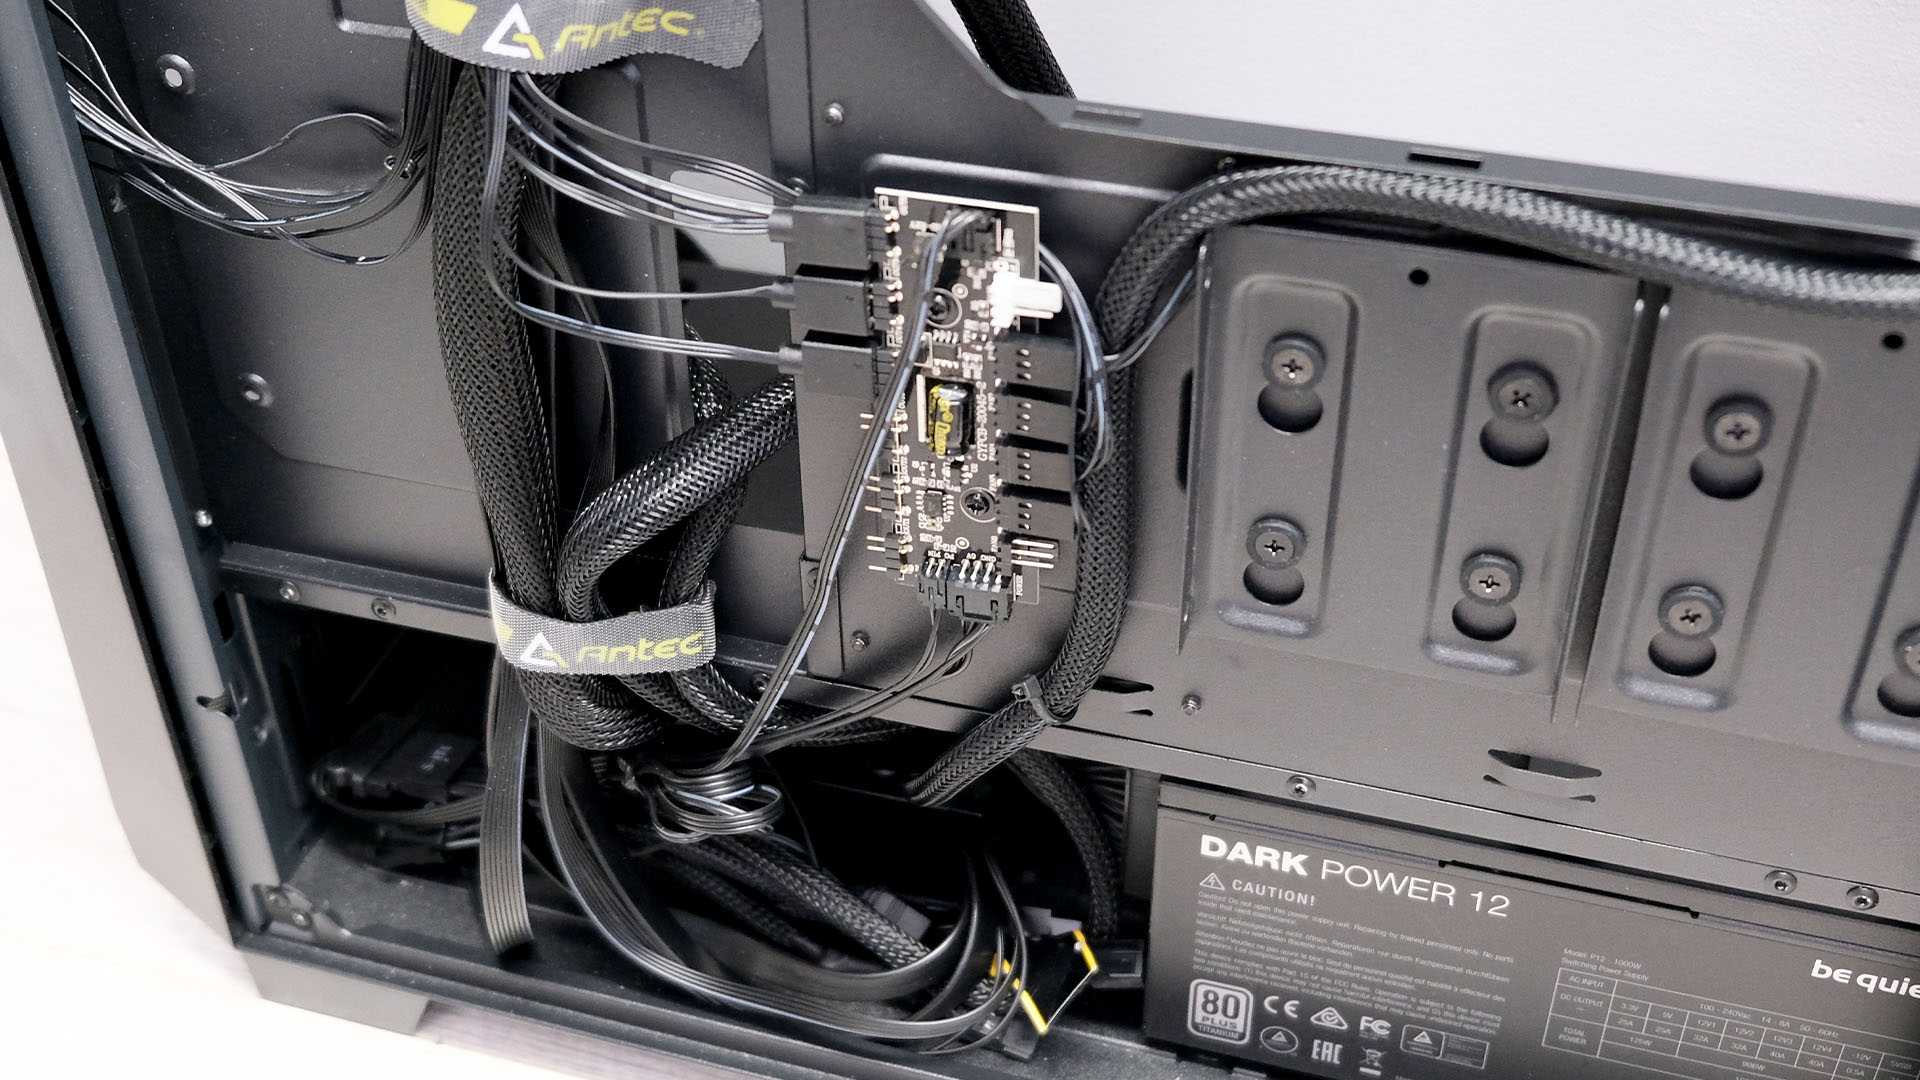
In the latter case, try to anchor the rest of the cables behind the motherboard tray, adding them next to the main strand of cables to the left of the motherboard tray, and then along the bottom of it. With every case, avoid stuffing the cables near any vents and keep them well away from case fans. Group them together and check that the bundle won’t prevent the side panel from closing easily.
4. Use cable ties
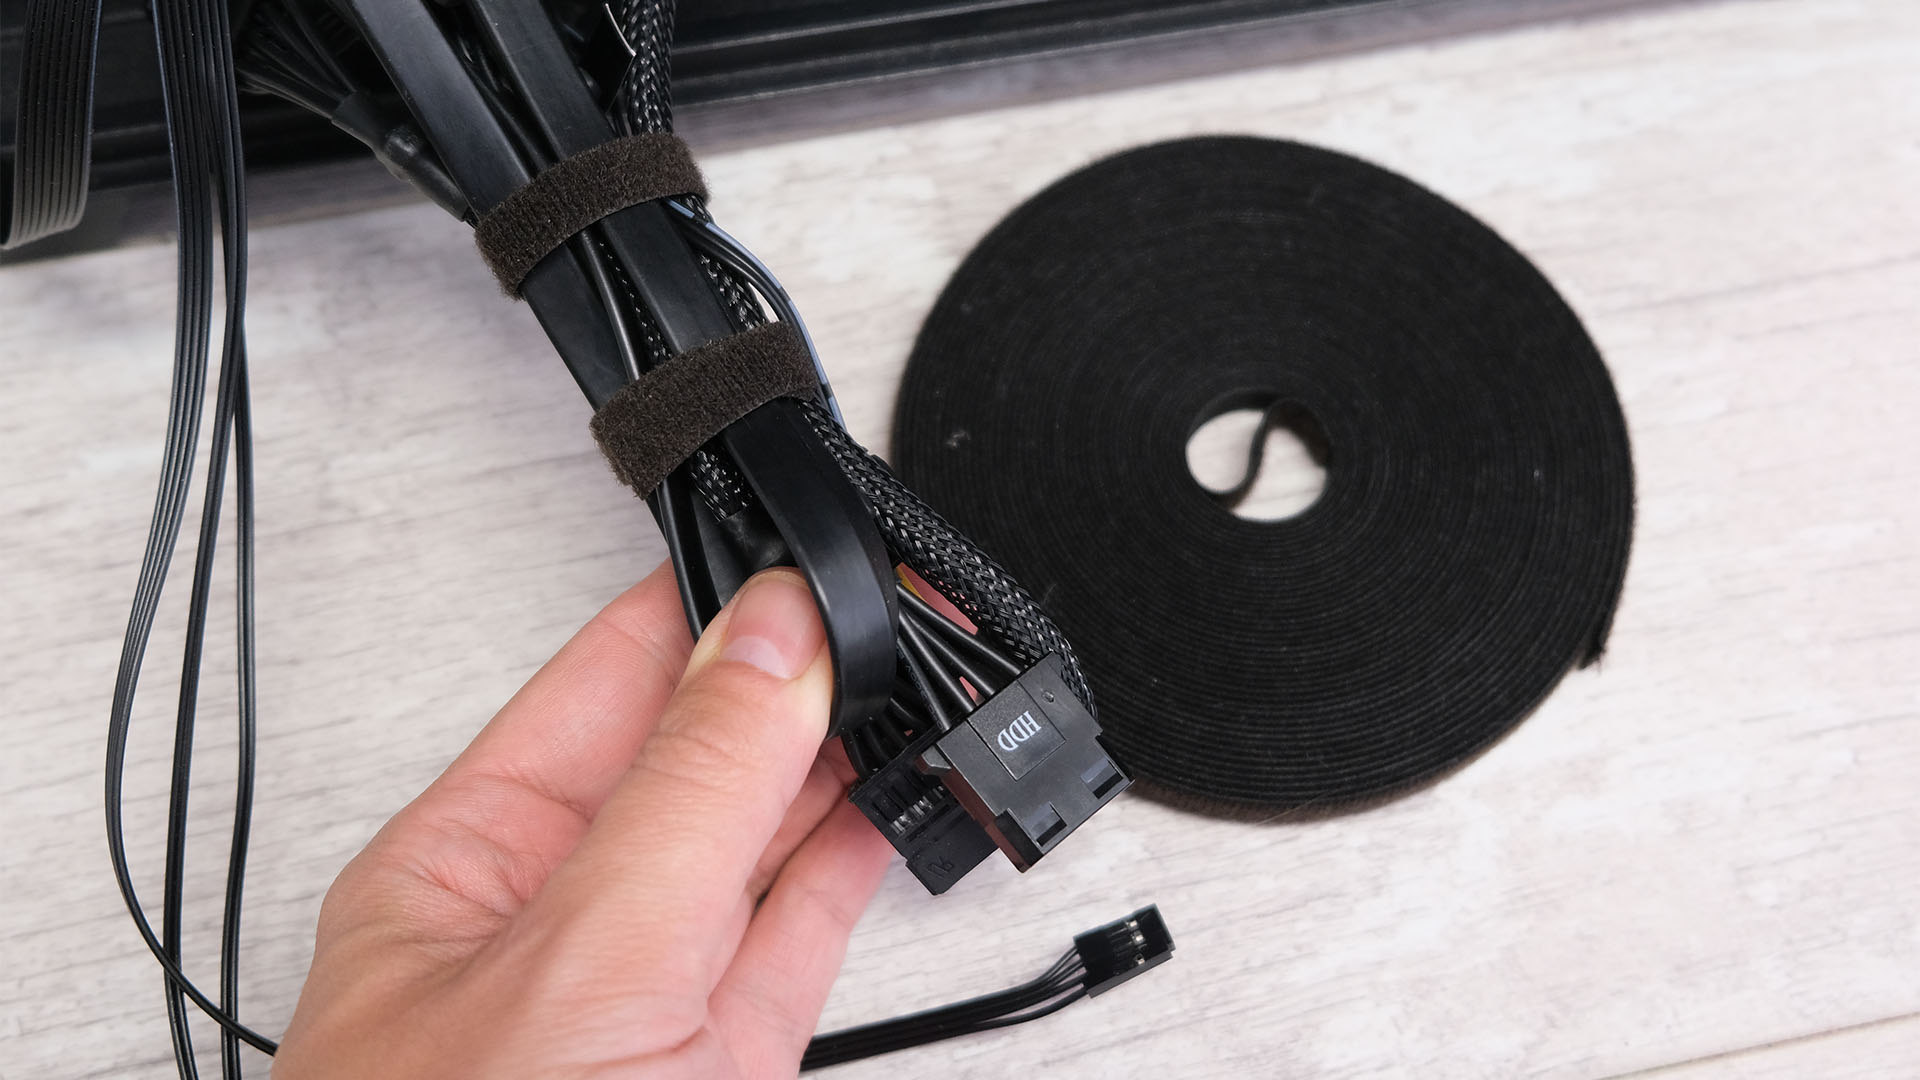
If your bundles don’t interfere with the side panel, use the included cable ties or Velcro straps to anchor the cables in place. Our two top tips here are to invest in extra cable ties, as cases rarely include enough in the box. It can be handy to have ties of different lengths too, for dealing with various thicknesses of bundles.
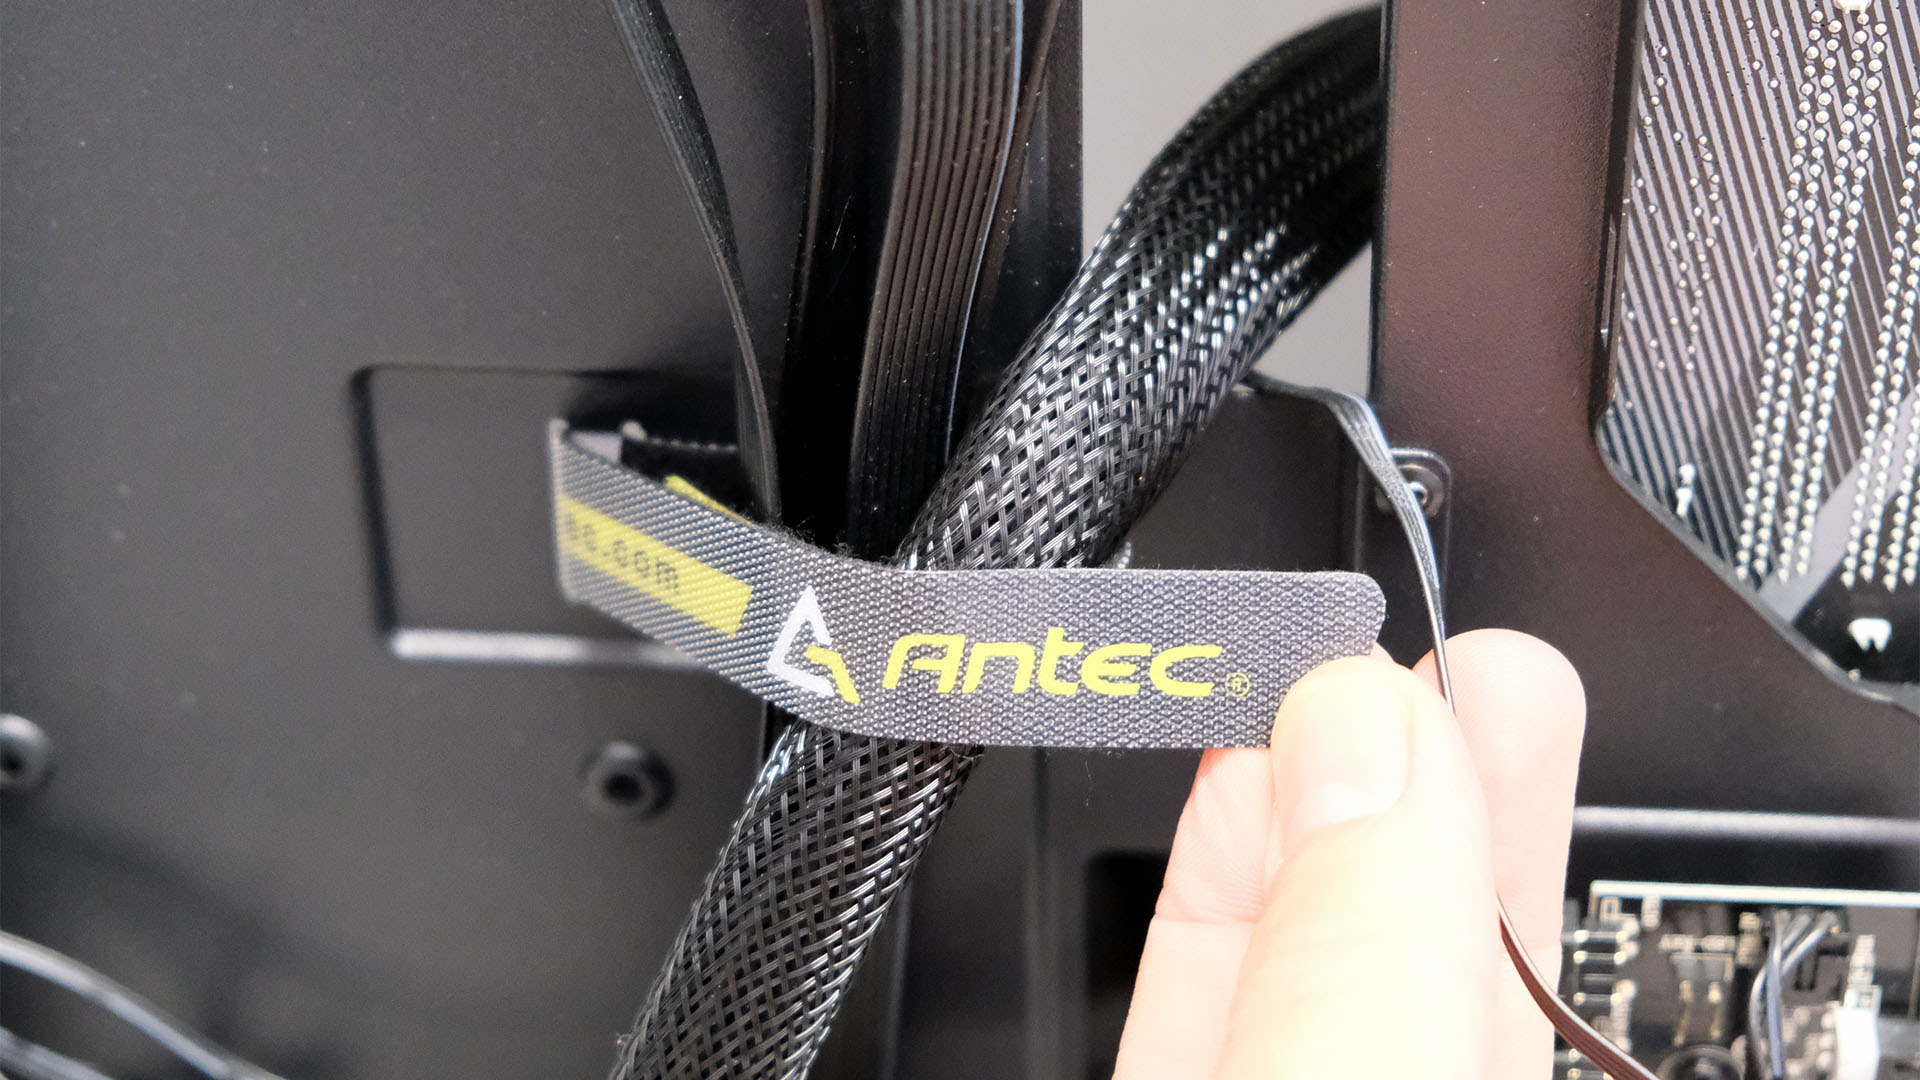
Even better, albeit a little more expensive, is to use Velcro ties. Velcro can do a much better job of gathering cables together to look neater, and will be much easier to remove – it’s also reusable, unlike standard plastic ties. However, you may still need to use plastic cable ties to secure your cables to your case’s anchor points.
5. Find other cable-stowing spaces
If there’s not enough space to bunch the cables behind the side panel, then you’ll need to find other locations for some of them. This usually involves tucking them under the PSU cover, and Velcro is again a great tool here, as it enables you to tie up the cables in tight bunches to stow in front of your PSU.
6. Use fan and lighting hubs
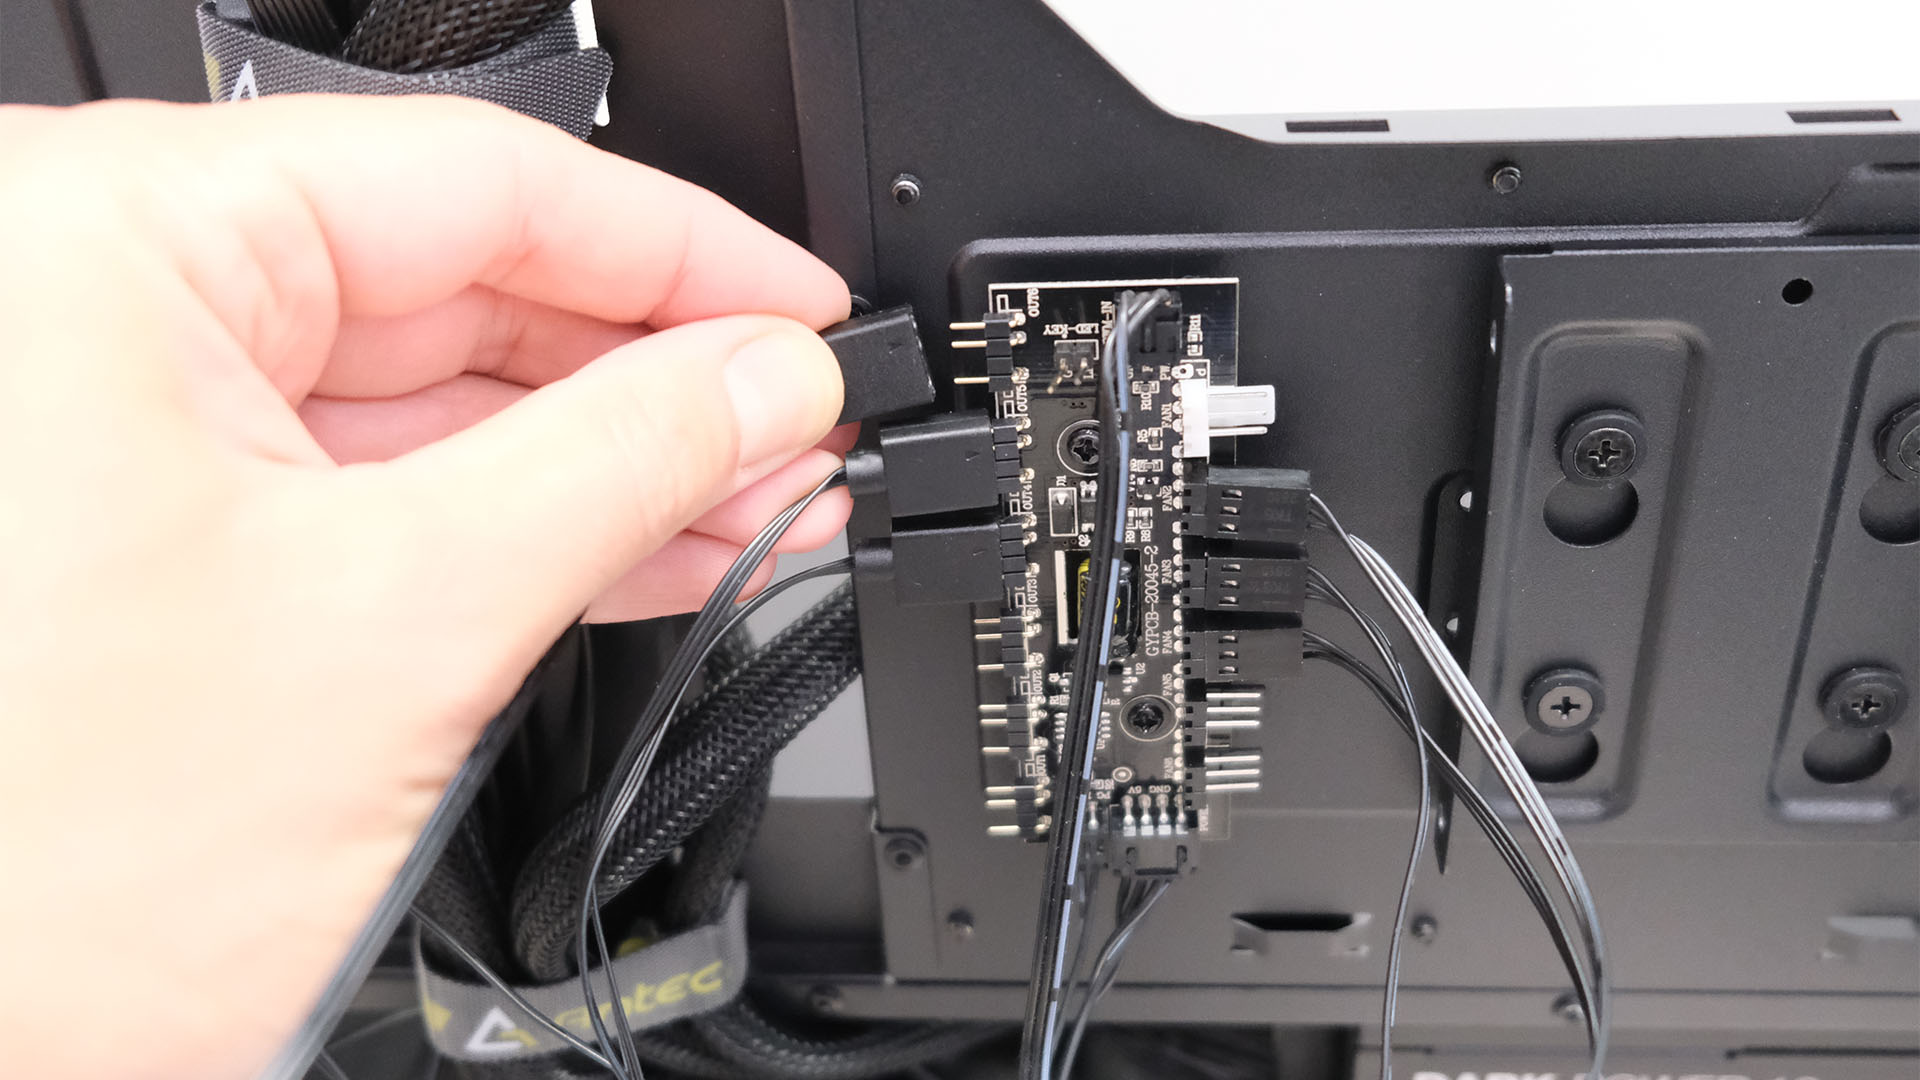
A fantastic way to deal with the reams of spaghetti that are often accompanied by RGB lighting and multiple fans is to use a hub. These can simply split a fan or RGB header on your motherboard into numerous outputs, allowing you to route all your fan and lighting cables to one point and control them all from a single motherboard header, or to control all the parts attached to a single hub using software. Some cases and coolers include these hubs as standard, and some also sport manual lighting and fan speed controllers too, avoiding the need for software.
7. Make your own anchor points
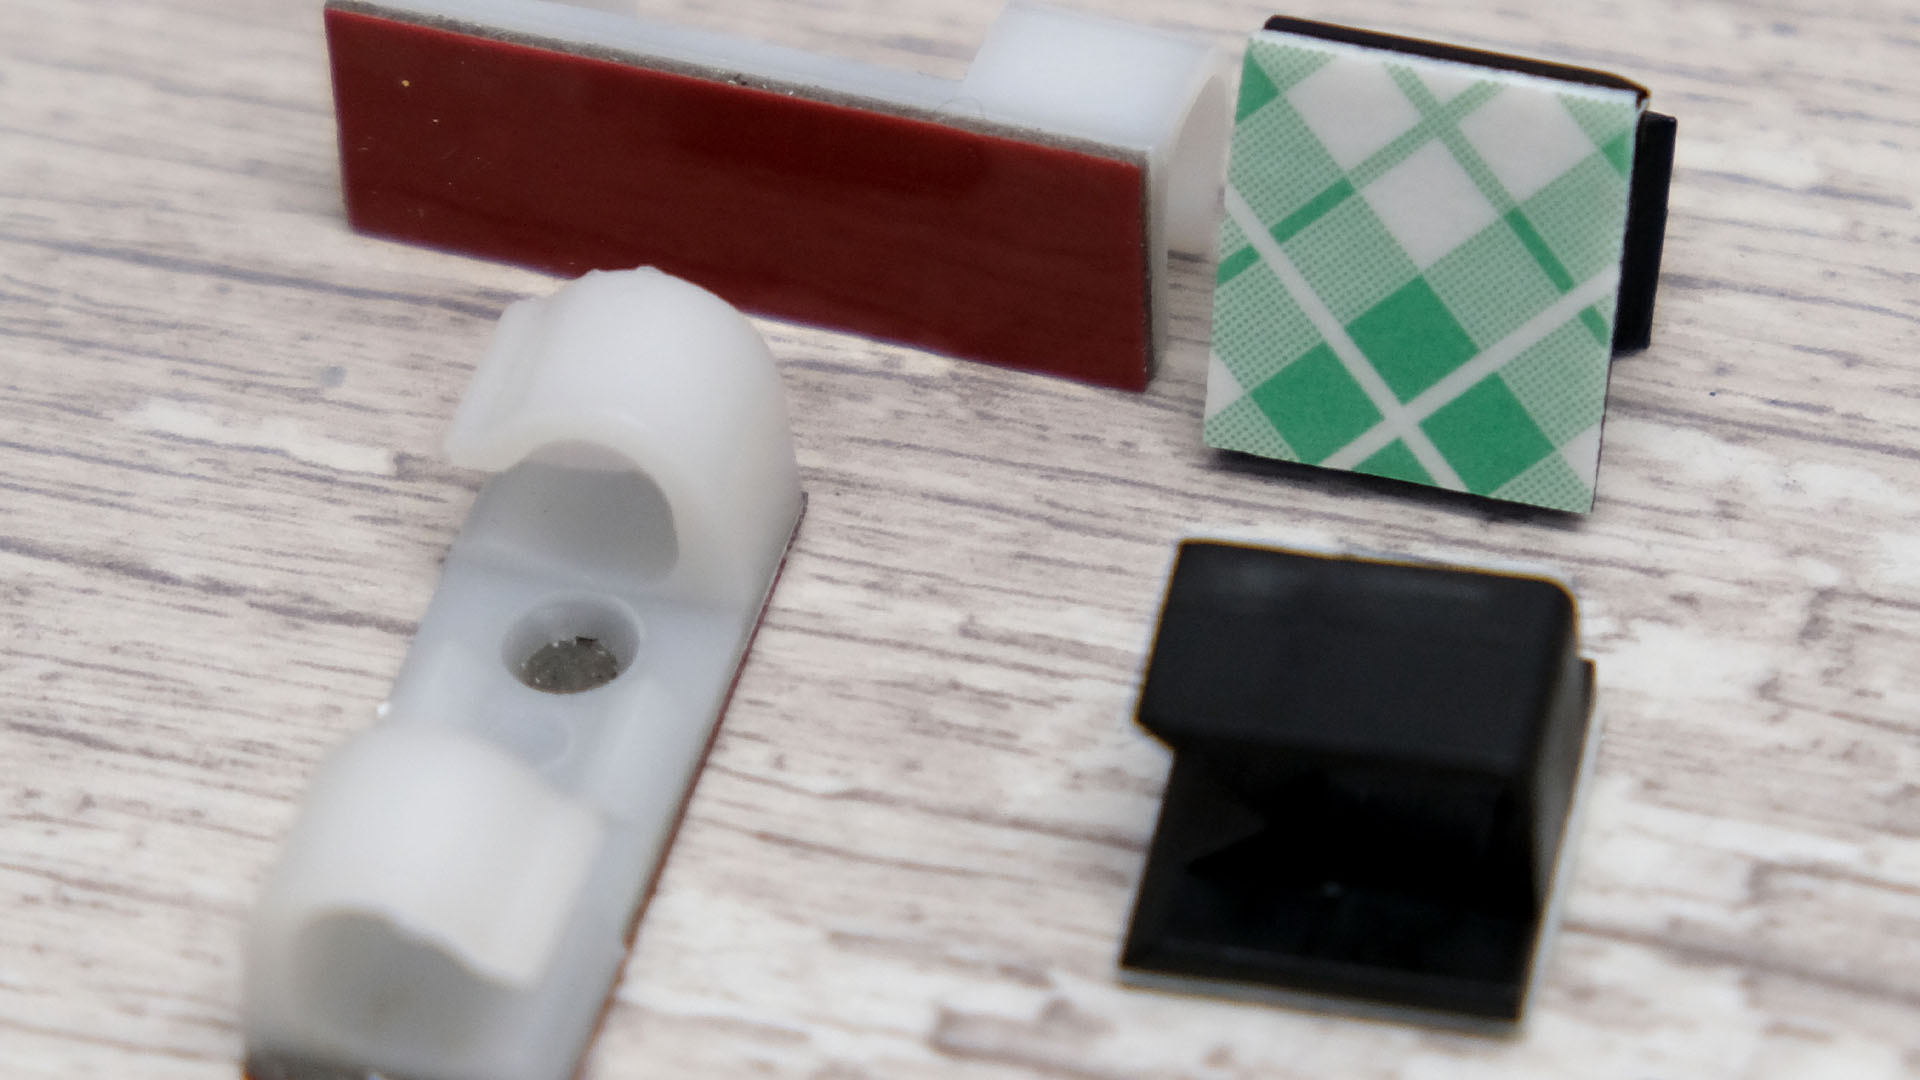
Quite often, cases simply won’t have enough anchor points to tie all your cables in the best places, but it’s easy to make your own ones. Adhesive cable anchors can be fixed anywhere in your case, and they can help to tidy cables behind your motherboard tray, as well as helping to deal with RGB cables, front panel cables, SATA cables, and liquid cooler cables.
Other cable management considerations
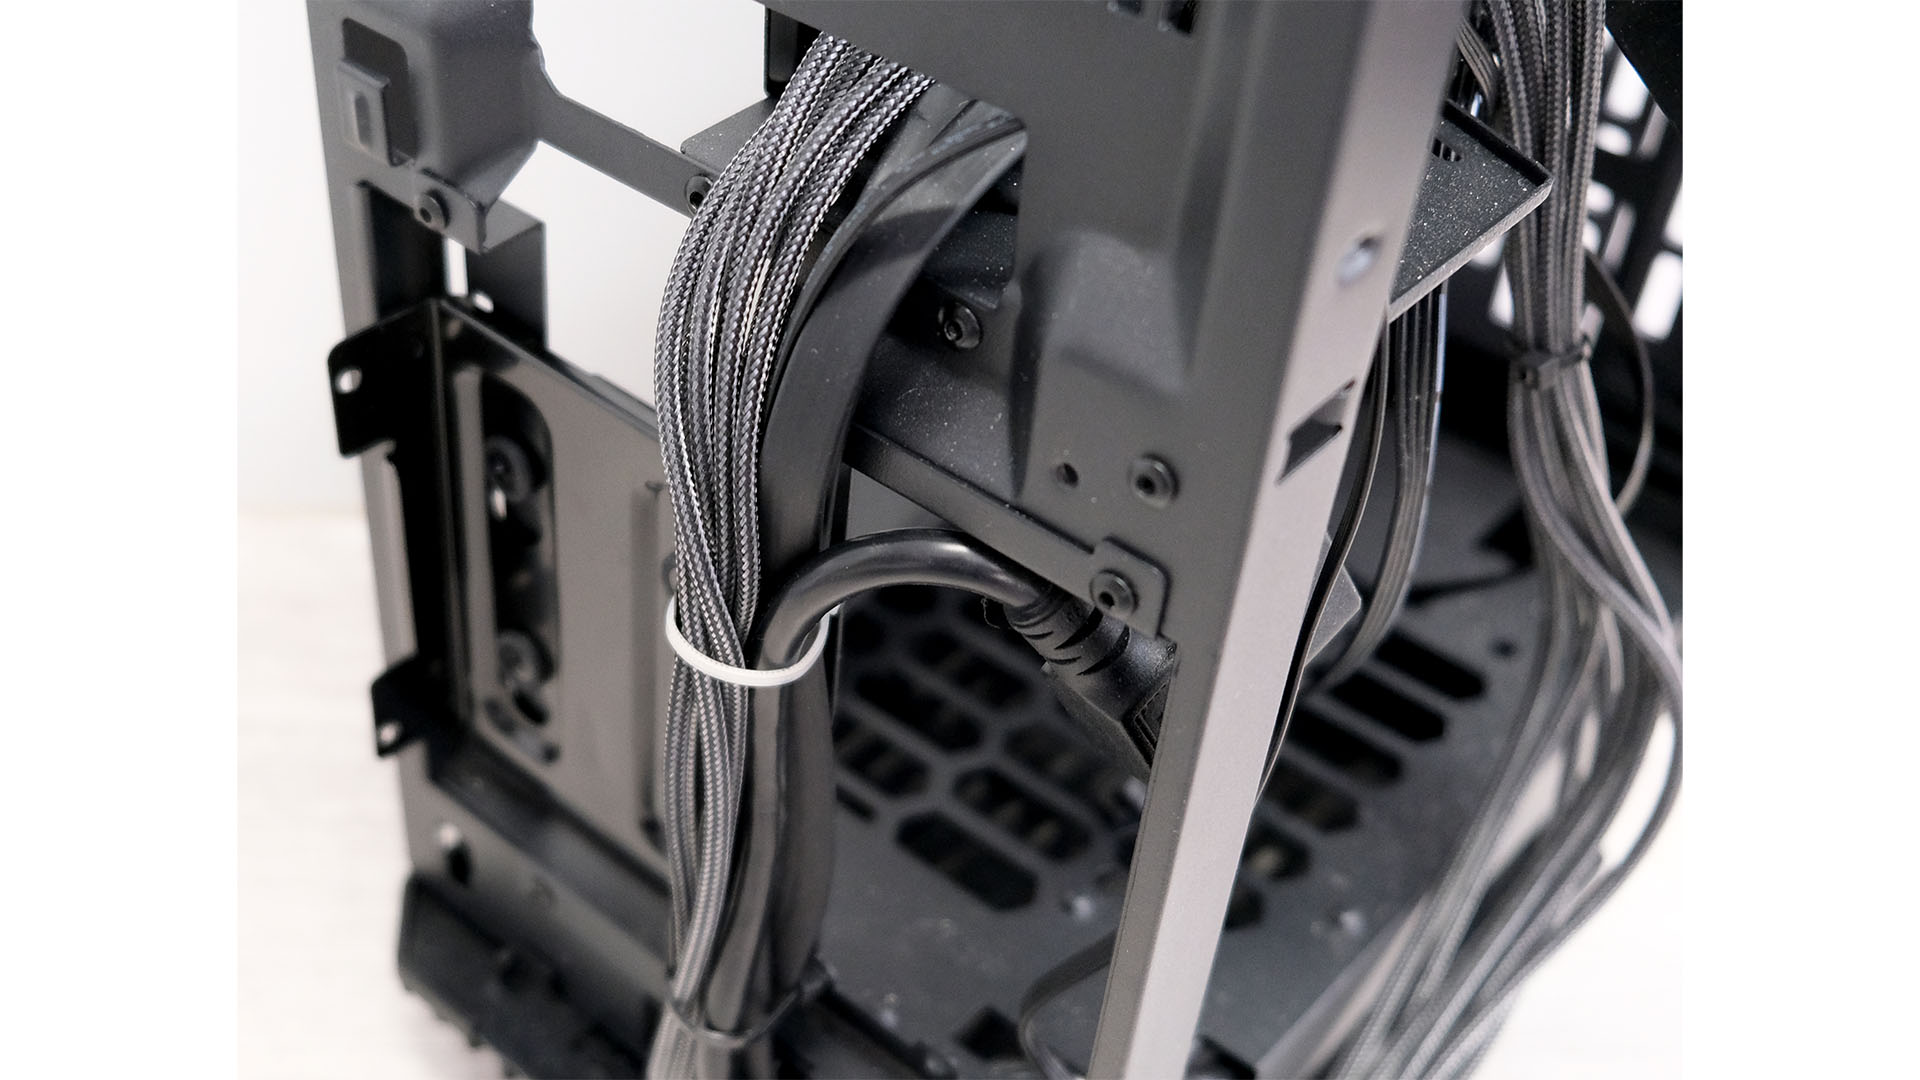
Plenty of cases can often pose further challenges when it comes to cable tidying. Some mini-ITX cases, and larger cases at the cheaper end of the spectrum, lack PSU covers, leaving you with a tricky situation when it comes to hiding and tidying your cables. Again, custom anchors can be a huge help here, and don’t be afraid to secure cables in every available space.
You have two options and you’ll likely need to use both of them. Firstly, gather your cables in bunches and anchor them as out of sight as possible, again avoiding vents and fans and avoid hampering your case’s airflow. The next option is to find alternative routes inside your case’s chassis, such as beams and internal fittings. Anchoring your cables to these parts will allow the cables to blend in with the interior.
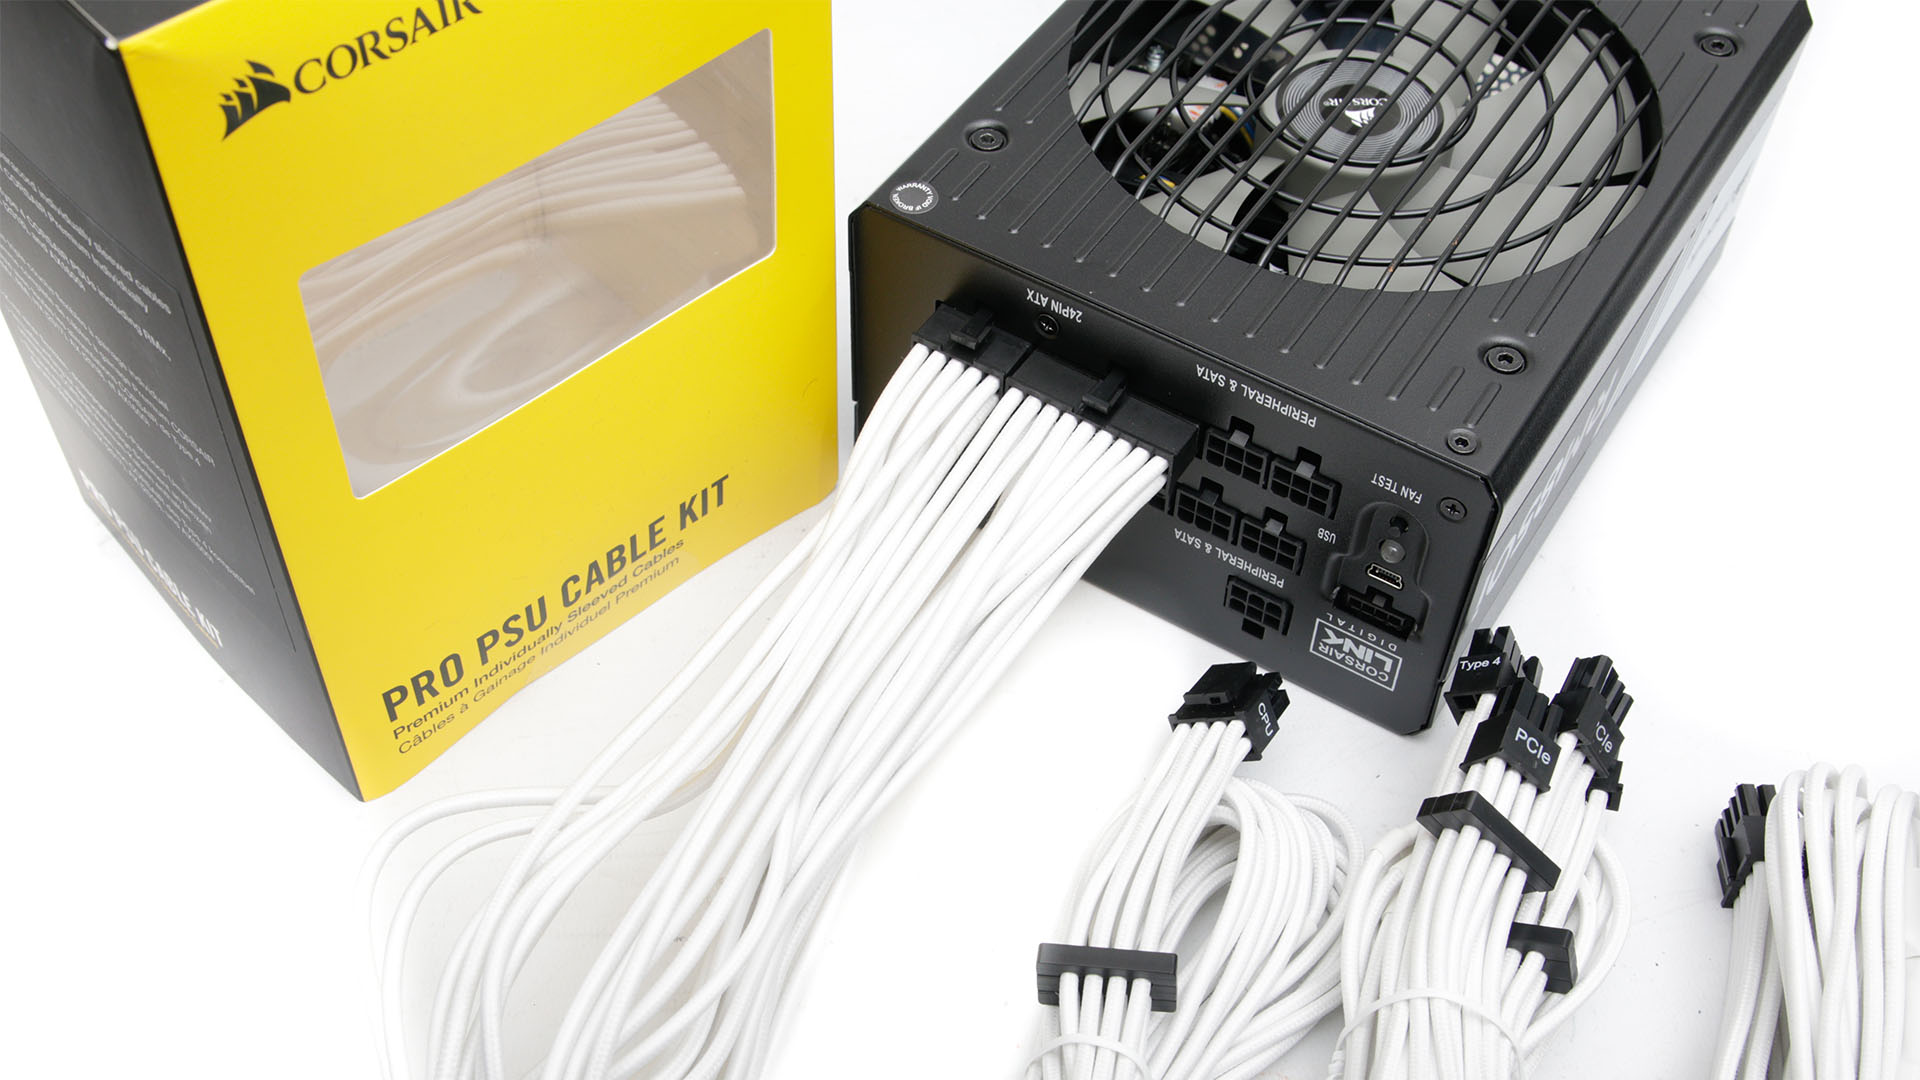
Making your cables look attractive and work as an aesthetic feature in your case is a great way to beat the cable-tidying gremlins and is especially useful in cases with little space for stowage. The easiest way to do this is to buy a custom cable set for your PSU.
Many manufacturers, such as Corsair, offer their own kits, while companies such as cablemod.com can create custom kits for your own PSU, allowing you to specify the color of every cable strand, as well as the length of the cables, meaning your cables can be made to the perfect length for your build.
That’s a wrap for our PC cable management tutorial, and we hope you’ve now managed to tame the wiry chaos inside your PC and got all the spaghetti tied down and routed round the back of your motherboard tray. You can find a load more tips in our full guide on how to build a gaming PC, and we also recommend reading our guide on how to install RGB lighting, so you can shine several spotlights on your PC’s neat and tidy interior.
