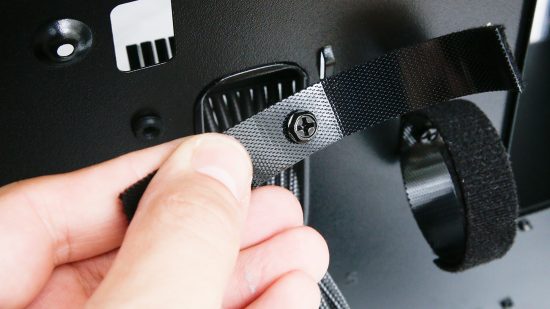
In this guide, we’ll show you how to tidy PC cables, by making your own Velcro cable ties, and modifying your case to accommodate them. The result will give your build a clean, premium feel. With PCs having more cables than ever thanks to RGB lighting, being able to easily stow and secure your cables makes for a much faster and more pleasant building experience.
Velcro ties make for useful and very easy-to-use cable anchors. Unlike cable ties, they’re reusable and can be released without tools or scissors, so you can easily add or remove a cable from the bunch.
1. Work out cable routing
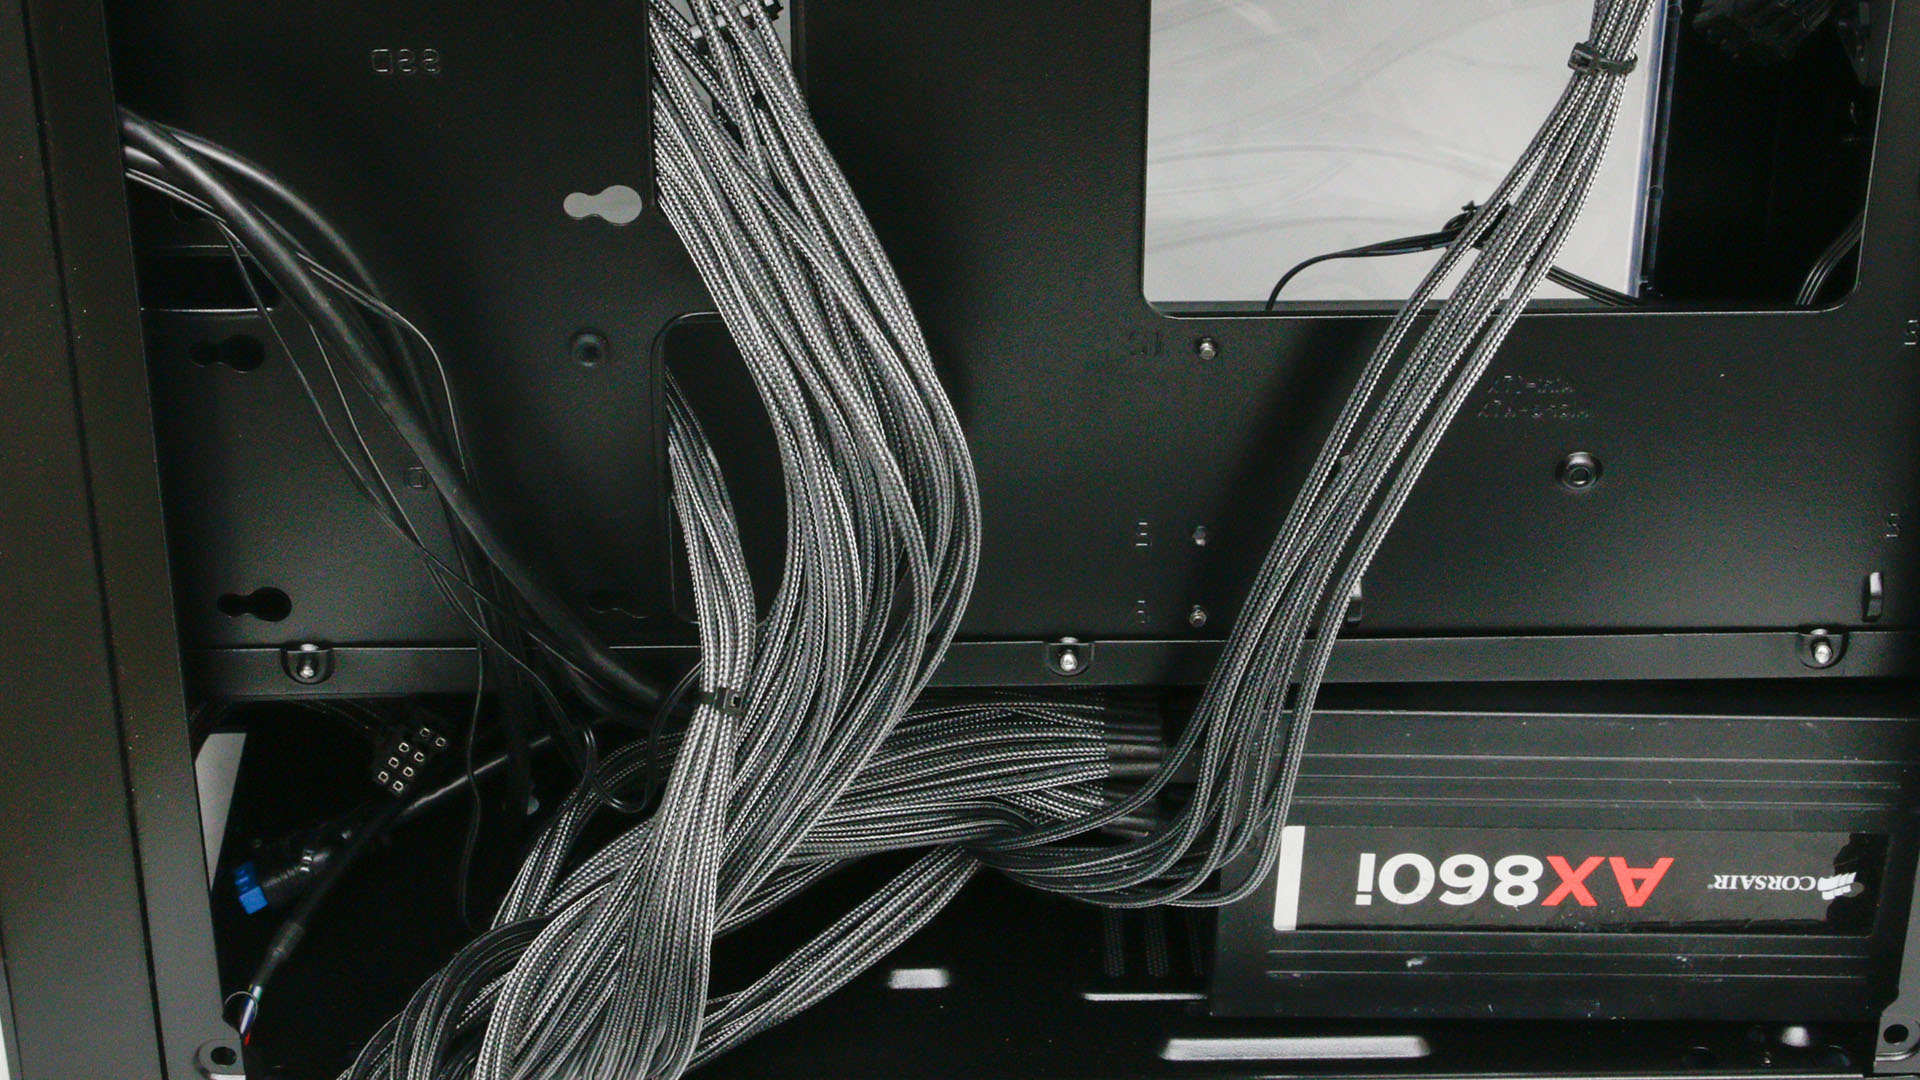
Remove the hardware from your PC case, but leave the power supply in place, so you can get an idea of the locations where Velcro ties will be most useful. To do this, practice tidying the cables first, so you can work out which arrangement will look the neatest.
2. Identify stowage areas
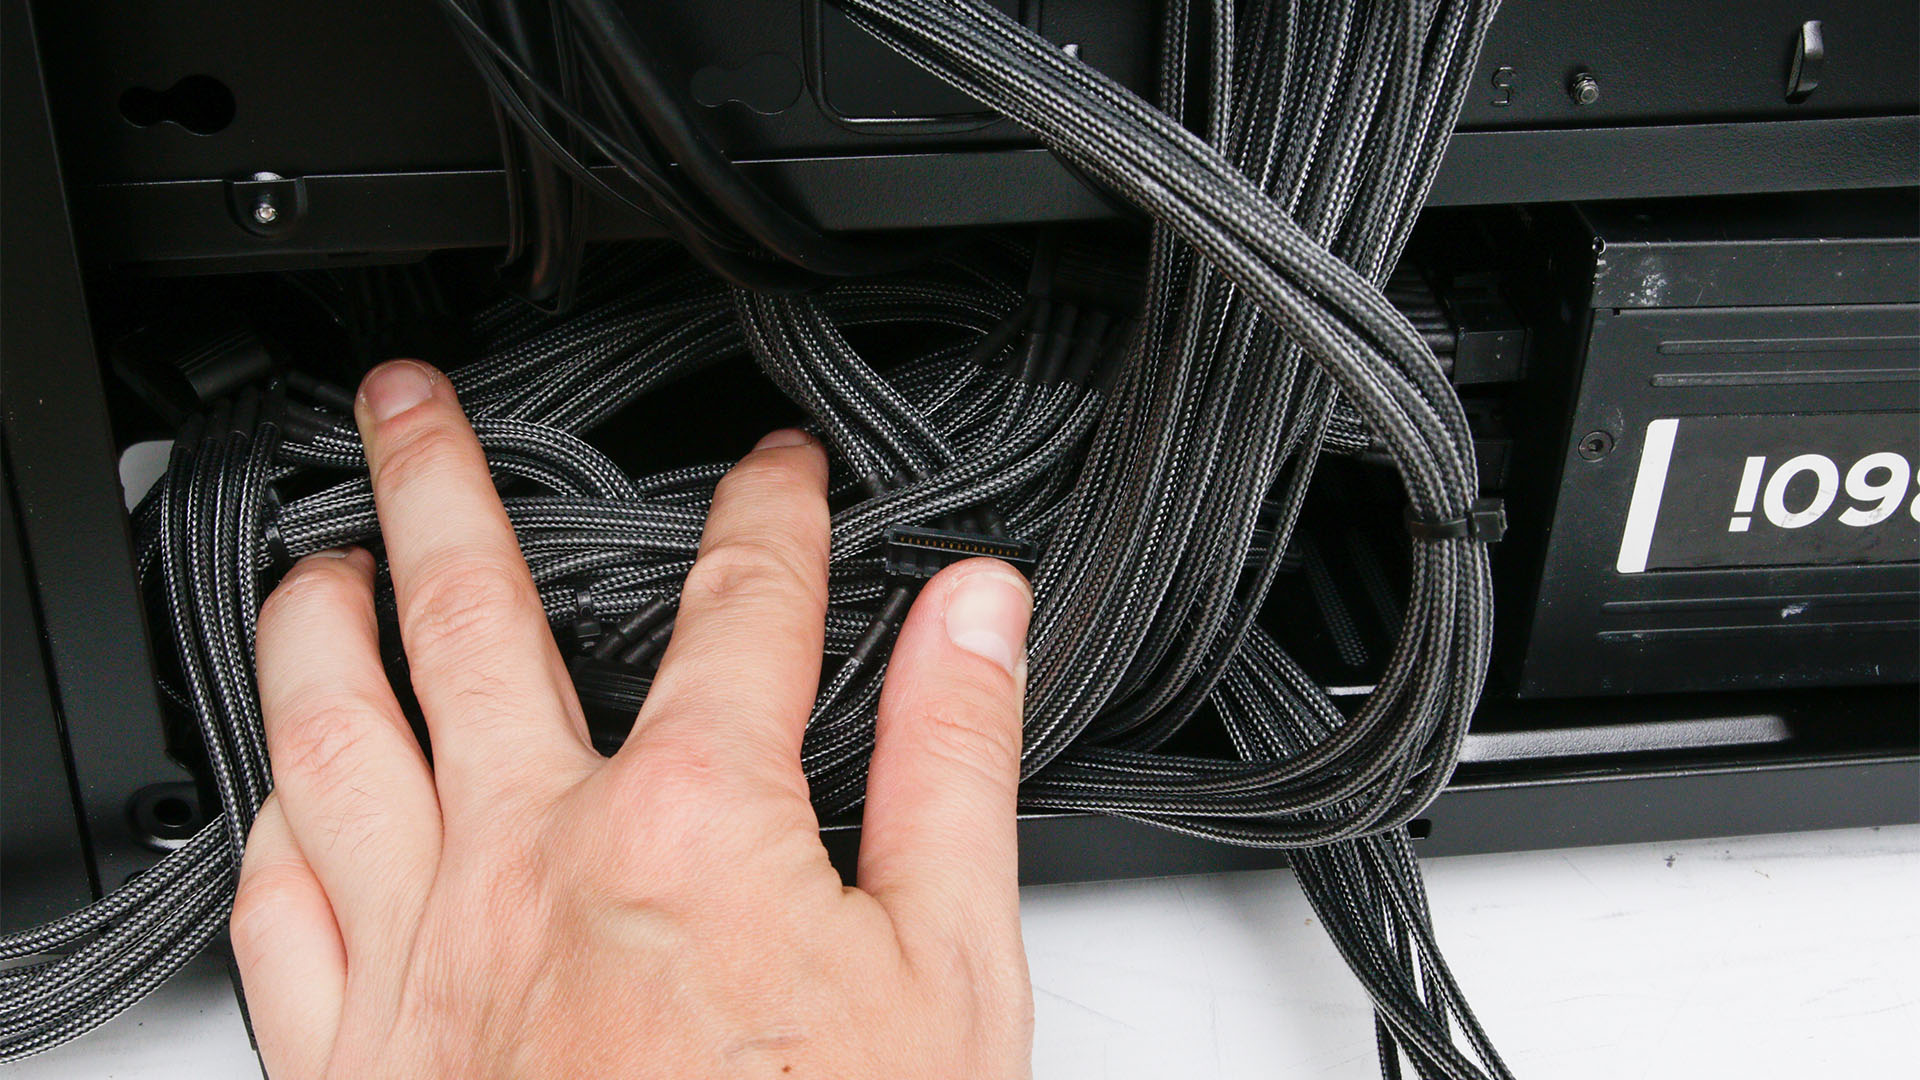
Any accessible large recesses can be useful for stowing large bunches of cables, as long as they’re kept out of sight. You can add Velcro ties to these areas using longer strips to secure the cables.
3. Identify anchor points
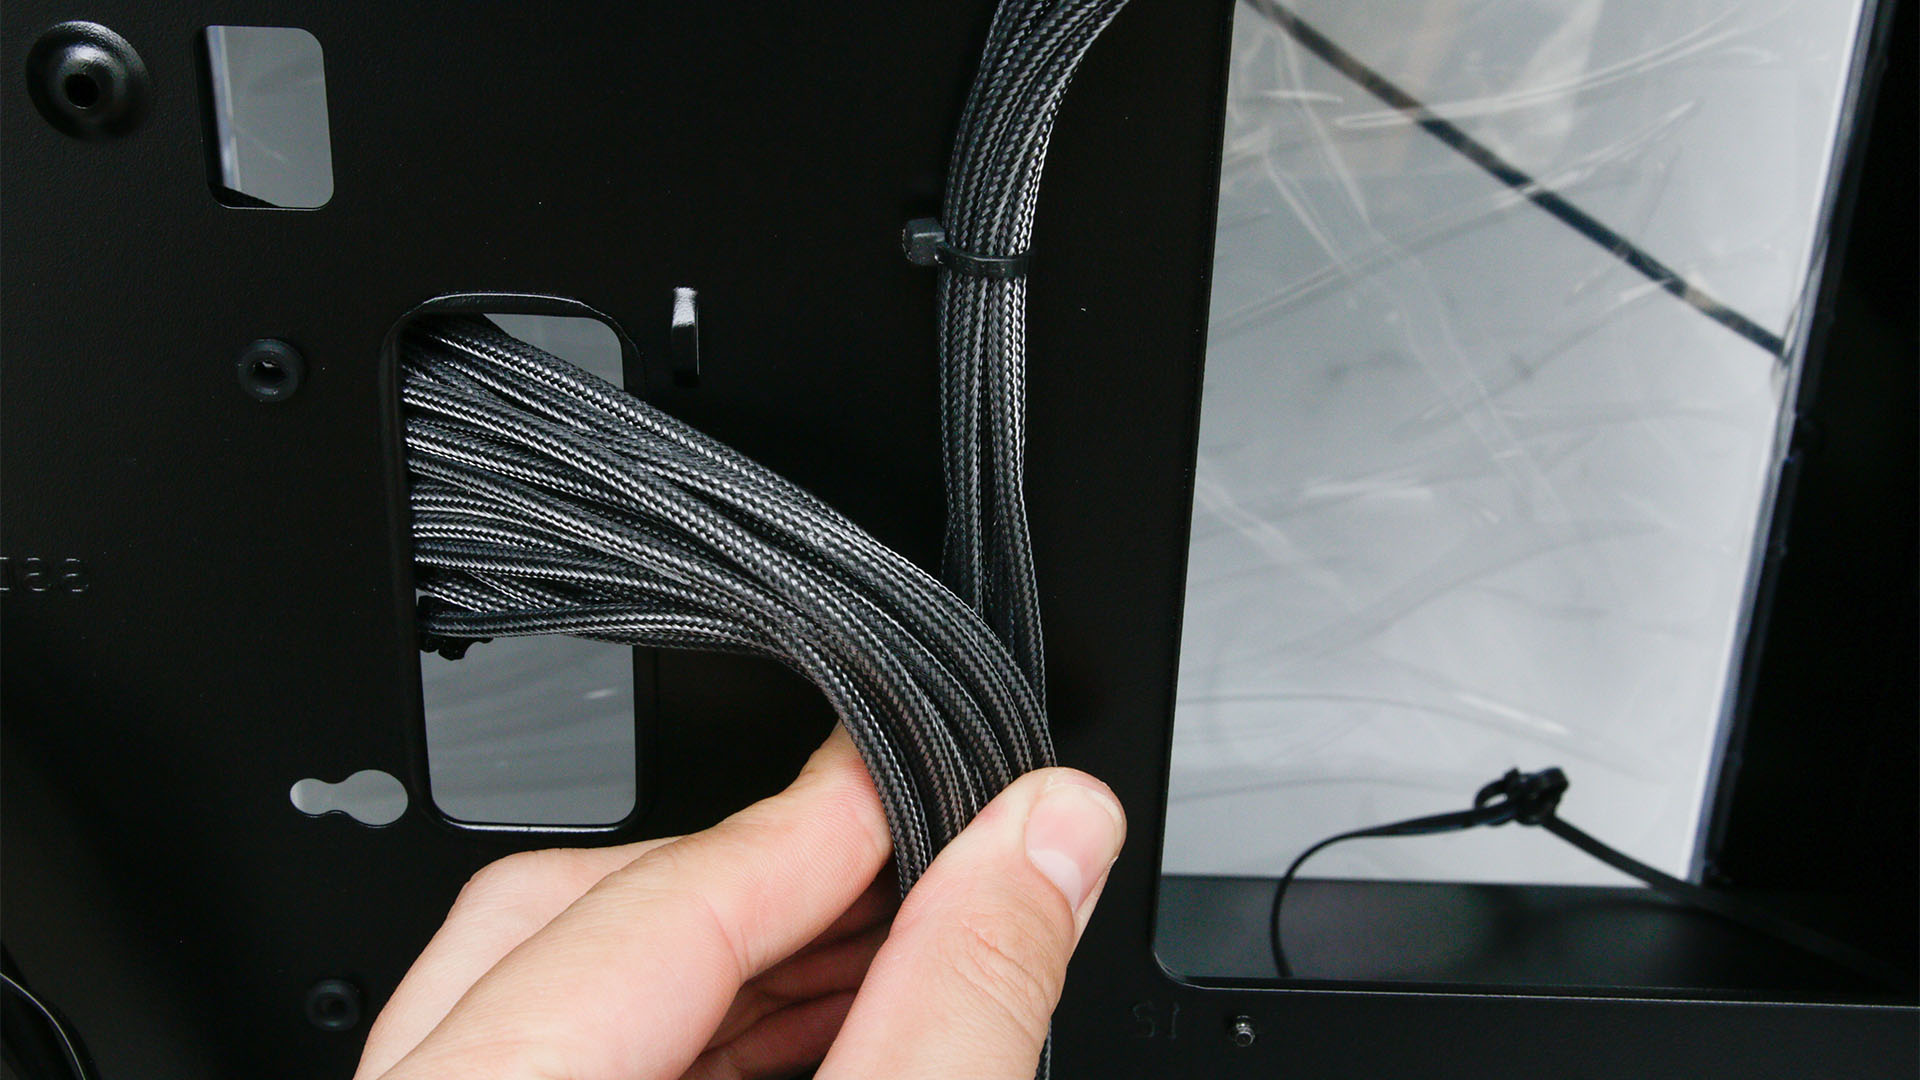
Now identify the best locations for your Velcro ties’ anchor point, which is where you’ll need to be drilling. The surfaces don’t have to be flat, but they should be easy to drill and not raised, so they don’t reduce the clearance between the motherboard tray and side panel.
4. Mark up screw holes
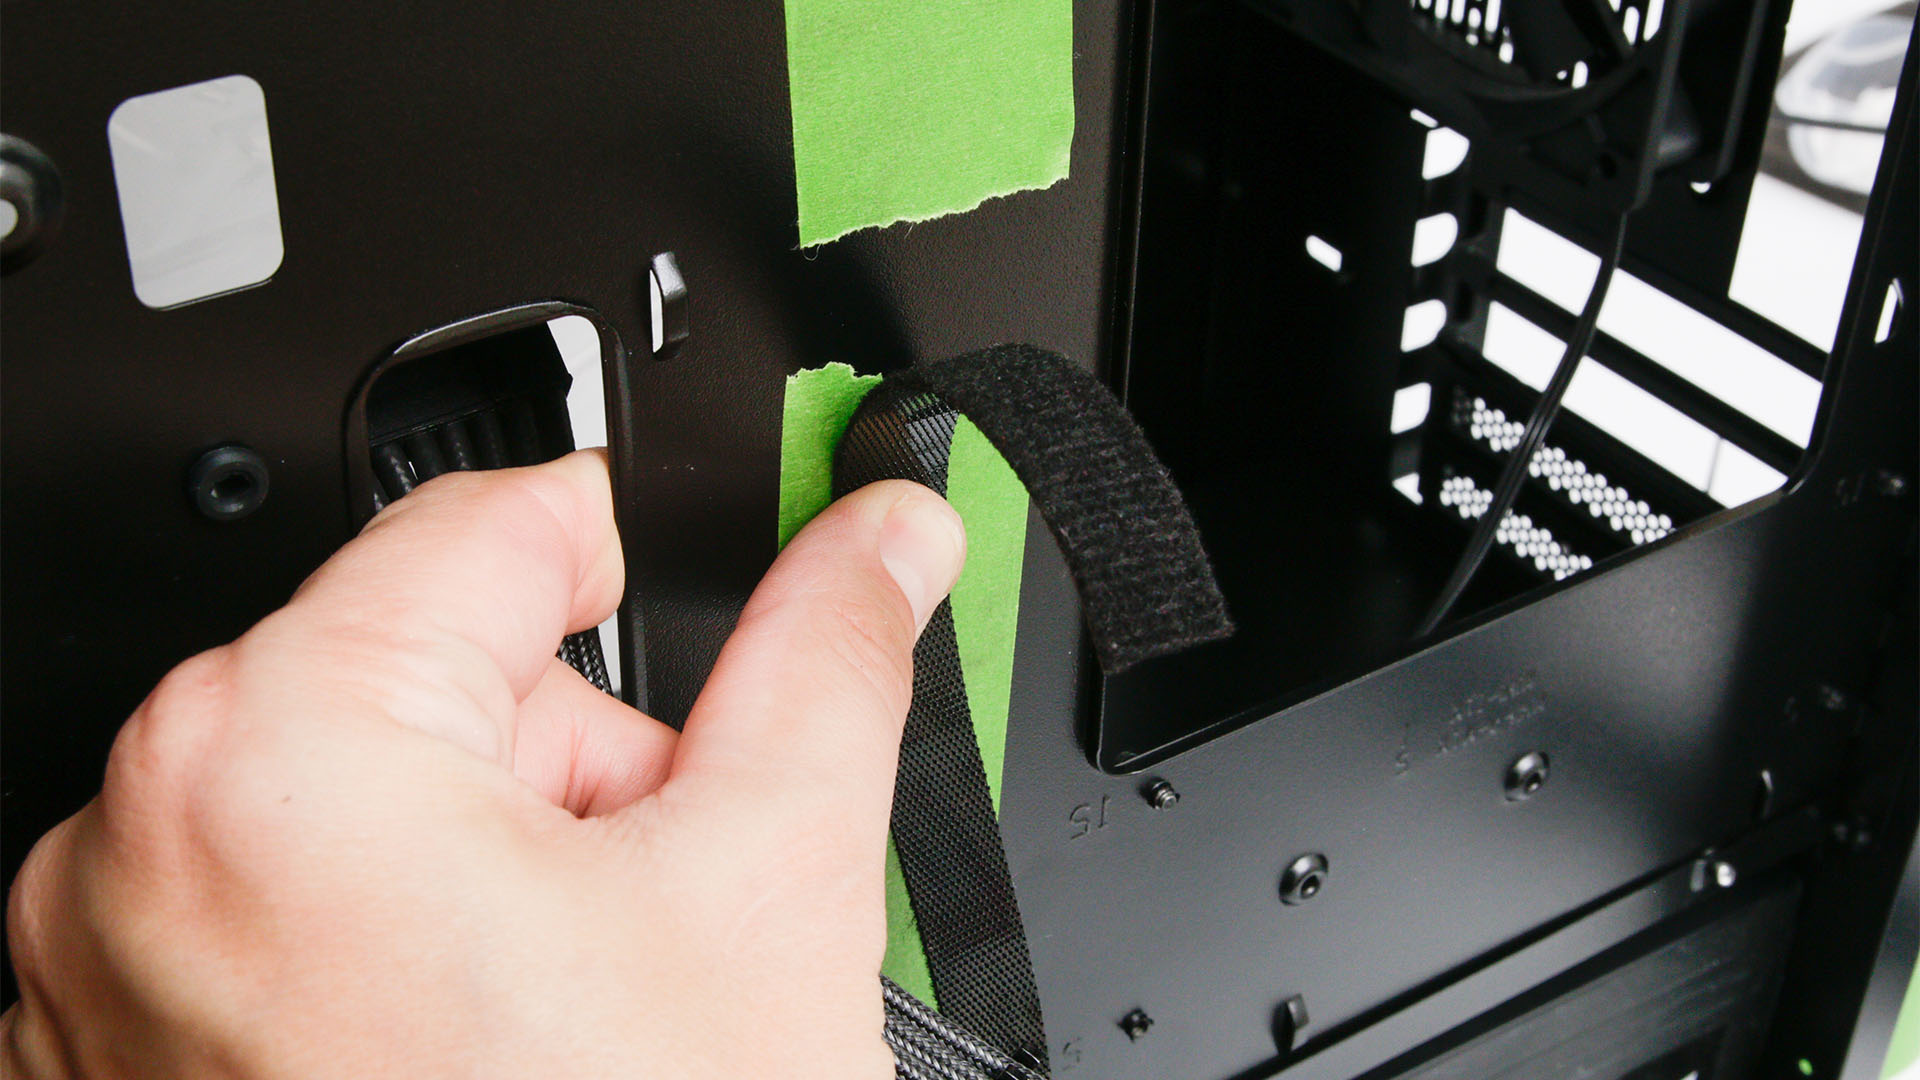
With the locations of the anchor points confirmed, place masking tape over the spots. This will prevent scratch damage to your case if you slip with the drill bit. Place a cross on the spot where you want to drill the hole.
5. Cut to size
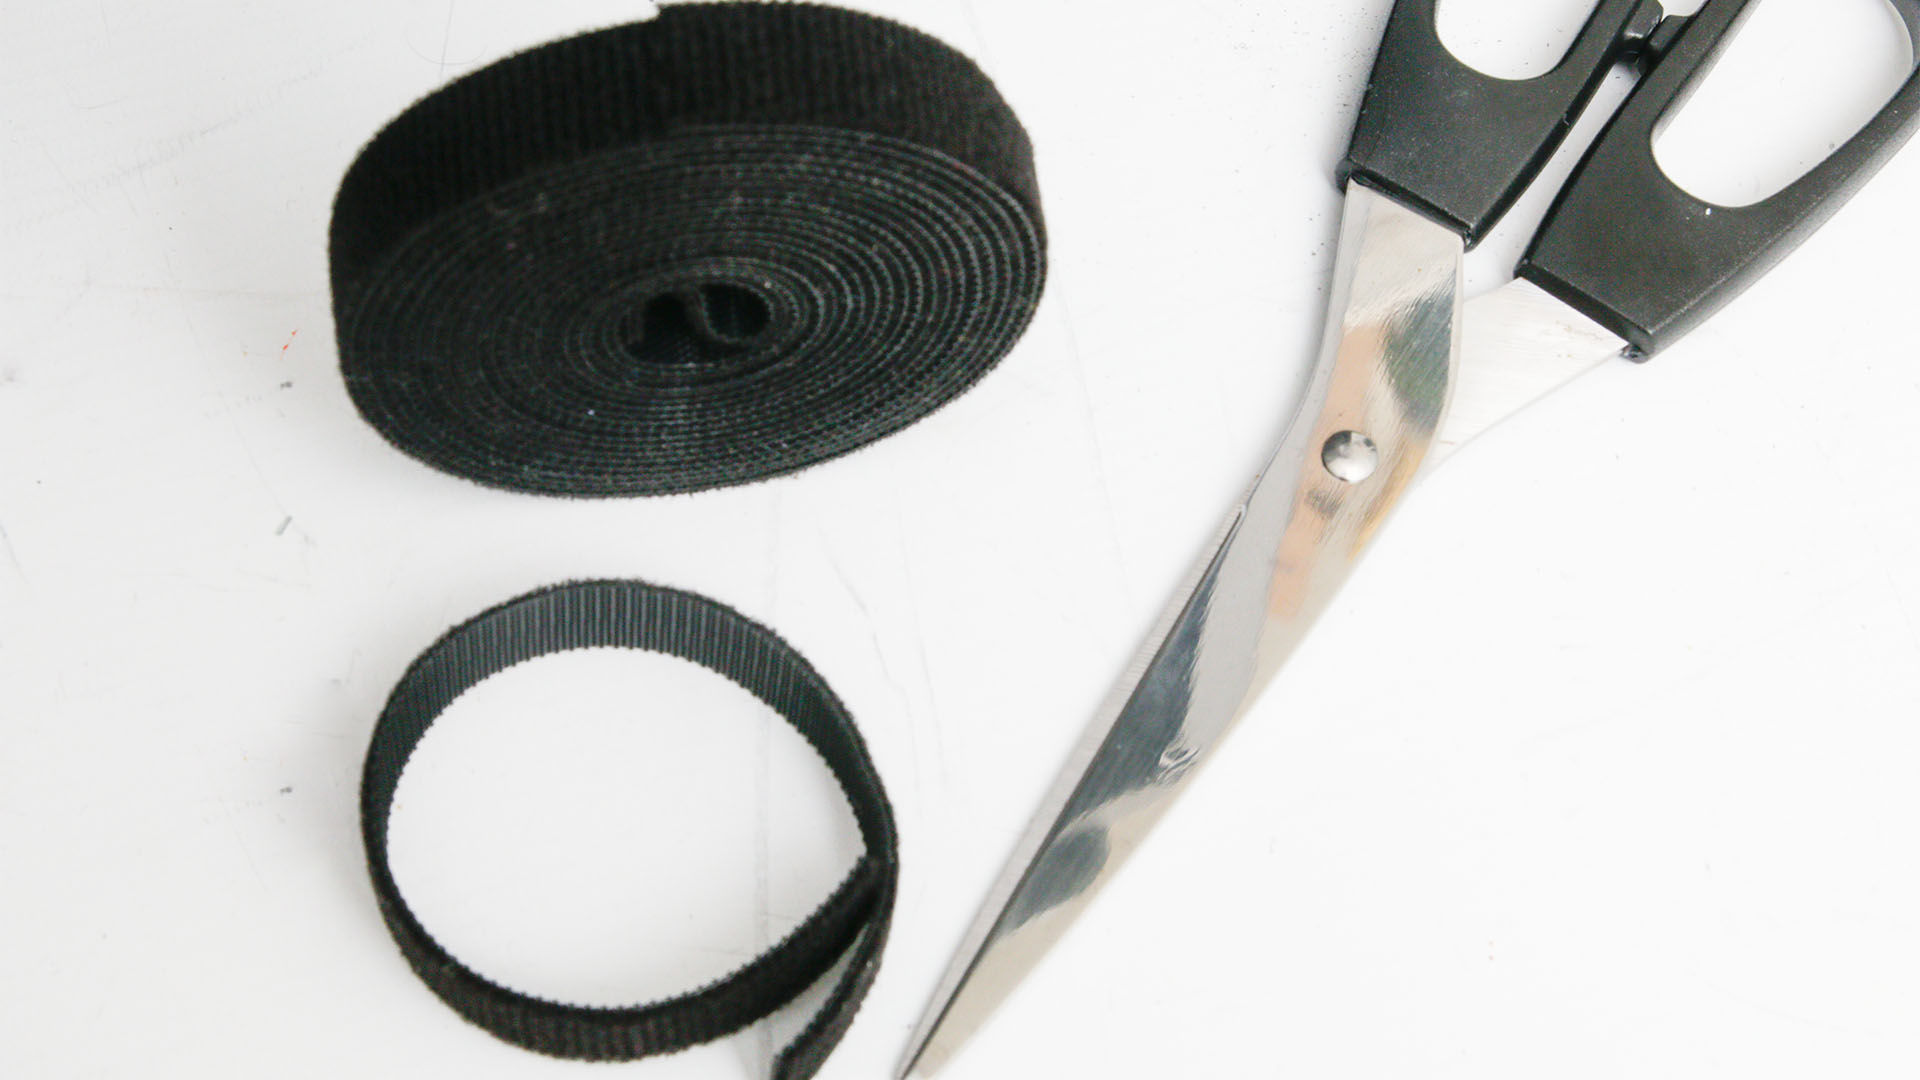
We’ve used a roll of double-sided Velcro, which can be cut to length. There are various widths available, and we’ve opted for 16mm-wide strips to create a neat look. Place the Velcro at your anchor positions to judge the necessary lengths of your strips.
6. Drill screw hole
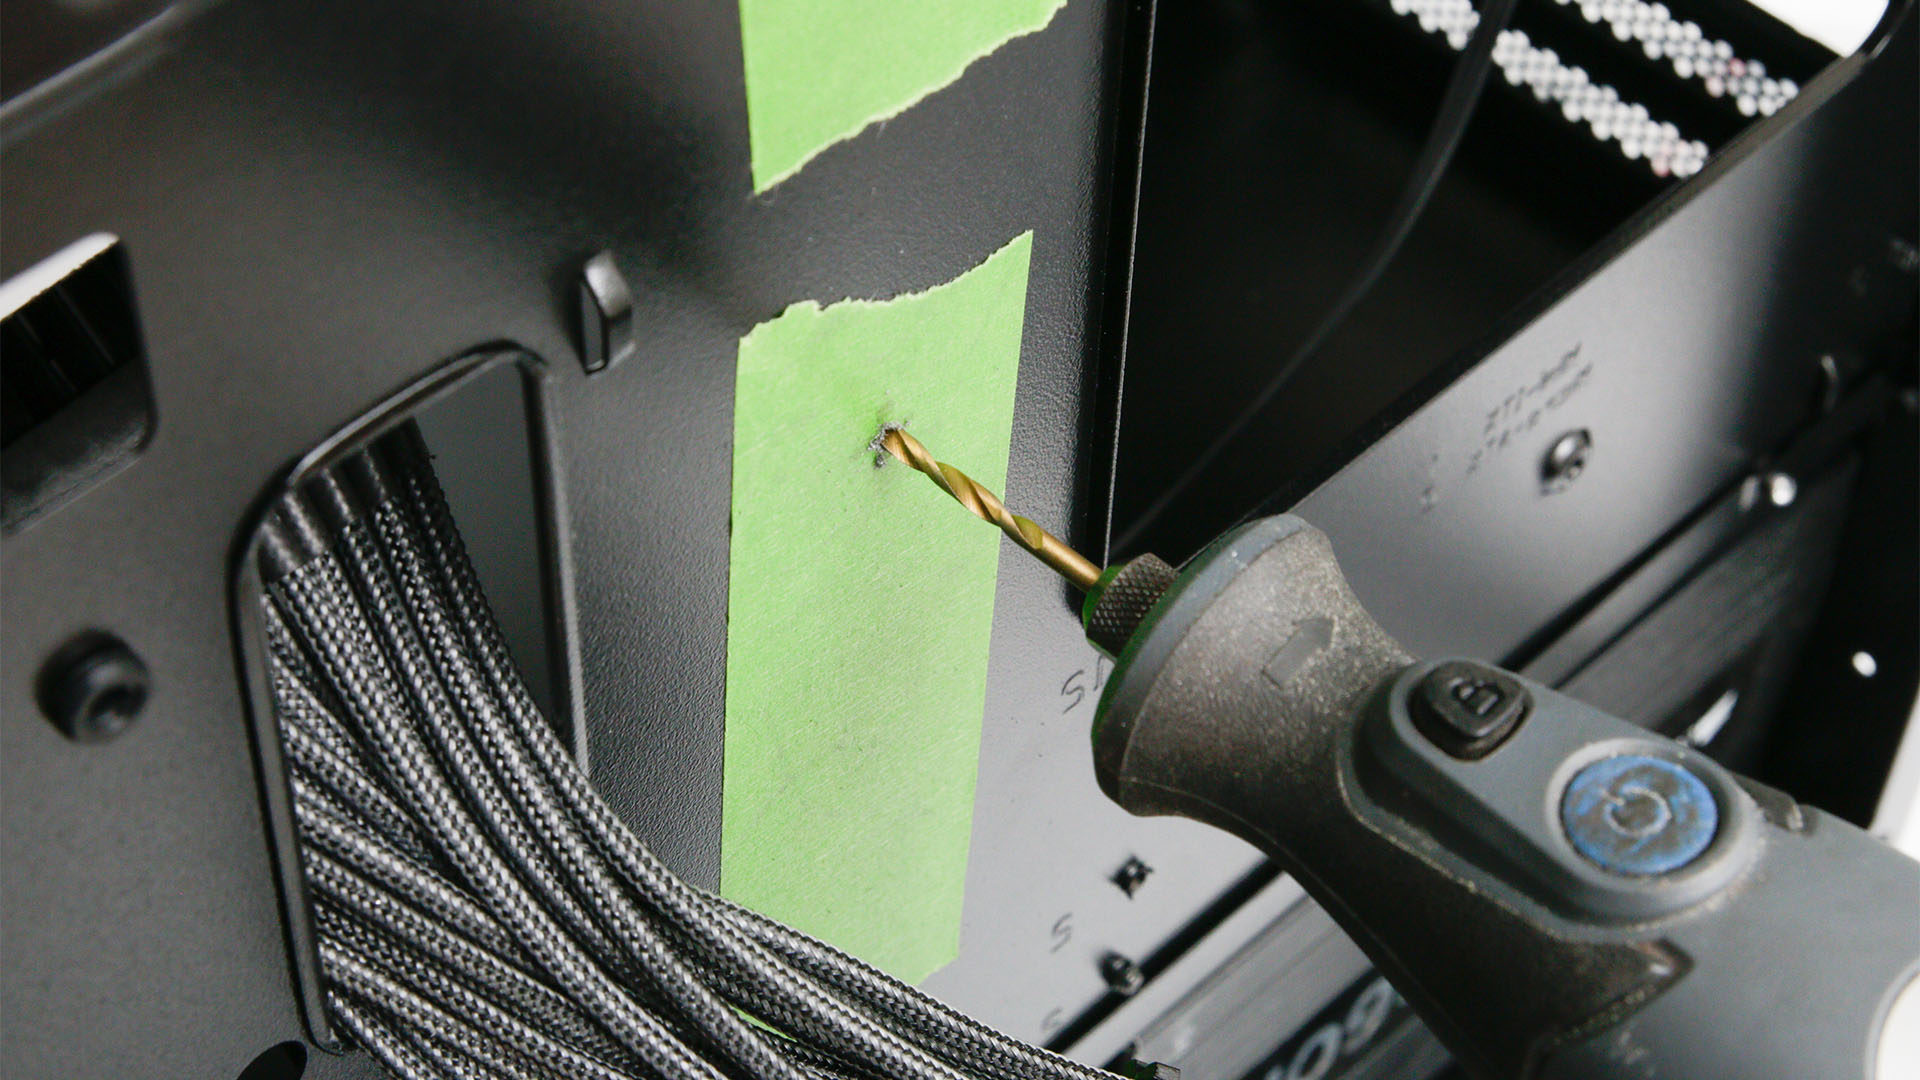
We’re using standard 6-32 PC screws to secure the Velcro ties to your case, and a 2.5mm drill bit to create the hole. We can then create a threaded hole by using a spare screw to tap into the hole with a sturdy screwdriver.
7. Punch hole in Velcro
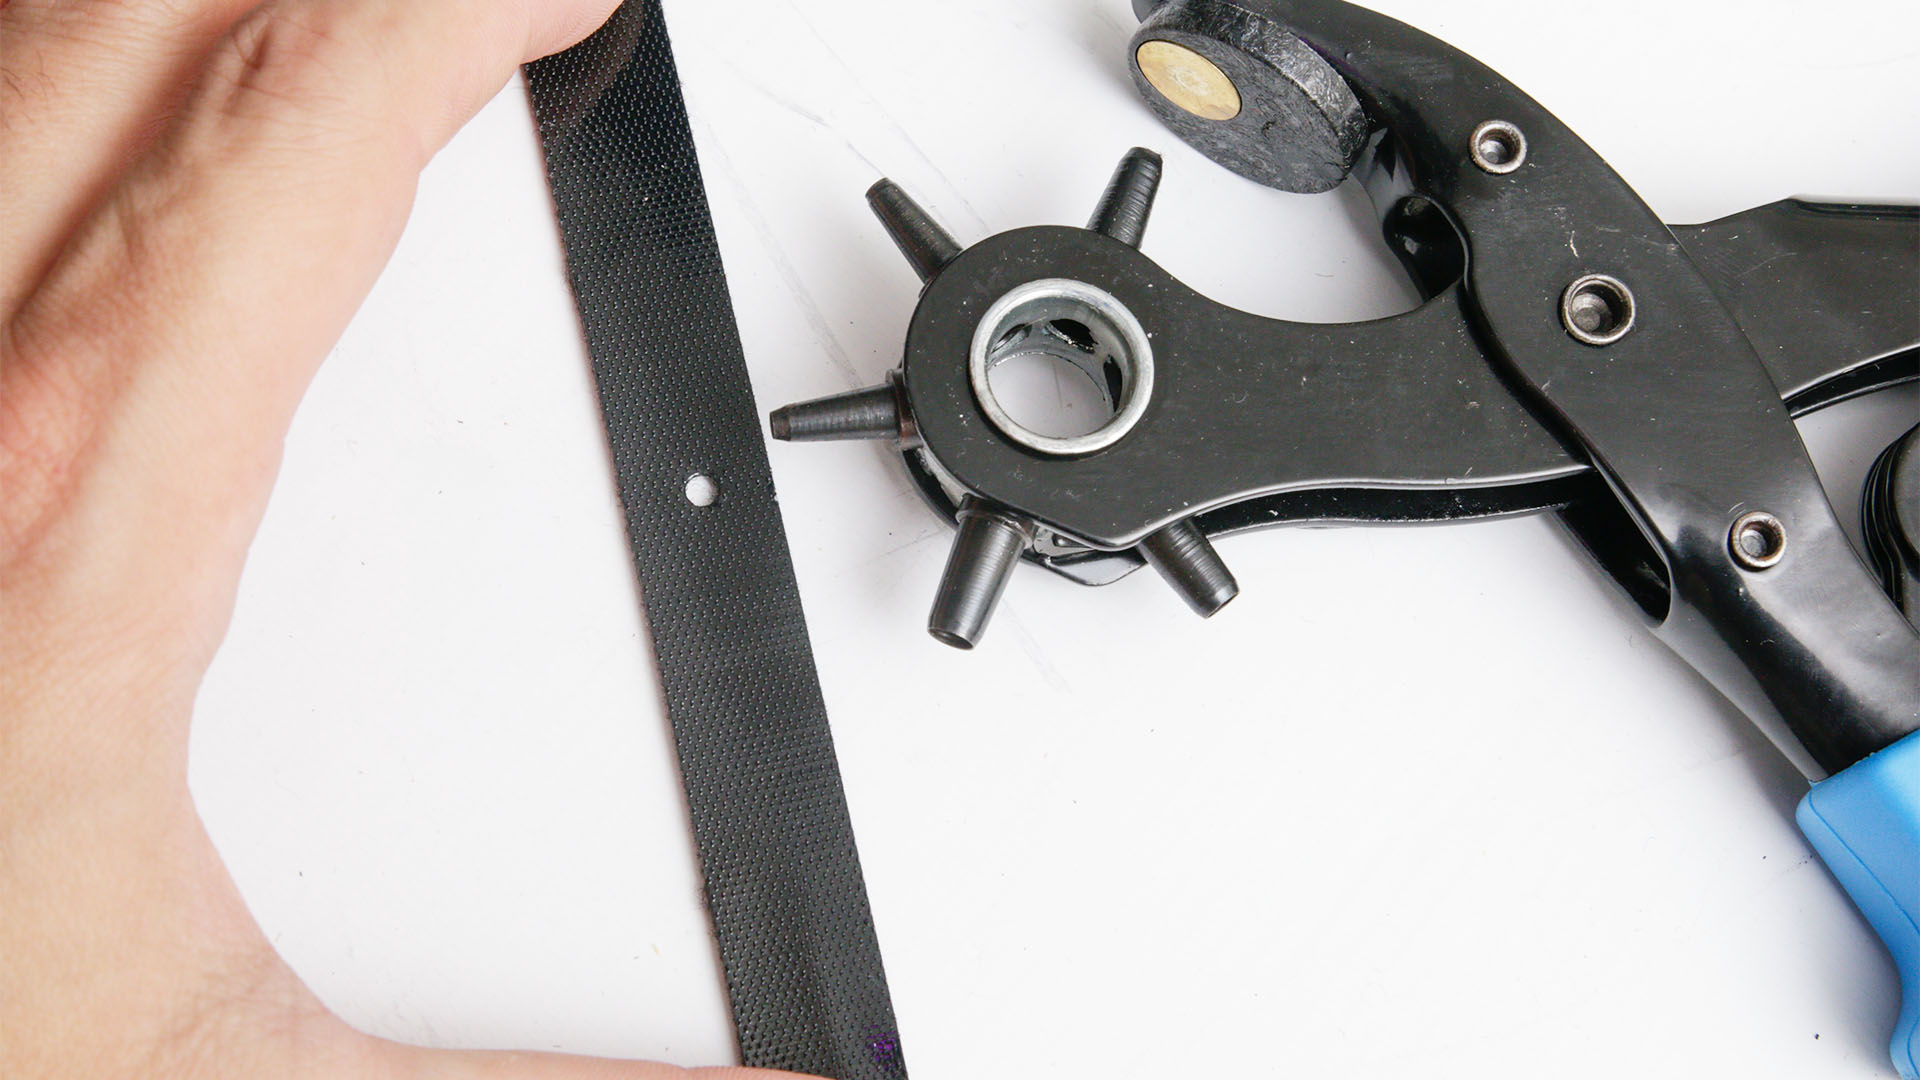
A leather hole punch offers the neatest way to create a hole in your Velcro, and in a variety of sizes. Here we’ve used the 3mm punch in the center of the Velcro strap.
8. Insert screw
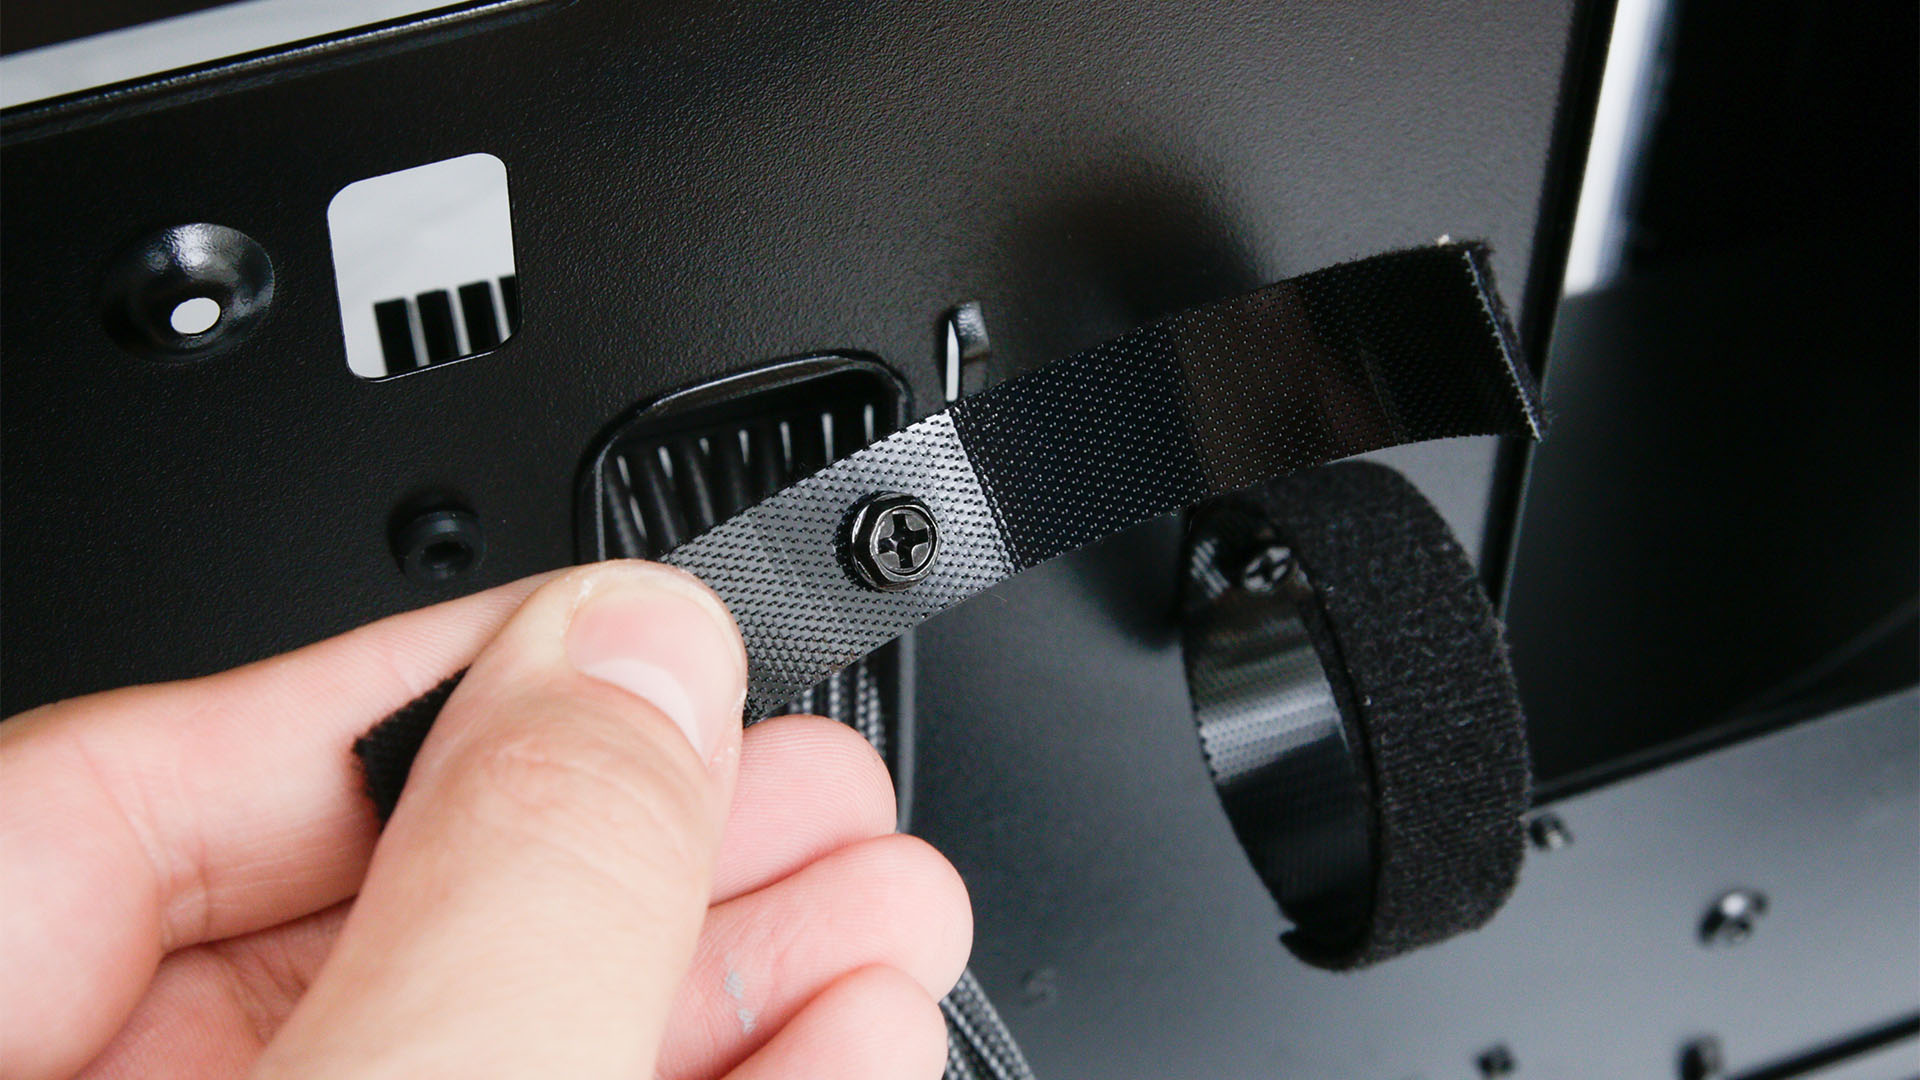
The 6-32 screw should easily pop into the hole you just made in the Velcro, with its thread gripping just enough to hold it in place. This will make it easier to screw into the threaded holes you created earlier.
9. Secure Velcro ties
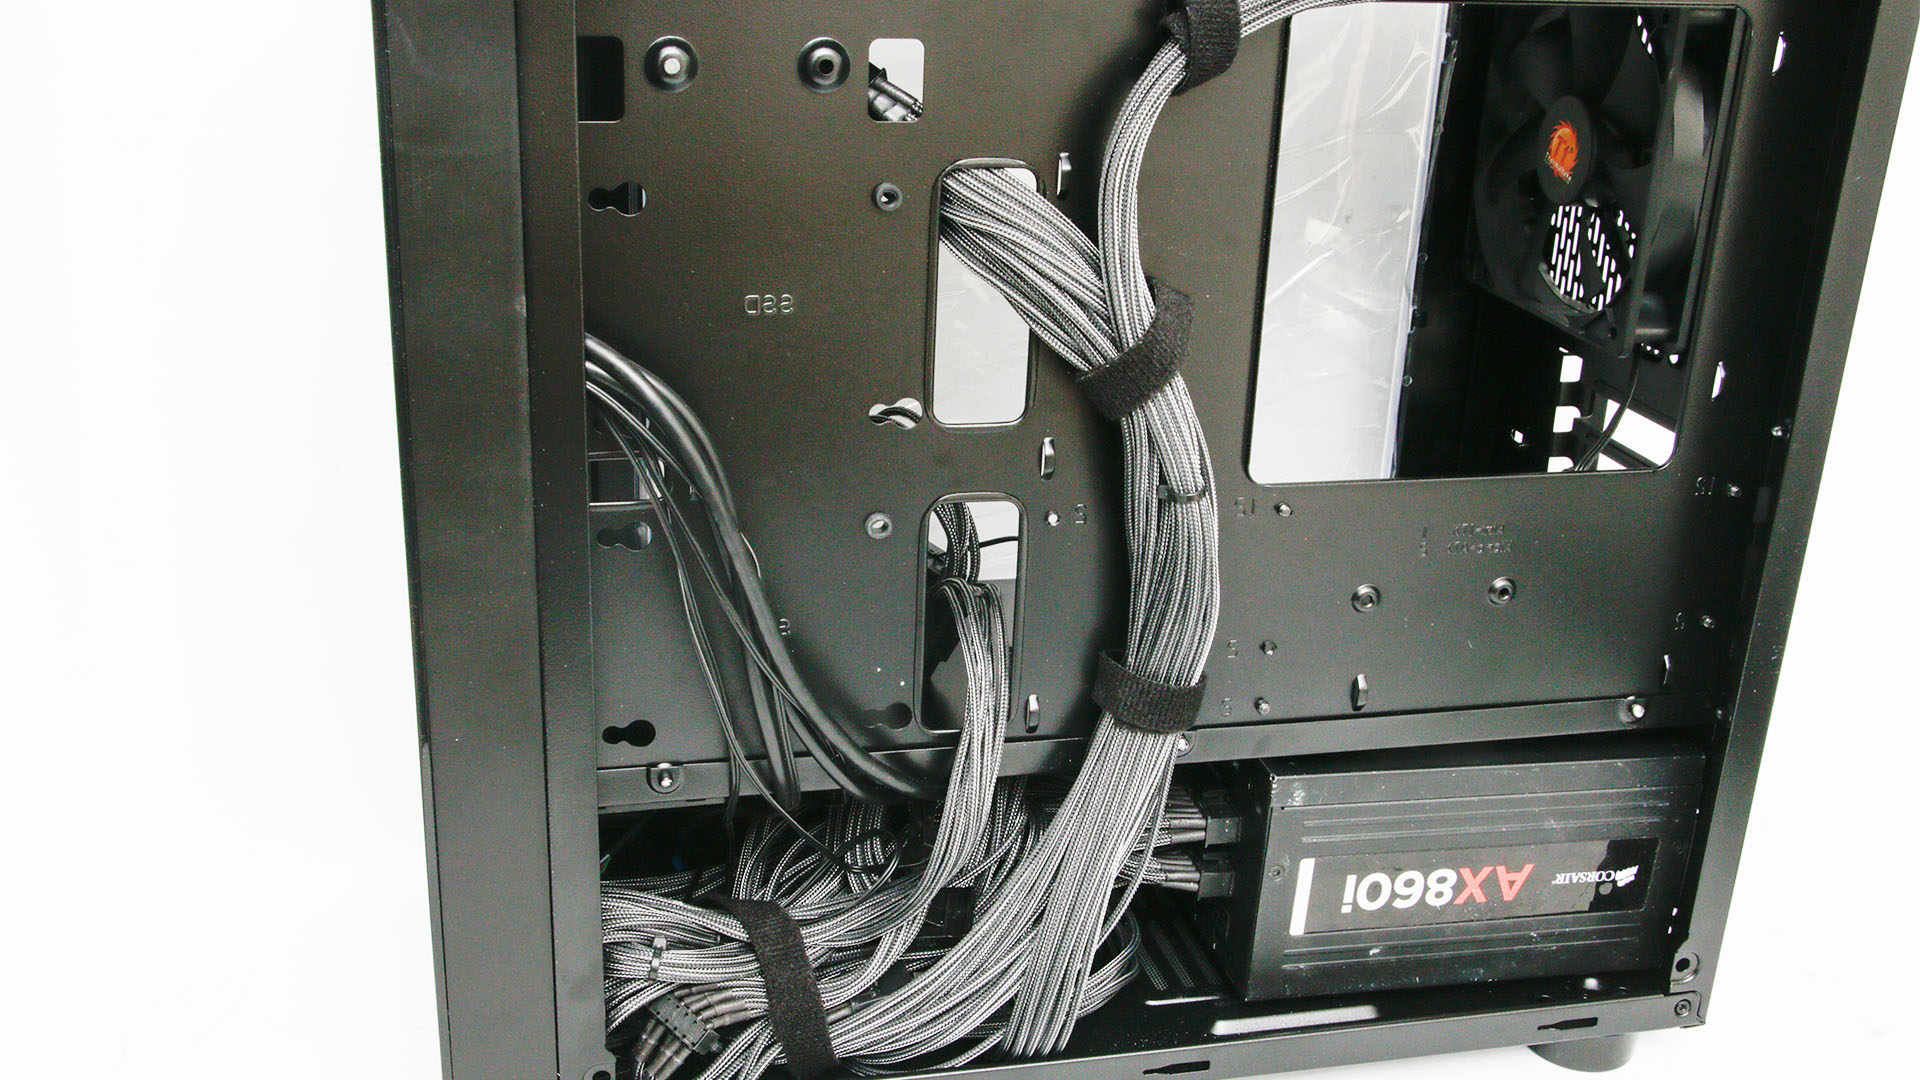
With the hole tapped to size using a spare screw, and a screw inserted into the Velcro tie, screw your contraption into the hole. You can now repeat the process for your other ties and then tidy your cables.
And that’s all there is to it – you can now enjoy your clutter-free PC with all the cables neatly tied out of the way, and you can easily reorganize them without having to throw away your cable ties.
For more case customization ideas, check out our full guide on how to paint your case, as well as our tutorial on how to add a USB-C port to your case’s front panel. If you’re building a whole new PC, make sure you also have a good read of our guide on how to build a gaming PC, which takes you through every step of the process.
