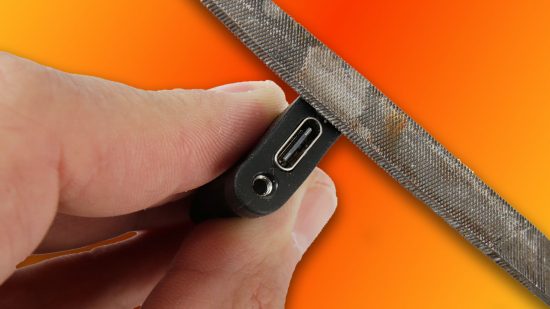
USB-C is becoming an increasingly common feature of cases and motherboards, as well as the latest USB hubs, smartphones, and other devices, but you can still have easy access to a USB-C port if you have an old case. In this guide, we’ll show you how to add USB-C to your PC case front panel, meaning an old chassis can still have the latest connection within easy reach.
If you don’t have one of the latest best PC case models with USB-C, but your case is otherwise fine, you’ll need to perform some simple modifications to your chassis. However, the end result will extend your case’s lifespan, and enable you to easily plug your phone into your PC without extra cables or adapters.
1. Check for clearance
Start by finding a suitable location for the port. We’ll be using a USB-C extension backplate, and putting the port at the bottom of our case’s front panel.
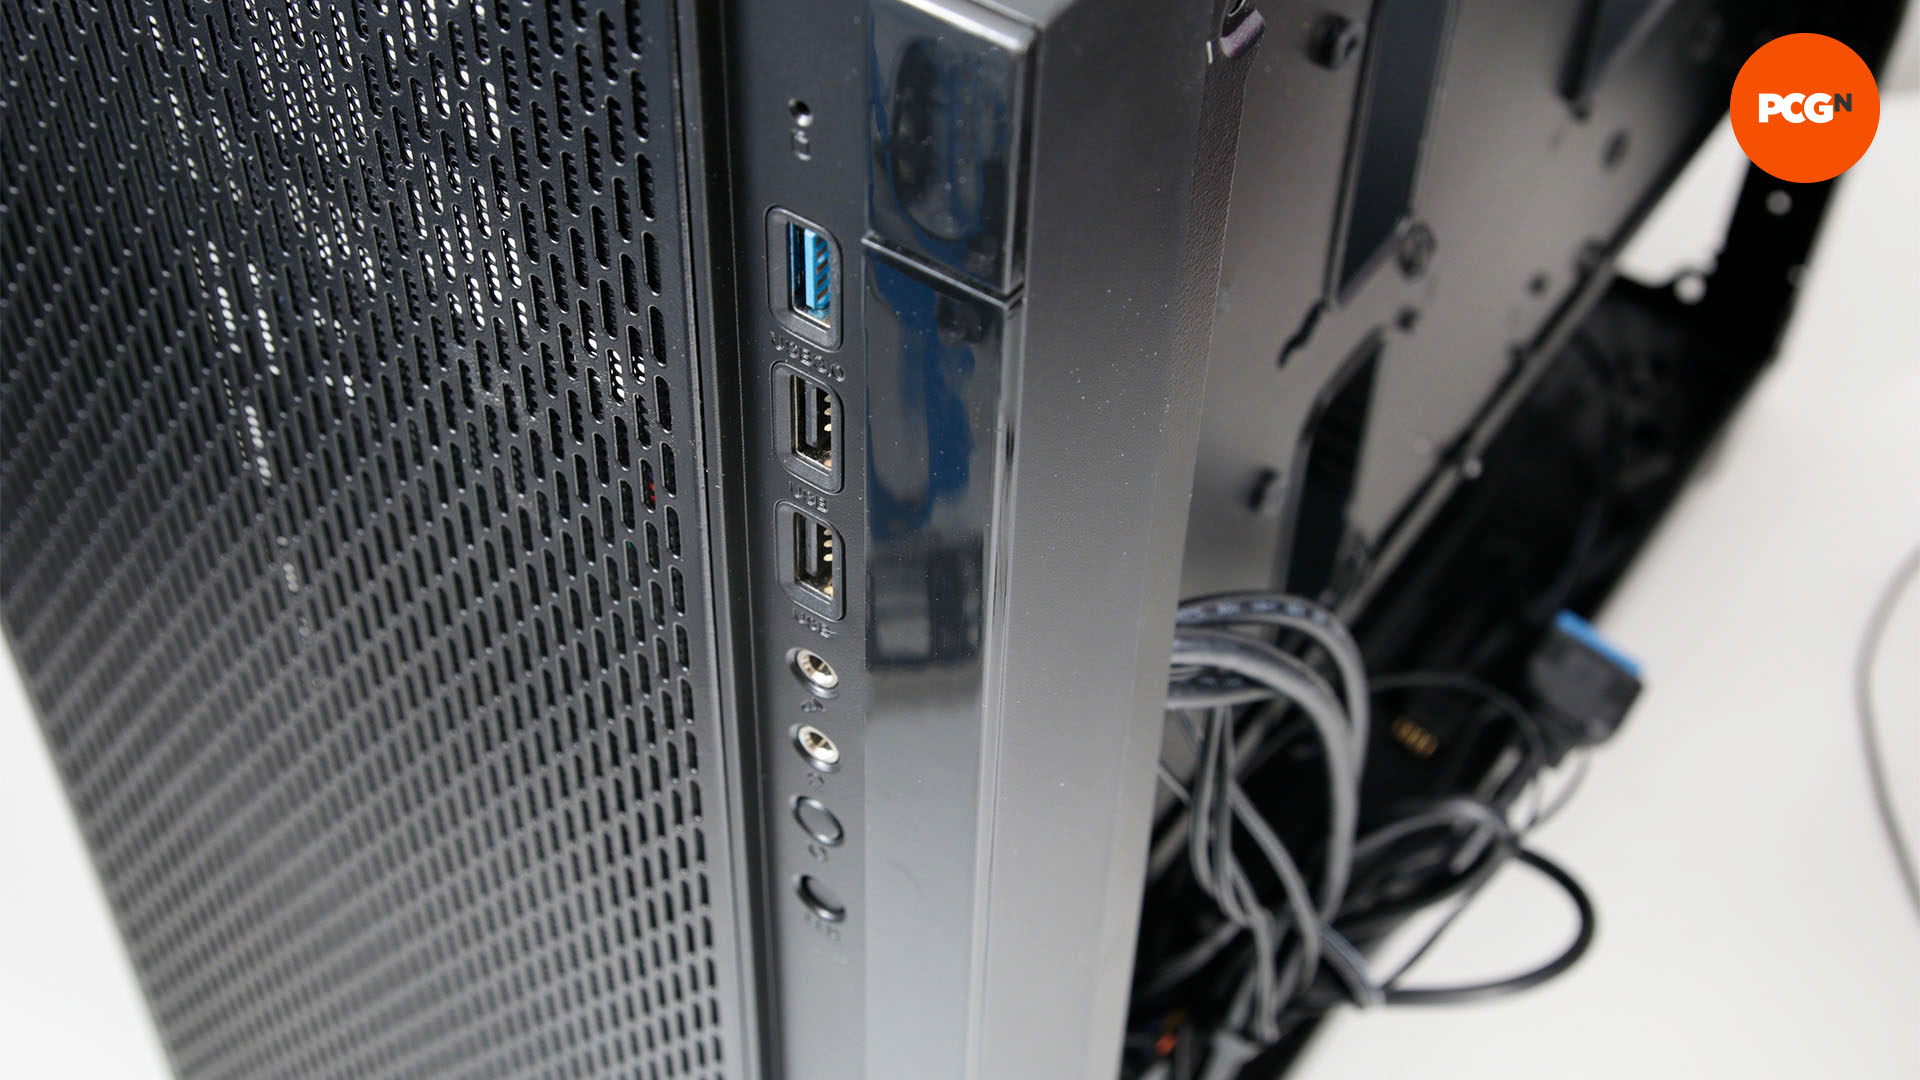
2. Remove front panel section
It’s easier to work with your front panel after it’s been removed from the case so, if possible, detach it now. If you’re adding your port to another part of the case, see if there’s a way to detach it too.
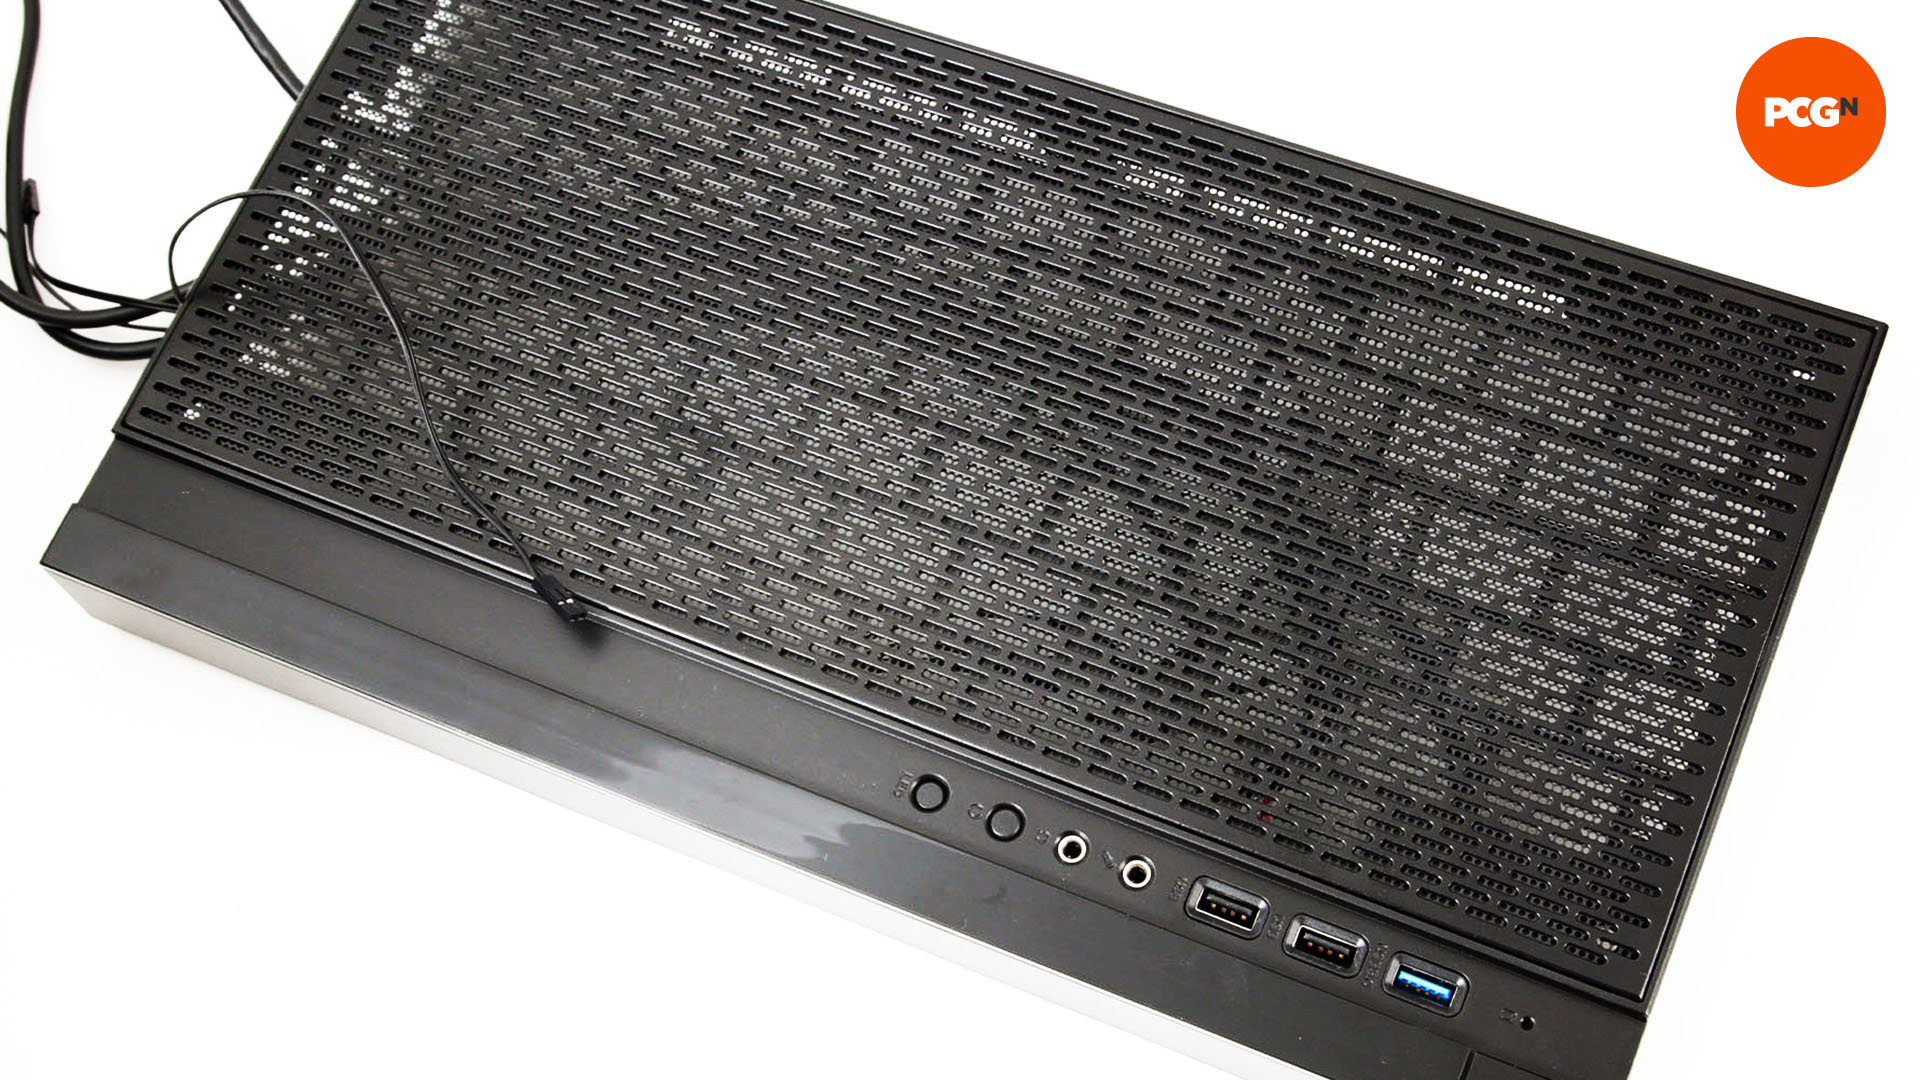
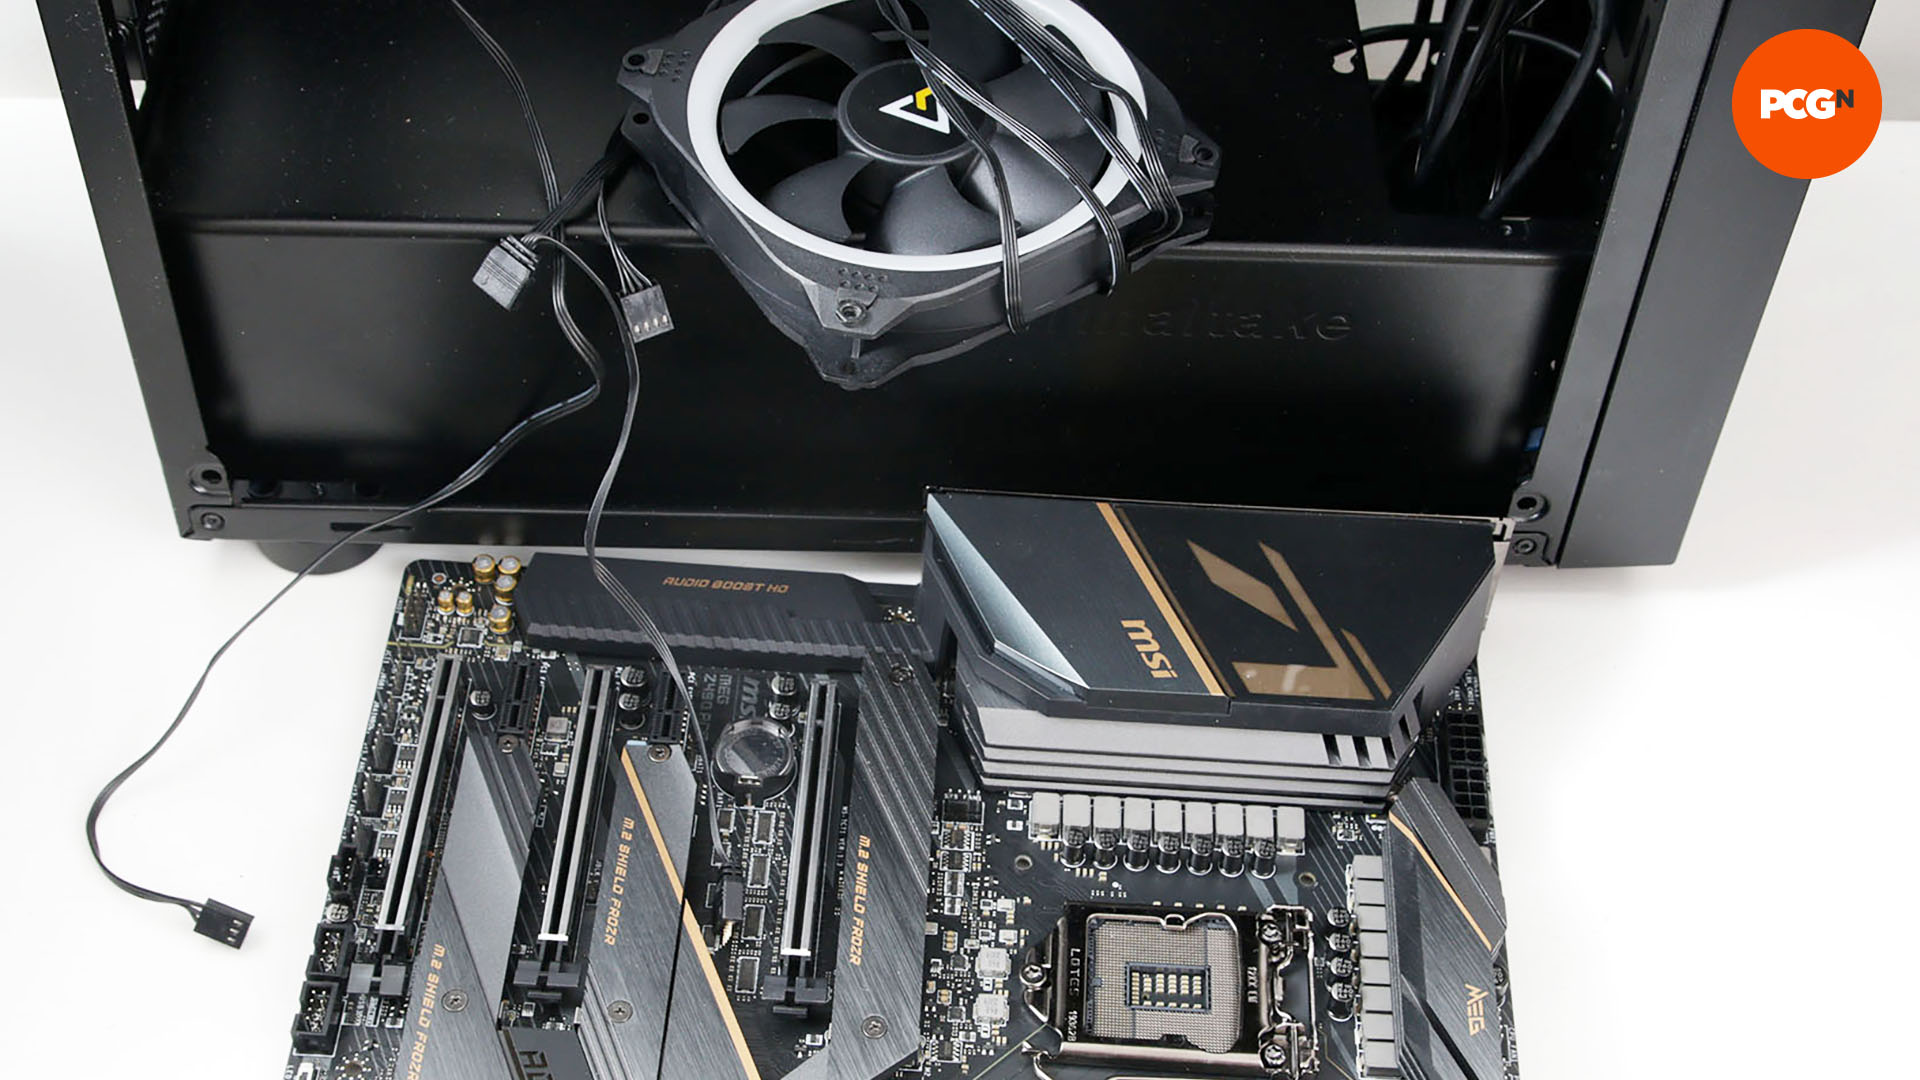
3. Remove hardware and fans
If you can’t remove the section you’ll be modifying, it’s essential to remove any hardware inside your case now, to prevent any metal dust and shards from becoming lodged inside it.
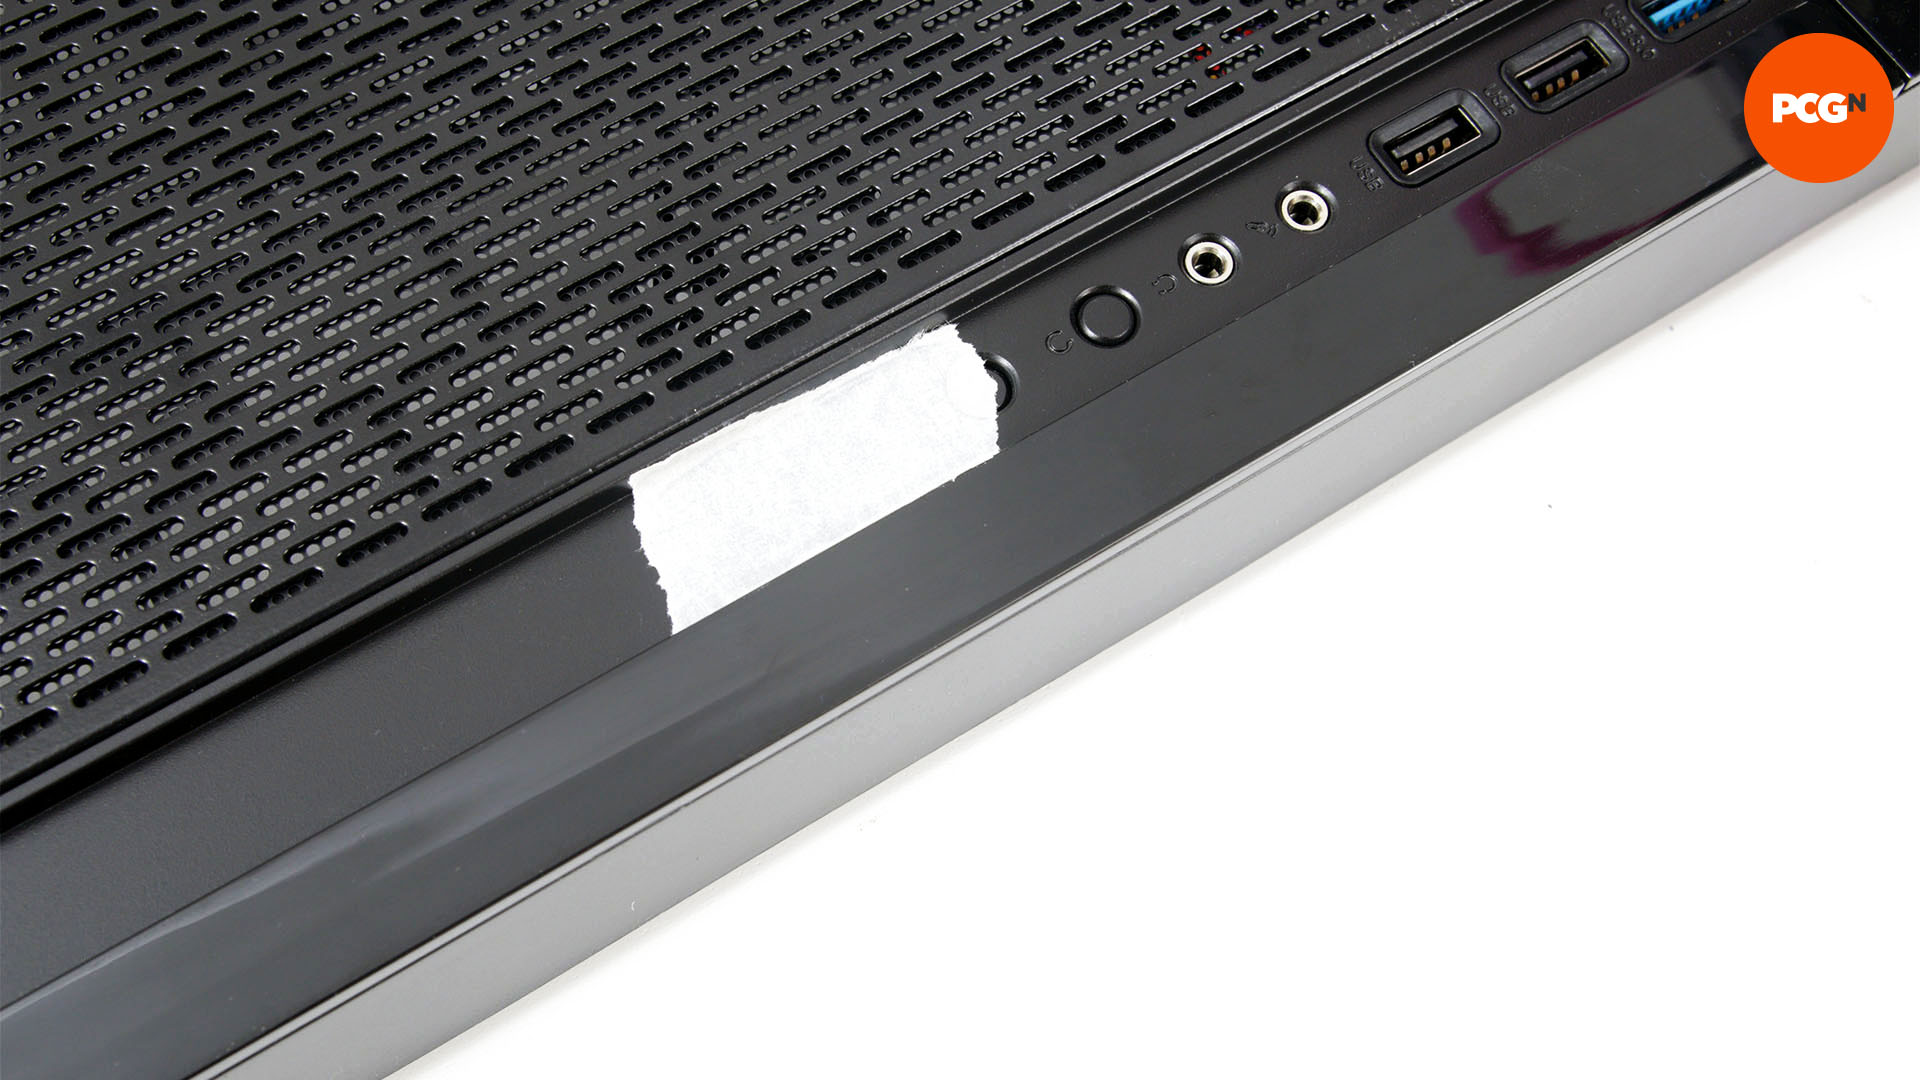
4. Use masking tape
Before marking up and cutting, apply masking tape to the area you’ll be cutting. This will allow you to draw more easily when you’re marking up the area and will protect your case’s paint from slips with drills and files.
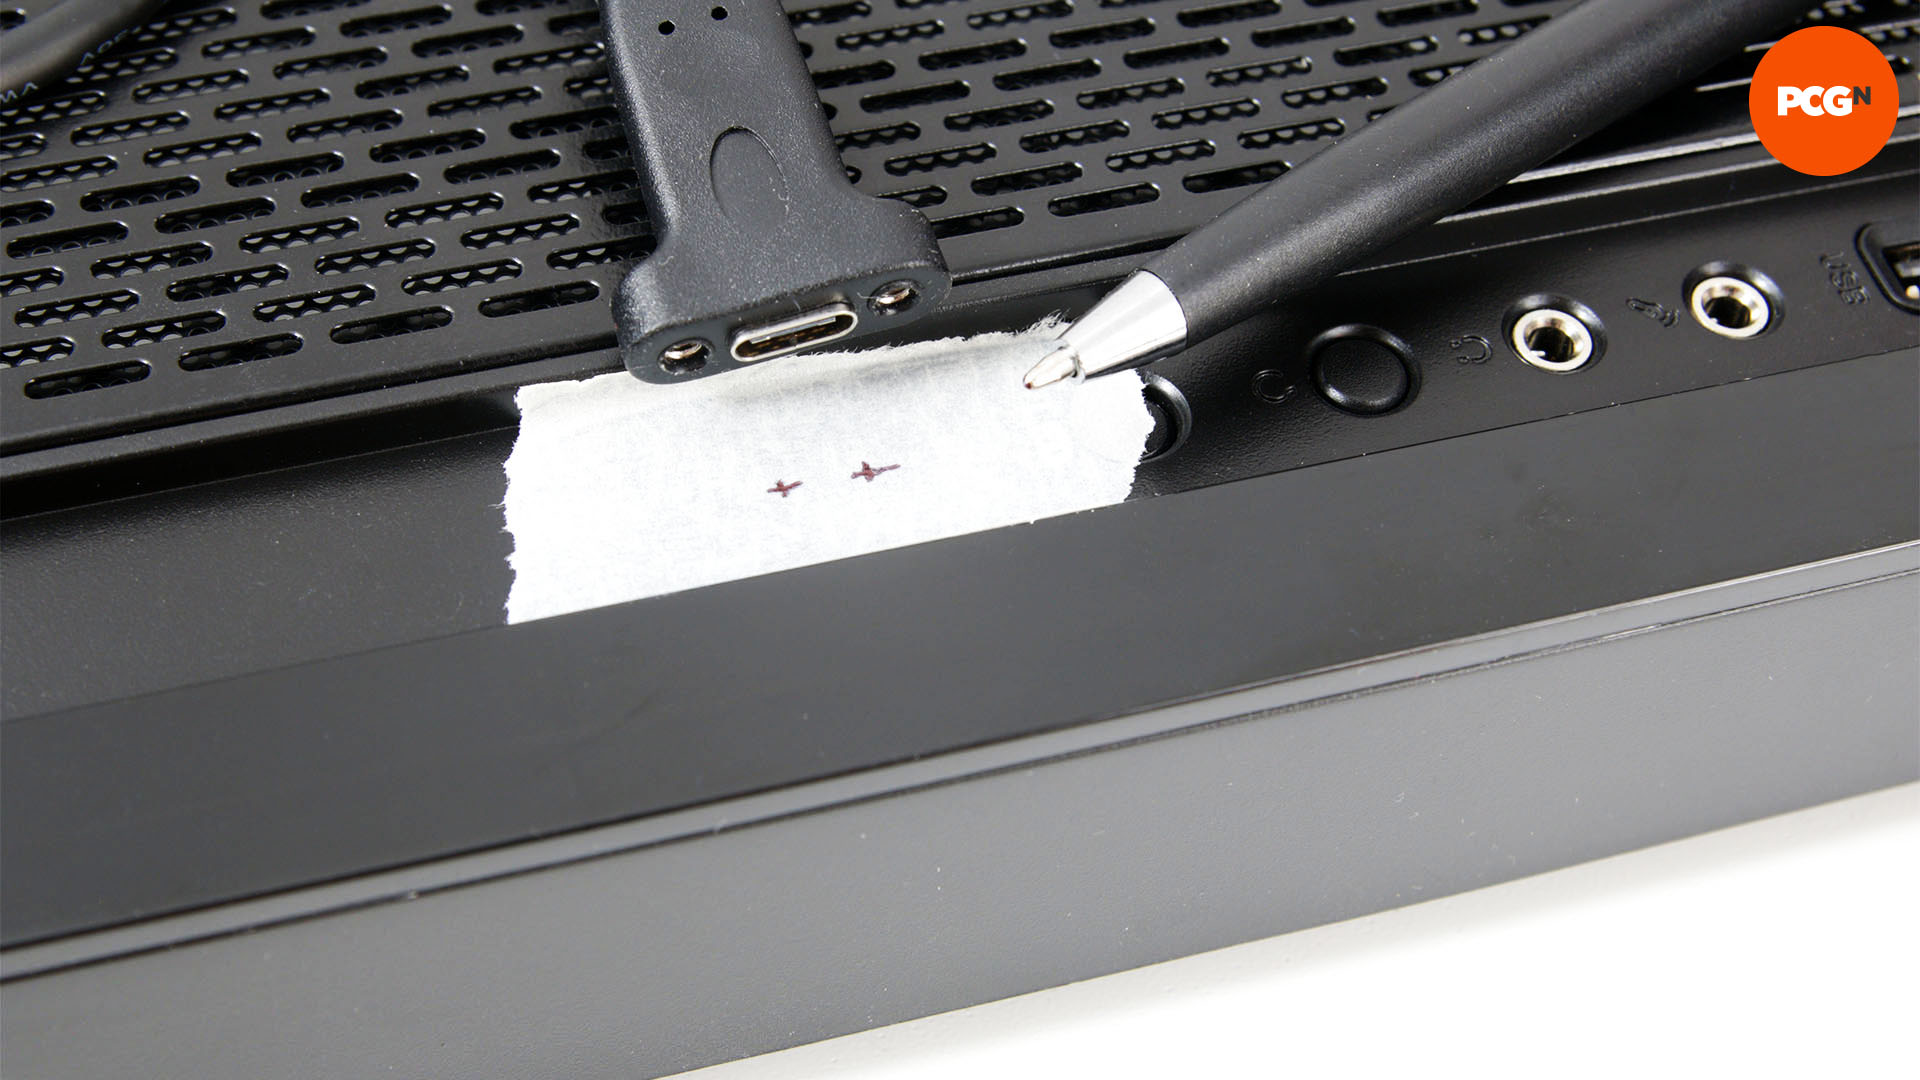
5. Mark up case for cutting
Offer up the USB-C port to your masked area for cutting, and draw around it to provide a cutting template. We’re making a single USB-C-shaped hole for our custom port.
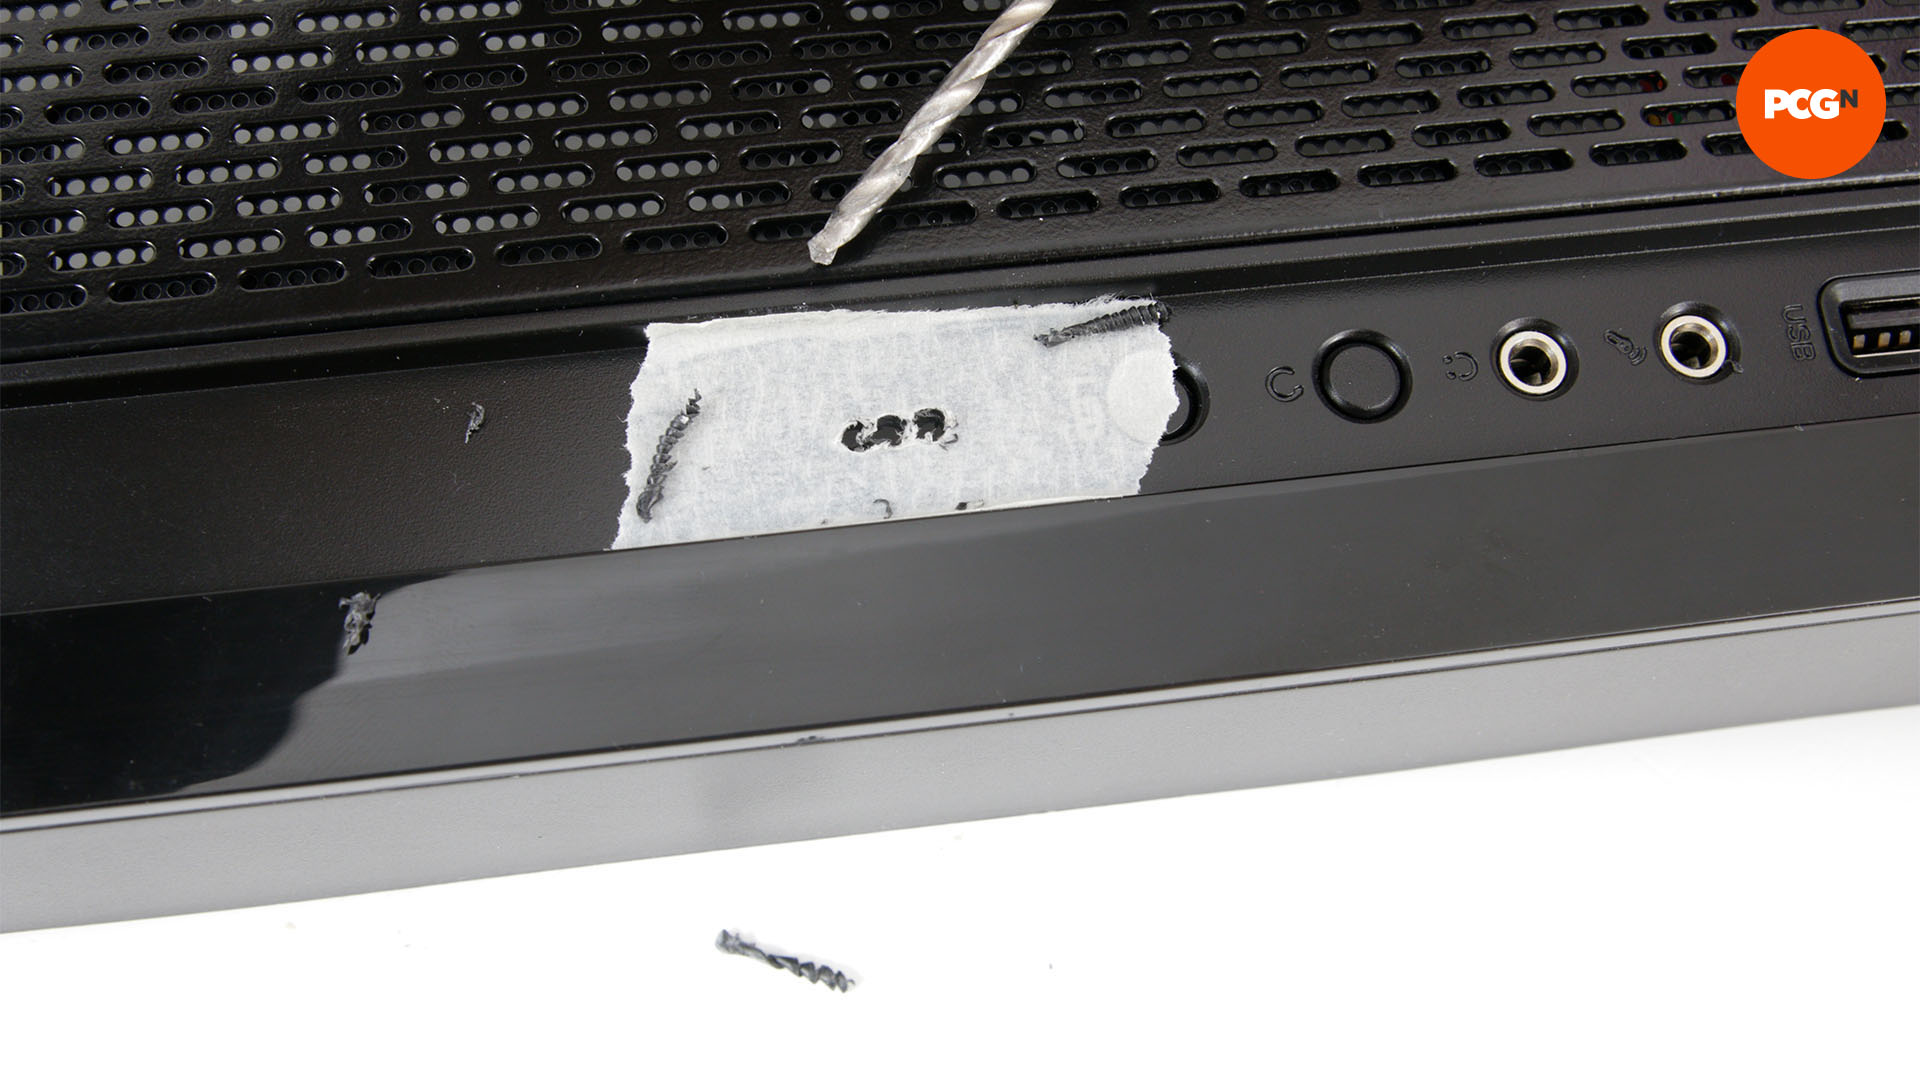
6. Drill pilot holes
Use a 3mm drill bit to drill holes at either end of the required hole. You can then continue drilling to open up the holes further. If you just have a drill, and no rotary tool or Dremel, you can use the drill’s edge to cut away the rest of the hole.
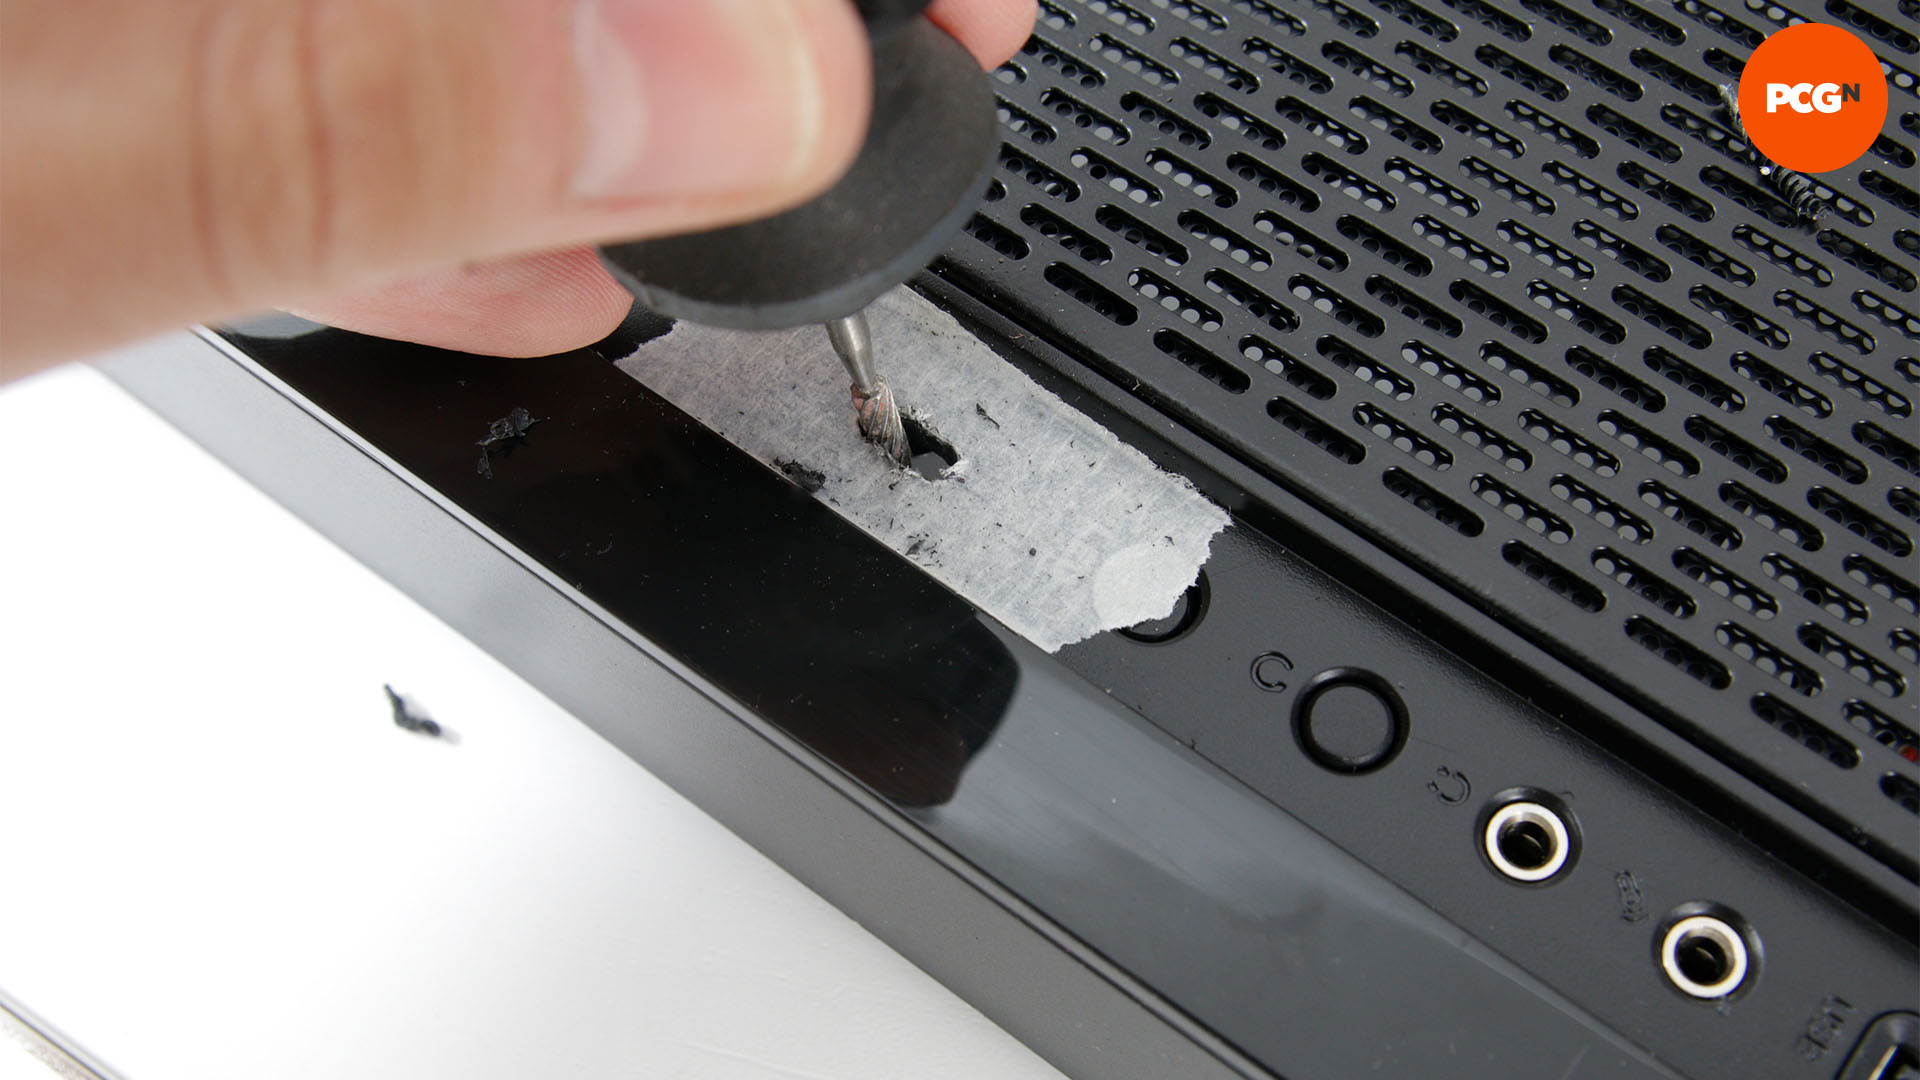
7. Use Dremel with routing attachment
Once you’ve drilled the pilot holes, a Dremel is the best tool for opening up the pilot holes into a larger hole. Use a small routing attachment and slowly work your way along the port hole.
8. File the hole
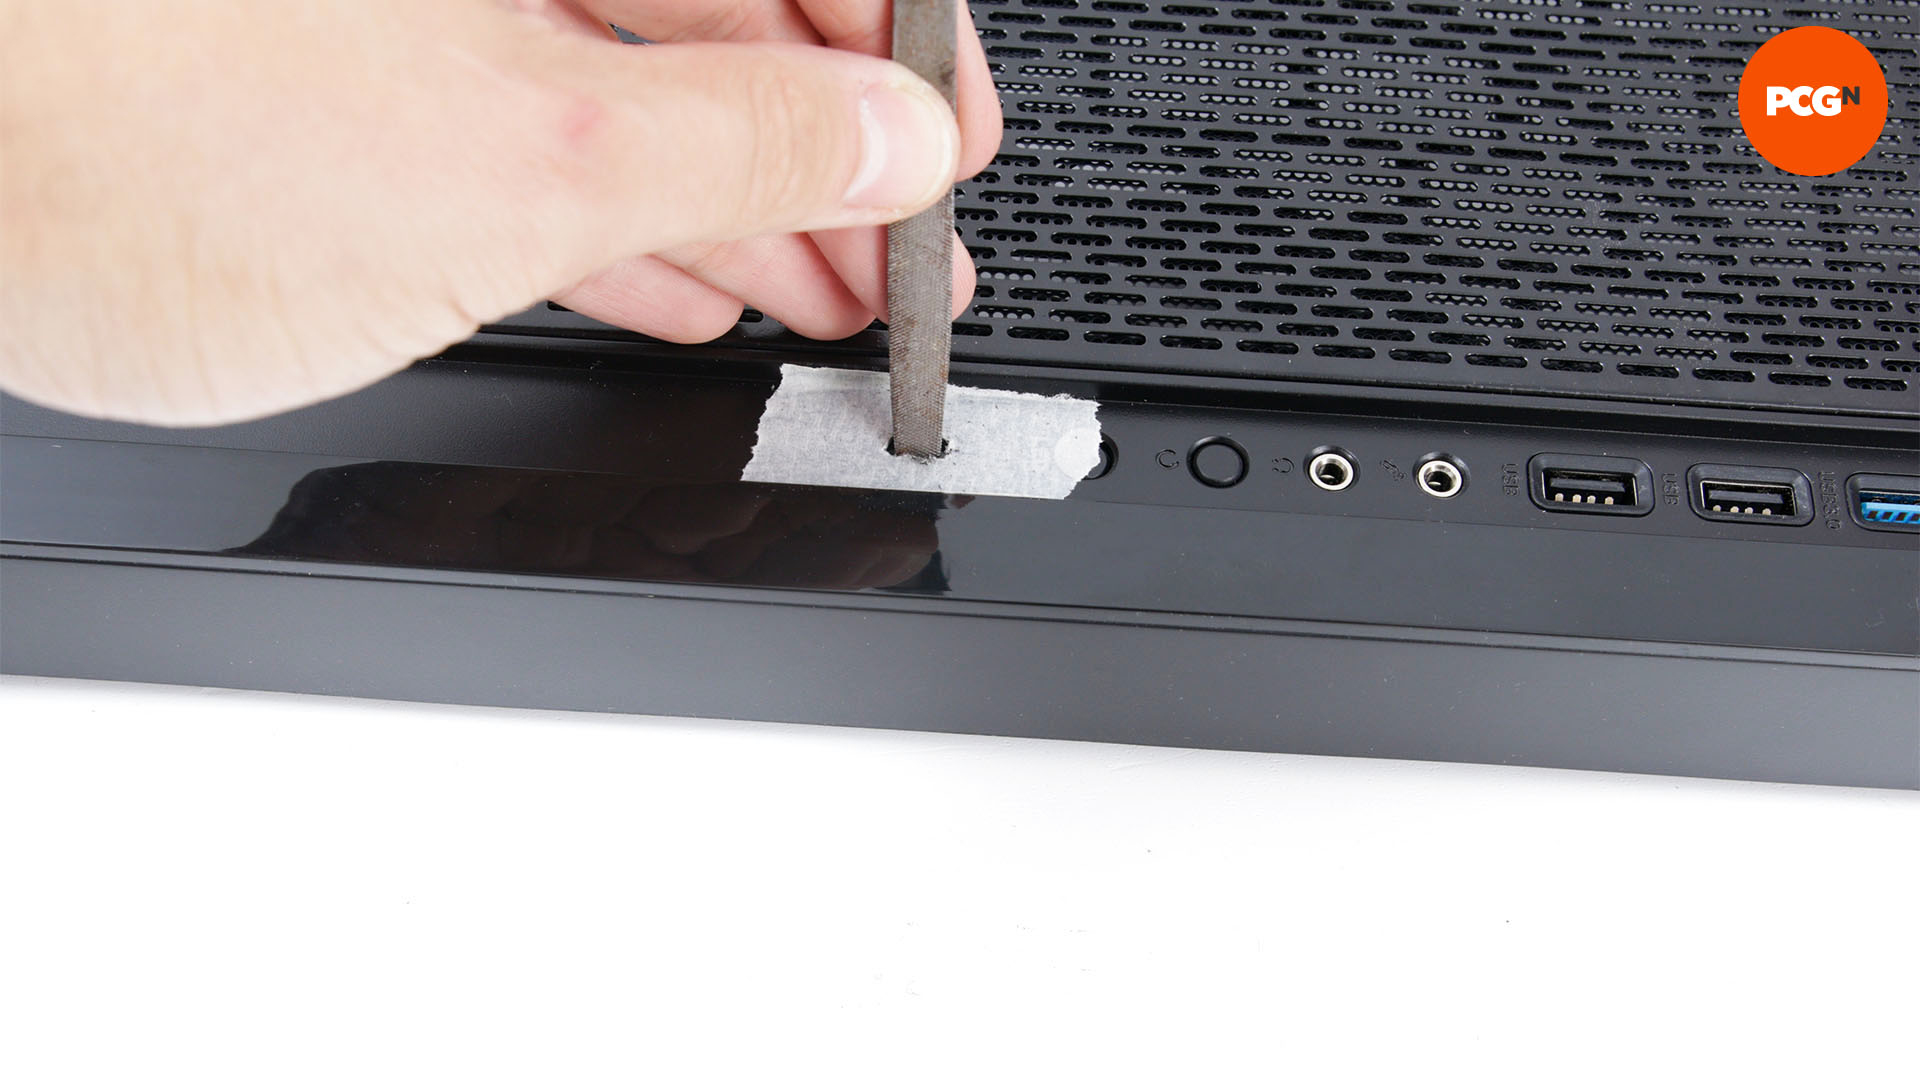
You now need to file the edges of the hole. Mini or finger files are the best tools here, as you want to give the hole a smooth edge, so it looks professional. Use light pressure and only enlarge the hole enough for the port beneath it to be accessed.
9. Secure port
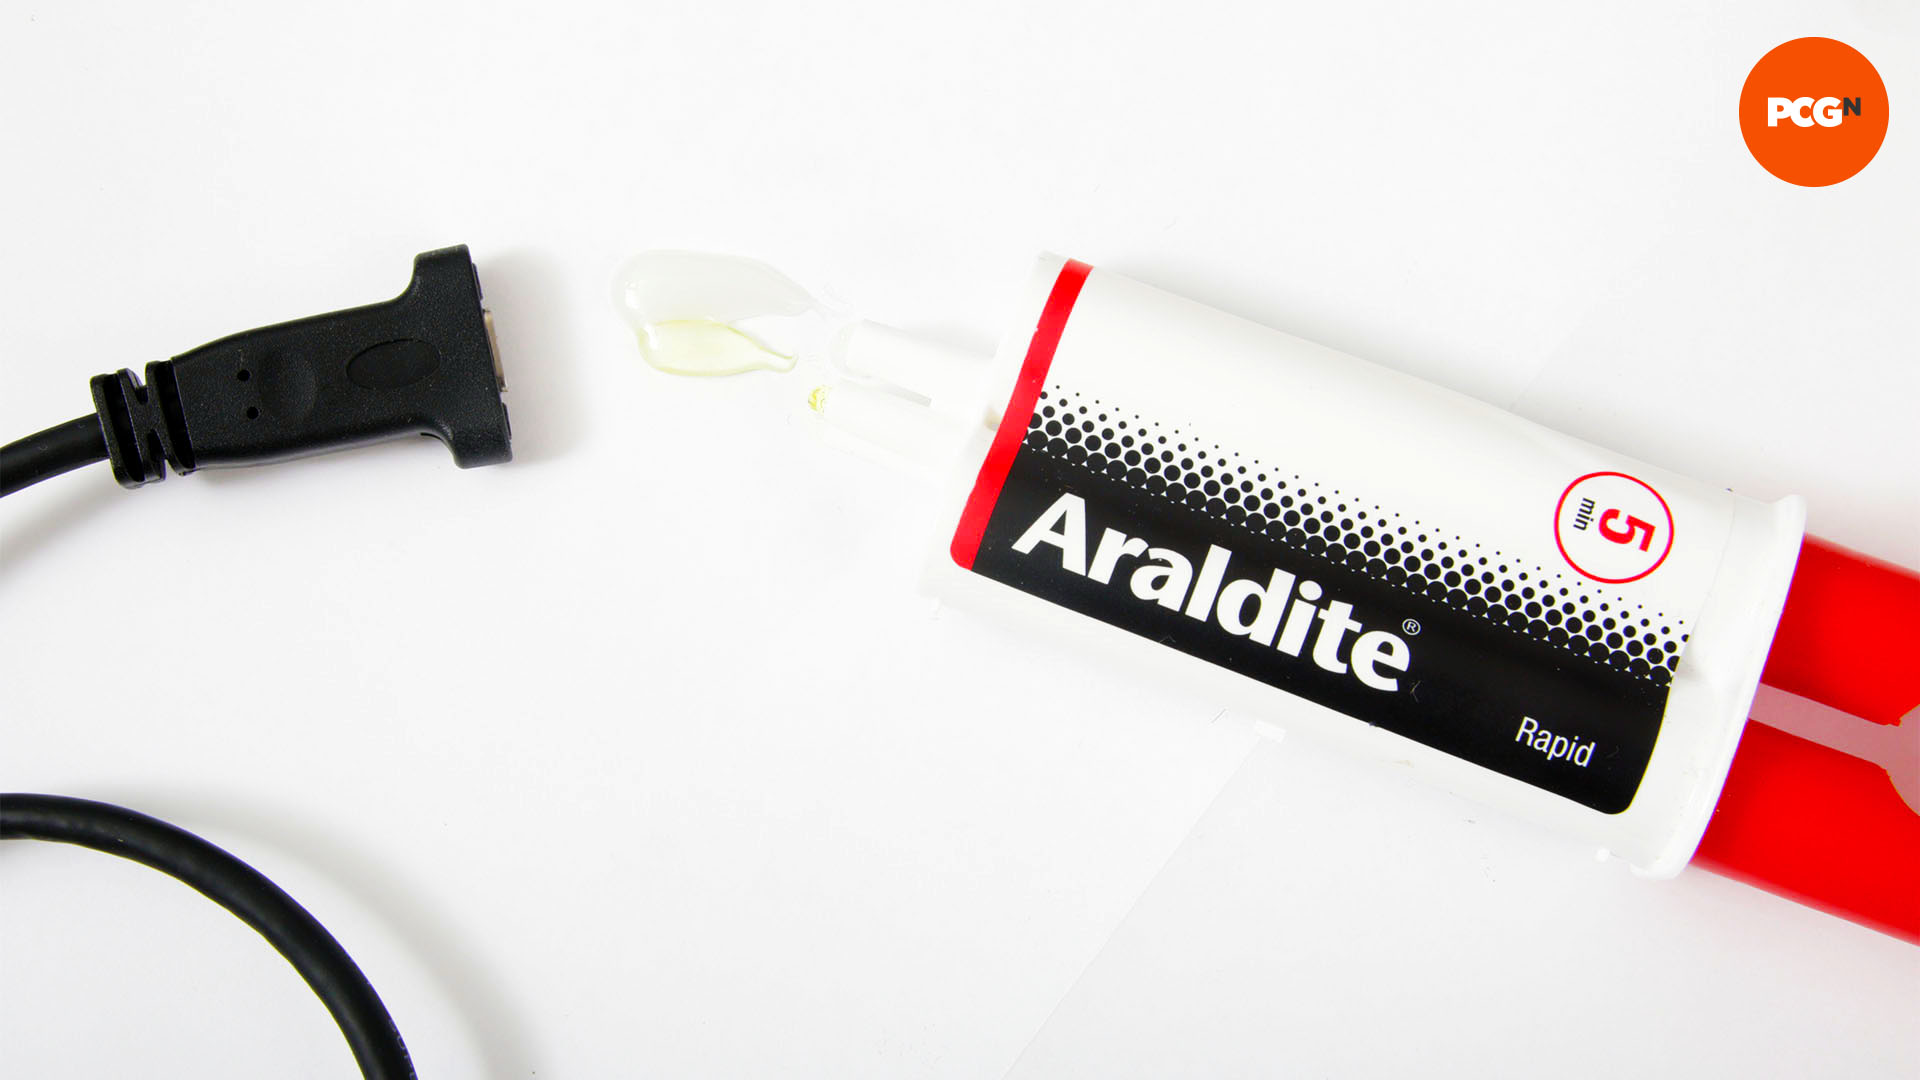
Most extension ports are secured with screws, so you can drill screw holes on either side of the port to fix it in place. Alternatively, you can use a strong quick-dry adhesive such as epoxy to secure it in place for a flush fit. Make sure you use plenty of glue, and allow it to dry for 24 hours before using the port.
10. Mark up mounting holes
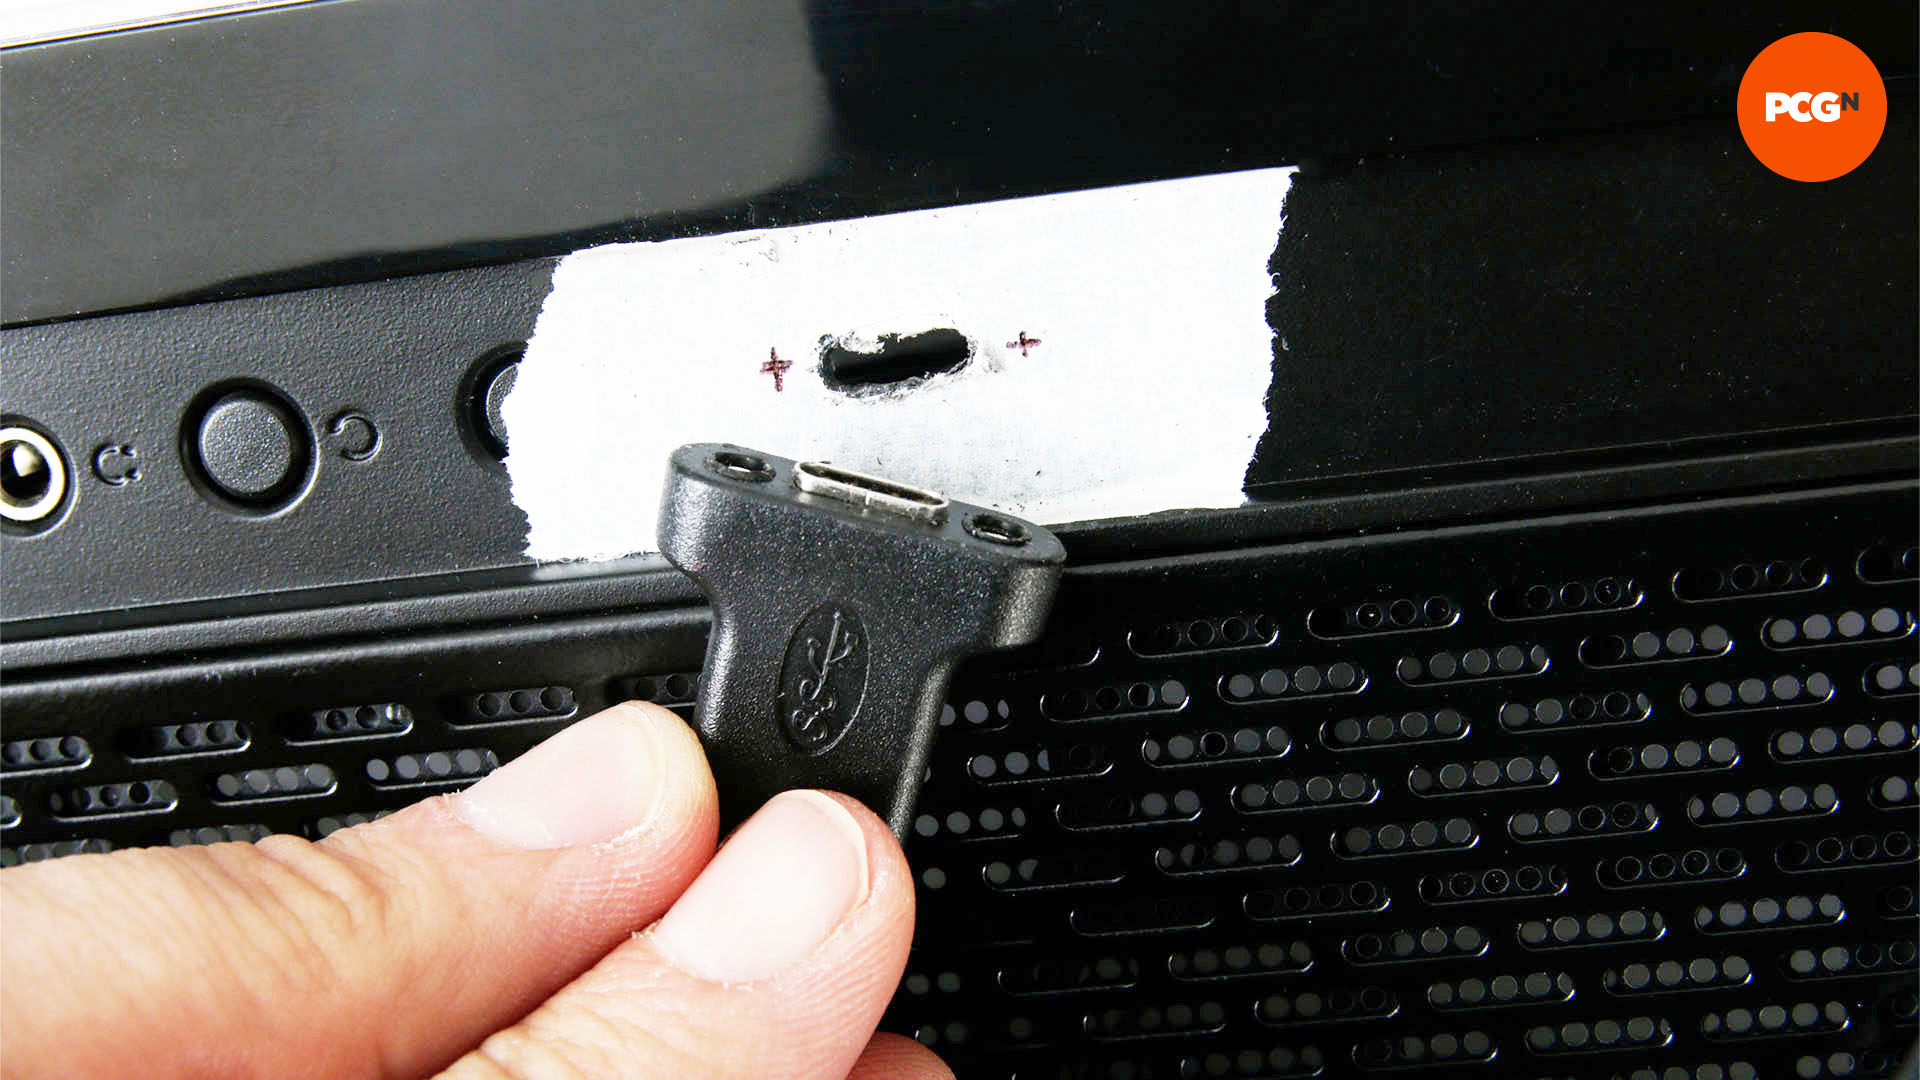
If you’d rather use screws then mark up the holes for them, using a small pen. Double-check your measurements here, as you need to be very accurate.
11. Drill mounting holes
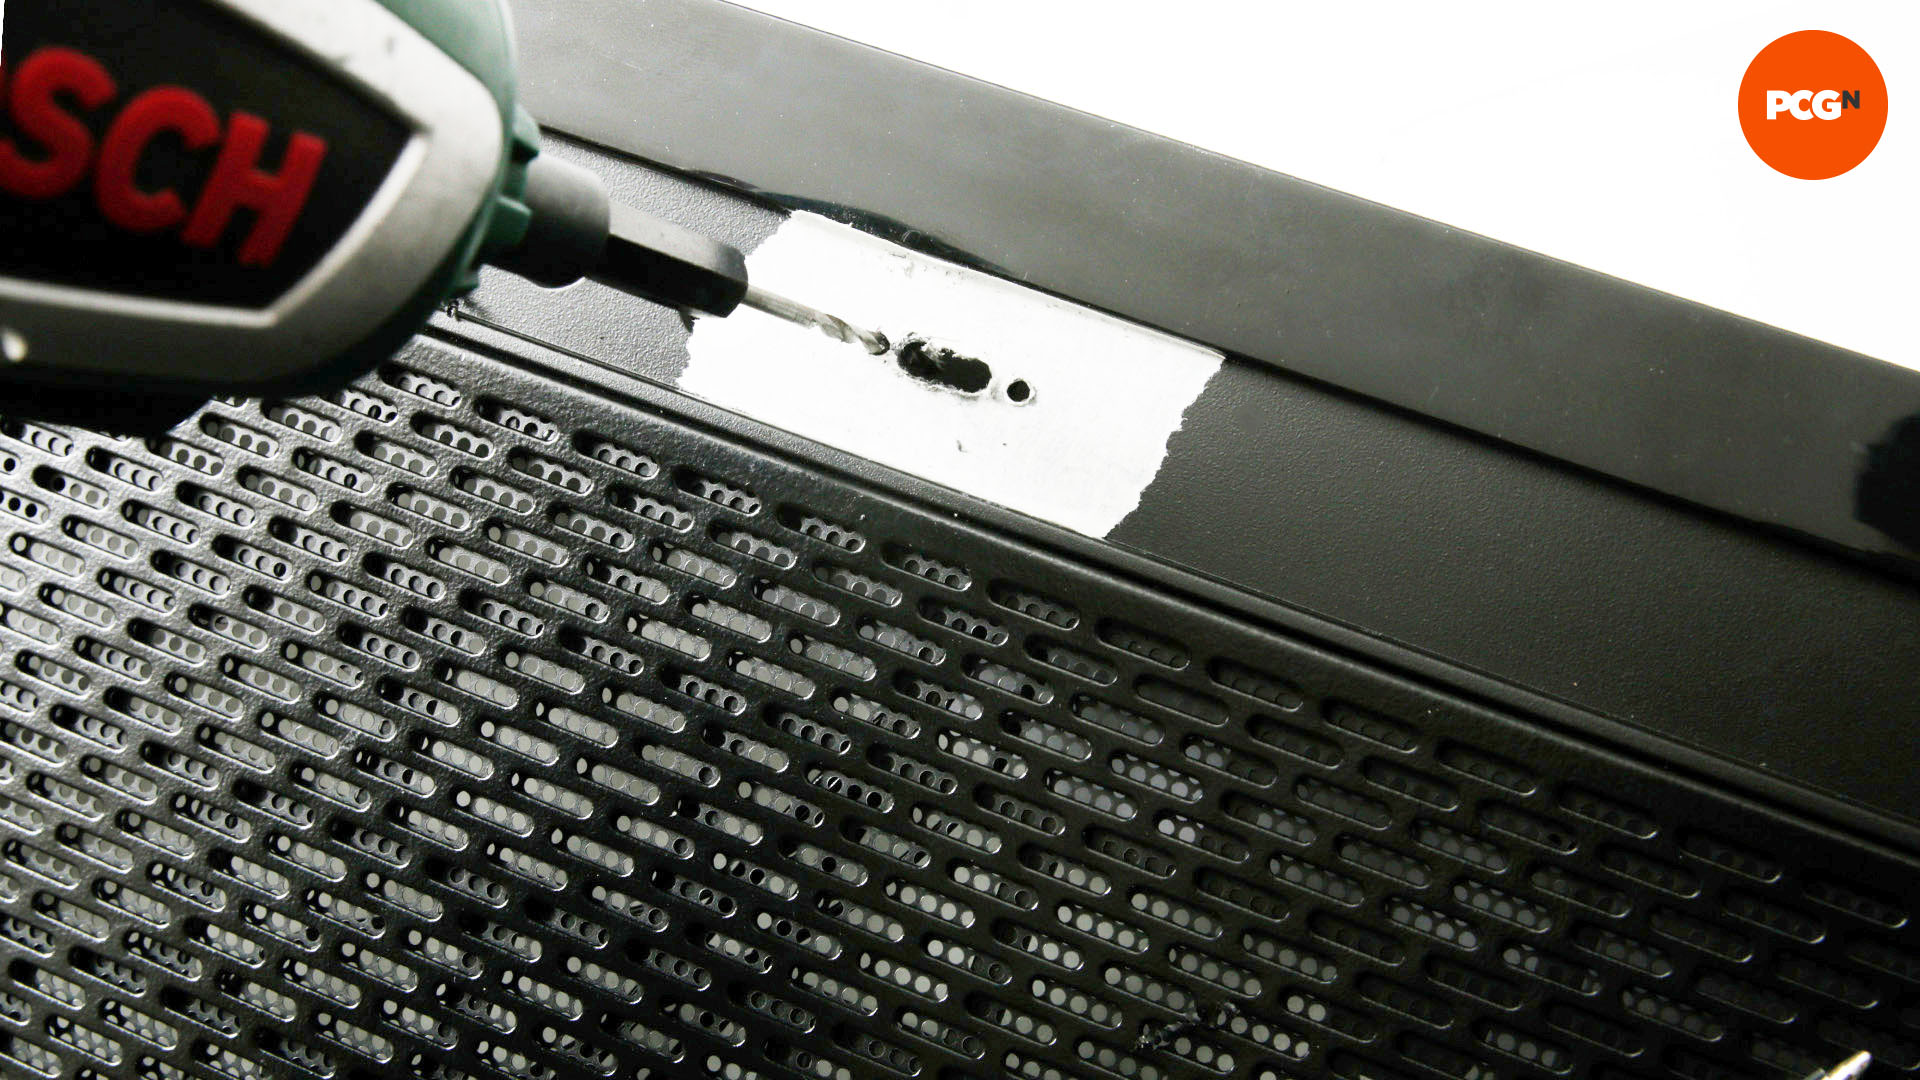
Use a drill bit the same size as the screw threads on your adaptor cable, as you want the screws to pass through the case easily and into the port beneath.
12. Drill screw recesses
If you’re using screws, you can use a large drill bit to create recesses, so they sit flush with the case. Use a drill bit with a head 1mm wider than the screw head, and only allow it to drill half a millimeter or so into the case, creating a shallow recess.
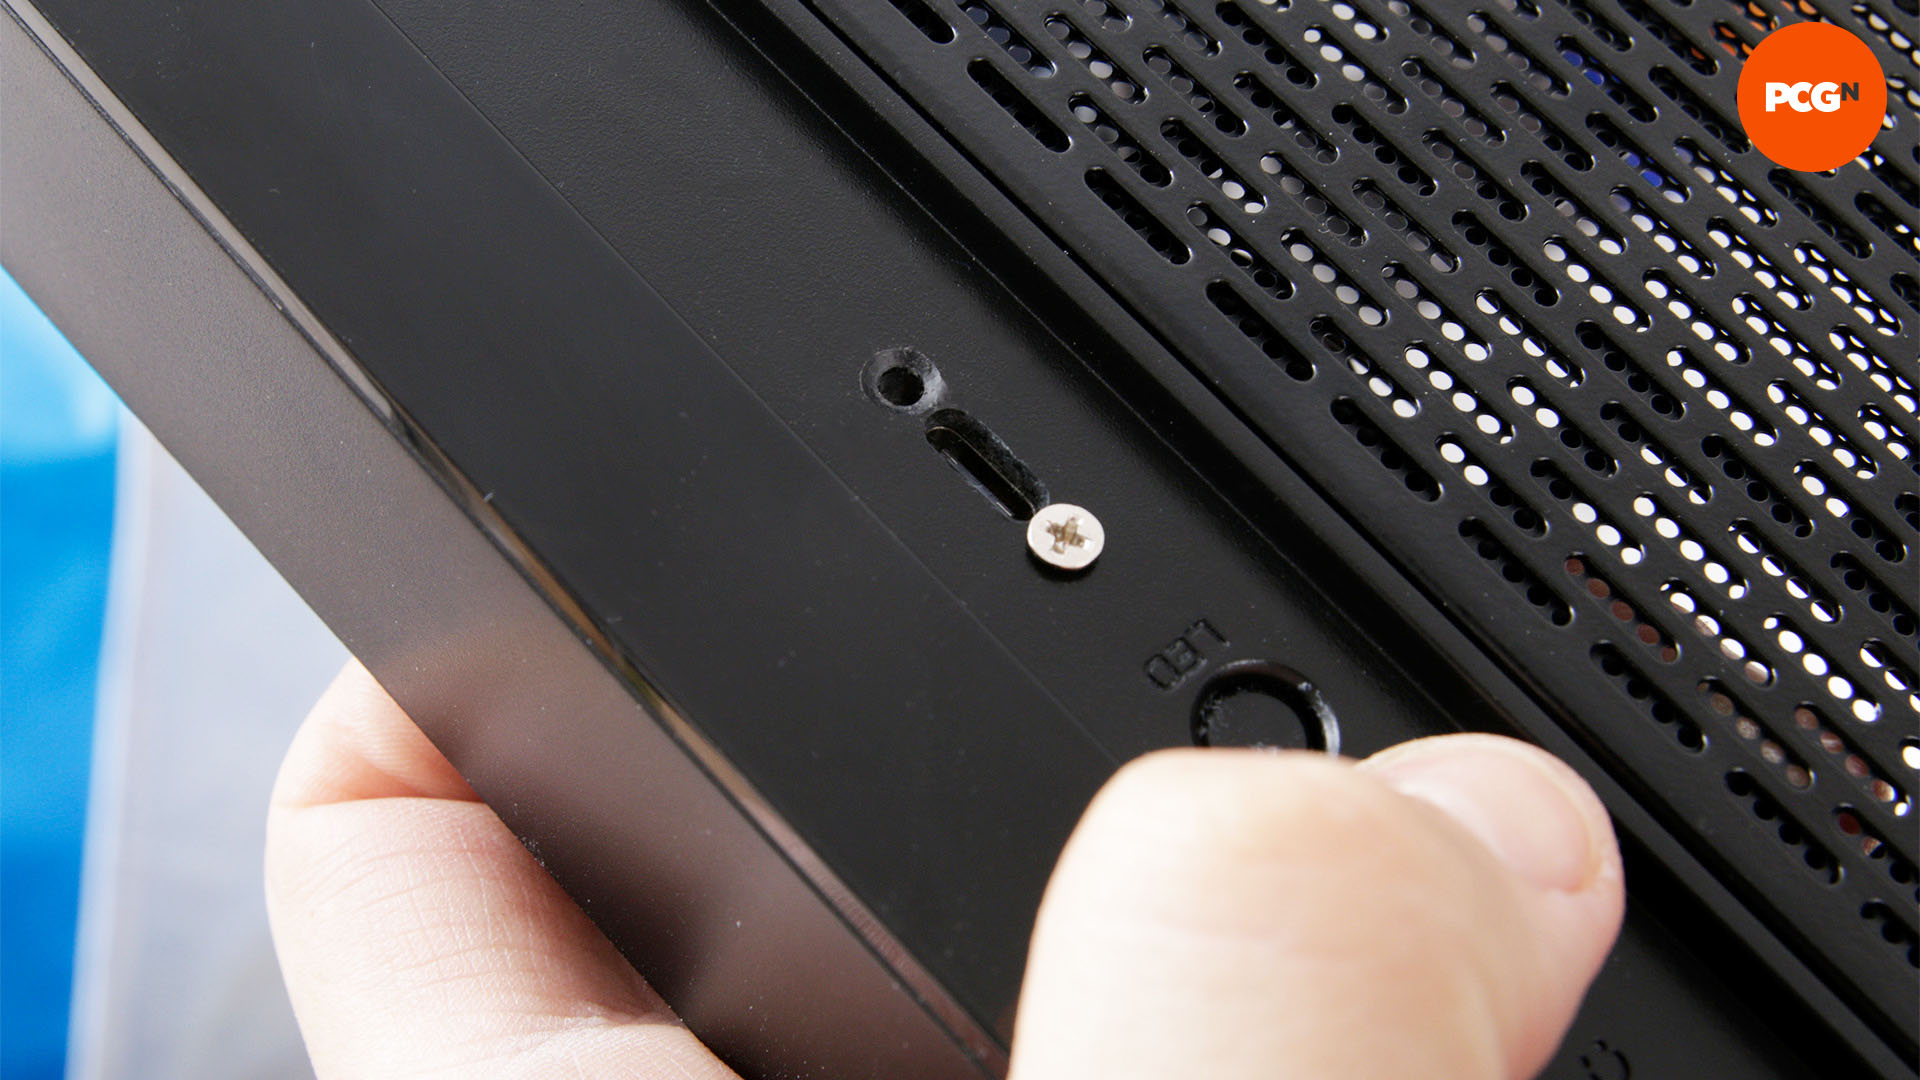
13. Clean front panel
Use a vacuum cleaner and a cloth to remove any shards and dust left behind from the drilling and filing. This residue can fall into fan blades or create a mess on your desk, so it’s important to remove them.
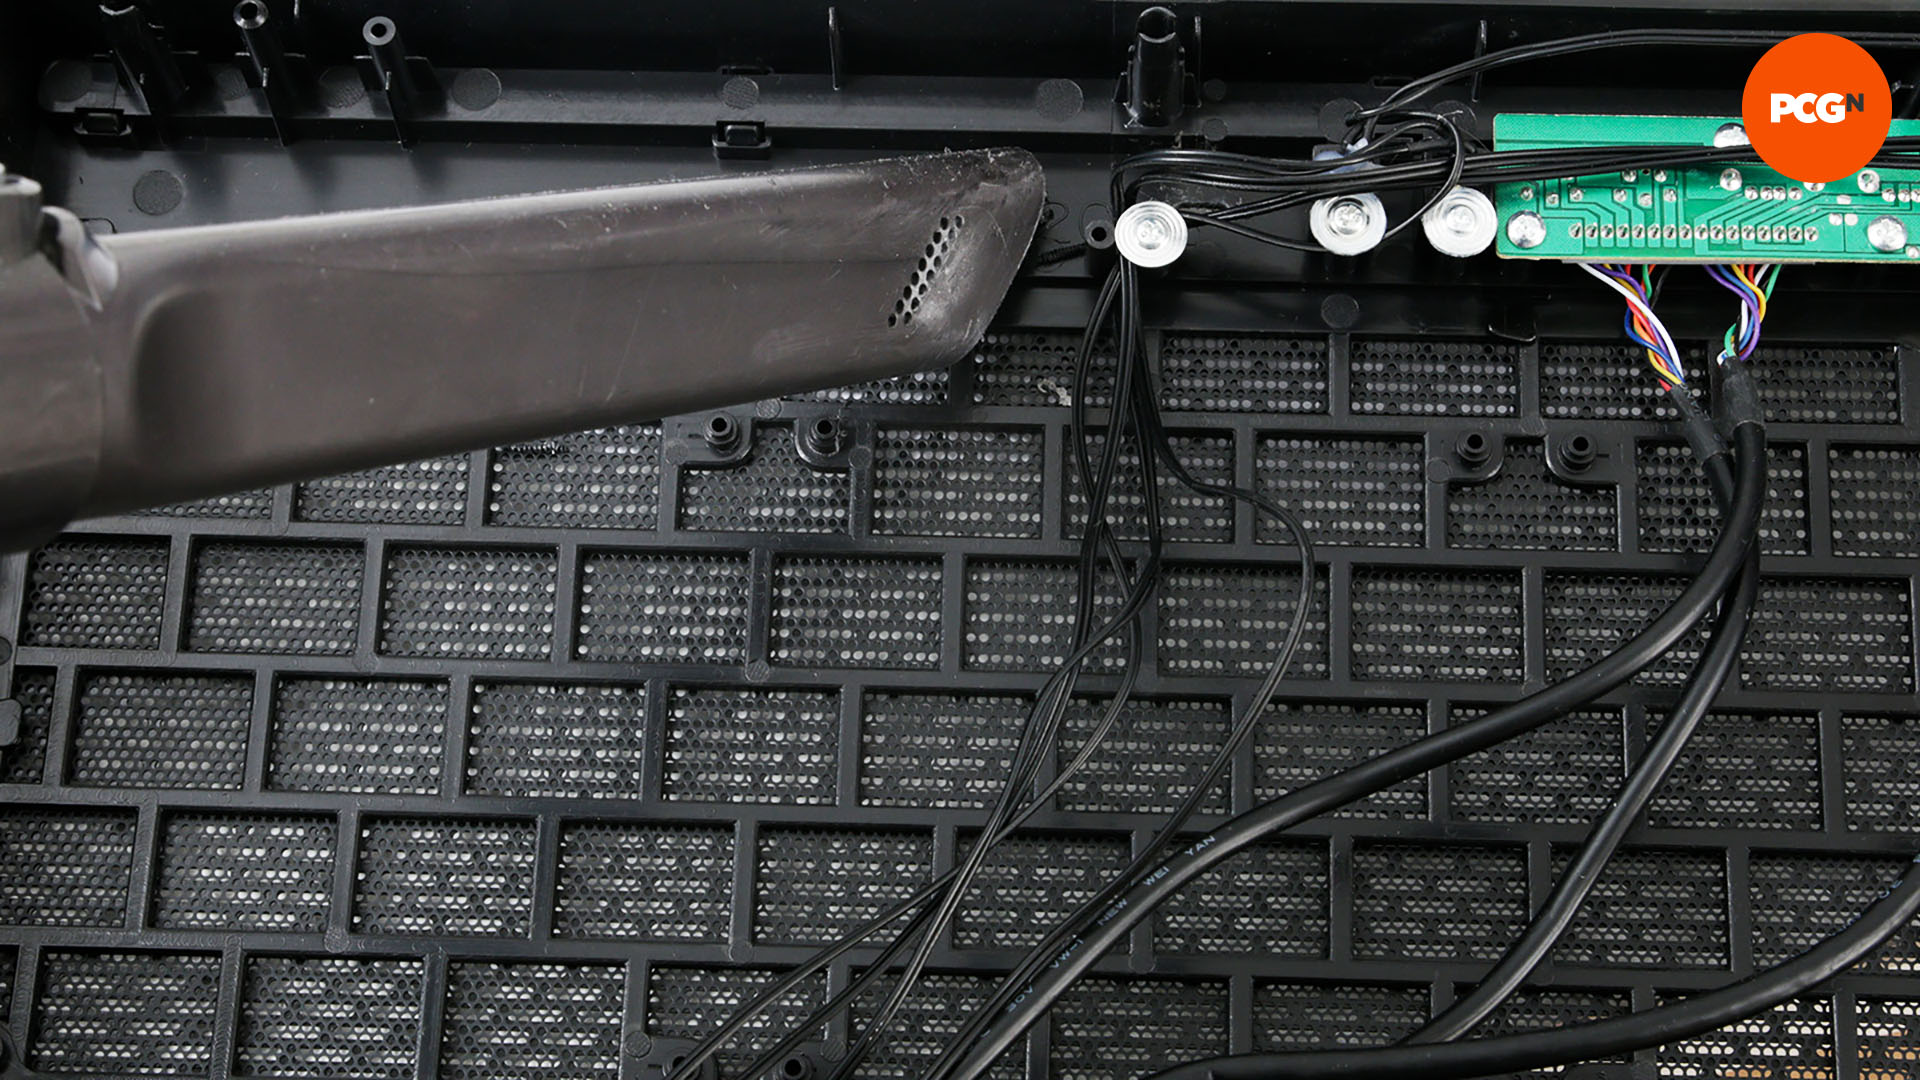
14. Check port clearance
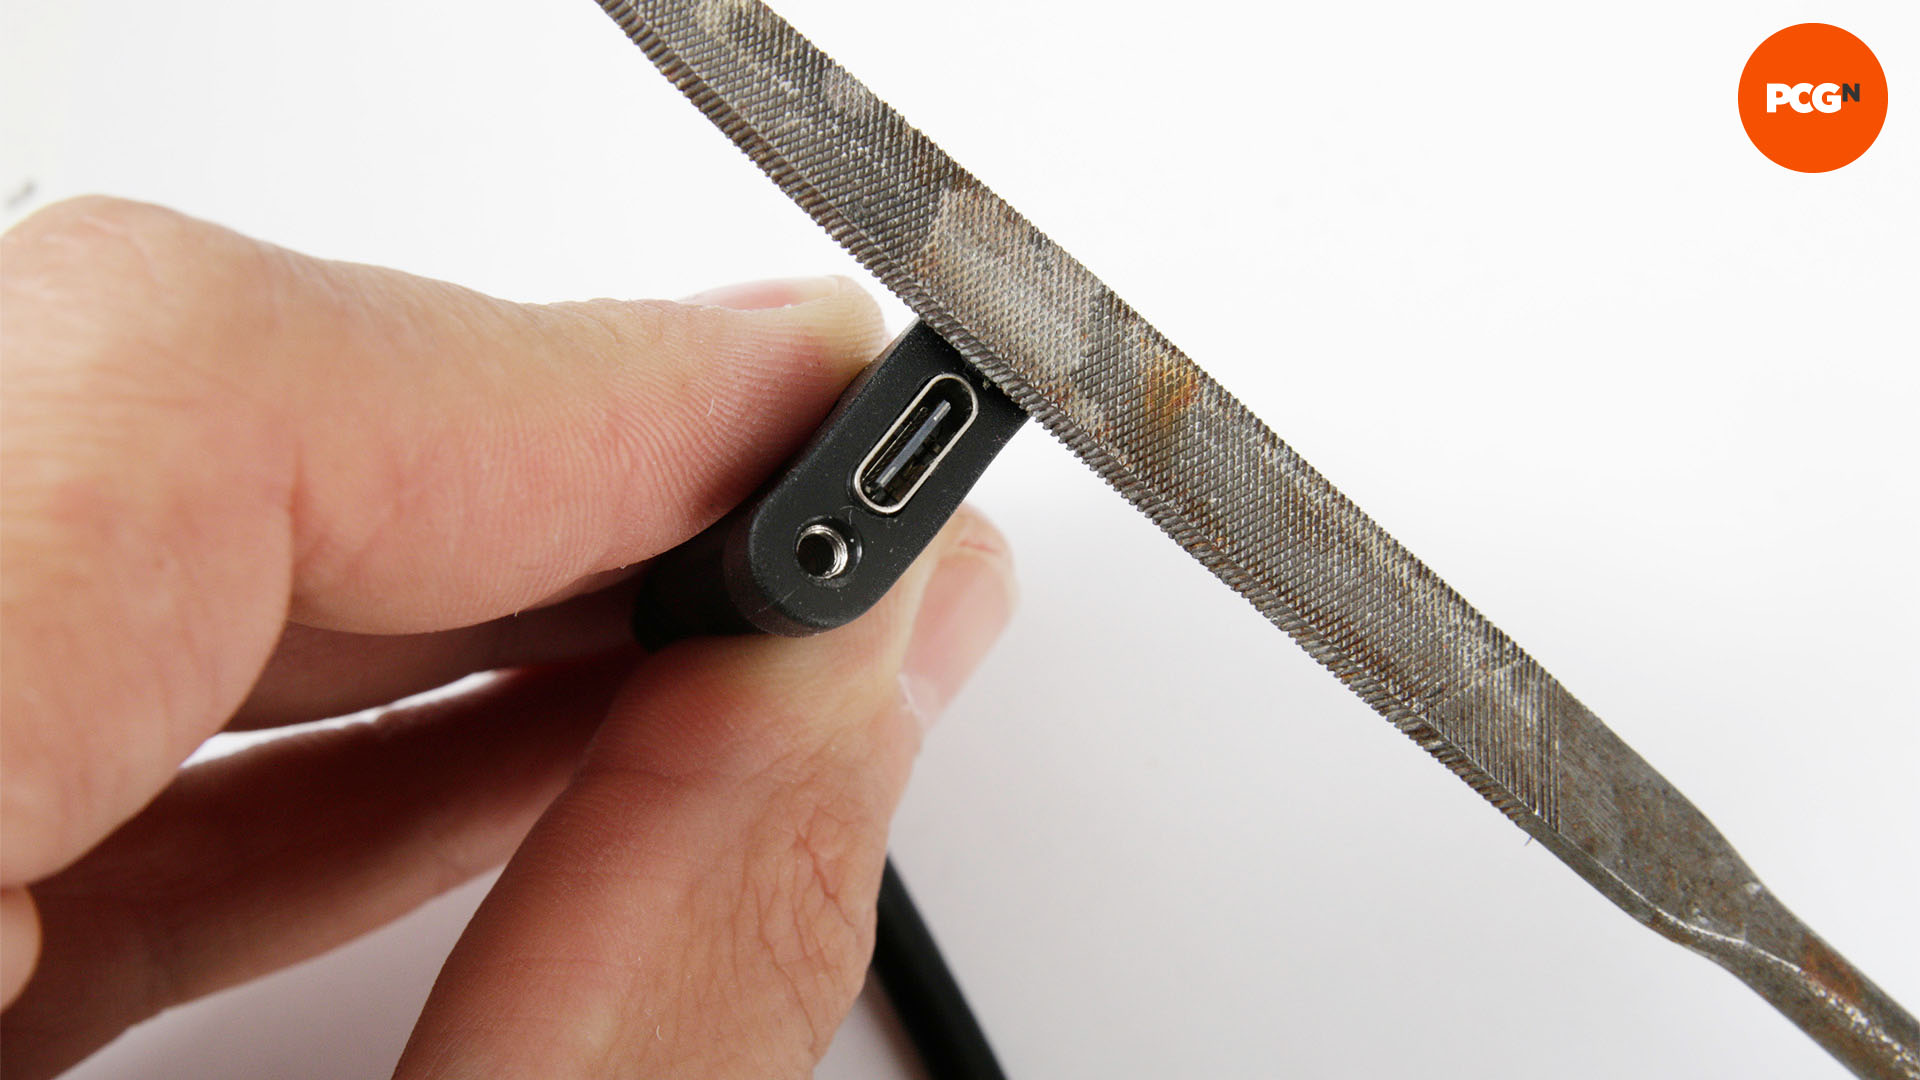
Press the port against the panel from inside the case, and check that your Type-C plugs make a good connection. If the connectors or screws don’t reach due to the depth of the panel, you can file away the plastic surround on the port until they fit.
15. Replace front panel
Finally, go ahead and replace your front panel. If the cable is short, thread it directly through to the motherboard rather than through cable-routing holes, as it may not reach otherwise.
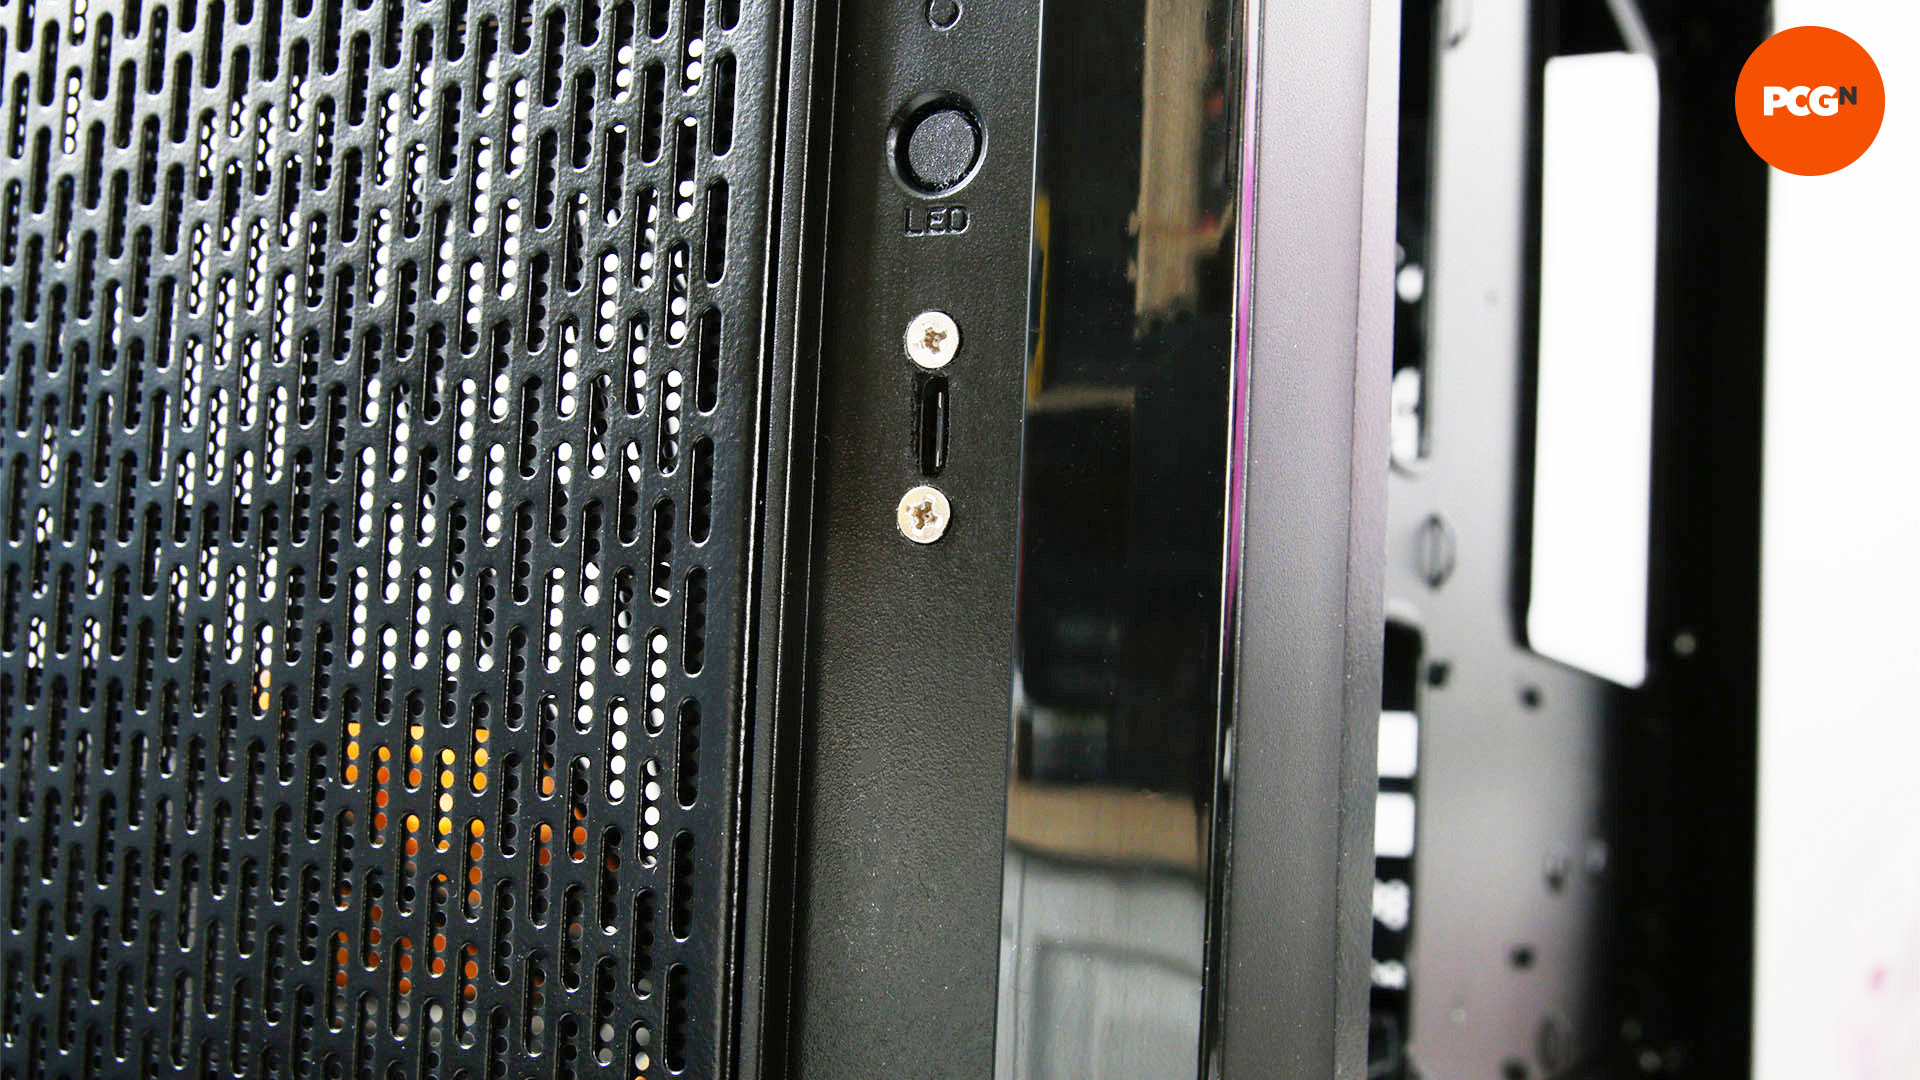
And that’s your old case kitted out with the latest connector, giving it a new lease of life. We hope you enjoy having easy access to a USB-C port without having to spend lots of money on a brand new case.
For more PC case customization ideas, check out our full guide on how to paint your PC case, as well as our tutorial on how to etch glass to give your case a further custom touch. If you’re constructing a new rig from scratch, make sure you also read our full guide on how to build a gaming PC, where we take you through the whole process from start to finish.
