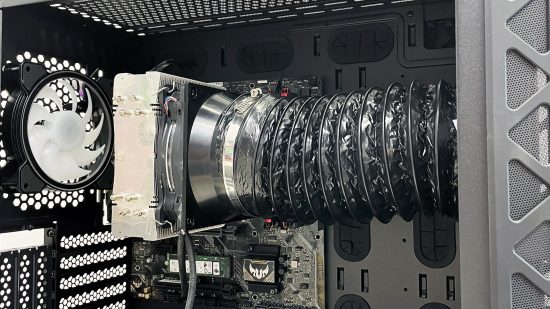
In this guide, we’ll show you how to fit a CPU cooler duct, so you can reduce your CPU temperature. If you’ve noticed your CPU temperature getting hotter on warm days, you might also have wondered if shoving cool air from outside your case directly into your CPU cooler would have the opposite effect.
Doing so would shave a few degrees or more off the CPU temperature, thanks to cooler air flowing through your cooler’s heatsink, and the resulting larger temperature difference between the heatsink fins and air temperature.
Your motherboard, CPU cooler, and graphics card all dump significant amounts of heat into your case, meaning your chassis’ internal air temperature will be noticeably higher than the air in the room. However, you can use ducting to feed your CPU cooler with air fed directly from outside your case, instead of from within it.
At Custom PC, we’ve been modding PC cases and components since 2003, giving us loads of experience in the art of customizing your system to make it your own. We know exactly what tools you need and which methods work best.
1. Check temperatures
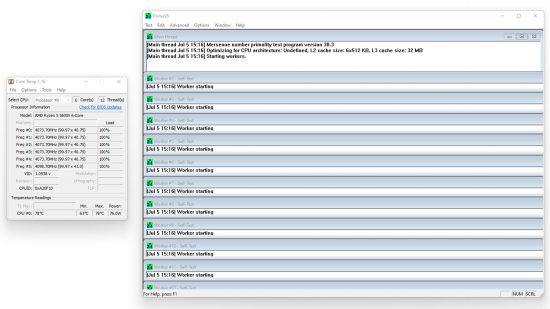
You can obtain CPU temperatures before you install the ducting, to compare against the temperatures with it installed. Grab Prime95 from mersenne.org and run the smallfft test with AVX instructions disabled. Then go to alcpu.com and grab CoreTemp to measure the average core temperature after ten minutes.
2. Use insulated ducting
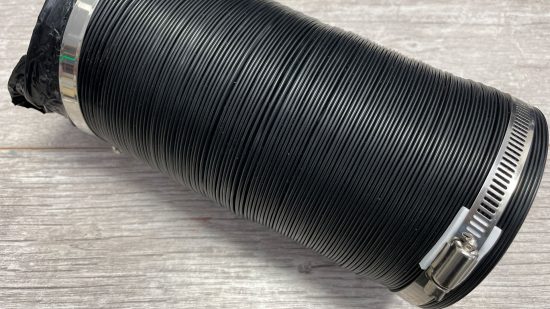
The preferable size of ducting for ATX cases is 4-inch, as it’s small enough to be flexible while not limiting airflow. It’s important to use insulated ducting – you don’t want bare metal tubes in your case, as they can run the risk of short-circuiting your components. We got ours from Amazon, which had jubilee clips on both ends.
3. Identify CPU fan sizes
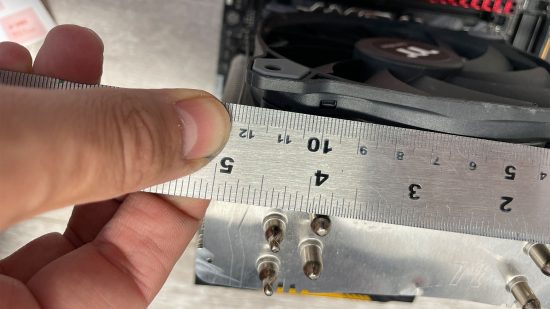
You’ll need to get the ducting to fit to the fans on your CPU cooler and front case fan, so identify their size by measuring the width of the fan frames. Adaptors are available in both 120mm and 140mm sizes, so it’s not a problem if your case and cooler have different fan sizes.
4. Use the right fan adaptor
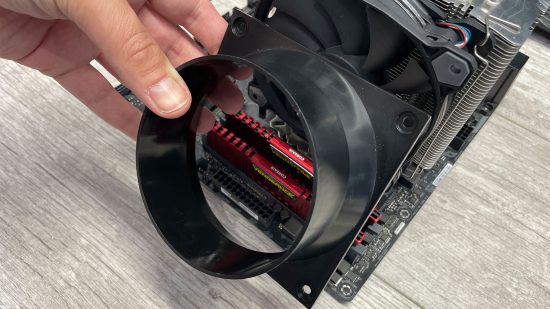
Now you can purchase the correct adaptors to connect your 120mm or 140mm fans to the 4-inch ducting. These are available to buy on eBay for under $10, but make sure your adaptors have the correct ducting hose diameter.
5. Test fit ducting to adaptor
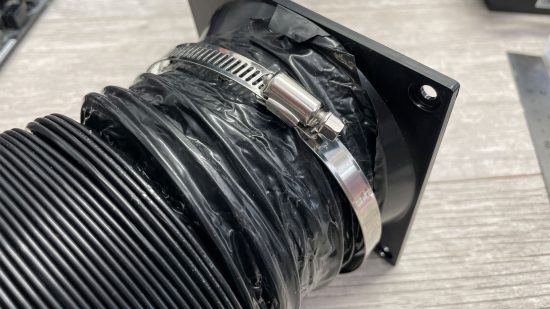
Once the parts arrive, test-fit the ducting and fan adaptor, so you know they fit together. The ducting will probably have a jubilee clip that secures it to the adaptor, so check this works with your setup and that the ducting isn’t loose.
6. Use screws to secure adaptors
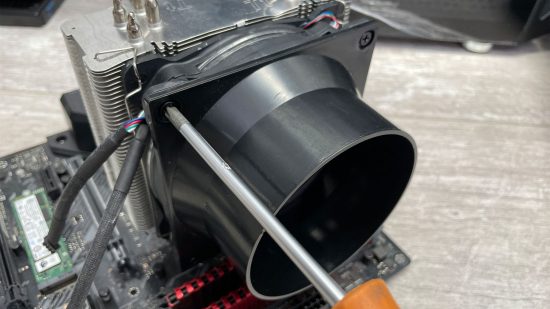
You can use standard fan screws to secure the adaptor to your CPU cooler’s fan, but if the fan is held in place using its outer mounts, you might be able to extend components such as fan clips a little further, so they secure the adaptor and fan together.
7. Secure adaptor with duct tape
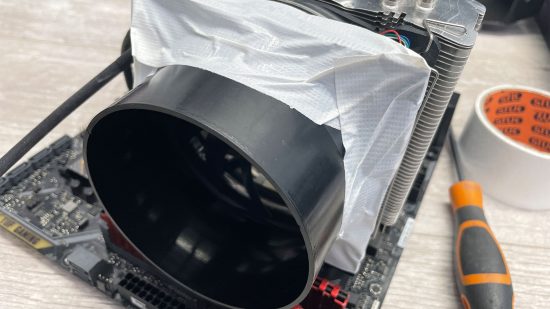
If you’re unable to use the existing fan holes to secure the adaptor, the easiest alternative is duct tape. This is available in a variety of colors, allowing you to match it to your cooler and ducting. Wrap it sparingly around both components, holding the adaptor firmly in place while you do it.
8. Route ducting and cut to size
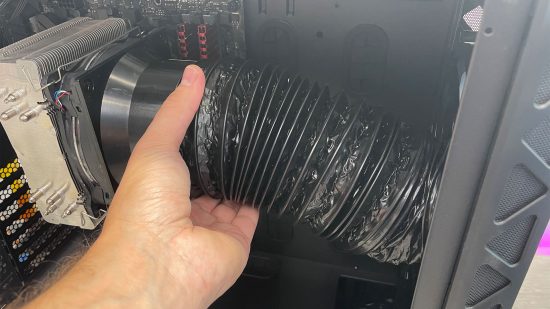
With the adaptors installed, go ahead and test-fit the ducting in place so you can cut it to length. You’ll probably need to route it around your graphics card, but try to keep it clear of components if possible, and avoid it sagging.
9. Fit ducting to adaptors
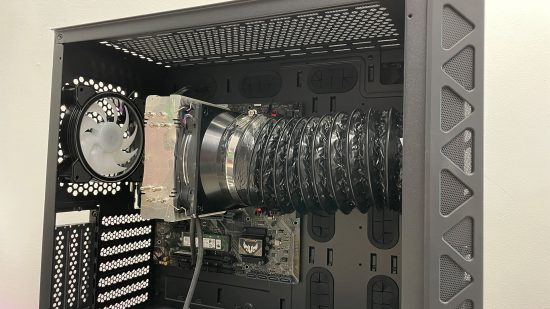
Our ducting had jubilee clips at both ends, but you can purchase large jubilee clips from eBay or use duct tape to secure your duct at the other end. At first we only saw a 1°C difference, but running Prime95 for 15 minutes saw the difference in CPU temperature rise to 5°C, with the ducting providing cooler air than the air inside our toasty PC.
That’s it for our guide on how to fit a duct to your CPU cooler – you now just need to sit back and enjoy your lower CPU temperatures. For further PC cooler customization ideas, check out our guide on how to change coolant in an AIO liquid cooler, as well as our article on how to paint an AIO liquid cooler. If you’re planning a new build, then you’ll also want to read our full guide on how to build a gaming PC, which covers every step of the process.
