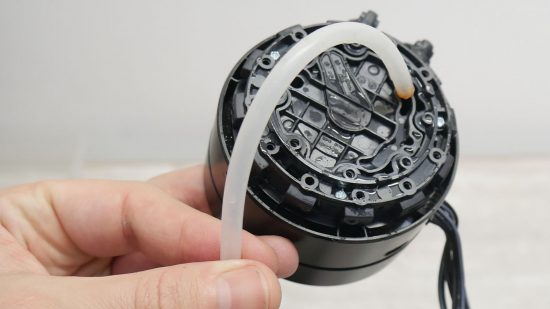
In this guide, we’ll show you how to change the coolant in your AIO cooler, as well as taking you through a few other AIO maintenance tricks, such as how to clean the contact plate and dust the radiator. If your AIO liquid cooler is performing poorly, there are various issues that could be at play.
Even in the best AIO cooler models, the coolant can evaporate over time, causing air bubbles that can make your pump noisy or even fail. Gunk can form inside the loop too, perhaps residues from manufacturing, which get trapped in the delicate contact plate fins on the waterblock. Thankfully it’s easy to give your AIO liquid cooler a spring clean inside and out, to make sure it continues to run perfectly for years.
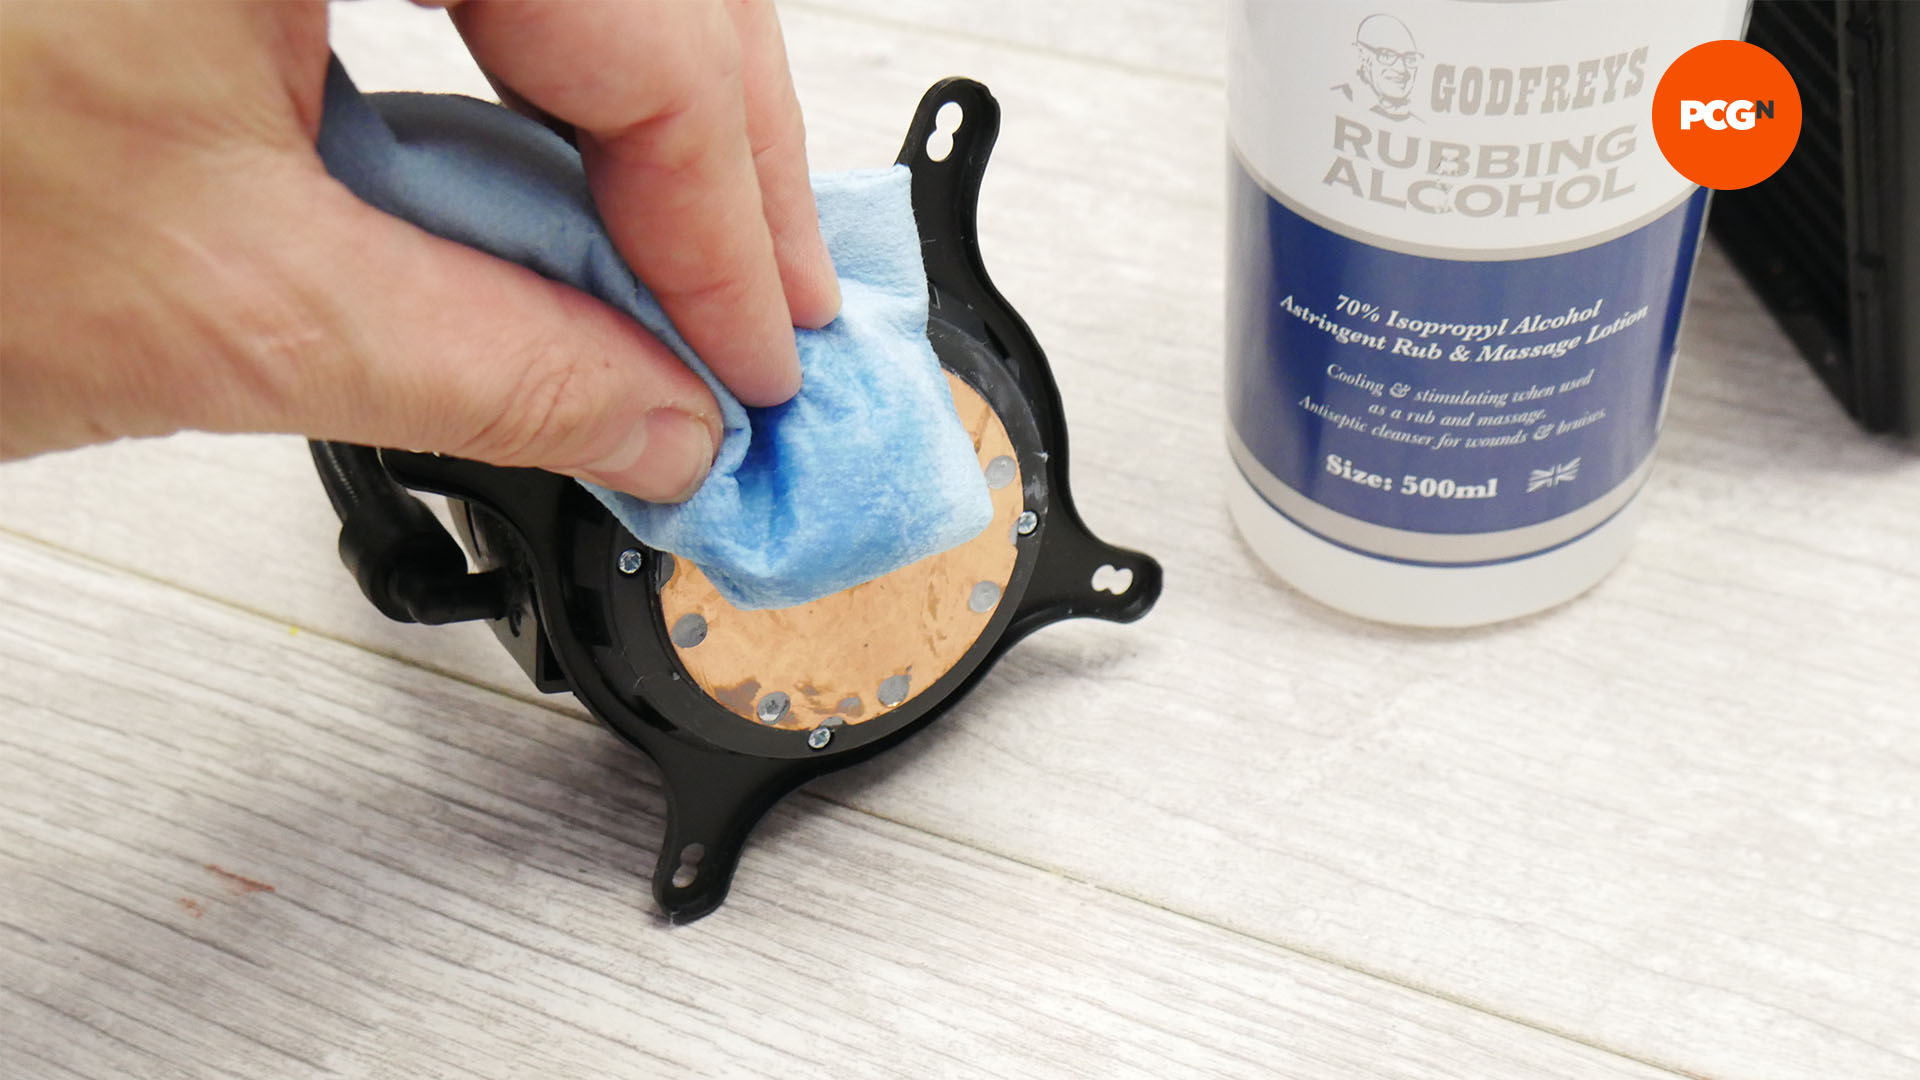
1. Clean contact plate
Any exposed metal surfaces will tarnish over time, and old thermal paste becomes less efficient too. Start by cleaning off the old thermal paste. You can do this with a lint-free cloth and some thermal paste cleaner or isopropyl alcohol.
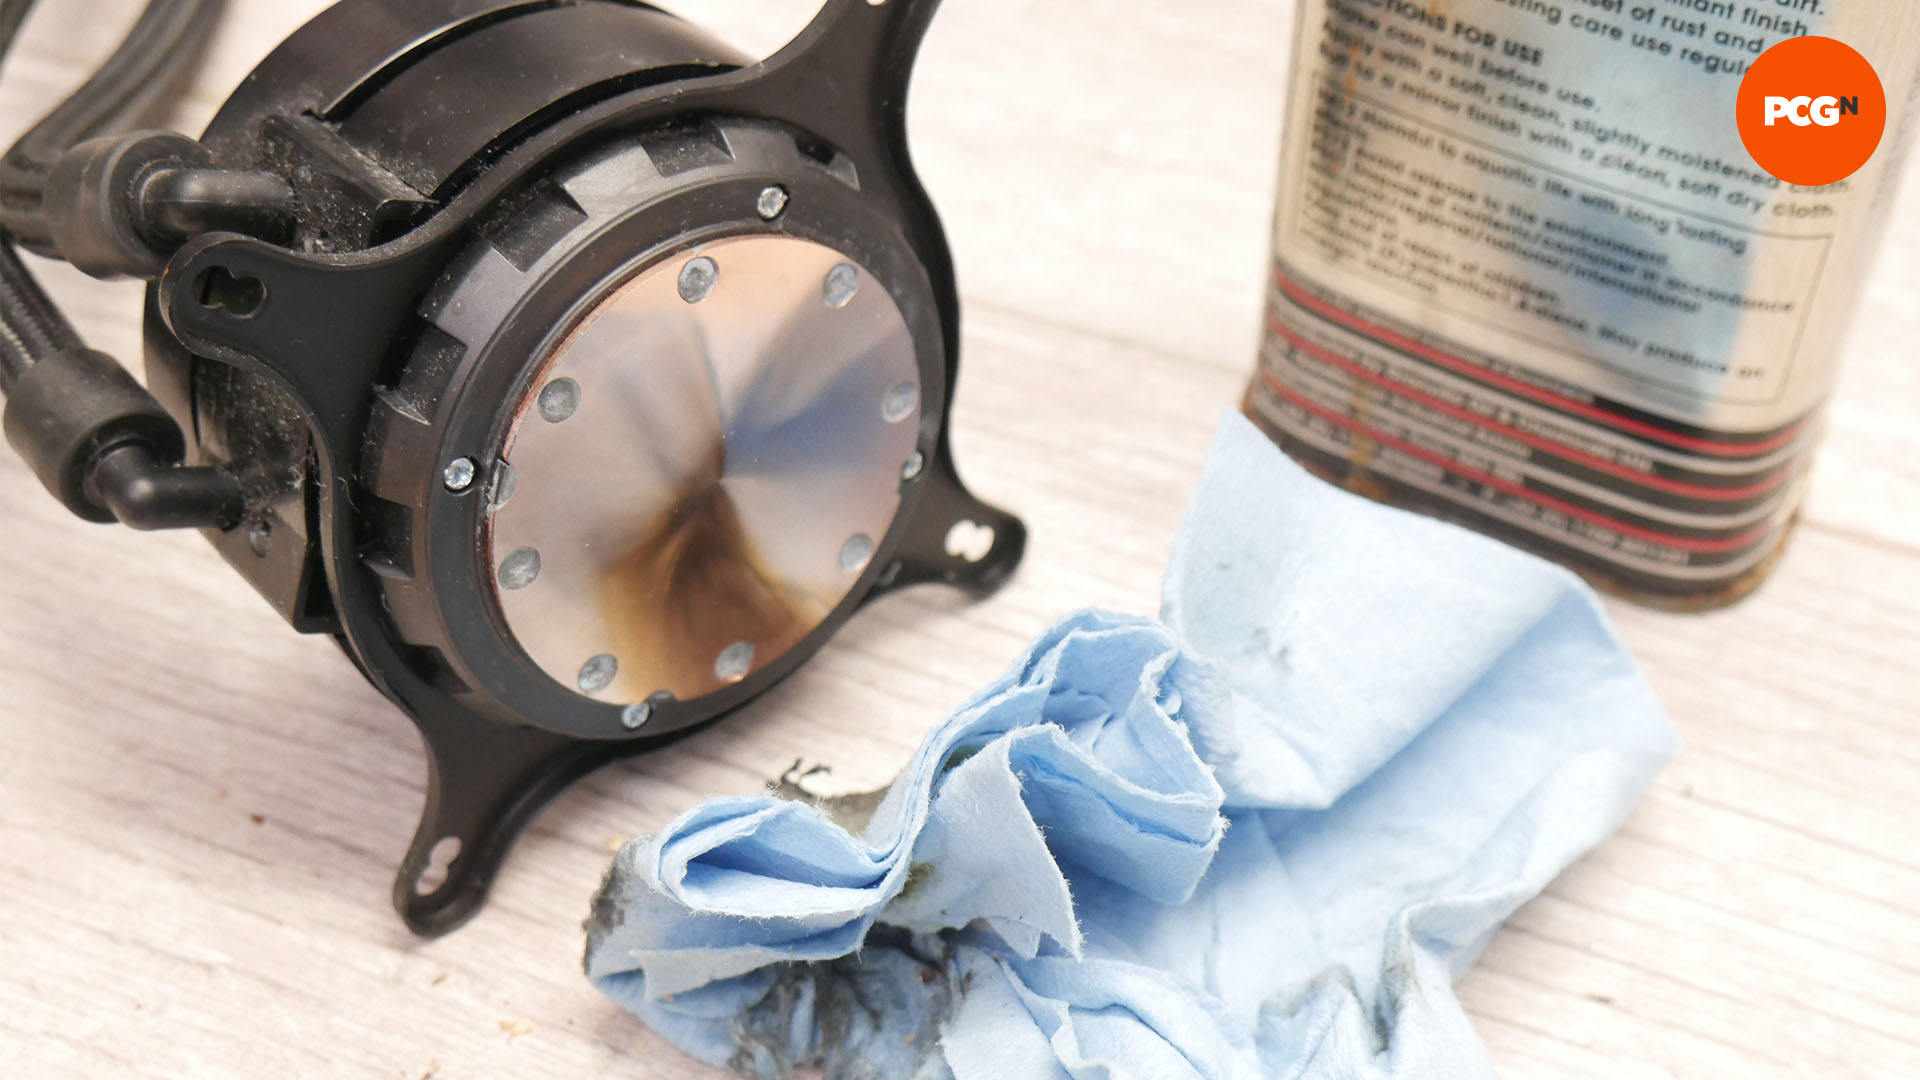
2. Polish contact plate
Any oxidation on the surface of the contact plate can hinder thermal transfer, so it’s a good idea to polish it. Use Autosol metal polish with a cloth, rubbing firmly for a few minutes, then switch to a clean cloth to buff it to a shine.
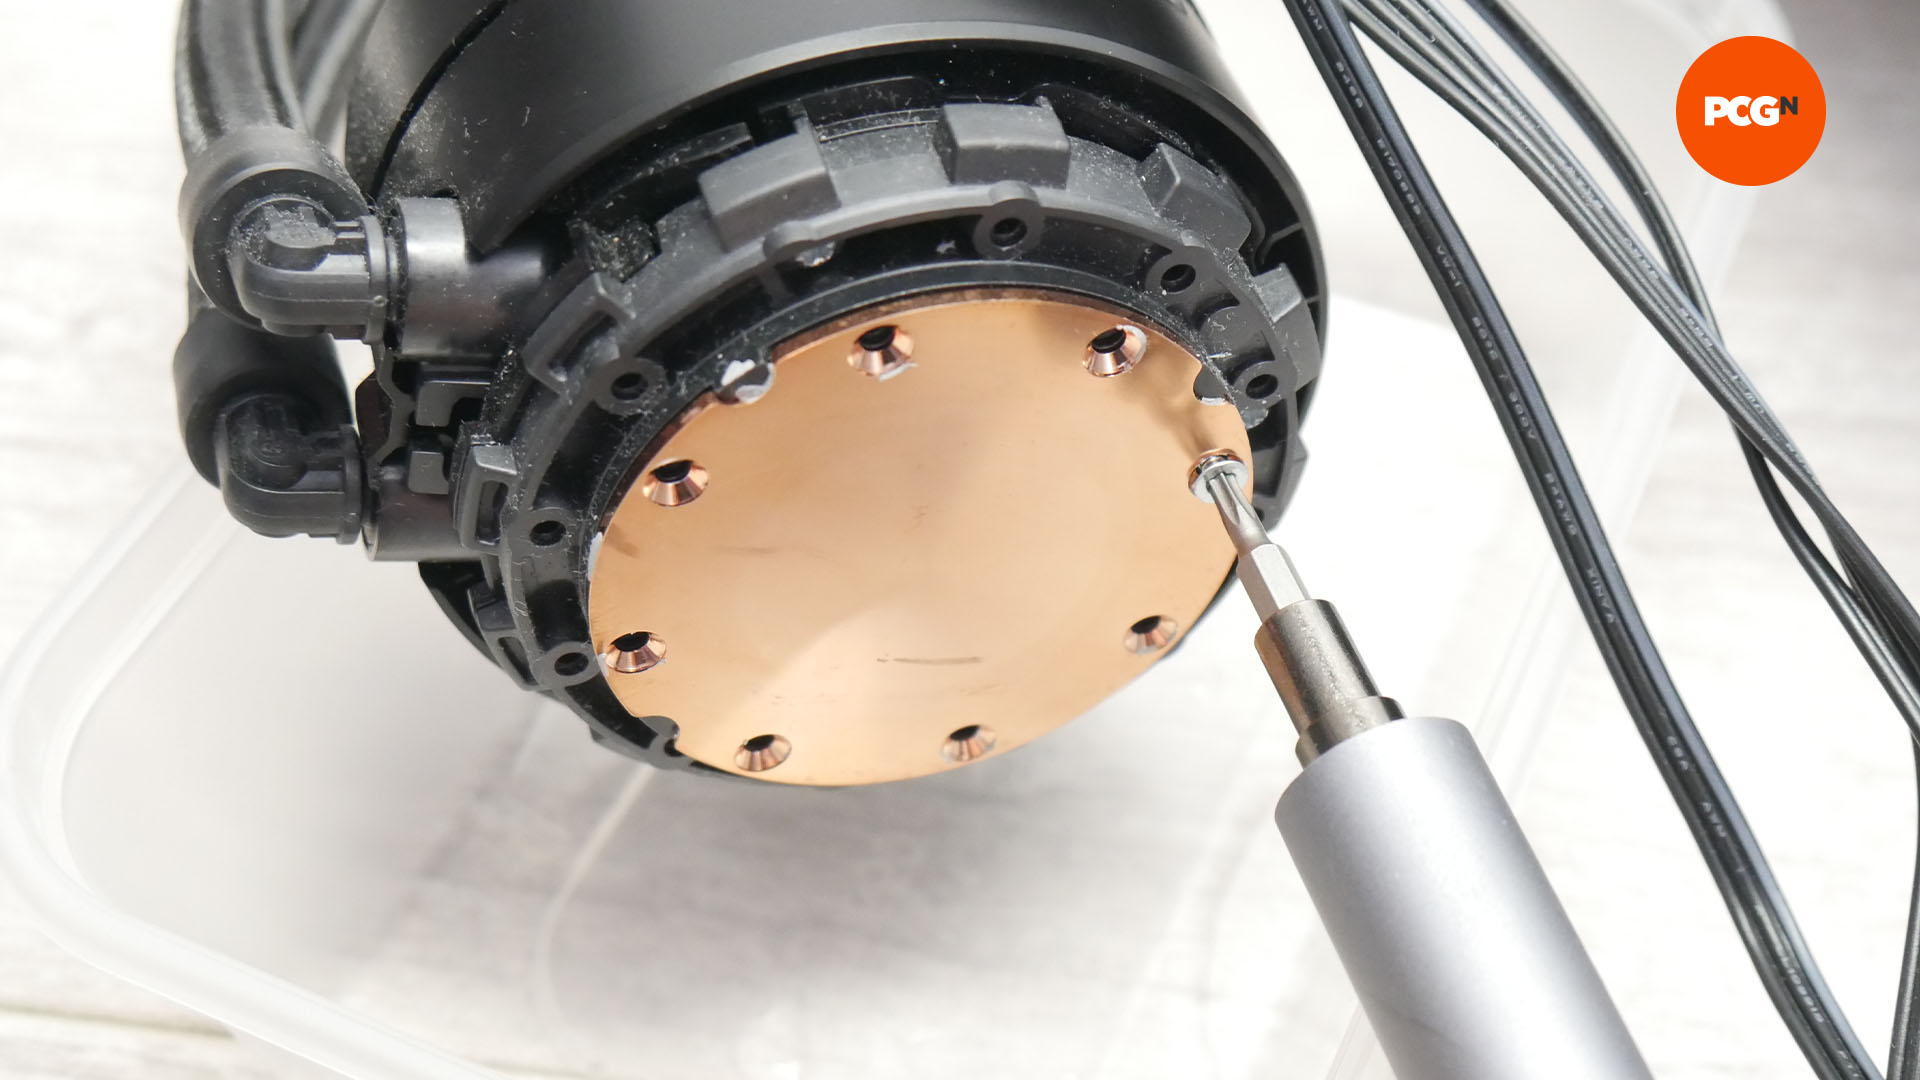
3. Remove contact plate
If your cooler has become noisy, it could indicate a low coolant level. To check the coolant level, you’ll need to remove the contact place on most coolers, which will reveal the pump’s innards and coolant channels. Keep the contact plate facing up and level at all times.
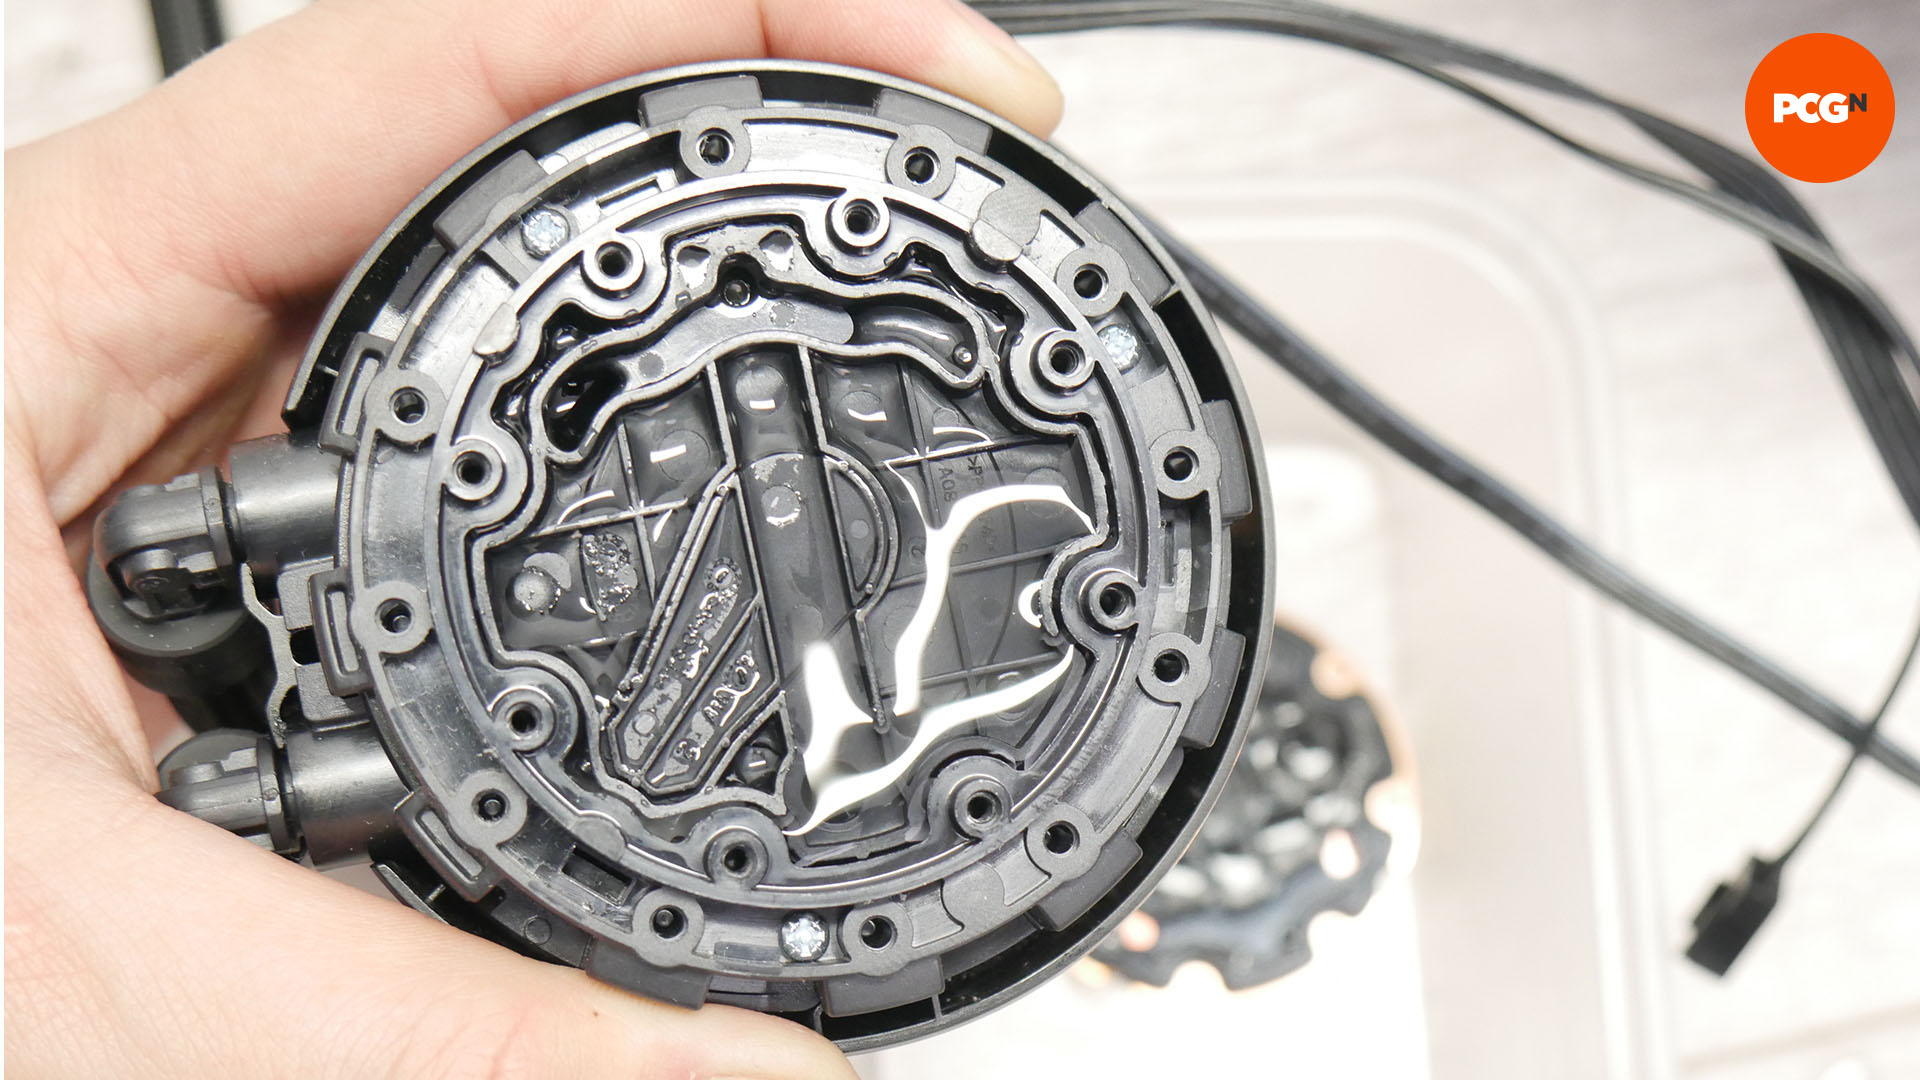
4. Check the coolant level
The coolant should be filled to the brim. If you can’t see the coolant then it’s likely that some has evaporated and leeched through the tubing over time. This is normal, but it can result in the pump running dry or dealing with air bubbles.
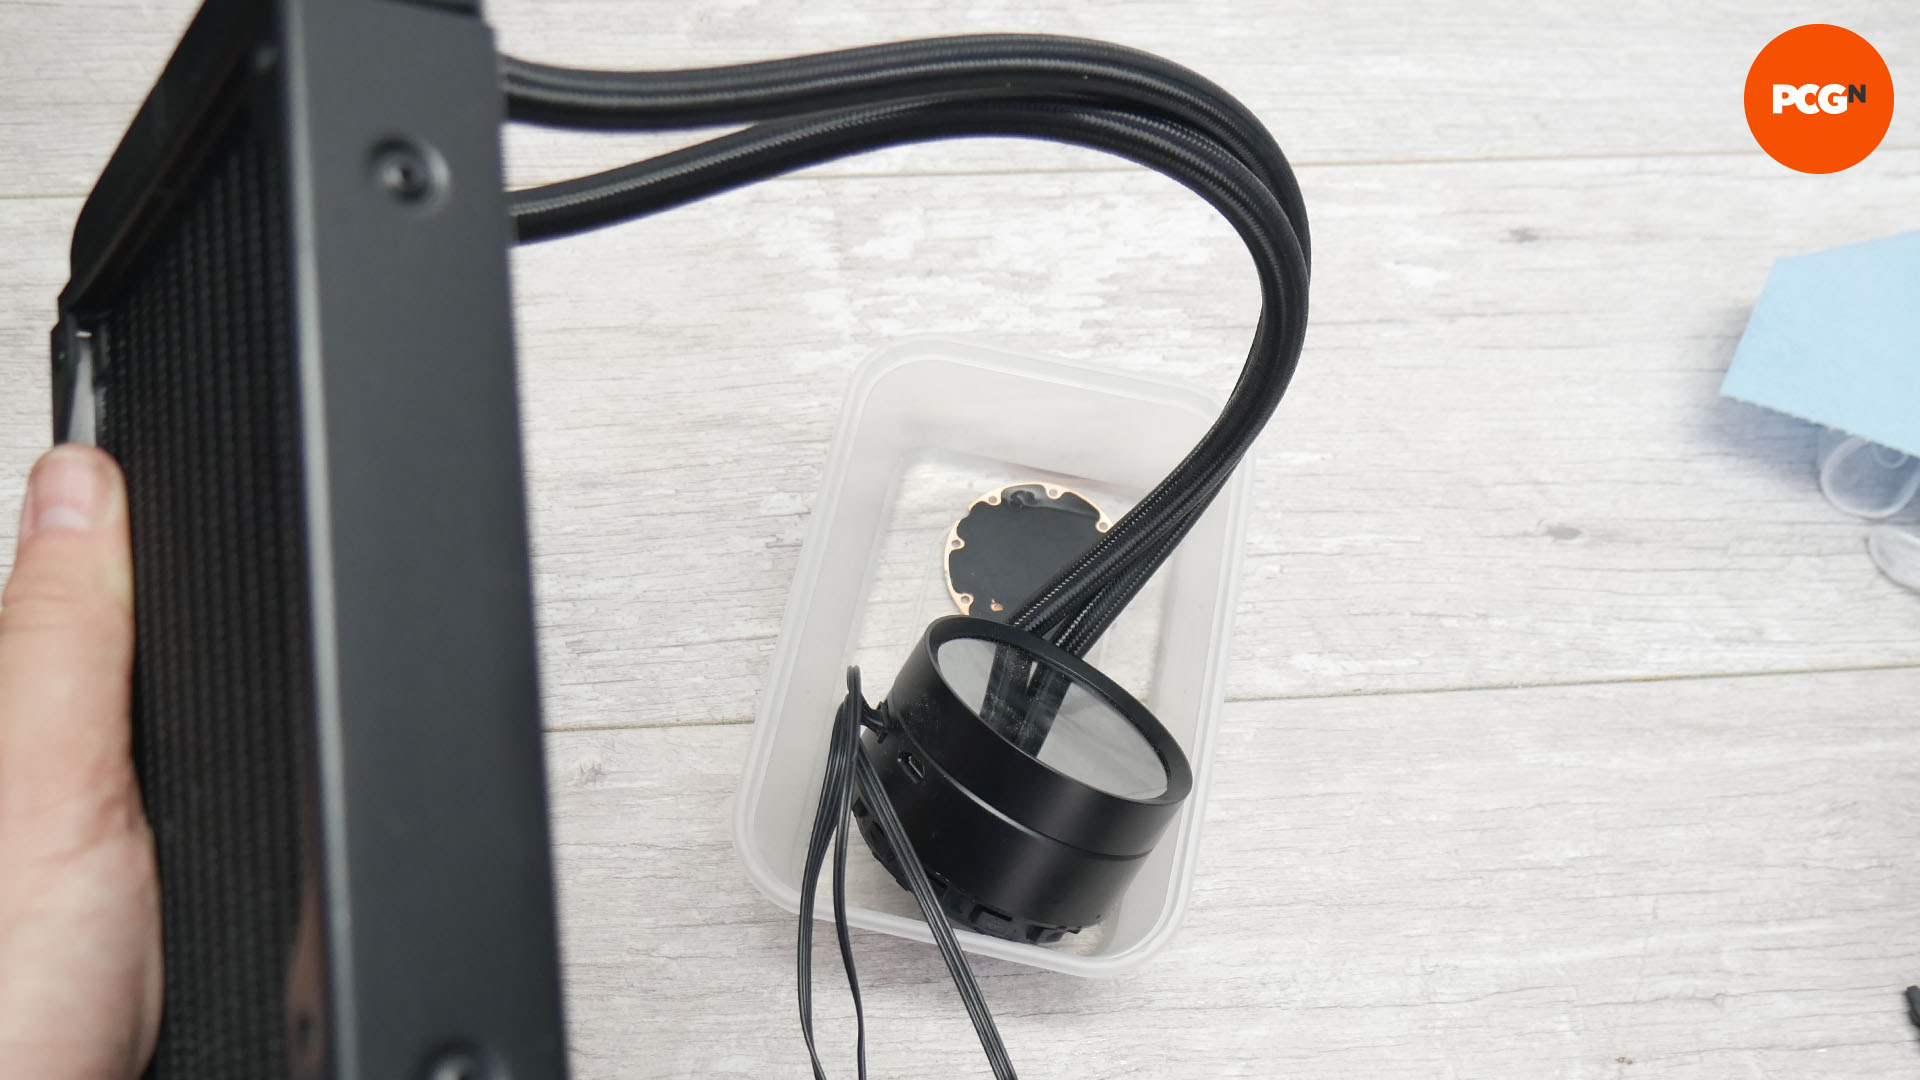
5. Drain existing coolant
Rather than mixing coolants, it’s best to drain the existing coolant into a plastic tub and then fill the cooler with new coolant. Tip the pump down into a container and position the radiator above it. Tip the radiator at differing angles to allow as much coolant to flow out as possible.
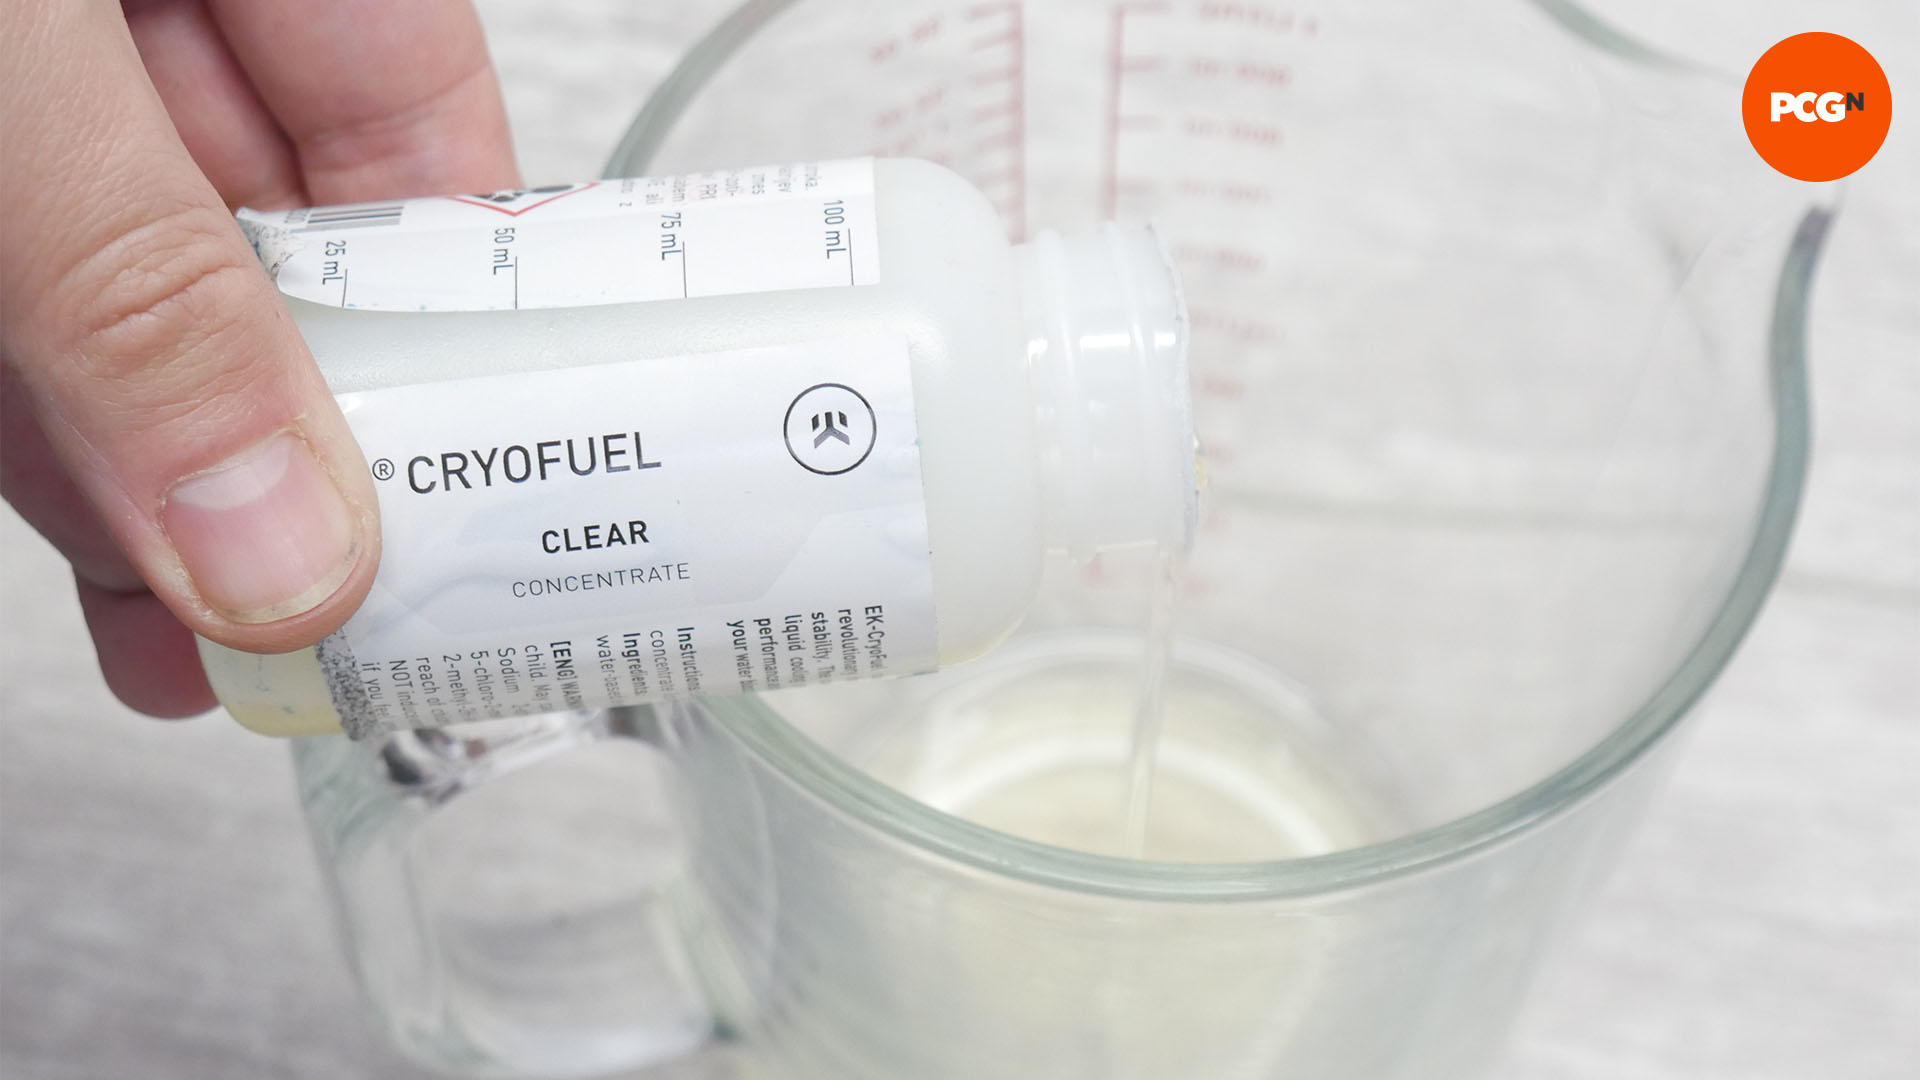
6. Mix new coolant
We’re using EK Cryofuel concentrate, as it can be added to cheap deionized water and includes anti-fungal and anti-corrosion additives. Use the mix ratio specified on the bottle and use a measuring container to add the concentrate to the deionized water.
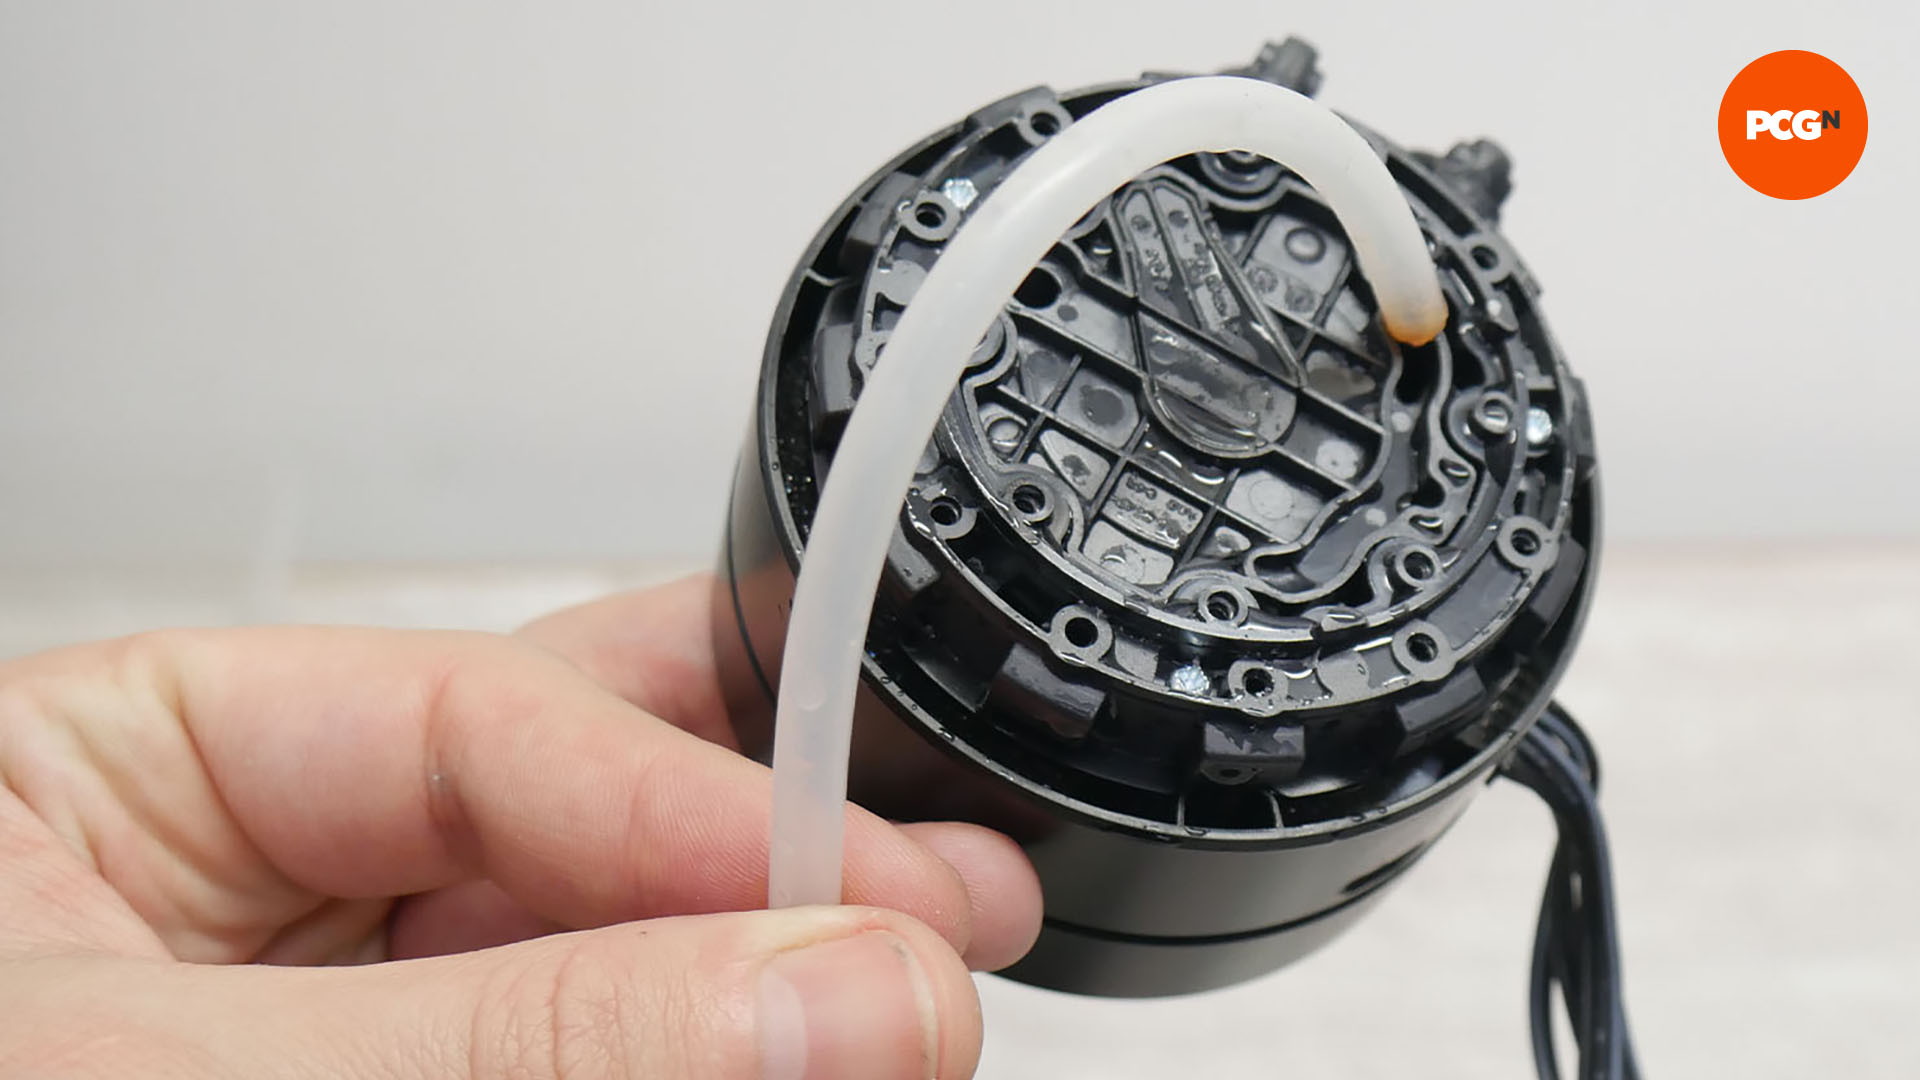
7. Fill with new coolant
Filling the cooler again can be tricky, as you need to ensure all air is replaced with the coolant. Add it slowly using a fill bottle, and be sure to position the pump above the radiator. Shaking and tilting the radiator can help to remove air bubbles.
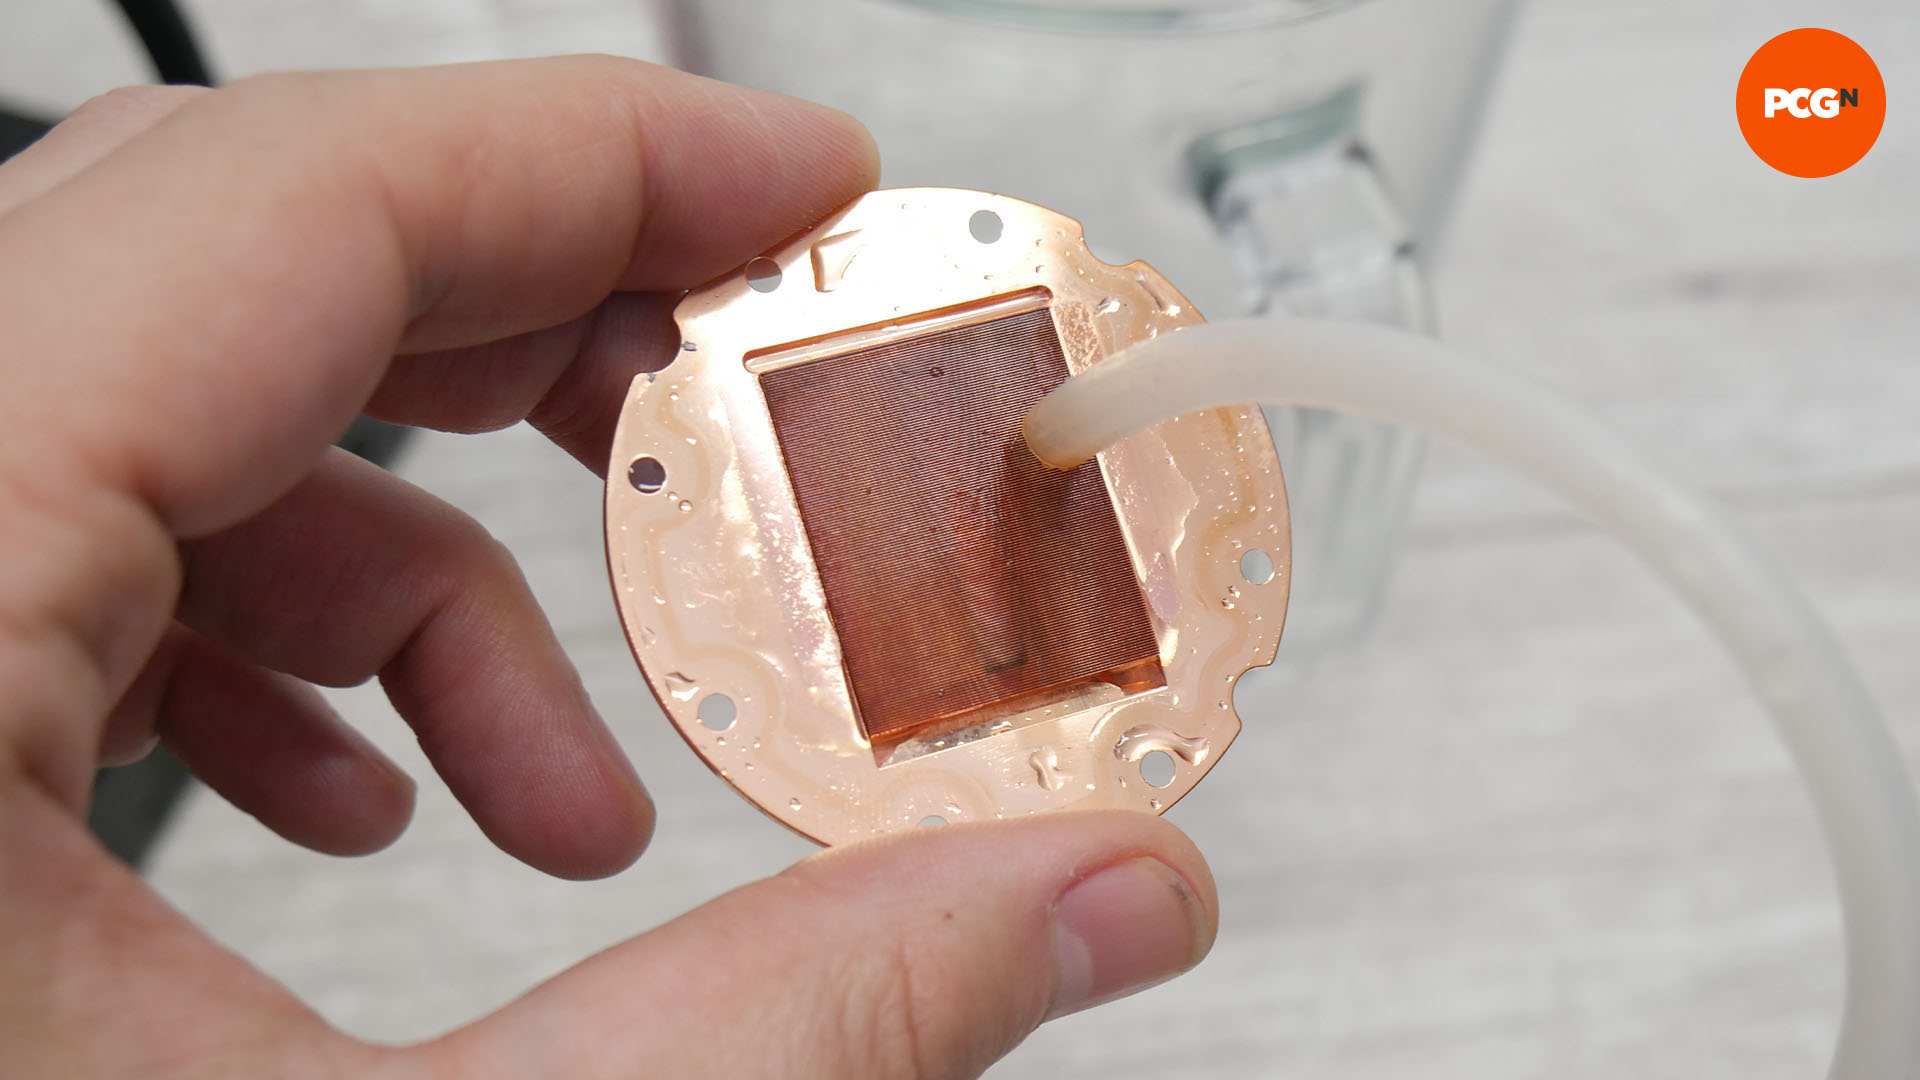
8. Clean and replace the contact plate
Inspect the inside of the contact plate for detritus and flush it out with coolant. Then go replace the contact place, ensuring that any O-rings are replaced and that you install it the right way around.
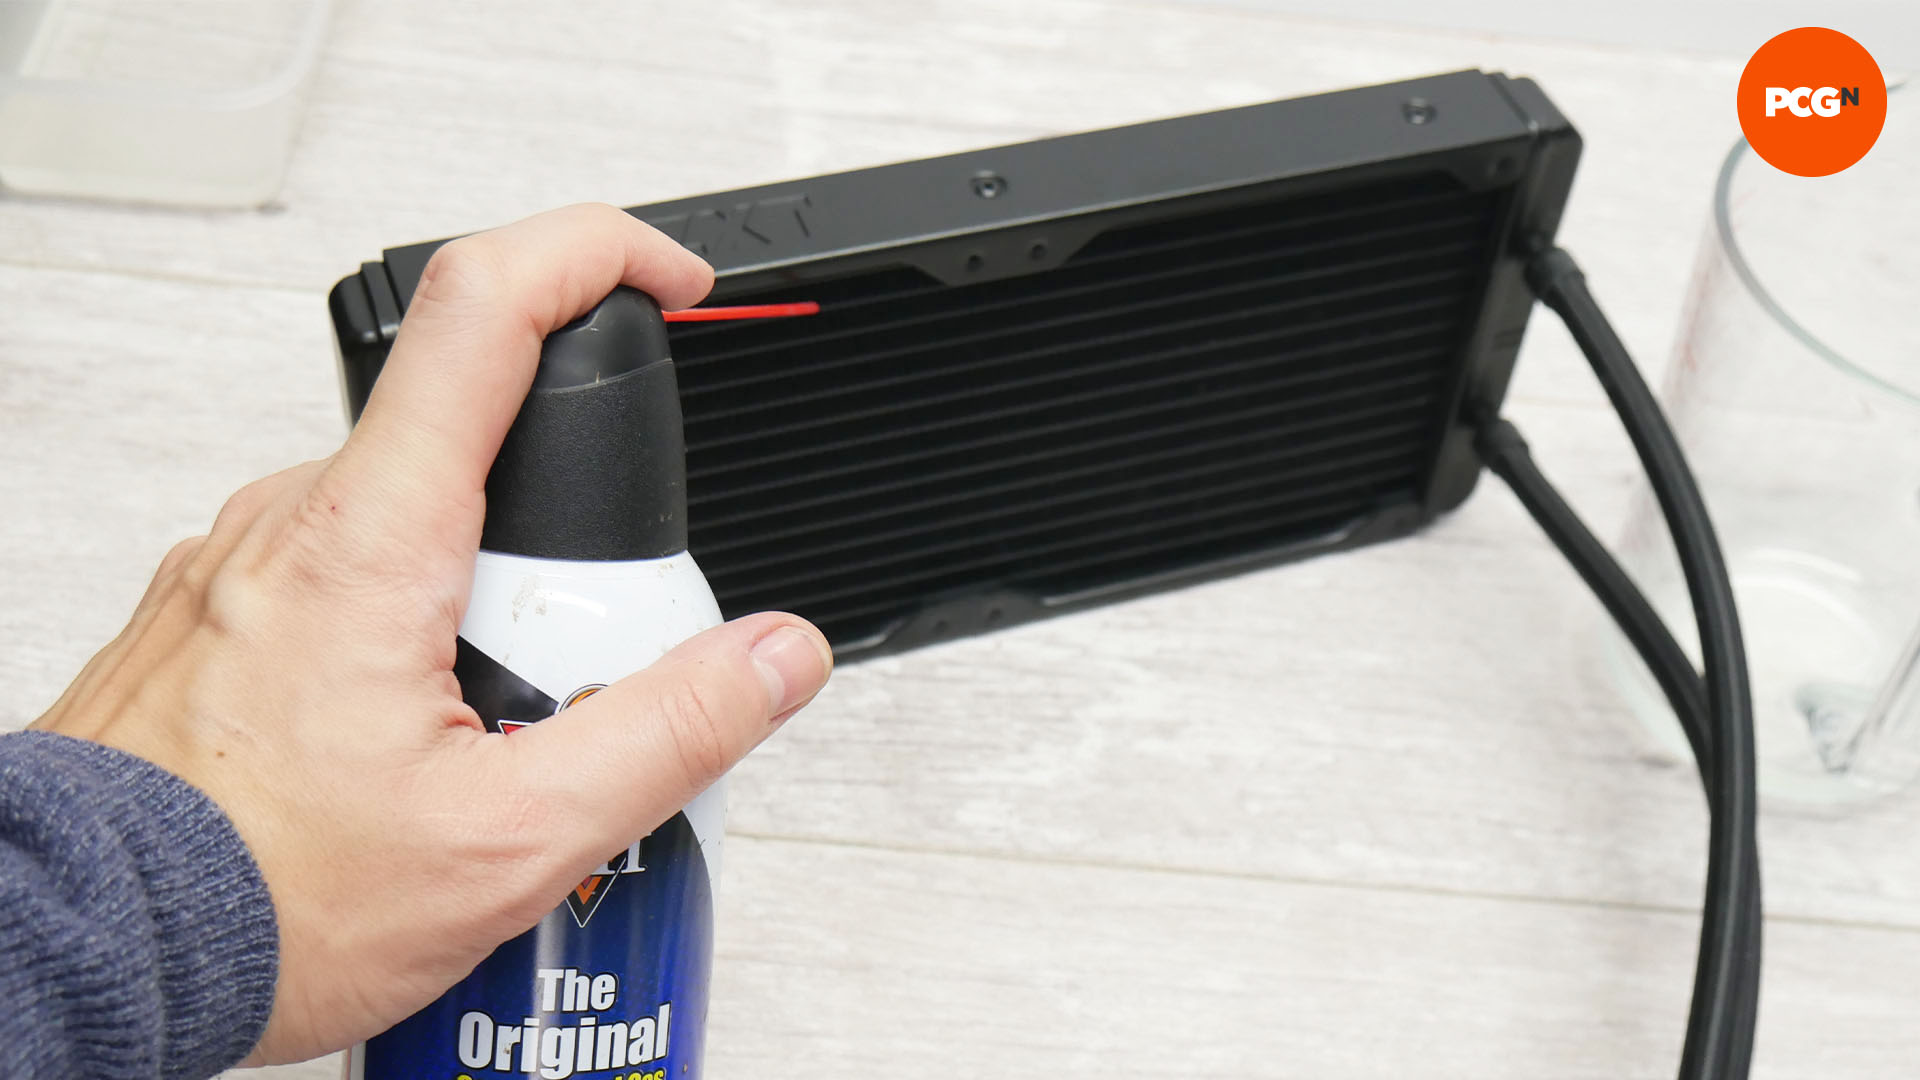
9. Dust radiator
Our final bit of maintenance is ensuring the radiator fins are clean. These can become clogged with dust and other detritus over time, which can hinder cooling and airflow. Use an air duster to remove loose dirt. Any stubborn dirt can be removed by soaking the radiator in water for an hour and then using a shower head on full blast.
And that’s your AIO liquid cooler as good as new again. You now just need to enjoy your cooler temperatures and lower noise levels. If you’re planning a new build, then you’ll also want to read our full guide on how to build a gaming PC, which covers every step of the process.
