In this guide, we’ll show you how to make an acrylic side panel for your PC case, giving you a window panel that you can use right next to a vertical GPU mount. Designs for standard PC case panels have changed a lot over the last few years, and now include features such as hinges, tempered glass and ventilation holes.
However, getting the exact combination of these features you want on your chosen case can be tricky. Some manufacturers prefer to have solid metal panels with ventilation holes, which can improve cooling with vertical graphics card mounts, but don’t let you see your hardware.
Meanwhile, tempered glass will shatter if you try to drill into it, so while glass panels look pretty and give you a great view of your hardware, they can result in higher GPU temperatures compared with vented panels. The solution is to create your own, which can be surprisingly easy if you have a case that secures side panels with thumbscrews. In this guide, we’ll create a clear side panel to provide a clear view of our shiny hardware, while also adding ventilation holes.
At Custom PC, we’ve been modding PC cases since 2003, giving us loads of experience in the art of customizing your case. We know exactly what tools you need and which methods work best.
1. Inspect existing side panel
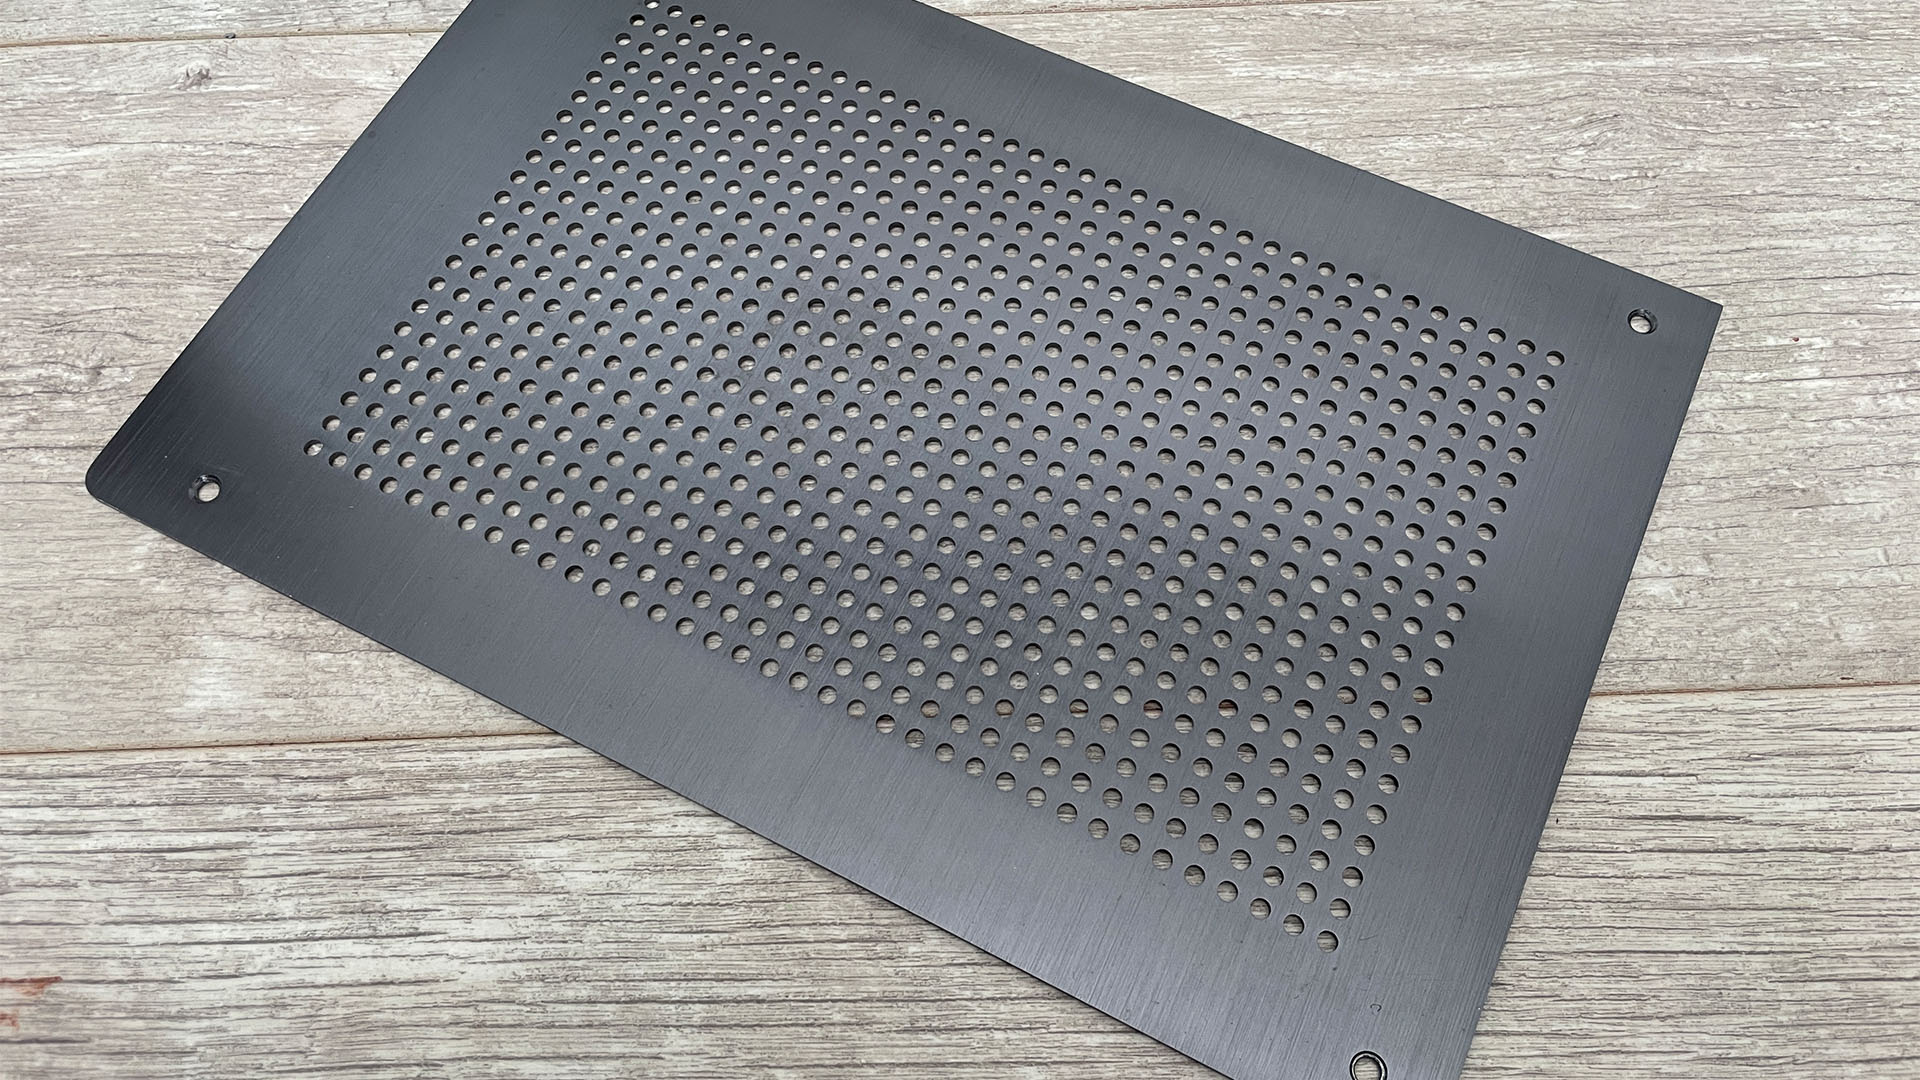
Ideally, you want a bare side panel to copy, and not one with lots of fixtures and fittings. It also needs to be flat. You can bend acrylic, but it will make your job a lot harder and we won’t be covering the process in this guide.
2. Decide on one or two panels
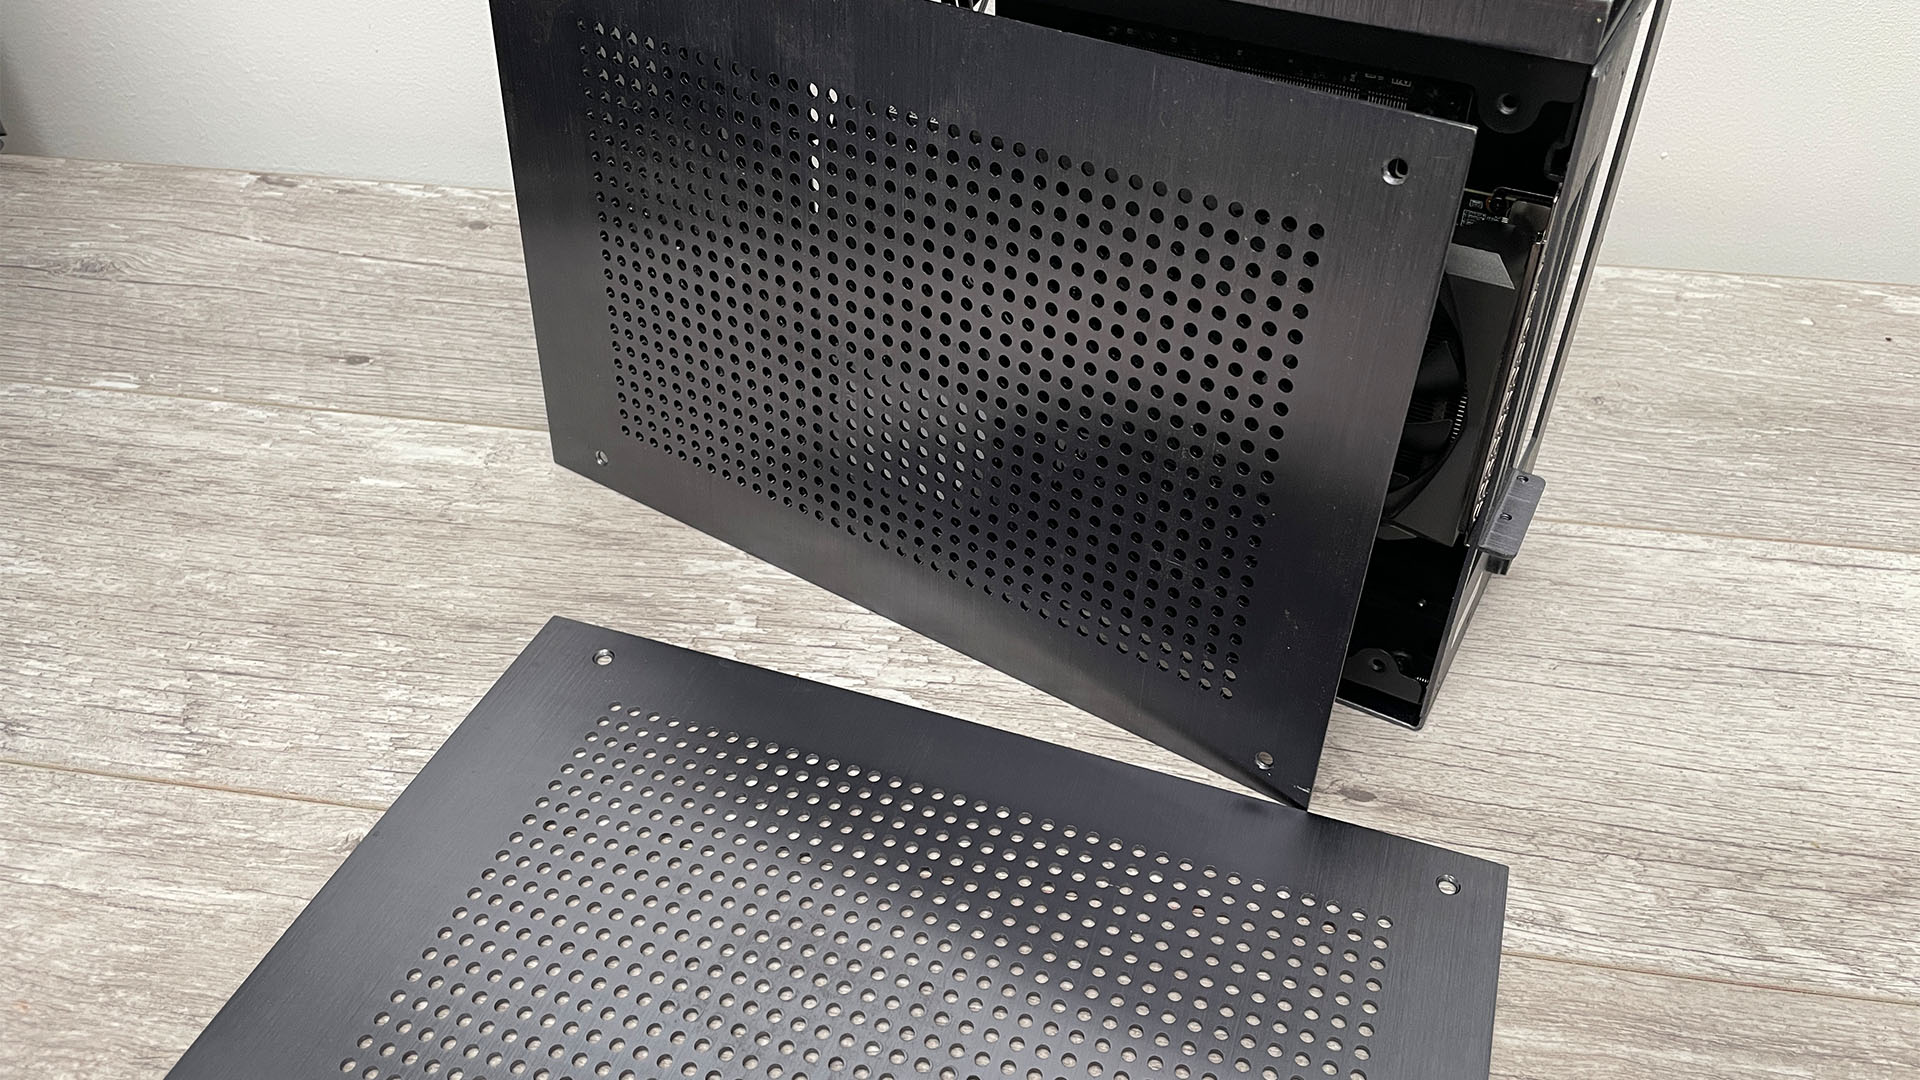
Mini-ITX cases often have two panels that would benefit from modding and they’re usually identical too, potentially making it easy to do both at the same time, boosting airflow or improving the view to your hardware. You can always do one first and see how you fare.
3. Identify mounting mechanism
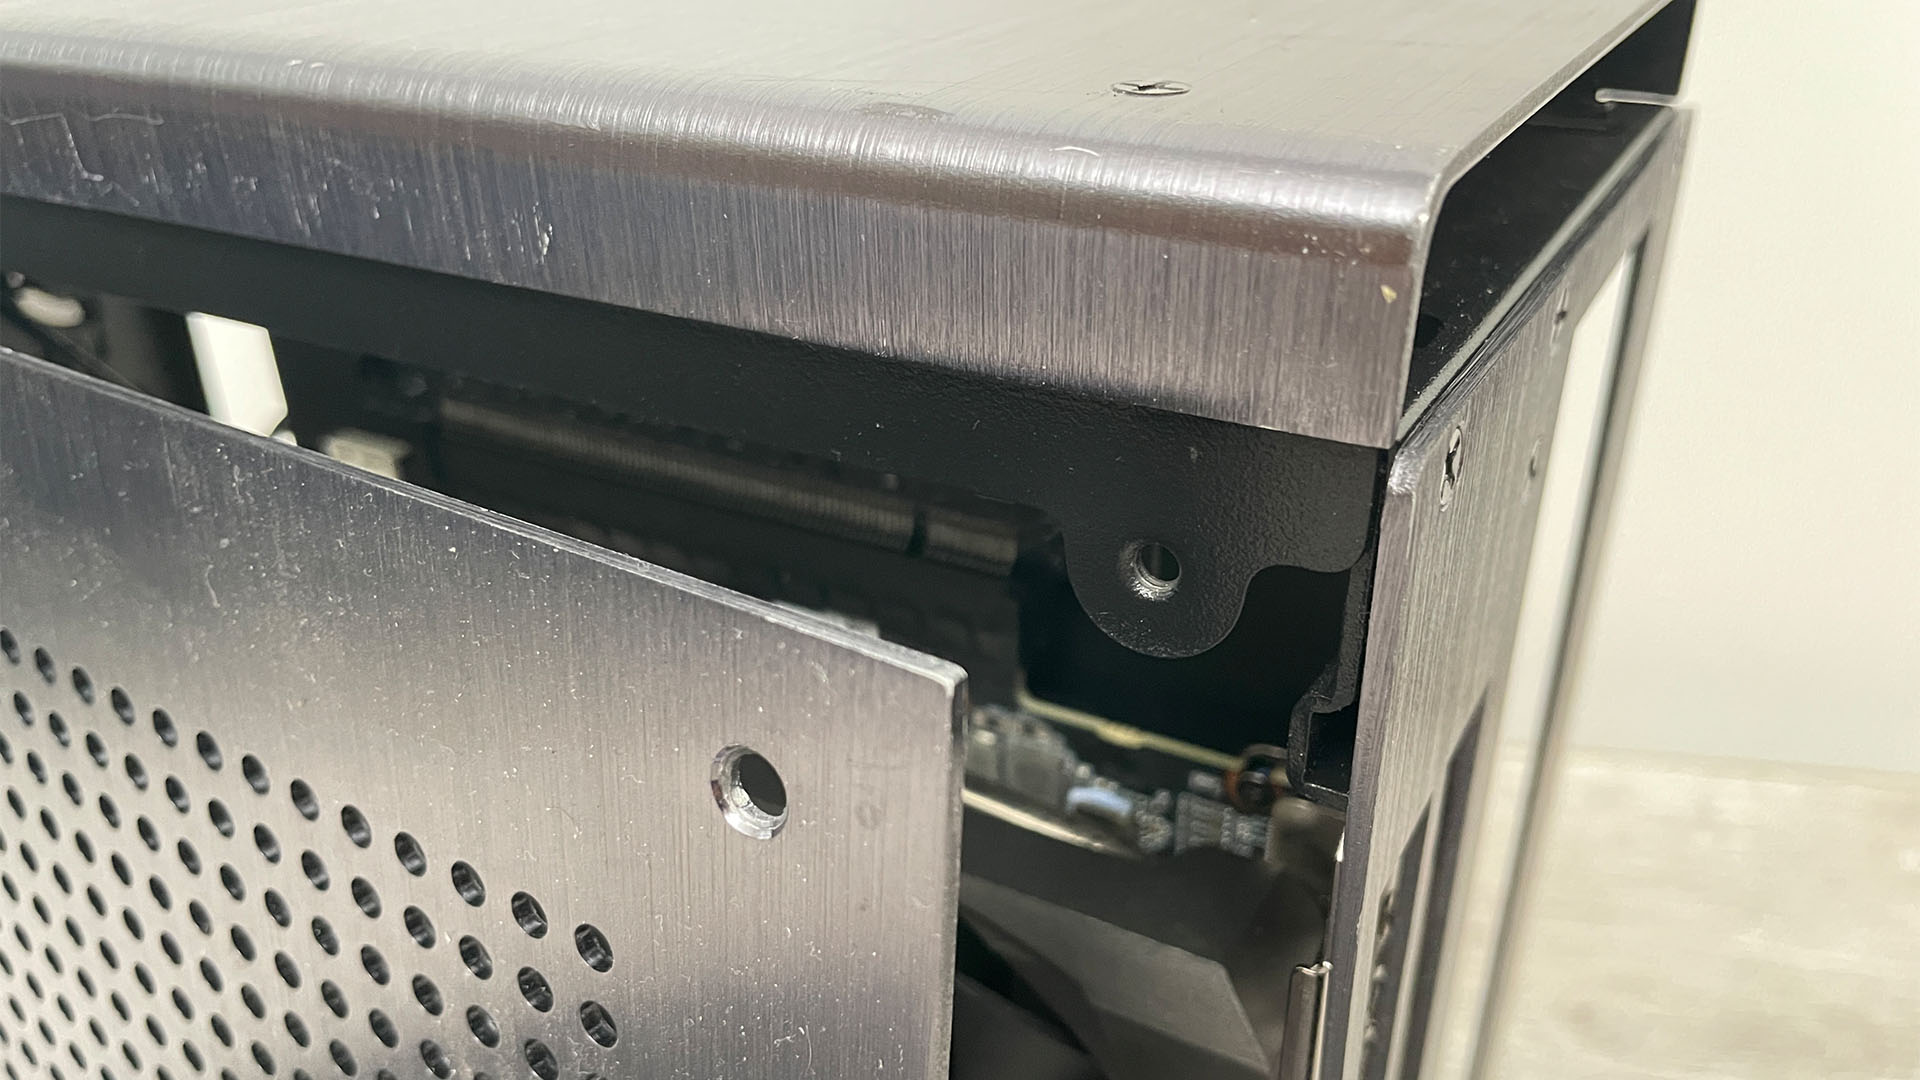
Ideally, you want the panel mounting mechanisms to be as simple as possible, such as holes with screws and thumbscrews. Mounting hinges or brackets to acrylic can be time-consuming and troublesome.
4. Measure panel thickness
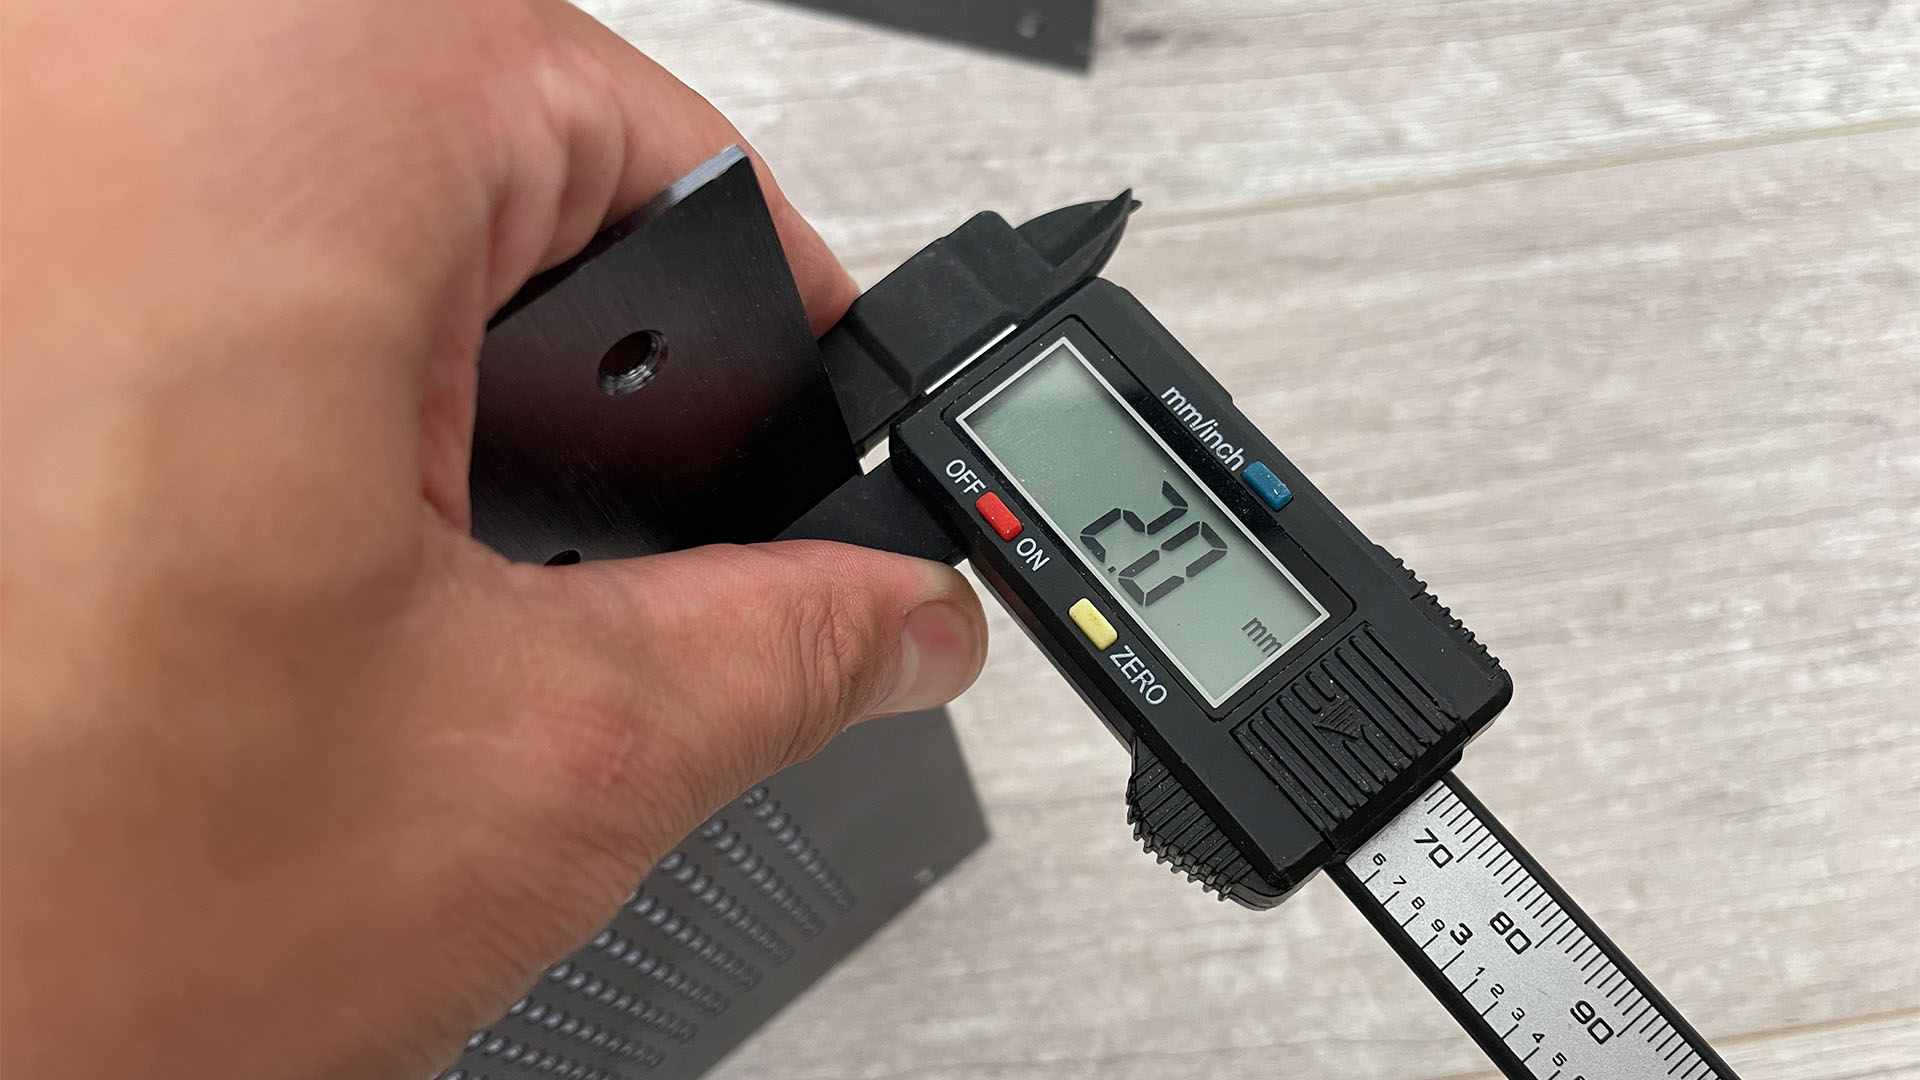
Acrylic sheet is available in a range of thicknesses, so you should be able to match a sheet to the thickness of your side panel. This is important, as screws and mounts may require a specific thickness. You can use vernier calipers to accurately measure the thickness of your case panel.
5. Check for beveled edges
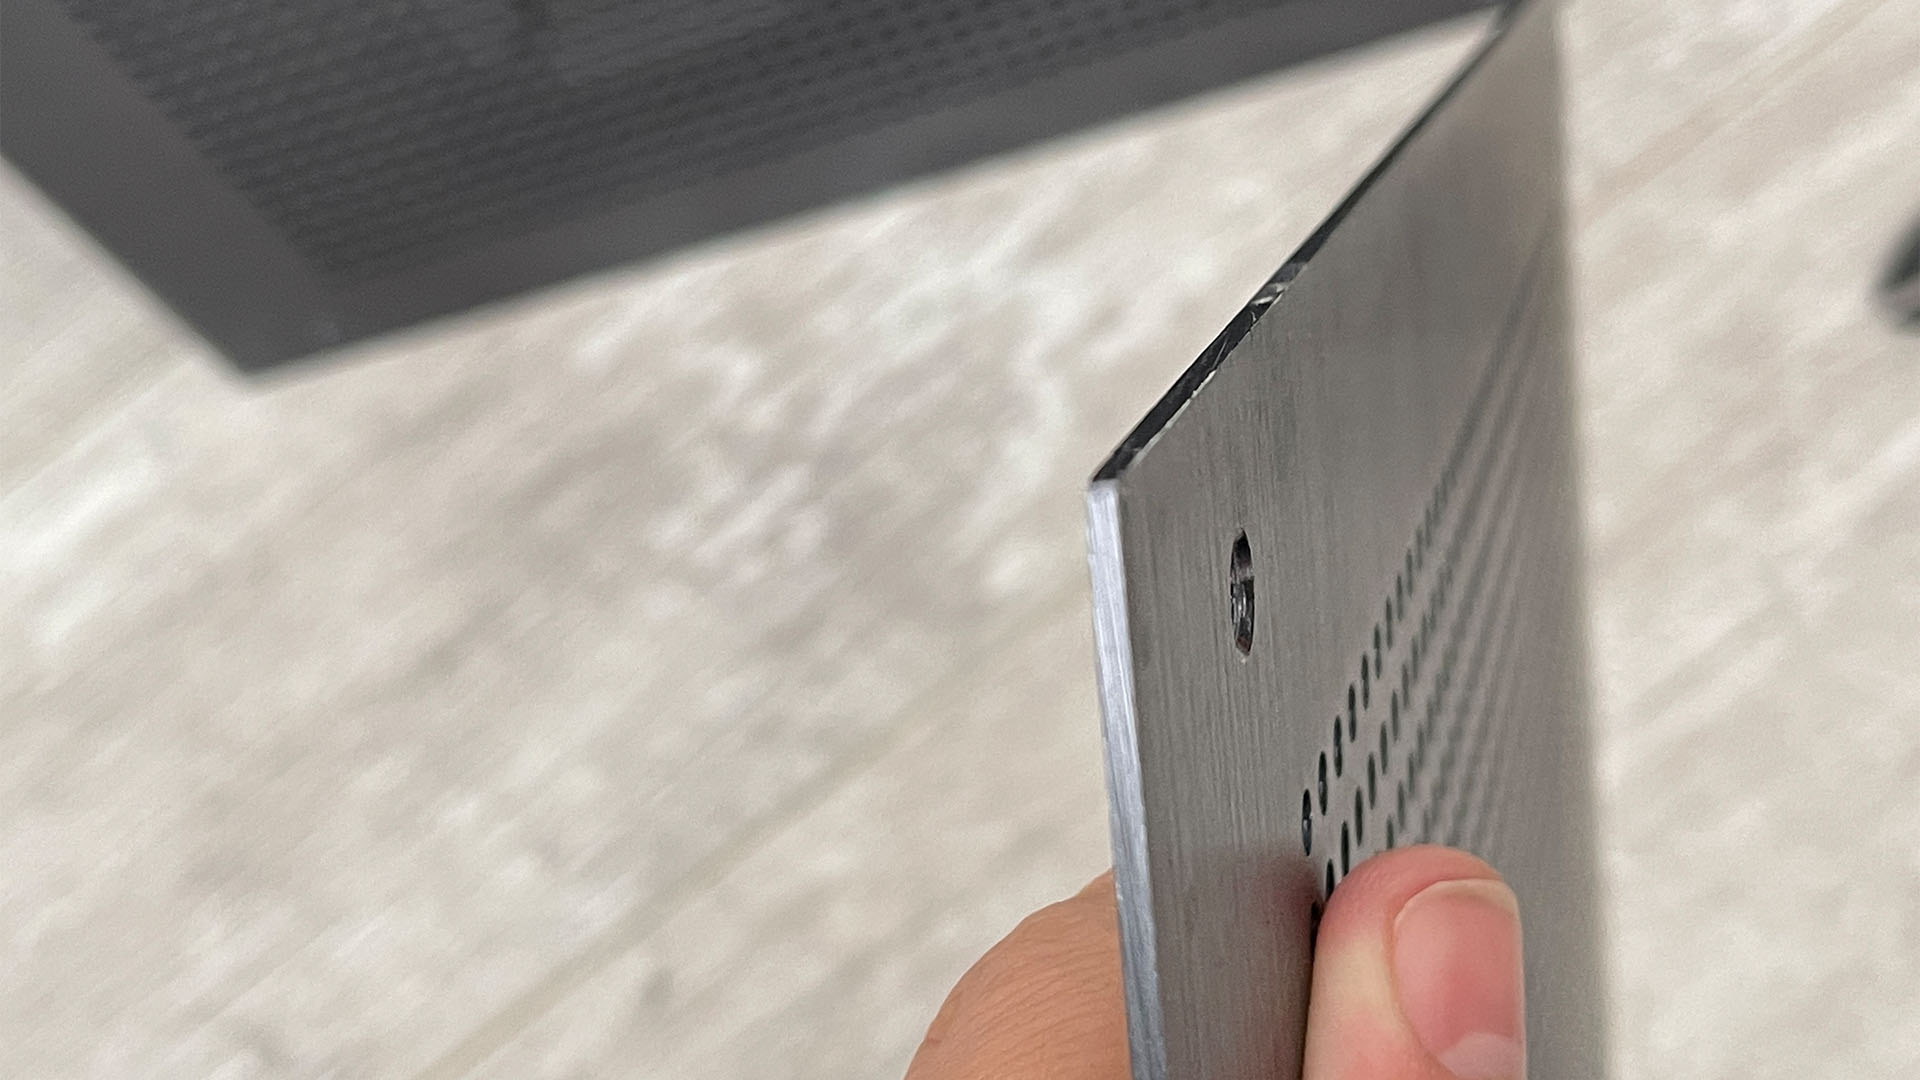
Some side panels may use beveled or angled edges, which need to sit flush with the rest of the case. These can make it extremely difficult to create a new panel that fits properly. Ideally, you want square edges, as they’ll be much easier to replicate.
6. Order clear acrylic sheet
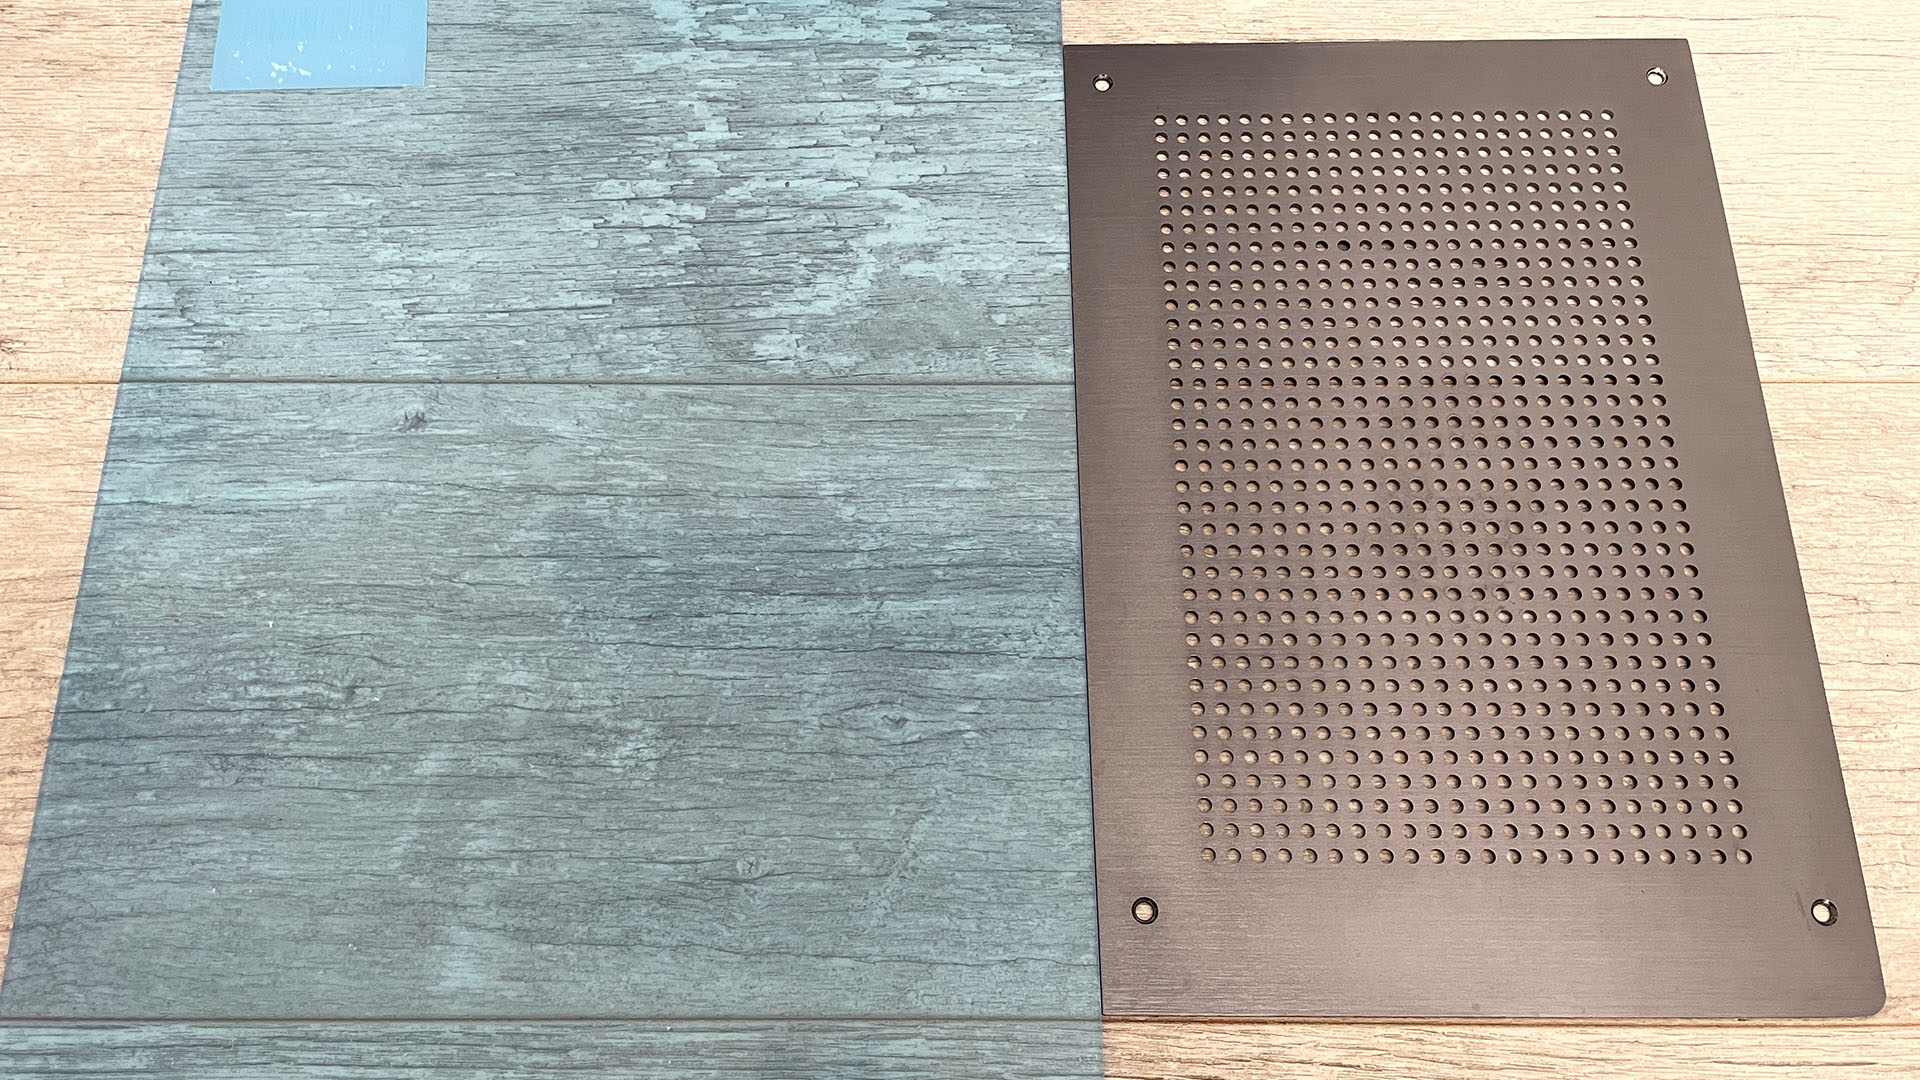
The cheapest way to obtain the acrylic you need to is to order a size large enough to be cut to size. This is relatively easy to do yourself and will mean the panel itself will cost just a few bucks.
7. Order to size
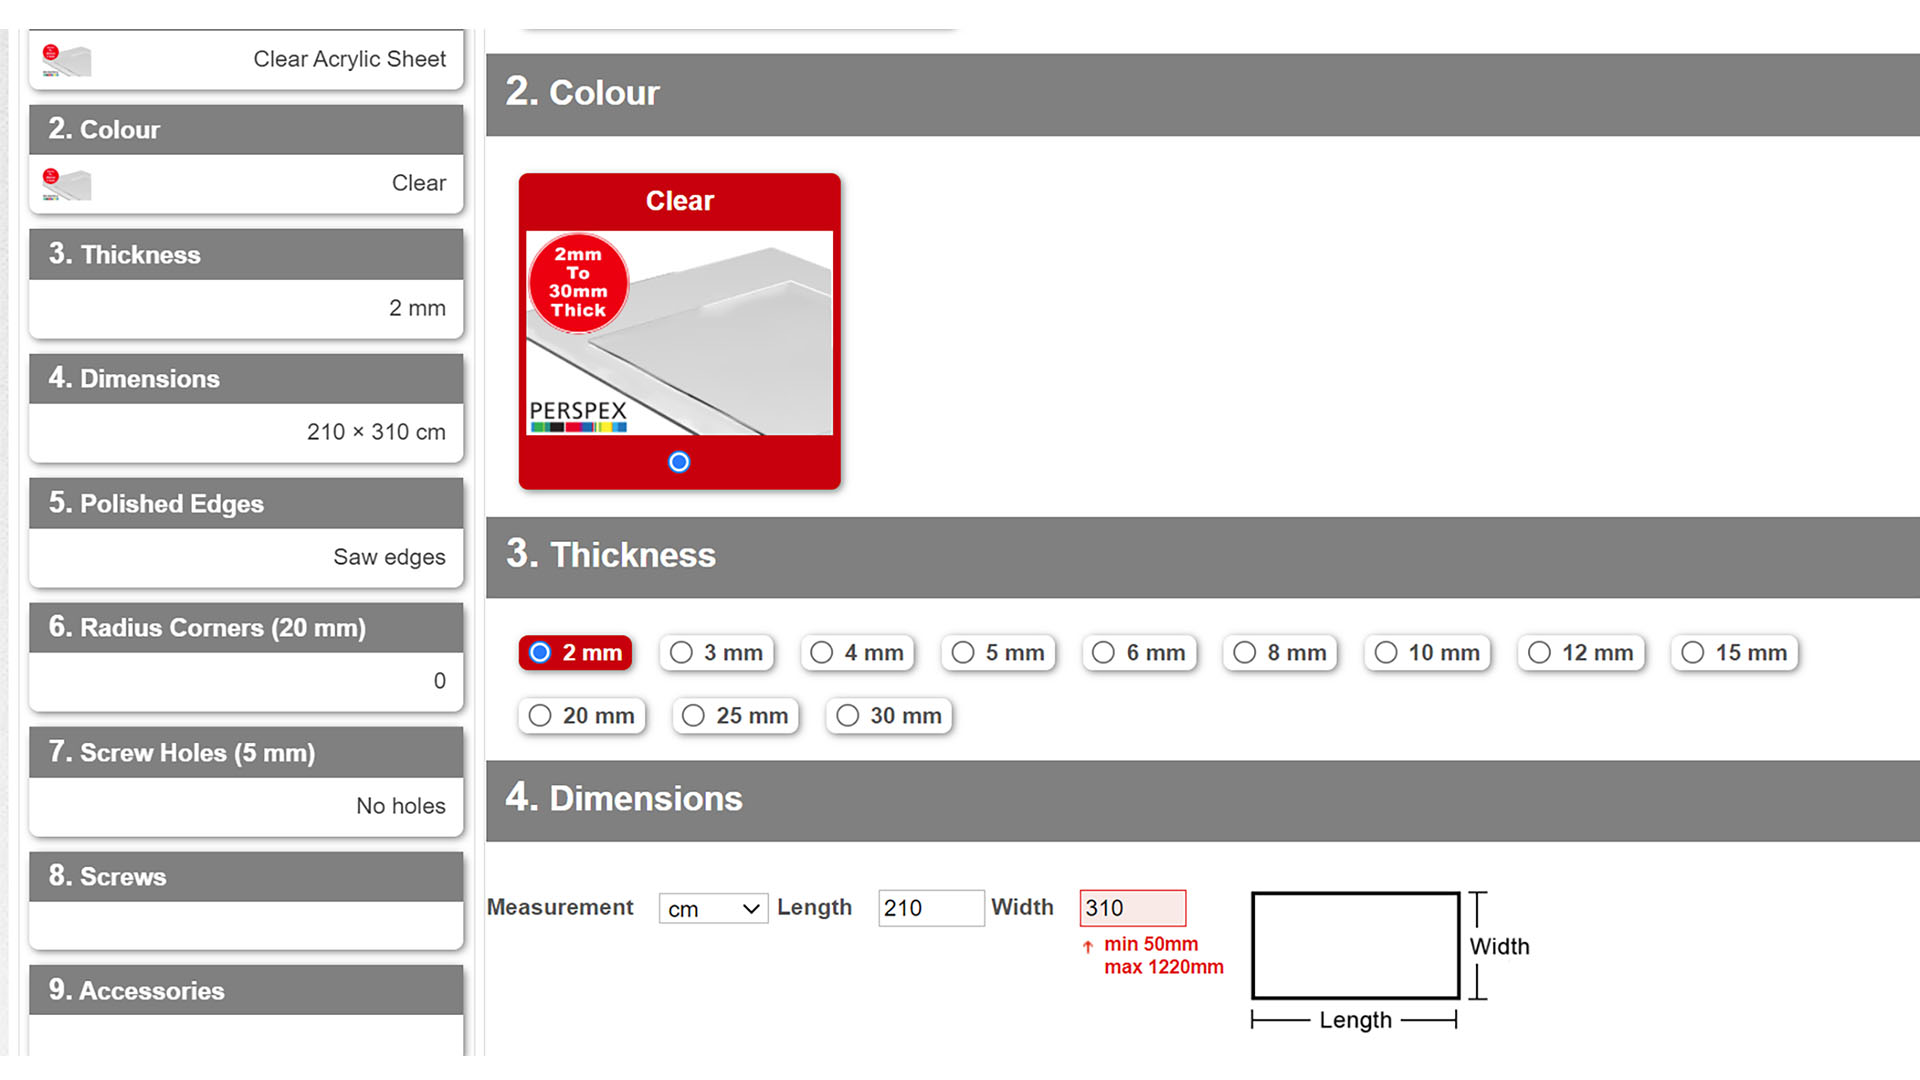
If you’re not confident to cut the panel to size yourself, many sheet acrylic suppliers offer custom cutting services. This will cost extra money, but the benefit is that the firm will cut the panel to the exact size you need, leaving you with minimal extra work.
8. Specify mounting holes

Some sheet suppliers can also cut your mounting holes. You’ll need to take highly accurate measurements of the locations of the centers of the holes. For this reason, it can be easier and cheaper to drill the holes yourself.
9. Consider machining
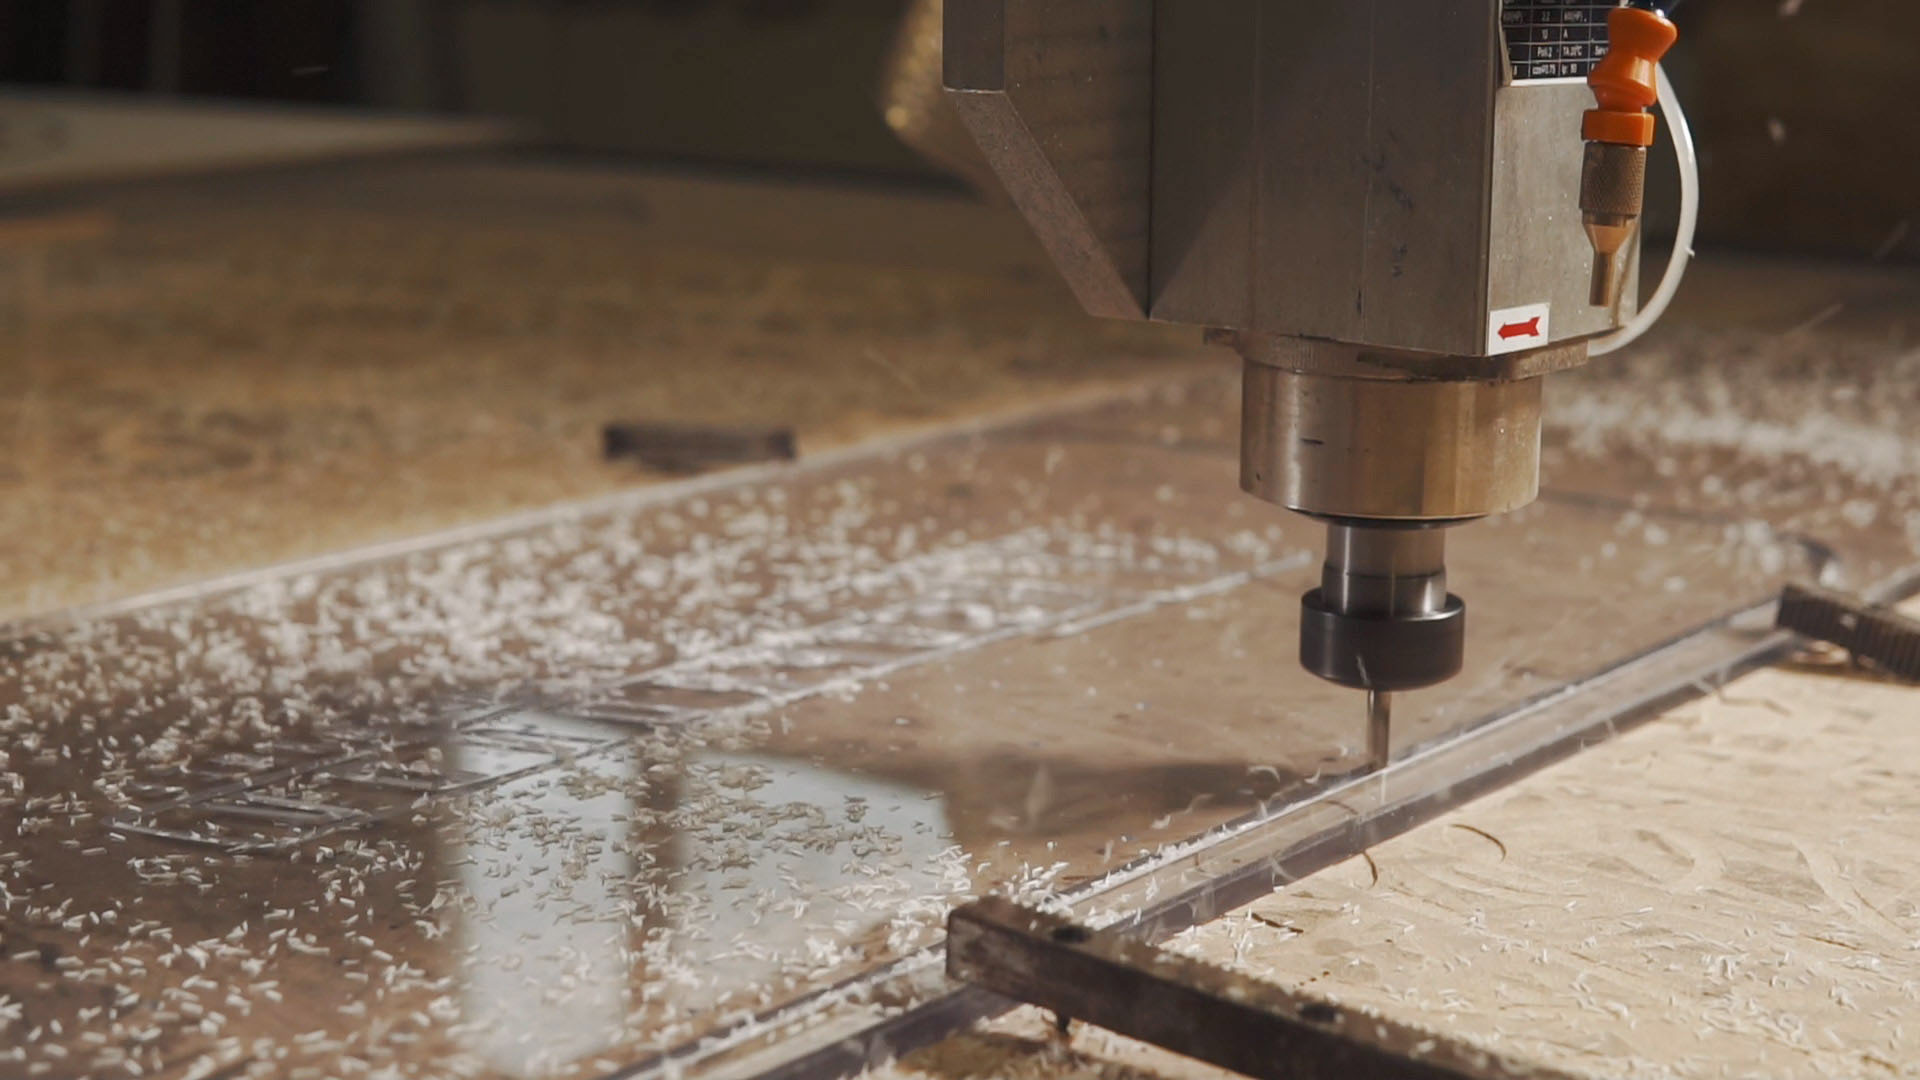
We’ll be drilling holes for the vents and, for these vents to be effective, we need to make quite a few of them. If you’re short on time, this is one job you might want to get done professionally, but again it can cost many times the price of the panel.
10. Optional polished edges
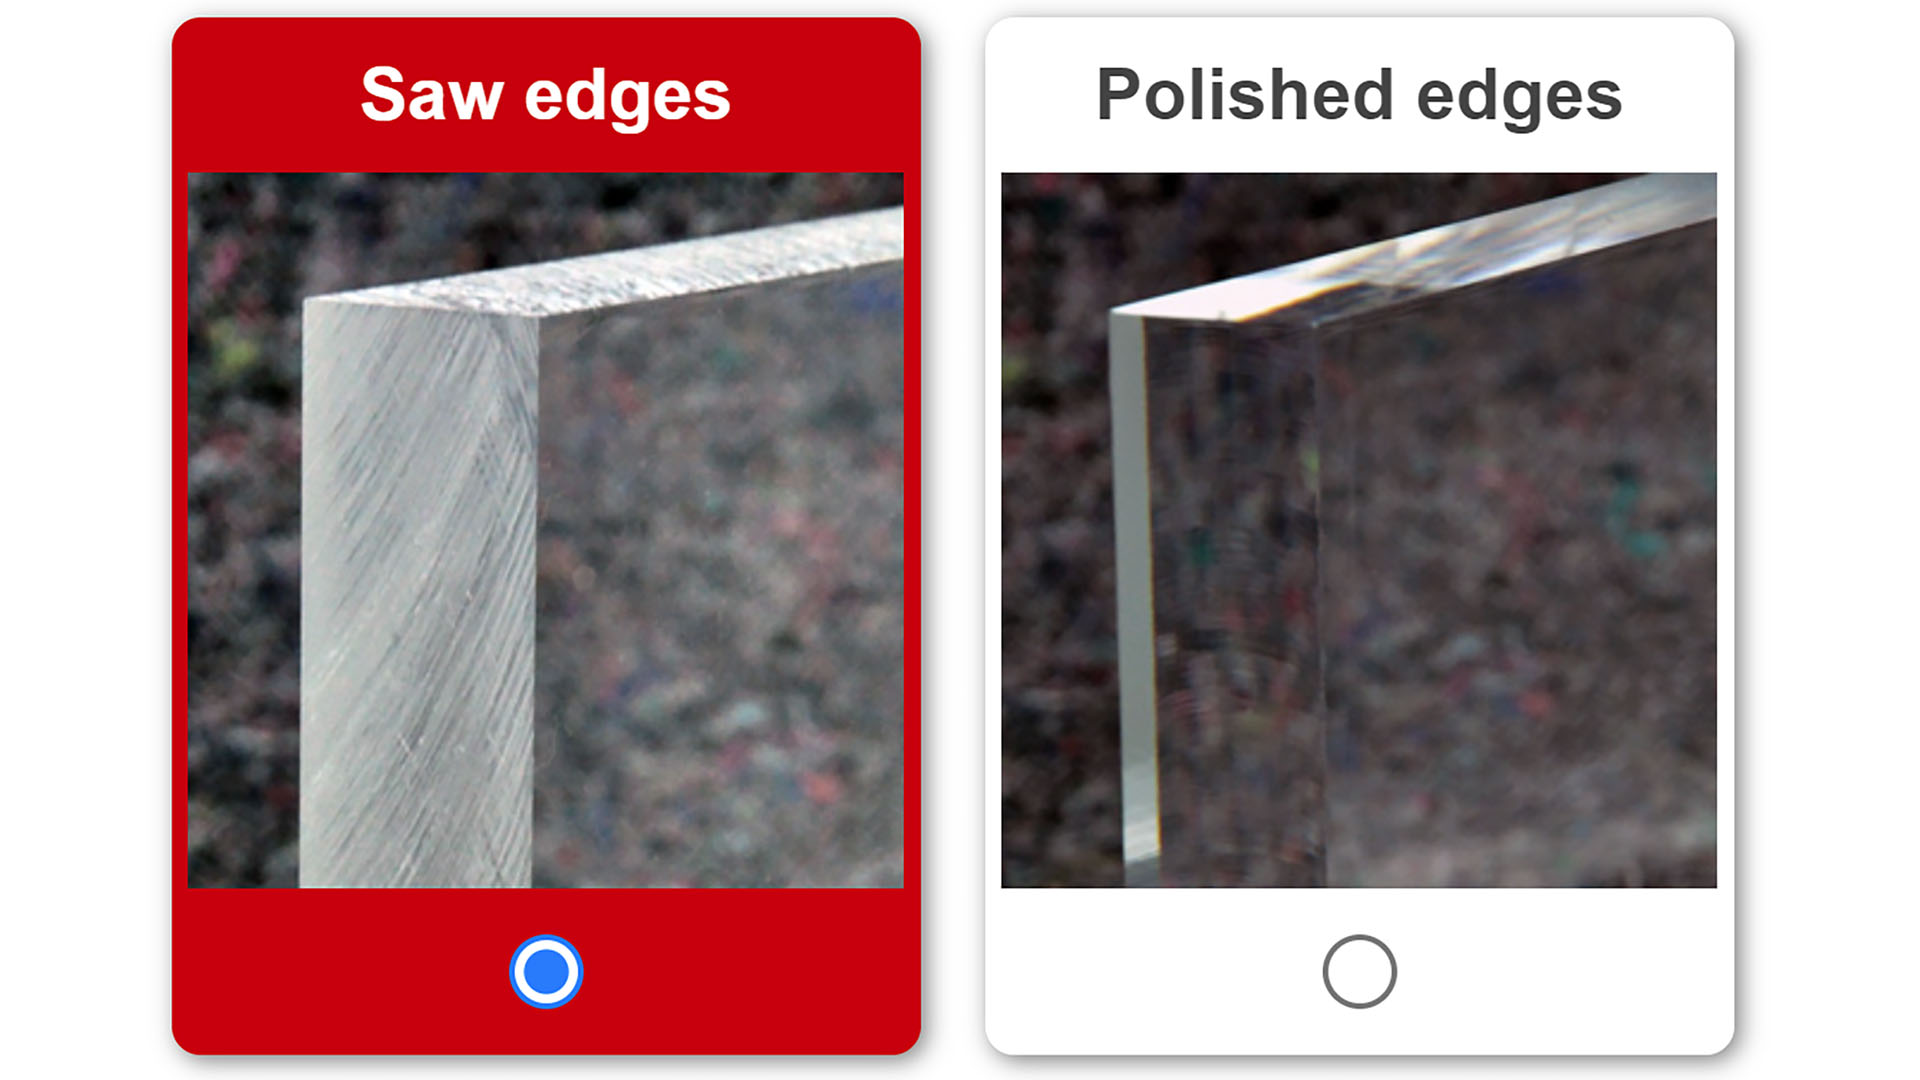
If you’re cutting the acrylic, the edges will look dull and opaque, but polishing them makes the panel look more professional. Some acrylic suppliers will also offer to do this work on pre-cut sheets, but you can use 2,000-grit followed by 3,000-grit sandpaper, followed by an automotive polish to achieve the same result.
11. Use original panel as template
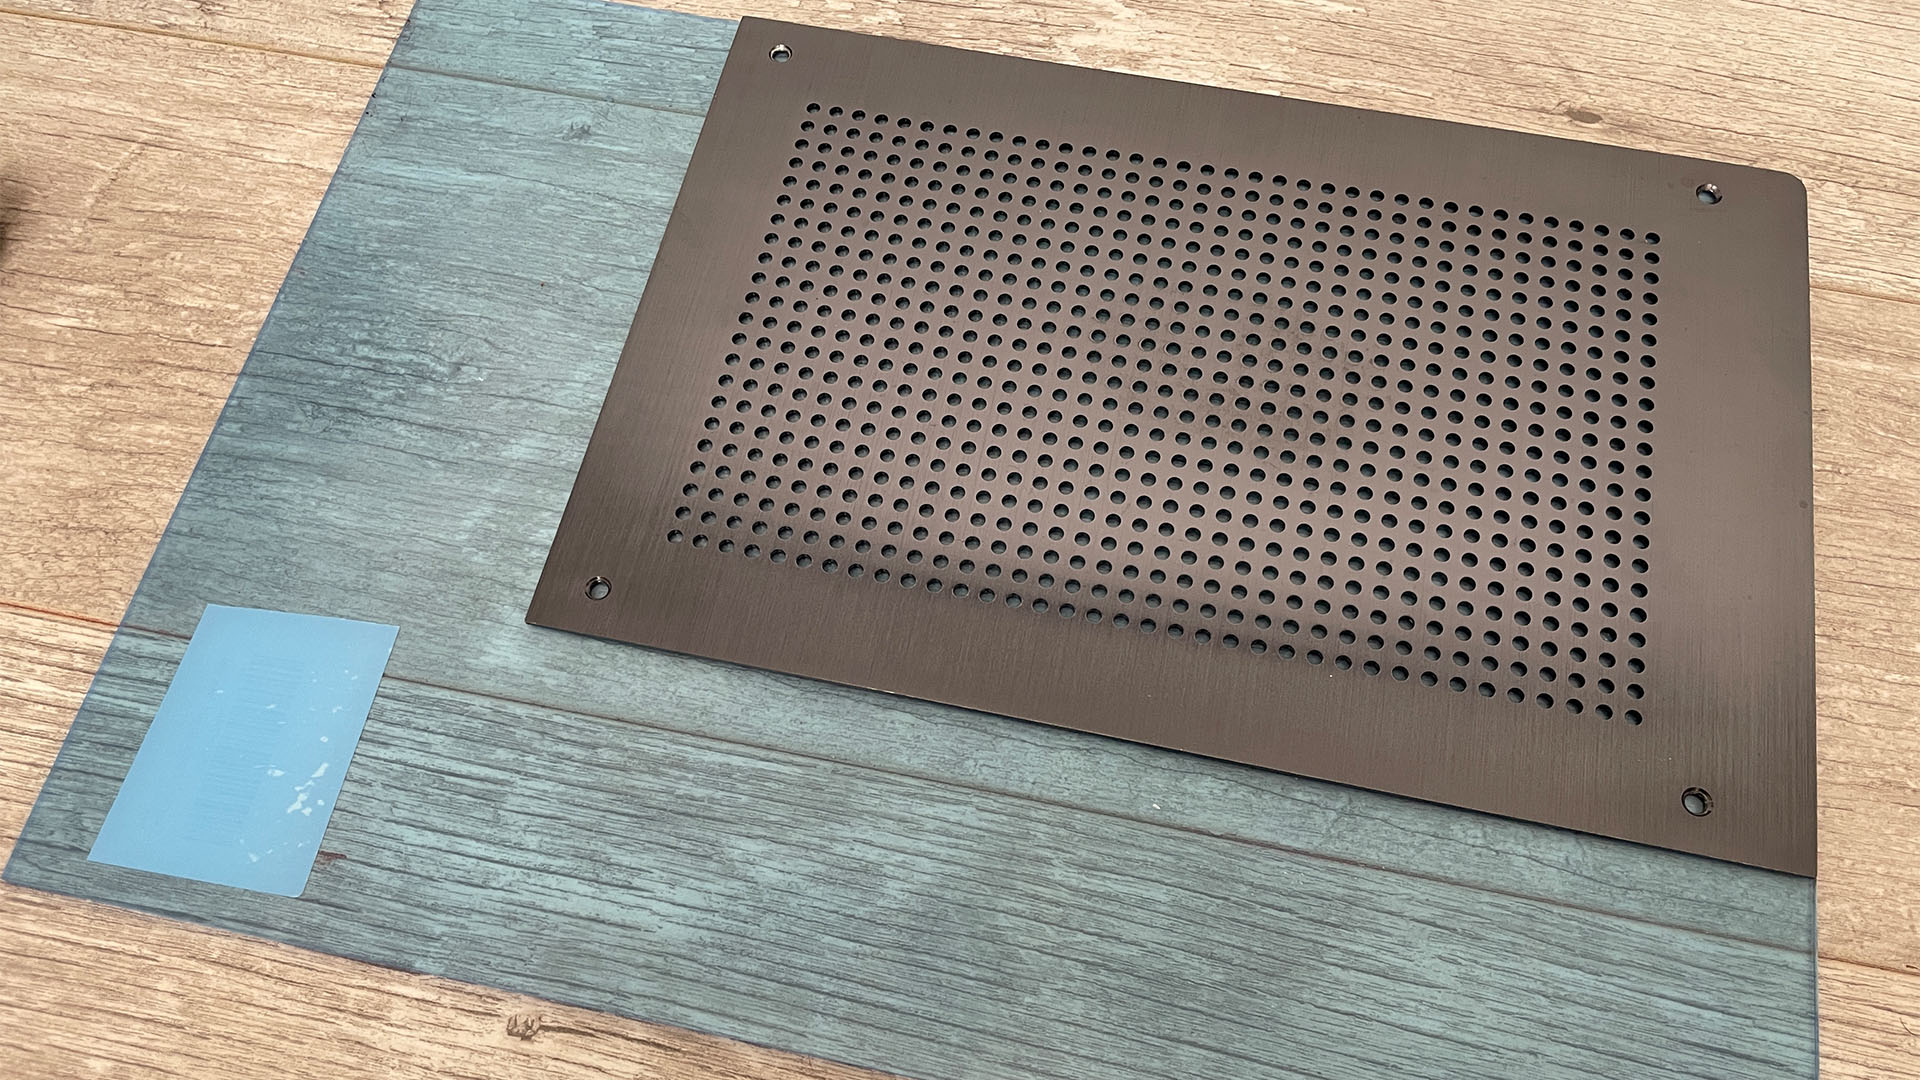
Having a basic flat panel is useful, as you can use it as a template for your new panel. Don’t remove the protective film on the acrylic until you’ve finished work on it, though, as it scratches very easily. You can use marker pens to draw your cutting lines onto the film.
12. Mark up sheet
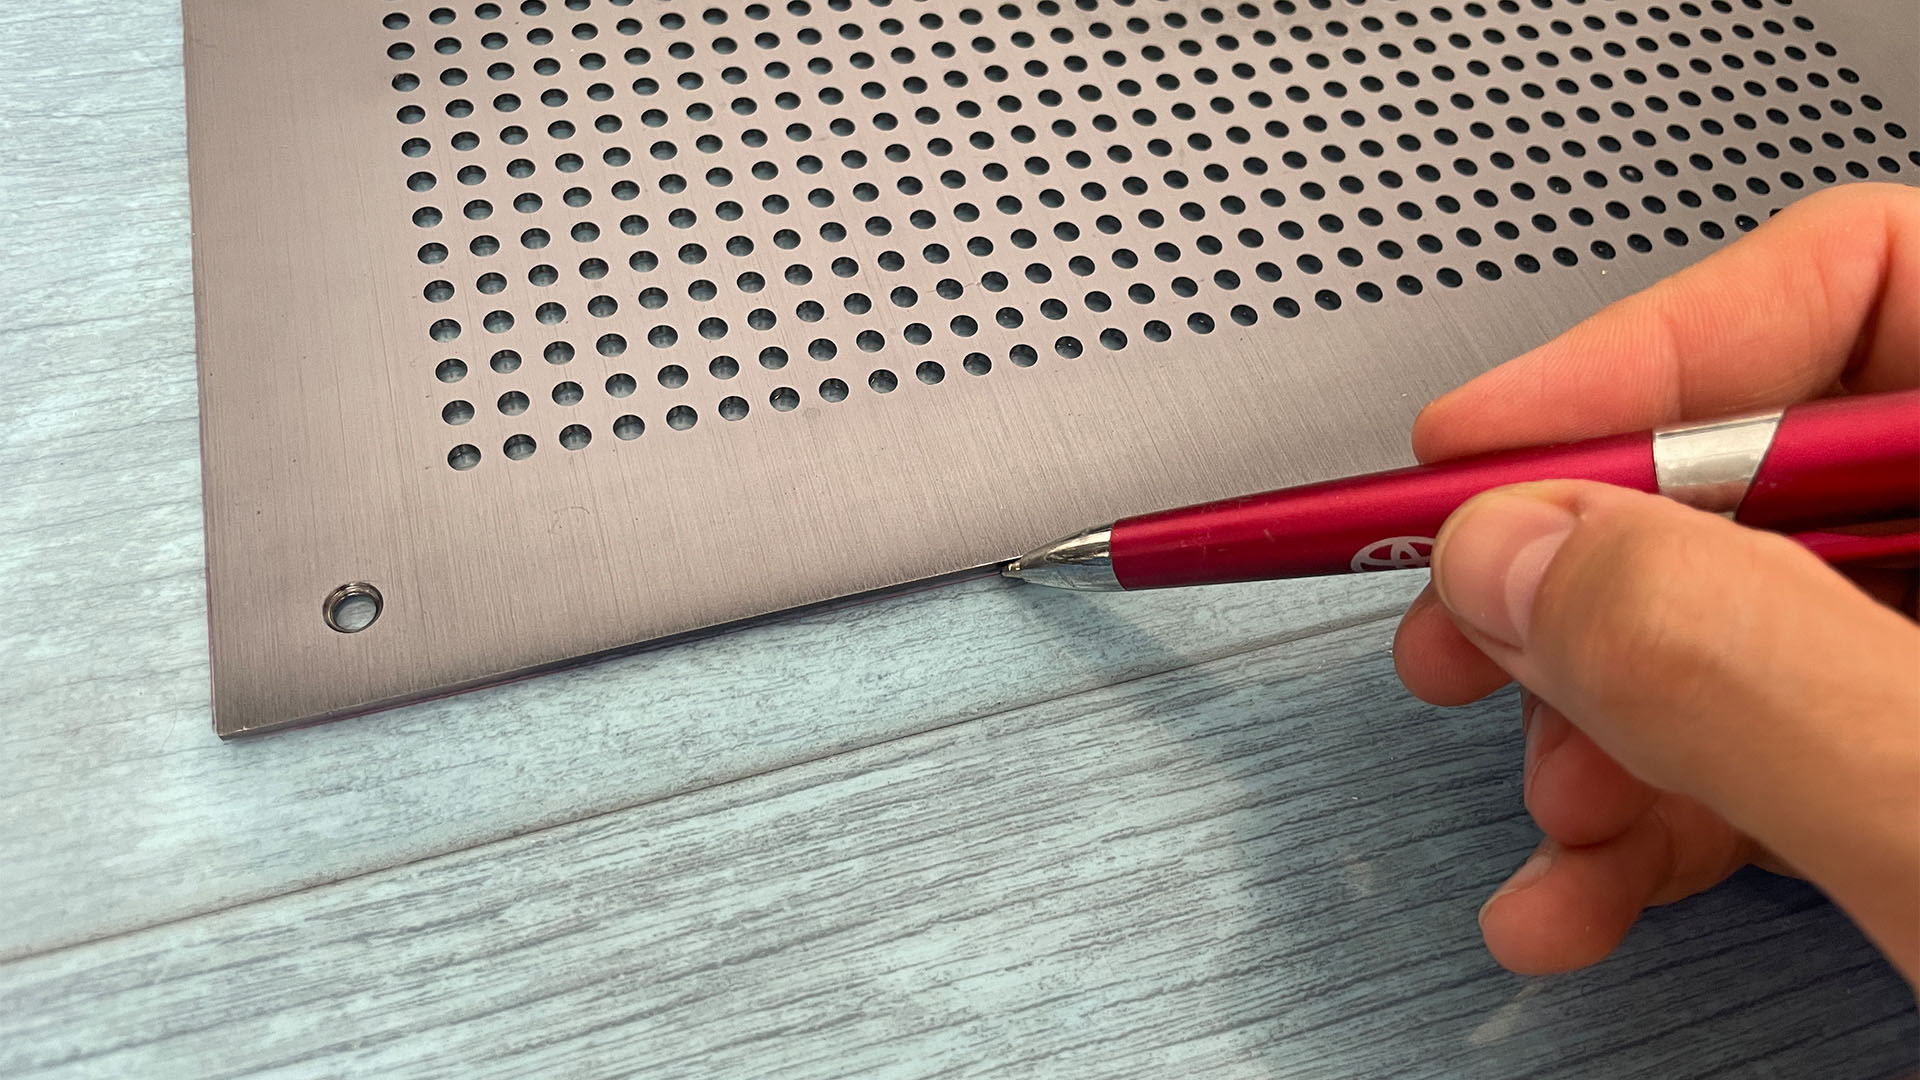
If you’re using a cutting tool such as a table saw, now is the time to draw your cutting lines onto the acrylic. Ensure the film isn’t moving and that it’s firmly stuck to the acrylic.
13. Score lines
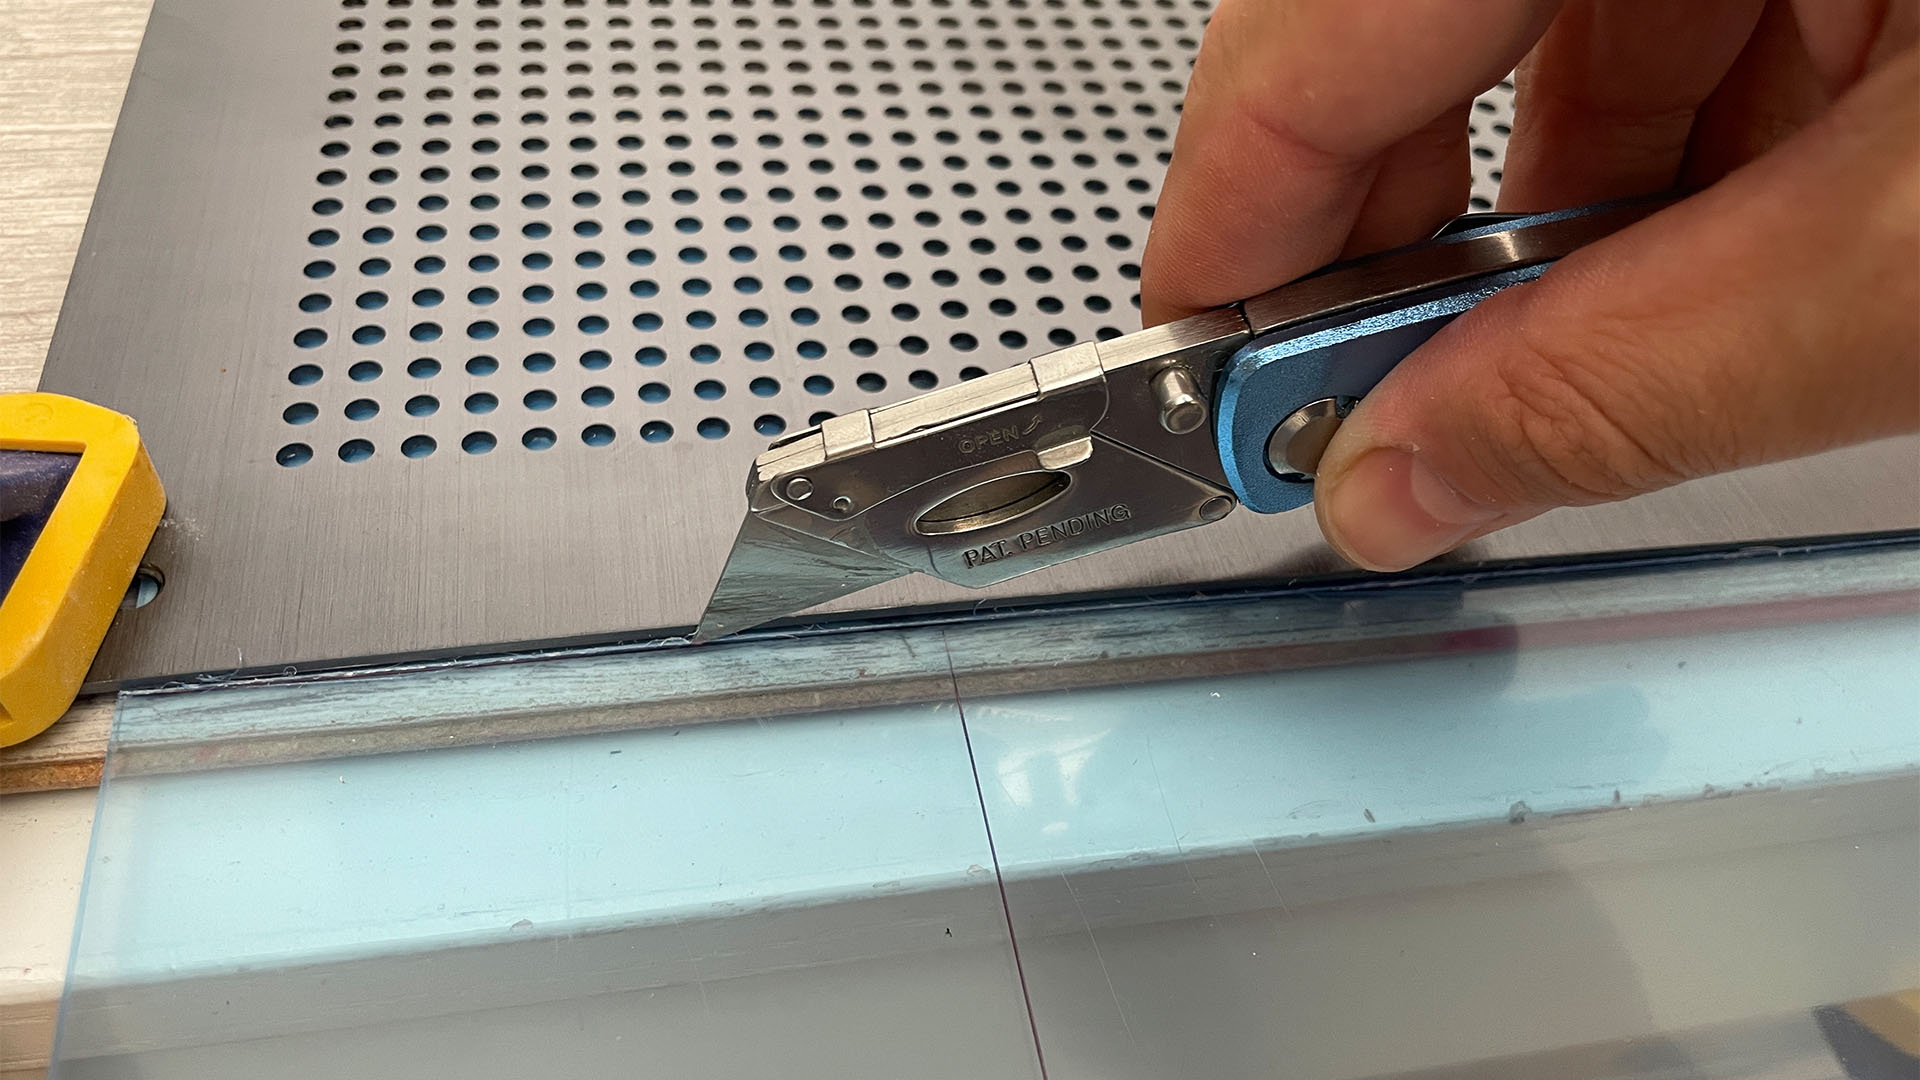
If you don’t have a machine for cutting, you can score straight edges on small to medium sheets of acrylic with a Stanley knife on both sides, while clamping the shortest side to a flat surface. Use a straight-edged object as a guide, putting medium pressure on the knife. Run over the score line three times to create a groove.
14. Snap to cut
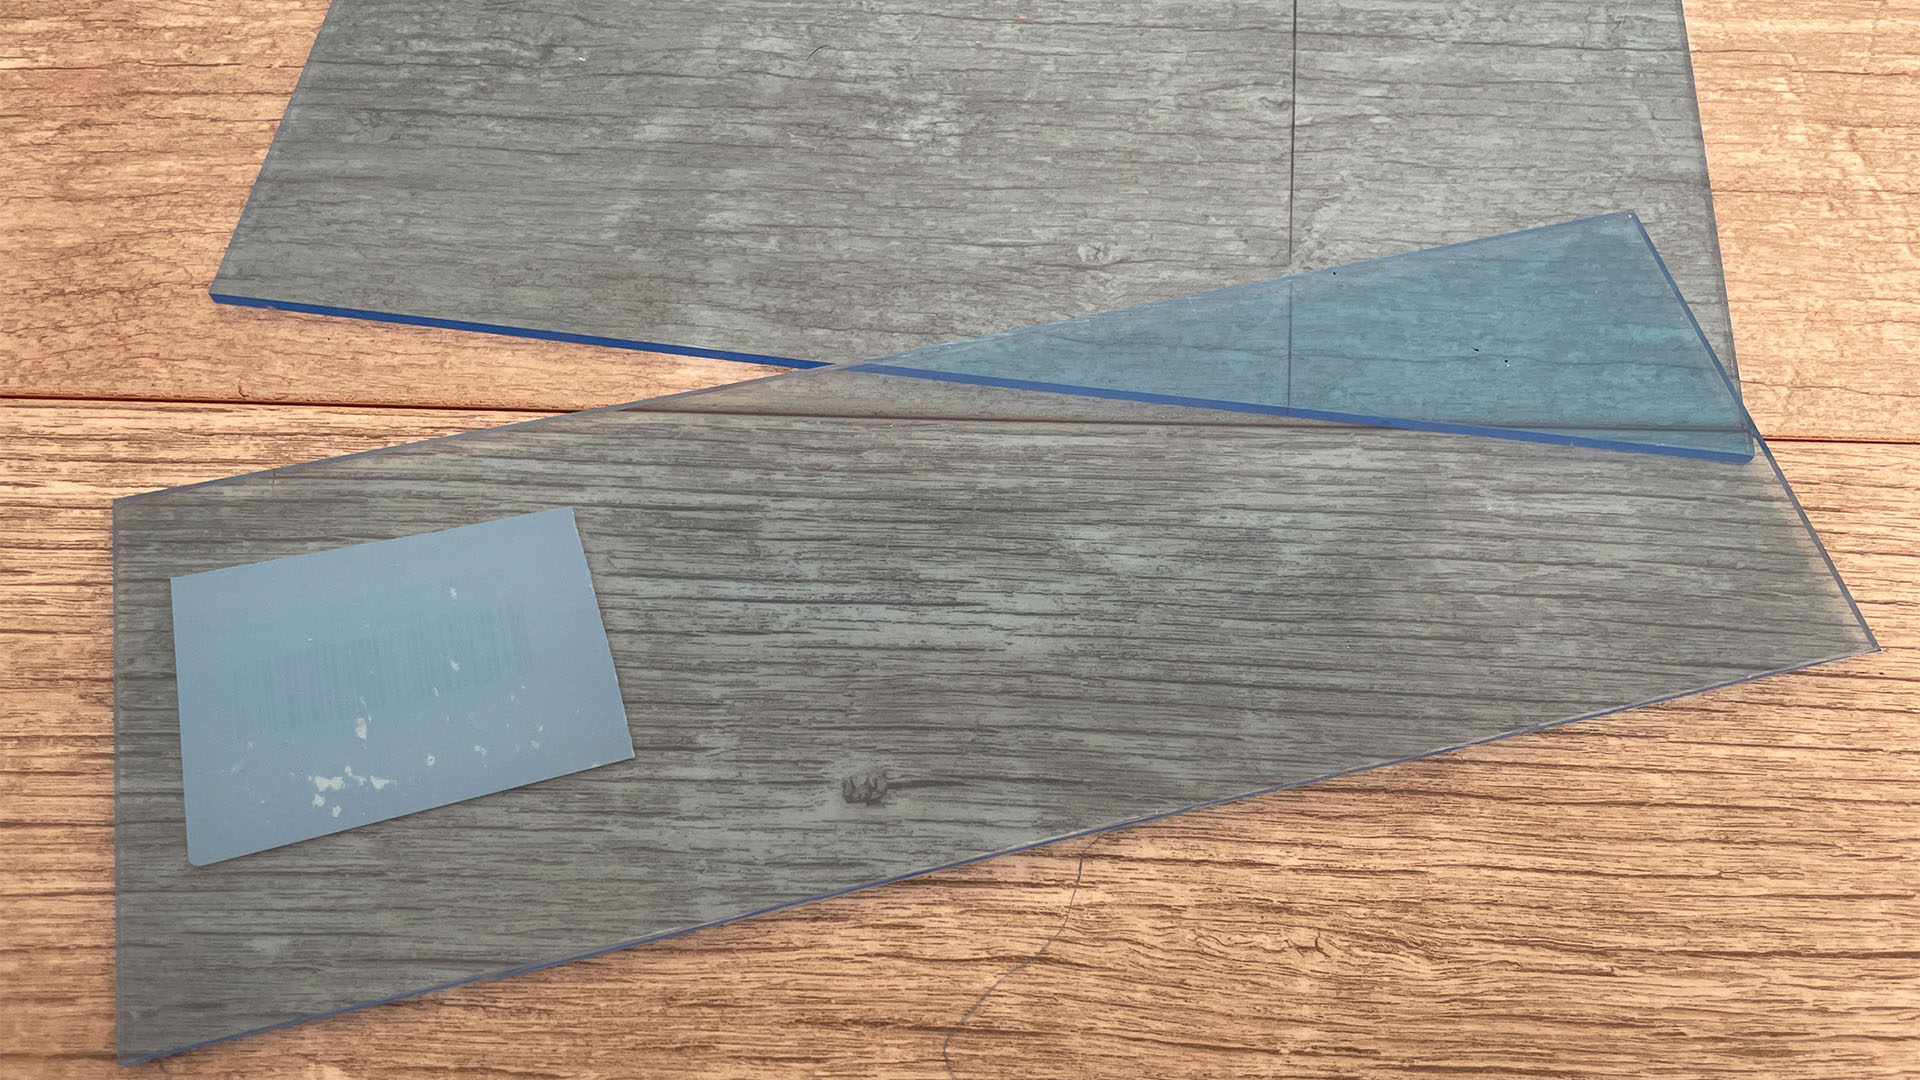
Leave the shortest edge clamped and apply even pressure to the larger section in order to spread the force as much as possible along the cut. Press down and the acrylic should snap along the cut.
Alternative: Use a table saw
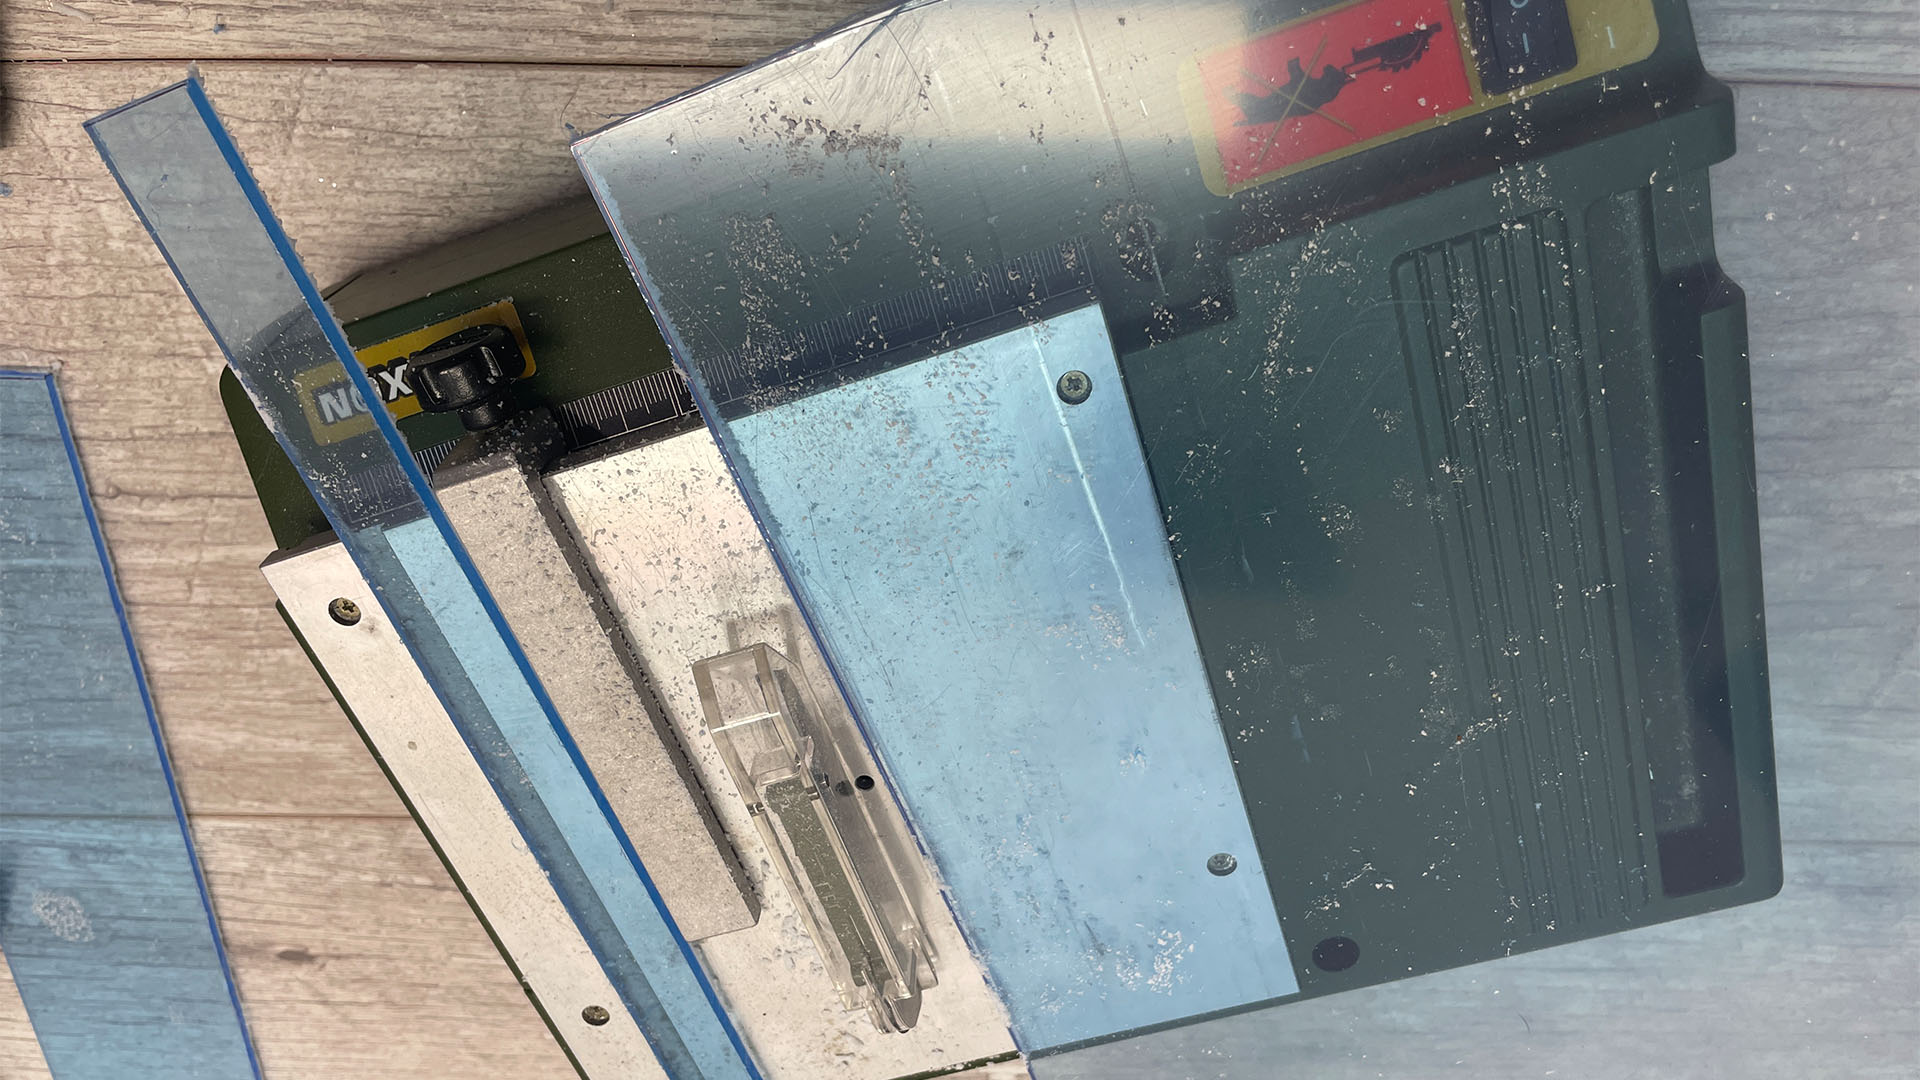
A table saw can result in a quick, clean cut that requires minimal finishing and can deal with large surfaces such as full-tower ATX side panels. Use a plastic-specific cutting blade and run the sheet through it along the cutting mark you made earlier.
15. Round corners
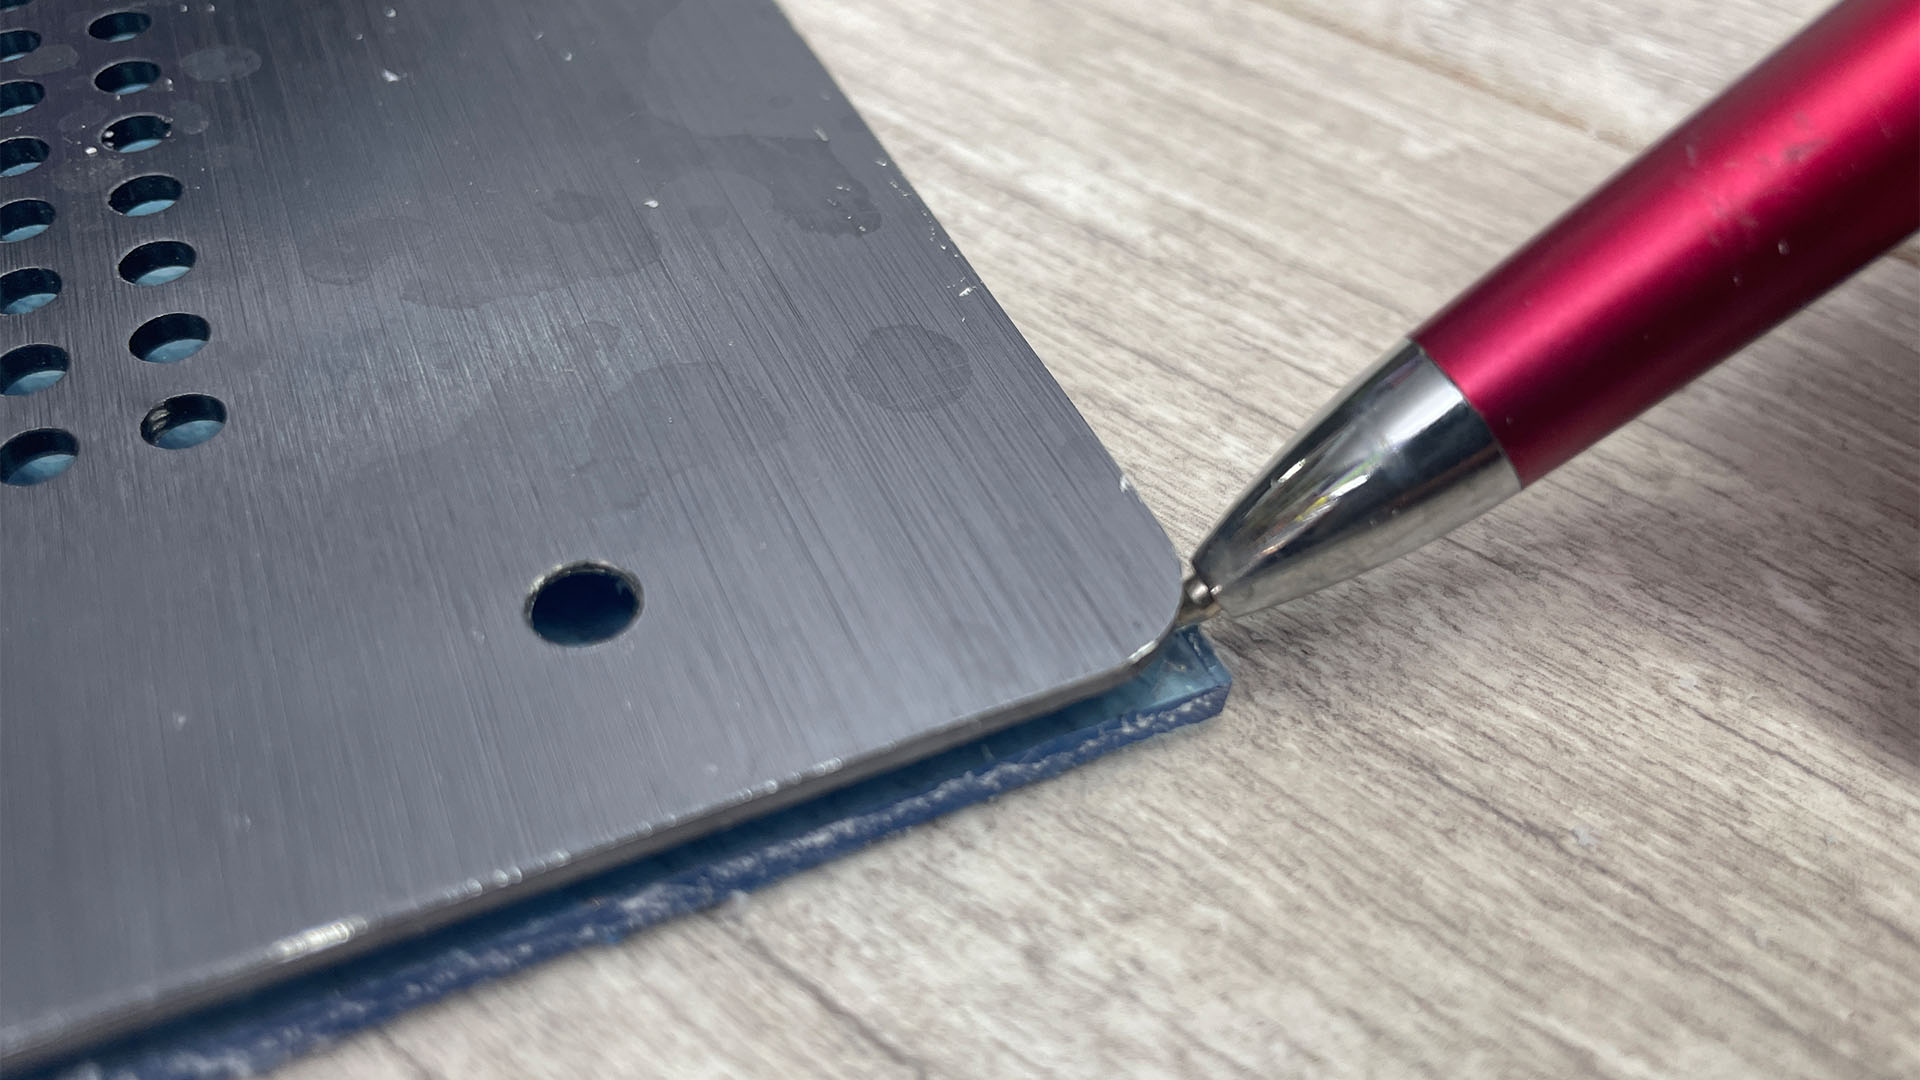
You may need to round the corners of your panel in order for it to fit in your case, which is an easy job. A rotary tool such as a Dremel with a sanding wheel can eat away at the acrylic up to the lines you marked on it earlier. Alternatively, a coping saw can cut away a larger area first in order to cut down on sanding time.
16. Use sandpaper
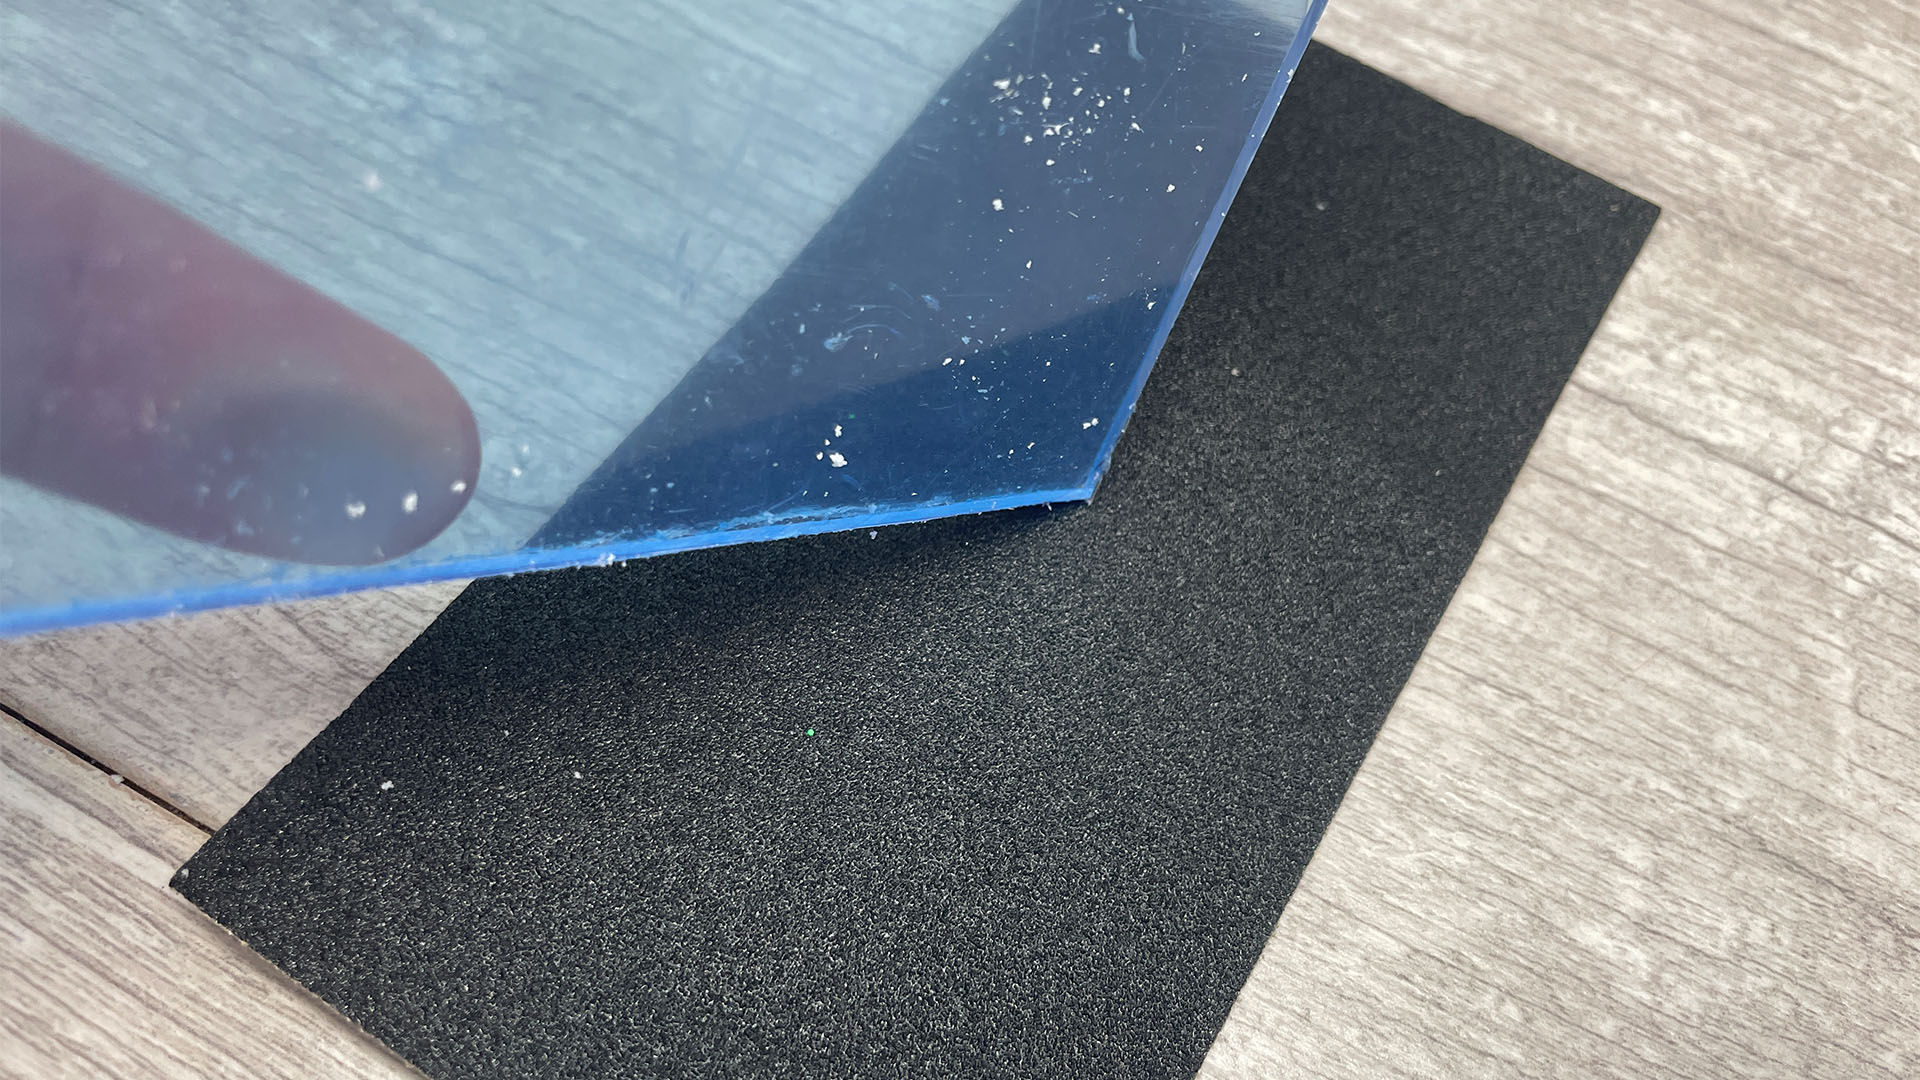
You can also use 100 or 120-grit sandpaper to do the same job, again perhaps using a saw with a fine blade to cut away some of the waste acrylic first. Hold the panel firmly, apply medium force, and use a back-and-forth motion against the sandpaper. This helps to keep the edge flat.
17. Use a rotary tool
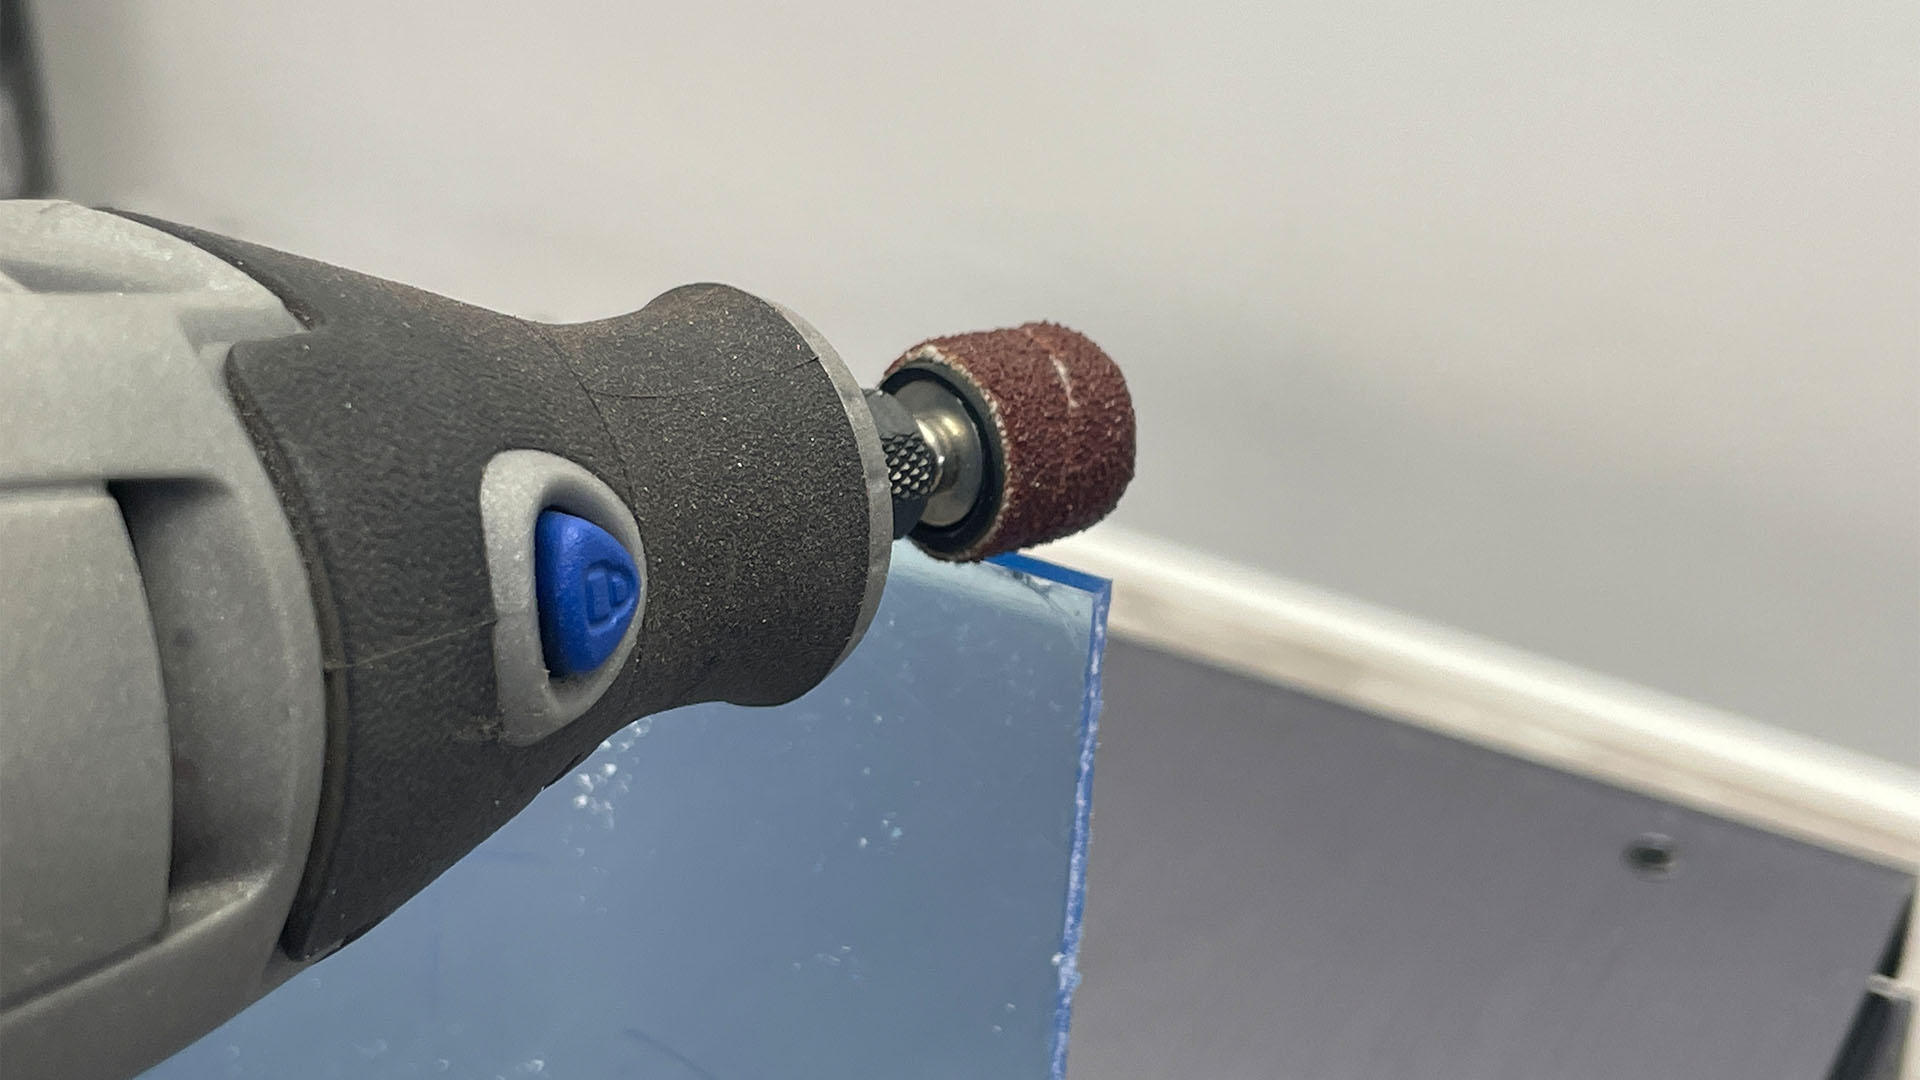
If you have a Dremel, you can use a sanding wheel to cut away at the corners to remove the unwanted acrylic, working up to the marked lines. This is more delicate than using a saw, but it’s still a good idea to remove the final millimeter up to the line with 120-grit sandpaper.
18. Test-fit panel
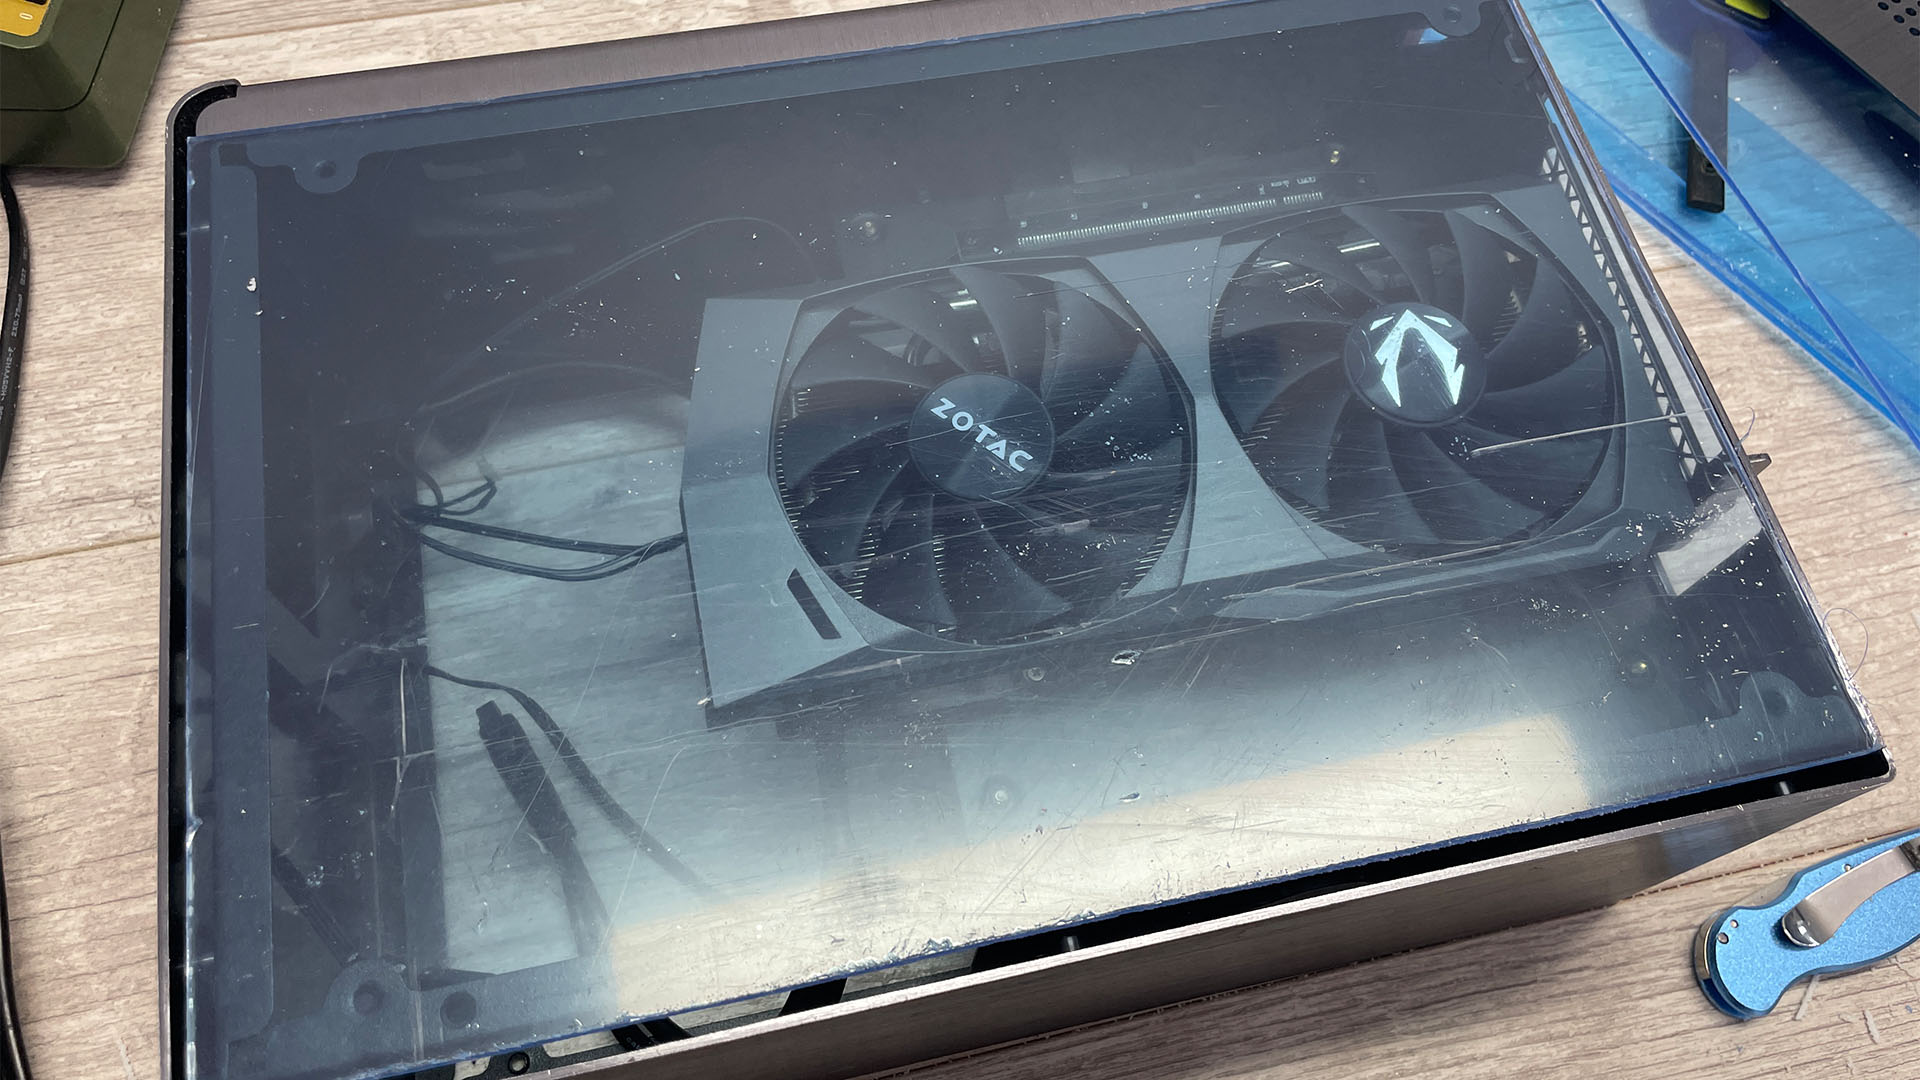
Offer up the side panel to the case – make sure it fits, and that all the corners sit flush and don’t foul the rest of the case. Be sure to fit the panel the right way around too.
19. Finish the edges
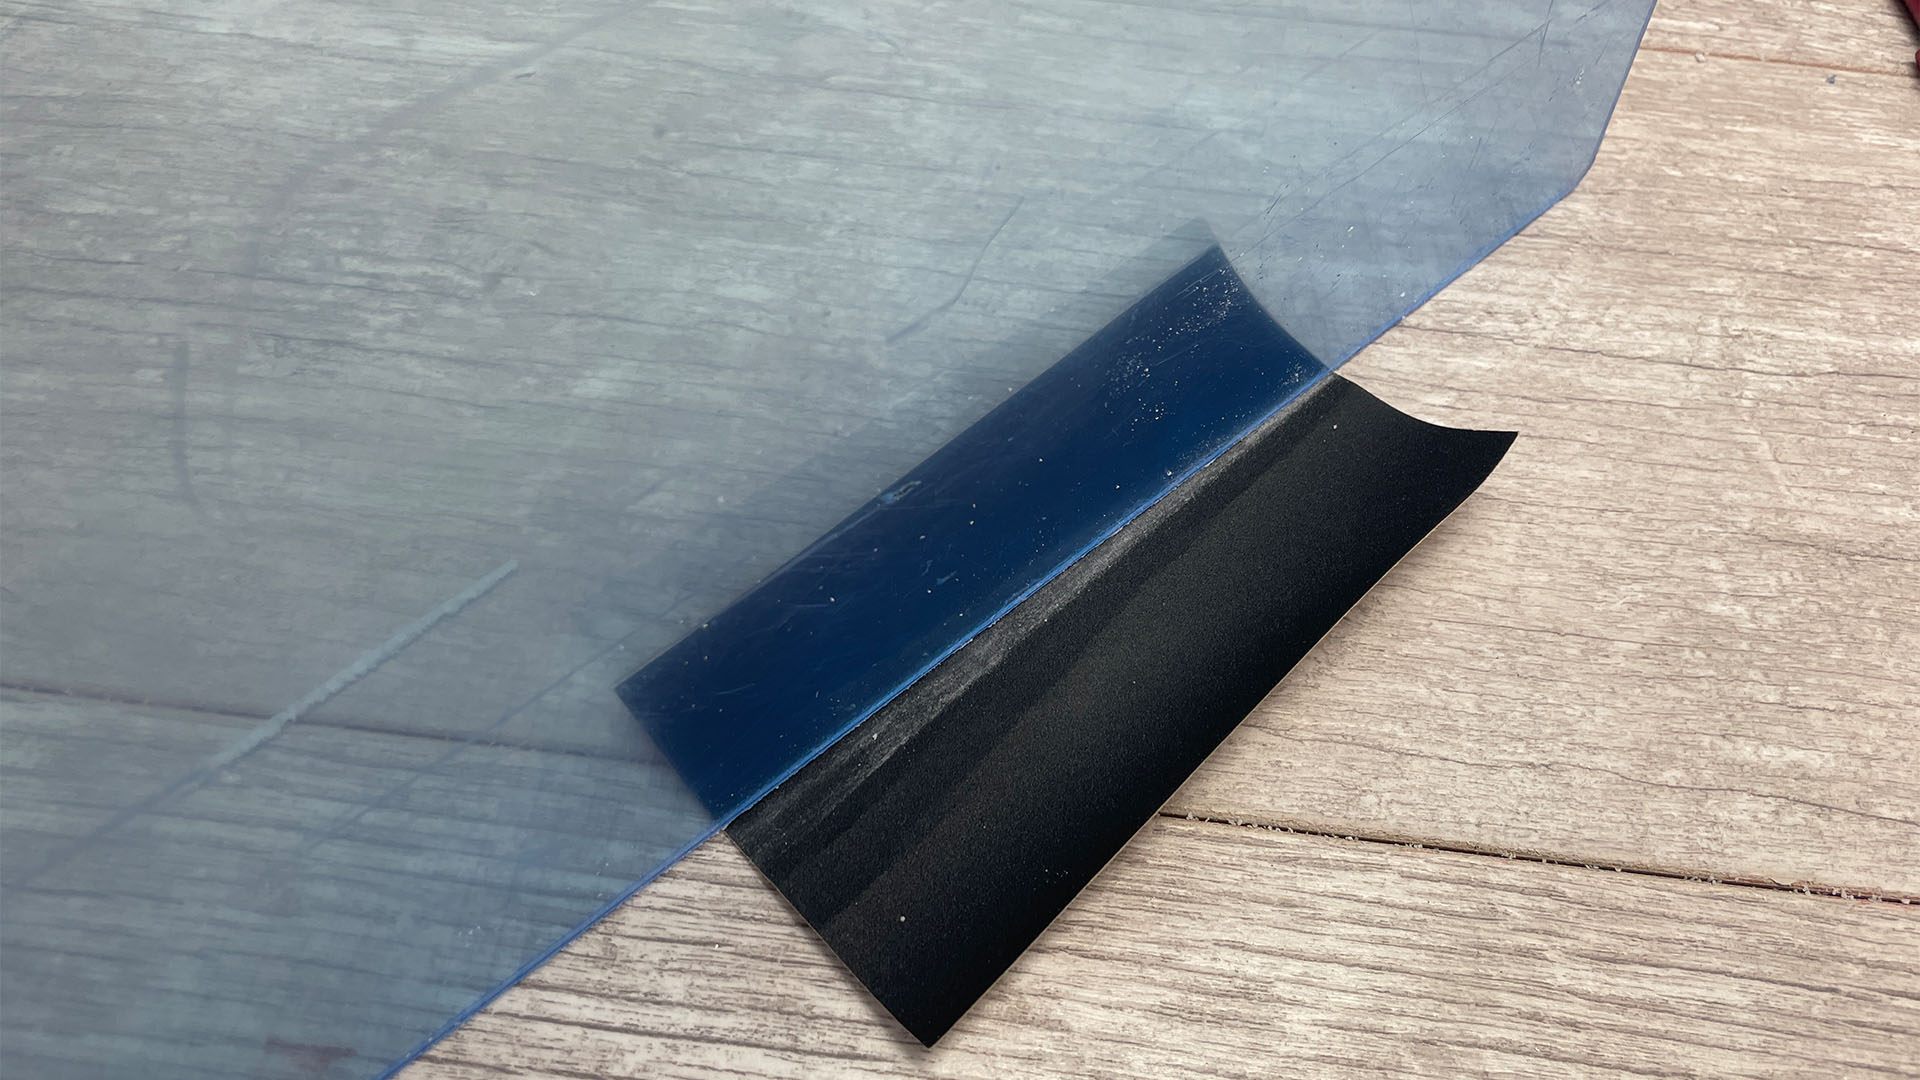
Now it’s time to smooth all the edges you’ve cut by sanding them. Start by using 600 or 800-grit sandpaper paper to smooth over the edges over, then use 2,000-grit sandpaper to finish them off. You can now use a plastic or automotive polish to buff the edges, so they turn clear.
20. Mark up holes
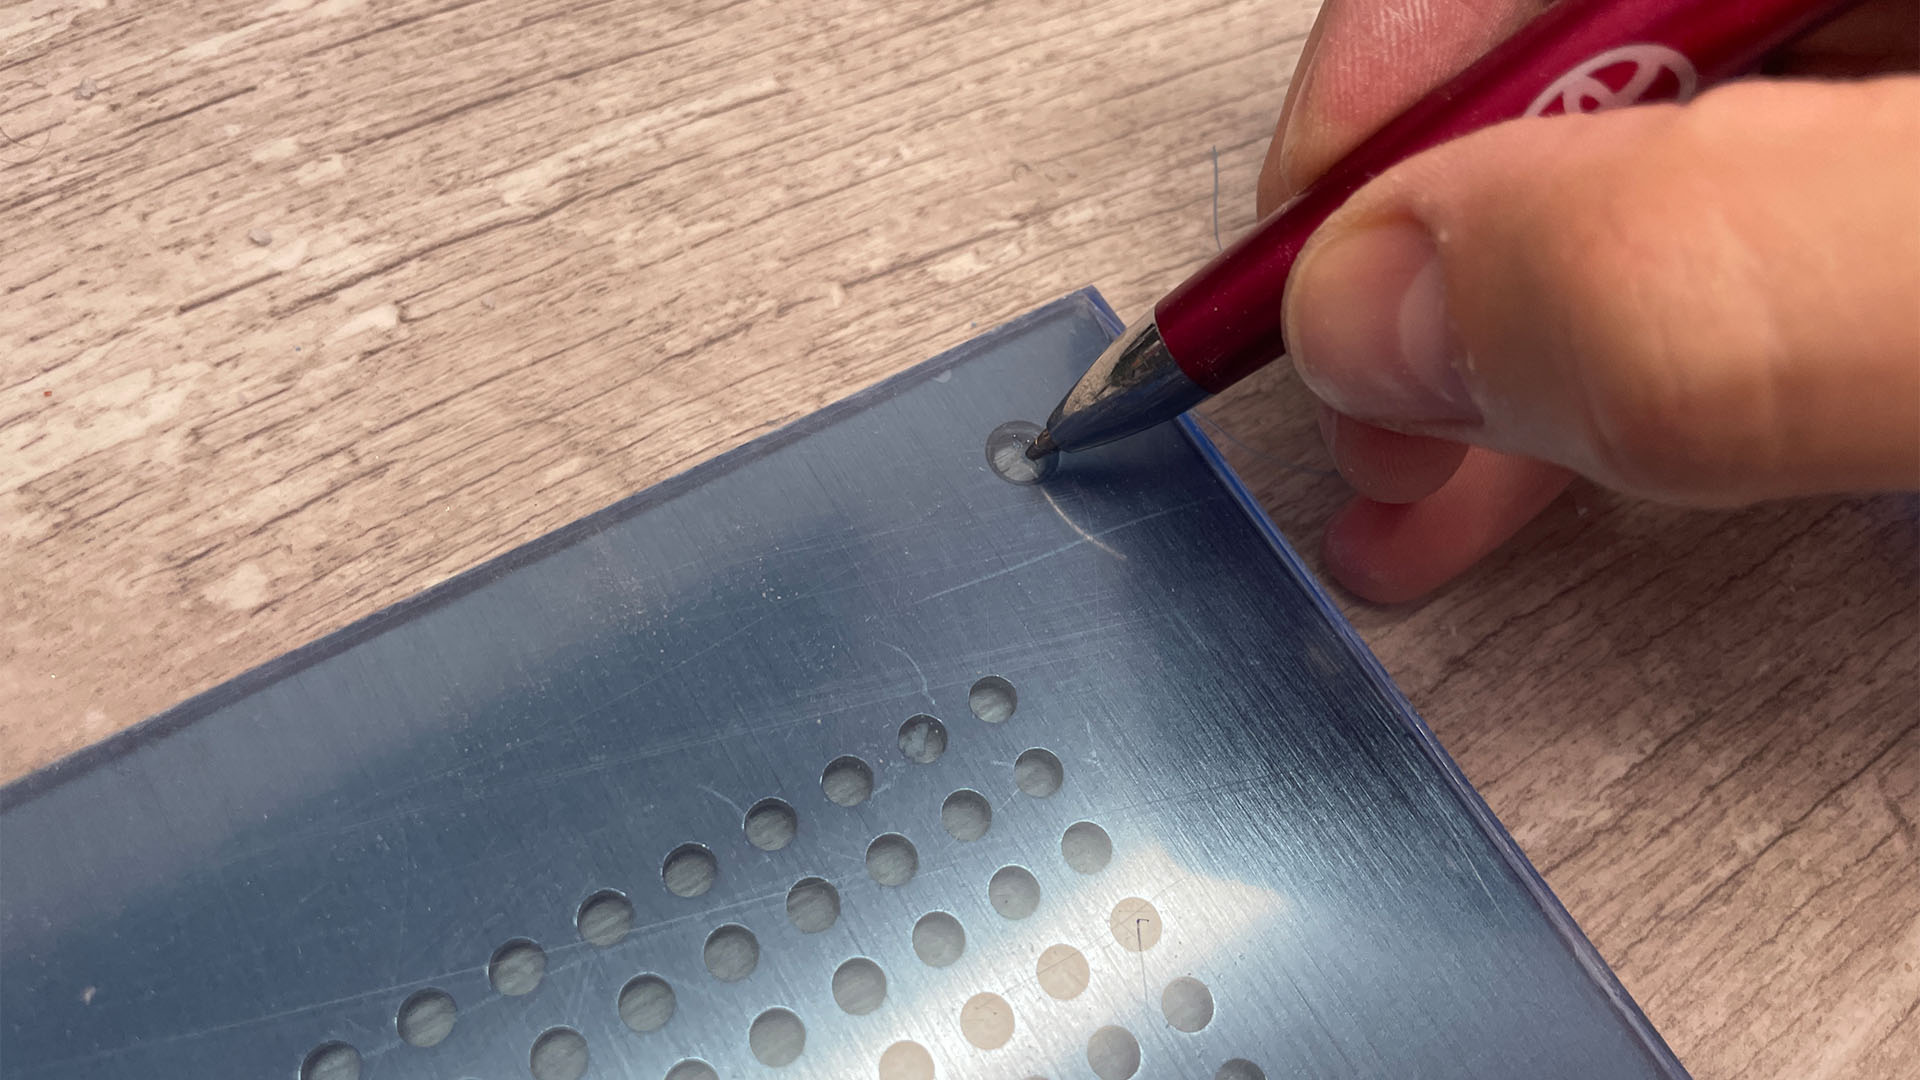
Our case uses four screws to secure the side panel, and we’ll need to drill holes for each of them. Use the original panel as a template and mark the center of each hole onto the acrylic.
21. Check for screw type
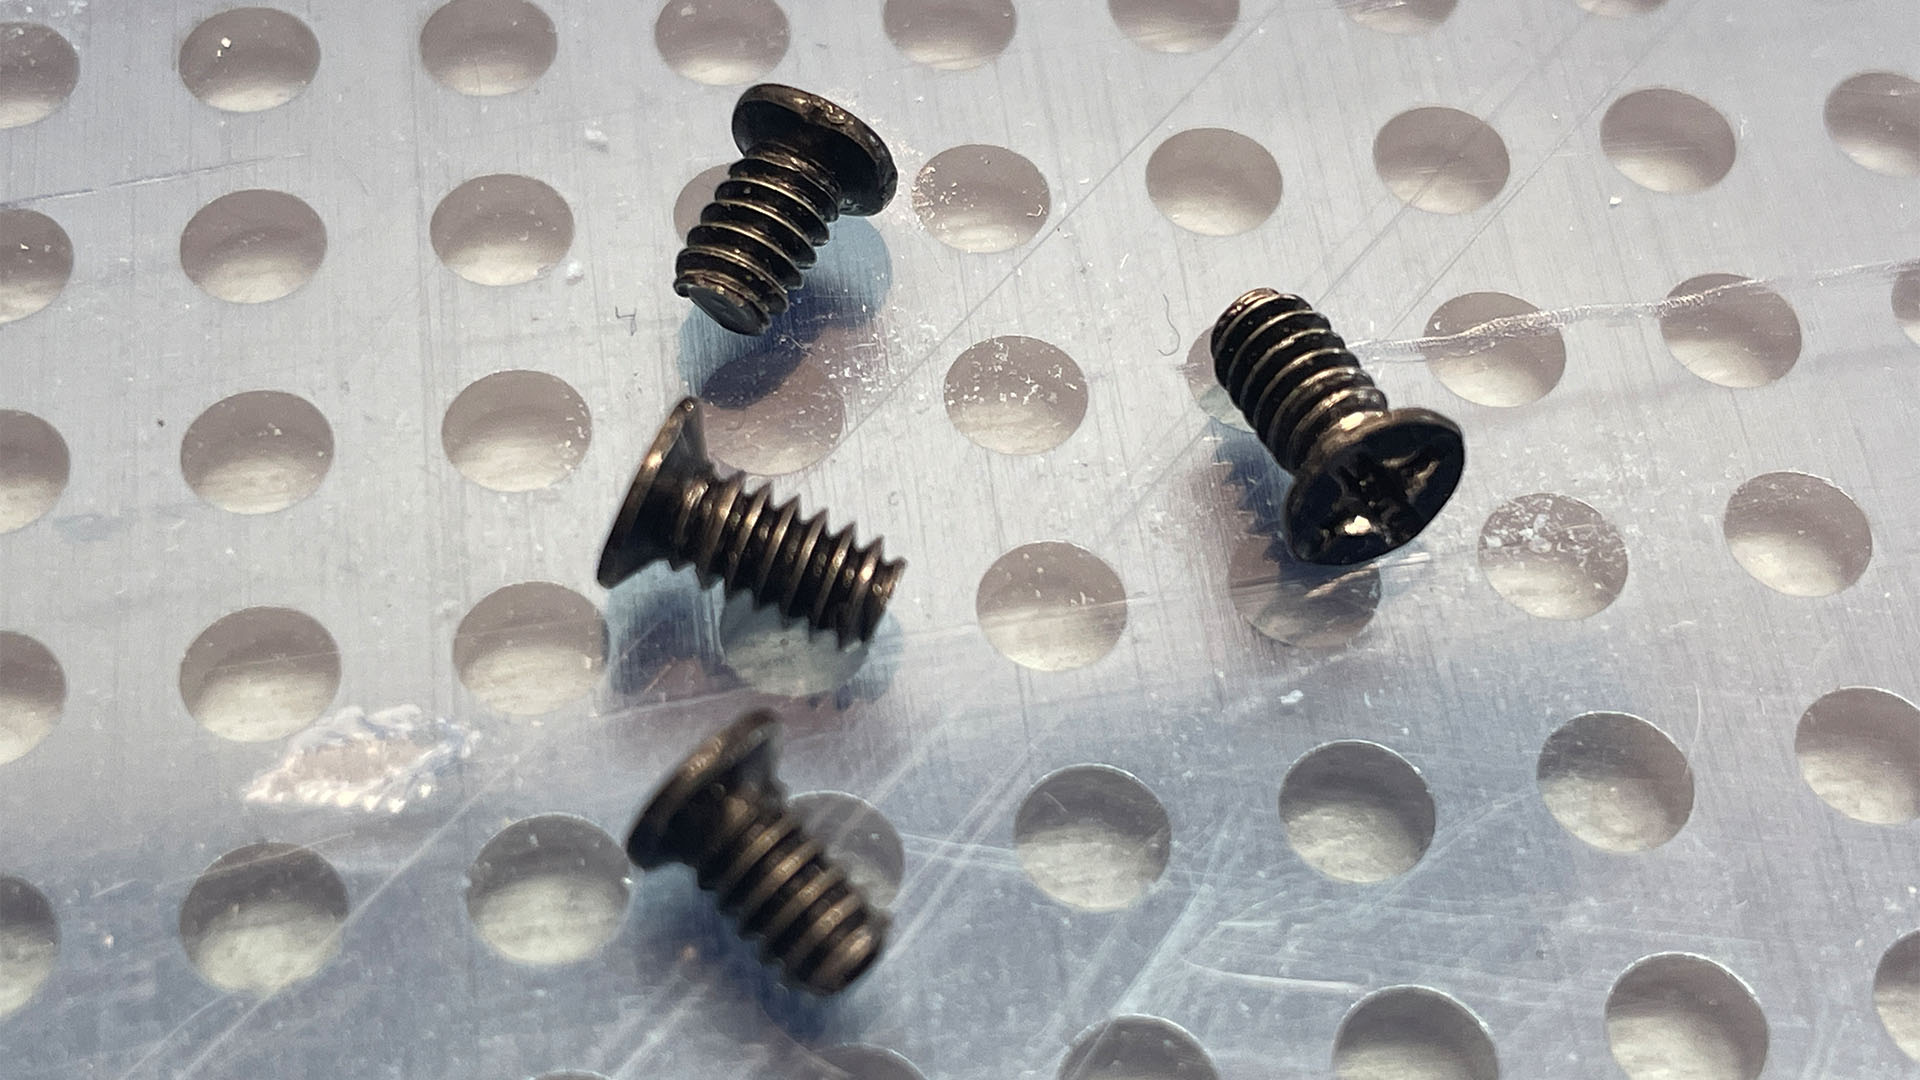
The screws with our case are countersunk and require shallow recesses in which they can sit. You can, of course, use whatever screws you like with your new panel, but we’ll be creating new recesses for the original screws with our one.
22. Drill holes
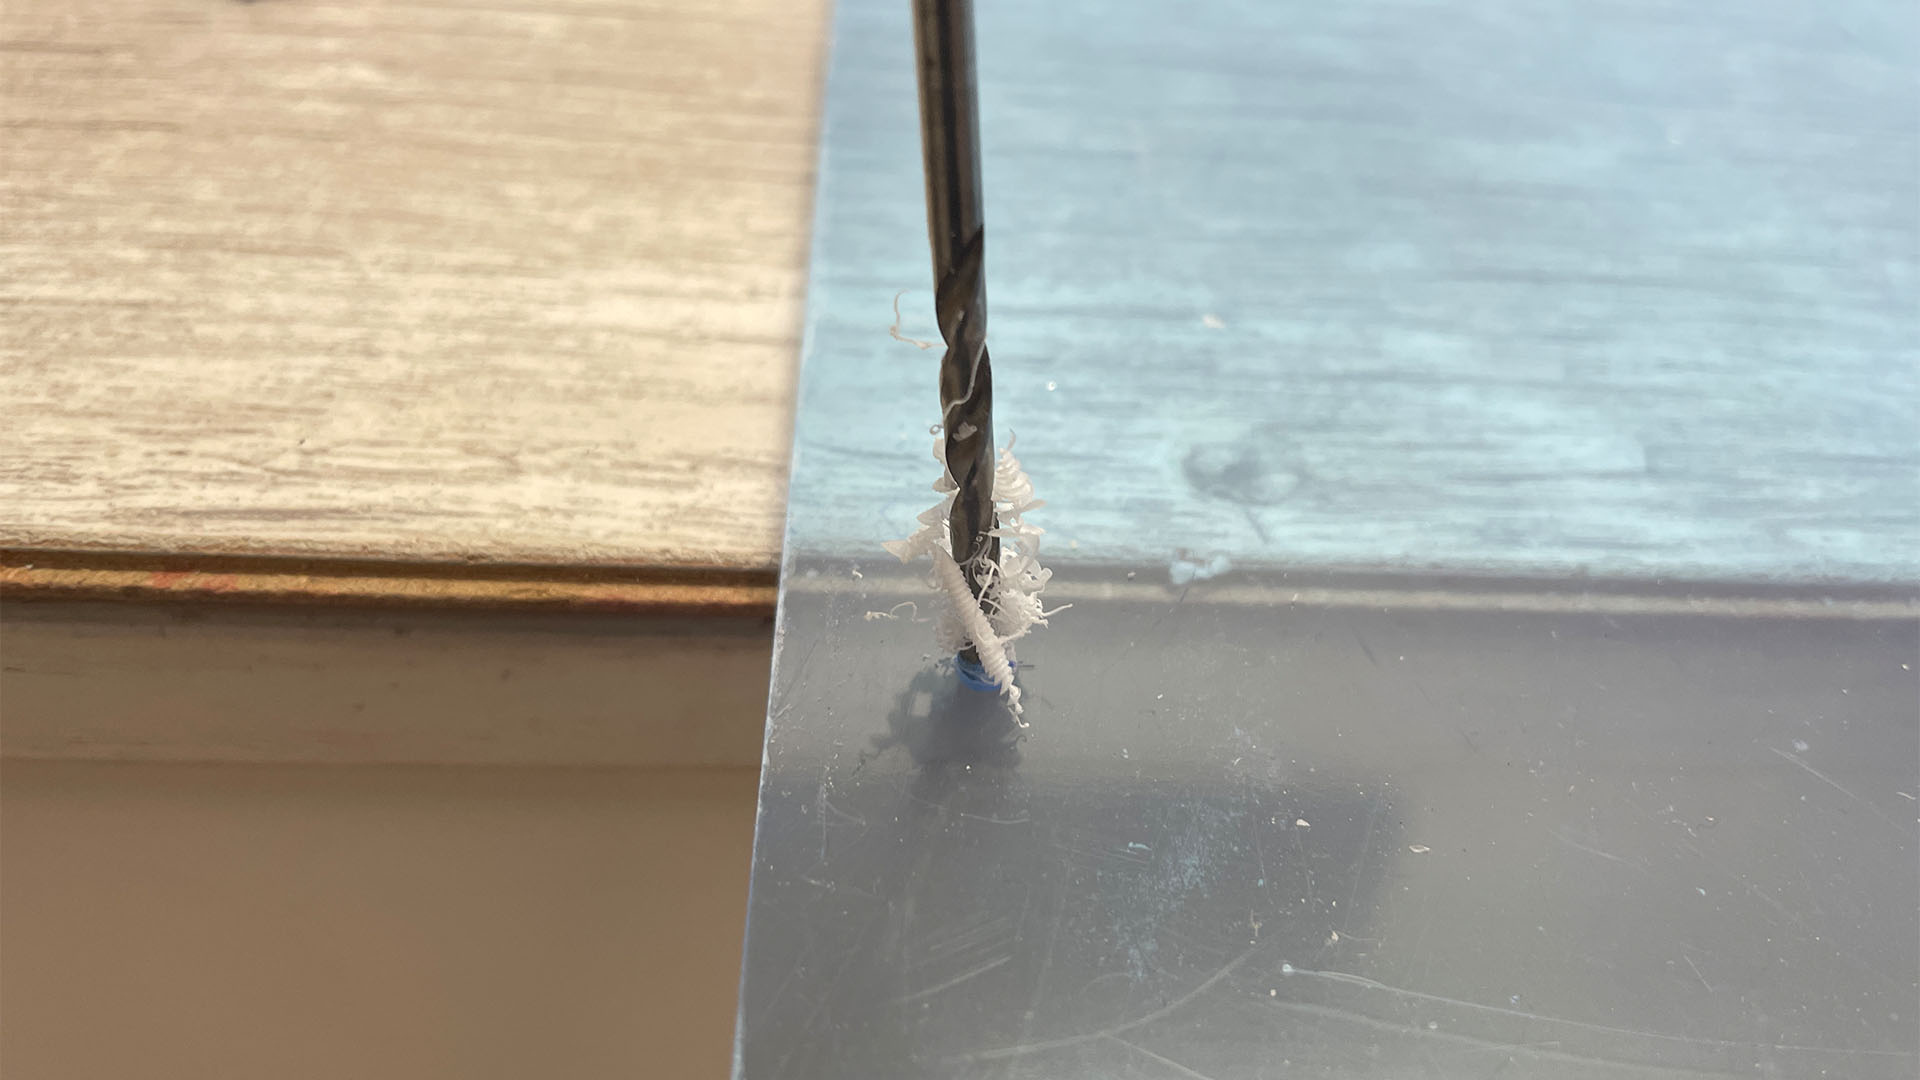
Start by creating holes half a millimeter wider than the screw-thread thickness, in order to allow the screw to thread through the acrylic into the mounting thread on the case. You’ll need to measure your screws, as cases use a variety of sizes.
23. Create countersunk holes
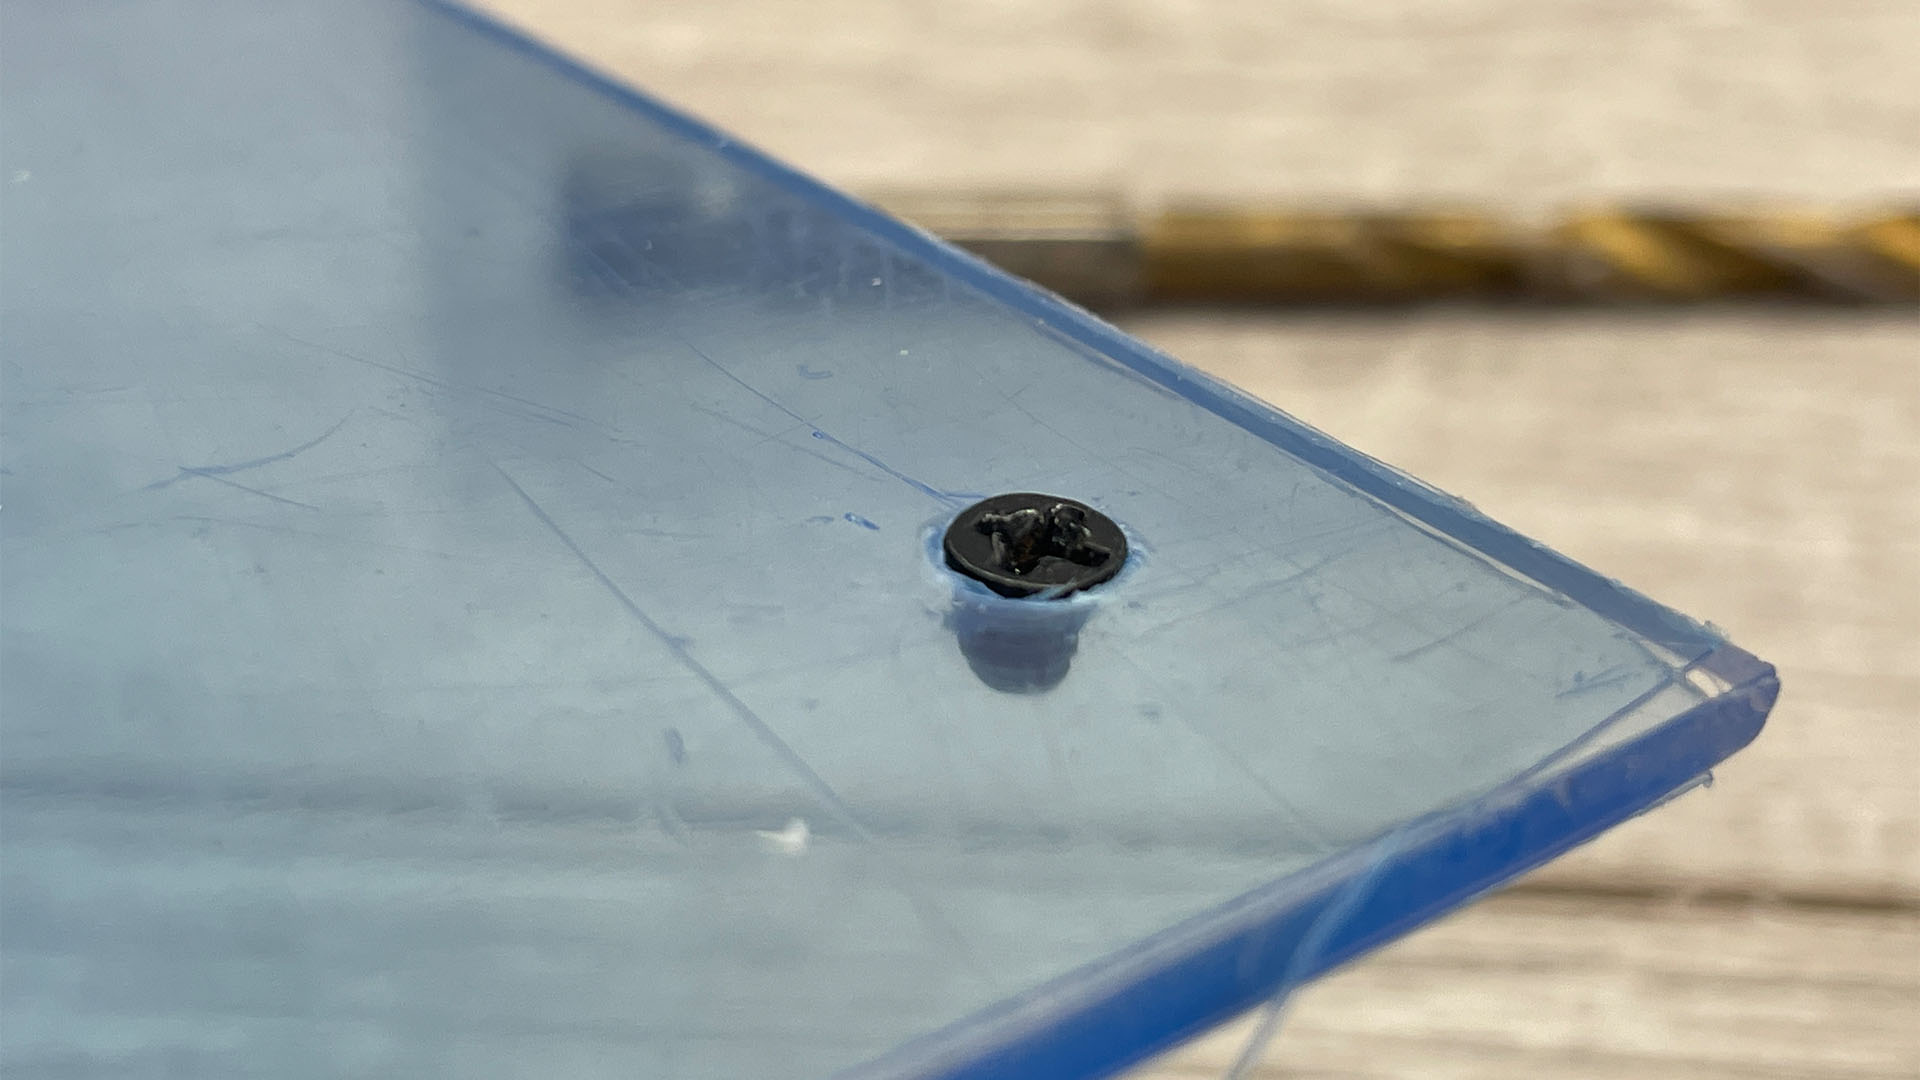
To create the countersunk holes, use a drill bit that’s the same width as the head of the screw. Use this bit to cut a small way into the acrylic, but not all the way through it. Drill a little at a time, placing the screw into the hole after each time, and stop drilling when the screw eventually sits flush.
24. Mark up ventilation holes
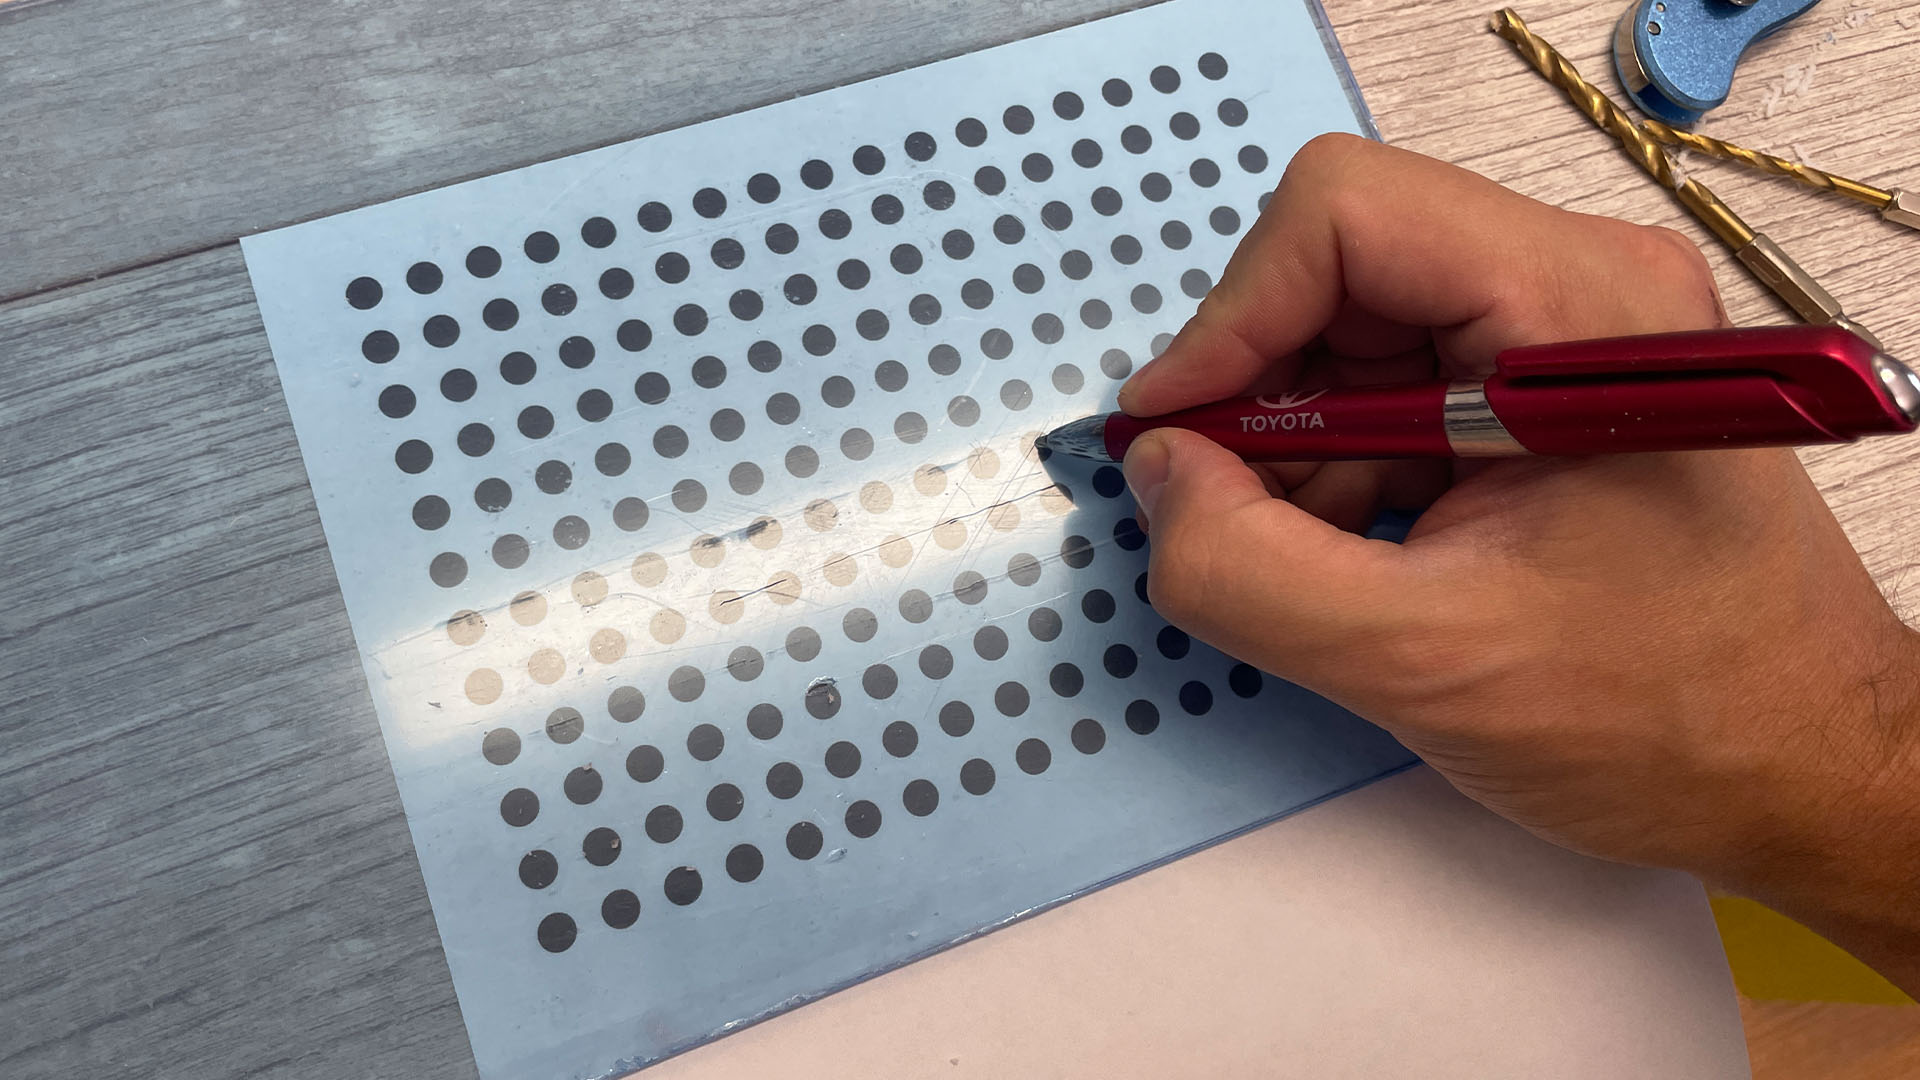
You’ll need to create ventilation holes in a similar pattern to those in the original side panel if it had them. If not then you don’t need to add too many – just a few will be an improvement. Mark the centers of the holes using the original panel as a template, or print out your own design and lay it underneath the acrylic.
25. Drill ventilation holes
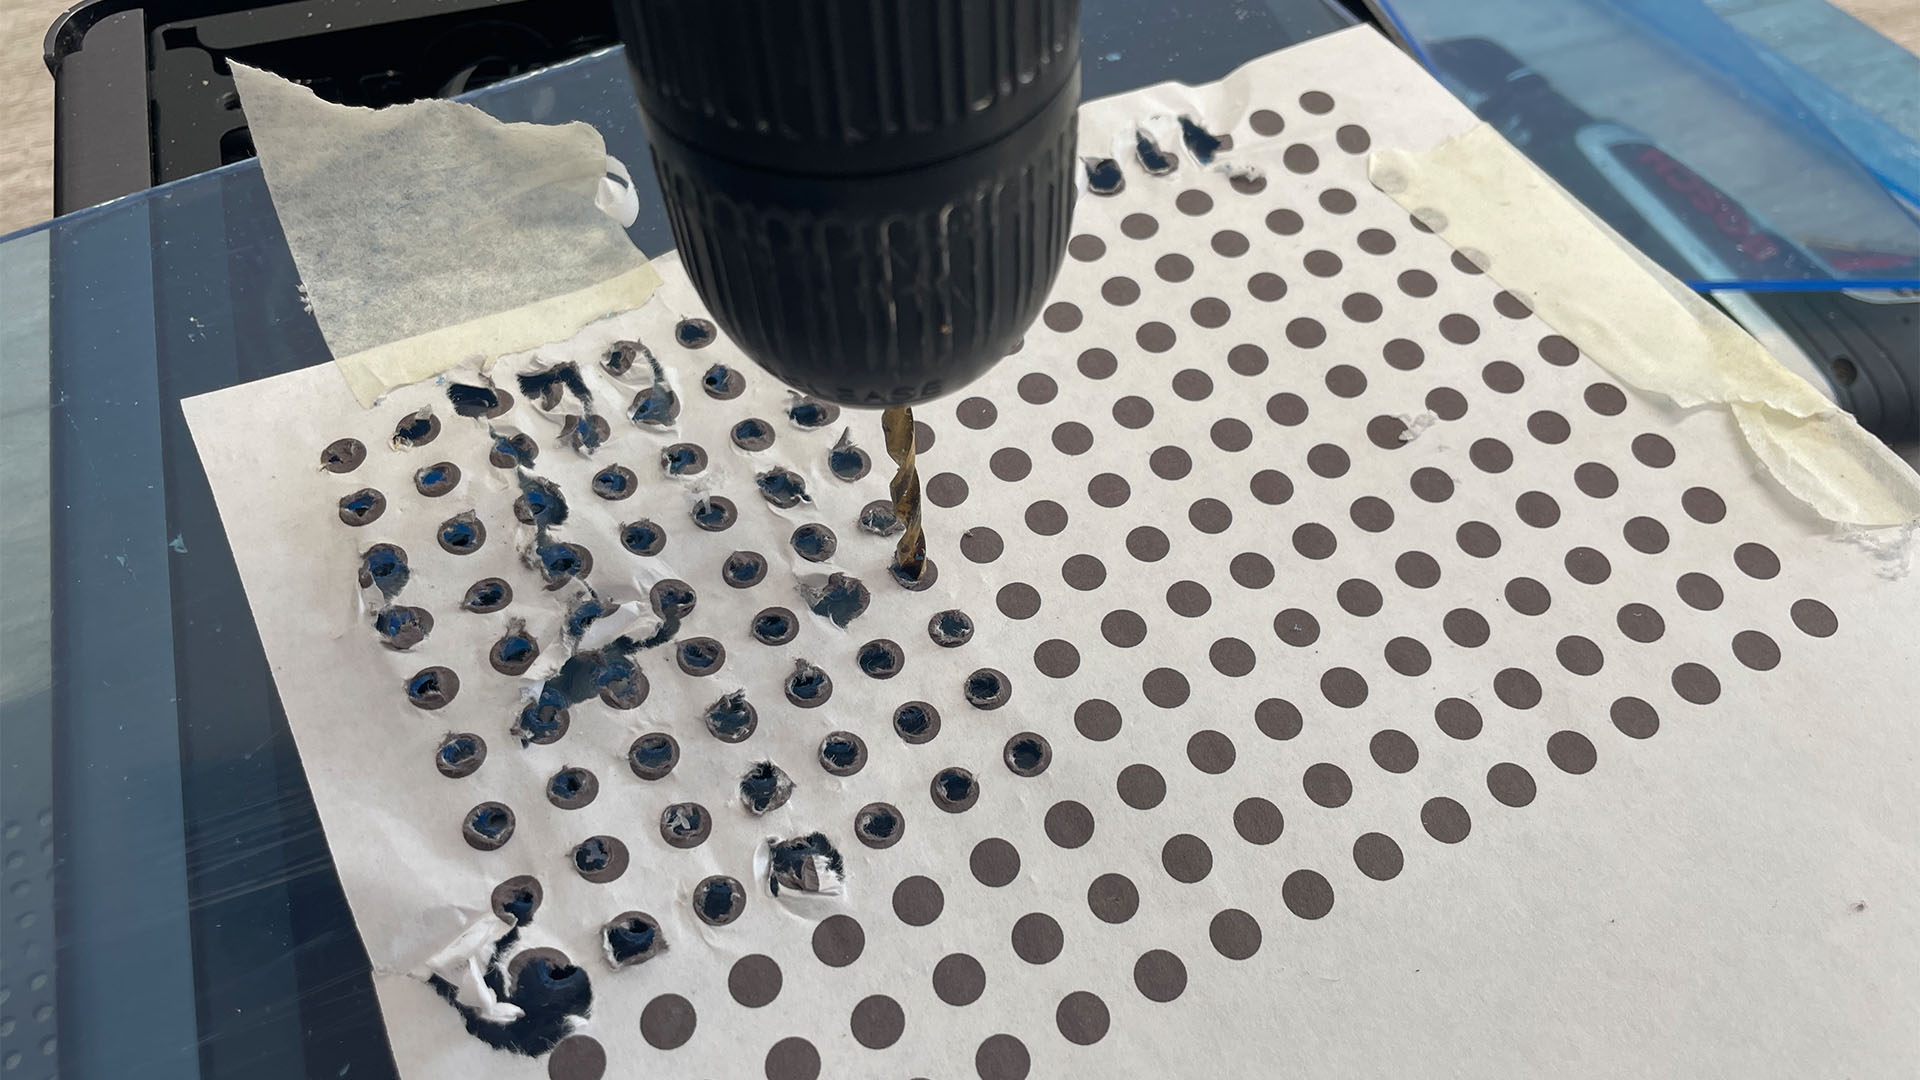
Start by using a 2mm drill bit to create a pilot hole for each hole. This will provide an anchor for the larger drill bit, which will help to make the rows as straight as possible. Next, use the larger drill bit to enlarge each hole.
26. Install side panel
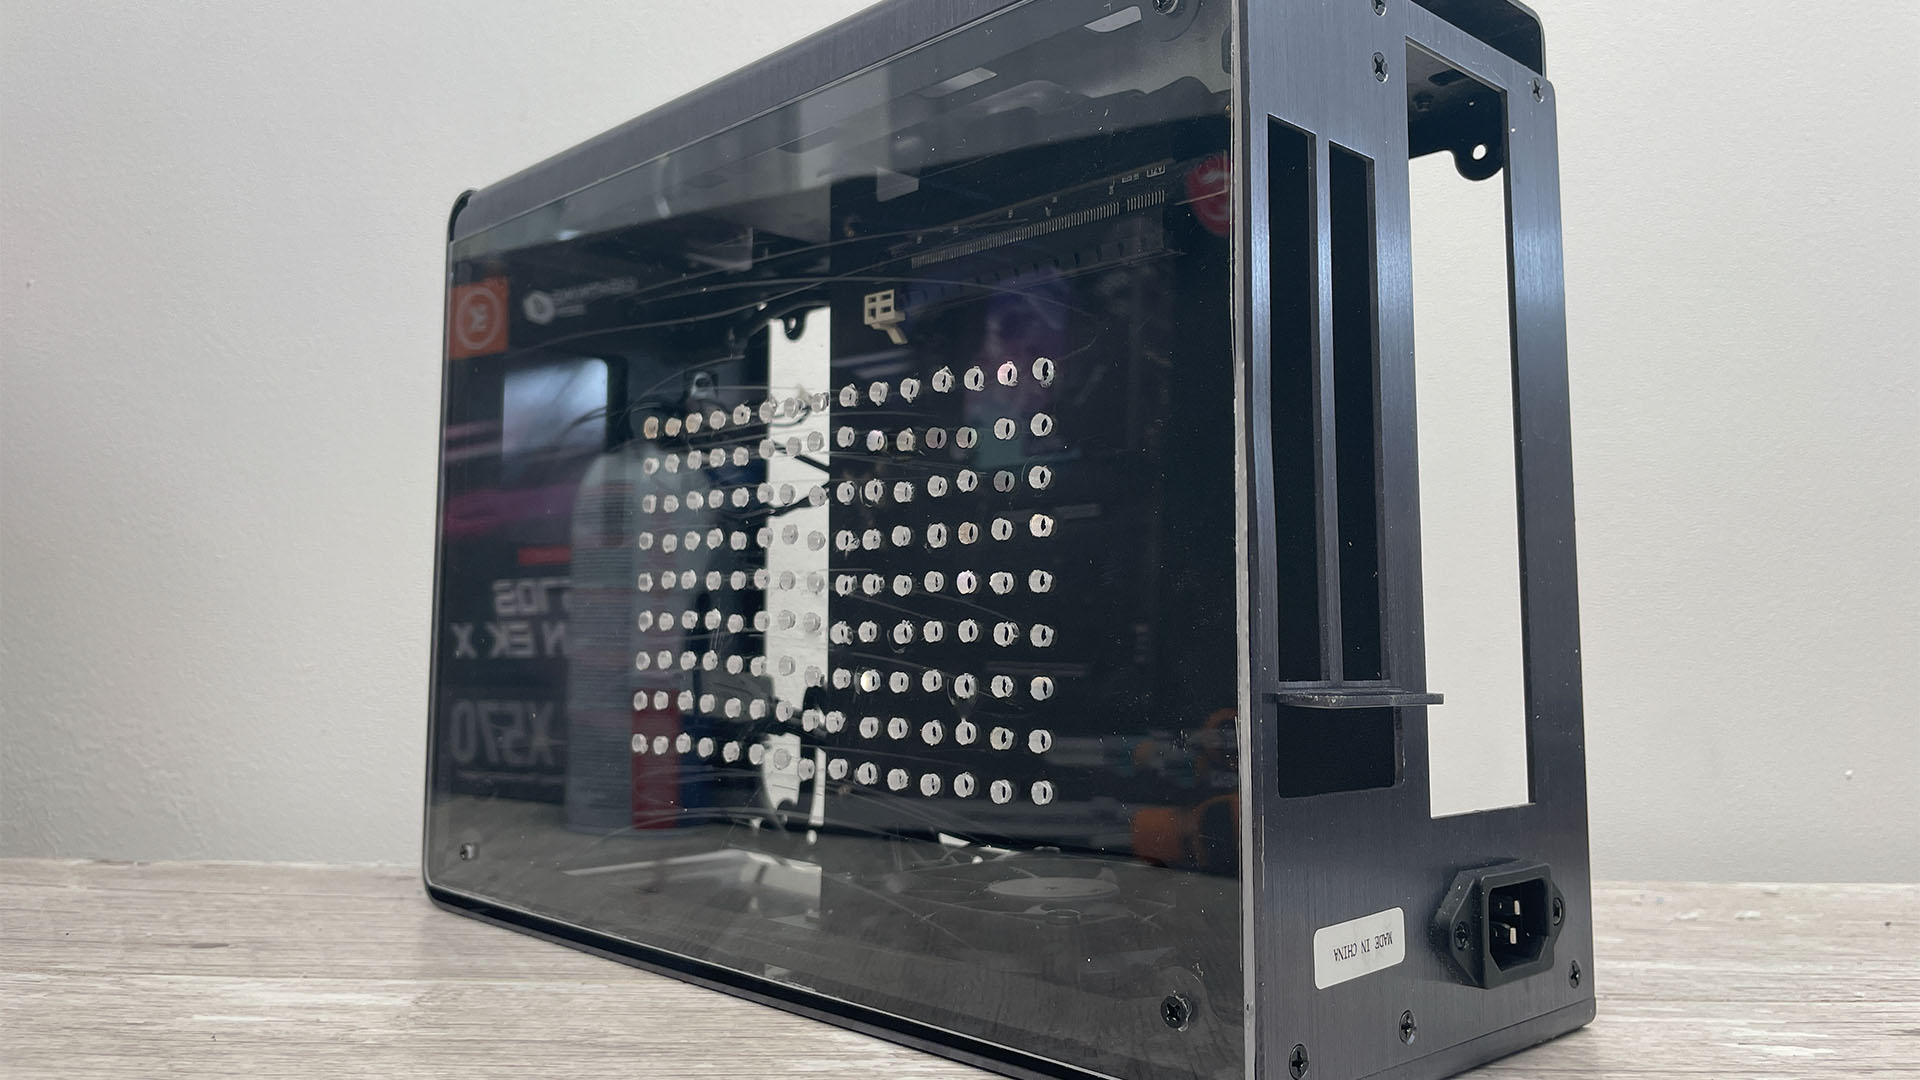
Now you can remove the protective film from the side panel, wipe it down to remove any dust or acrylic fragments and install it on your case. You should find you get a much better view of the interior, or improved your cooling if there were no vents originally.
And that’s you all done – you can now see your graphics card’s RGB cooler in all its glory, without having to worry about it being starved of airflow because it’s right up against a solid glass panel. You can see a really good example in this water-cooled PC build which has a custom ventilated acrylic panel that’s been machine cut.
For more case customization ideas, check out our full guide on how to paint your PC case, as well as our guides on how to fit a fan to the PSU cover, and make a spray paint stencil.
