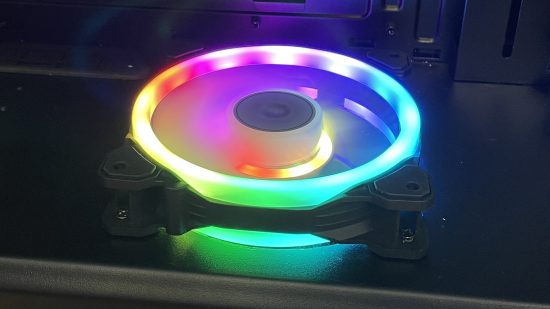
In this guide, we’ll show you how to fit a 120mm fan to the PSU cover in your PC case, which can help reduce your GPU temperatures. There’s a good reason why high-airflow cases point their front fans at your graphics card, as any extra airflow in its direction can improve cooling.
It’s little wonder, then, that some cases have added fan mounts to the PSU cover in order to point airflow directly at your graphics card’s cooling fans, as any extra help here can often yield noticeable GPU cooling and clock speed improvements.
At Custom PC, we’ve been modding PC cases since 2003, giving us loads of experience in the art of customizing your case. We know exactly what tools you need and which methods work best.
If your case has a PSU cover, and you’re up for some case modding, then adding a PSU cover fan to blow at your GPU can shave several degrees off its load temperature. We’ll show you how to create your own PSU cover fan mount using basic tools, and take you through where to position it for the best effect.
1. Check for existing fan mount
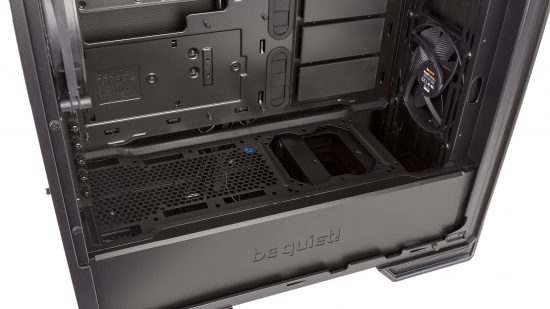
You might not have noticed it, but some cases include fan mounts in their PSU covers already, so it’s worth checking to see if there is one. If there’s not a complete fan mount, then there might at least be some vents that will reduce the amount of modification you need to perform.
2. Identify fan vent location
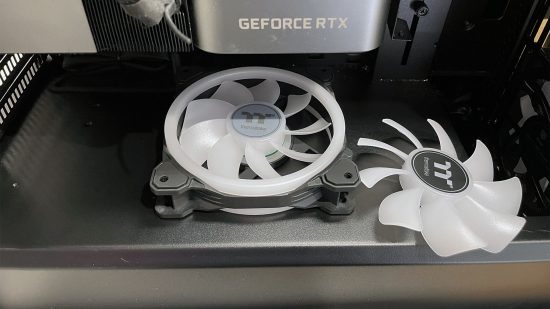
There are two key considerations with the location of the fan mount. It needs to sit so the fan can exhaust straight into your graphics card’s cooler, and it also needs to have a clear space underneath it, in front of your PSU. You’ll want your graphics card installed in your case in order to work out the best location.
3. Download template
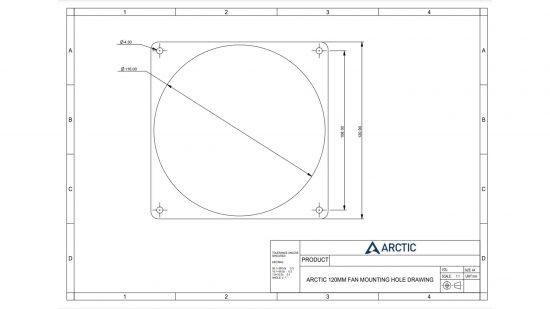
To accurately drill and cut the required holes, it’s a good idea to use a template. These can be downloaded from ARCTIC, although you’ll need to resize the print so that it matches the hole distances on your actual fan.
4. Mark up area
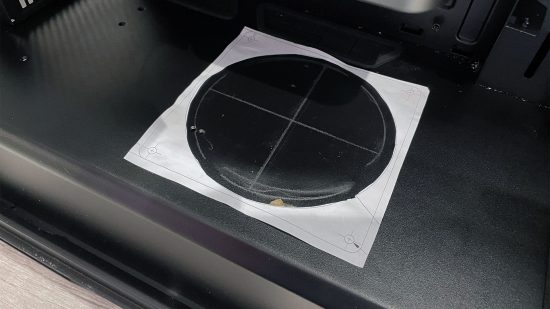
Remove any components from your case, if you haven’t already, then cut out the template and stick it in the center of the location in which need the fan to sit, using Pritt Stick or a similar glue stick. We marked a cross for the center on the PSU cover where we wanted the fan vent to sit.
5. Drill fan mounting holes
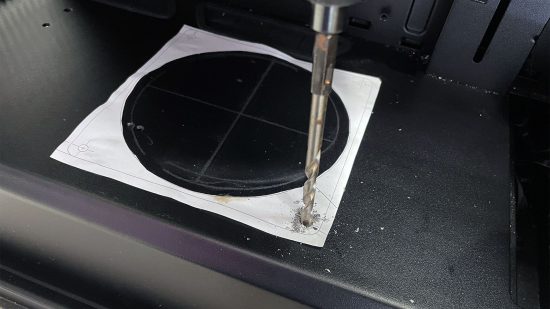
Cutting the fan vent hole will probably tear up the template, so start by drilling the mounting holes first. You need to use a drill bit 1mm smaller than the thread of your fan mounting screws, so the screws bite into the PSU cover and secure the fan in place.
6. Cut the hole
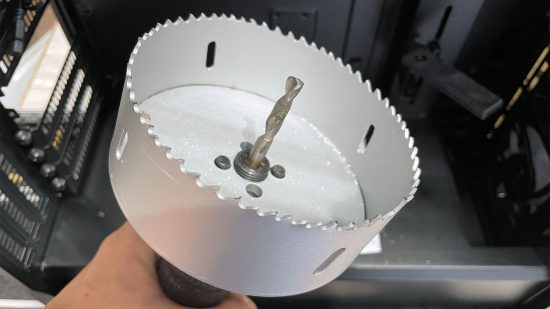
Some drills are too big to sit inside a case. If the roof of your case can’t be removed as standard, or by drilling out a few rivets, you can also use a Dremel and reinforced cutting disc to cut the fan hole. Measure the internal diameter of the fan ring and use a holesaw the same size as the diameter in order to cut the vent hole.
7. File the edges
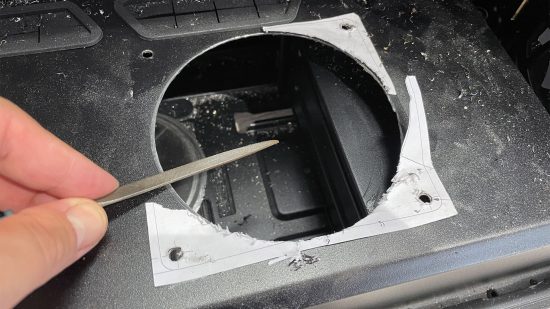
With the hole cut, use a metal file to sand the edges, as they will be rough in places. You can also use 100-200-grit sandpaper but only use it on the inside of the hole as it can easily mark exposed areas of the PSU cover.
8. Install the fan
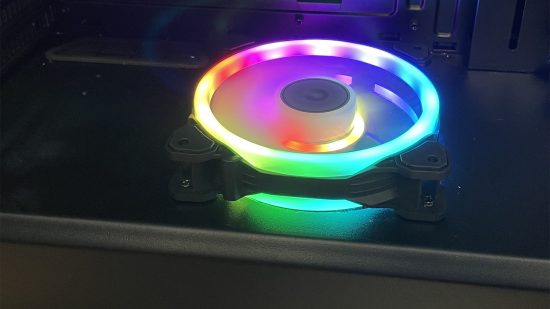
We’ve used Thermaltake’s reversible SWAFAN 120, as it still looks good when exhausting, but any fan will do. Fit your fan using the mounting screws in the lower part of the fan, using a small screwdriver to pass through the upper hole to reach it. The screw will bite into the PSU cover and secure the fan.
9. Compare temperatures
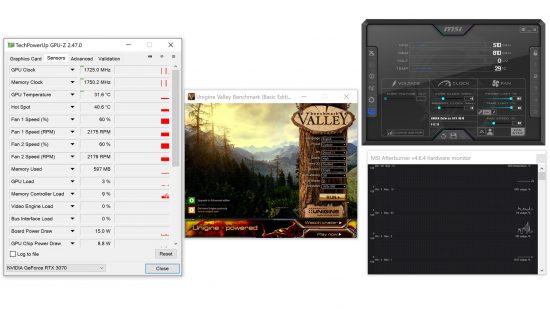
Run GPU-Z and MSI Afterburner, setting GPU-Z to show the highest GPU core frequency and temperature. Use a benchmark such as Unigine Valley to record the peak values after ten minutes with and without the fan. We saw a 4°C drop in GPU temperature and a 15MHz increase in peak boost frequency after our fan was added.
With your graphics card now getting another source of cool air, all you need to do now is simply enjoy the benefits of a cooler-running GPU, while also feeling proud of your case mod. For further PC case customization ideas, we also have guides that show you how to paint your case and etch glass side panels. If you’re planning a new build, then you’ll also want to read our full guide on how to build a gaming PC, which covers every step of the process.
