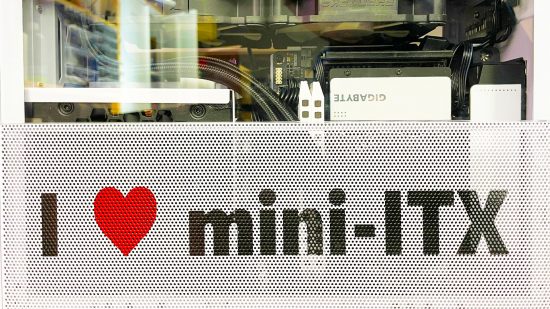
In this guide, we’ll show you how to make a spray paint stencil for your PC case using a cutting machine. These machines, such as the Silhouette Portrait we’ve used for this guide, can cut out vinyl for you with perfect accuracy, leaving you with the task of just transferring the vinyl to your PC.
This is invaluable when it comes to creating spray paint stencils with vinyl. It can be very difficult and time-consuming to create vinyl cut-outs by hand with a scalpel, but a cutting machine will do all the work for you, and quickly too. If you’re planning to build a gaming PC that’s unique to you, then using a spray paint stencil offers an easy way to paint a logo or image on your rig with professional precision.
1. Create design
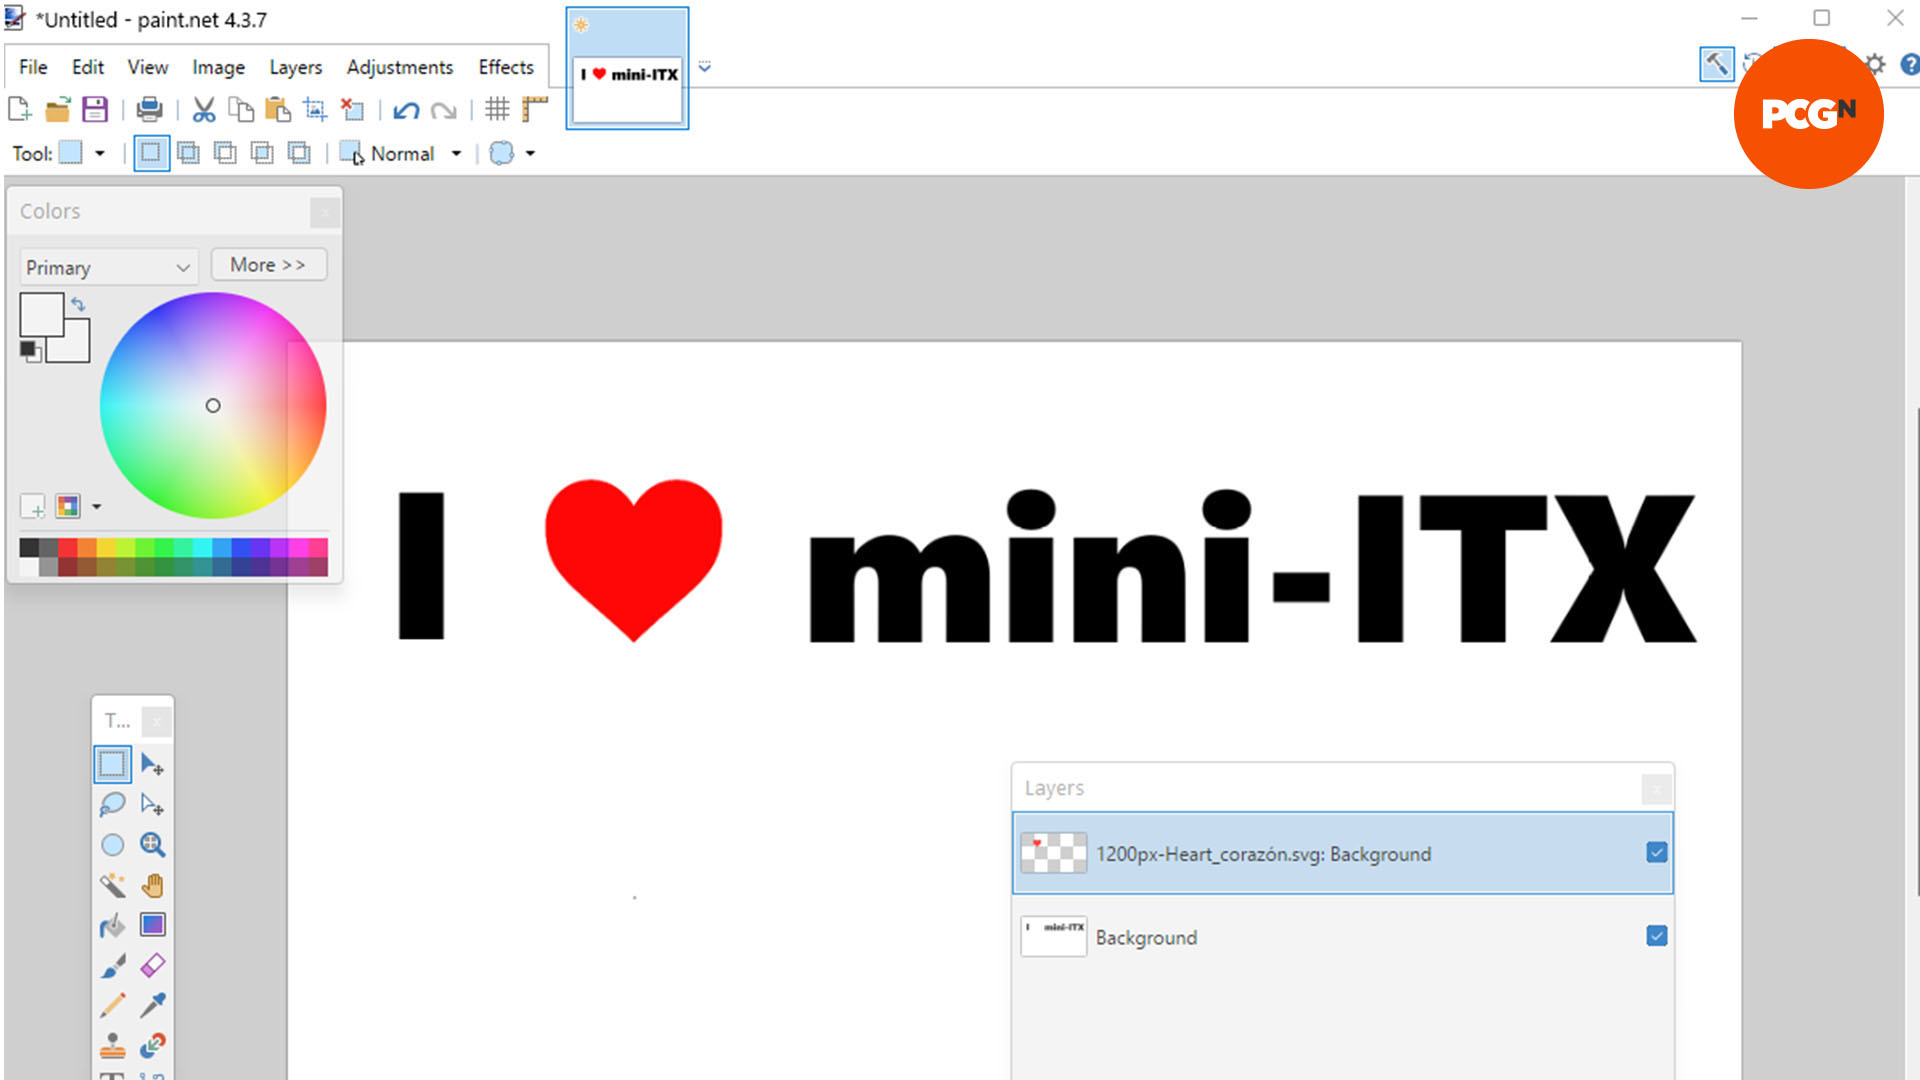
You need a bold image with which to work, so you can use a vinyl cutting machine’s software to trace the edges and cut it out of a vinyl sheet. This can be an image, design or text you’ve created yourself, or an image you’ve downloaded.
2. Stay within borders
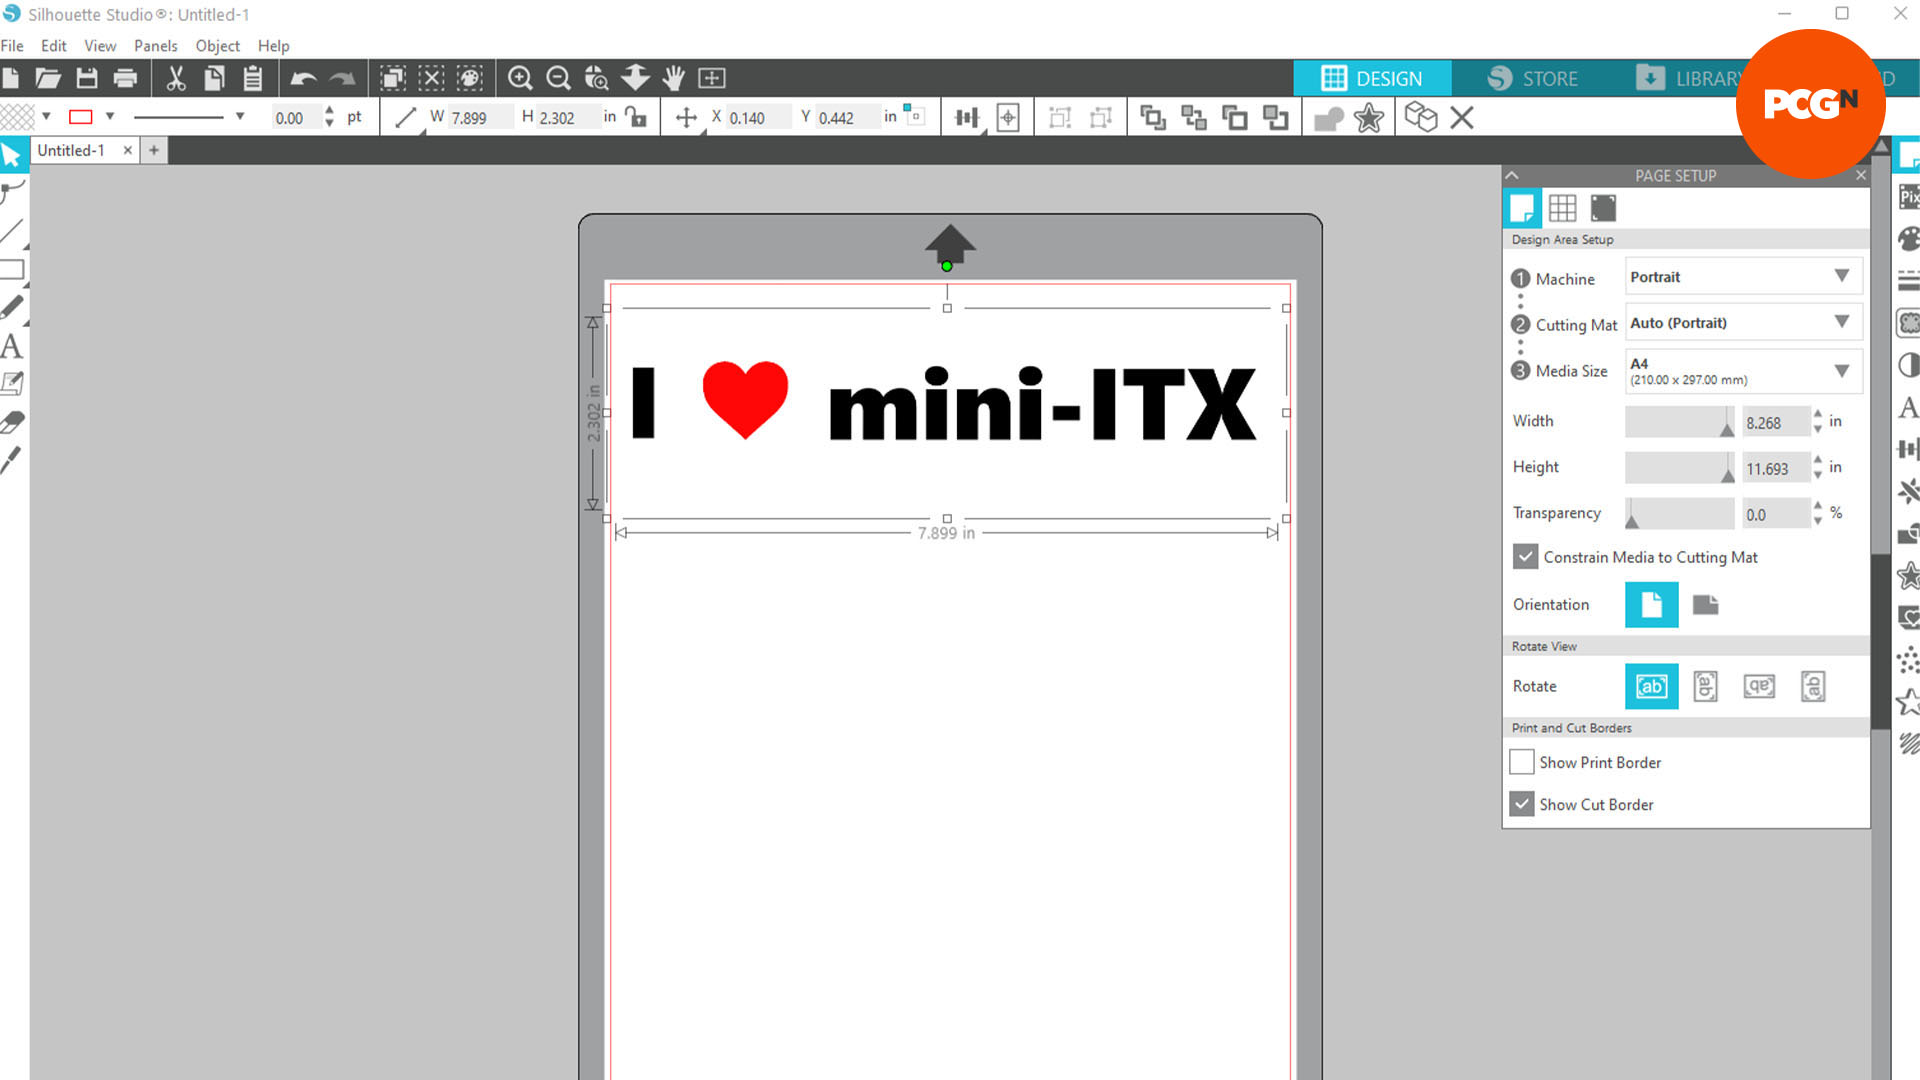
Import the image into the cutter’s software and drag it into the trace area. The design needs to sit within the print area borders, but cutting machines can easily deal with long lengths of material, so make sure you use the correct borders and stay within them in the software – we’re using Silhouette Studio, for our Portrait cutter.
3. Set trace area
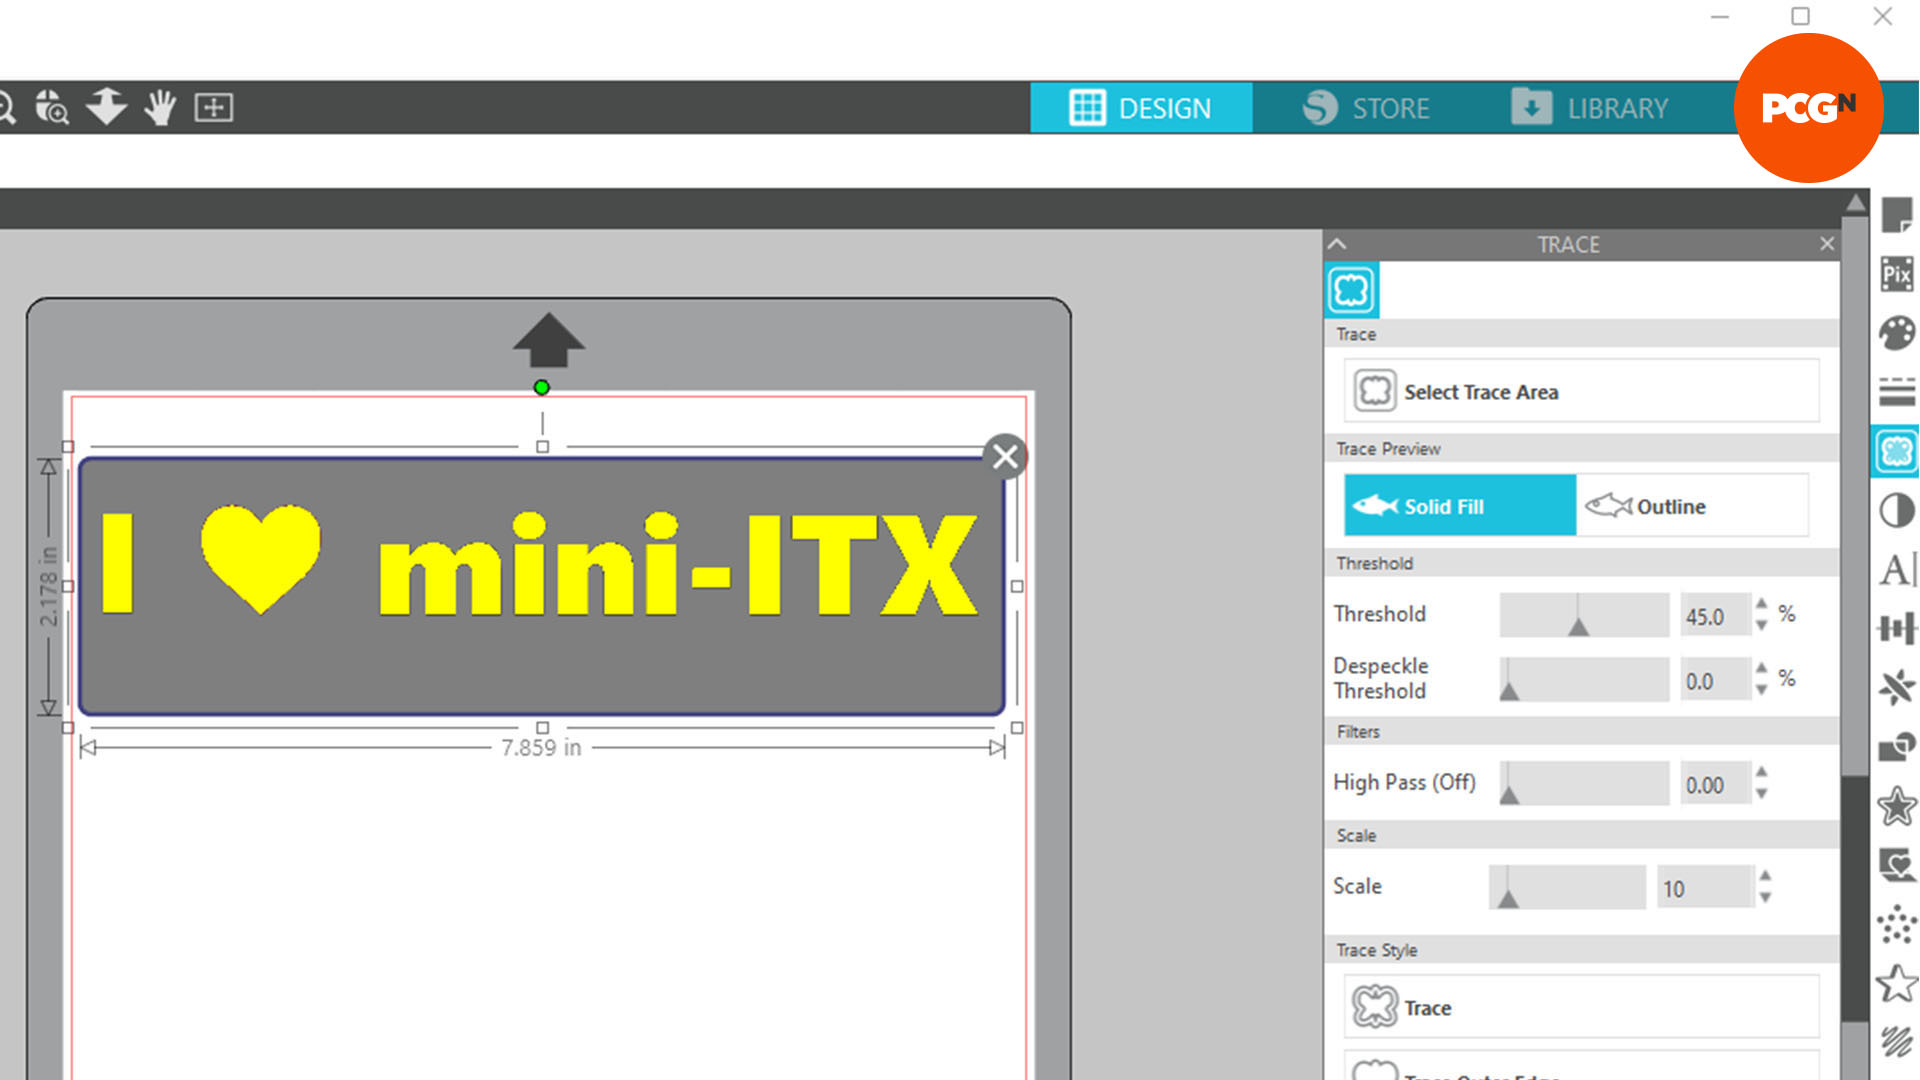
Configure the software to trace around the edges. All vinyl cutting software is different, but you usually need to tweak the settings to adjust the cutting lines, so the machine will only cut along the edges. Check the instructions.
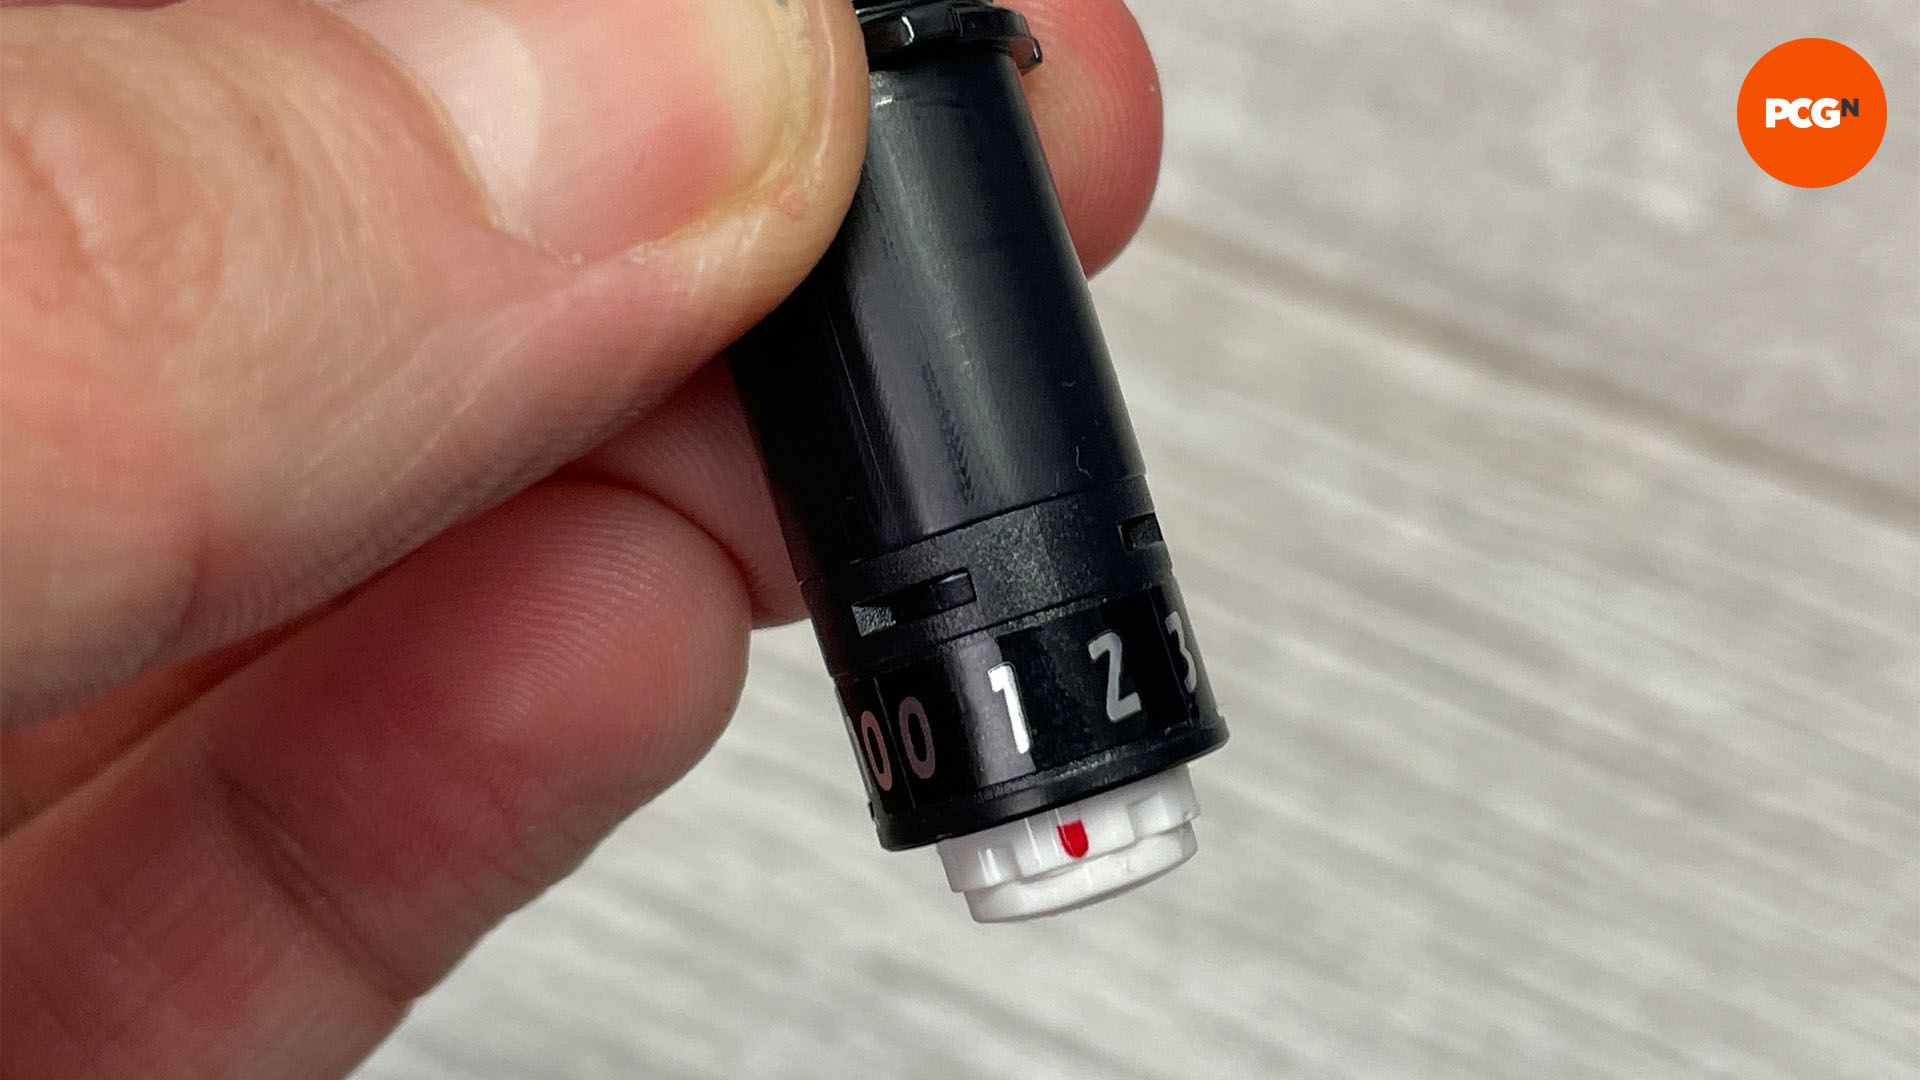
4. Set cutting depth
Your cutting machine will tell you the correct depths to set the cutting blade for different materials, and you want to set the depth for masking vinyl. This is usually set manually on the blade section itself. This helps to cut only the material you’ll be transferring, and not any backing material – using the correct depth is key.
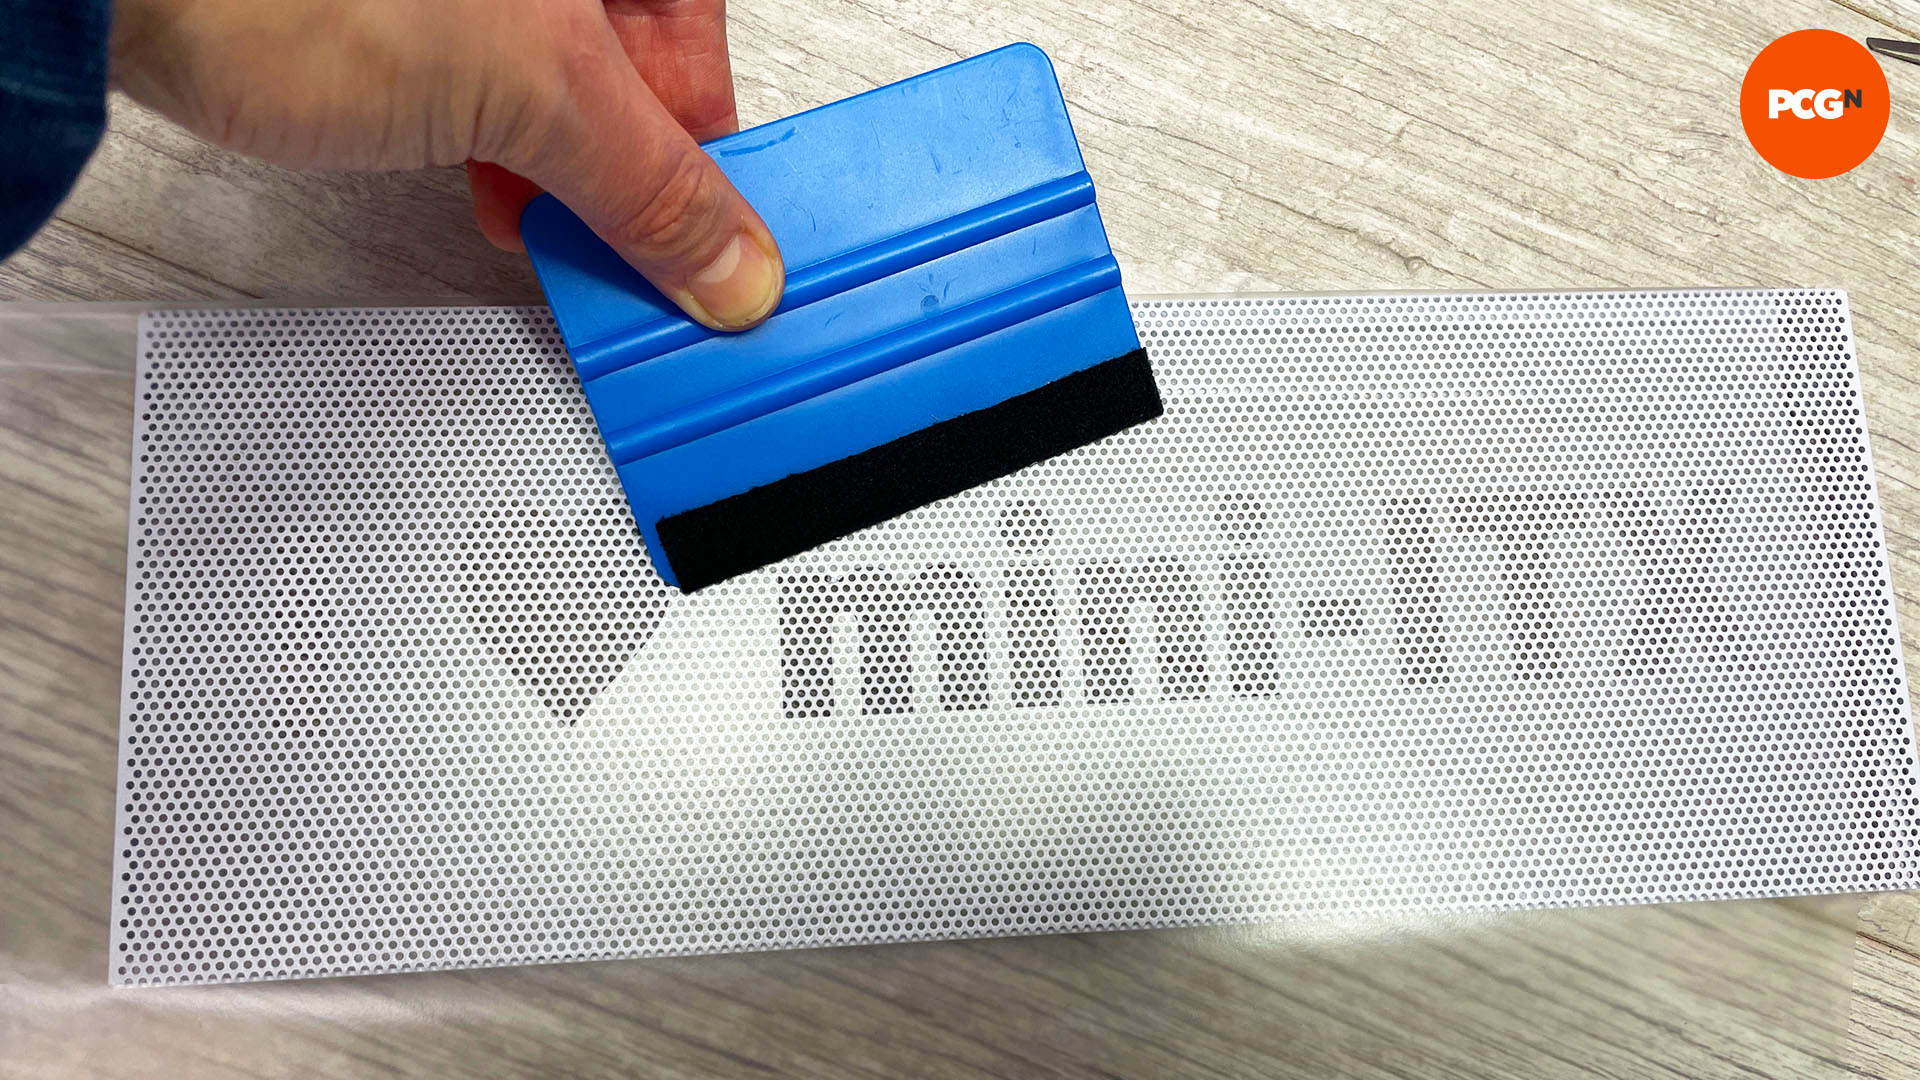
5. Use masking sheet
A cutter can cut masking vinyl, which you can use instead of masking tape for spray painting, enabling you to create precise masks. Use a squeegee or credit card to press the mask onto your PC case panel.
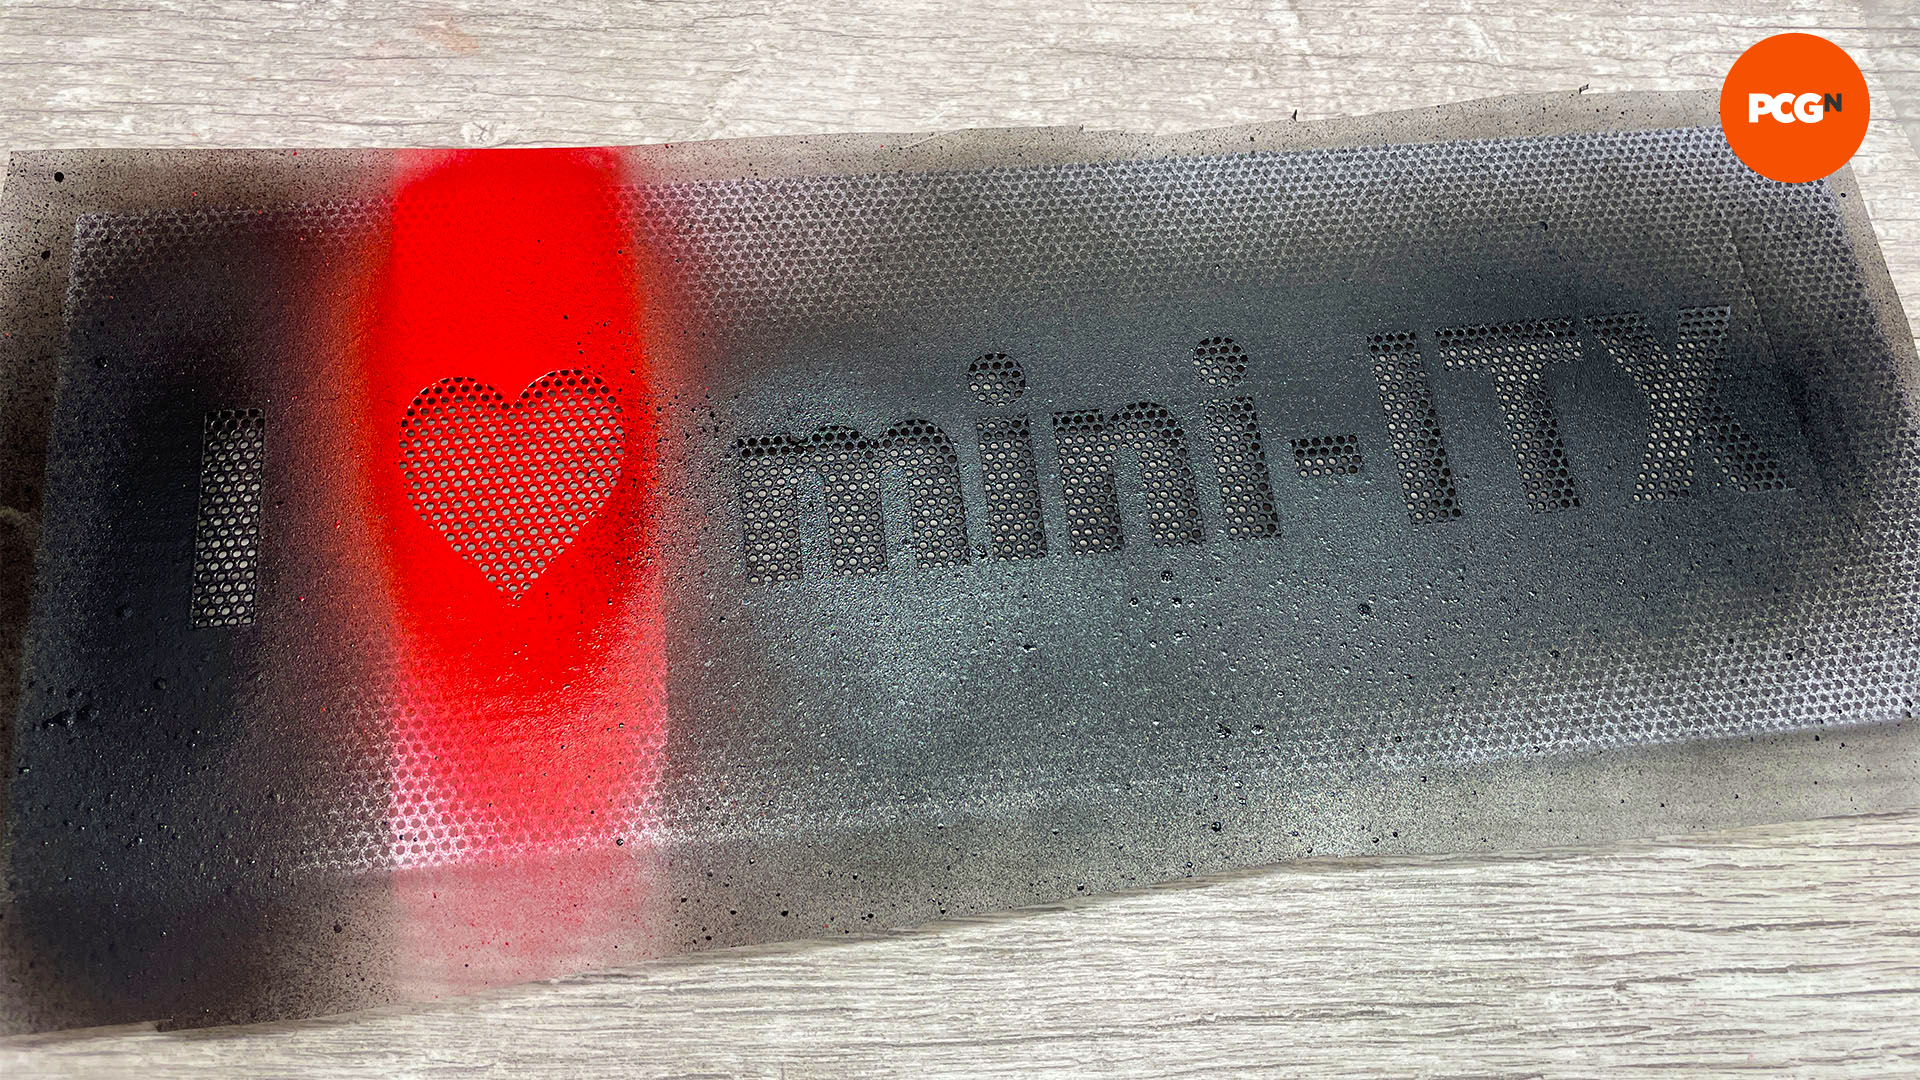
6. Spray over the mask
Use your spray paints to add paint to the exposed areas. You only need one or two coats, but it’s important to remove the masking before the paint fully dries, ideally within five minutes.
7. Remove masking sheet
Peel off the masking sheet slowly. If there is any overspray or paint creep, this can be removed with isopropyl alcohol. If you need to start again, acrylic spray paint remover can be used, or you can simply spray over the panel using its base color, which is white in this case.
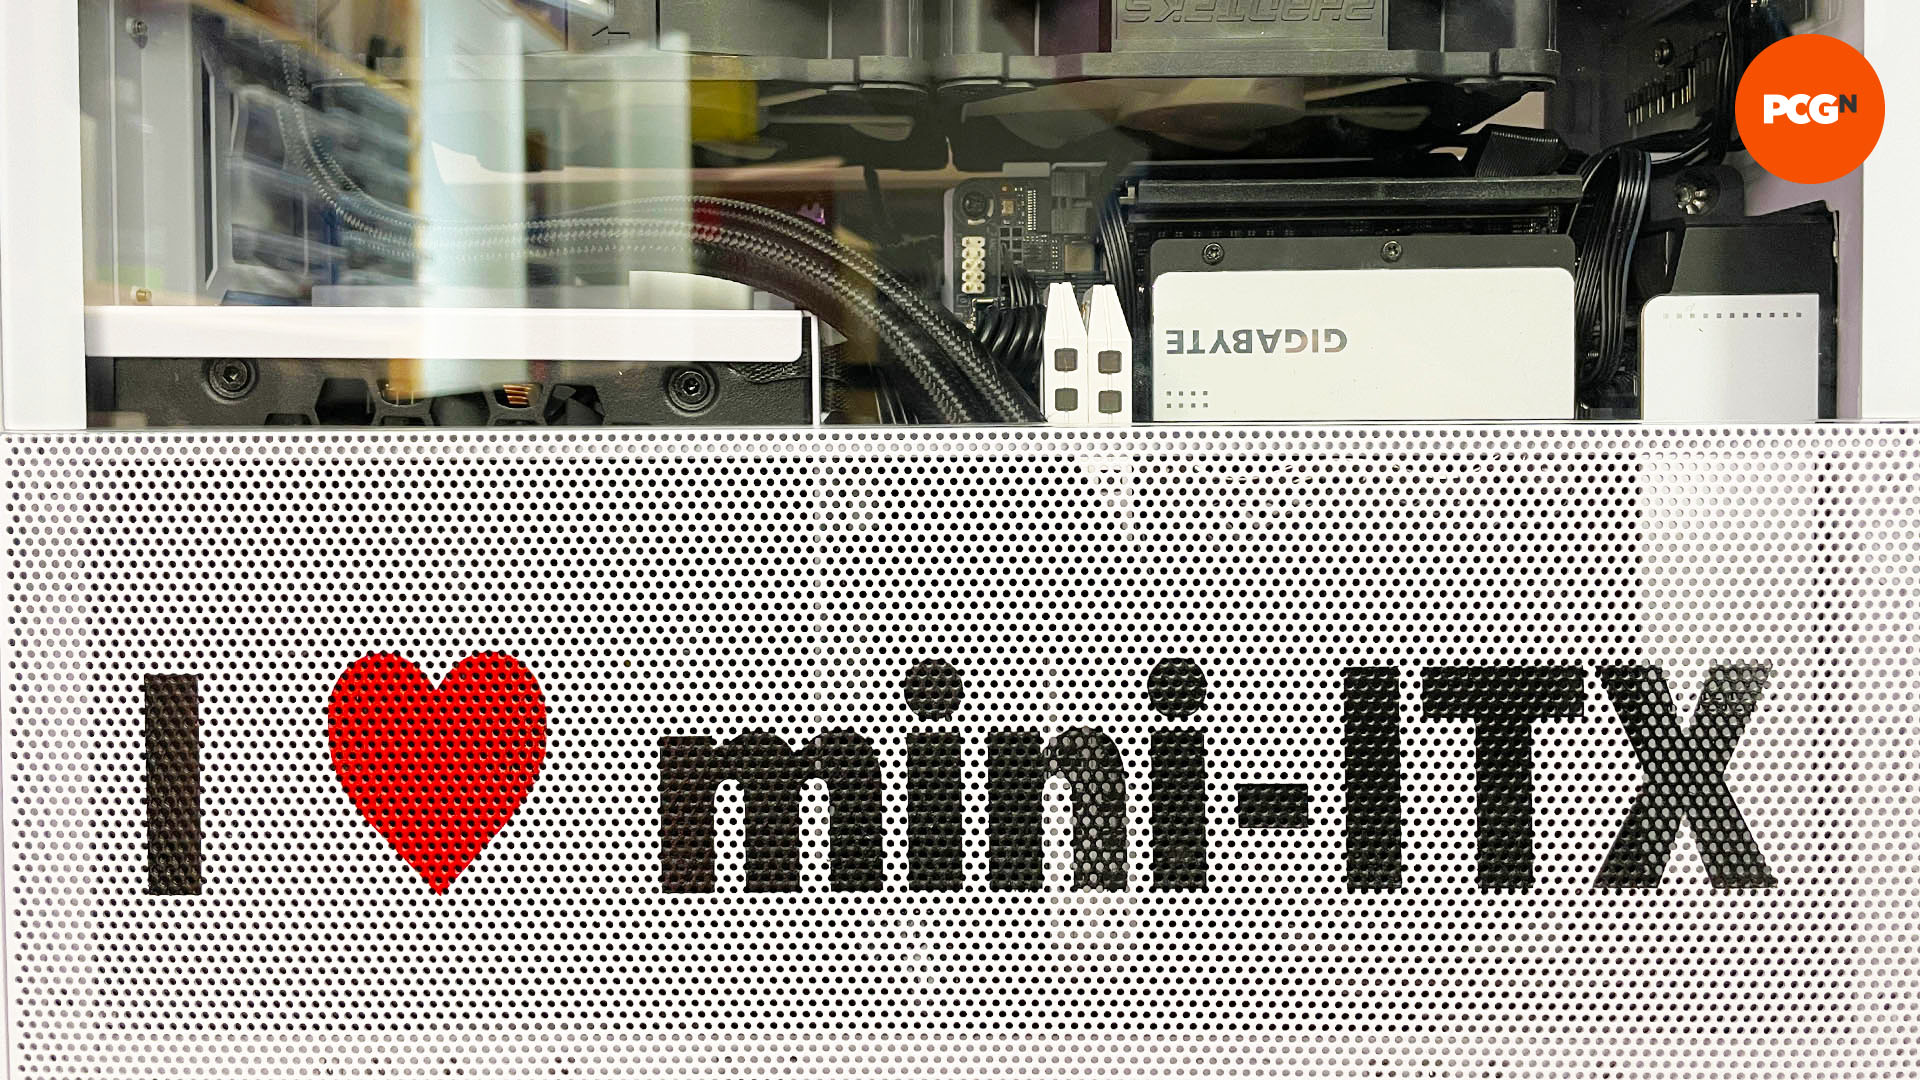
That’s it for our guide on how to make a stencil with a cutting machine. These machines are really popular with the arts and crafts community at the moment, so if you can’t afford one it’s worth asking your friends (and their parents!) if you can borrow one to print your stencil. All that’s left to do now is enjoy your customized PC case panel.
If you’re looking for more PC case customization ideas, check out our full guide on how to paint your PC case, as well as our tutorial on how to etch glass if your PC has tempered glass panels.
