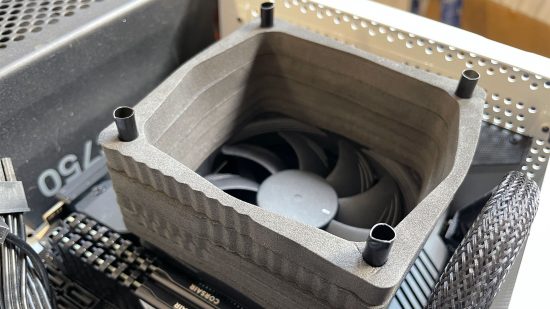
In this guide, we’ll show you how to reduce CPU temperatures in a mini-ITX PC, by fitting a duct to your low-profile CPU cooler. There often isn’t much room to add extra airflow to mini-ITX cases, and low-profile CPU air coolers are often left to draw air that has been sitting in the case, which has been warmed by exhaust air from graphics cards and the CPU cooler itself. Getting cool air from outside the case to your low-profile CPU cooler as quickly as possible is important, and there’s a way to do it easily using a Noctua NA-FD1 fan duct kit.
This kit is designed specifically for Noctua NH-L9 low-profile coolers, such as the Noctua NH-L9a, and 92mm fans, enabling you to easily direct cool air to the fan as quickly and easily as possible. We’ll show you how to install the kit, measure the impact on temperatures and give you the minimum and maximum CPU clearance your case will need in order to get it to work
1. Check temperatures
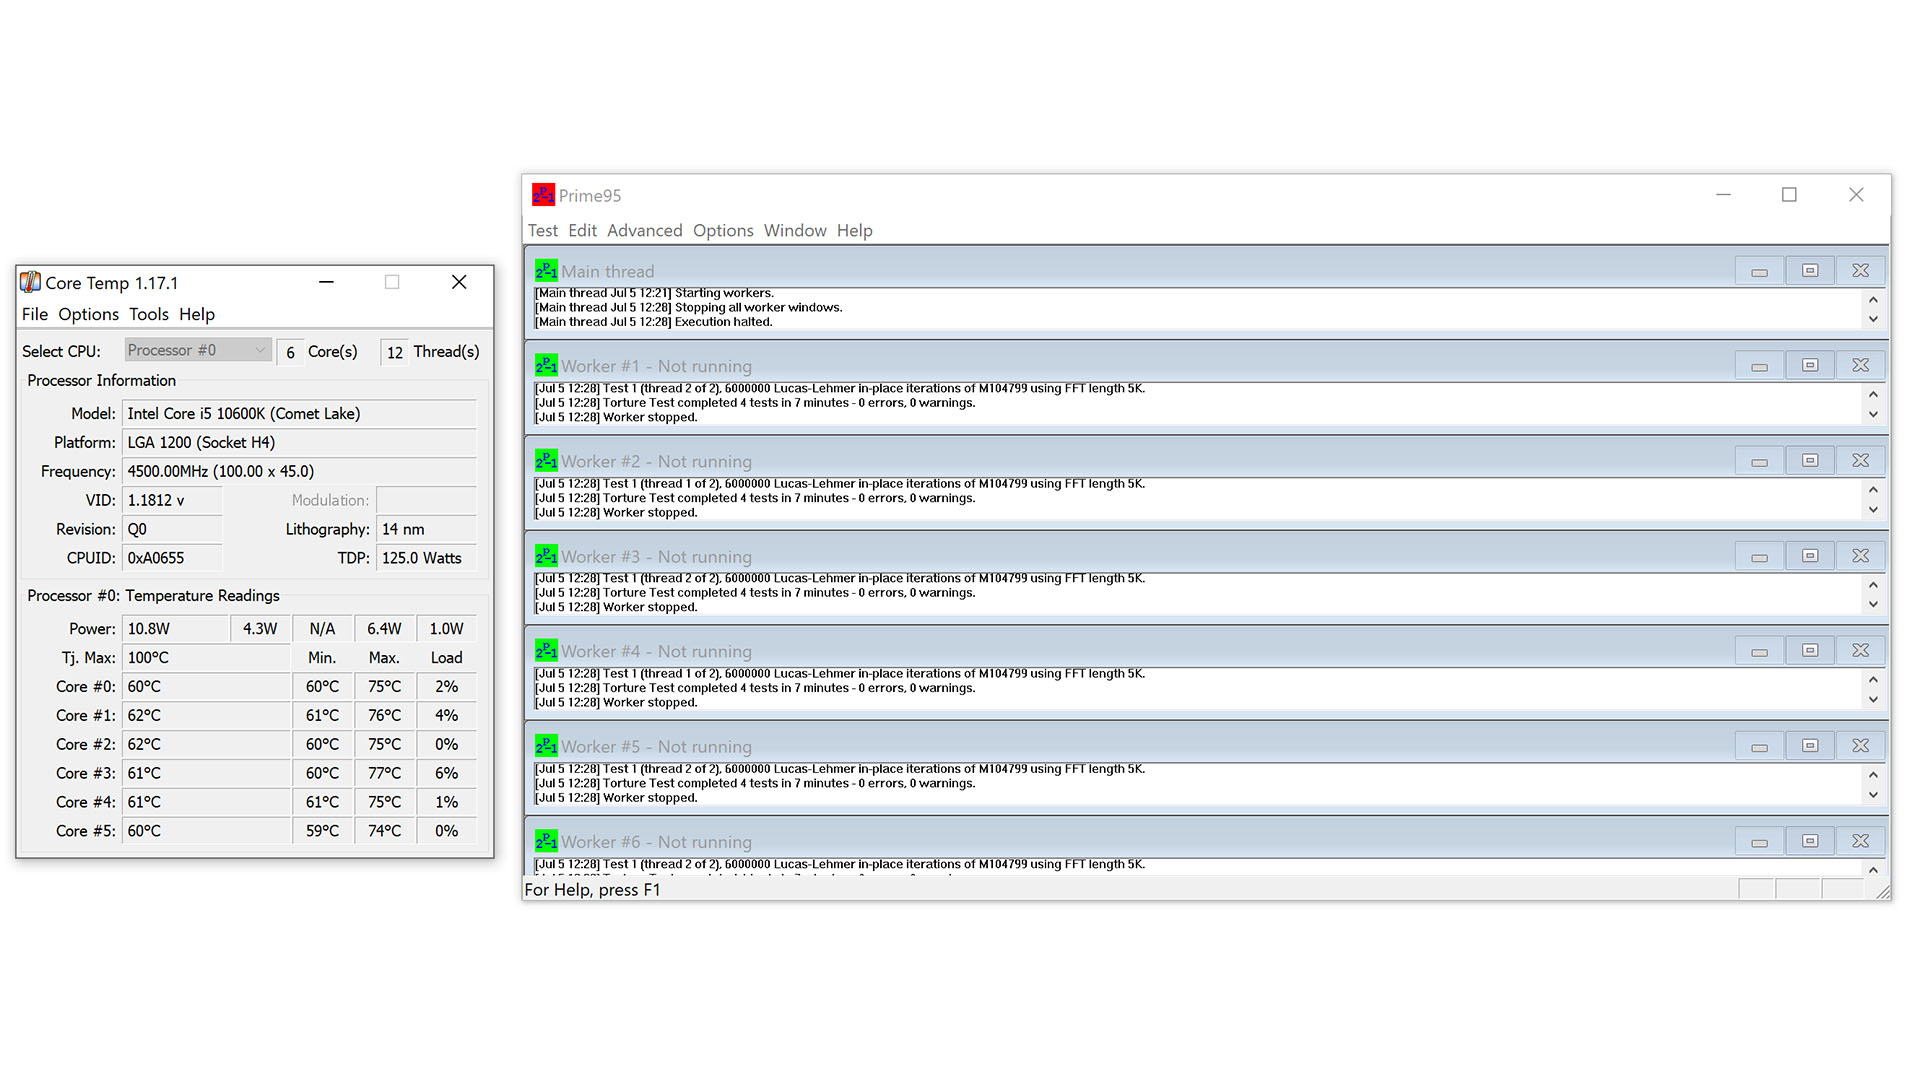
As with any cooling modification, you need before and after temperatures, so you can see if the changes actually made your hardware run cooler. Run the Prime95 smallfft test with AVX instructions disabled, and use CoreTemp to measure the average core temperature after ten minutes.
2. Use Noctua ducting kit
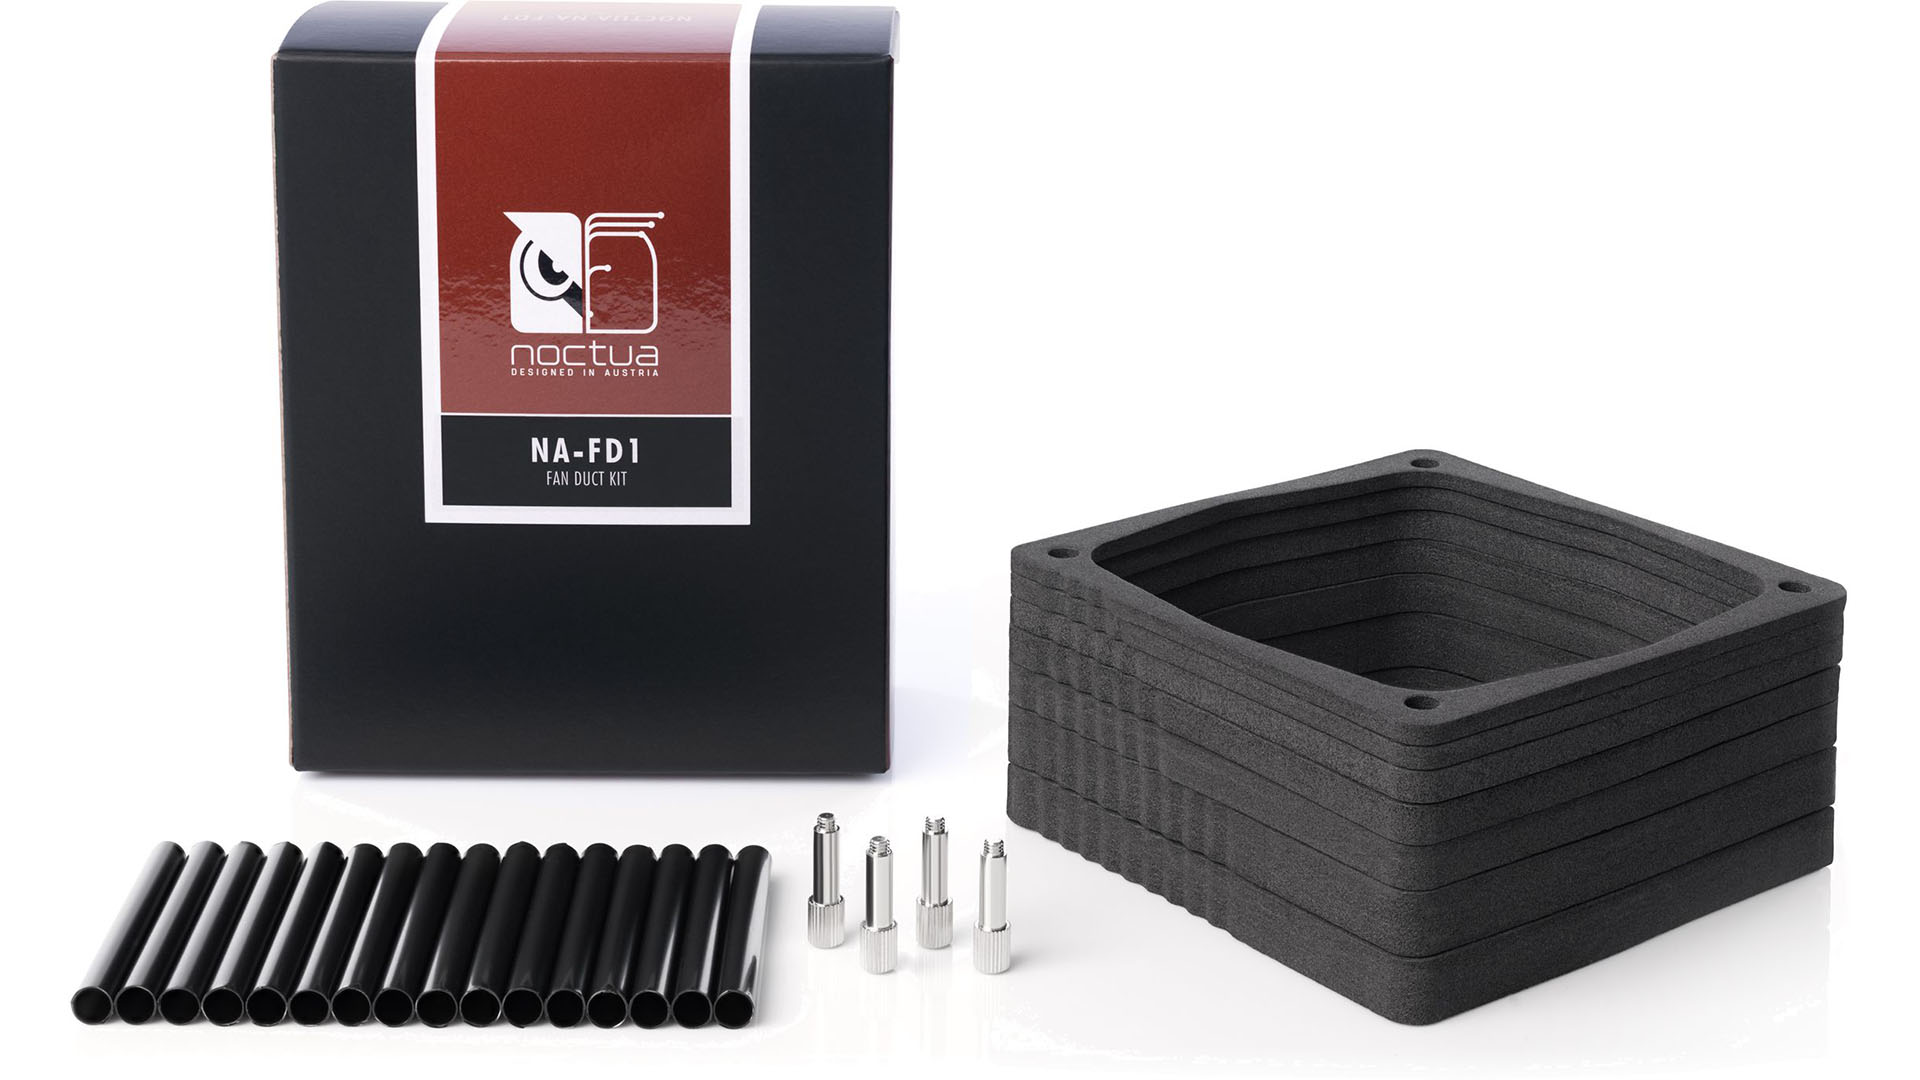
The Noctua NA-FD1 ducting kit is inexpensive and reusable, thanks to extra duct supports being included, so you can create up to four ducts for different cases if you change your setup in the future. However, it’s only compatible with Noctua’s popular NH-L9 coolers.
3. Use spaghetti
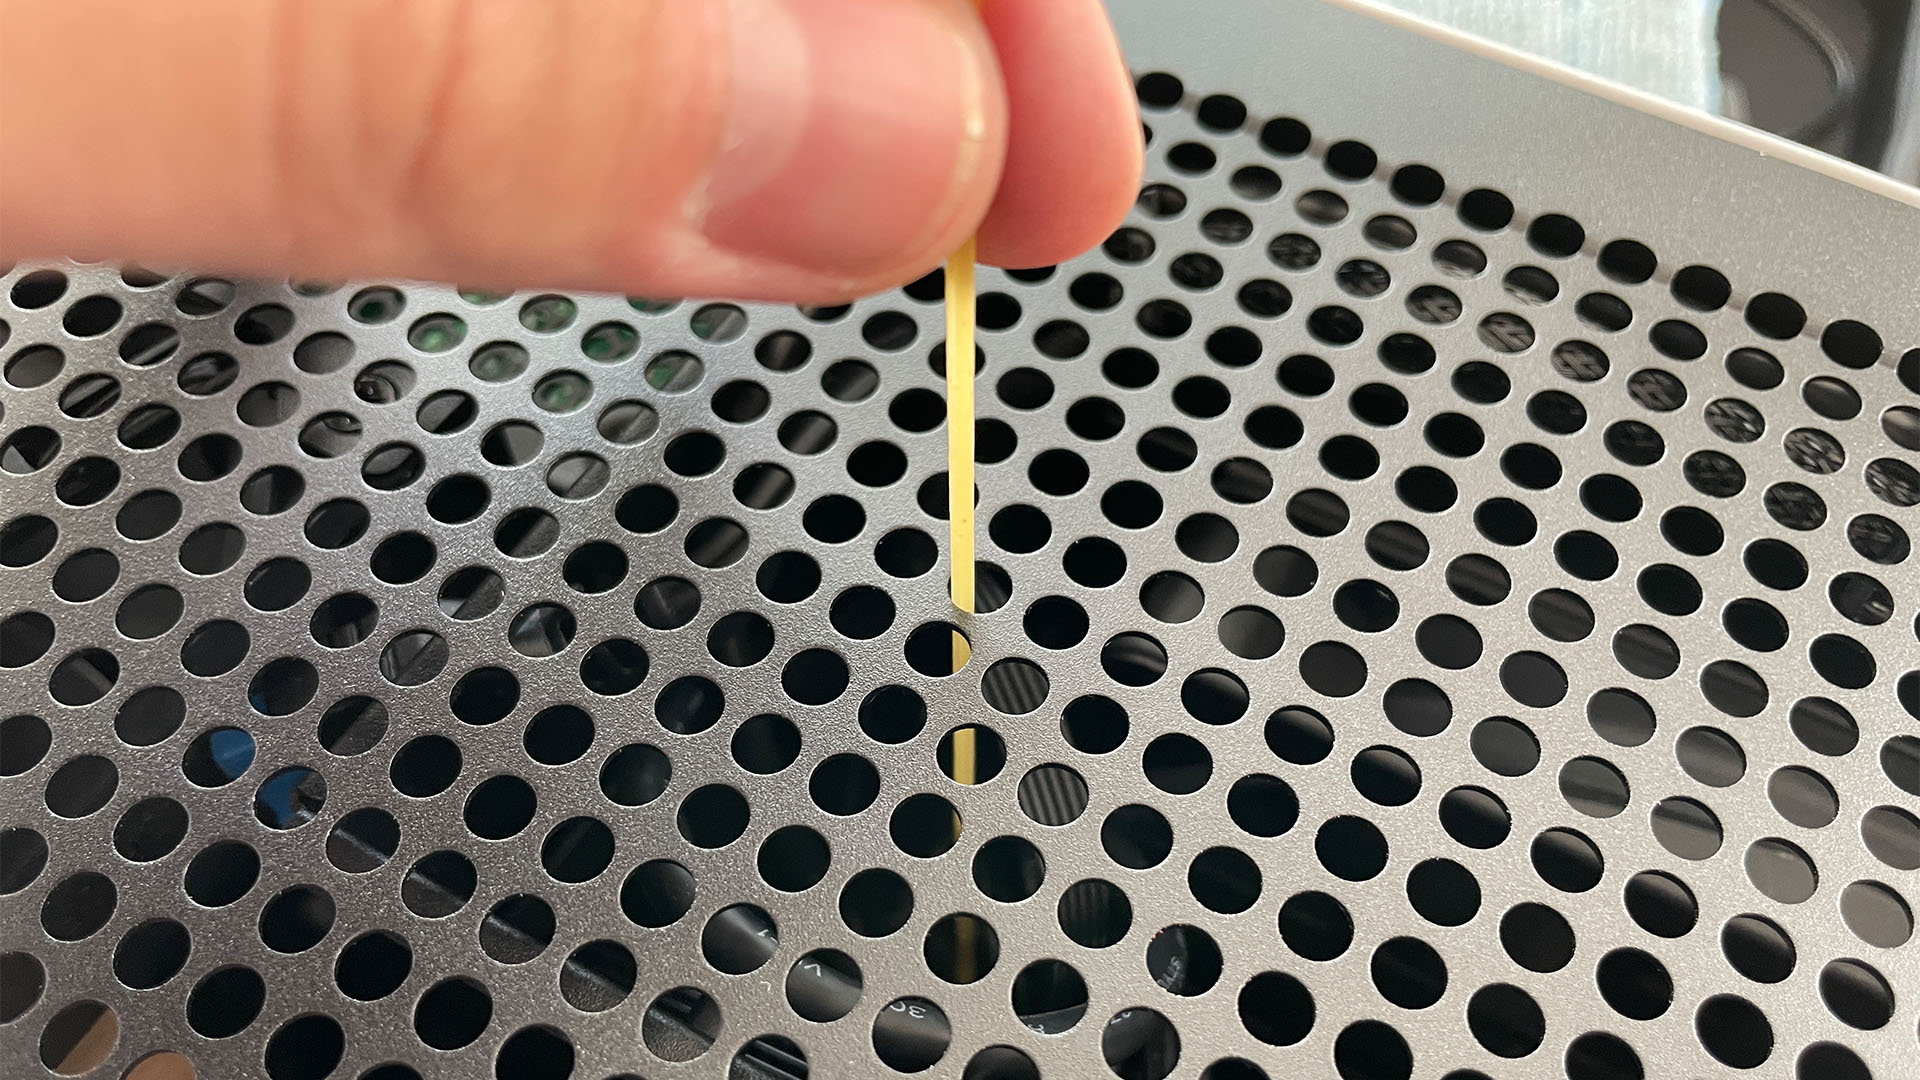
You can put spaghetti sticks, cocktail sticks or similar through your case’s vents to measure the clearance between the cooler fan and your case’s side panel mark the spaghetti when it hits the cooler fan, measure it and then subtract the width of the side panel. You can then create the correct height of duct using the pieces provided.
4. Measure side panel inset
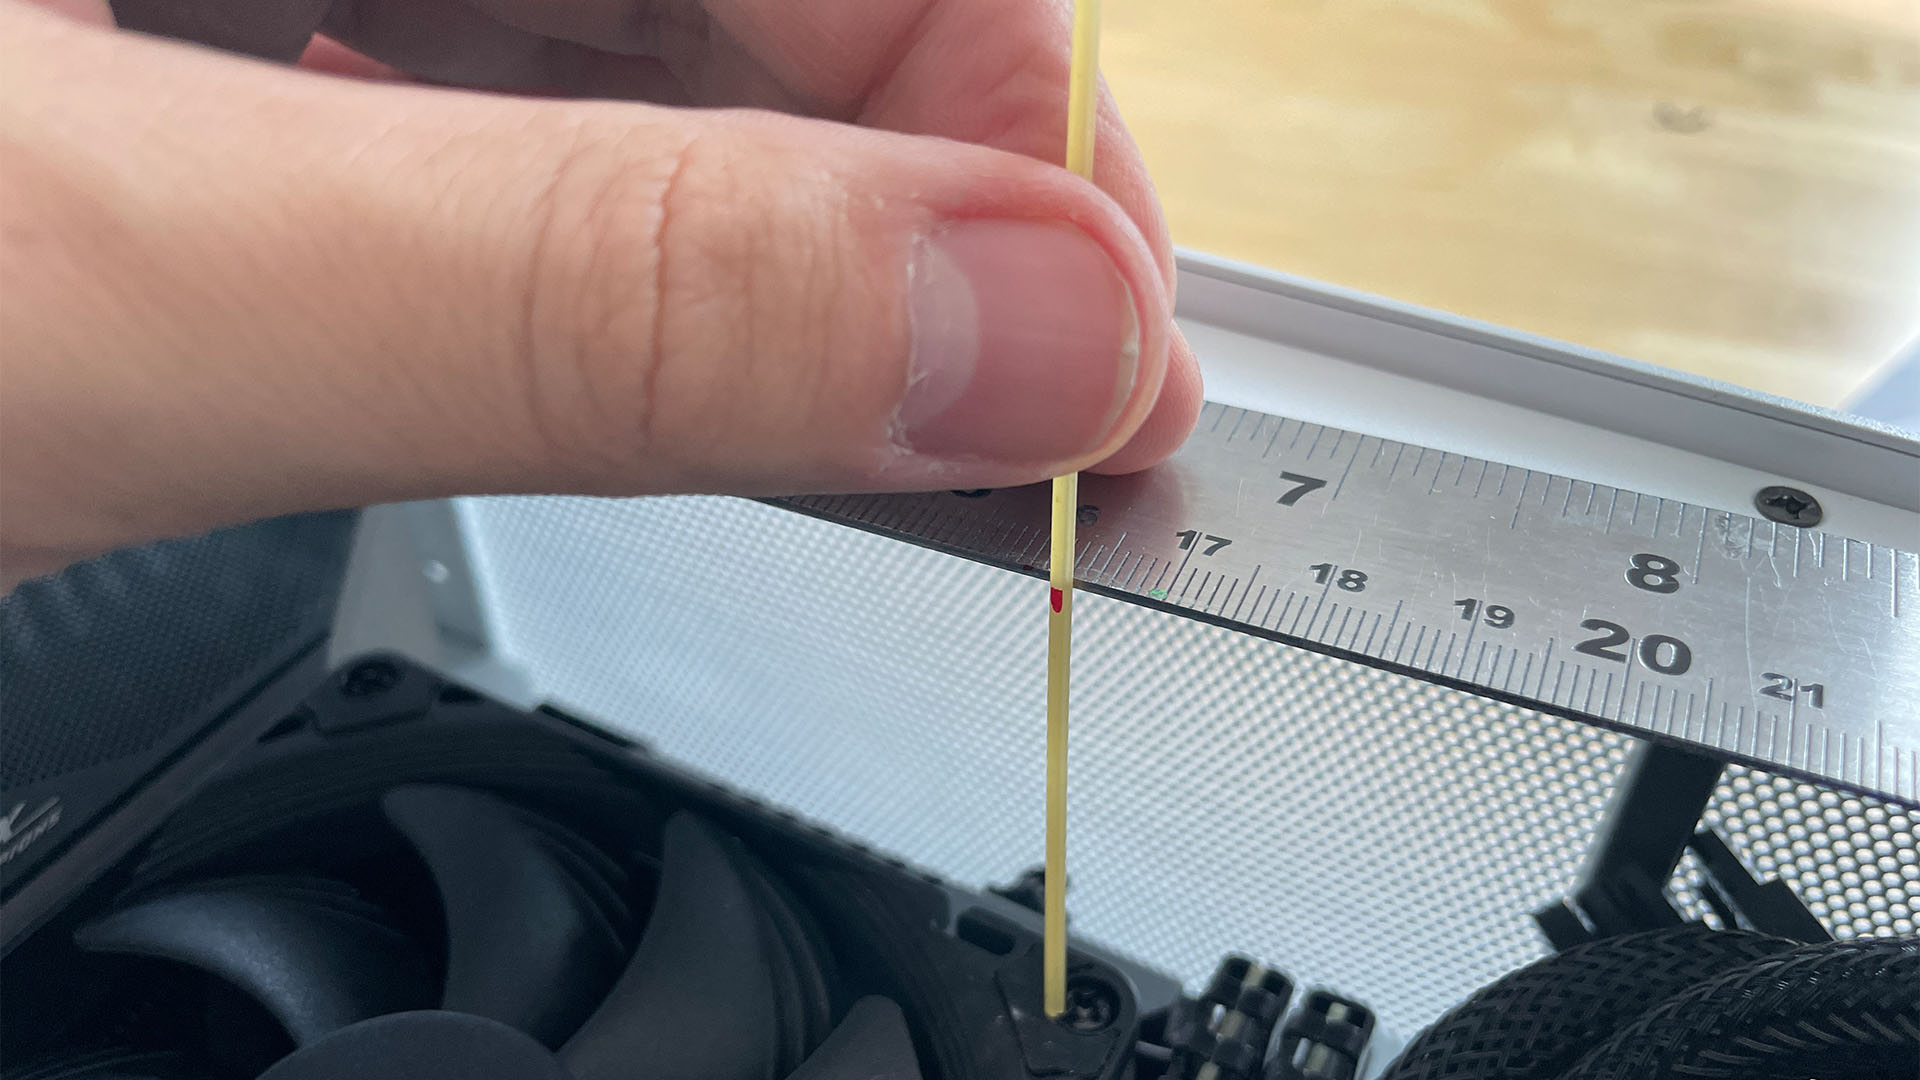
Some side panel meshes are inset, meaning you can’t just subtract the total panel width from your measurement down to the cooler. Instead, use spaghetti again as in Step 3, or a ruler if there’s room, to work out how much further the duct will need to rise, so it seals against the inset side panel’s mesh.
5. Use a ruler
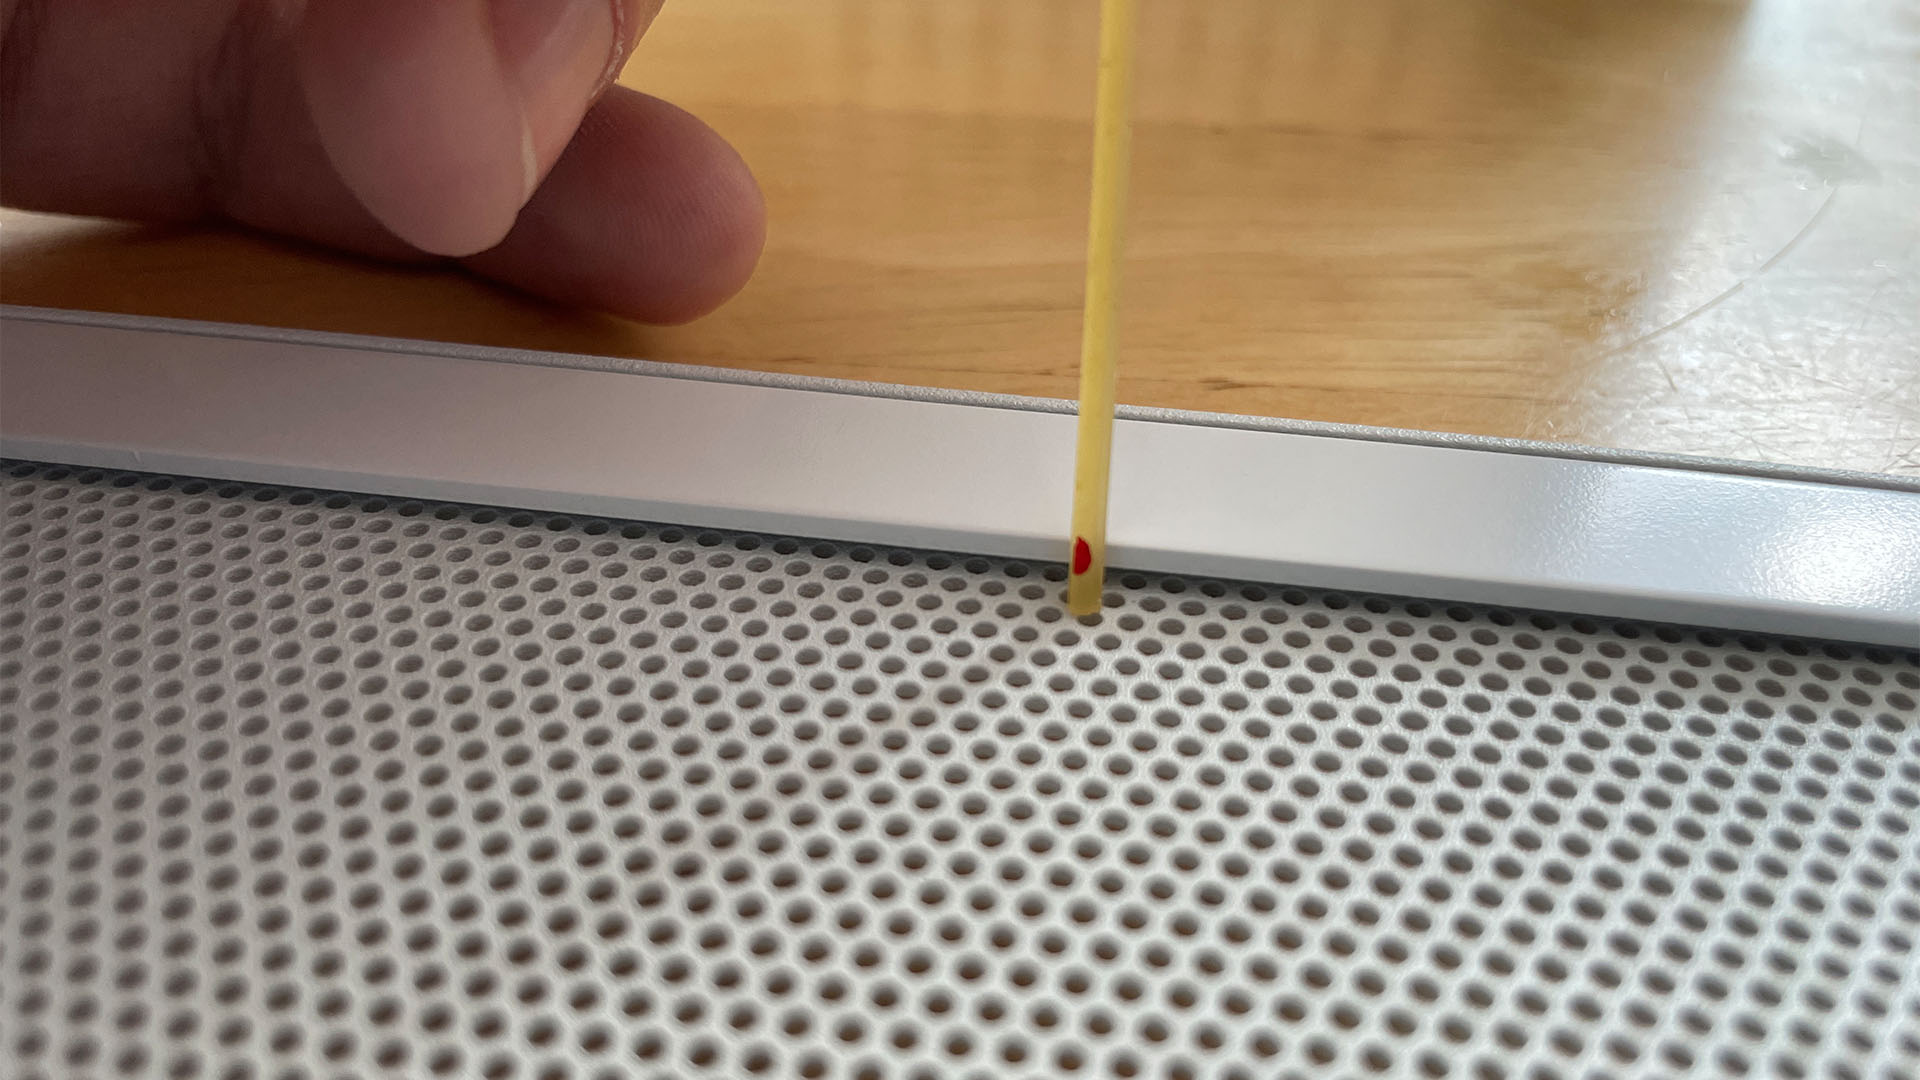
Unfortunately, some cases have mesh that’s too fine to even use spaghetti, so we used a ruler sat on the case edge over the cooler, before marking the spaghetti to work out how far above the cooler the side panel sits. You may then need to do Step 4 if you have an inset panel as well.
6. Install replacement fan screws
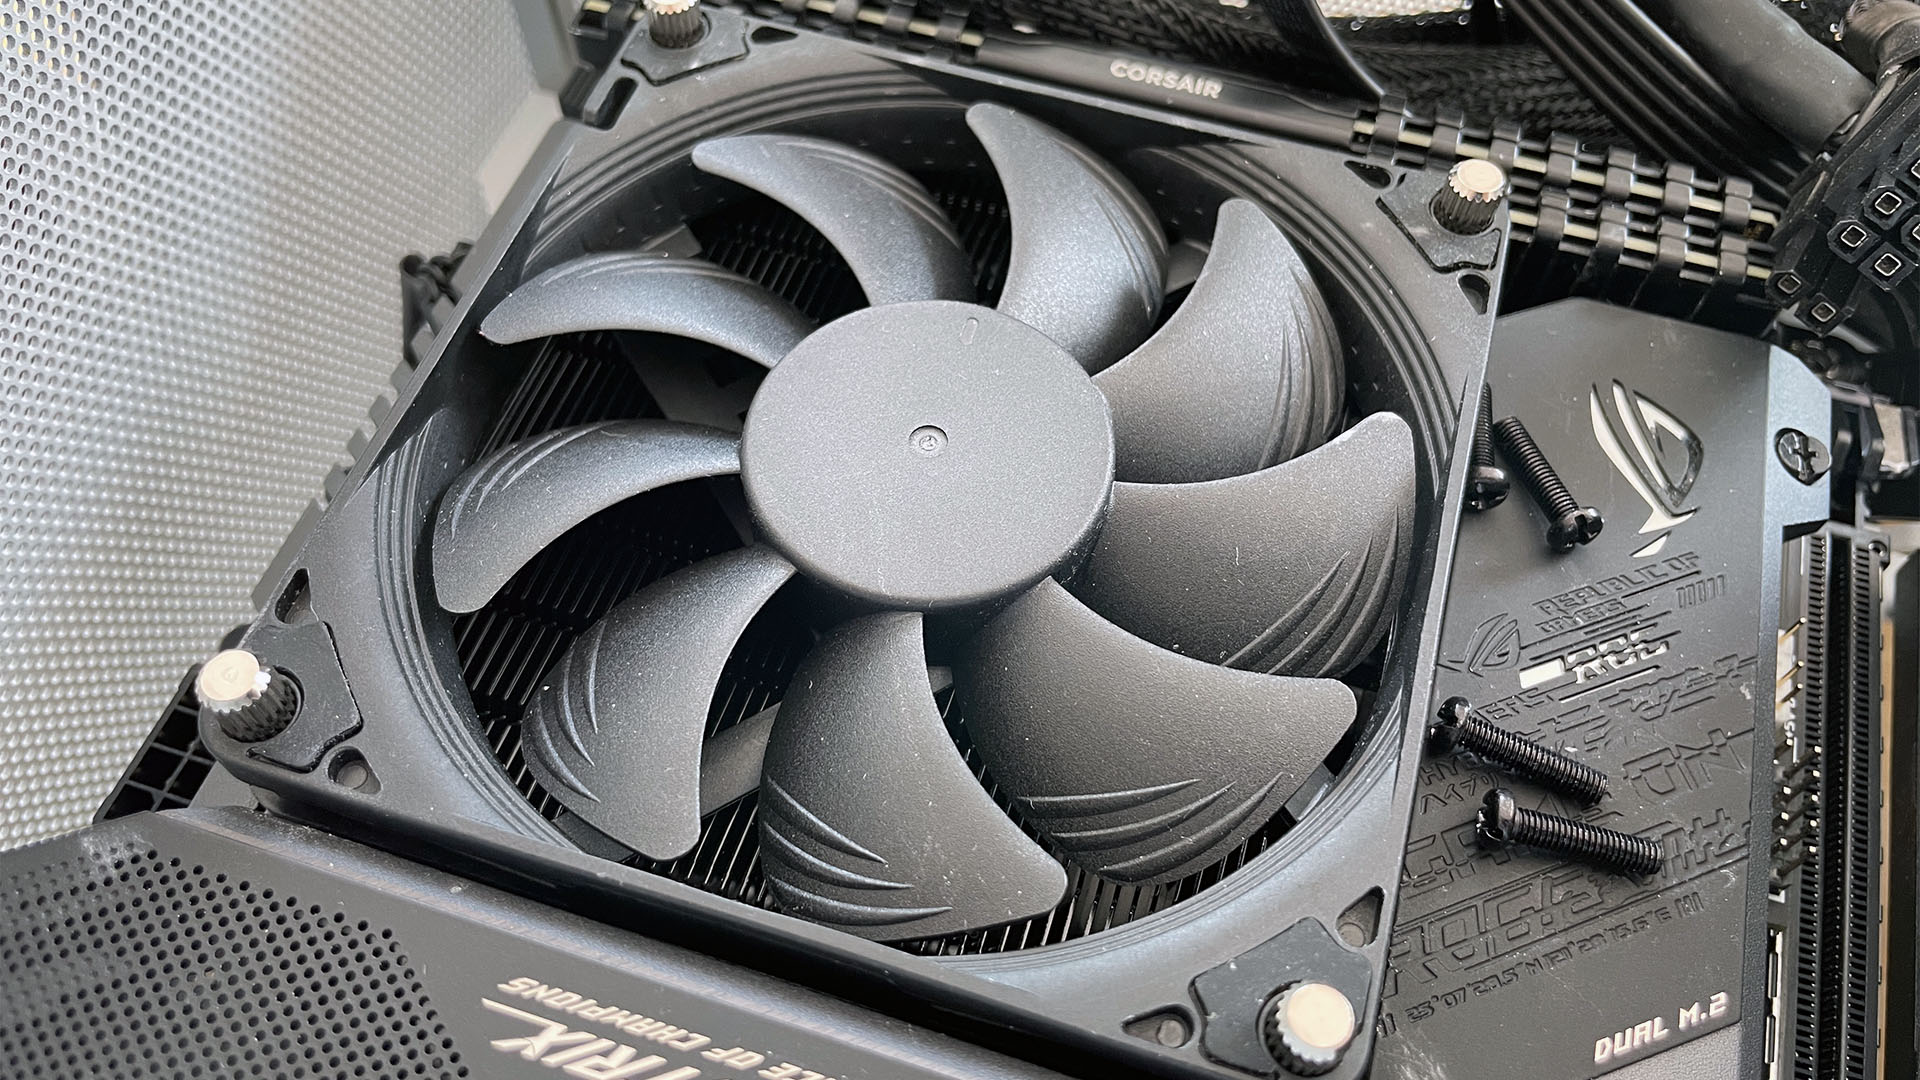
The kit comes with replacement screws, enabling you to secure the fan and mount the duct supports at the same time. Install one of these screws in each corner of the fan.
7. Attach duct supports
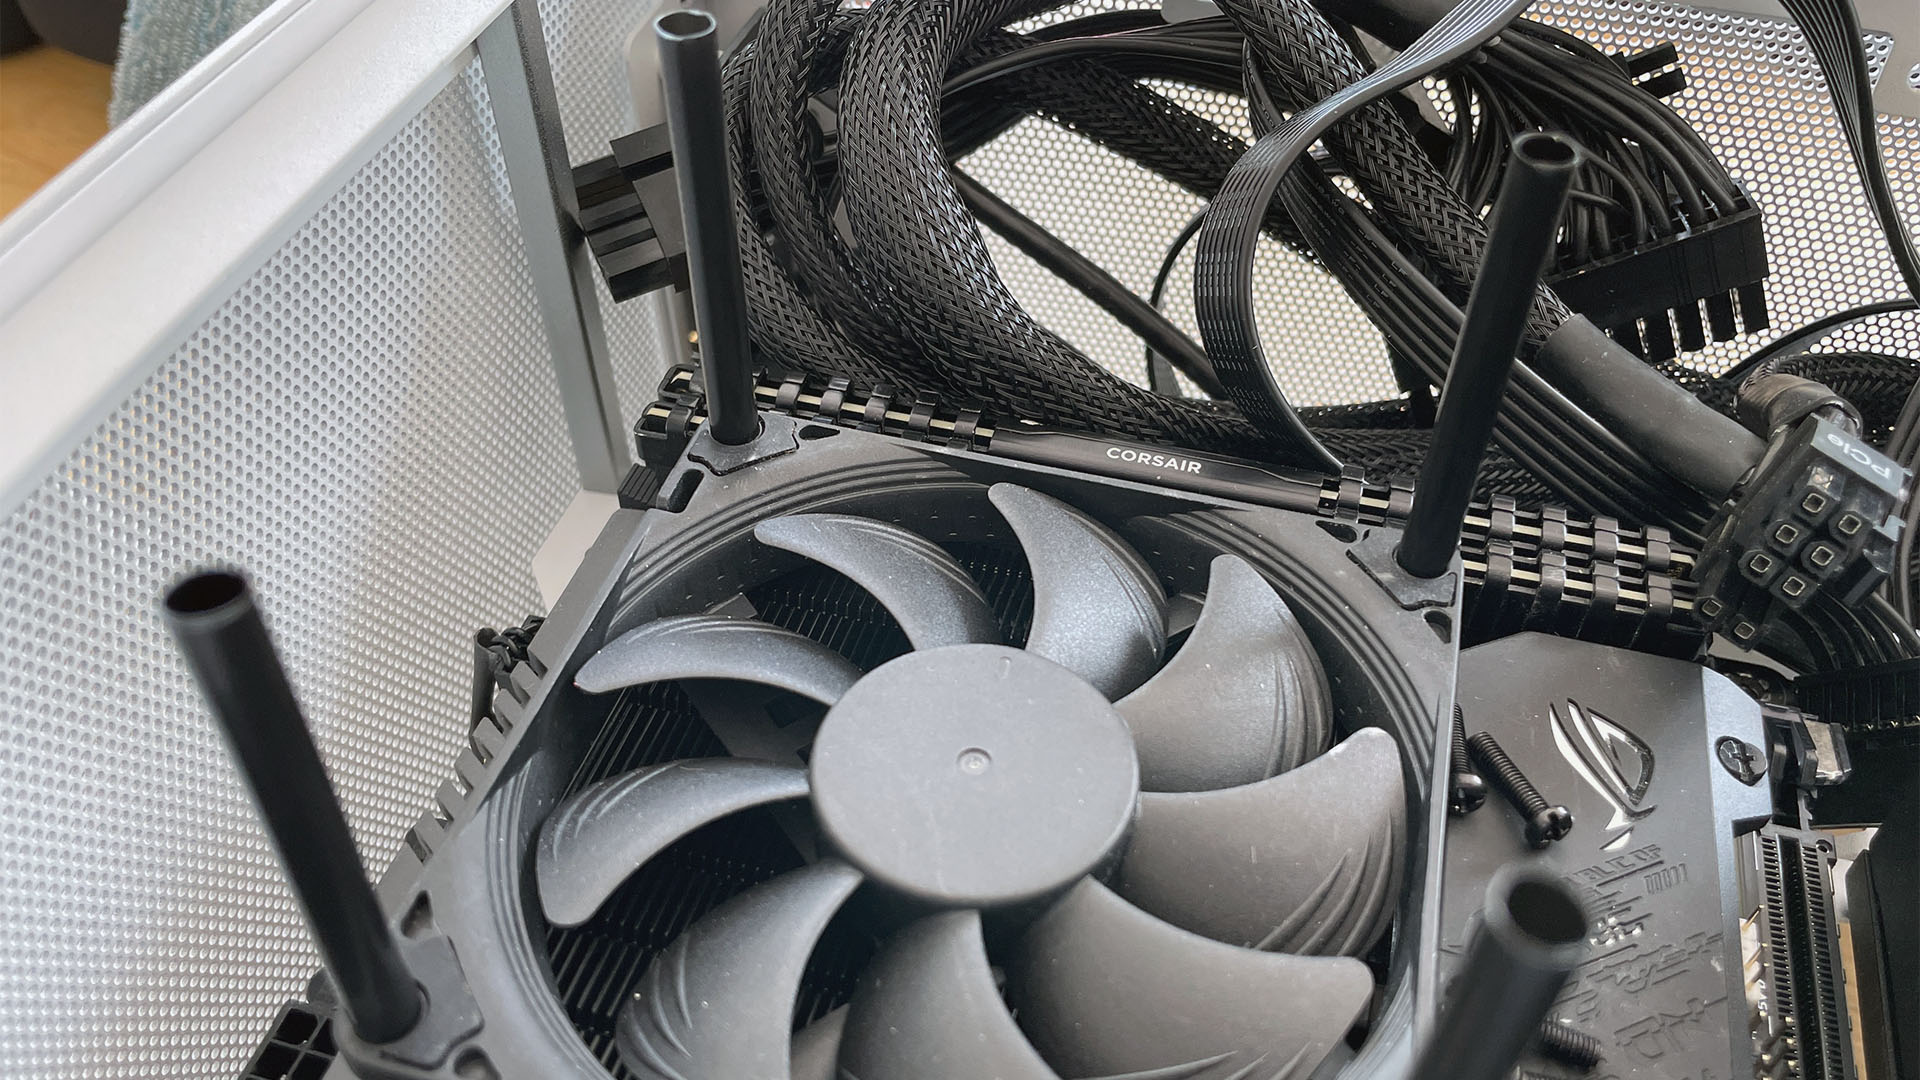
The black duct supports fit over the replacement fan screw ends and thread through the ducting. Apply one duct support to each fan screw, ensuring they’re fully pressed onto the screws.
8. Install ducting and trim supports
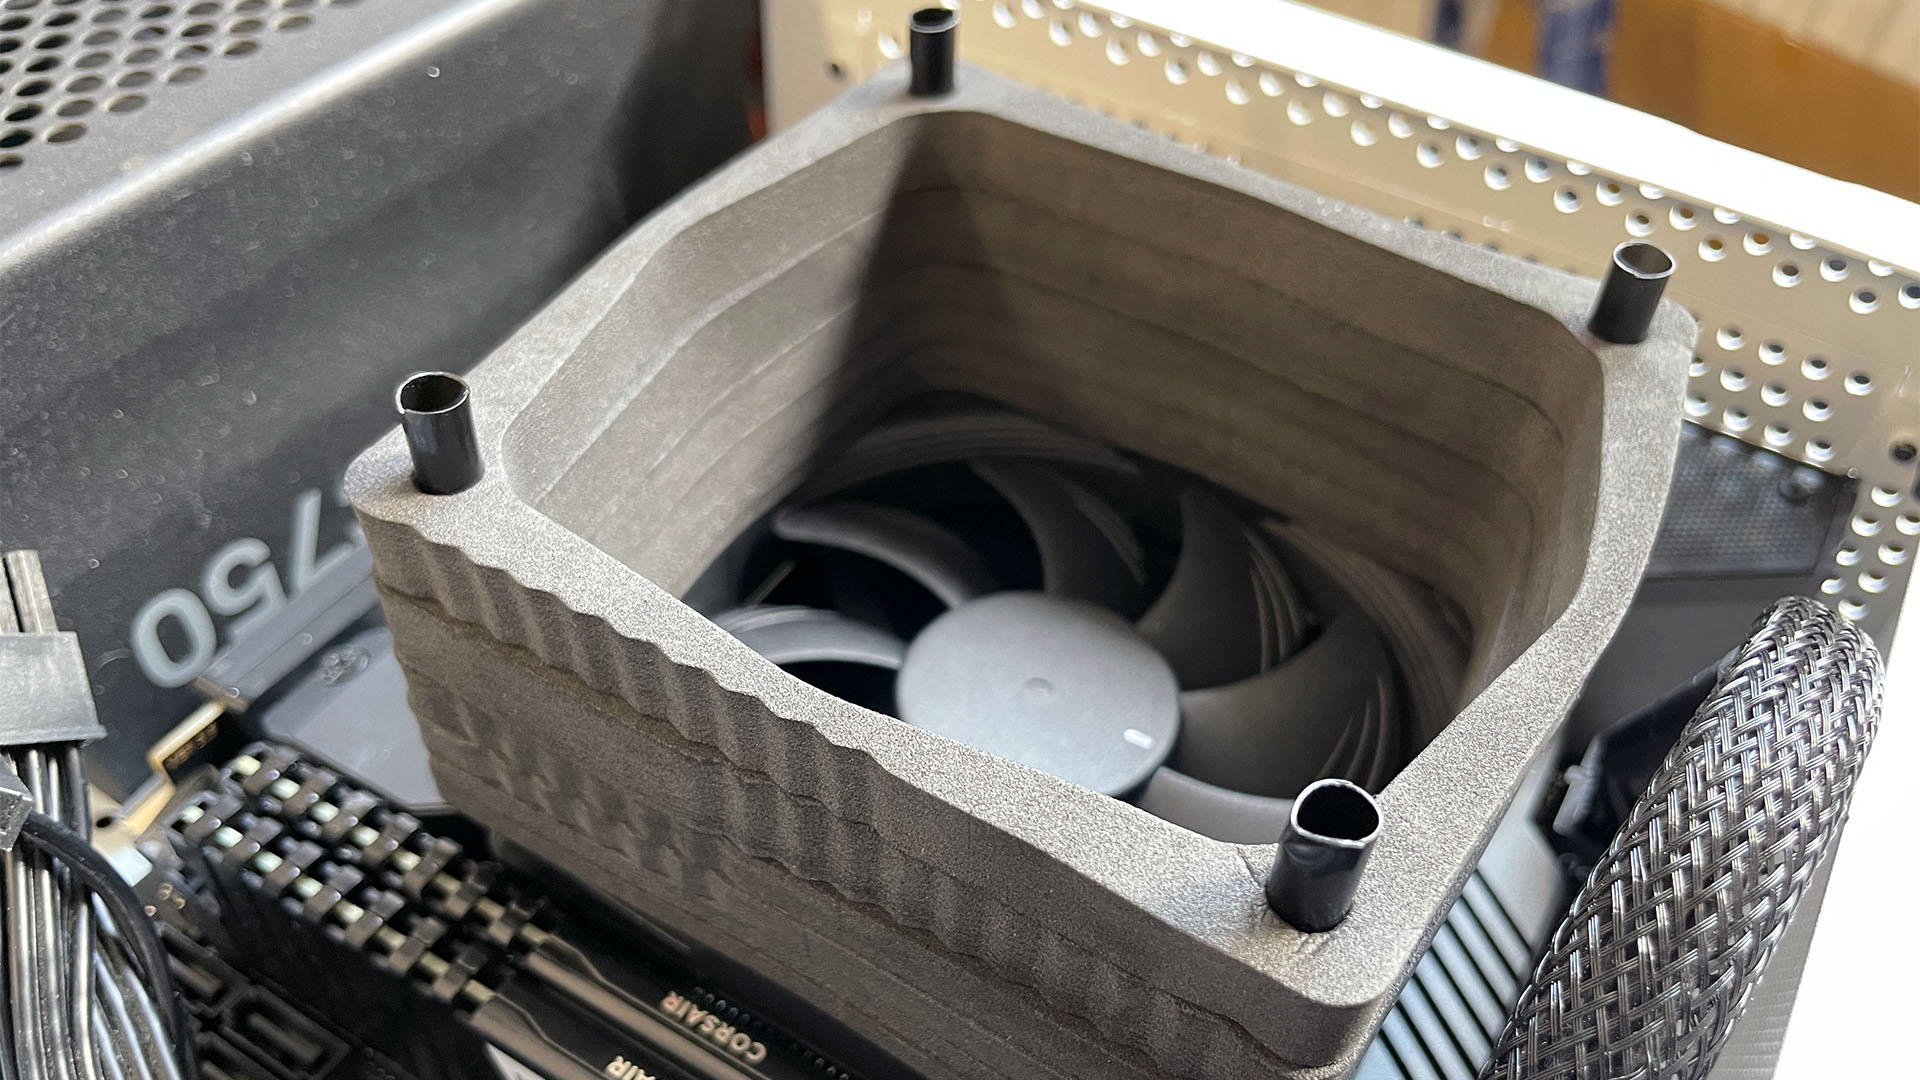
Create a duct stack using the provided pieces that matches your total measurements from the previous steps, then place them onto the duct supports, with the thinnest section at the bottom for stability. Use scissors to cut each support flush with the ducting, then trim another 2mm to ensure the top section sits flush with the side panel.
9. Test the ducting
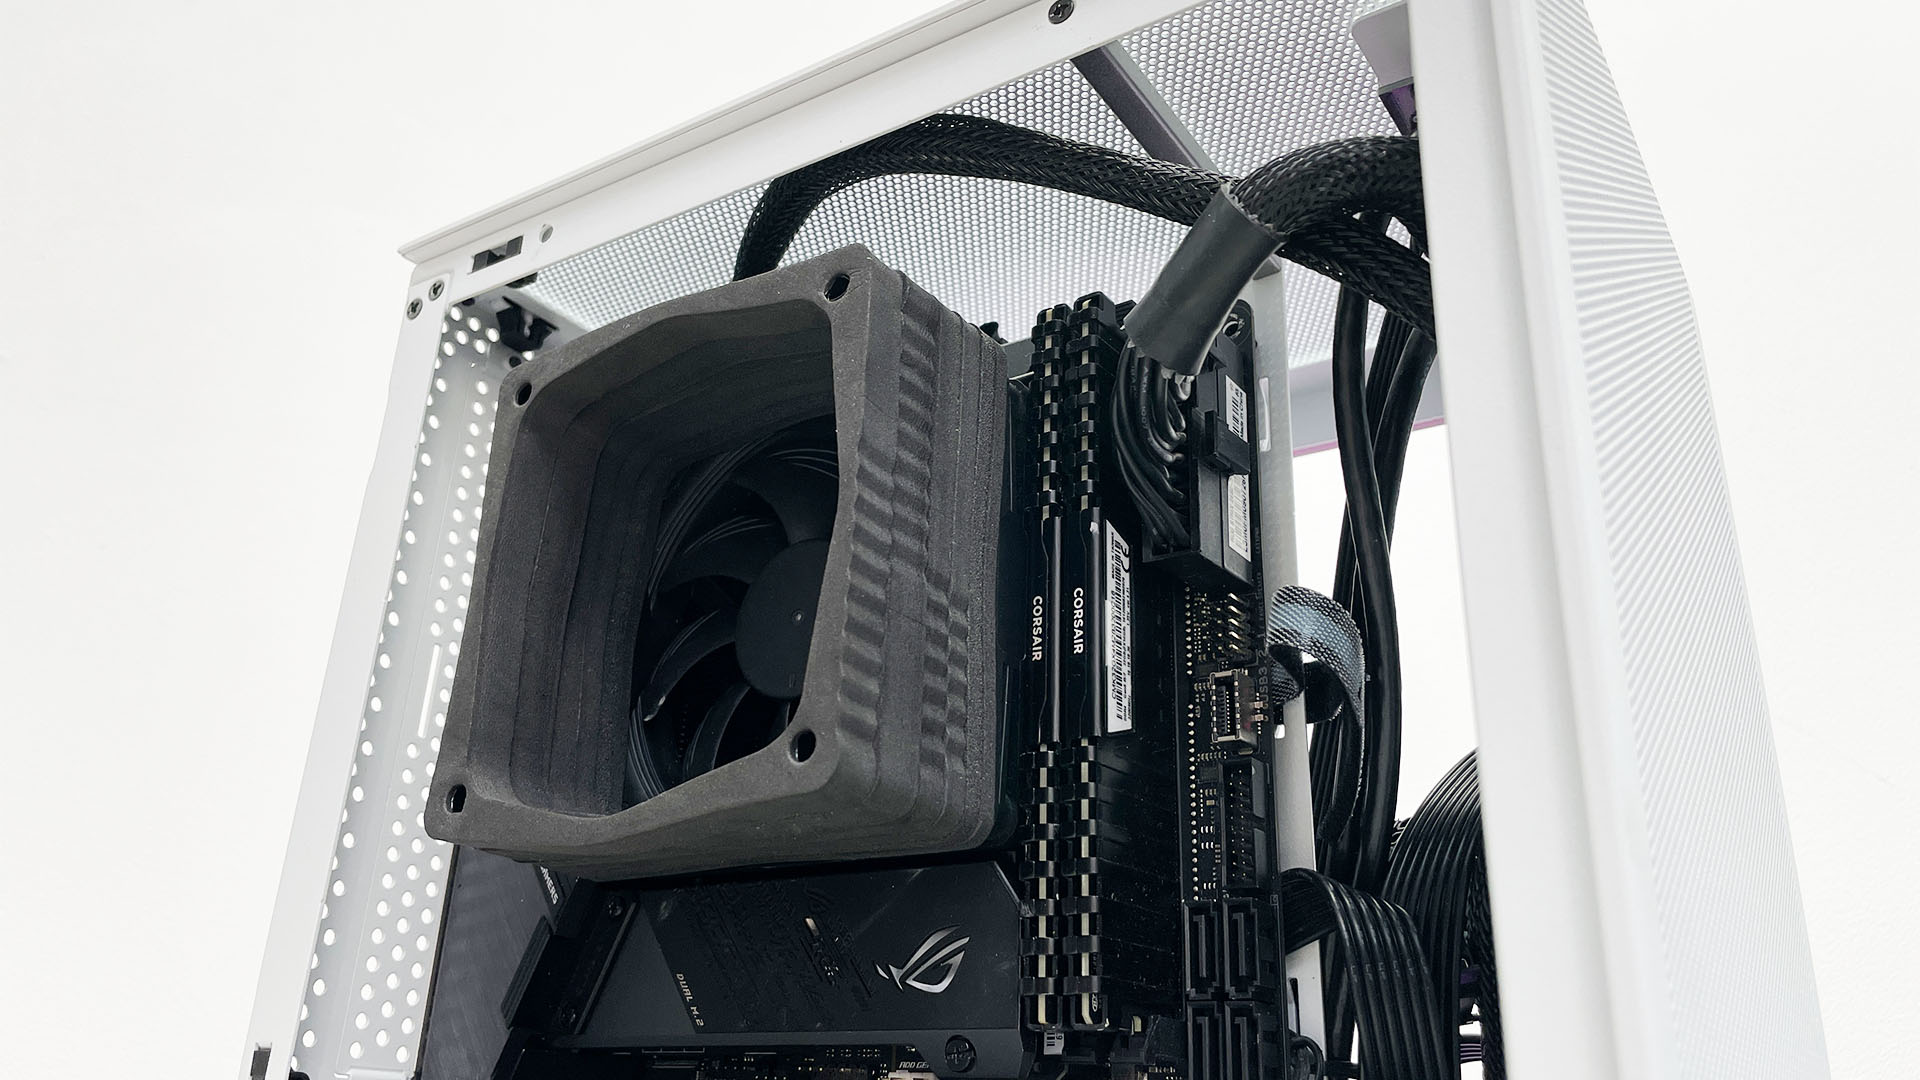
After fitting the ducting, our system took several minutes longer for our CPU to ramp up its fan speed and reach a peak temperature. Without the ducting, it hit 87°C after a ten-minute stress test, but this dropped to a maximum of 84°C after the ducting was installed.
That’s all you need to do to fit an air ducting system in a mini-ITX rig, using a low-profile Noctua cooler. It’s well worth doing too, as there’s not much room for airflow in the confines of a small case, and the ducting knocks several degrees off your CPU temperature.
If you like the idea of cooling PC systems with ducting, make sure you also read our full guide on how to reduce CPU temperatures with ducting. We have loads of other cooling guides too, including a full guide on how to change the coolant in an AIO liquid cooler, and a tutorial on how to fit 120mm case fans to your GPU cooler.
