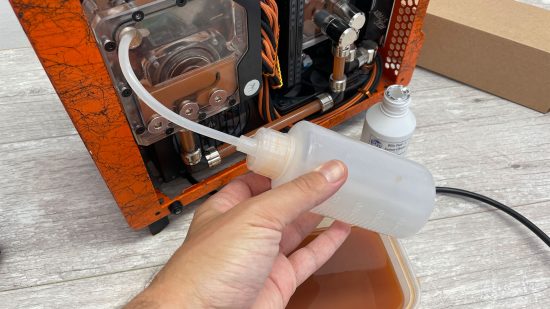
In this guide, we’ll show you how to clean a PC water-cooling loop Over time, the components in your water-cooling system can seep chemicals into your coolant, which can tarnish other parts and discolor tubing. The coolant can separate or stain tubing and components too.
One option here is to rebuild your loop with fresh coolant and tubing, and manually clean your components. However, there is an easier way to spring-clean your loop without dismantling everything and that’s using a Mayhems Blitz cleaning kit.
At Custom PC, we’ve been water-cooling PCs since 2003, giving us loads of experience in the art of maintaining pumps, reservoirs and waterblocks. We know exactly what tools you need and which methods work best.
The latest version of the Mayhems Blitz kit comes with two bottles, with one being used to clean a whole loop, while the other comprises a highly acidic solution to clean radiators separately. This is different to flushing, which is only needed with new radiators.
1. Drain the loop
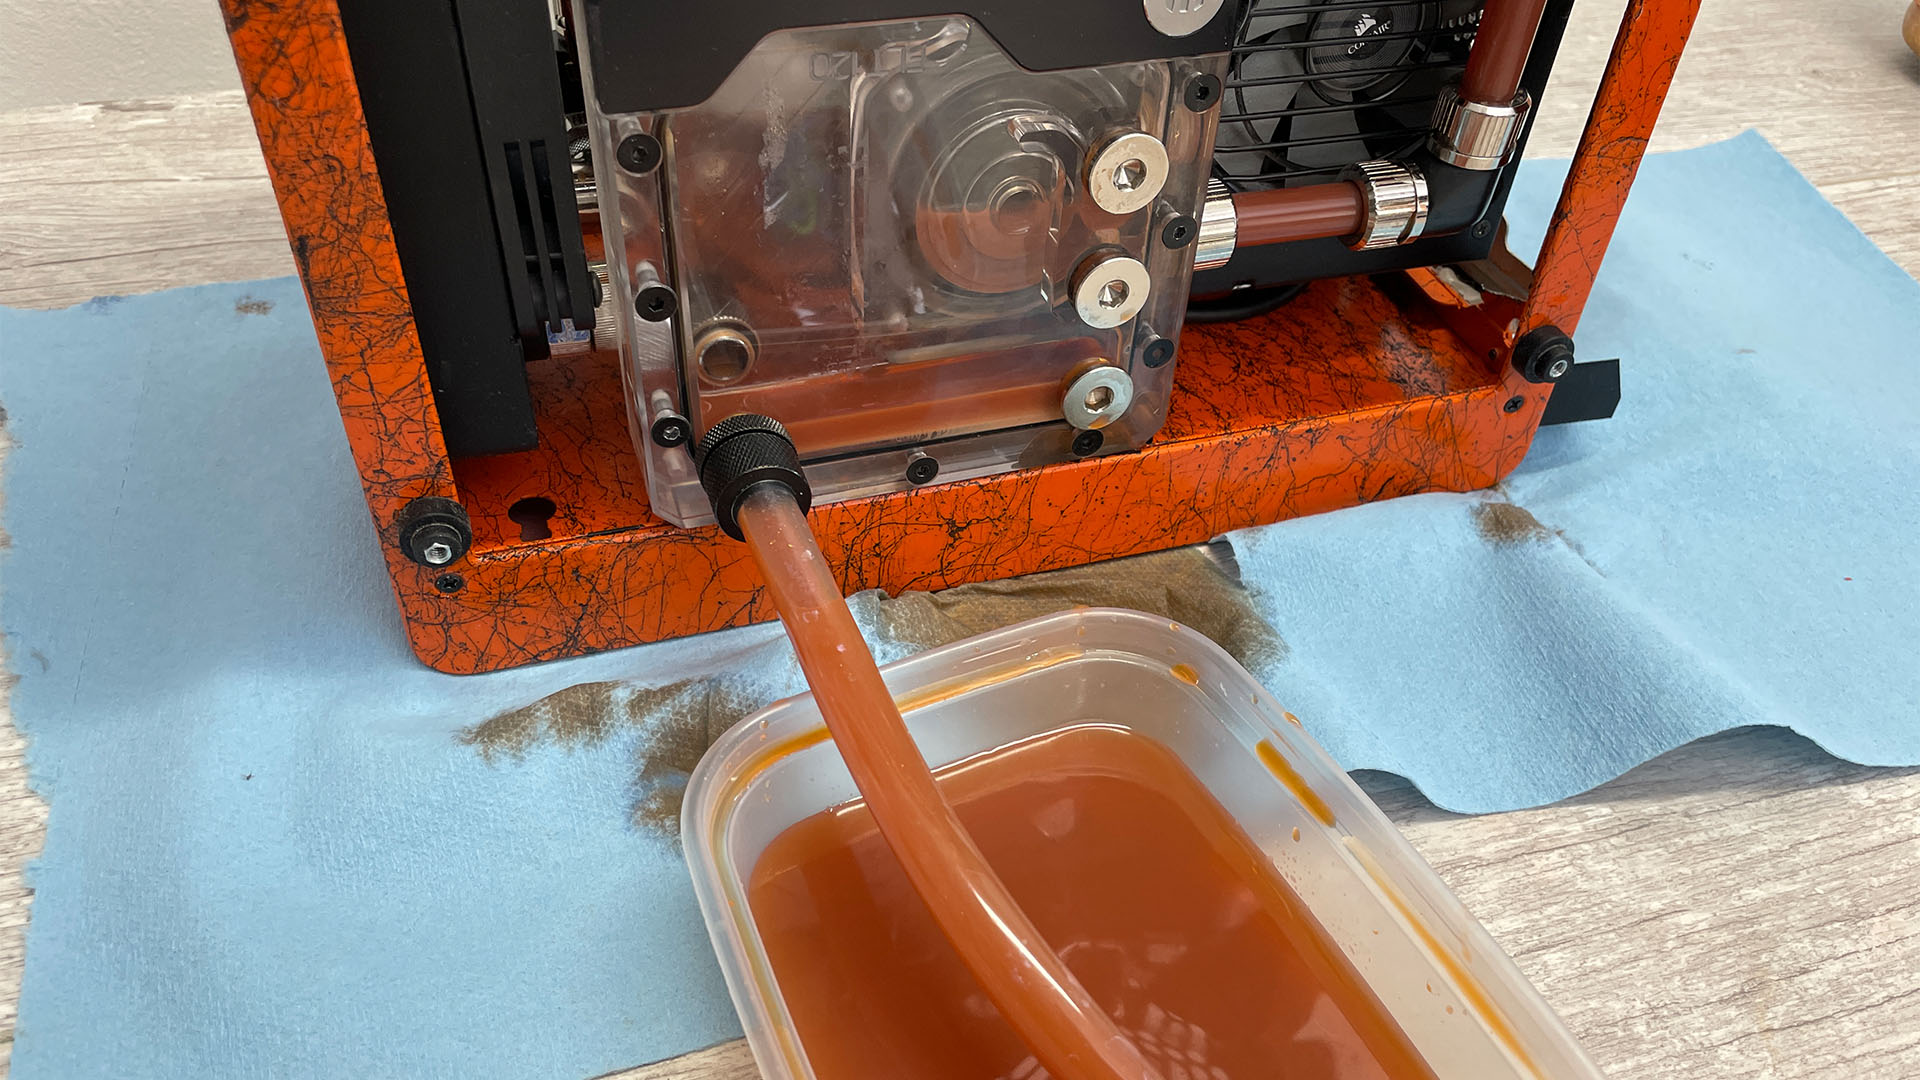
Start by draining the loop from your drain port or reservoir. It’s important to clear out as much coolant as possible, so the Mayhems Blitz solutions can make contact with the insides of your components, and not be diluted by existing coolant.
2. Remove remaining coolant
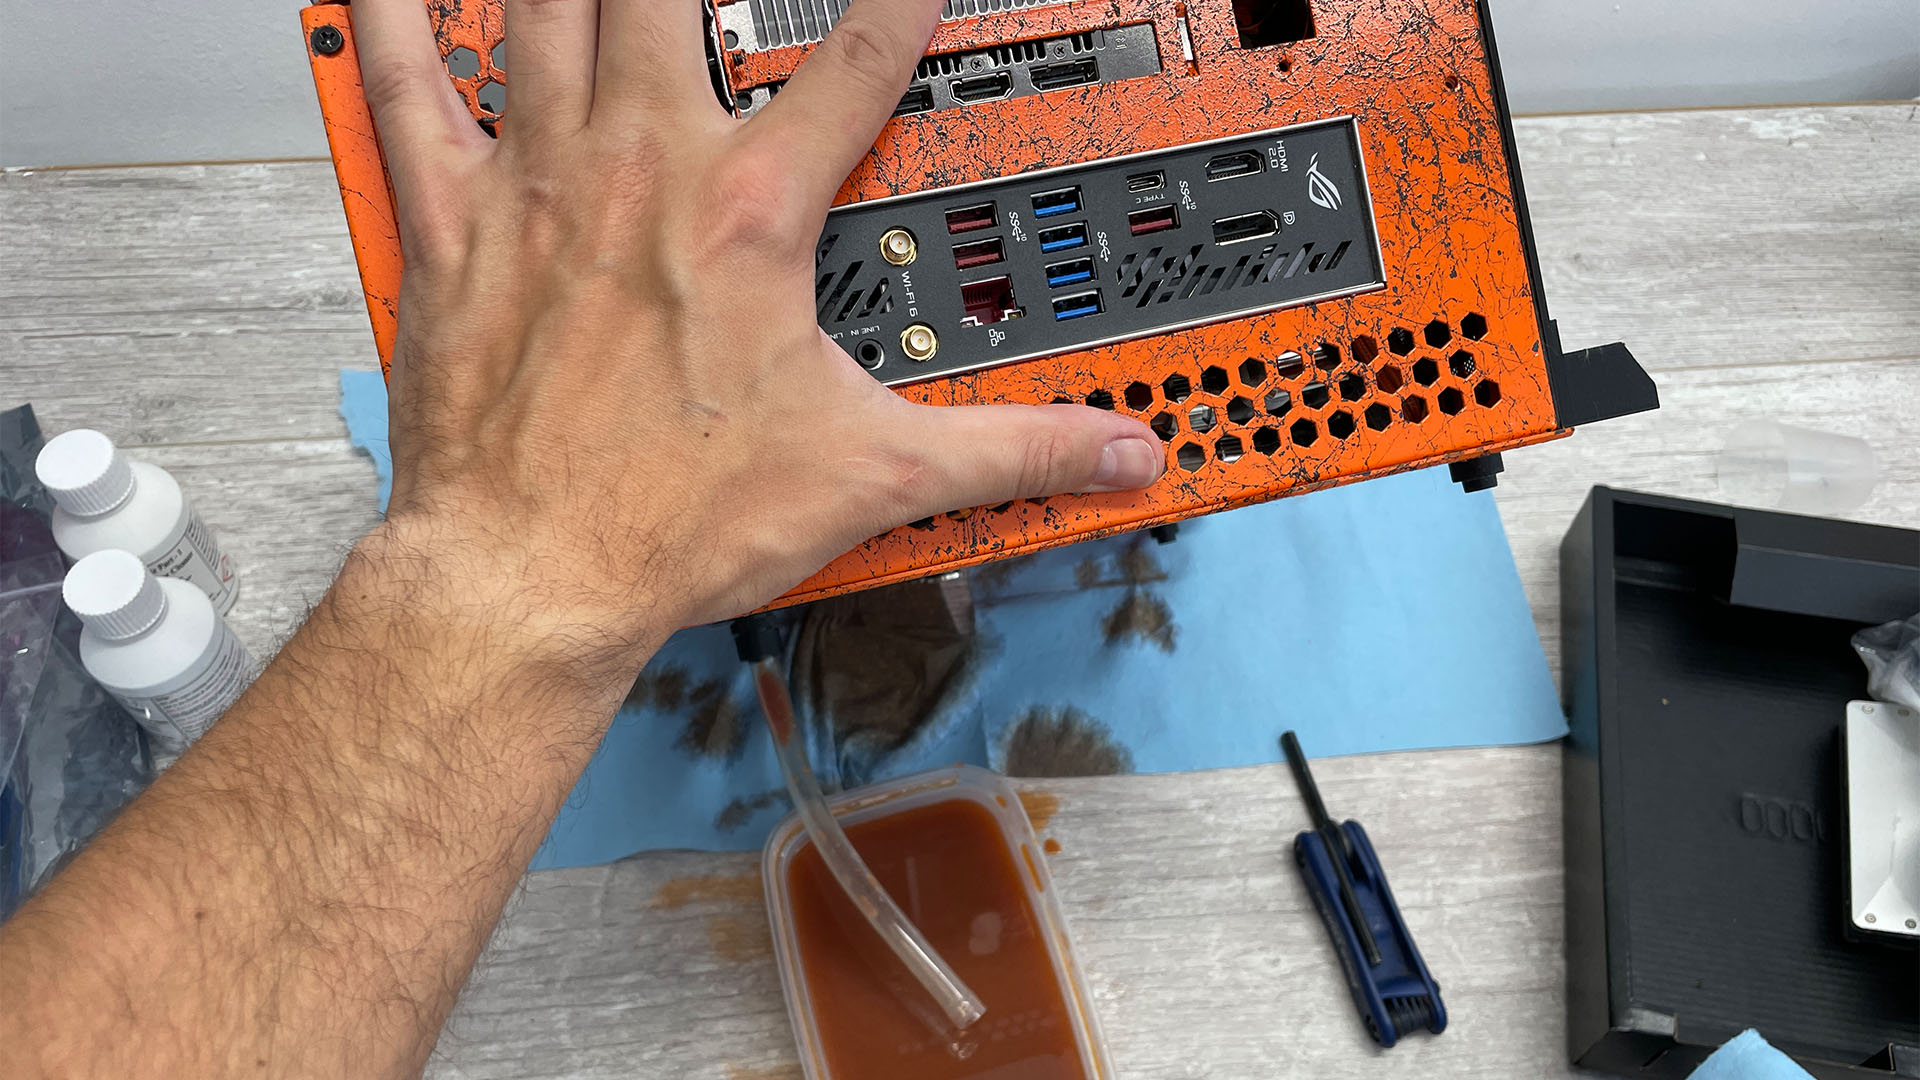
If the initial drain fails to remove all the coolant, try tilting the PC to force the coolant around to the opening, or blowing from one end. If necessary, you can disconnect some sections of tubing to allow the coolant to get out.
3. Remove radiators if necessary
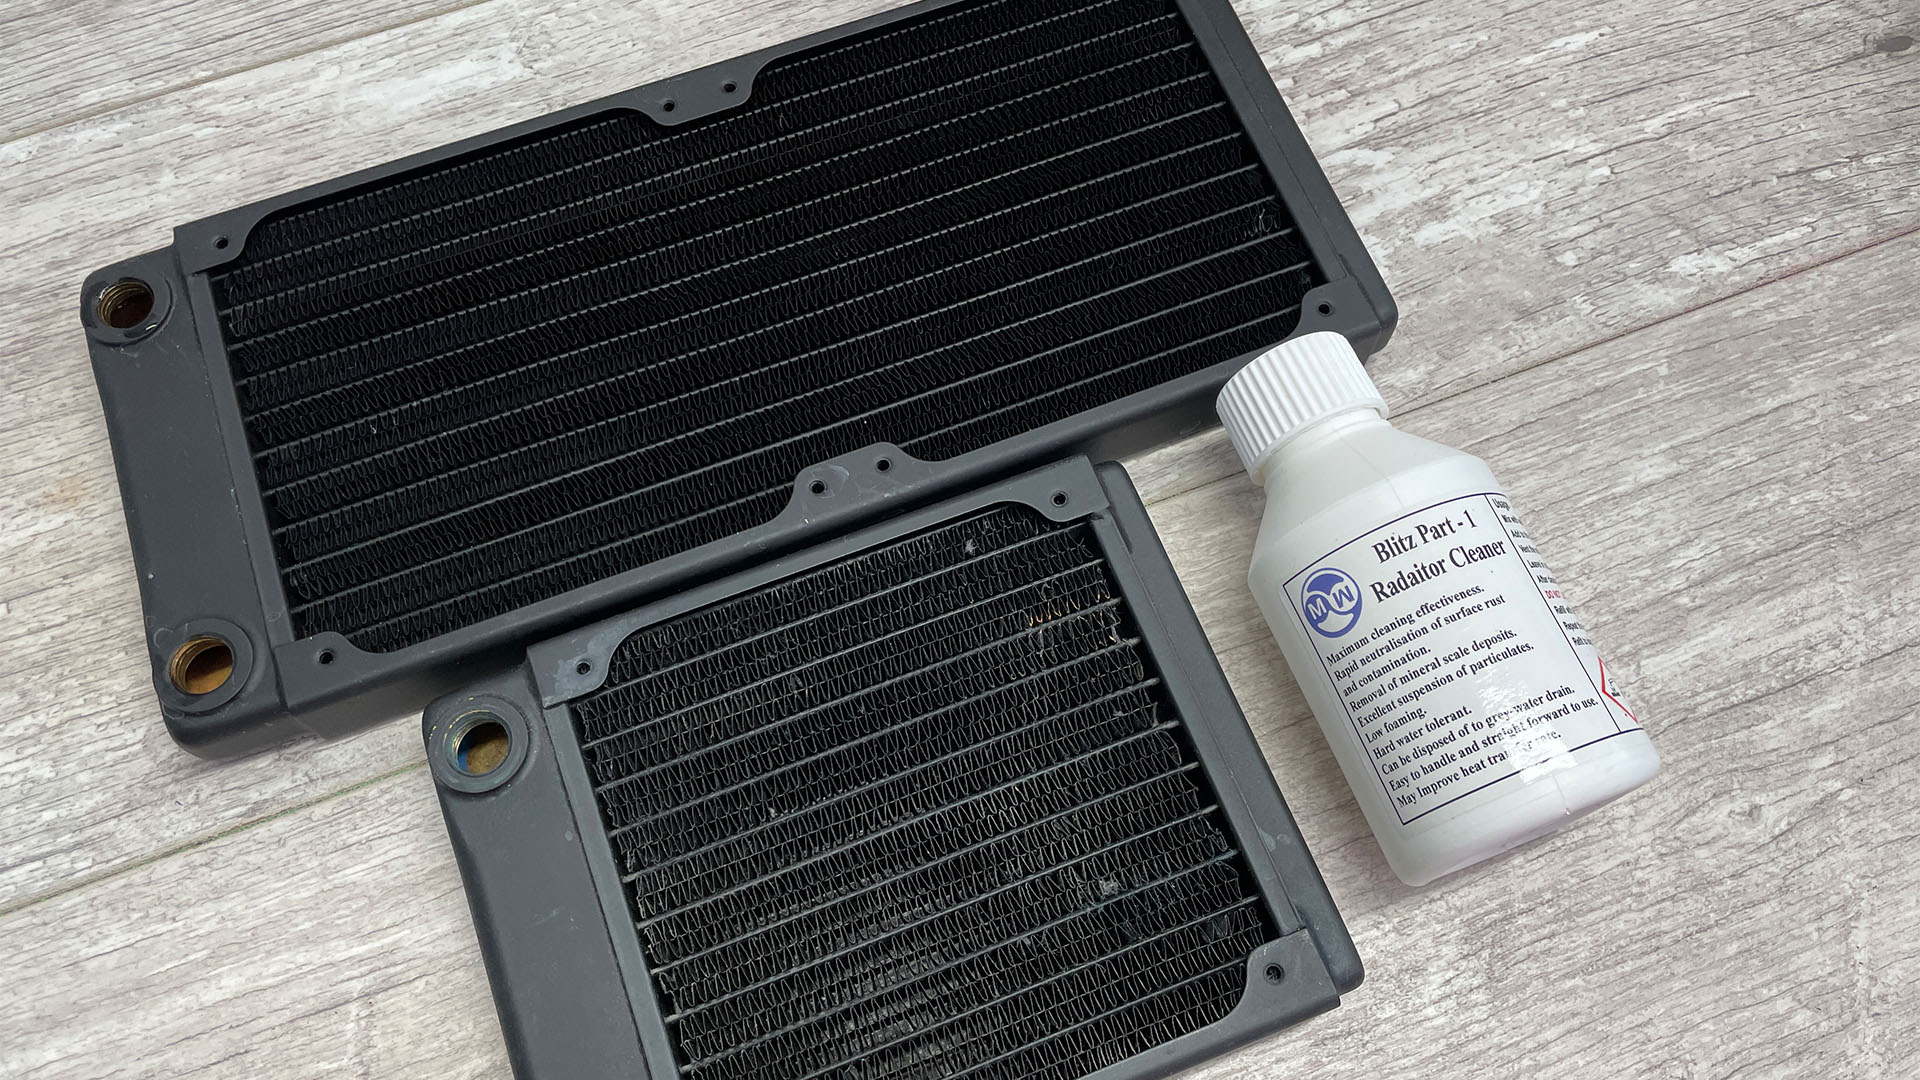
Before you use part 1 of the Blitz kit to give your radiators a deep clean, you’ll need to remove them from your loop, drain them and then refit them afterward, as this solution can’t be used with other components.
4. Mix Mayhems Blitz solution part 1
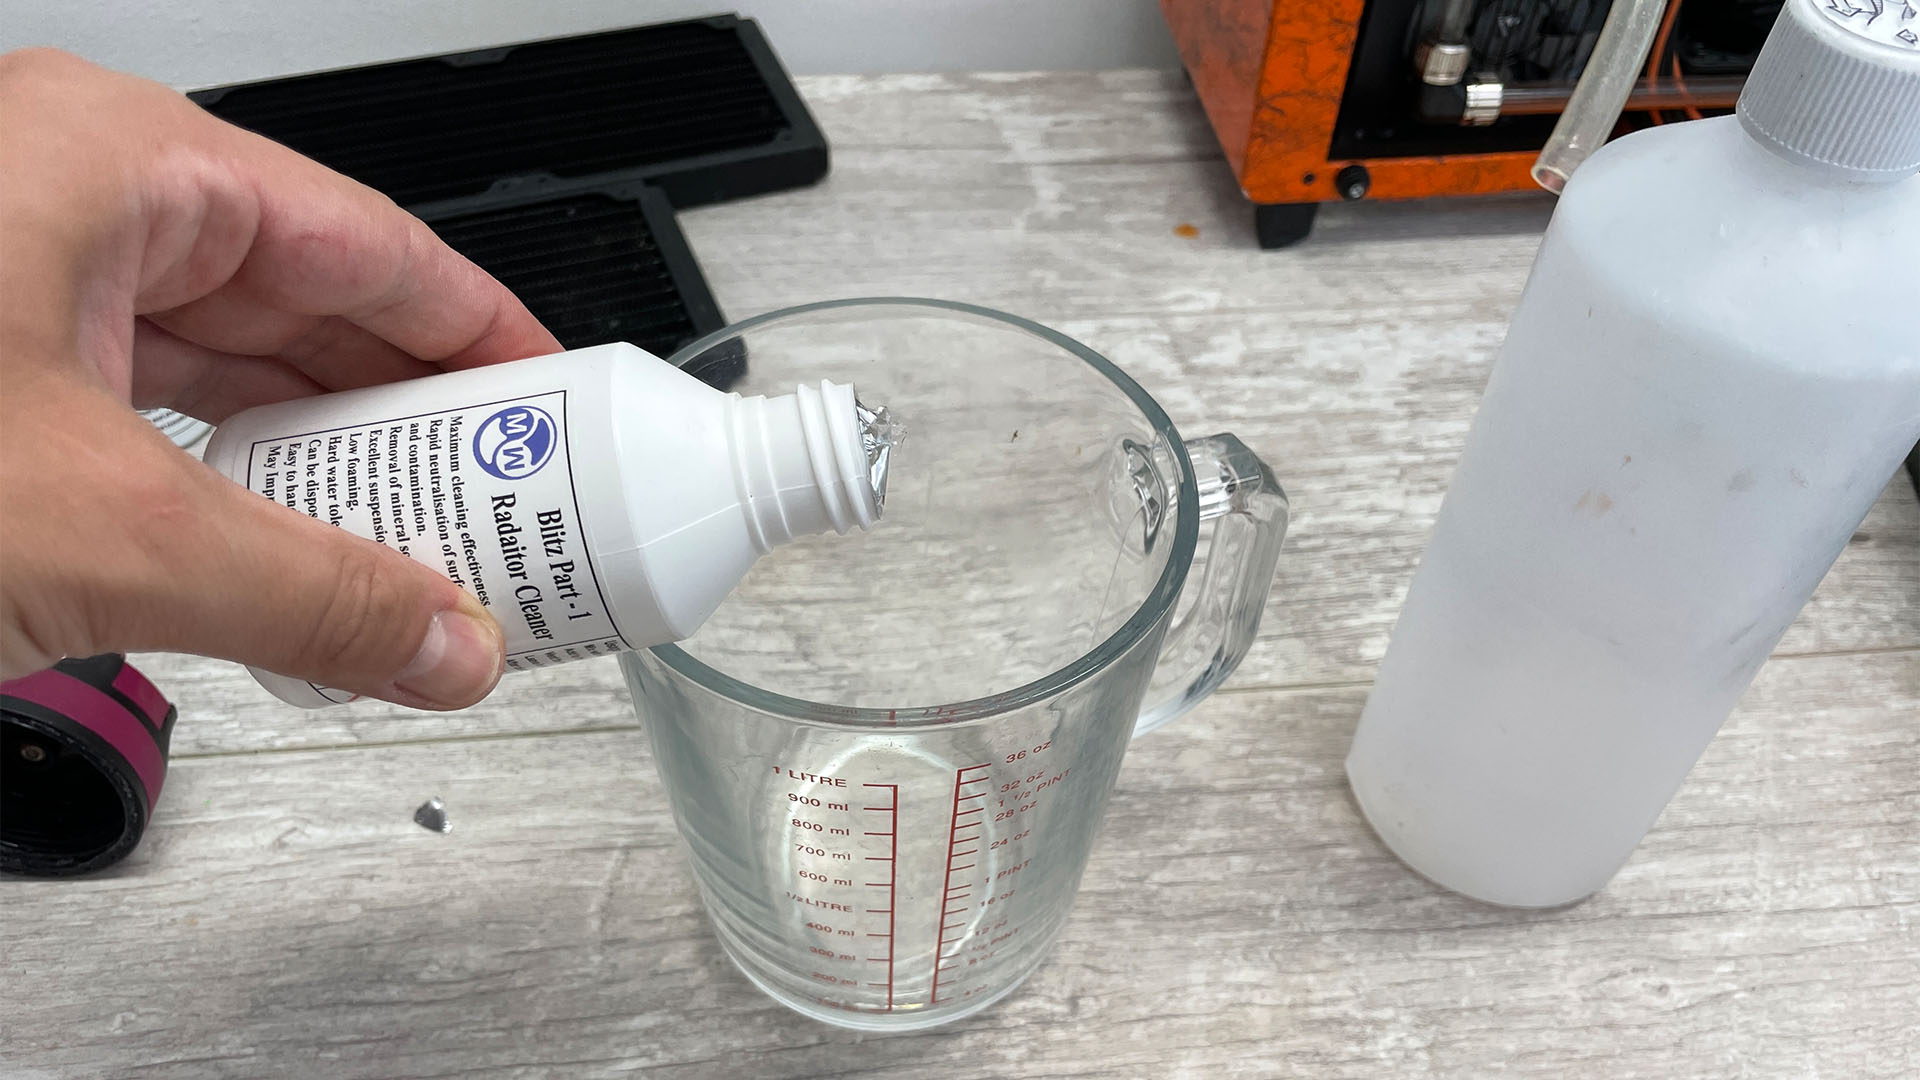
Follow the instructions to mix the correct quantities of Mayhems Blitz part 1 solution and deionized water. It’s a good idea to do this part in a measuring beaker, adding the Blitz solution first and allowing the water to mix as you add it.
5. Fill radiator
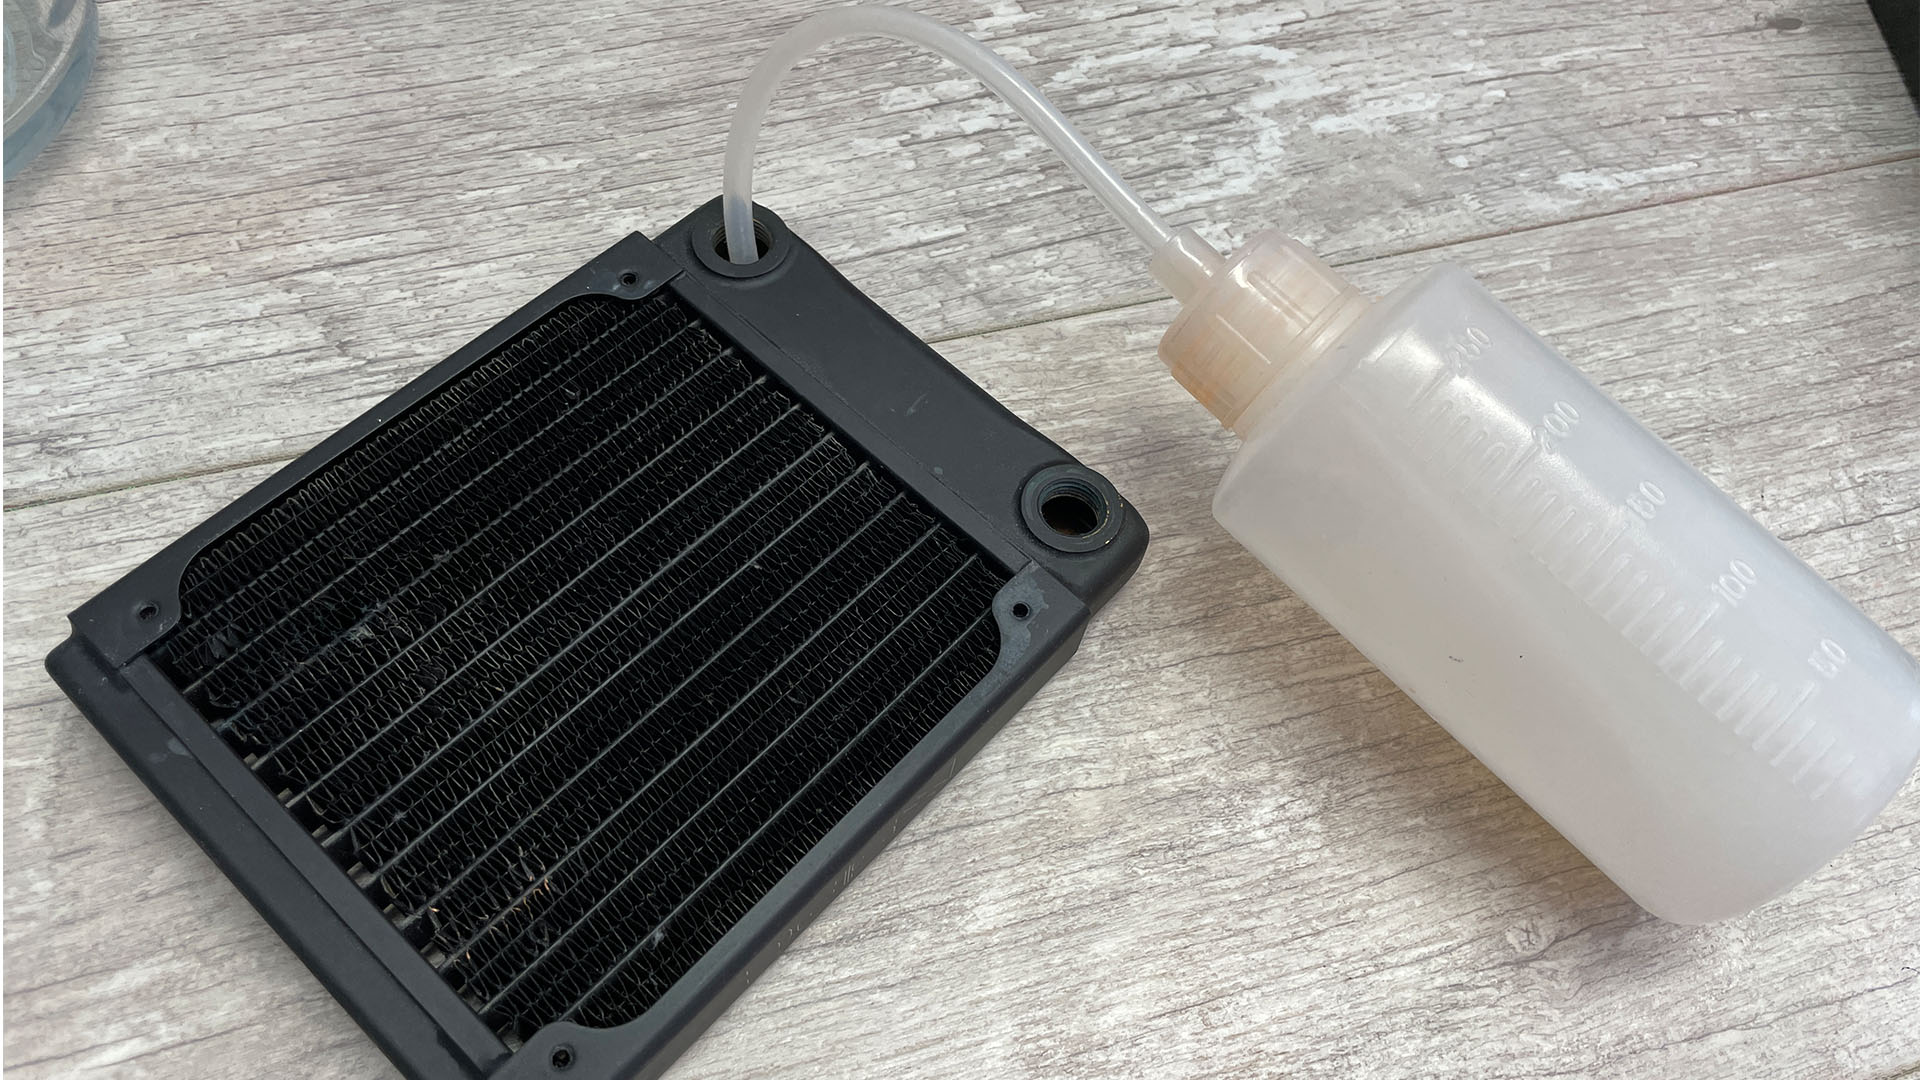
Lay your radiator on a flat waterproof surface, or on a surface where spills won’t matter. You’re aiming to completely fill the radiator, so the solution comes into contact with all of the insides.
6. Seal radiator and shake solution inside
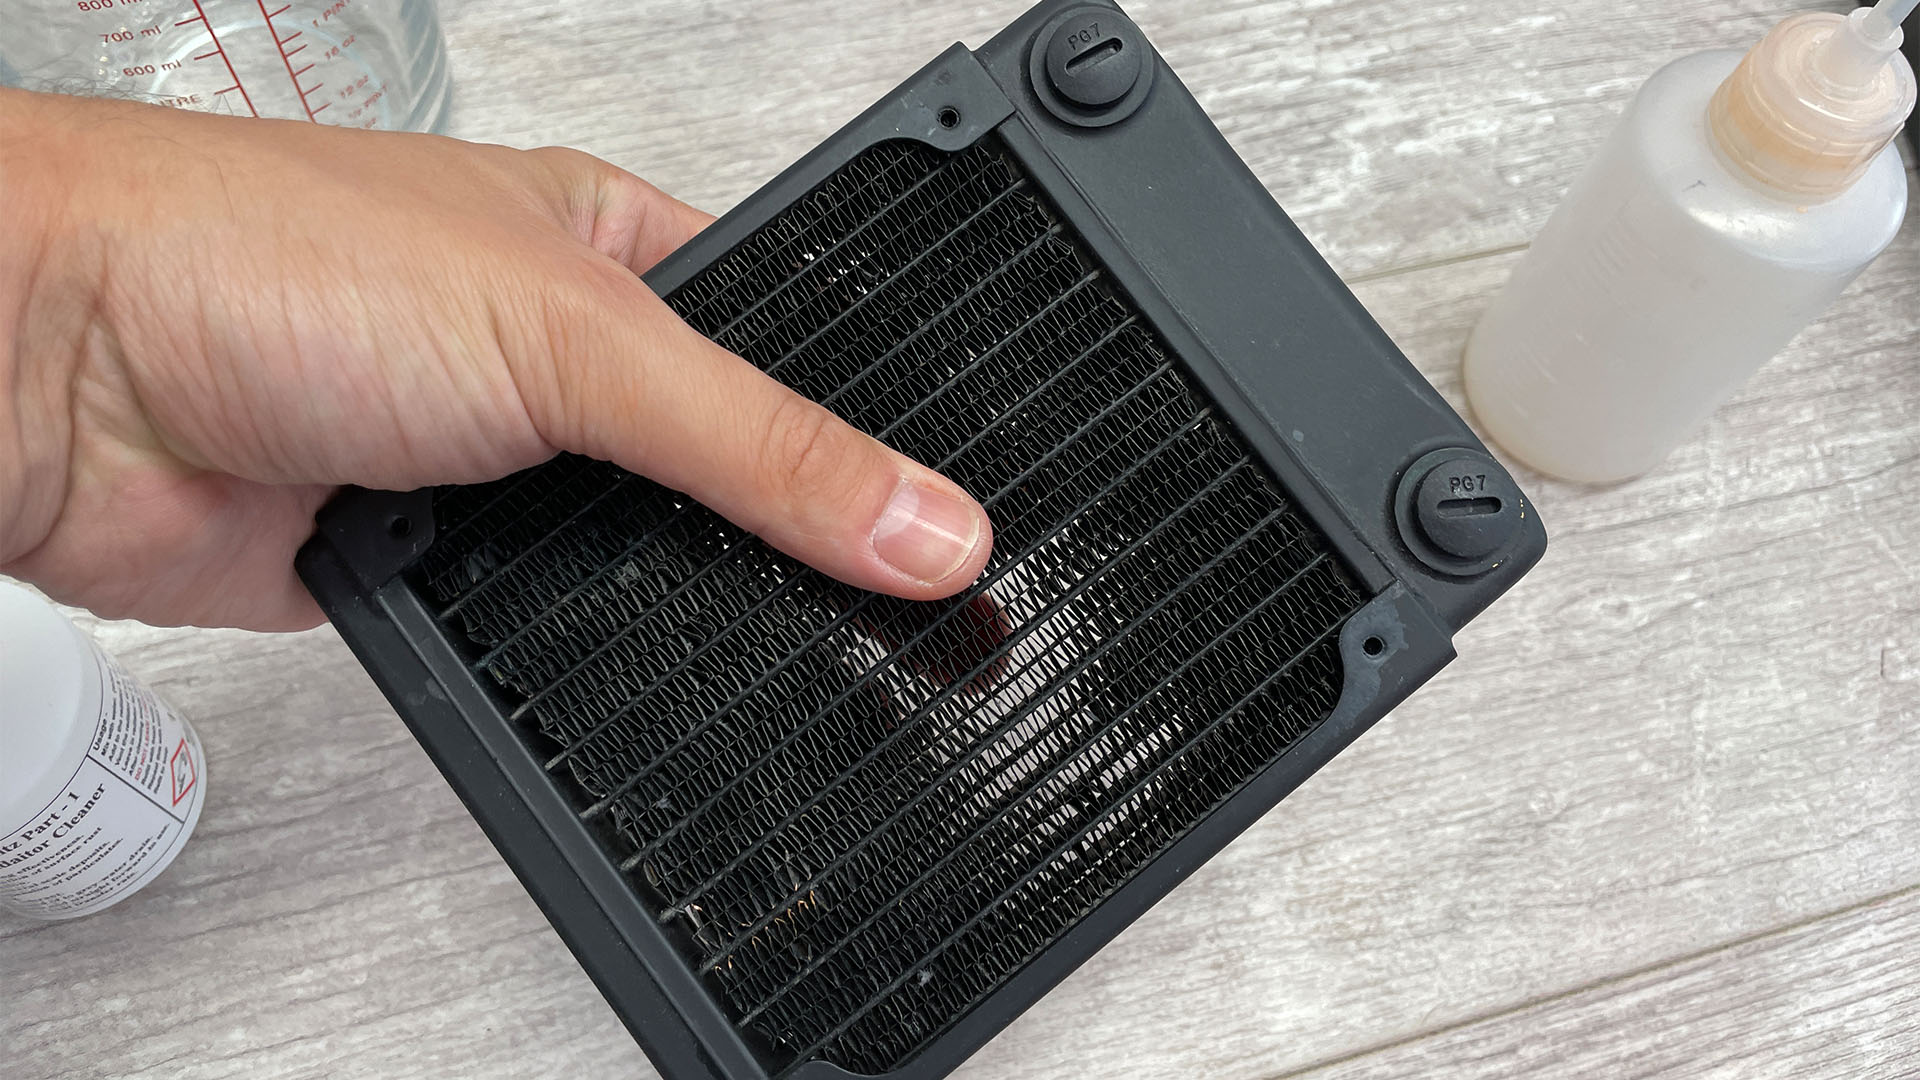
Use seals or plugs to prevent the solution from coming out. You can try the seals that came with the radiator, but these often aren’t watertight so, if necessary, buy some proper plugs with O-rings to seal the ports.
7. Rinse and refit radiator
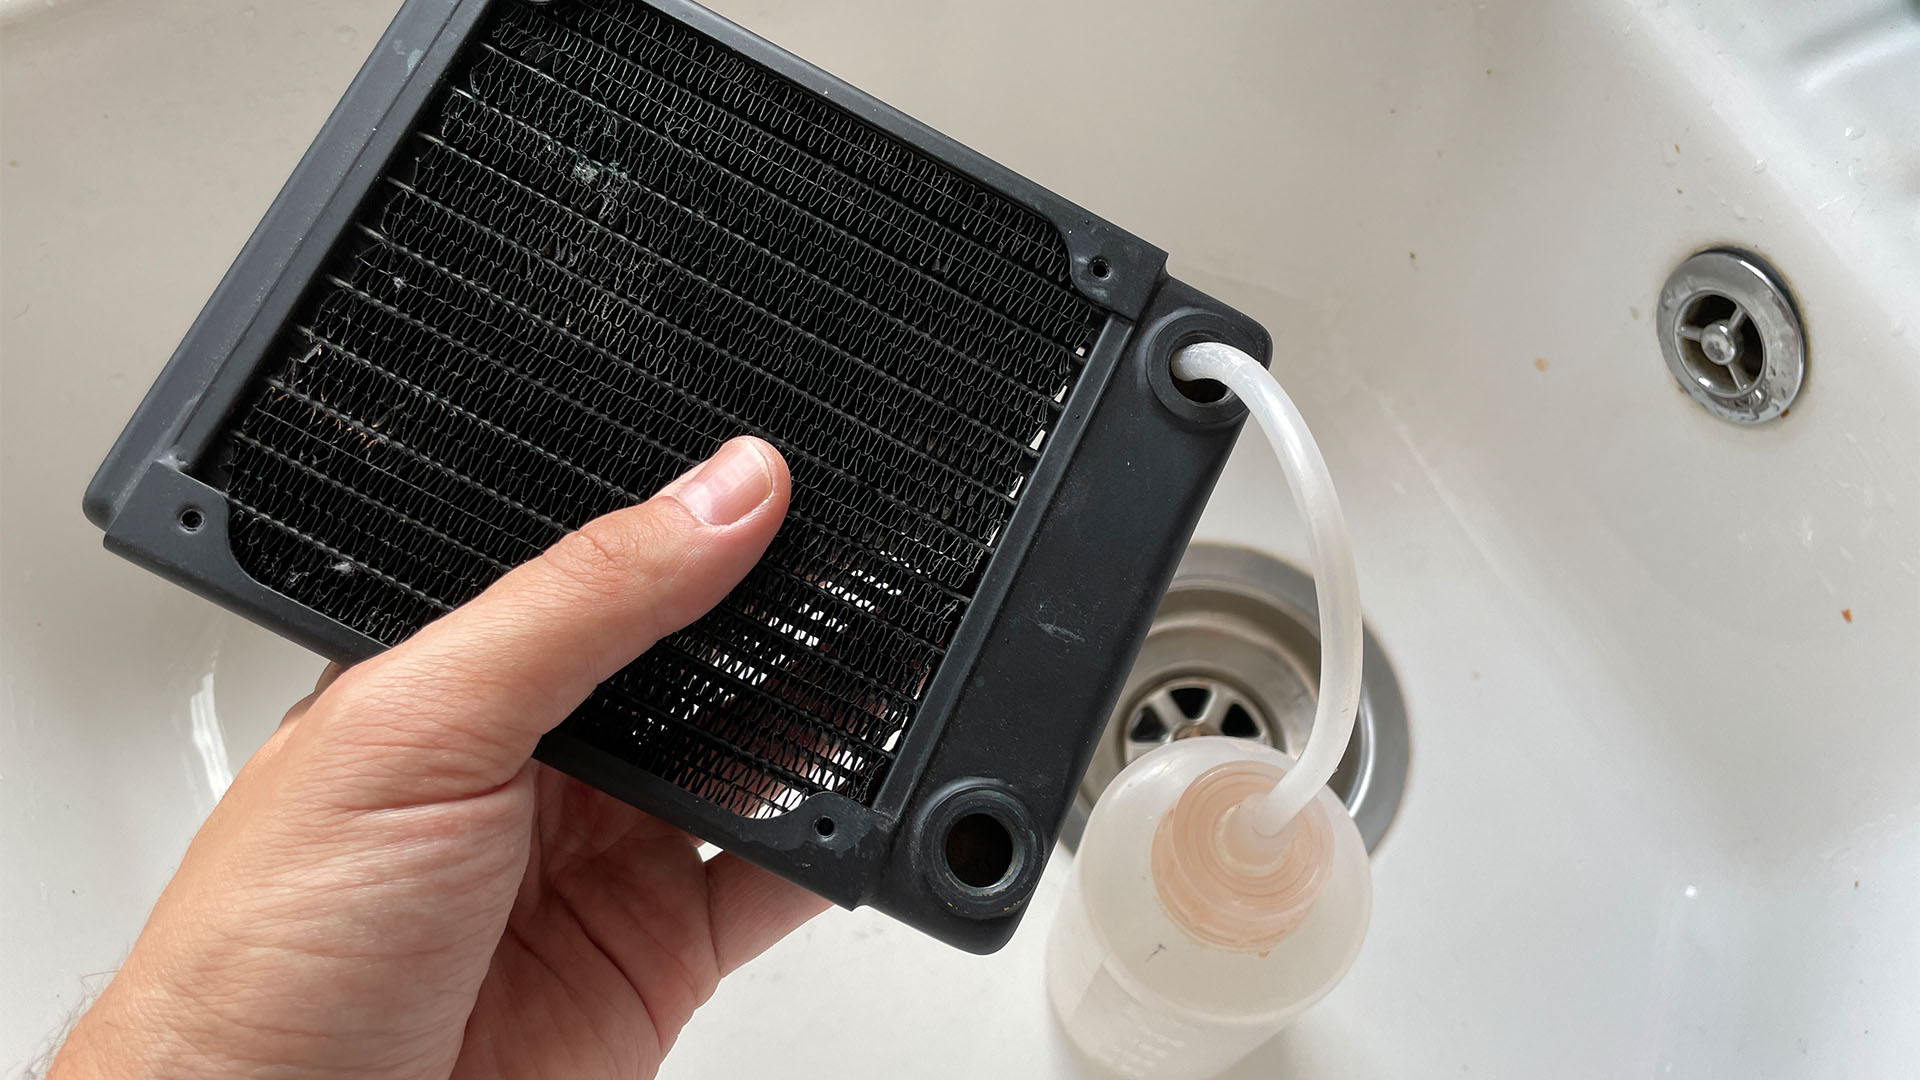
Follow the instructions to leave your radiator for the specified amount of time for your setup. This is usually 12 hours. Next, drain the radiator, fill it with deionized water, drain again and repeat this four more times to flush the part 1 Blitz from the loop.
8. Do a leak test
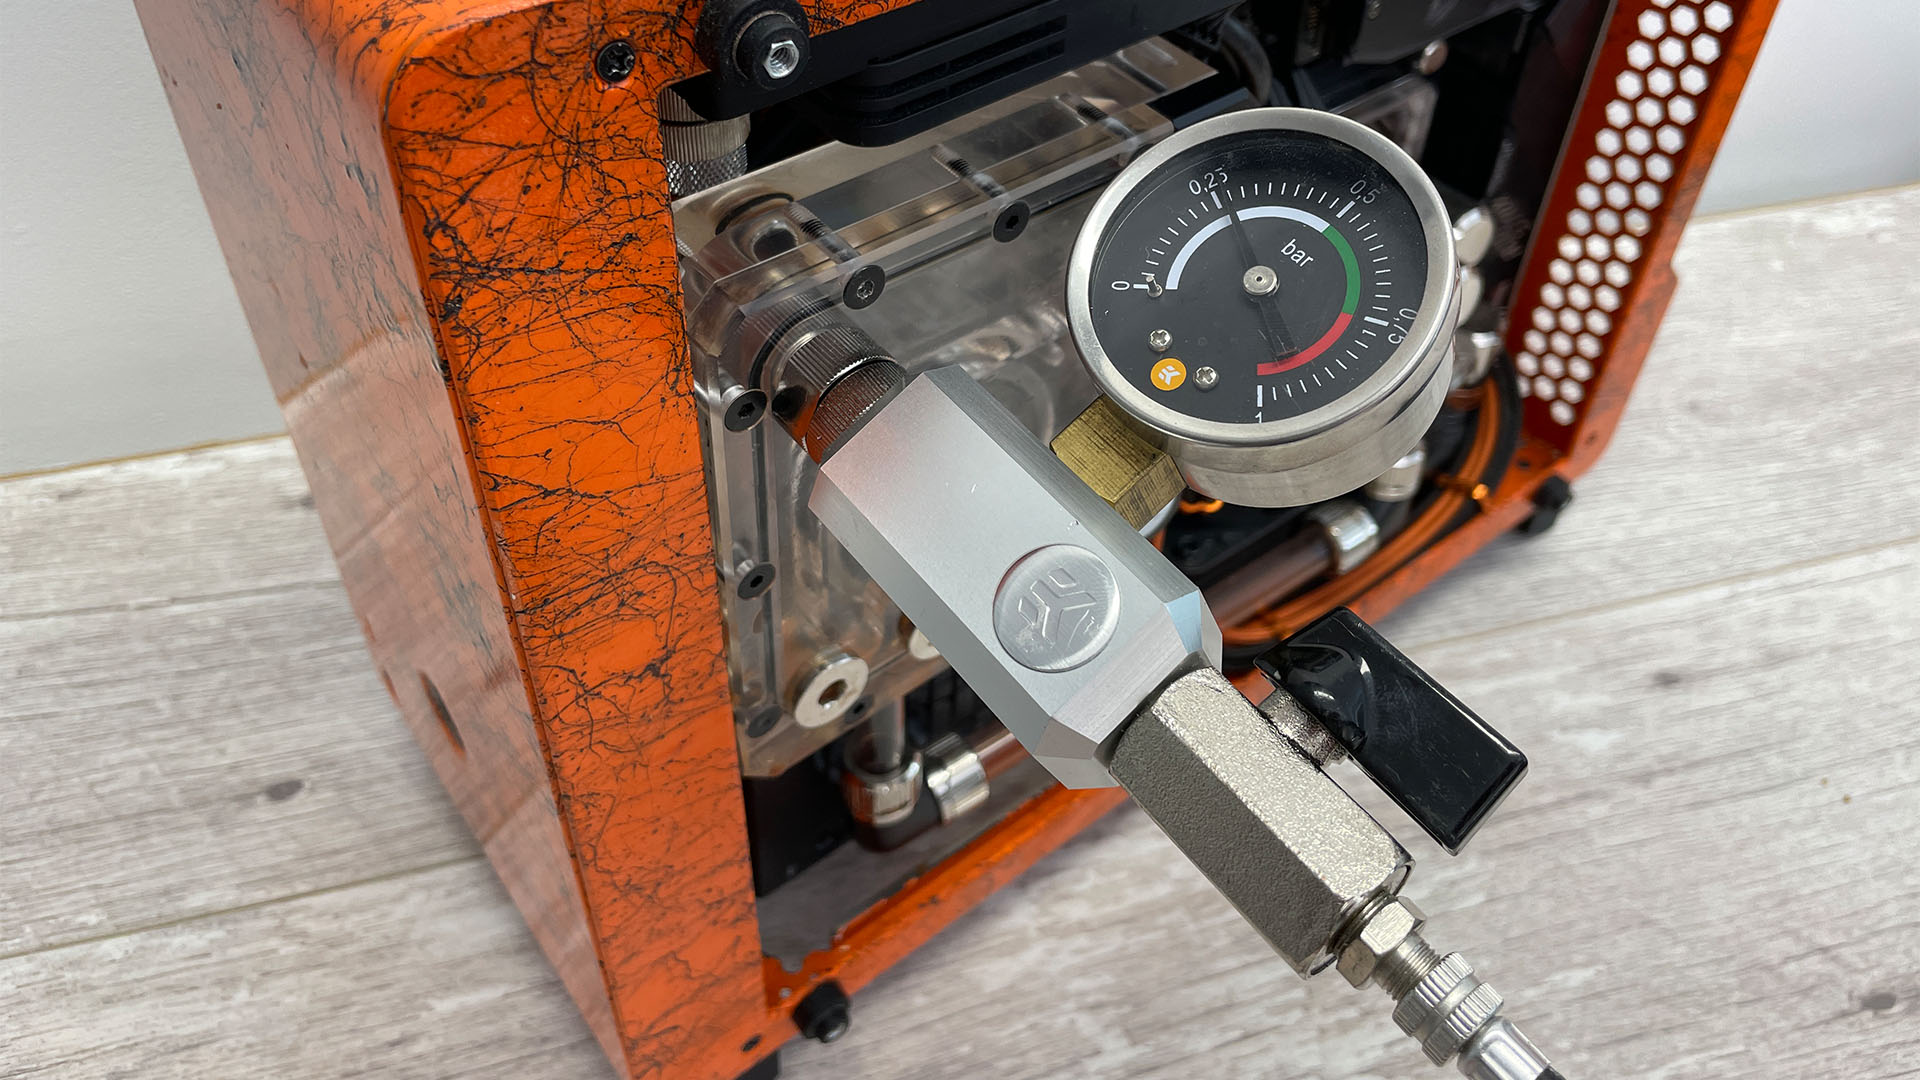
Reinstall your radiators in your loop, connect up all the gear and then perform a leak test. The part 2 Blitz solution works in a running loop, so you’ll need to make sure it’s leakproof and ready to go. If you’ve not done this before, make sure you read our guide on how to leak-test a water-cooling loop first.
9. Mix Mayhems Blitz solution part 2
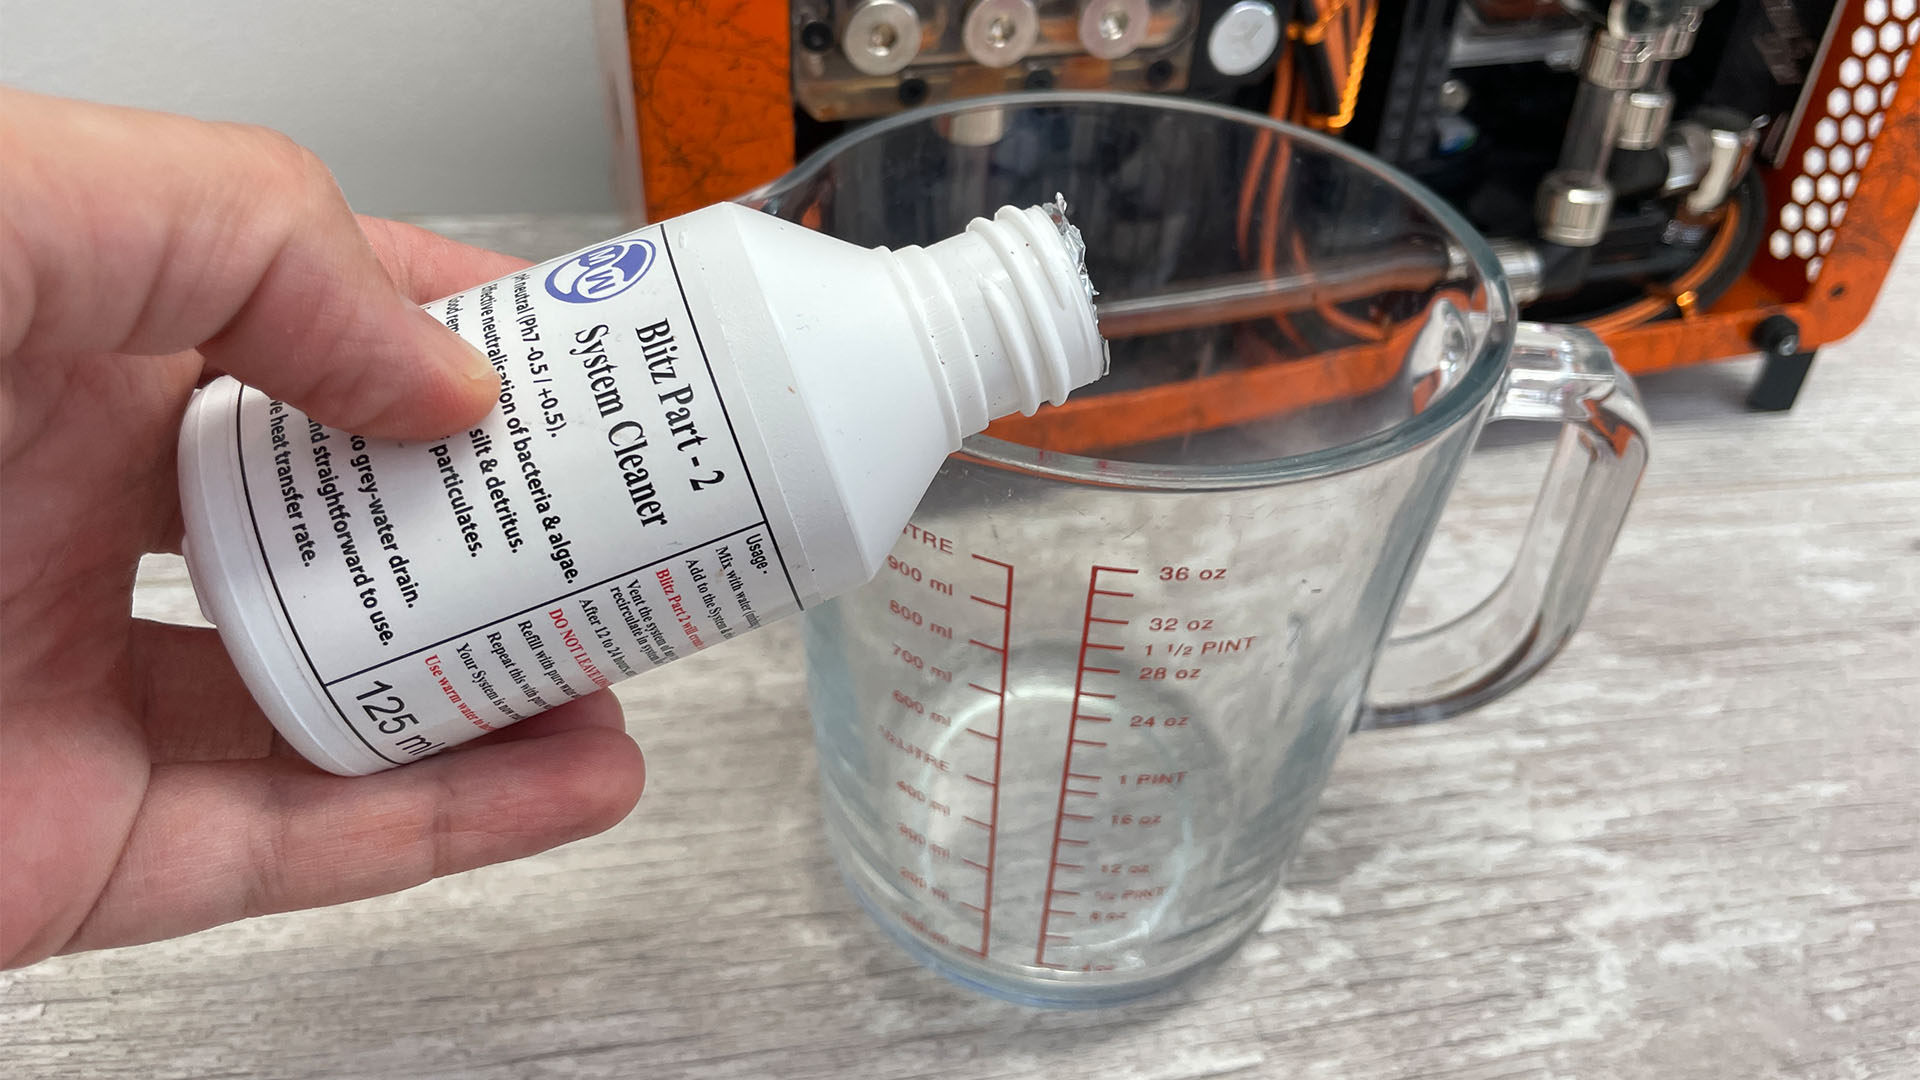
Part 2 of the Mayhems Blitz solution should be mixed with deionized, distilled or battery top-up water to the ratio specified in the instructions. Again, do this in a measuring beaker on a waterproof surface.
10. Add solution to loop
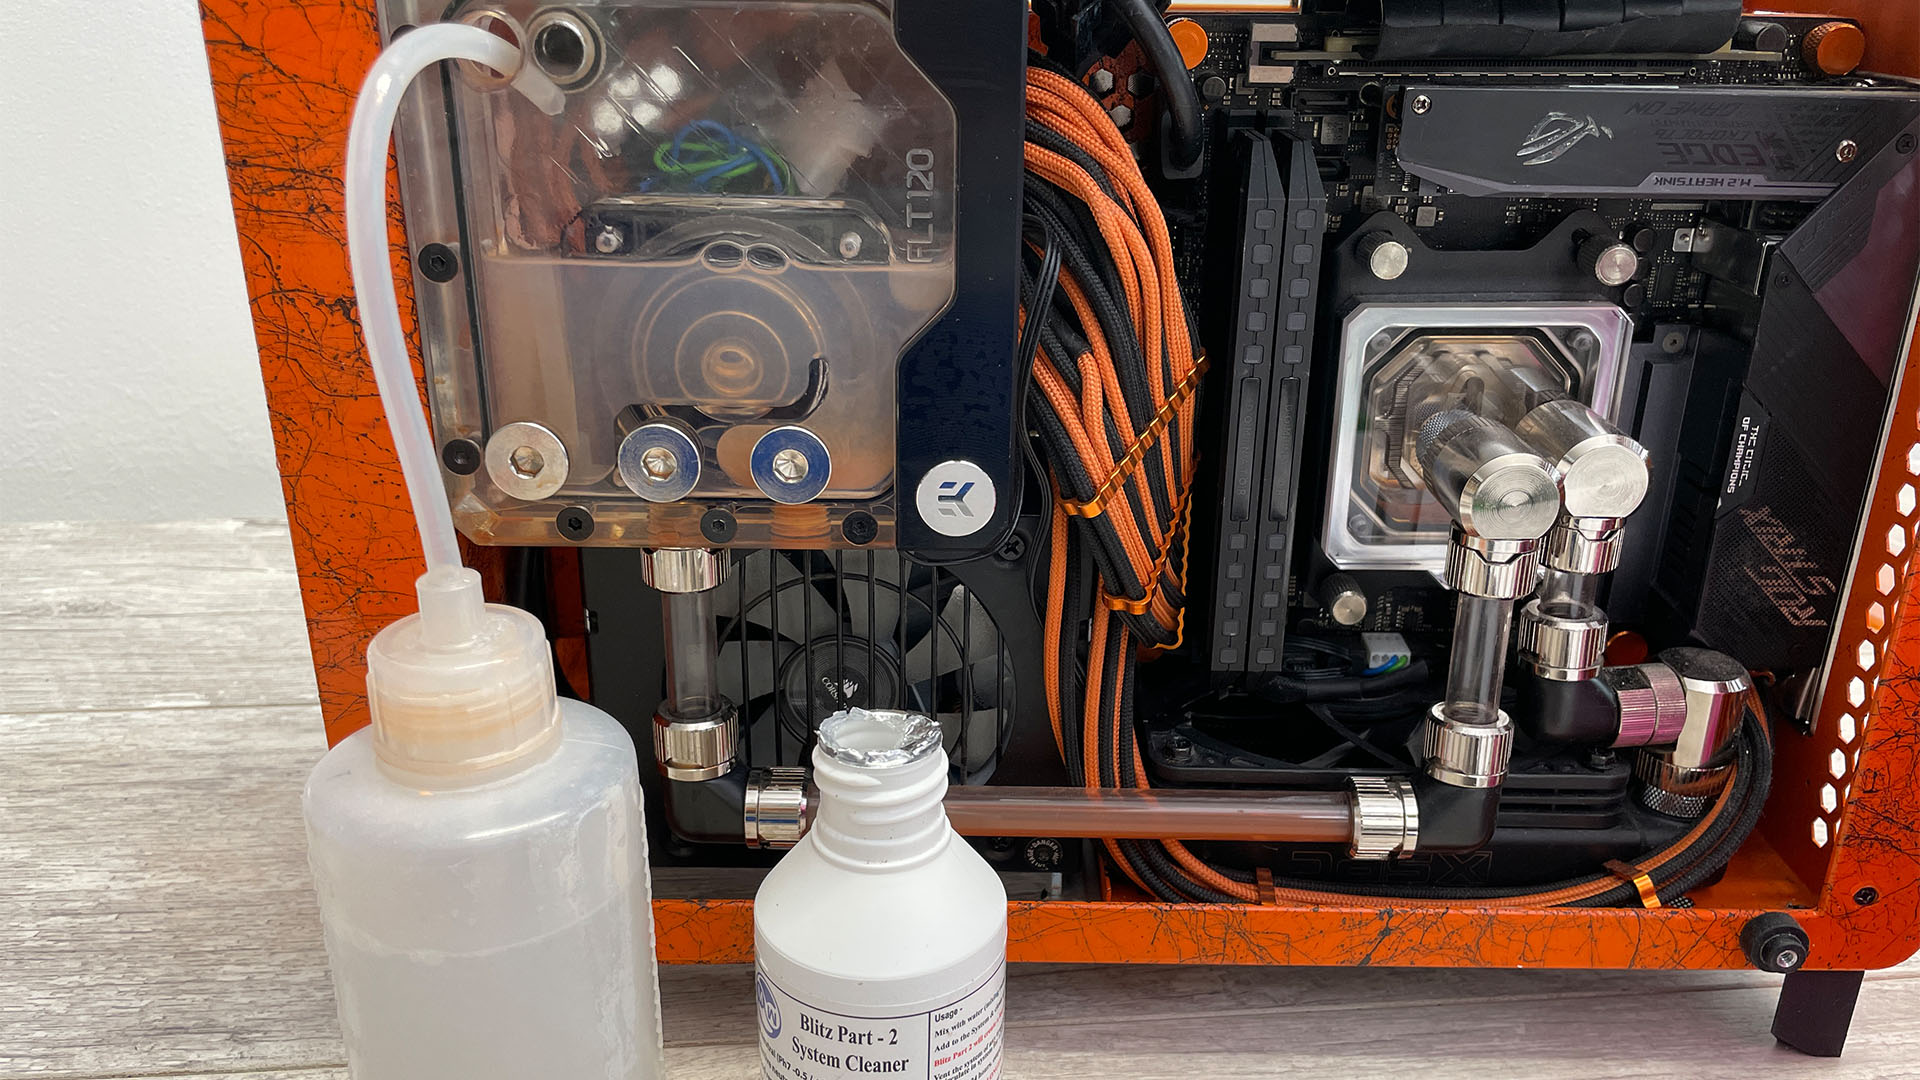
Use a fill bottle to add the solution to your loop. Fill the reservoir with as much solution as possible at the start, then top up the bottle, so you can continue to fill the loop once the pump is activated.
11. Reduce pump speed
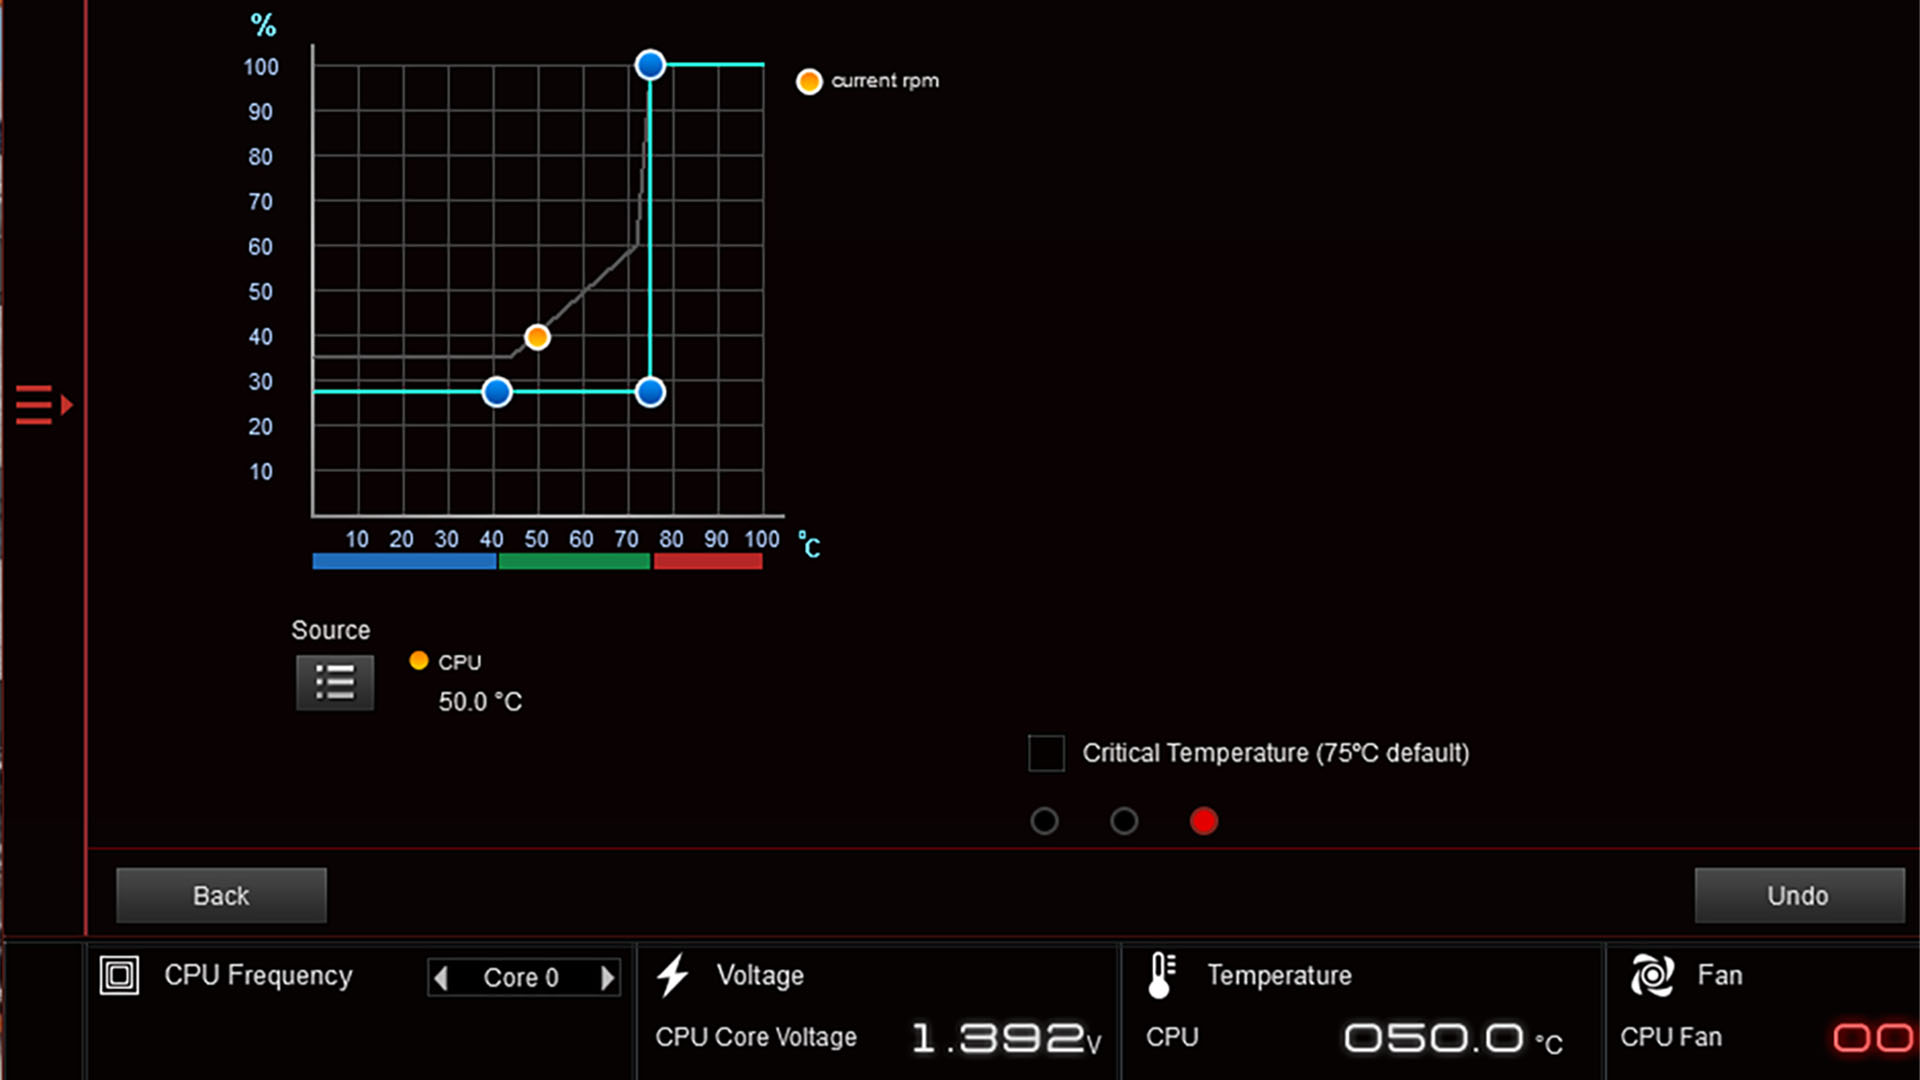
Initially, you want to run the pump at one third of its maximum speed or below, as the solution can otherwise foam up too much. You can use the pump’s PWM connector to control the speed using your motherboard EFI or software, or run it at ten-second intervals until the loop is full.
12. Allow solution to circulate
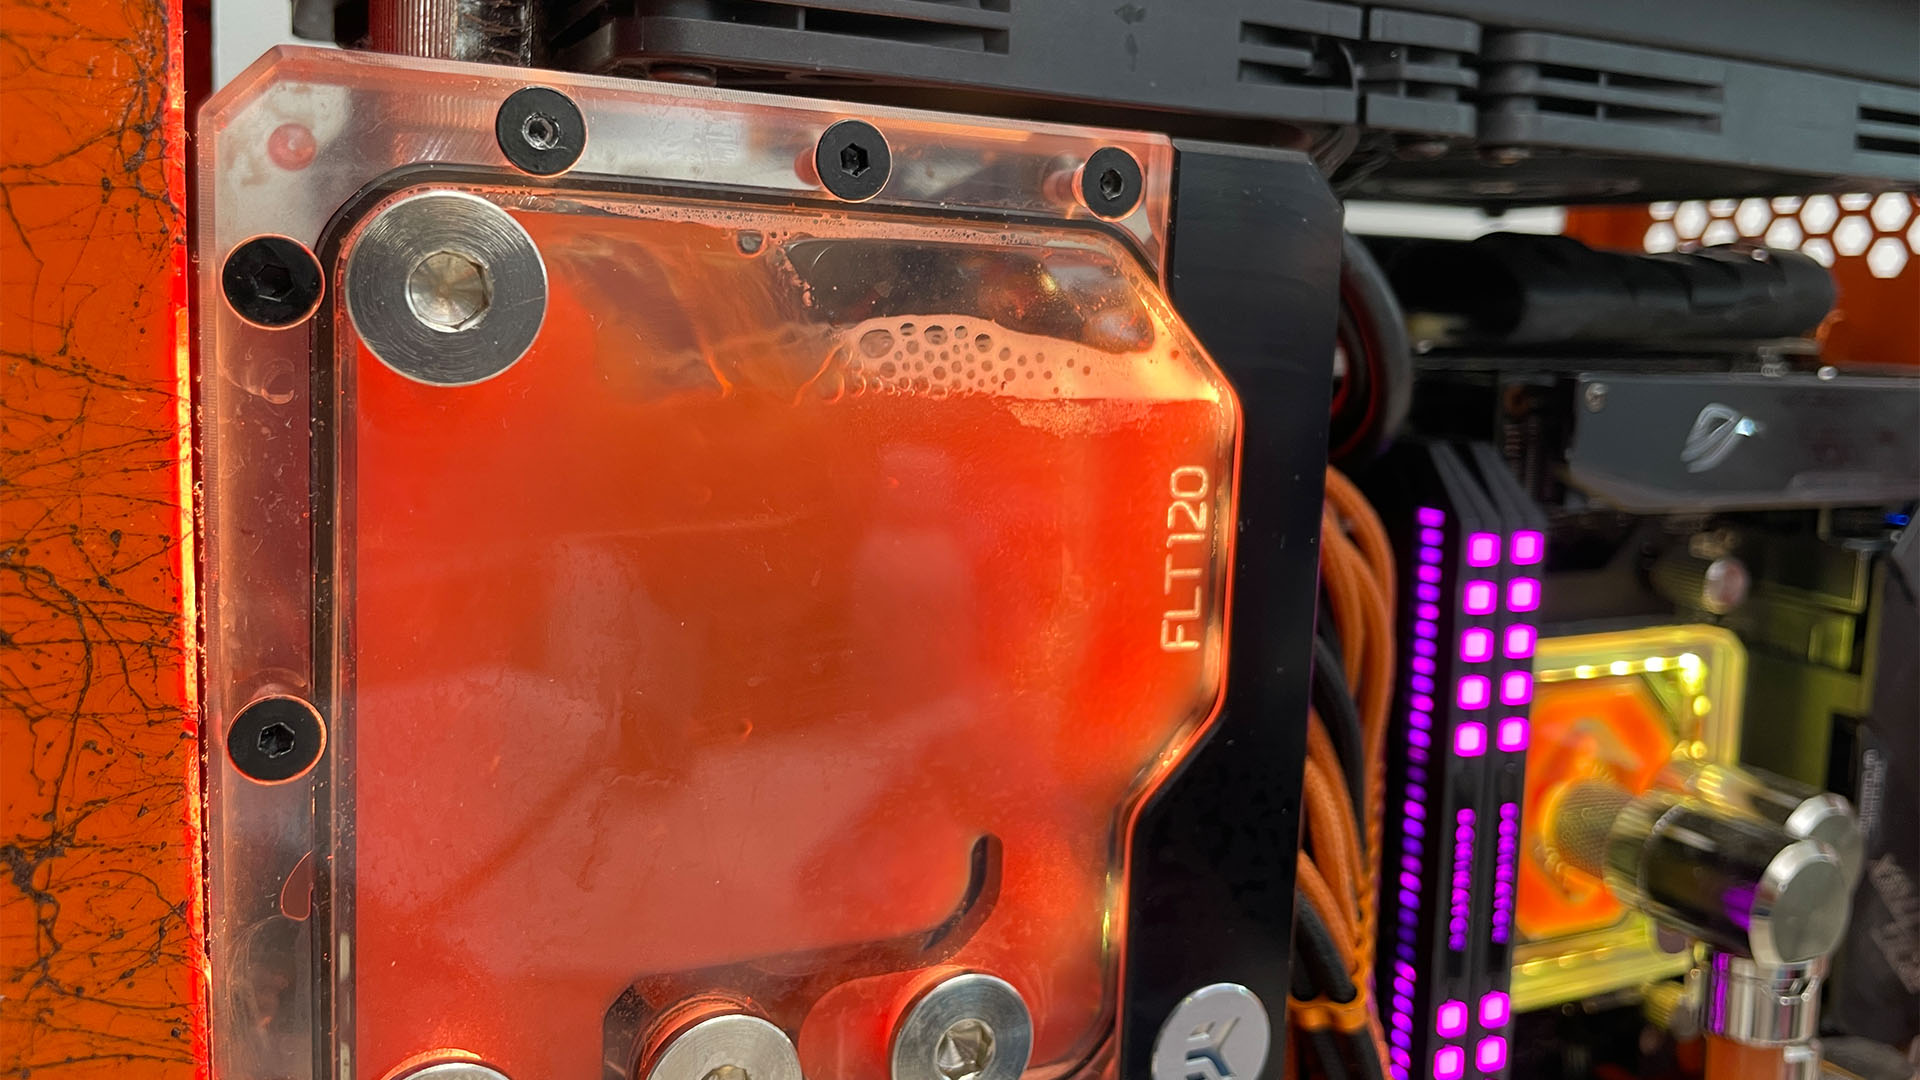
The solution will probably foam up, but don’t worry about this. Leave it running for 24 hours to allow the loop to be fully cleaned. It’s best to use an ATX jumper on your PSU for this part, so you’re only powering your pump and your components aren’t live.
13. Drain solution
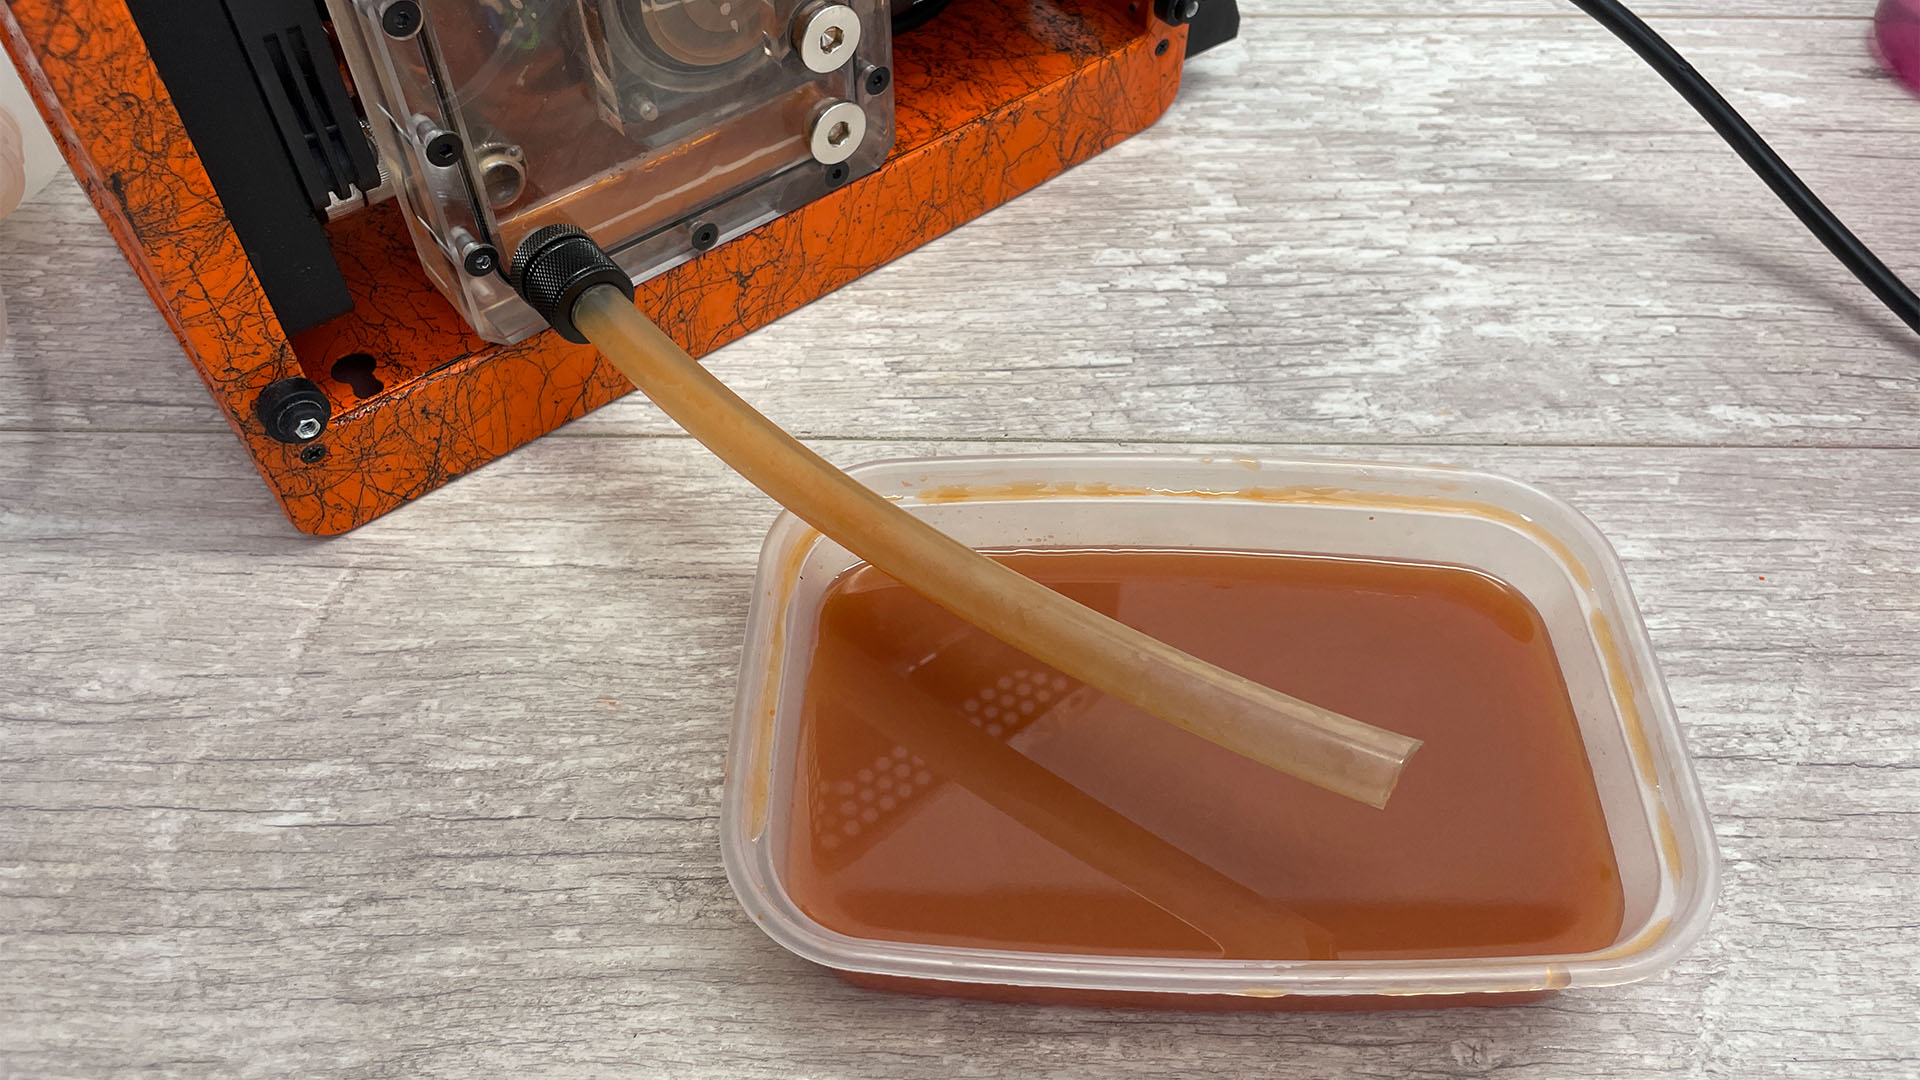
Once you’re done, drain the solution out of the PC and tilt it if necessary to remove as much of it as possible. It may have absorbed some old coolant, but don’t worry about this.
14. Refill loop
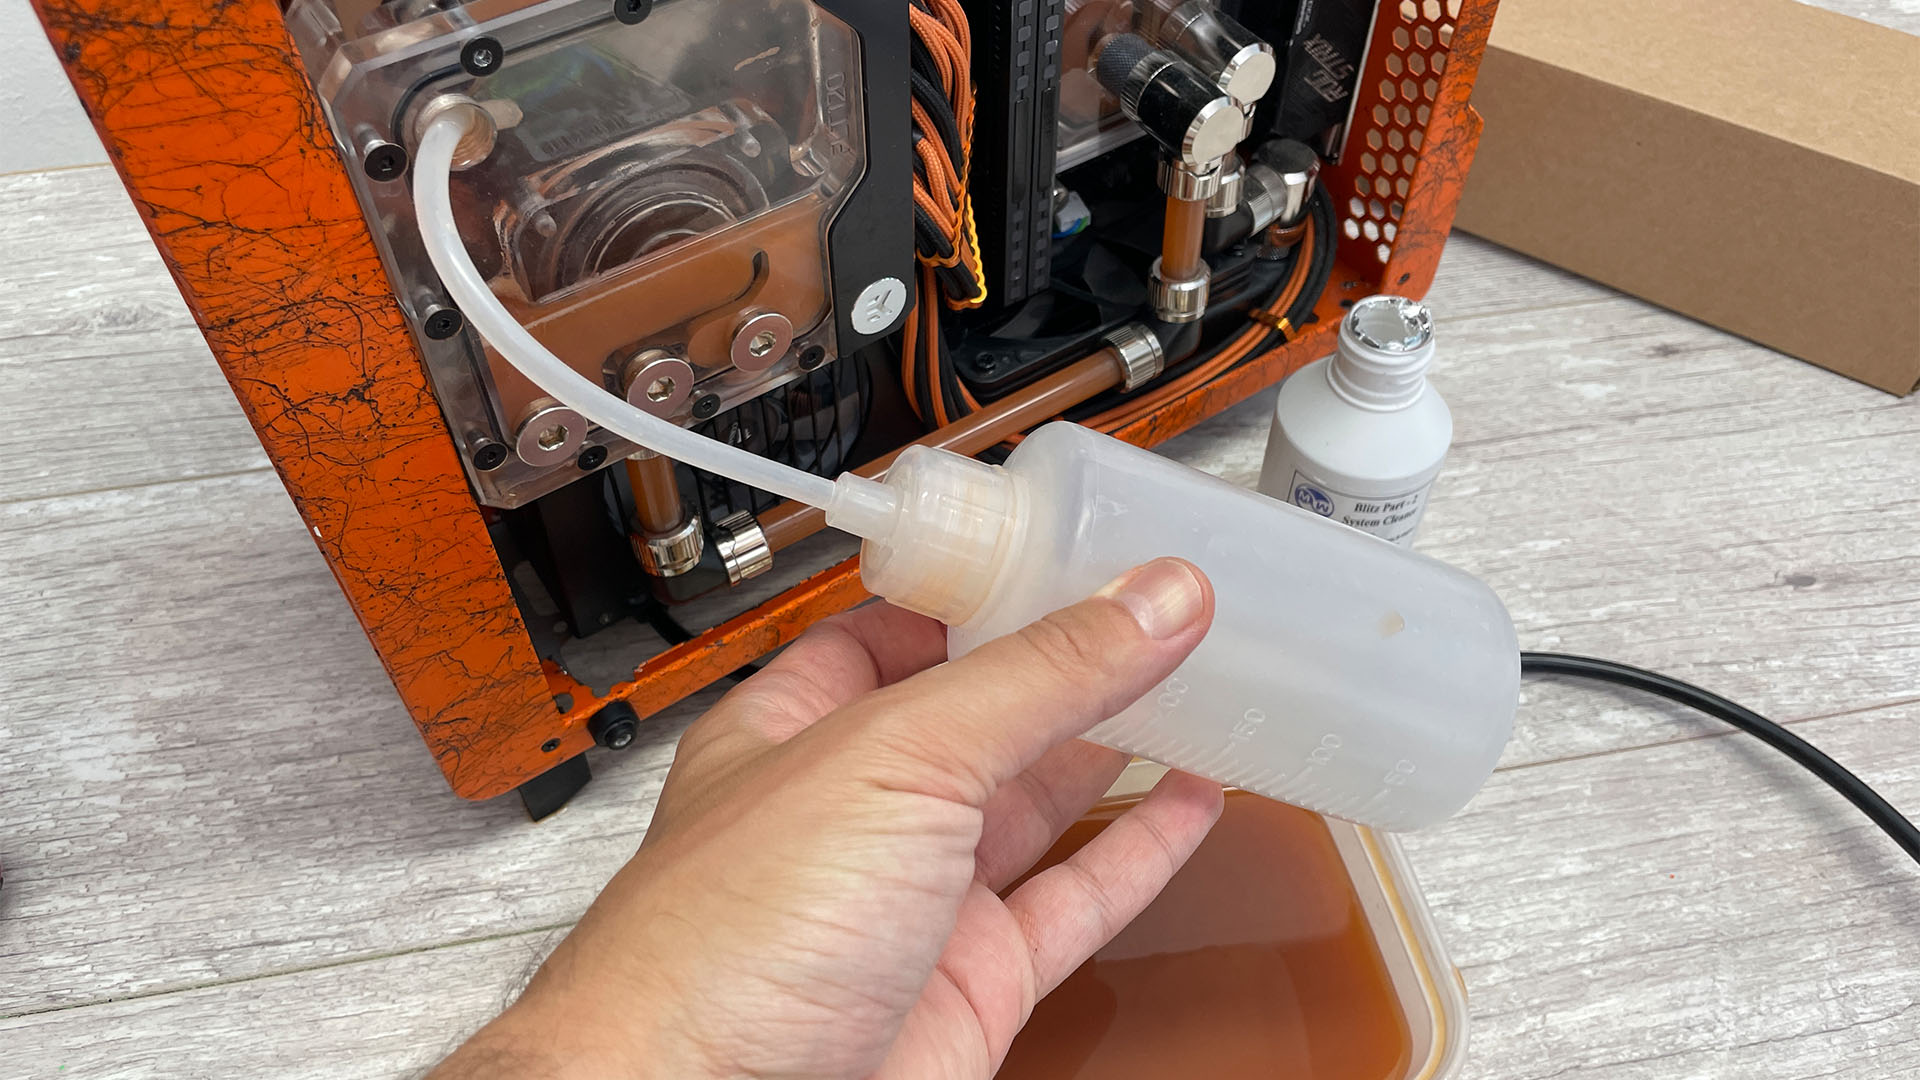
You’ll need to flush the solution out of the loop with distilled, deionized or battery top-up water – fill up the loop, run it for an hour and then drain it again, repeating that process two more times to remove the acid from the loop.
15. Check pH level
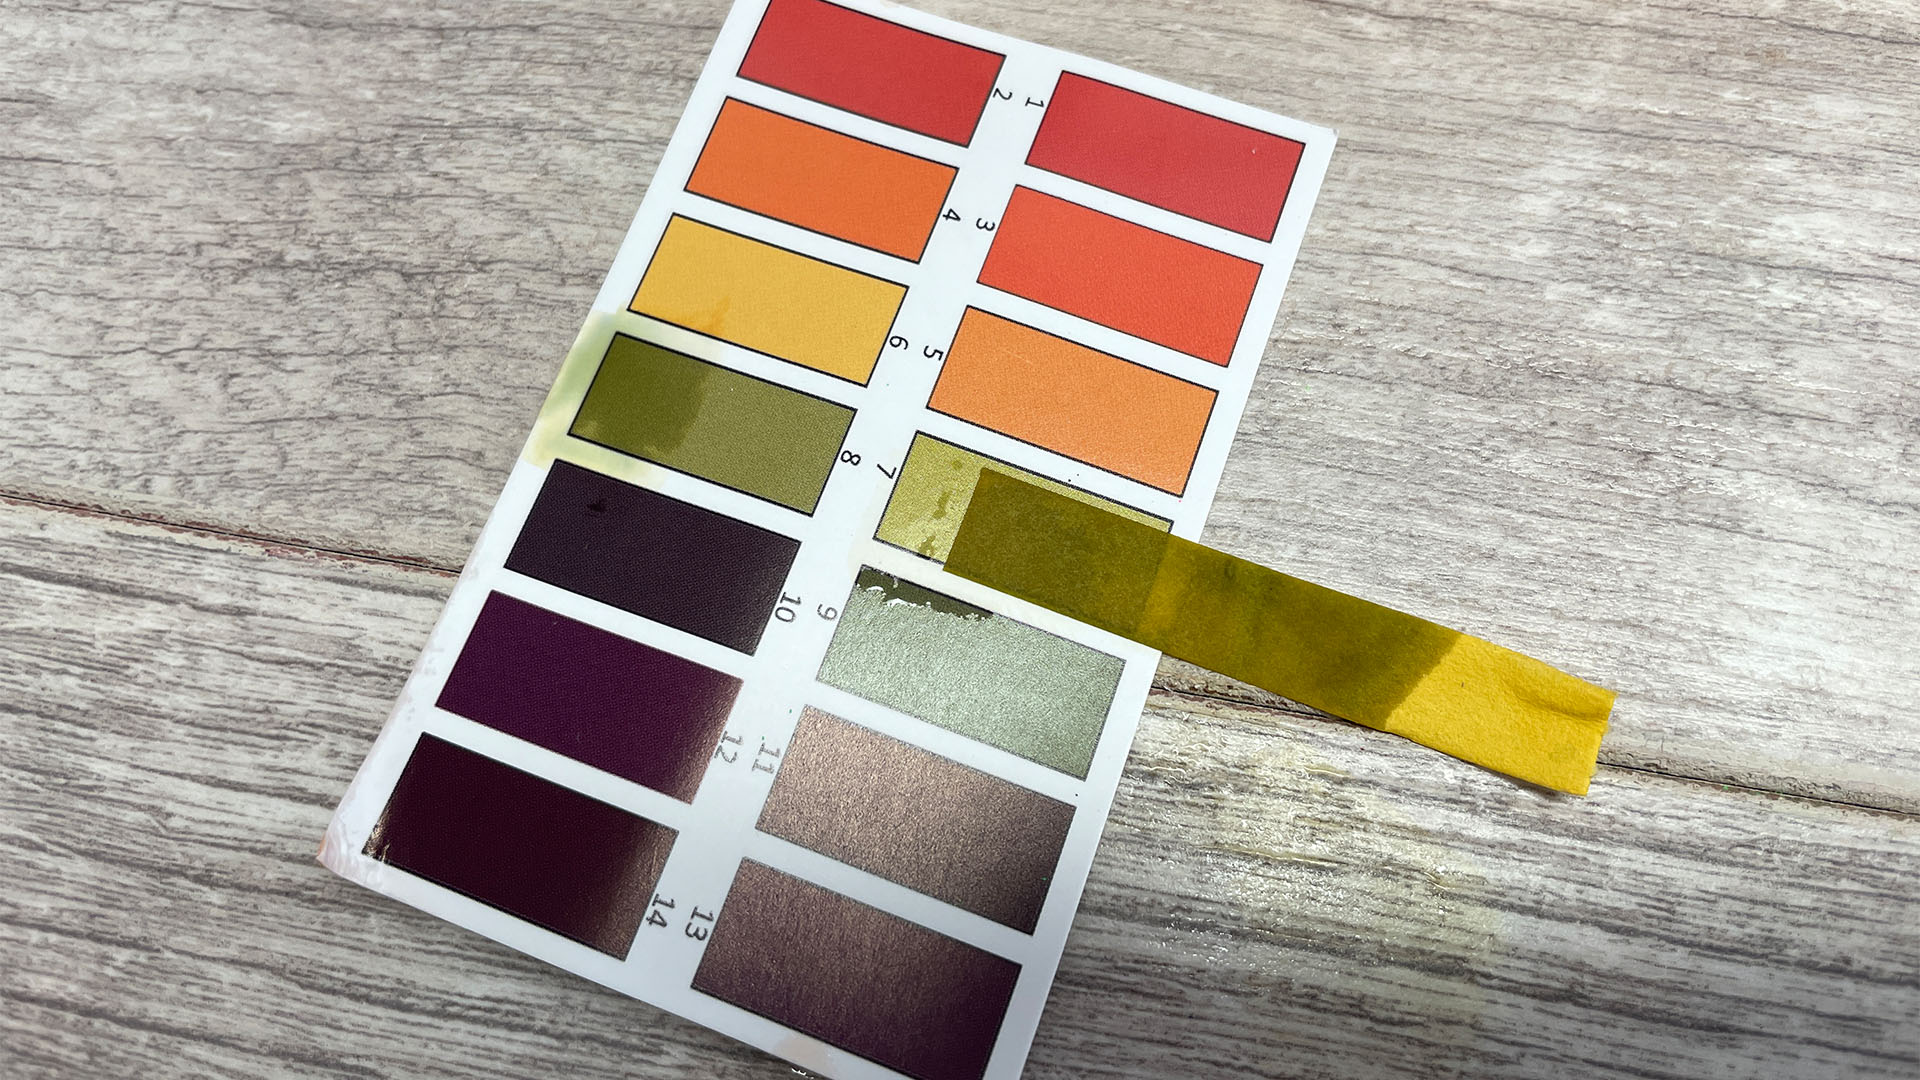
Test the pH level of the liquid from the final flush using the included litmus paper. You’re aiming for a pH level of between six and eight. The included card shows the pH colors – ours is pH 7, which is perfect. If it’s still too acidic, flush it again. Once your pH level is right, you can fill the loop with your own coolant.
All that’s left for you to do now is enjoy your refreshed water-cooling loop, which will now be running more efficiently. If you’re into water cooling, make sure you also check out our guides on how to add a fill port, as well as how to set your pump to respond to coolant temperature, rather than the CPU temperature. If you’re new to the world of water-cooling, then make sure you also read our full guide on how to water-cool your PC.
