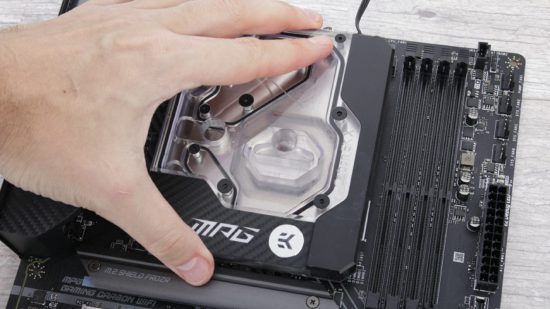
Water-cooling enthusiasts used to covet VRM waterblocks that enabled you to cool these motherboard hot spots and open up extra overclocking potential. However, plumbing several waterblocks into your loop in close proximity was tricky, unsightly and expensive.
Enter the monoblock, a single-piece waterblock that spans large areas of your motherboard and cools several hot spots, including the CPU. Their main attraction is that just a single inlet and outlet is needed to cool all these areas, making the job easier and better looking. Modern monoblocks even have RGB lighting and thermal sensor displays built into them.
In this guide, we’ll look at how to prepare your motherboard for monoblock installation, and how to fit the block itself.
1. Locate stock heatsink screws
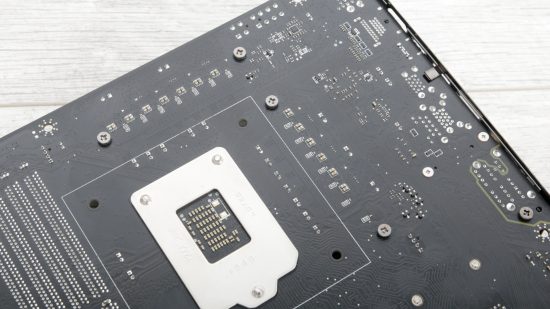
Your motherboard will have its own heatsinks, which will be secured using screws on the underside of the PCB. These screws are usually easy to spot, but some of them may be buried among other parts, or hidden within rear-mounted heatsinks. Find all of them.
2. Remove screws
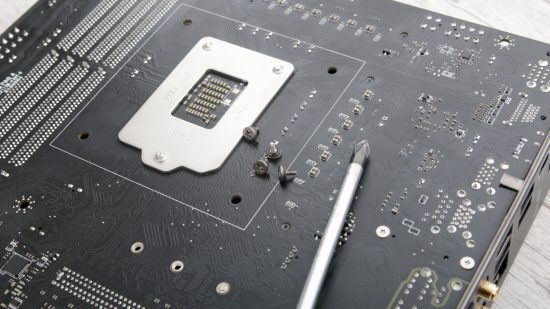
Come prepared with a micro screwdriver set that includes both crosshead and hex bits, as either of these heads can be used in different screws across the board and waterblock. Remove the screws across the motherboard, one heatsink at a time.
3. Remove stock heatsinks
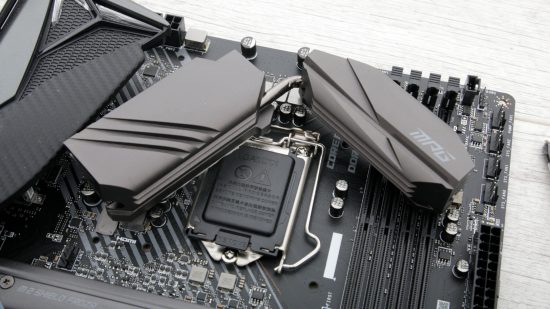
Once you’ve removed the screws, gently pry the heatsinks off the motherboard. Occasionally this can prove tricky if the thermal paste or pads have set. If they won’t budge, direct a hairdryer on a high setting at them for ten seconds to warm up the paste, which will loosen them up.
4. Reattach thermal pads and screws
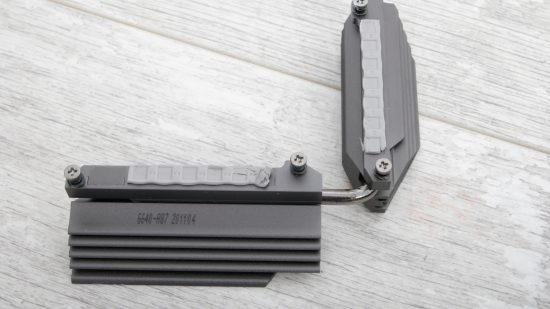
Once the heatsinks are removed, reattach any screws and thermal pads to the heatsinks. This is important if you want to sell your motherboard at a later date, or if you decide to switch back to air cooling later.
5. Clean VRMs and CPU
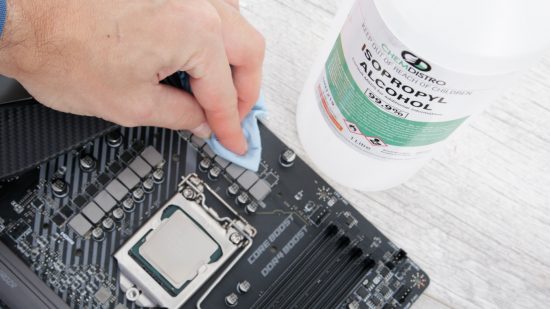
The VRMs will likely have residue from whatever pads or paste were applied at the factory, and this can perform poorly compared with decent thermal paste. Use isopropyl alcohol or thermal paste cleaner to clean and prepare the surfaces, so you get the best thermal performance.
6. Test-fit monoblock
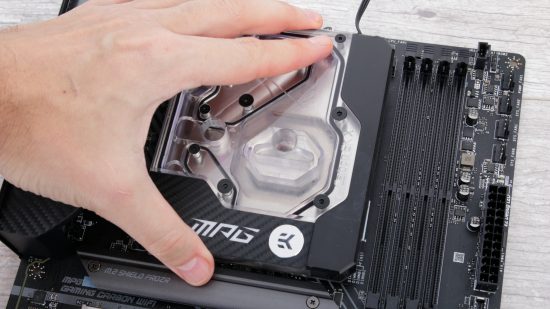
With numerous mounting points, monoblocks can be tricky to fit first time, so do a test run before you apply thermal paste, so you know how it sits. Make sure the mounting holes line up on the rear of the PCB too.
7. Apply CPU thermal paste and pads
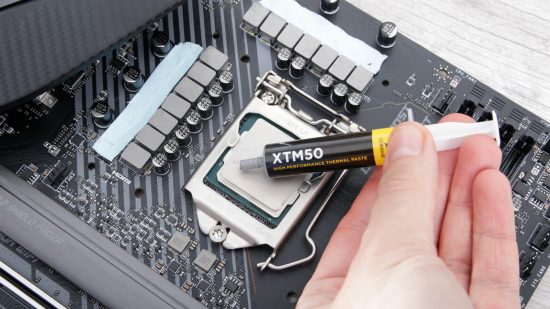
You can use liquid metal paste on the CPU, but you can only use non-conductive ceramic paste on the VRMs if you need to apply it there, as liquid metal paste can run and cause a short circuit. Most blocks use thermal pads on the VRMs though.
8. Install monoblock
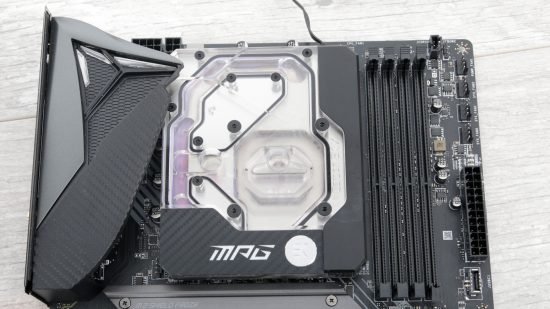
With the thermal paste and pads applied, place the motherboard on a flat surface and install the waterblock, taking care not to twist the board too much. Hold the block in place and install its mounting screws from the rear.
9. Install fittings
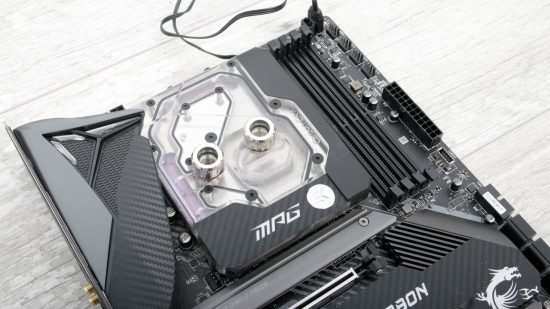
Tighten all the screws a little in turn before they’re all secured, then flip the motherboard back over. It’s best to install the fittings and connect any RGB cables before you place the motherboard in your case, as this job might be tricky later. Finally, check the temperatures are up to scratch once your new system is up and running.
And that’s how you fit an all-in-one motherboard and CPU waterblock to your motherboard. If you’re planning a new build, then you’ll also want to read our full guide on how to build a gaming PC, which covers every step of the process. If you’re new to the world of water-cooling, then make sure you also read our full guide on how to water-cool your PC.
