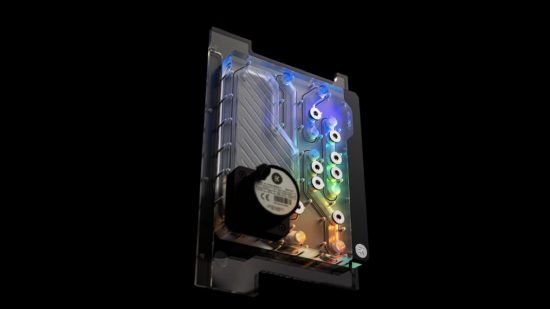
The amount of custom high-end water-cooling hardware available these days is staggering, with many components that traditionally had to be custom-made now available as off-the-shelf products. Cases are a good example. A decade ago, if you wanted a distribution (distro) plate – a large acrylic block that has numerous ports and often a reservoir built into it – for your case, you’d have to make it yourself.
However, there are now plenty of off-the-shelf models that are made for specific cases or are even universal, fitting into fan mounts in nearly any case. We’ll be taking a look at how to choose one for your case, the different types available and how you can use them to make it easier to route tubing through your case.
1. Check for custom plates
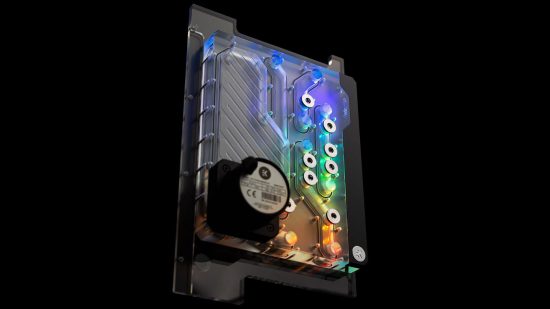
Sadly, not all cases have custom distro plates available, even premium cases, so start by checking Google to see if there are any models available for you case. Several manufacturers make them, so you might be in luck, and some models even include pump mounts.
2. Use a universal distro
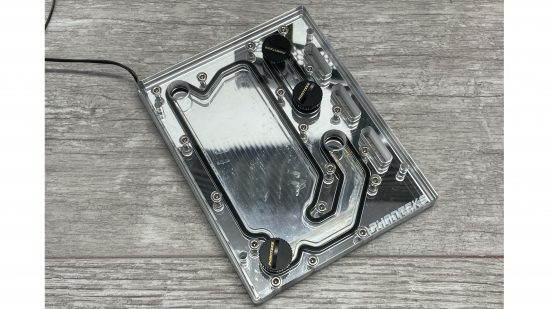
Custom distro plates can be tricky to obtain, and are also expensive, but universal ones are more readily available and will fit in practically any PC case – even small ones. They usually fit into 120mm or 140mm fan mounts, although you can’t have one installed at the same time as a fan.
3. Remove case parts
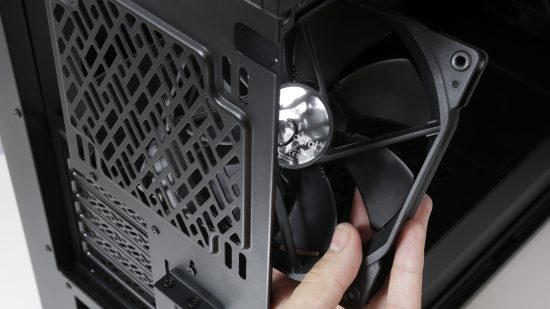
Universal distro plates often require the sole use of a fan mount, and the rear mount is usually the best place to install them, both for tube routing and aesthetic reasons. Remove any components, such as fans or GPU brackets, to make room for you to test-fit the plate.
4. Check for best location
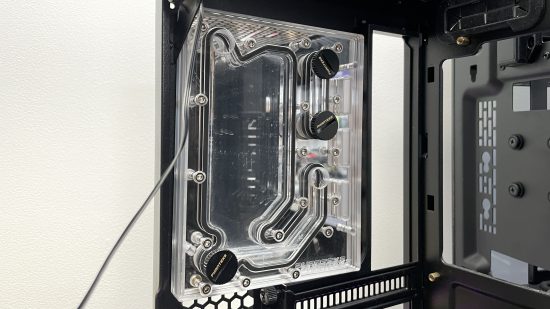
You might want to put the distribution plate on show, which is usually a simple job with custom-made plates that sit in the front of the case or next to the motherboard. With universal fan mount plates, the rear fan mount gives the best visibility, but you also need to consider your tubing routes.
5. Make tube routing easier
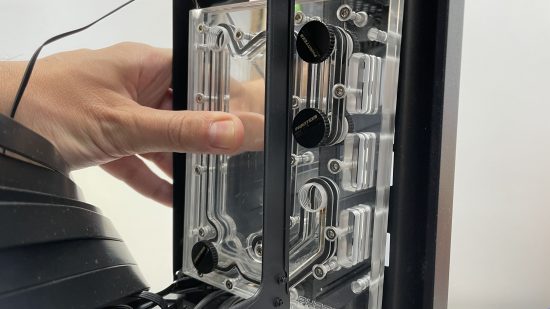
There are situations where using a distro plate can actually make it easier to route tubing through your case. For example, in this case the motherboard and graphics card are in separate chambers, but the distro plate can offer an easy way to direct coolant from one chamber to another.
6. Work out tubing routes
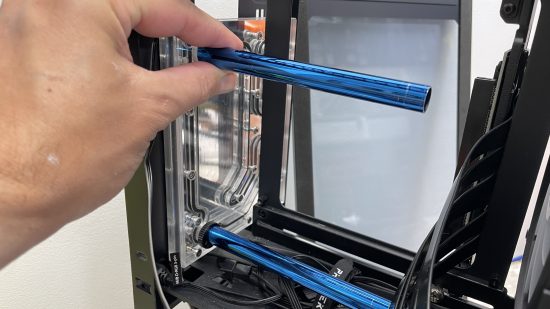
Work out your final tubing routes – you don’t need to use all the ports, just enough to route the coolant through the plate and then to your components. Check for components fouling the ports on the plate, especially with universal plates that might not account for unique case or motherboard features.
7. Mount distro with screws
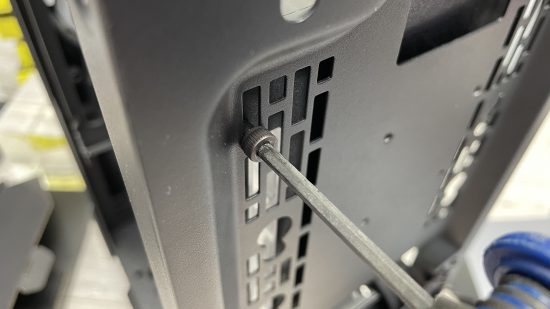
Universal distro plates can be mounted in two ways. Those that use fan mounts are simple to install, as they use standard fan screws and screw locations. You may even get lucky in areas with vents if they line up with the screw holes on the plate.
8. Mount distro without screws
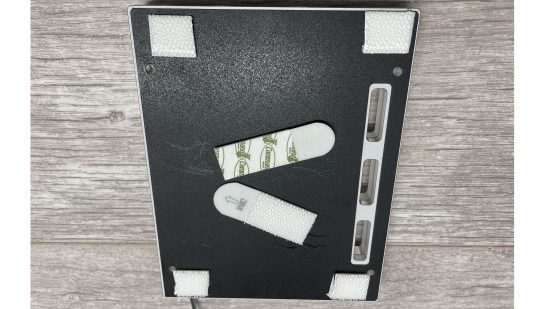
If you want to mount the distro plate in an alternative location, such as against a section of the case without fan screw holes, you can use 3M mounting strips or 3M mounting tape to secure it. The strips are thicker, but act like Velcro. The tape is thinner and stronger, but harder to remove.
9. Install your fittings
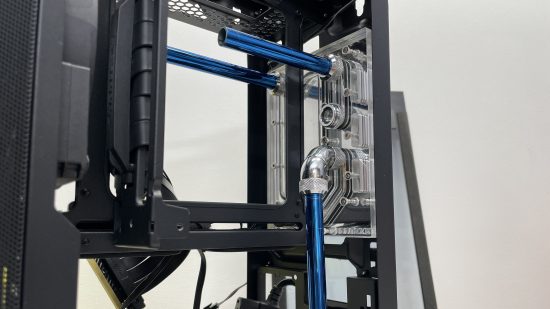
Once your distro plate is installed, check it’s secure by giving it a wiggle and then install your fittings. Be sure to check that your fittings have O-rings attached first. You don’t want to find that one is missing and have to detach all the tubes from your distro plate once your system is at the leak-test stage.
That’s it for our guide on how to install a distro plate. If you’re new to the world of water-cooling, then make sure you also read our full guide on how to water-cool your PC.
