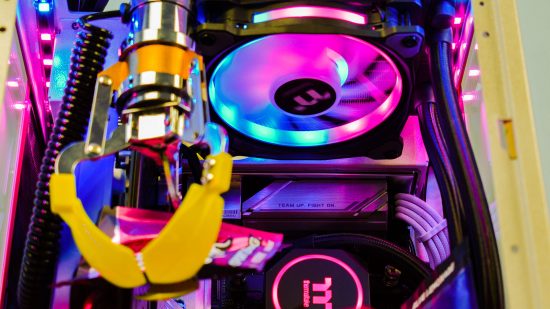
The centerpiece of this arcade machine gaming PC is a mechanical claw in the interior, and Michael Dexter has also added extensive modifications elsewhere, including a hand-built cabinet, loads of neon paint, and even a coin slot.
Thanks to our rapidly growing PC building Facebook page, we’ve seen many custom gaming PCs, from mods based on existing case designs to scratch PC builds. You can even submit yours for consideration right here. Here we chat to Michael about how his claw machine was made.
PCGamesN: We’ve never seen a PC with a mechanical claw in it before – what was the inspiration behind this project?
Mike: Some gaming sessions with my friends led to some banter, and we discussed various themes and ideas about what would fit in such a small case. The claw machine idea sounded bonkers enough for me to attempt it – I like to be different when it comes to my builds.
How did you go about designing it?
I don’t follow a direct plan, but regularly evaluate the next step toward achieving my final design. Honestly, this could be said to be my Achilles heel. However, I find I have the ability to see how the completed build will look in my head, and this method hasn’t failed me so far.
What wood did you use for the cabinet?
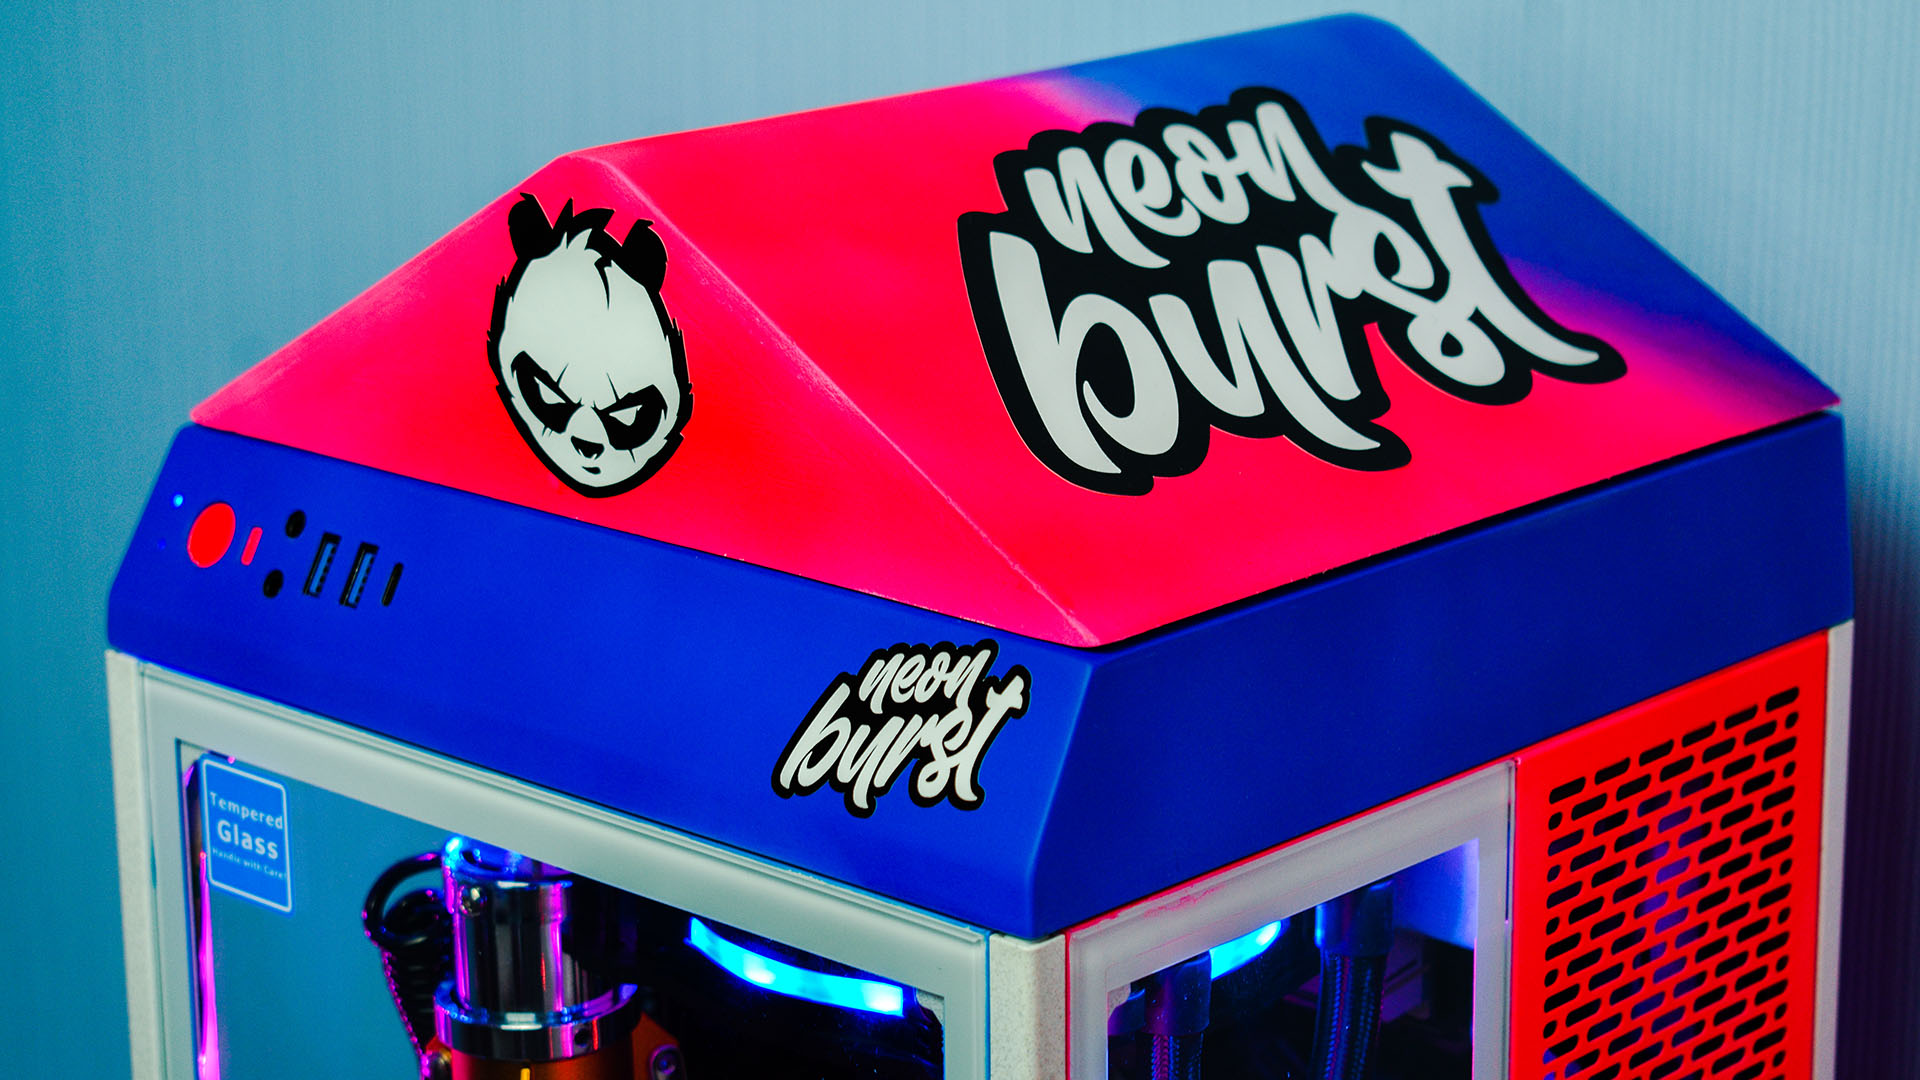
I used 6mm and 16mm plywood. The 6mm plywood was used for the panels on the roof, as it was easier to work with than the 16mm wood. I used it to help smooth out the lines for the quadrant molding around the top of the cabinet – it didn’t look right without this. The cabinet underneath the system is made from 16mm wood.
Working with limited tools, I made my design reasonably simple, hoping that the final result would speak for itself in terms of uniqueness. I used the cheapest jigsaw money could buy, which was a big mistake, but it worked well enough for me to get a result with which I was happy, following some minor sanding work. My other tools included a drill, a holesaw kit, an electric sander, some wood filler and the most important tool in my opinion for a build such as this one – a framing square!
How did you paint the panels?
I used plenty of painter’s tape, as the glass panels are glued in place, so I had to mask them off. However, this did help me add a nice little touch of color around the glass frames – it’s very subtle but it works well. I also used some glitter on the white parts of the case, but I went with a ‘less is more’ approach to avoid it looking like a glitter bomb. You can’t really see it in the photos, but it’s an attractive subtle touch when you see it with your own eyes.
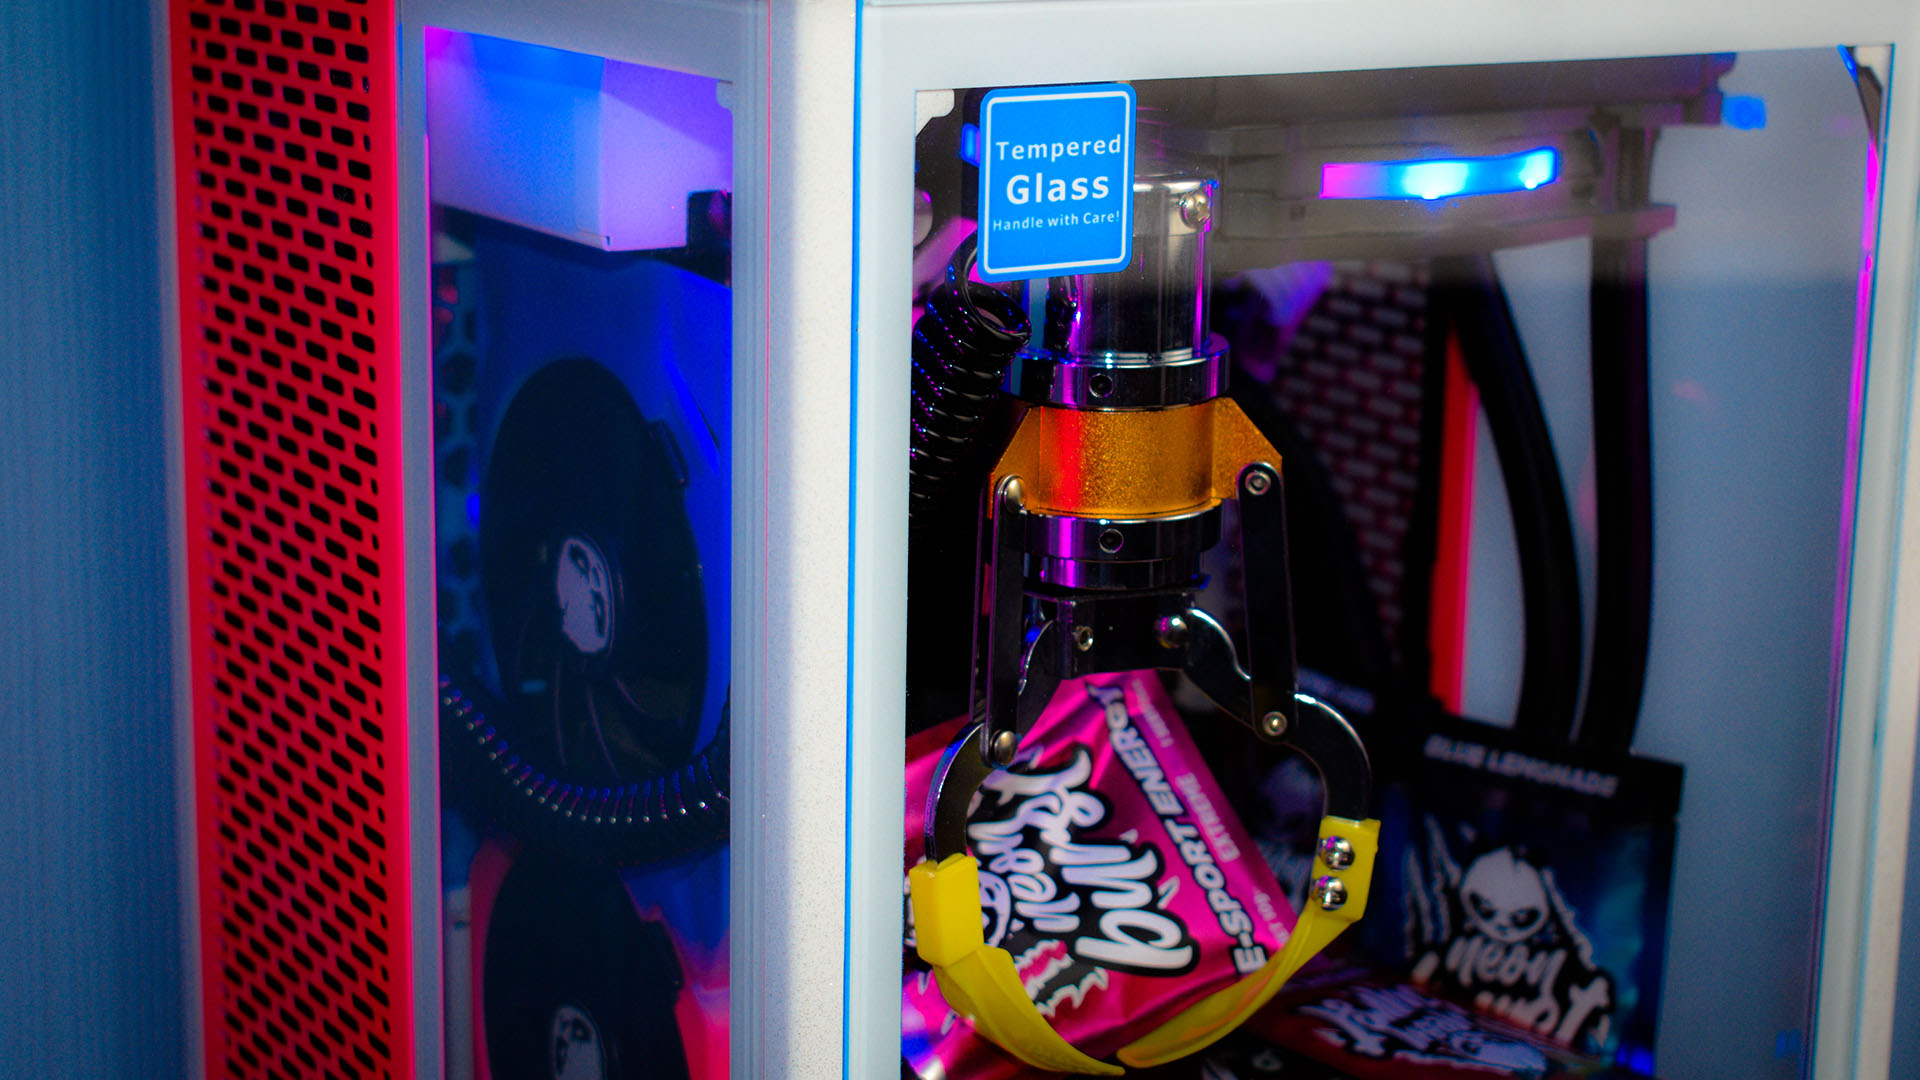
Where did the claw come from?
It was a long wait for the claw, as they’re not that easy to come across, especially in the UK – I had to order one from a direct supplier from China. I had problems with the original order not being shipped after four weeks of waiting, so I had to reorder it again, but thankfully it turned up the second time around.
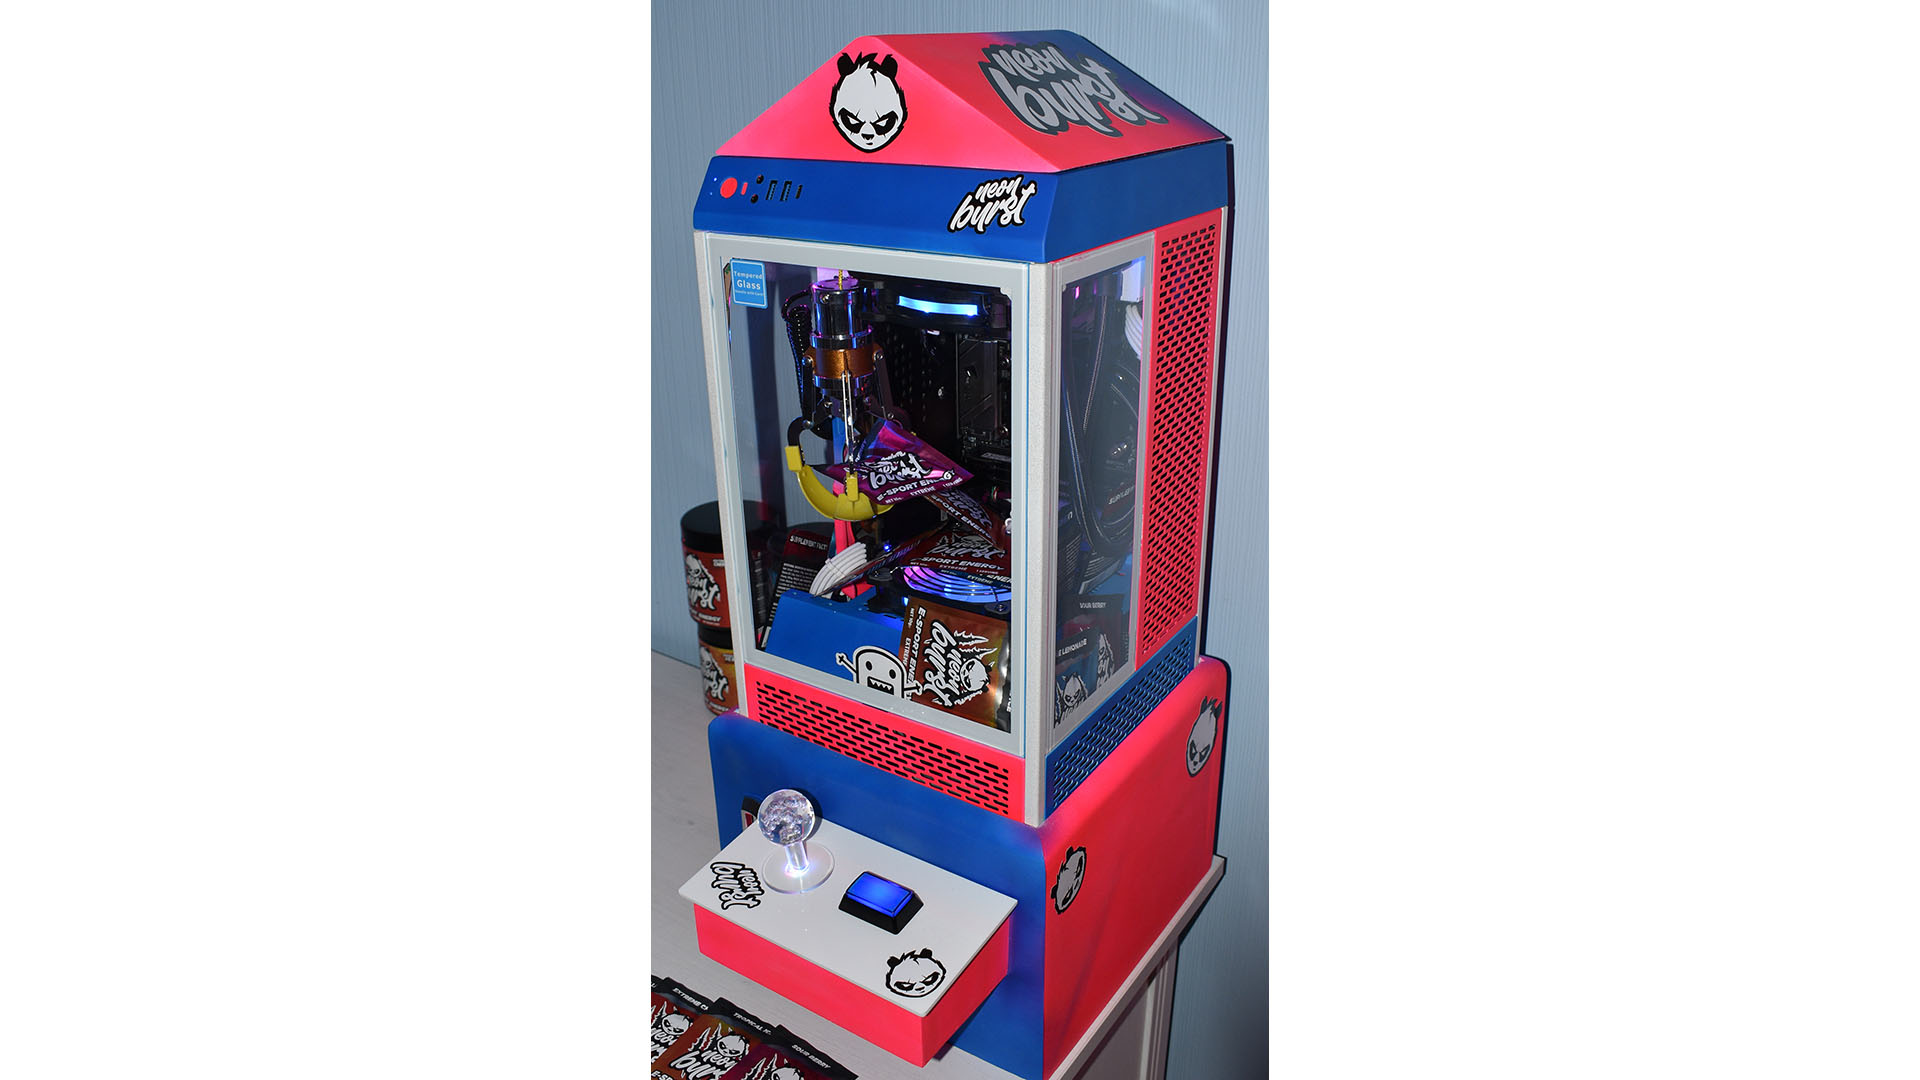
What’s the arcade stick for, and can it control the claw?
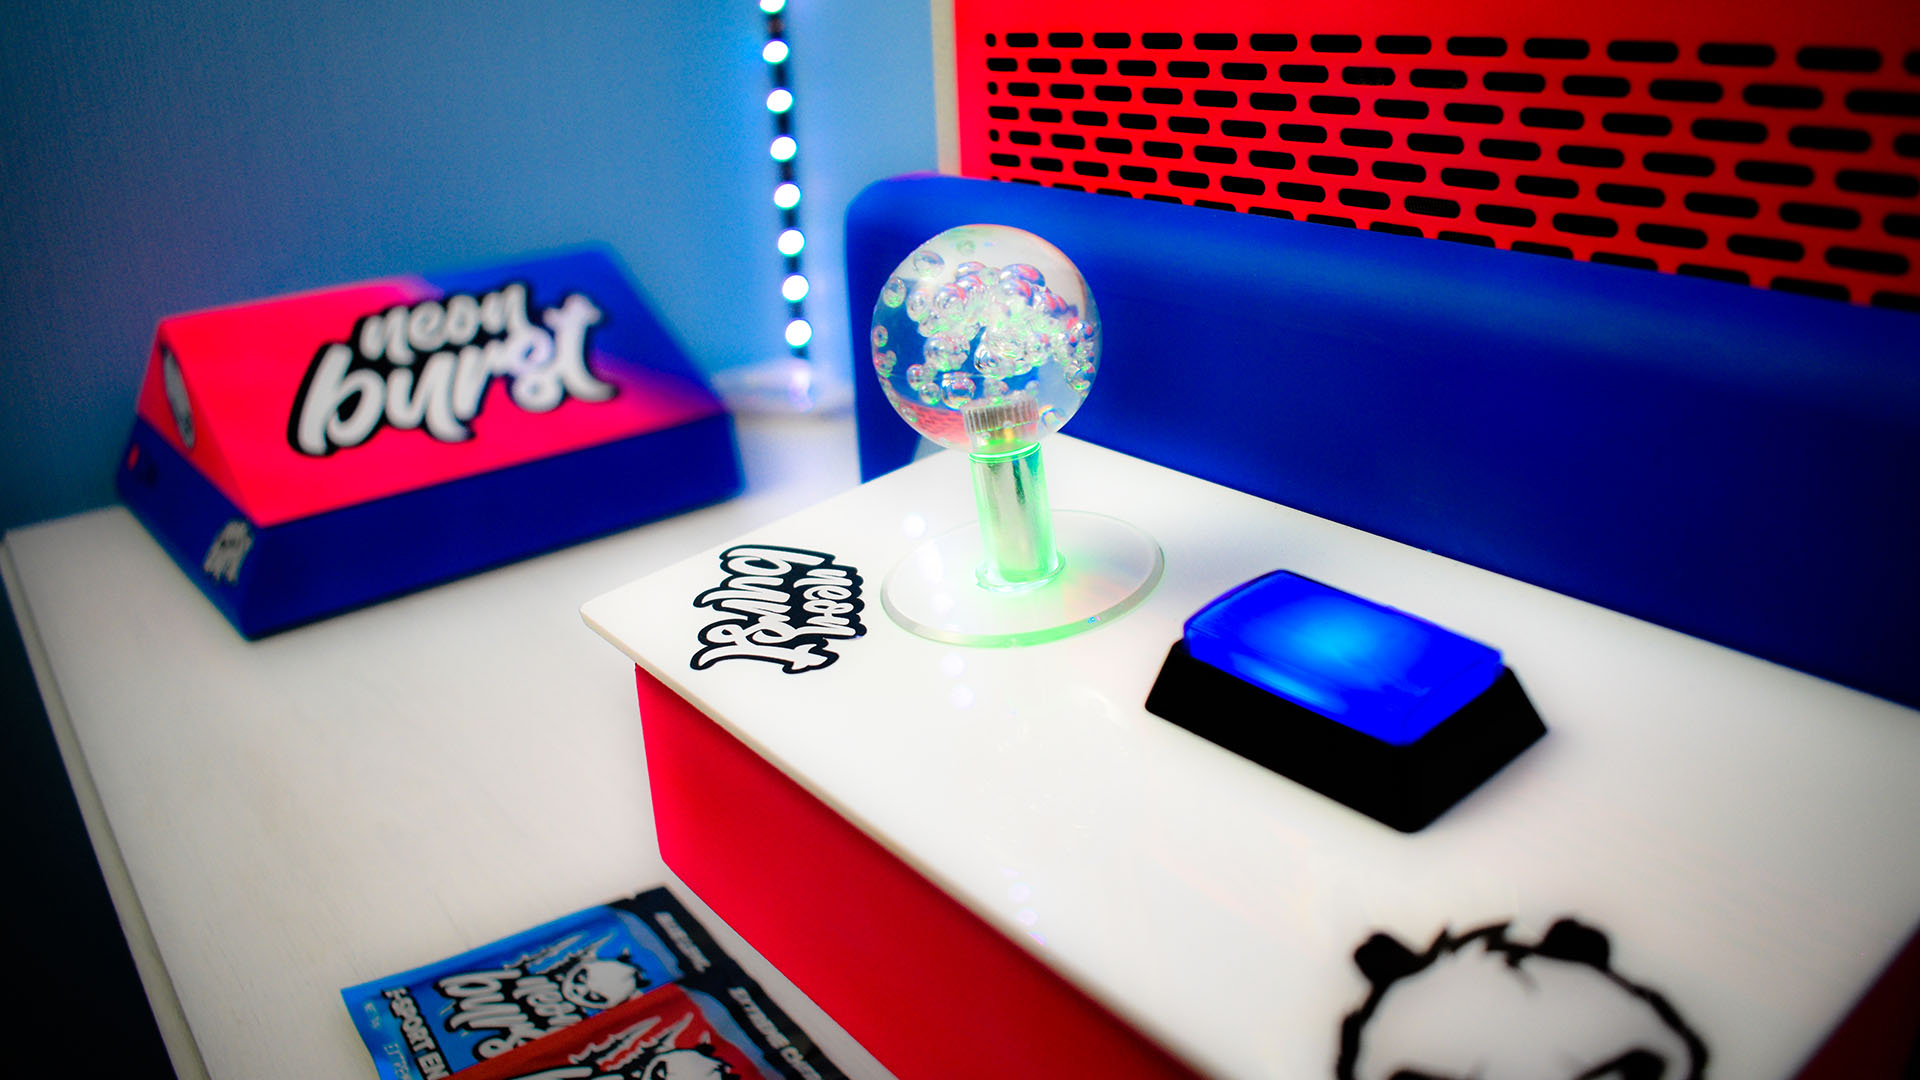
This is a question just about everyone asks. I’m sorry to disappoint you, but there is no way to control the claw – it’s for aesthetics only, as are the coin slot and keyhole. I did toy with the idea of making it work, but the parts for these claw machines aren’t easy to find and I just couldn’t see how the parts would physically fit inside the top of the case in a working manner.
The arcade stick and button both light up independently from the PC, and are powered by a 12V adaptor that I discreetly wired through the underside of the cabinet. There are also air vents on the rear of the cabinet and roof to help with airflow.
How did you work with the acrylic on the cabinet
This was just a case of simply lining up where I needed to drill the holes in the acrylic for the controller box, and hoping it didn’t break again – it took multiple attempts. The acrylic on the side for the prize hole was a simple fit – it’s secured with plaited rope and screws, so this part at least functions.
What’s the deal with NeonBurst energy drinks?
The colors were always going to be bright and bold from the start, and I’d already decided on them early on. After seeing some promotional content from NeonBurst, I instantly felt that the brand would work with the build, as it had the same kind of energy I was aiming for, so I went ahead and got talking with the people there about doing a themed build for them.
What specs did you choose and why?
The case itself was actually a surprise gift from my partner, who had seen me looking at this particular case. The Thermaltake Tower 100 particularly appealed to me, as I’ve worked strictly on ATX or E-ATX cases over the years, and I wanted a change.
Thermaltake has also supported and encouraged this project by supplying me with a Lumi Plus LED kit and a TH120 ARGB Sync AIO CPU cooler. I bought the Aorus mini-ITX motherboard myself, and most of the other parts in this PC were reused from previous systems.
What’s this PC going to be used for?
Ultimately this build was always designed to be used by my two daughters – they may be young, but they’ve seen many great mods over the years, and not just my ones. Despite them having a modded PC that I built a few years ago, my eldest daughter was using my own build to play more demanding games, as their one was far past being ready for an upgrade. I’m hoping that this build will keep them happy long enough for me to enjoy my own one.
Did you come across any difficulties?
There were some issues along the way, the biggest of which was a leak in the shed. This caused parts of the wood on the cabinet to warp and the case wouldn’t actually fit whatsoever – I managed to get it to fit again with some sanding, phew!
Also, while these were the original basic colors, I started painting it with colors that weren’t quite so ‘neon’. Sadly, I was unable to finish the build with the original paint, as it just wasn’t possible to find the same brand and color anywhere any more. This did allow me to go with some even bolder tone choices though.
The paint change proved to be an issue when it came to repainting, though, as the old paint was causing many issues underneath it, even after sanding. It wouldn’t have been so much of a problem for the metal parts, but I had already sprayed the plastic on the GPU and case, which meant I couldn’t just put them in a bucket of paint stripper.
How long did it take you to complete this build?
Time and weather haven’t been my friends on this build. On some days, I got a little work done; on other days I didn’t. I wouldn’t want to give a time frame for this one, as it did stretch over a few months, but ultimately, it could have been done a lot quicker if I had more free time and parts on hand.
Are you completely happy with the end result, or do you wish you’d done some of it differently in retrospect?
Yes, I’m 100% happy with the end result, but this was my first time working with wood and I learned a few things in the process of the build, which would certainly help me if I ever was to do another wooden build. For starters, I’d use a solid wood next time, but the type of wood doesn’t affect the look of this build so I’m happy with it.
Claw machine PC specs
- CPU: AMD Ryzen 5 1600
- Case: Thermaltake Tower 100
- GPU: XFX Radeon RX 480 DD RS Edition
- Storage: Kingston A2000 250GB NVMe boot drive, 2TB external drive for games
- Memory: 16GB (2 x 8GB) HyperX Fury DDR4 2666MHz
- Motherboard: Gigabyte B450 I Aorus Pro Wi-Fi
- PSU: Thermaltake Toughpower Grand RGB 850W
- Cooling: Thermaltake TH120 ARGB and 3 x Thermaltake Riing 12 Duo fans
This is top work Michael – the Thermaltake Tower 100’s panoramic window works great as an arcade claw machine, and we love the extra arcade add-ons, such as the joystick and coin slot.
This post originally appeared on Custom PC, which has been covering amazing setups for over 20 years and is now part of PCGamesN. Join our 500k member Facebook group to discuss this build.
If you consider yourself to be an expert PC builder, you can submit your own custom PC build to us today for a chance of being featured on PCGamesN in the future.
