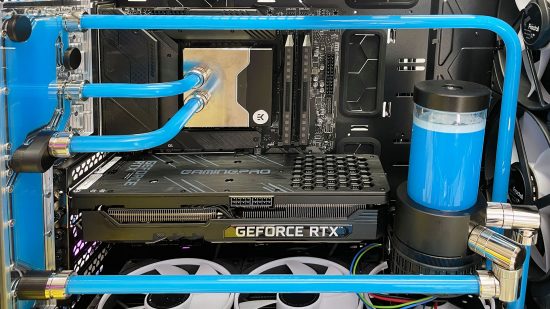
In this guide, we’ll show you how to cut hard water cooling tubing made from Acrylic and PETG. Acrylic is by far the most popular material used for rigid tubing in water-cooling systems, but polyethylene terephthalate glycol (PETG) serves a similar purpose, allowing you to show off your colored coolant and offering the ability to include clean bends and a super-snazzy look with your PC.
If you’re planning to build a water cooled PC, then hardline tubing will make it look great. The bending process can be a challenge, though, and creating a hard tube loop will be much more time-consuming than using flexible tubing. This guide is for enthusiasts who want to play with bends and create a unique looking PC with a custom water cooling loop.
1. Examine fittings
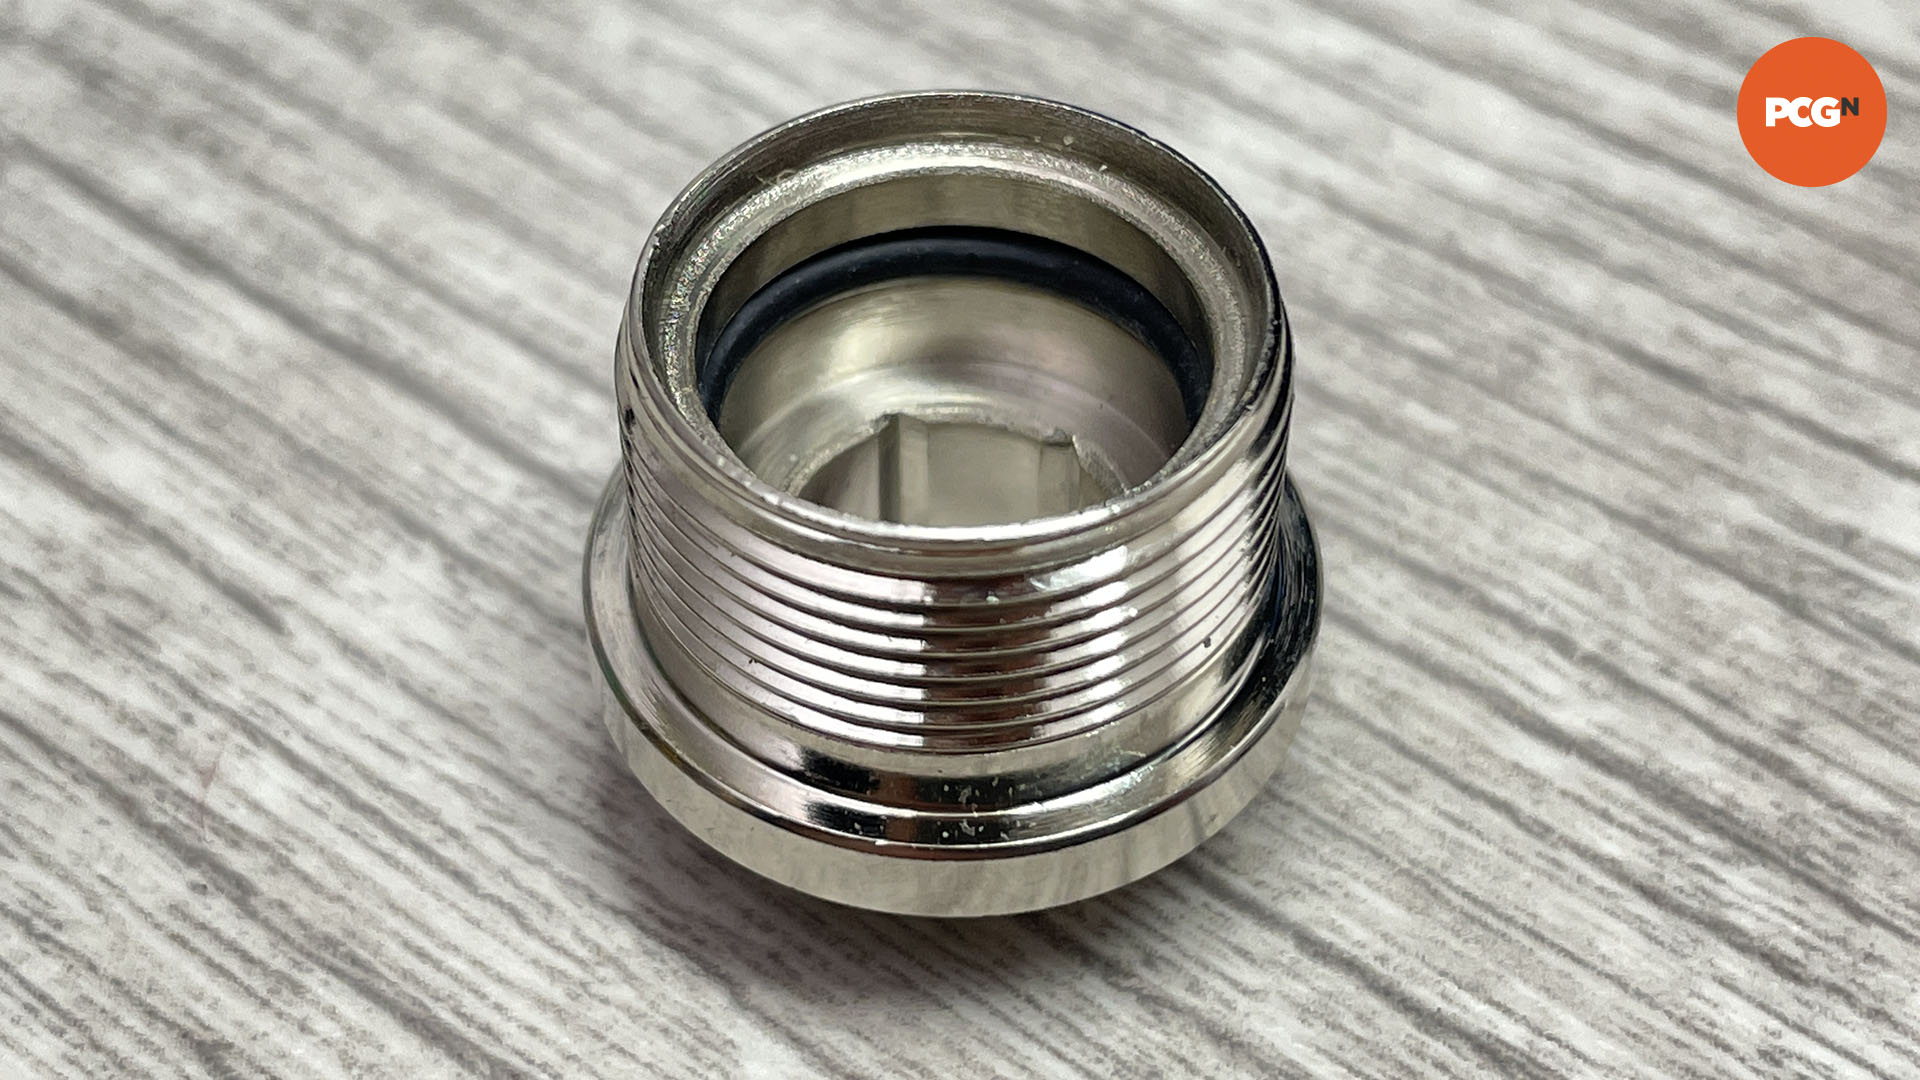
Your first job before you start here is to get an accurate feel for where the tubing sits inside the fittings. The tube will insert into a hole and be grasped by an O-ring inside the fitting, but it will sit on a ledge inside the fitting.
It’s important to work out the location of this ledge and, if possible, identify an external feature on the fitting or use a marker pen to indicate the location – you can then take measurements to cut the tube to the right length.
On the EK Torque fittings pictured, this ledge lines up with the outer lip on the fitting within a millimeter or so, so you can use this lip to work out the precise length of tubing required. Start with straight runs, as these are the easiest routes to accomplish. Simply line up the tubing with the two ports, or use a ruler to measure the difference between the two outer lips, and cut the tubing to length.
2. Work out lengths and bends
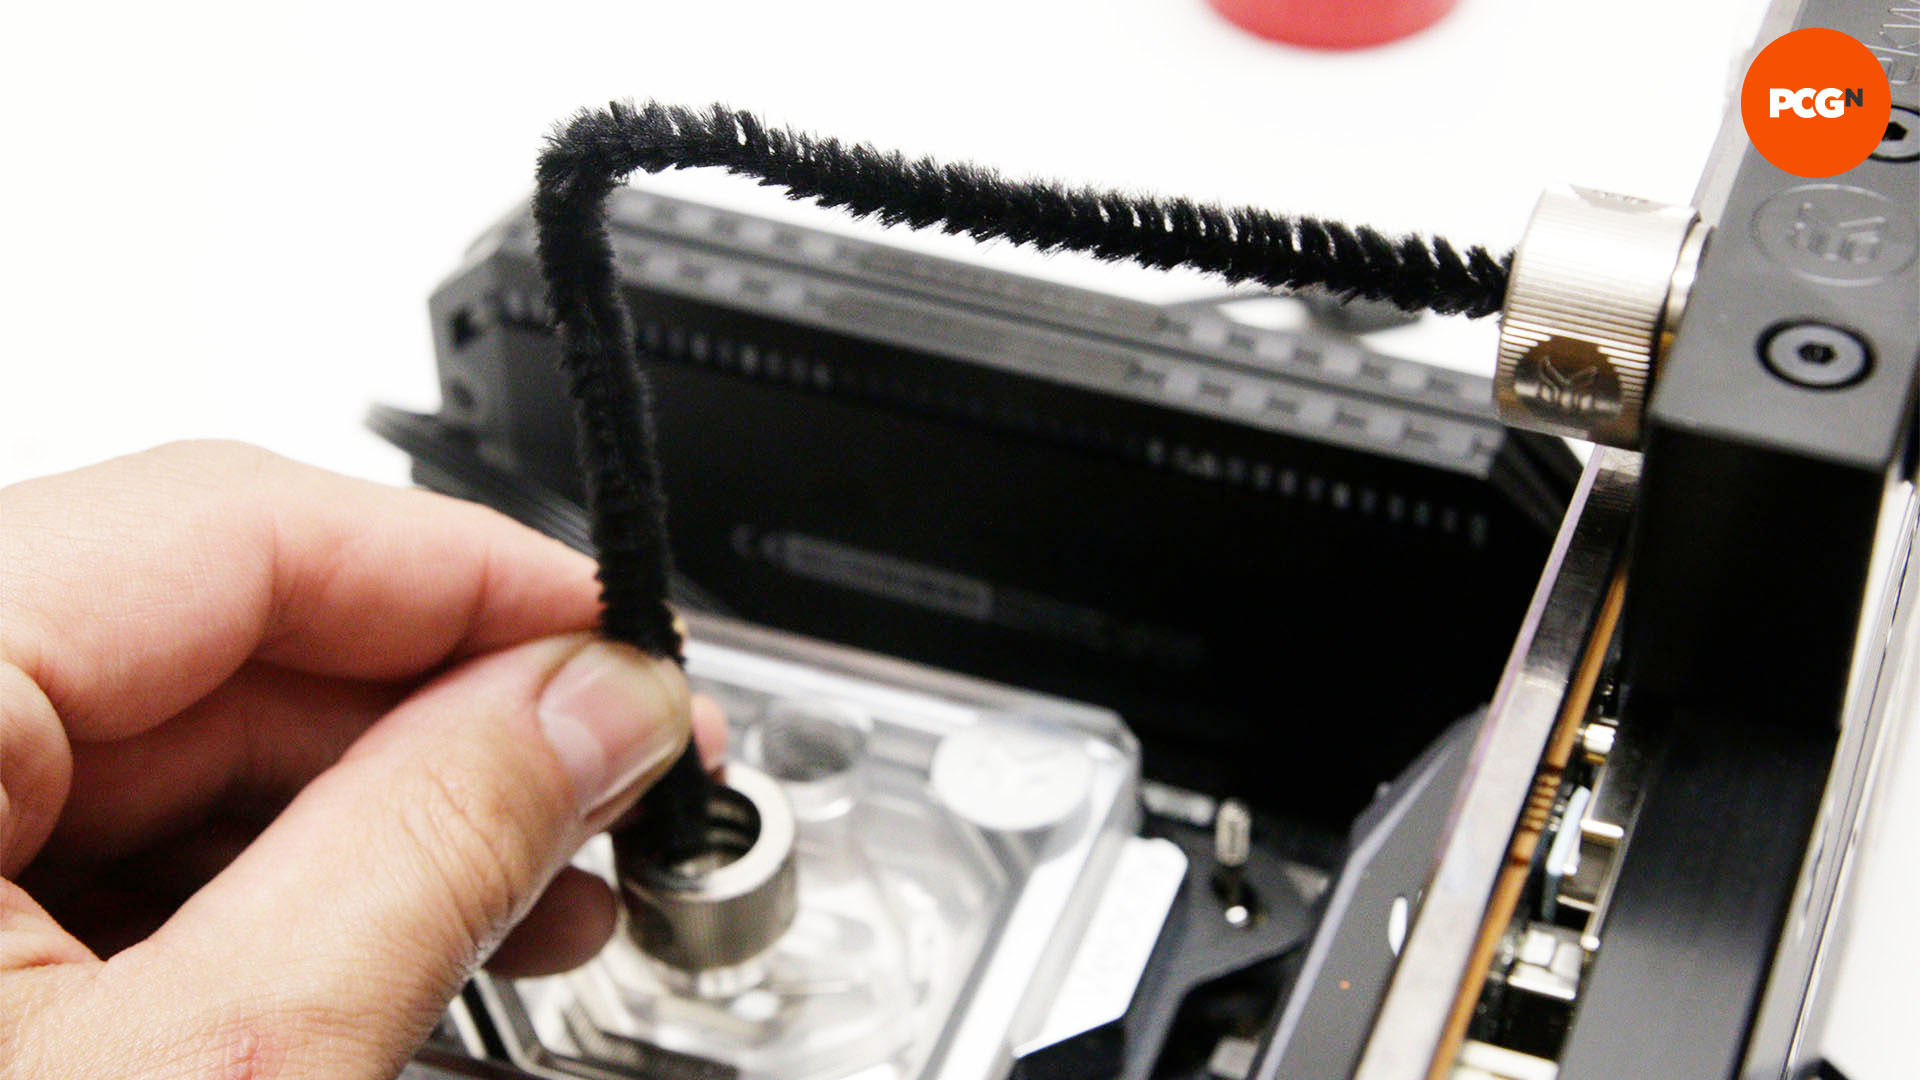
Pipe cleaners or thin metal rods are ideal for working out the lengths and locations of bends in your tubing. Place one end resting on the tube support inside your tube fitting, and bend the pipe cleaner to the required angle. You can now use it as a template.
3. Cut tube with hacksaw
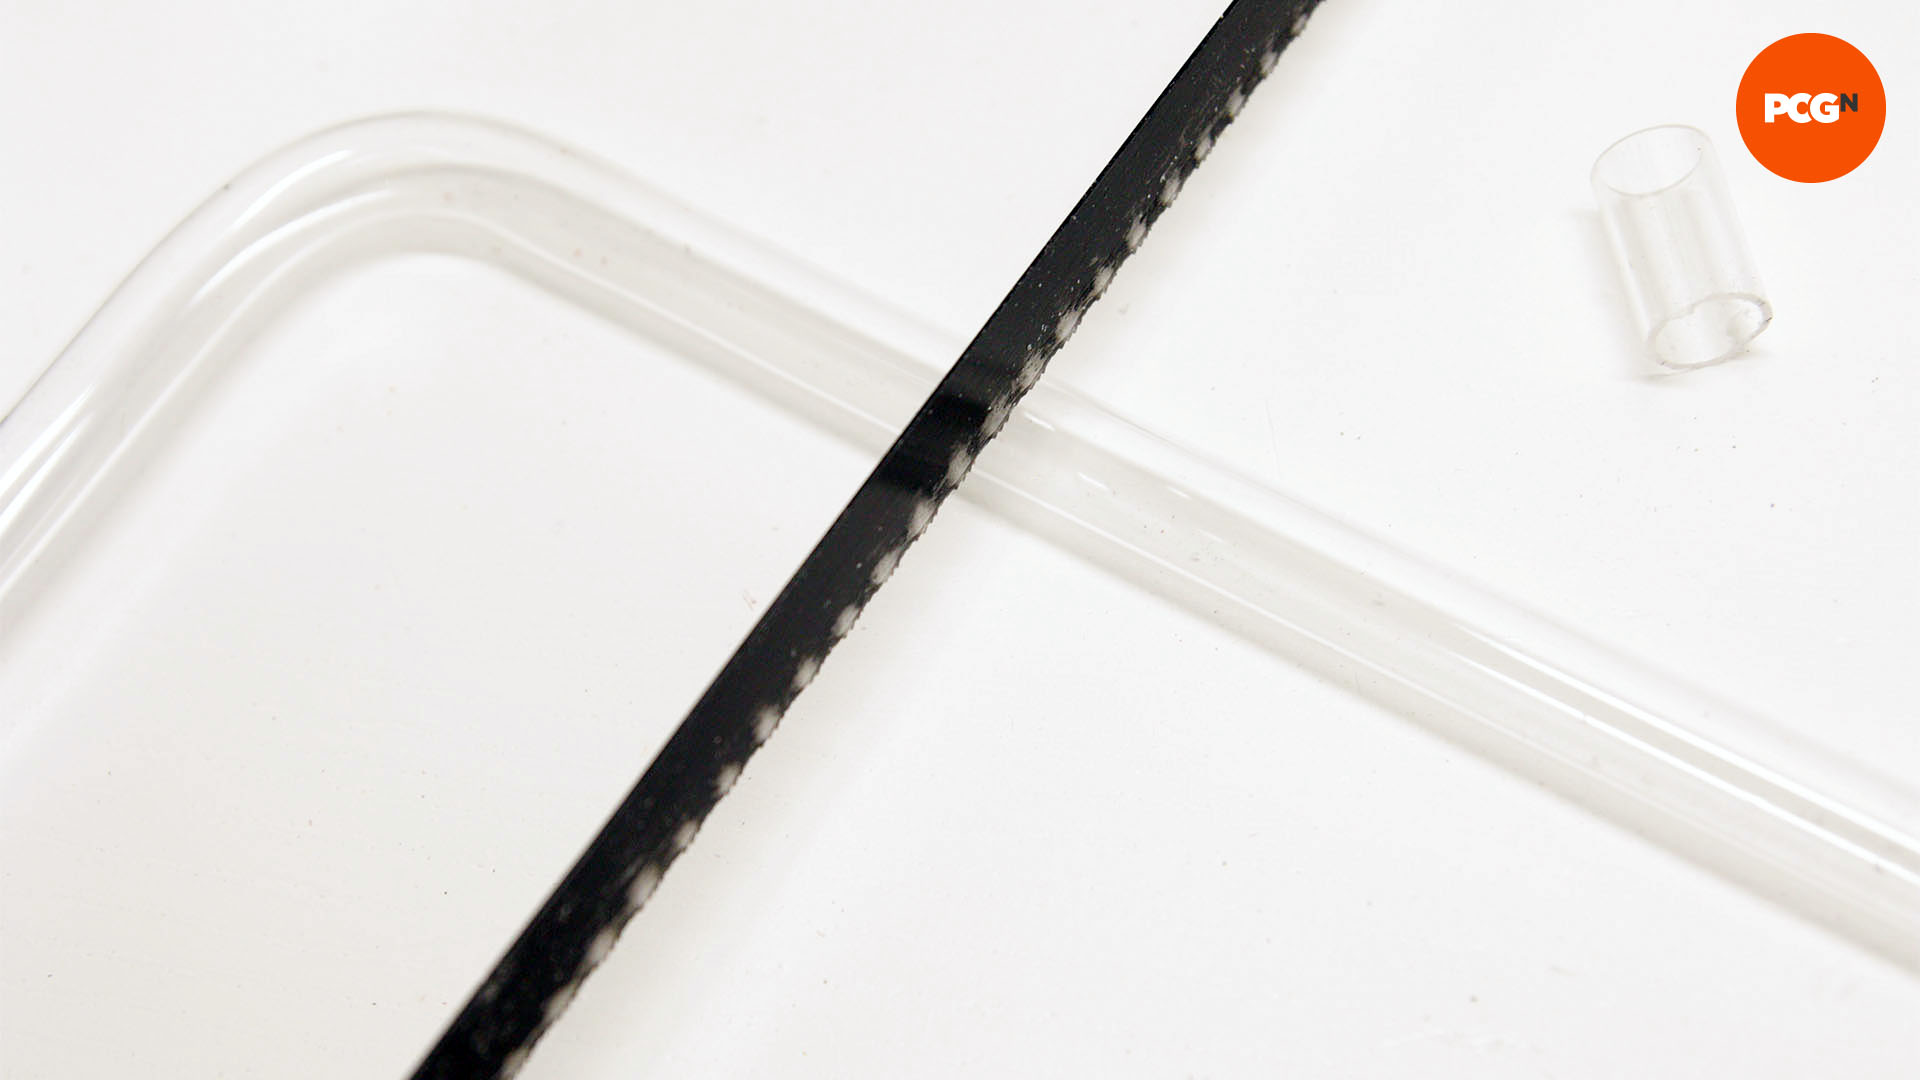
There are a few ways to cut the acrylic tubing we’re using. You can use a fine-tooth hacksaw, which is a common household tool in a well-equipped shed or garage. It’s a great way to achieve straight cuts. A less common tool is a pipe cutter. These are usually used for copper and brass piping, but can also be used on acrylic if done correctly.
Using a pipe cutter is less messy than sawing, although it may require a few seconds of sanding. However, good ones cost upwards of $30, so if you already own a hacksaw there’s little point investing in one, especially if you’ll just be building one PC for now.
4. Use a tube reamer
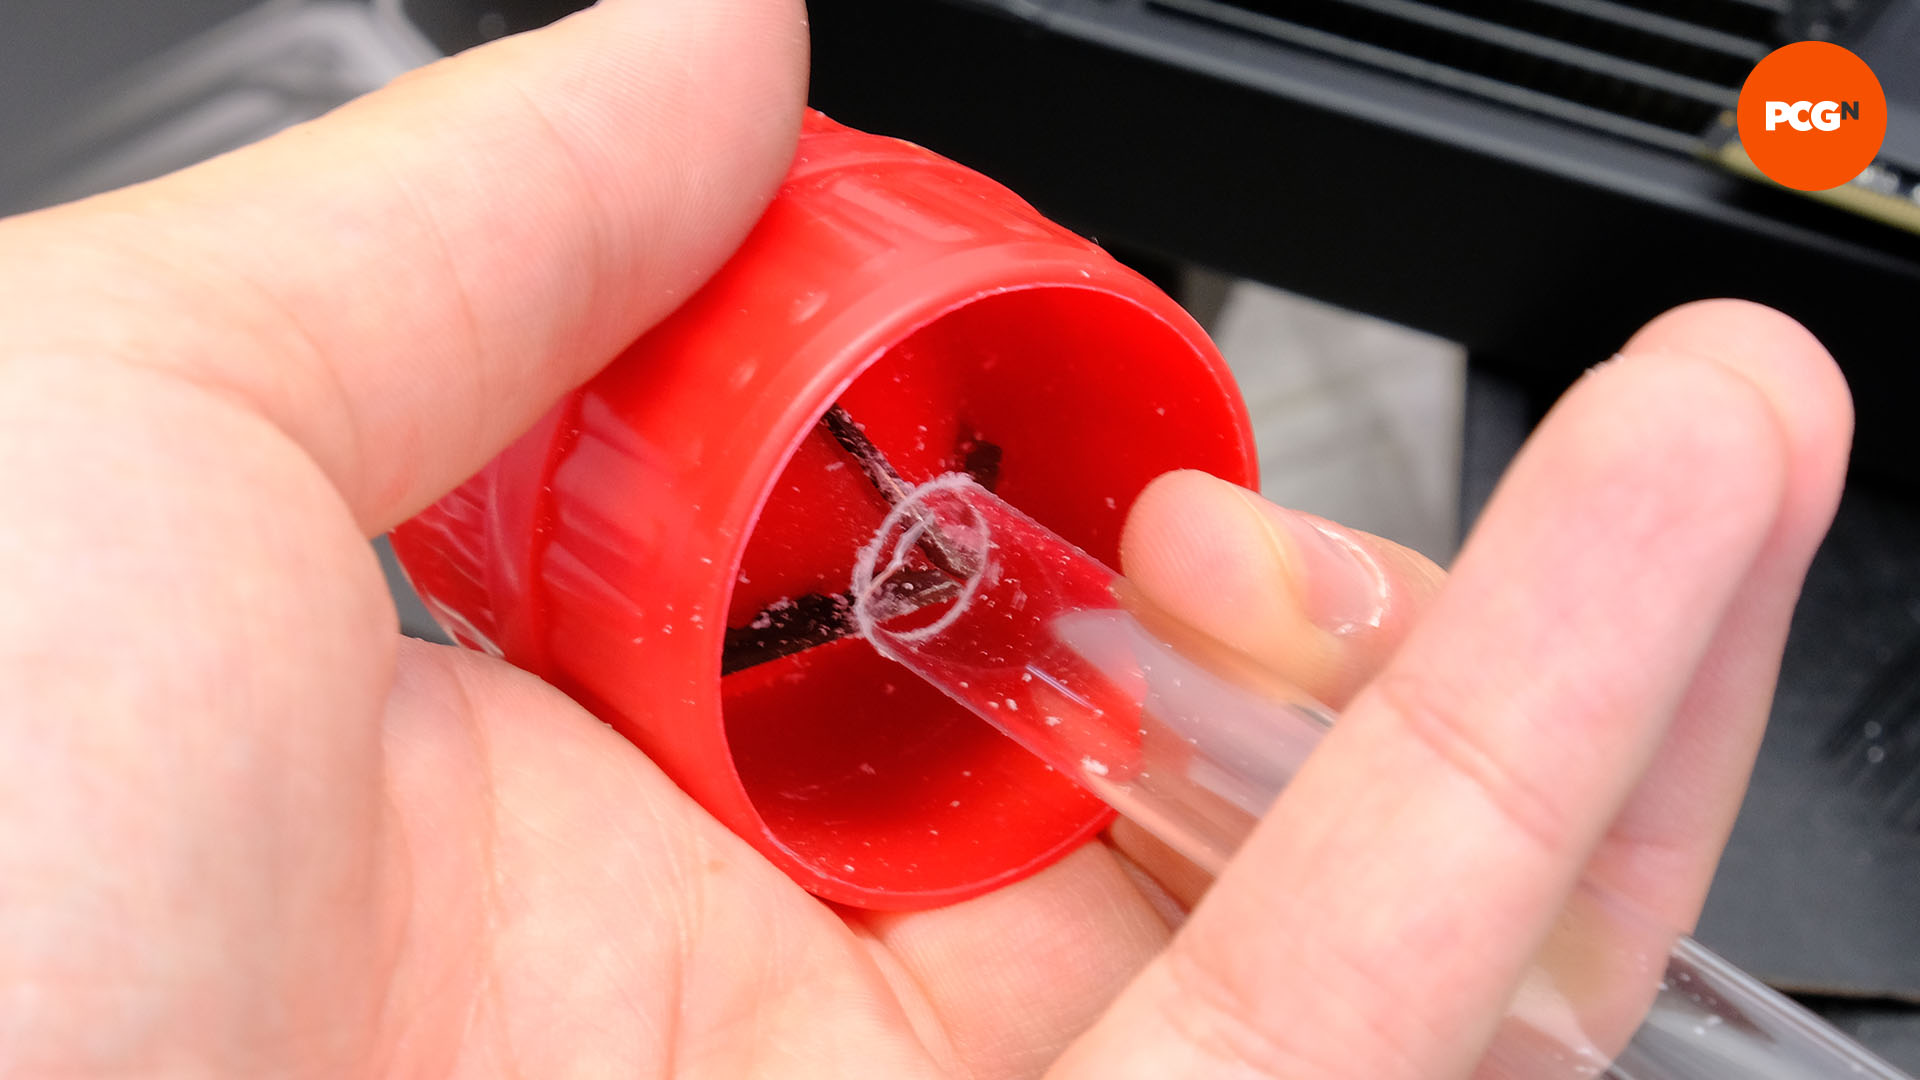
Once you’ve cut the tubing to length, you need to use a tube reamer (found in Alphacool’s tube bending kits, but also available separately). This scours the outside of the tubing, creating a beveled edge that will slide more easily into the fitting. Use a decent amount of pressure and rotate the tubing in the outer edge (scoring) side of the reamer.
Then do the same for the inside of the tubing, using the other end of the reamer. The pointed end scours the inside of the tube to clear any debris from cutting. Once you’ve cut and reamed the tubing, press it into the fittings and secure it with the locking rings at either end.
5. Use a ruler
Next it’s the tricky part. Bending the tubing requires accurate measurements, patience, and probably some trial and error too. However, a few simple tools and steps to fine-tune the measuring and cutting process are all that are needed to create those bends.
The easiest way to work out the tube lengths for a bend is to simply create a 90-degree bend in a length of tube, then cut each end to length. However, it pays to keep waste to a minimum and save time trimming off endless pieces.
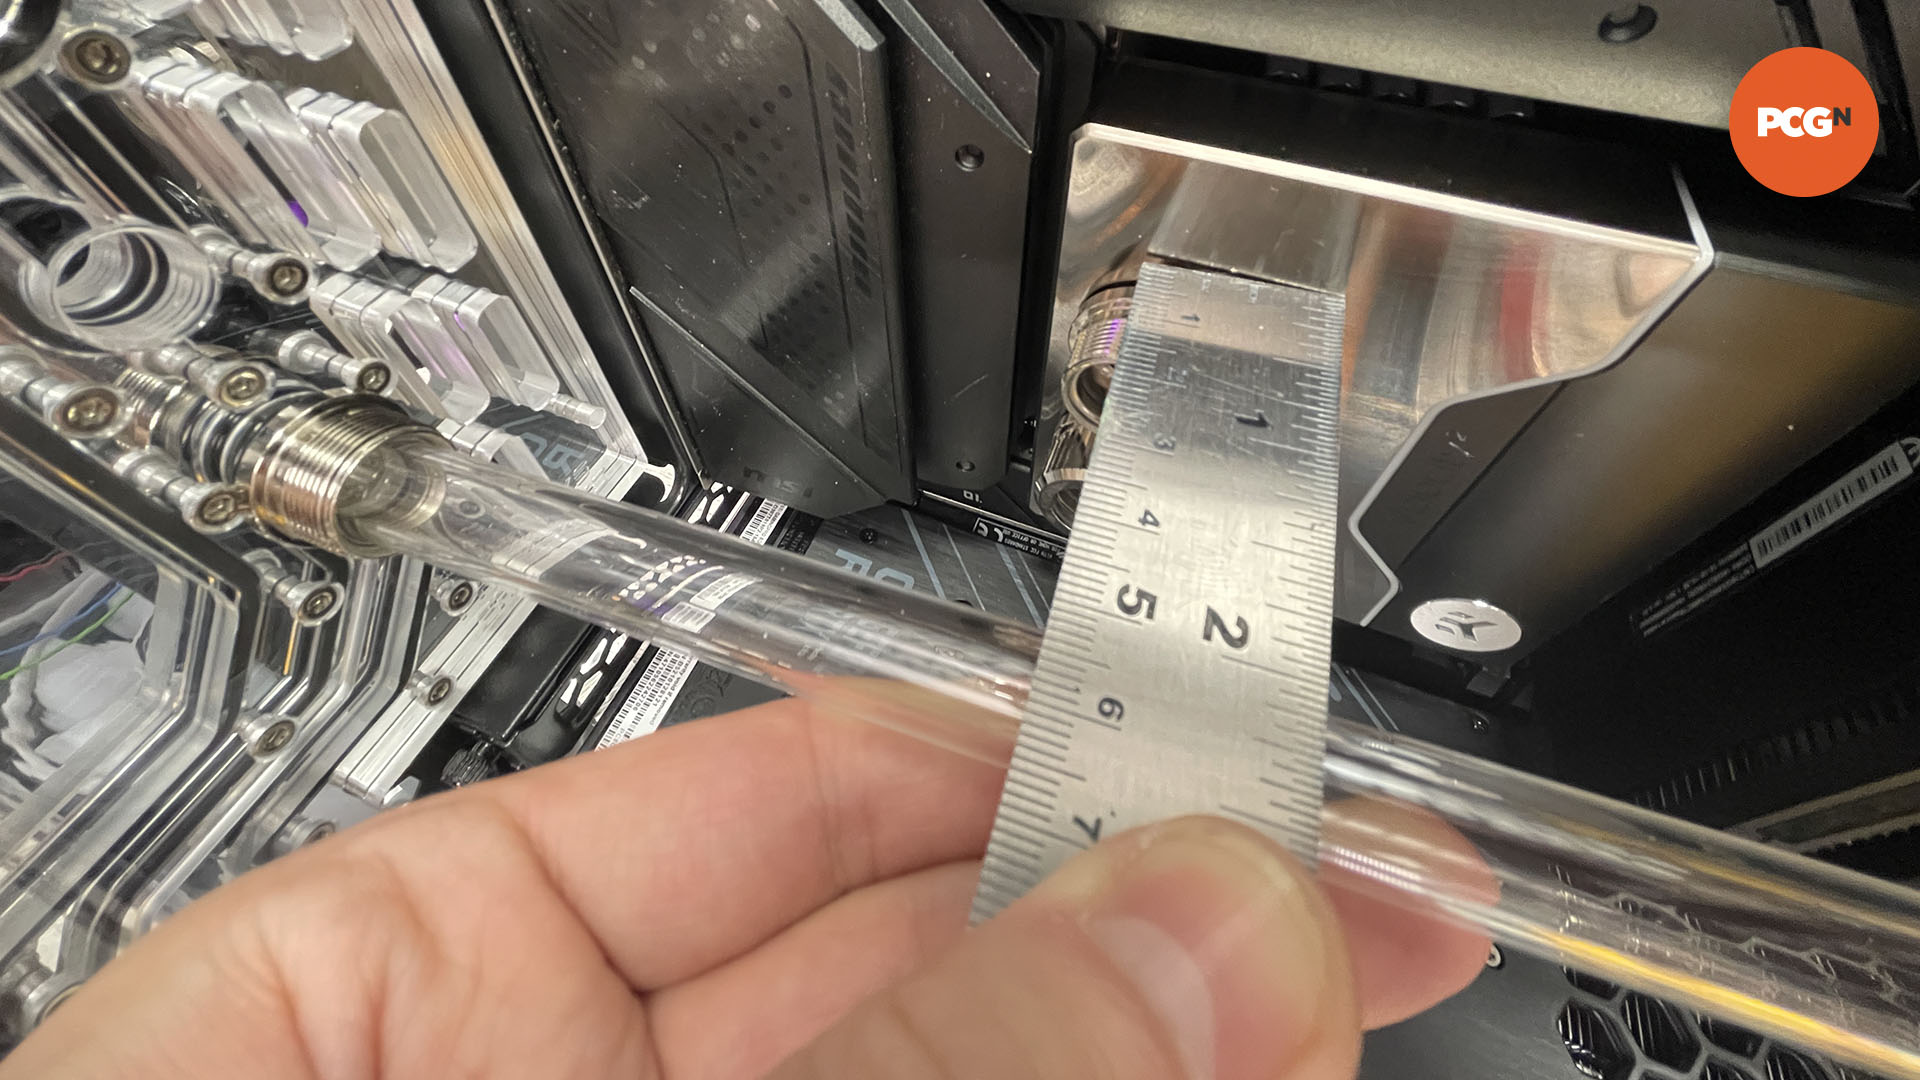
Insert a length of tubing into one port, then lay a ruler across the tube with the end sitting on the lip of the fitting on the other port. This will tell you how long the tube needs to be from one end to the peak of the bend.
Doing this for both ends will ensure the bend is in the right place, wasting minimal tubing. This method can also be repeated to add multiple bends to a length of tube, and will result in far crisper bends than doing it freehand.
6. Measure exactly where to bend
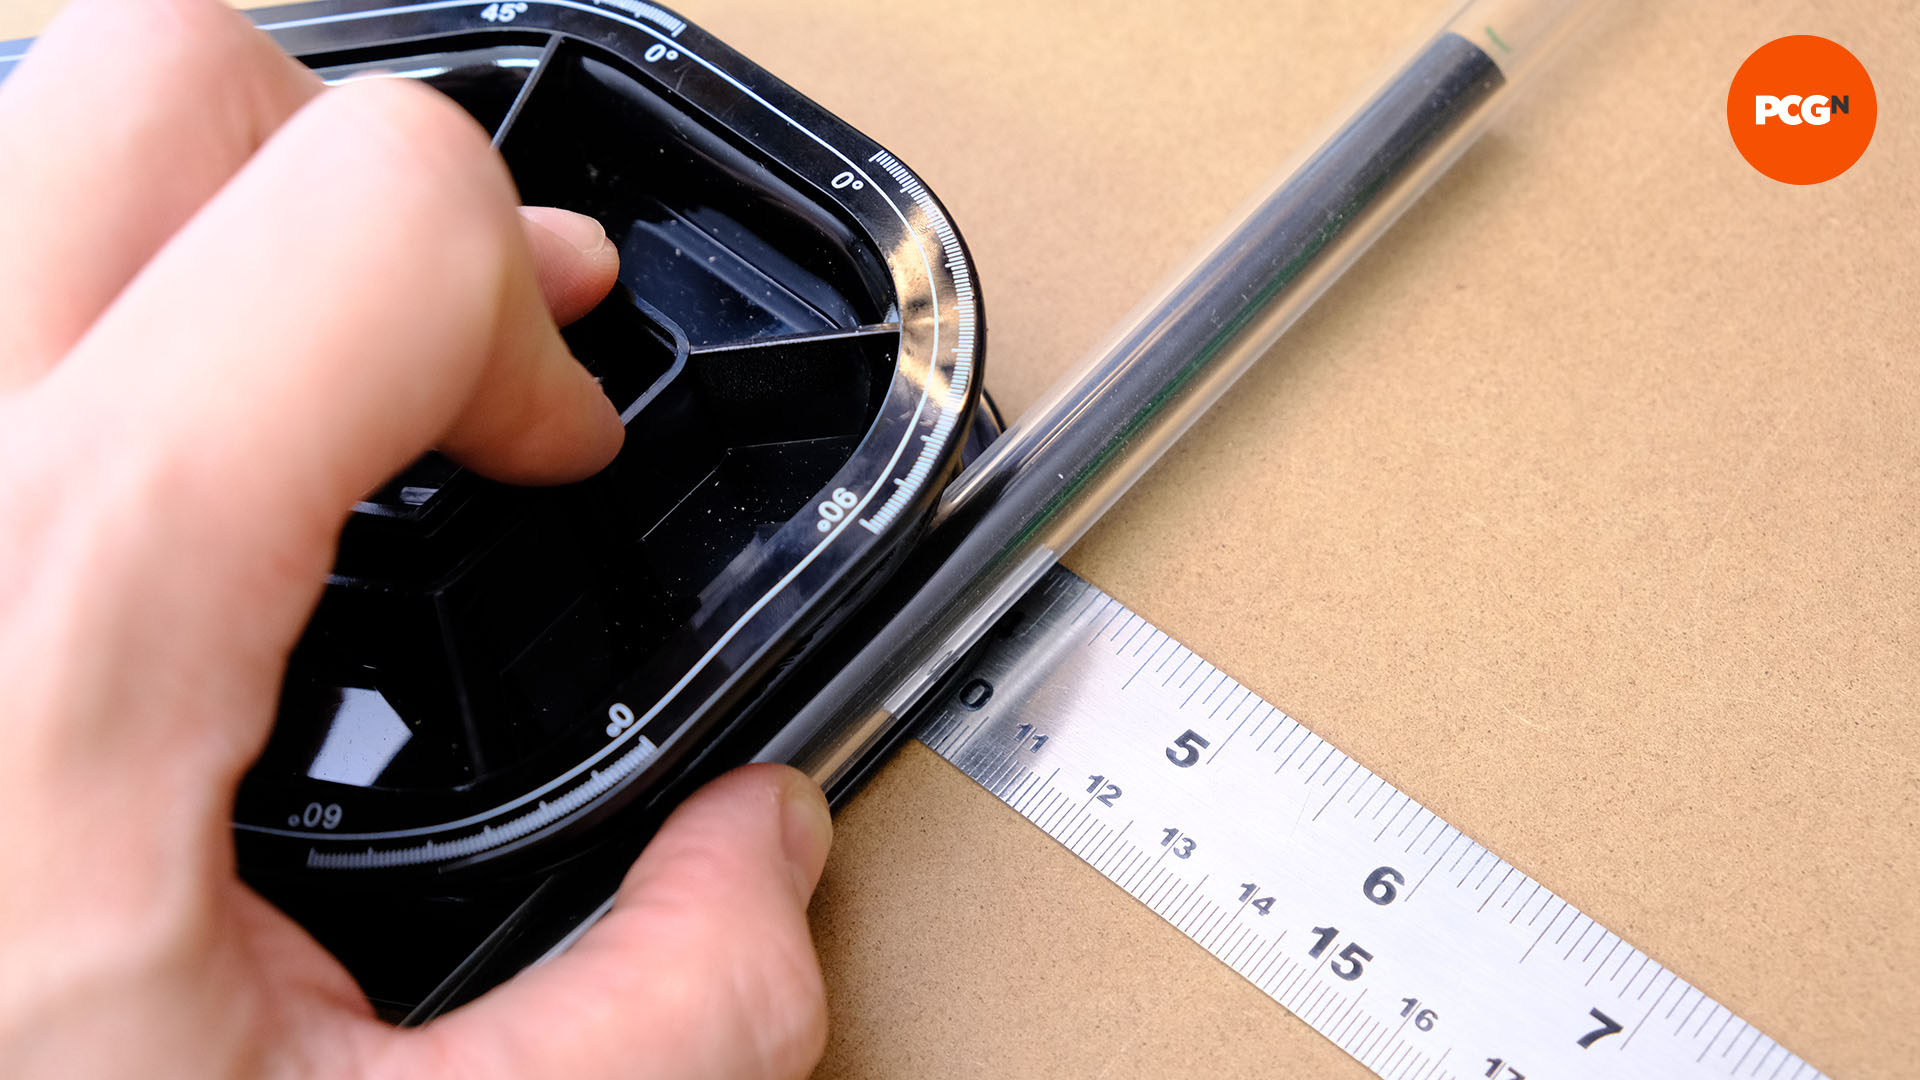
The tightness of the bend and the area you need to heat depends on the method and tool you use to bend it. However, you can use some tools, such as the Alphacool bending tool (found in the company’s bending kits) we’re using here, to work out the length of this section, as the outer lip of the tube recess in the tool lines up with where the tubing will actually sit.
If you measured 10cm from the fitting to the outer edge of the tube, for example, line up this lip on the tool with the 10cm mark on the ruler and lay your tubing into the tool and at the end of the ruler. You can now see exactly where the tube will need to be bent in order to fold around the bending tool and mark the appropriate area that needs to be heated.
7. Use lubricant
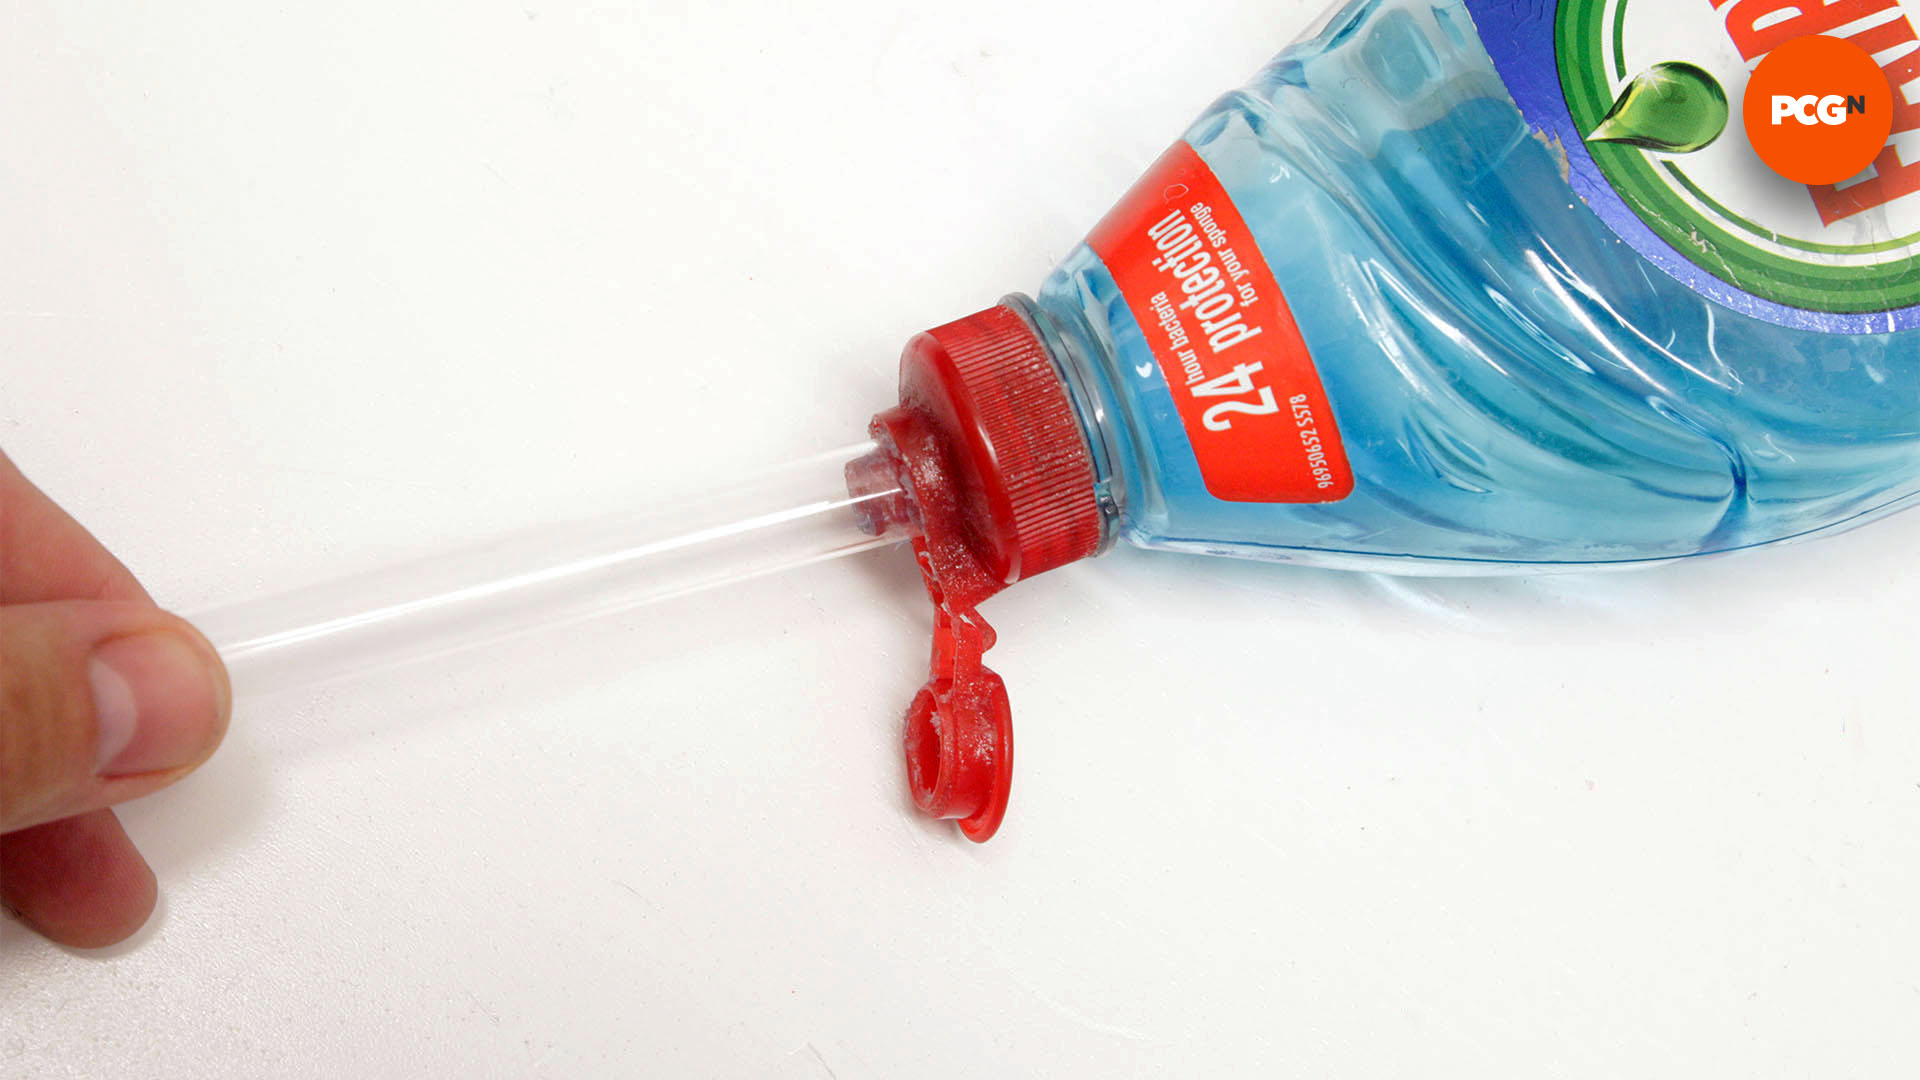
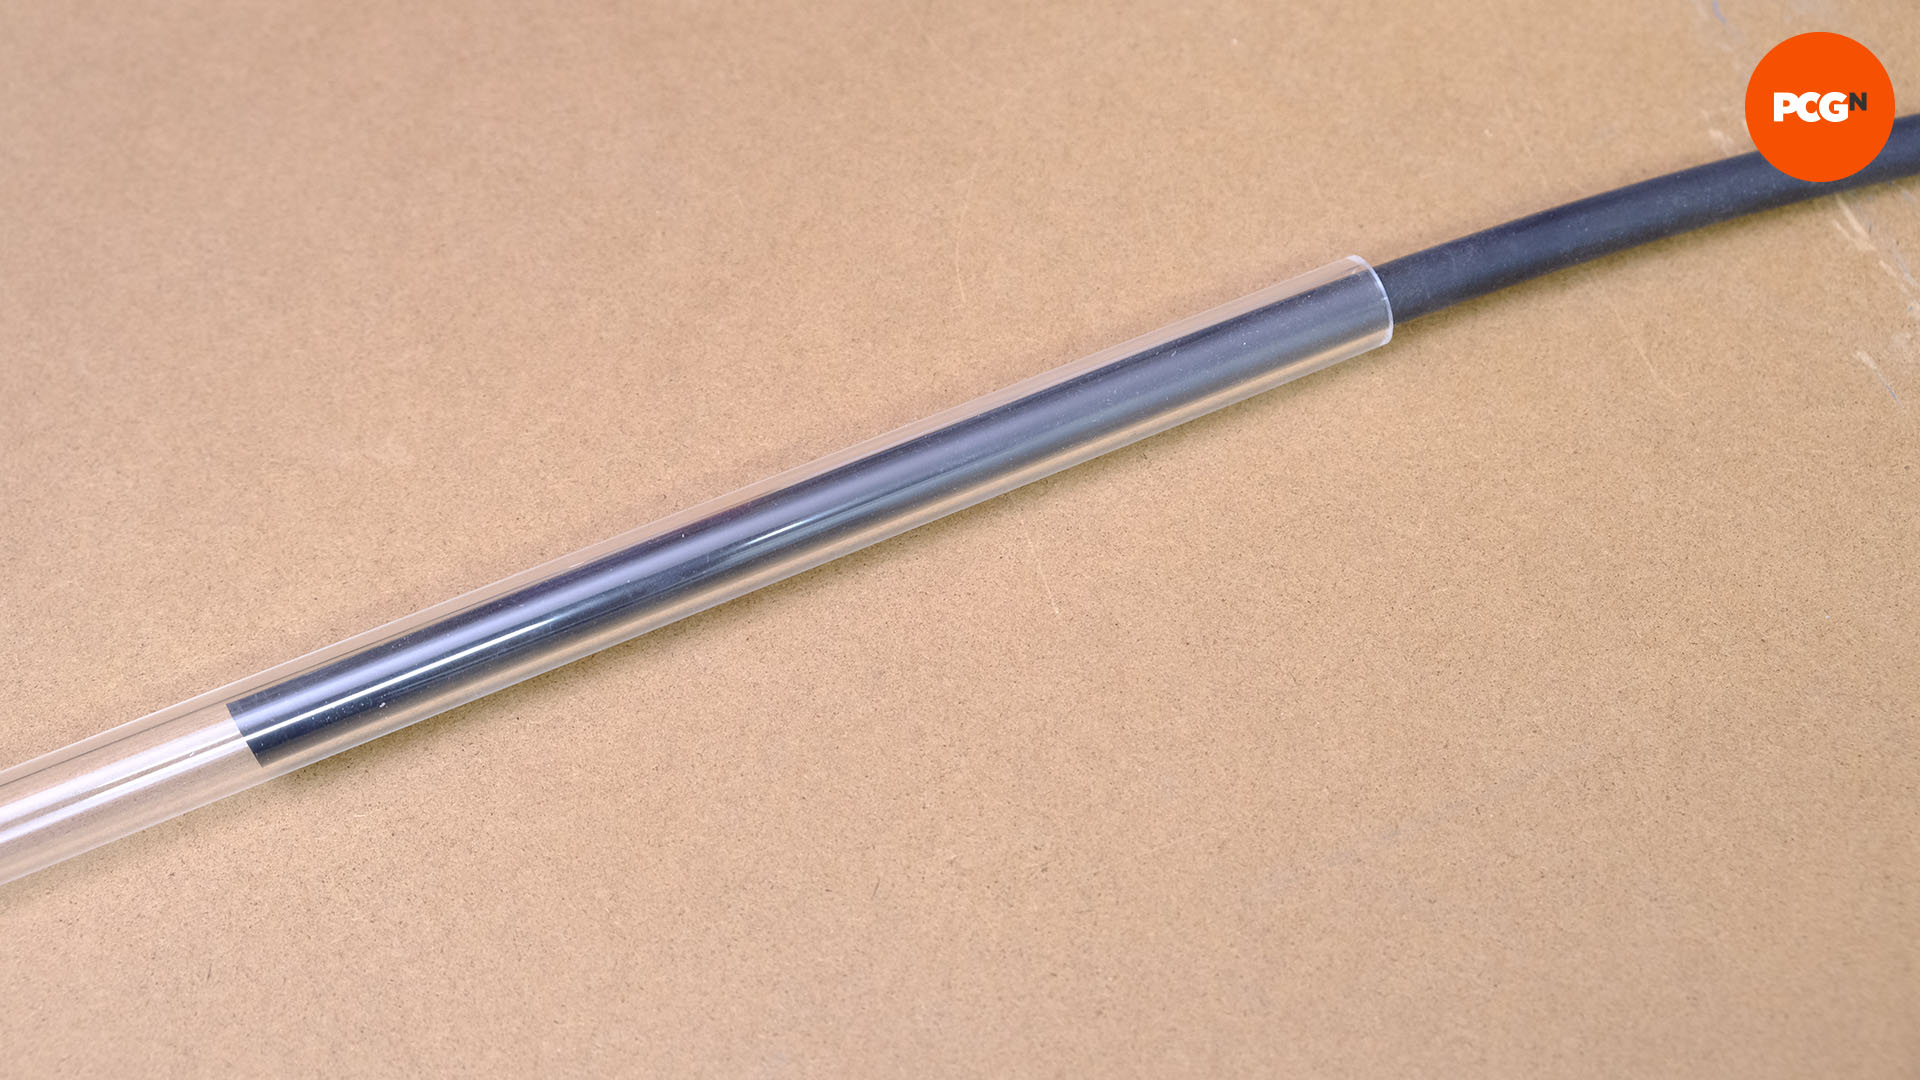
The anti-kinking insert can become lodged inside the tube once it’s bent, so it’s important to use lubricant. Washing-up liquid works well for this purpose, but be sure to rinse the tube thoroughly afterward. Add a spoonful of washing up liquid to a glass, then add three spoonfuls of water to create a soapy solution. Pour this into the tube.
8. Install tube insert
You can now put an insert into the tube. The insert prevents the tube from kinking when you bend it, which will happen instantly without it. Place it so that there are at least four inches on either side of your bend location. Again, this is a part of Alphacool’s bending kit. The soapy solution will lubricate the insert and make it easier to remove afterwards. Don’t use plain water, as this can boil and damage the surface of the acrylic.
9. Heat tubing
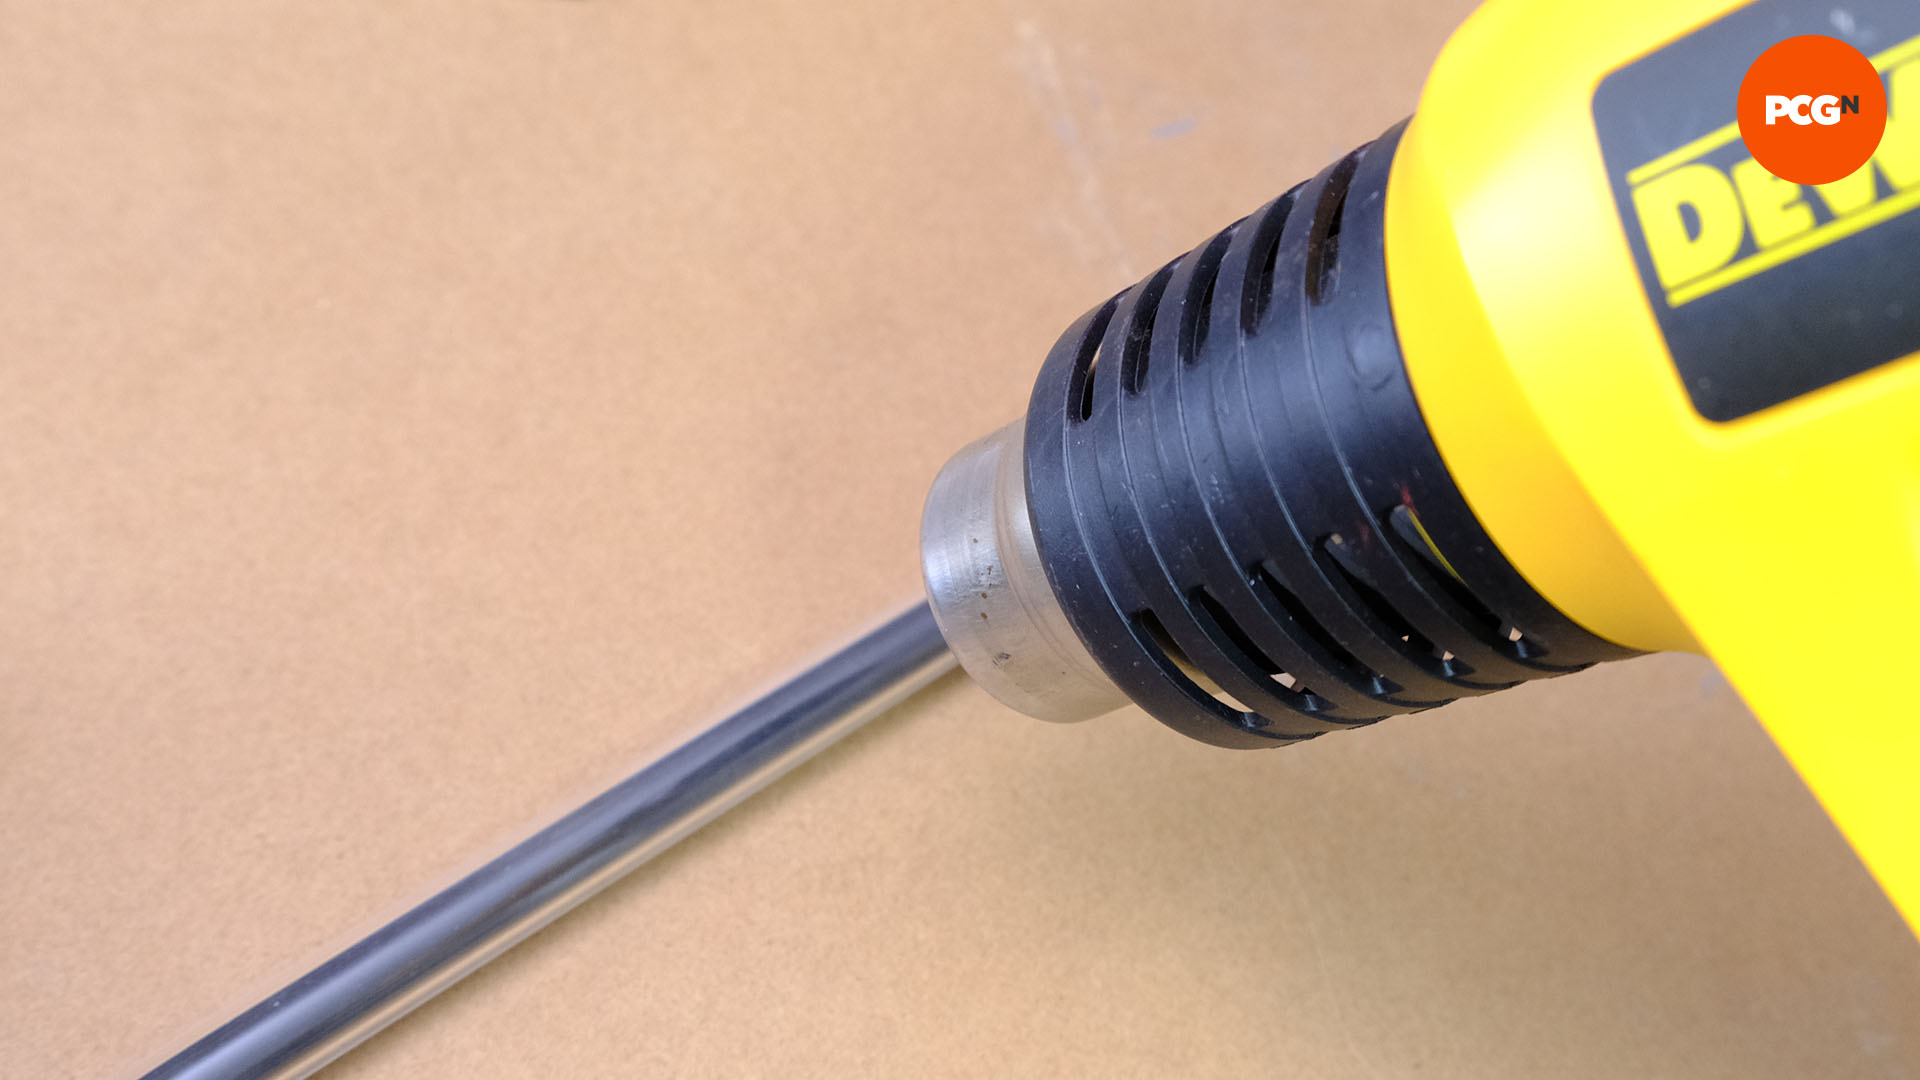
Use a heat gun to heat the acrylic, making sure you only heat the area you marked as requiring to be bent. If you heat outside this area you can cause the straight lengths to lose their shape too. Put the gun on a high setting and move it back and forth over the area quickly, while rotating the tubing with one hand at least once a second. Applying the heat evenly and rapidly is your goal. Eventually, the acrylic will become malleable, but it needs to be loose, floppy, and able to bend without resistance.
10. Use tube bender
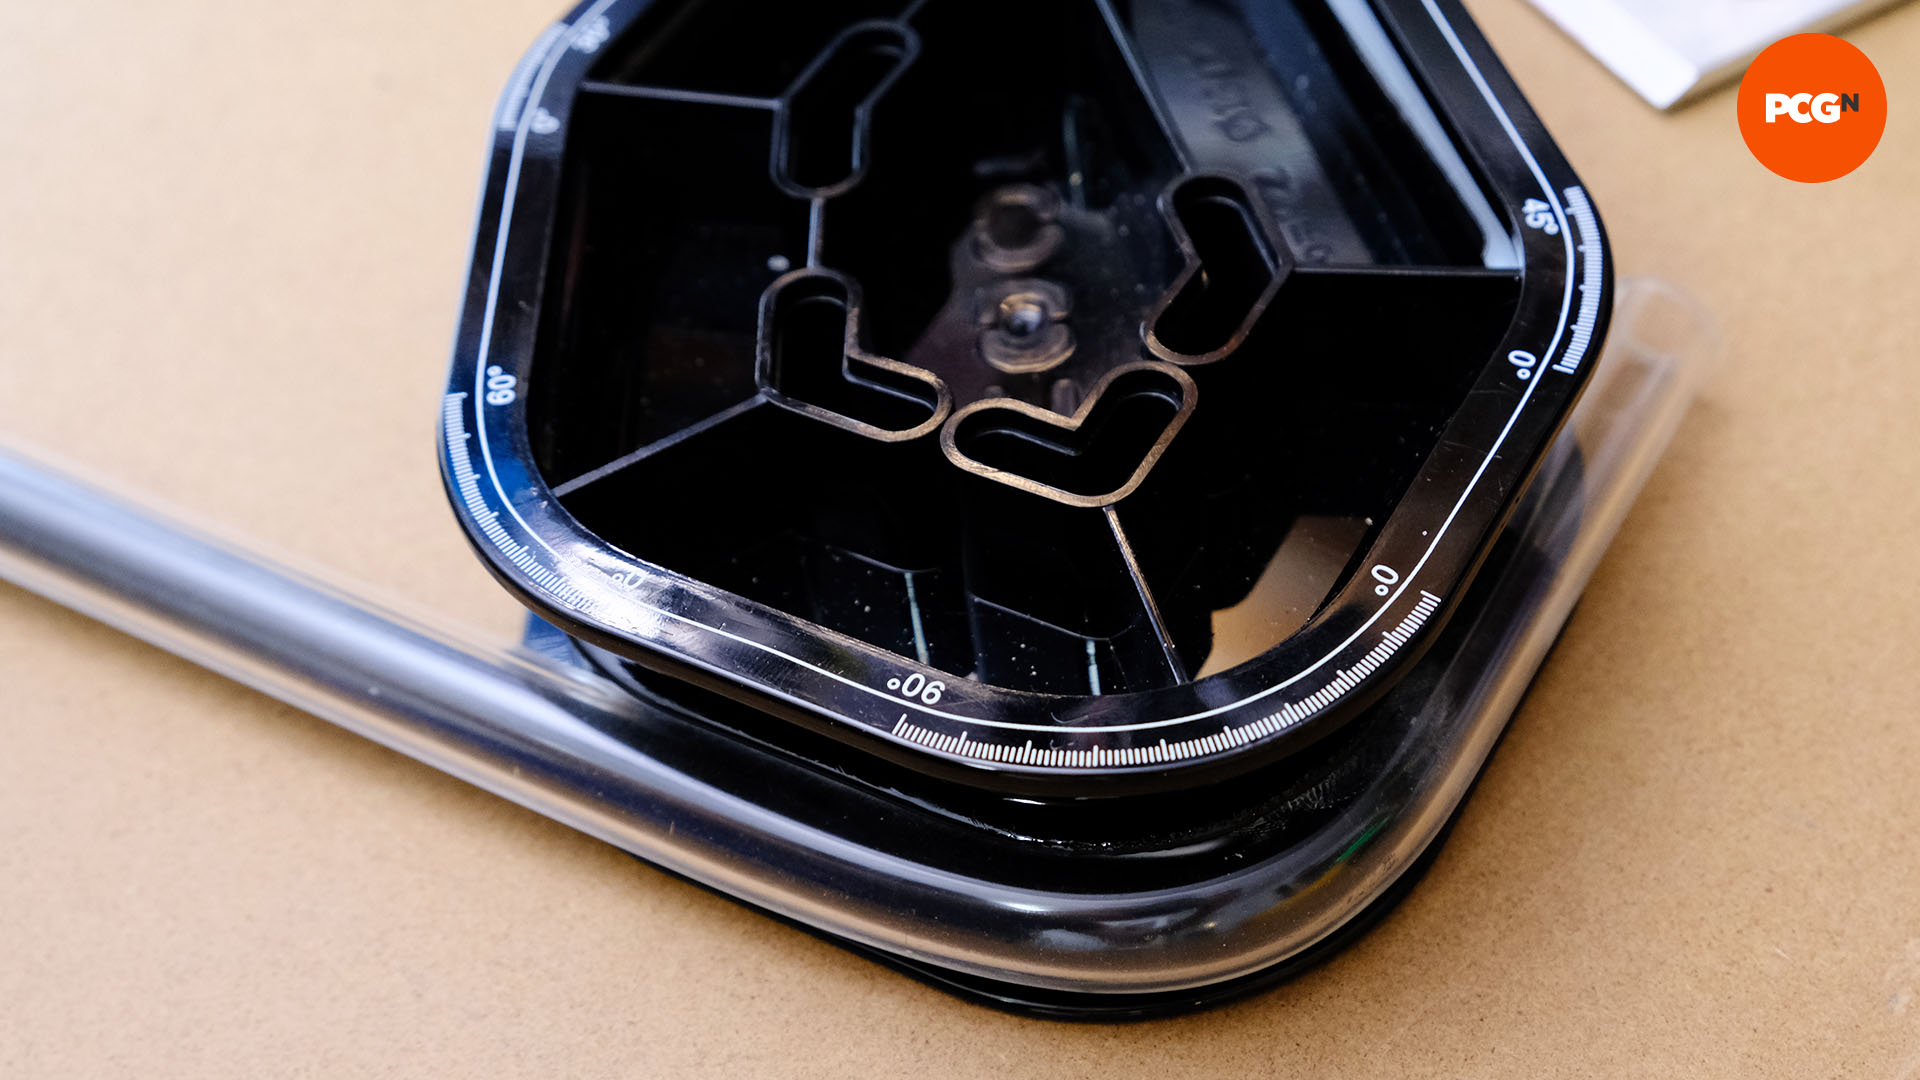
Once the tube has become malleable, place it quickly onto the bending tool and wrap it around the 90-degree bend section. Don’t press the tubing from the outside edge, as it will be soft and you could mark it. Once it’s in place and looks right, you can blow on it to speed up the cooling process. After 20 seconds it should be cool enough to handle.
11. Examine bend
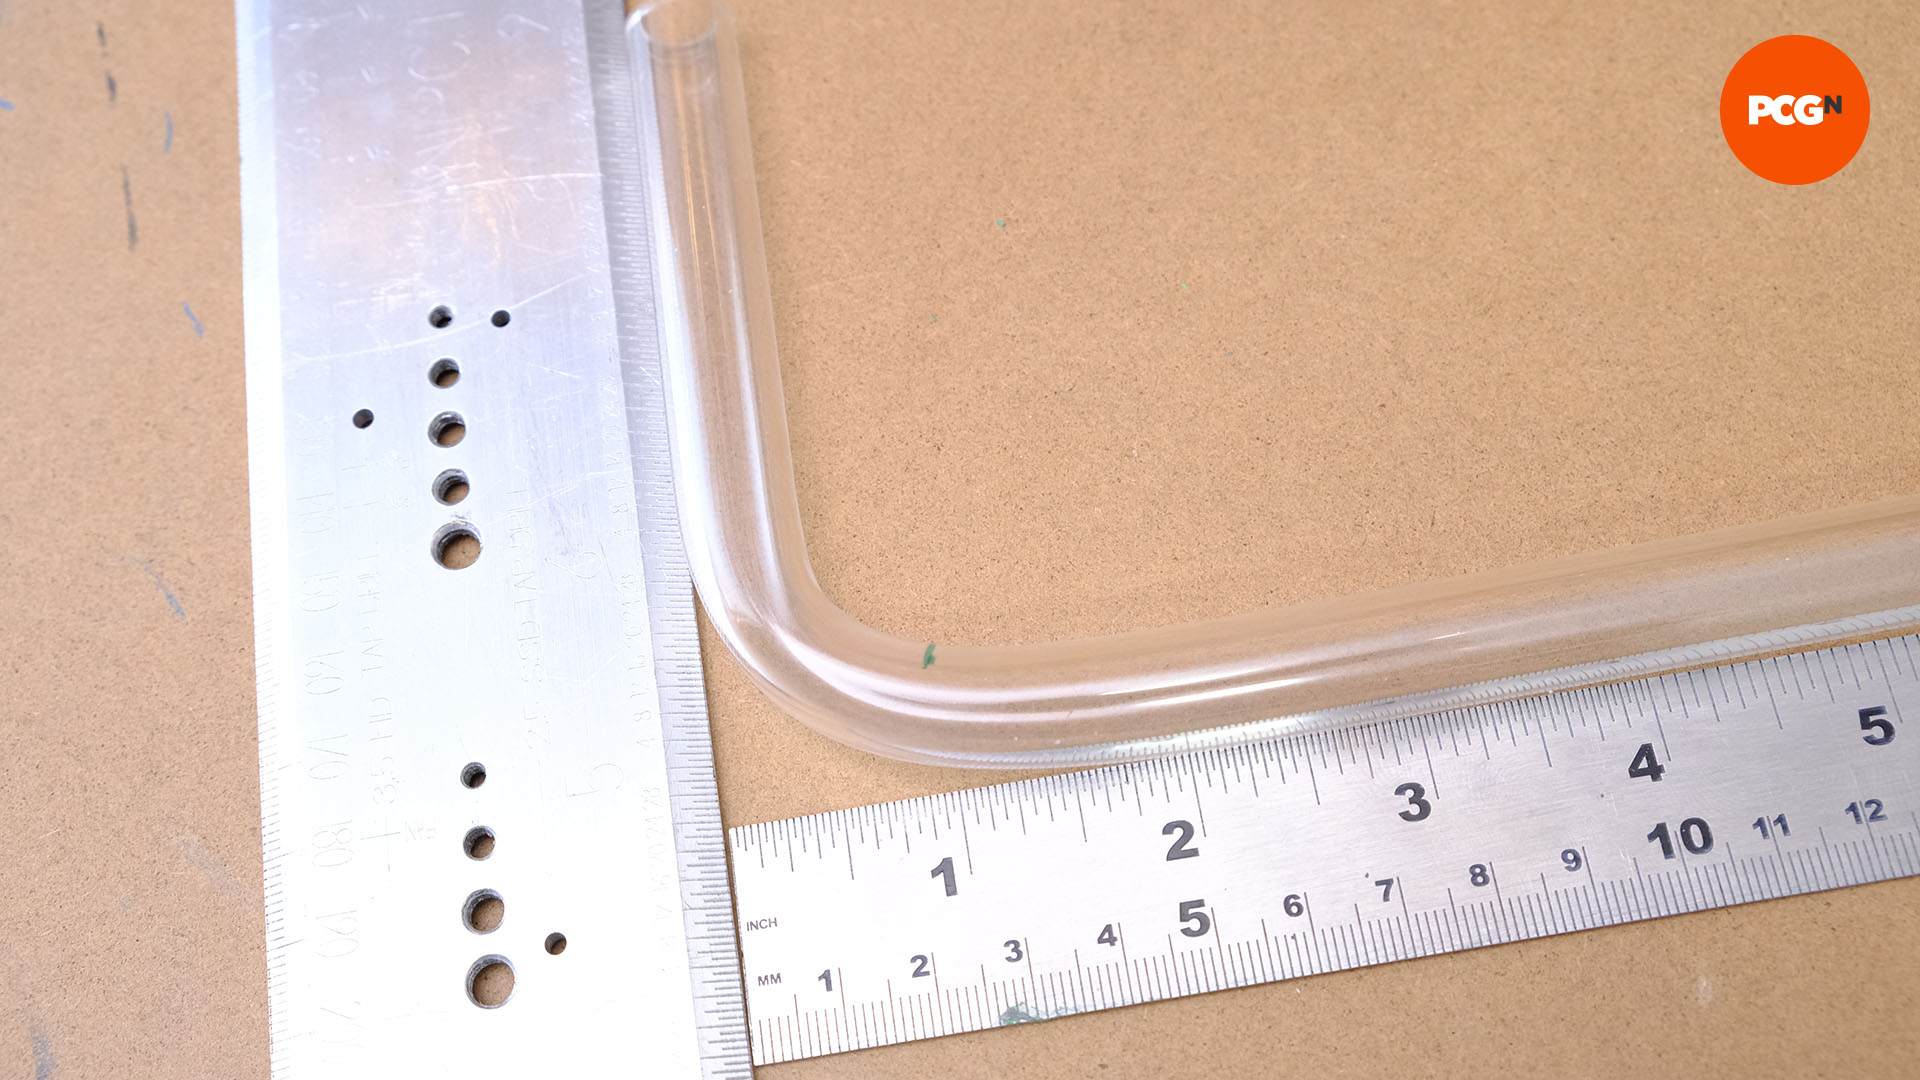
Inspect the bend using an angled object, or lay two rulers end-to-edge against each other and place the tube bend against them. You can then check that the tube lengths are correct to fit between the two ports you measured up earlier. If the tube is a bit too long, you can cut it to size with a hacksaw to get a clean cut – make sure it’s millimeter-perfect.
12. Install tubing
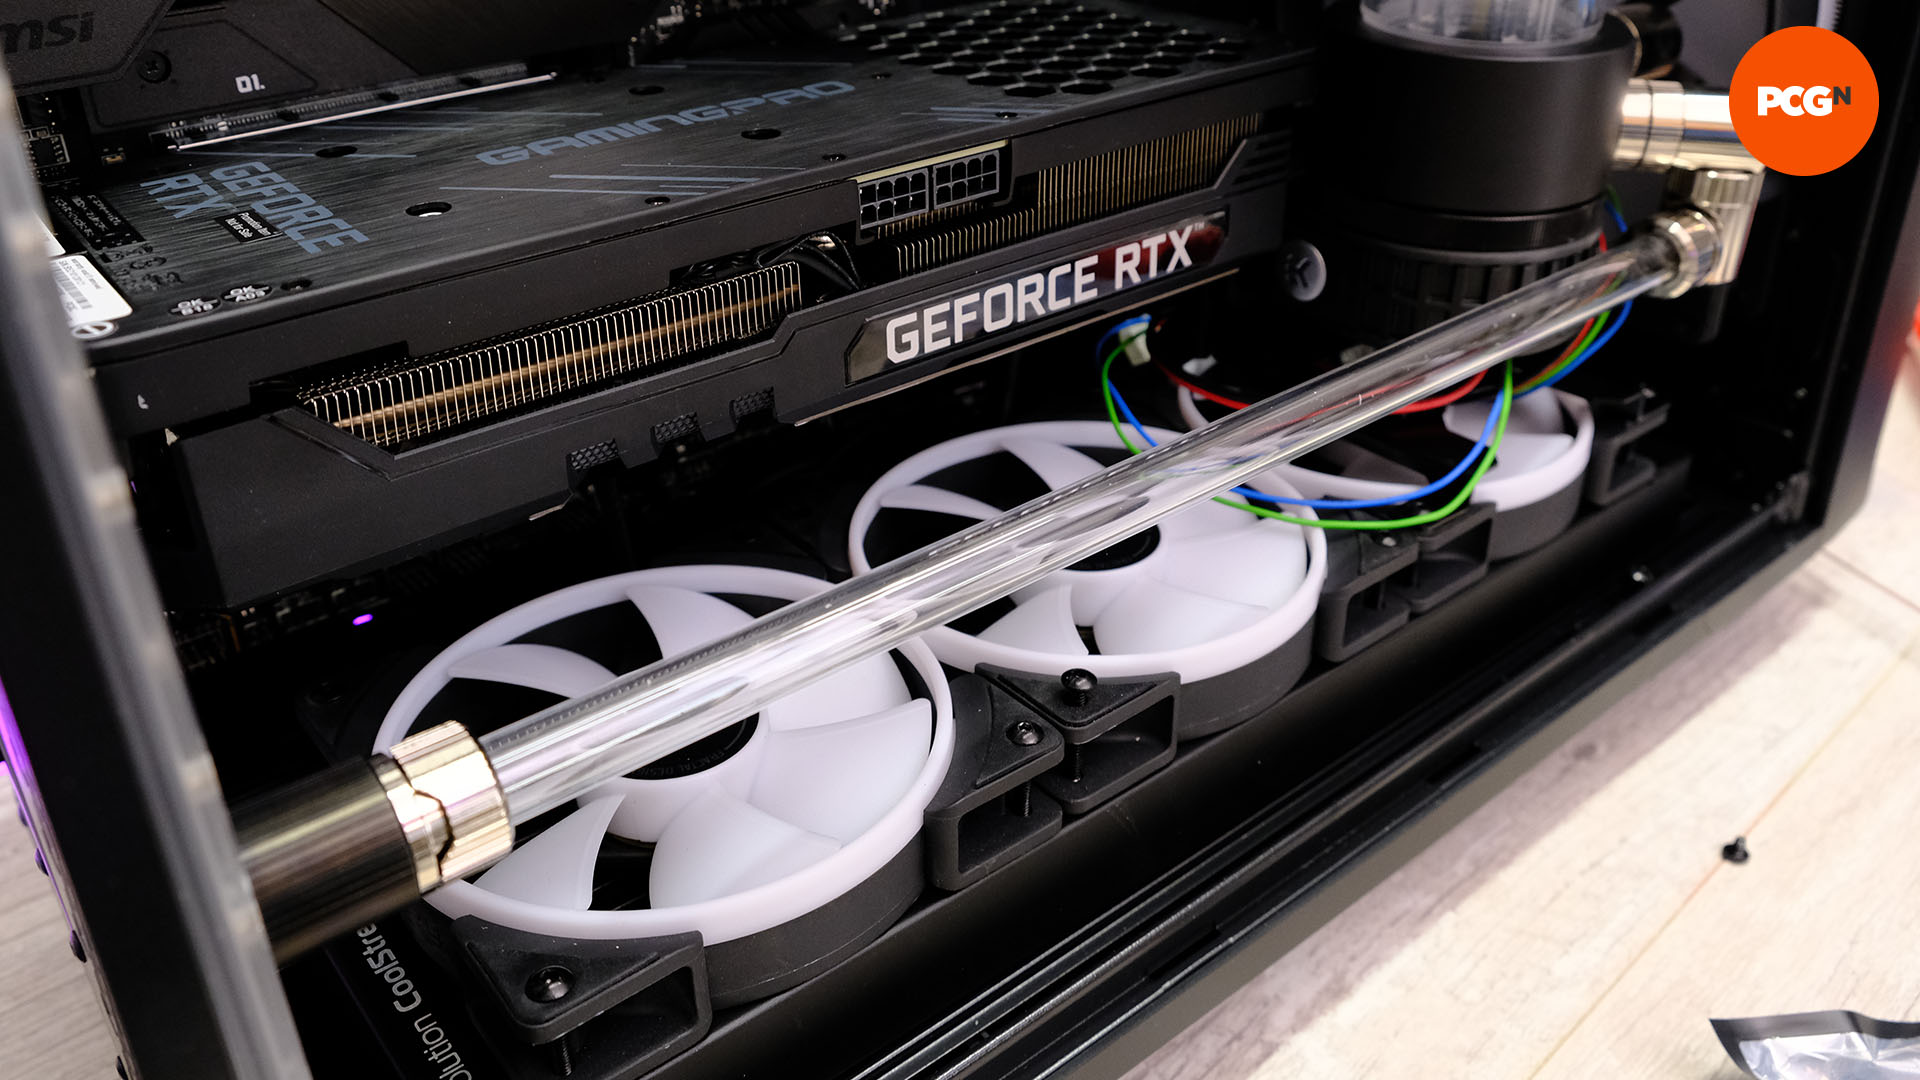
Once you’re satisfied, remove the tube insert and install the tubing. You often need to apply a good deal of force to acrylic tubing to get it to slide into the fitting – twisting it can help too. Just make sure you feel it slide in and, if in doubt, pull out the tube and see how far it was inserted.
That’s it for our guide to working with hard tubing. If you’re planning to build a gaming PC, but use some of your old water cooling gear, make sure you also check out how to clean a waterblock tutorial.
