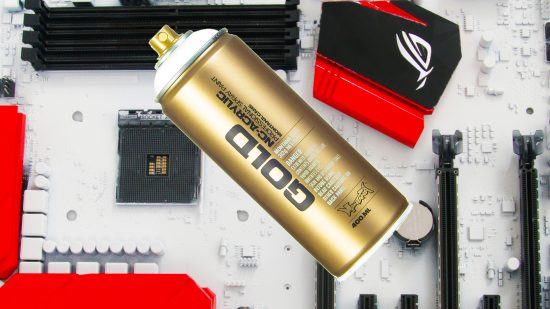
In this guide, we’ll show you how to paint a motherboard in your own choice of color. Your motherboard might sport RGB lighting, but that’s usually the only way you can customize it to add a splash of color. However, it’s easy to spice up your board further using spray paints.
Traditional spray paints are easy to use and, as we’re only talking about small areas, you don’t need to be an expert to get a good finish, nor do you need a huge amount of space. As long as you have a well-ventilated area, you can spray the various removable parts of your motherboard in a host of different colors, and even spray the PCB itself.
Here’s how to spray paint your PC motherboard in 21 easy steps.
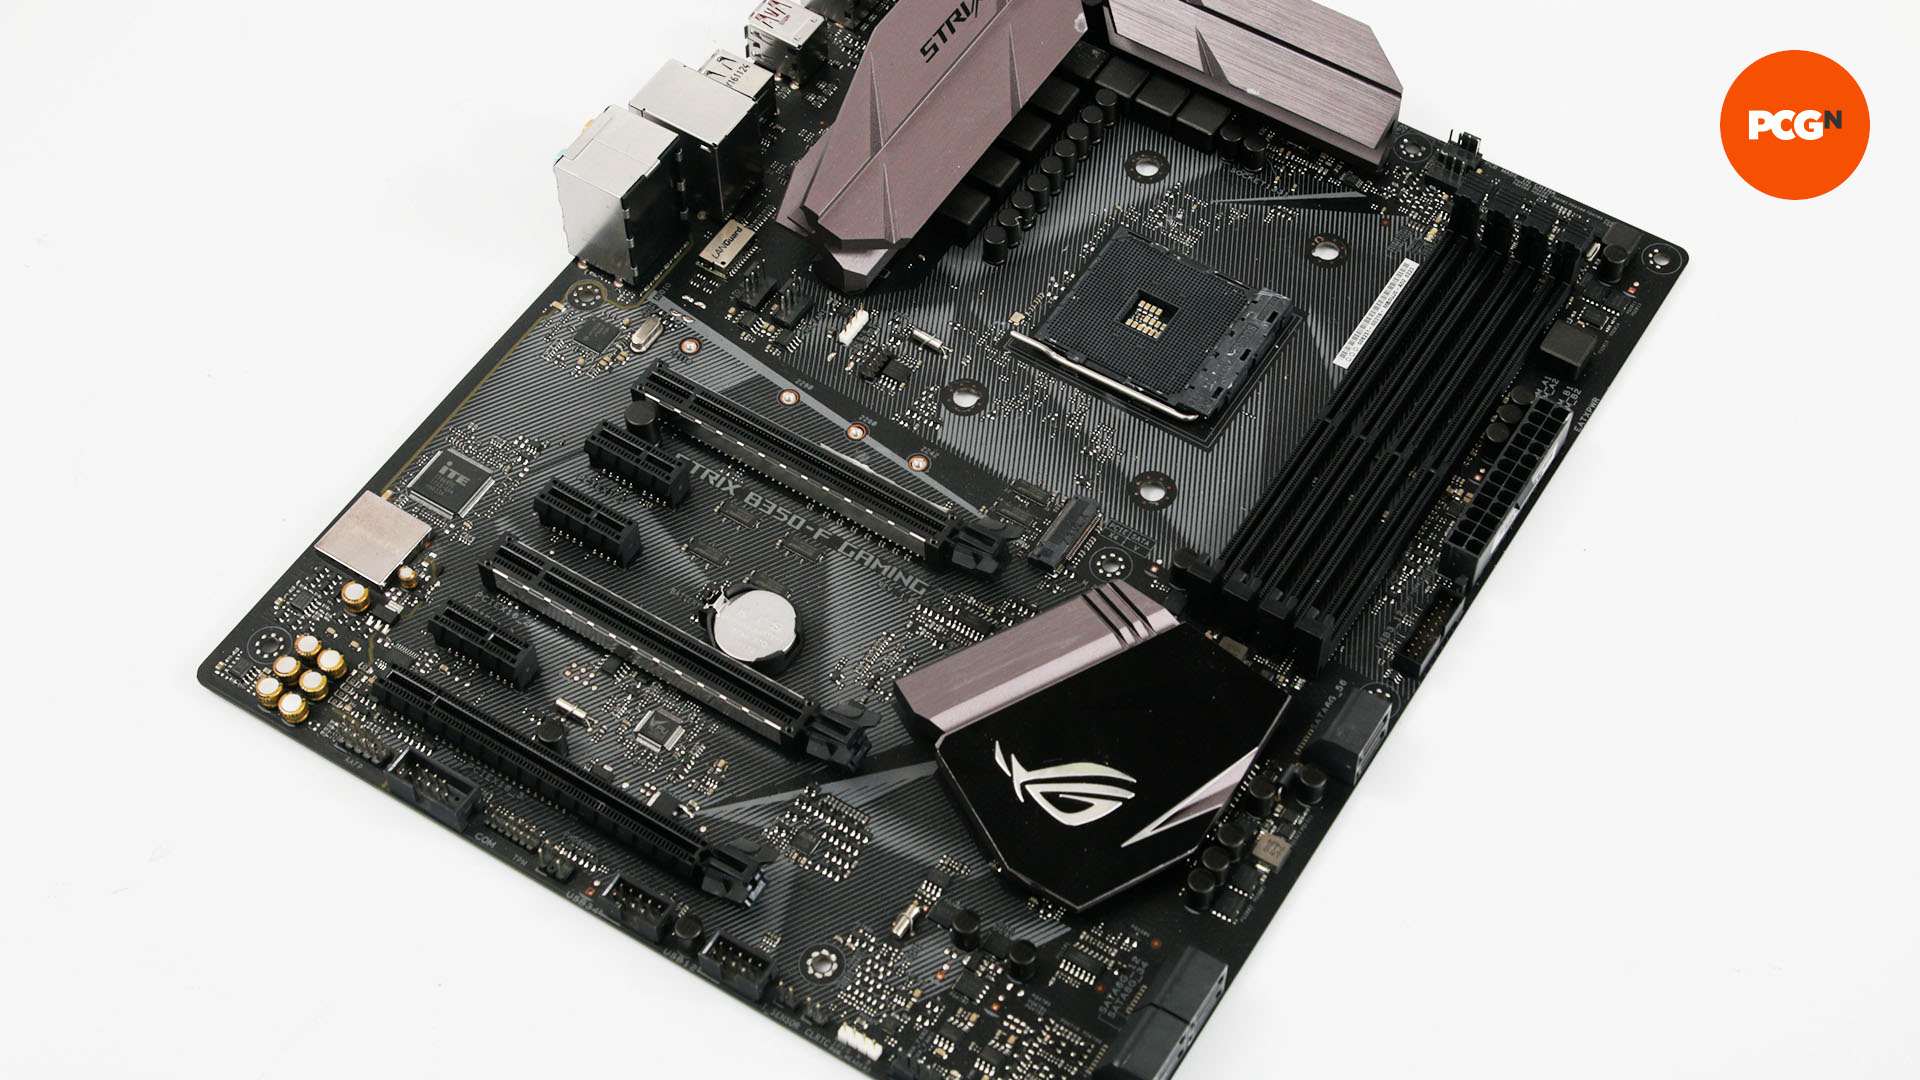
1. Identify paintable areas
Most large items on your motherboard can be painted, but you’ll need to check whether there are fans lodged inside heatsinks, or if there are displays on I/O shrouds, which you’ll need to mask later.
2. Use spray booth and protective gear
Wear a face mask and goggles in a ventilated area while spraying, and it’s also worth donning some gloves. We recommend creating a booth to contain fumes, and also to protect your objects while they dry. A mini plastic greenhouse is ideal and also relatively cheap.
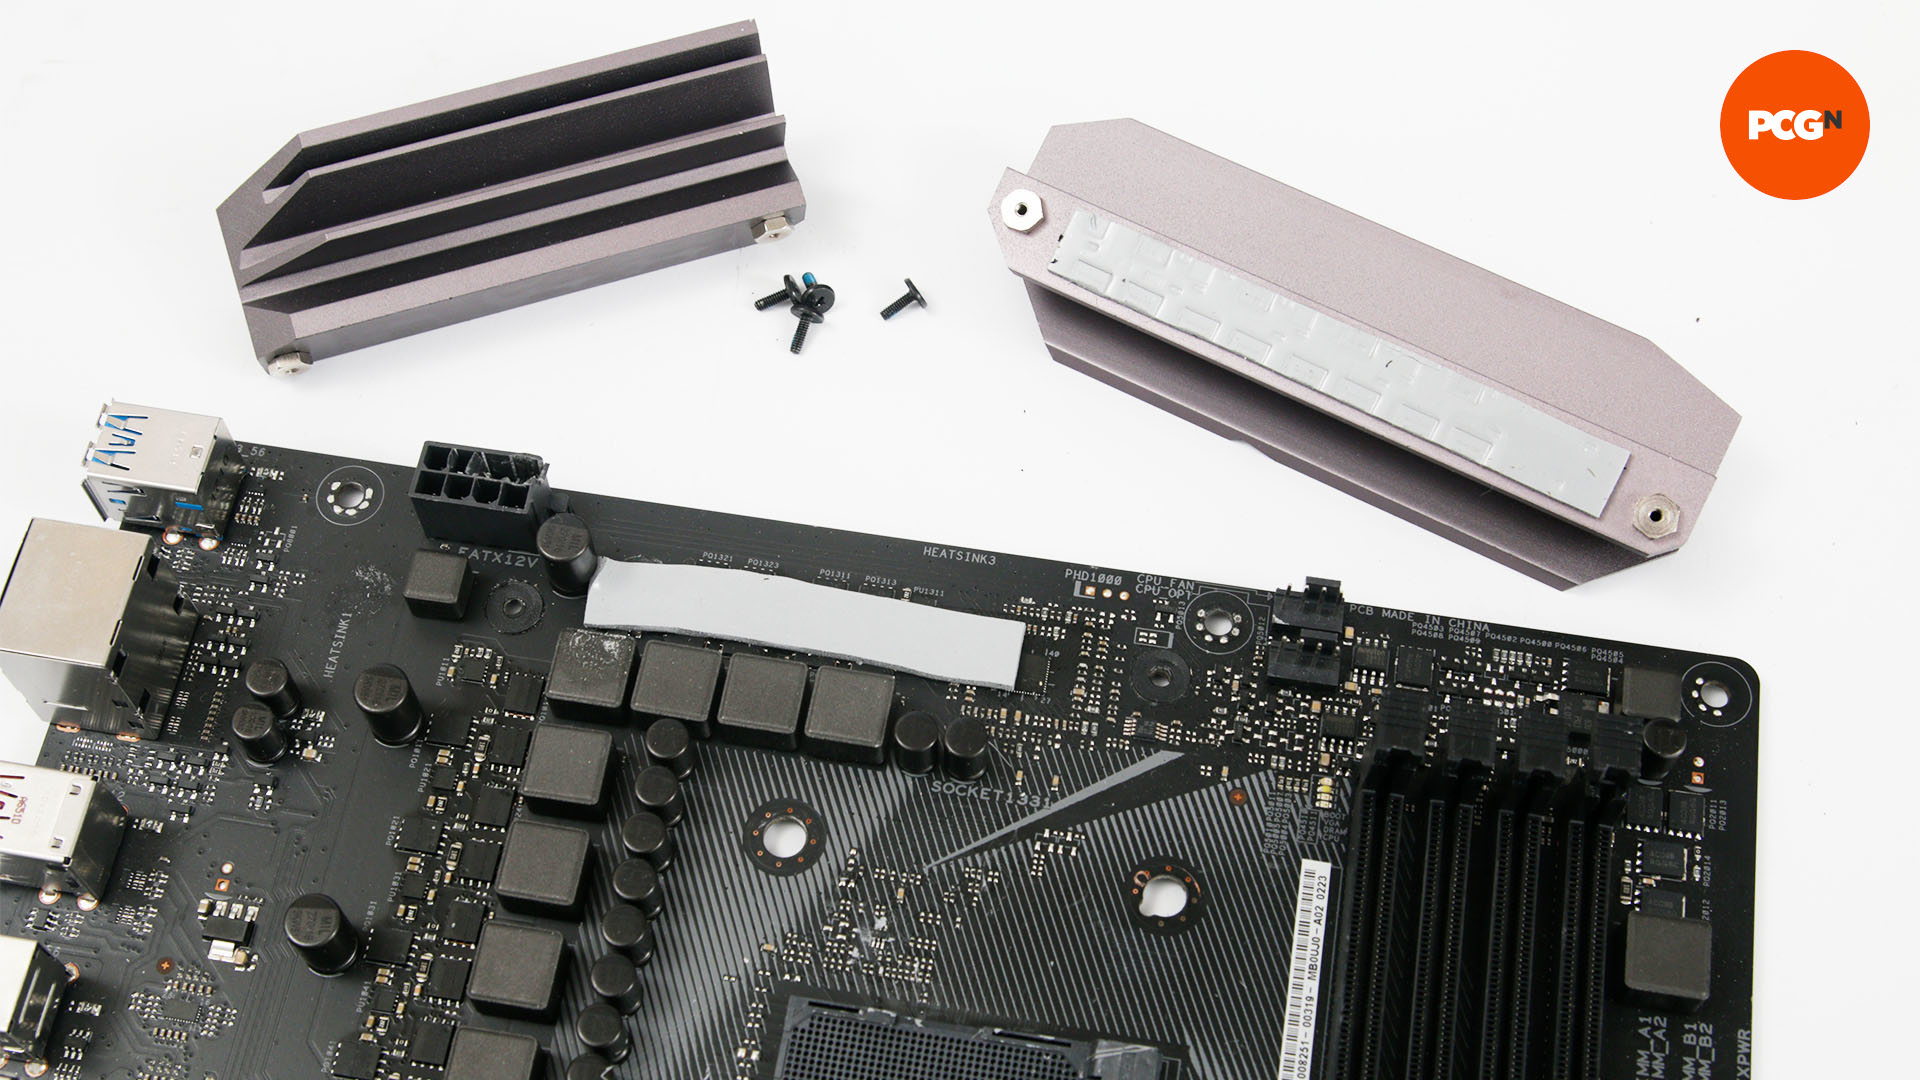
3. Remove heatsinks
Remove your heatsink screws, taking care to support the heatsinks from the top side. Sometimes the heatsinks can be tricky to remove, as the thermal paste acts like glue. Use a hairdryer on full power from close range in 15-second bursts until the heatsink warms enough to dislodge the paste.
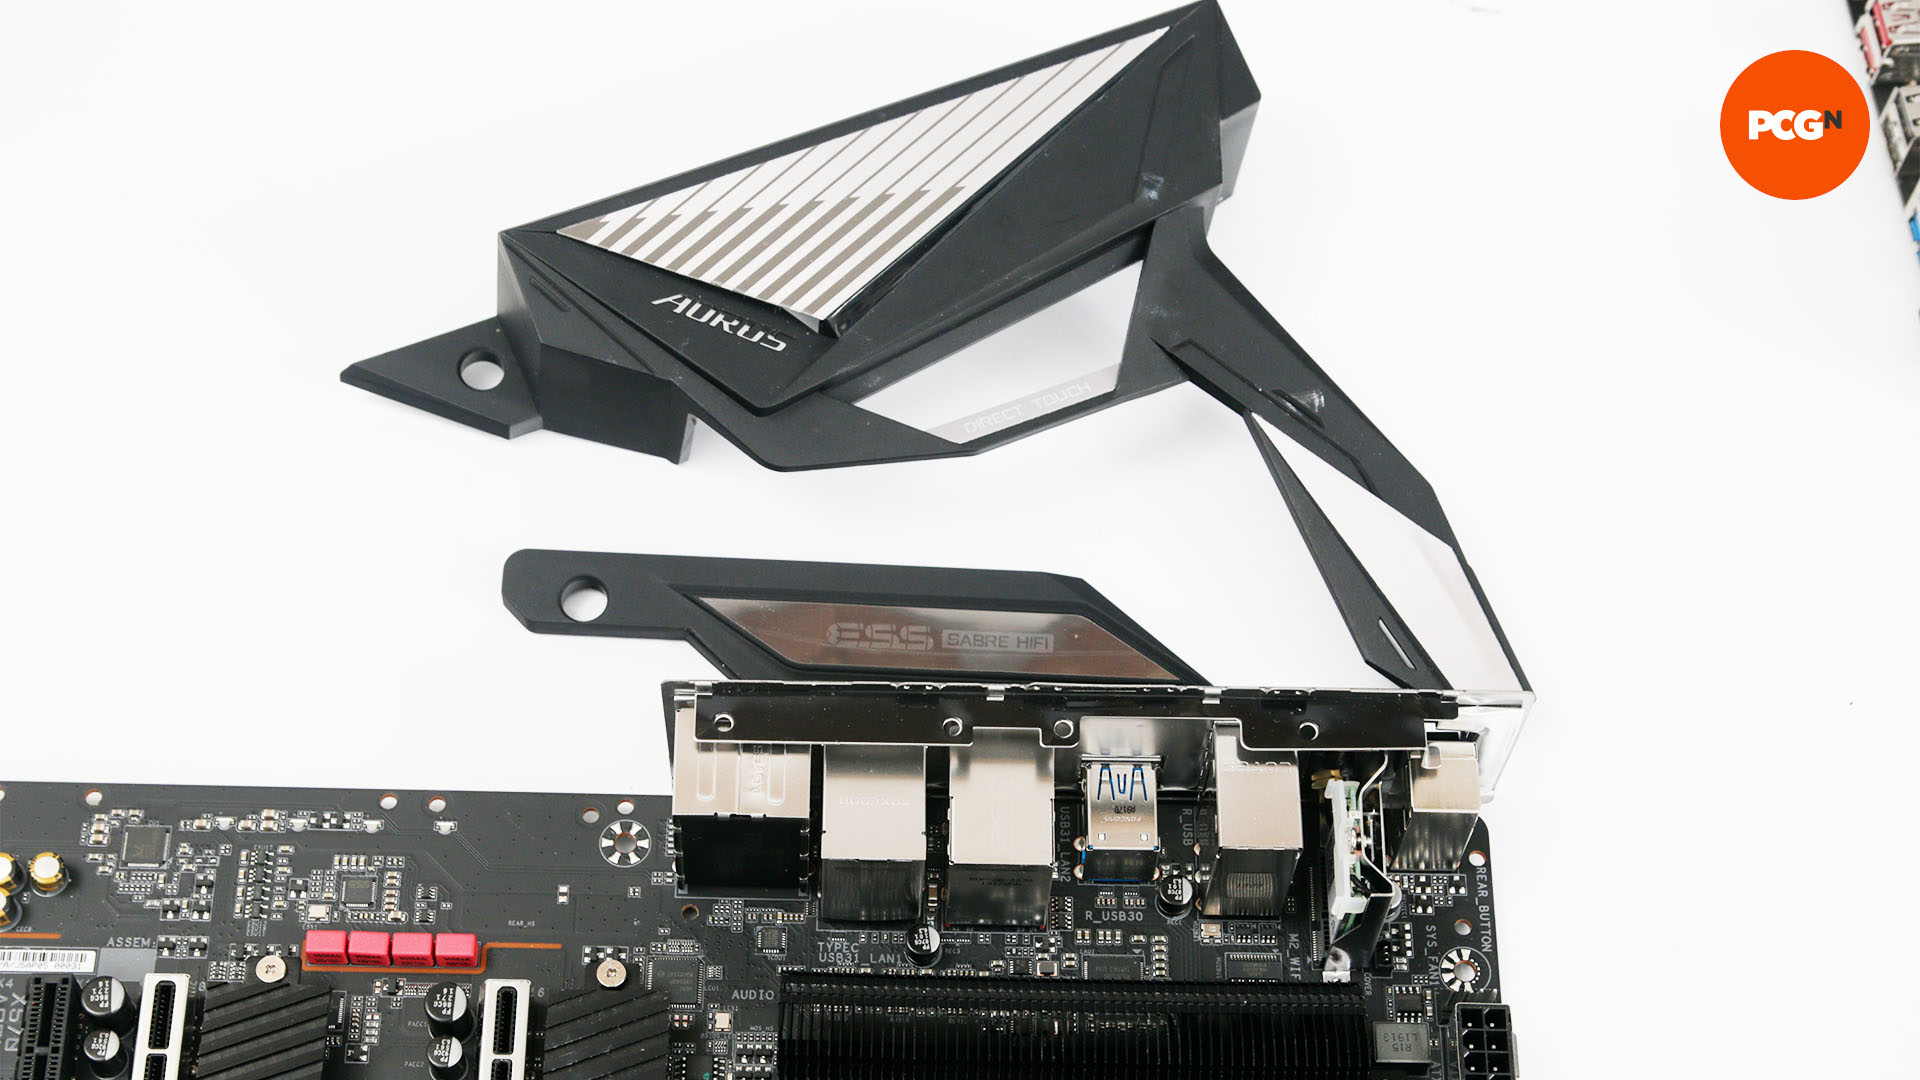
4. Remove I/O shroud
The I/O shroud is another easy item to paint, but some premium motherboards have fans and OLED displays lodged within them, so take care when removing it, disconnecting any cables underneath it.
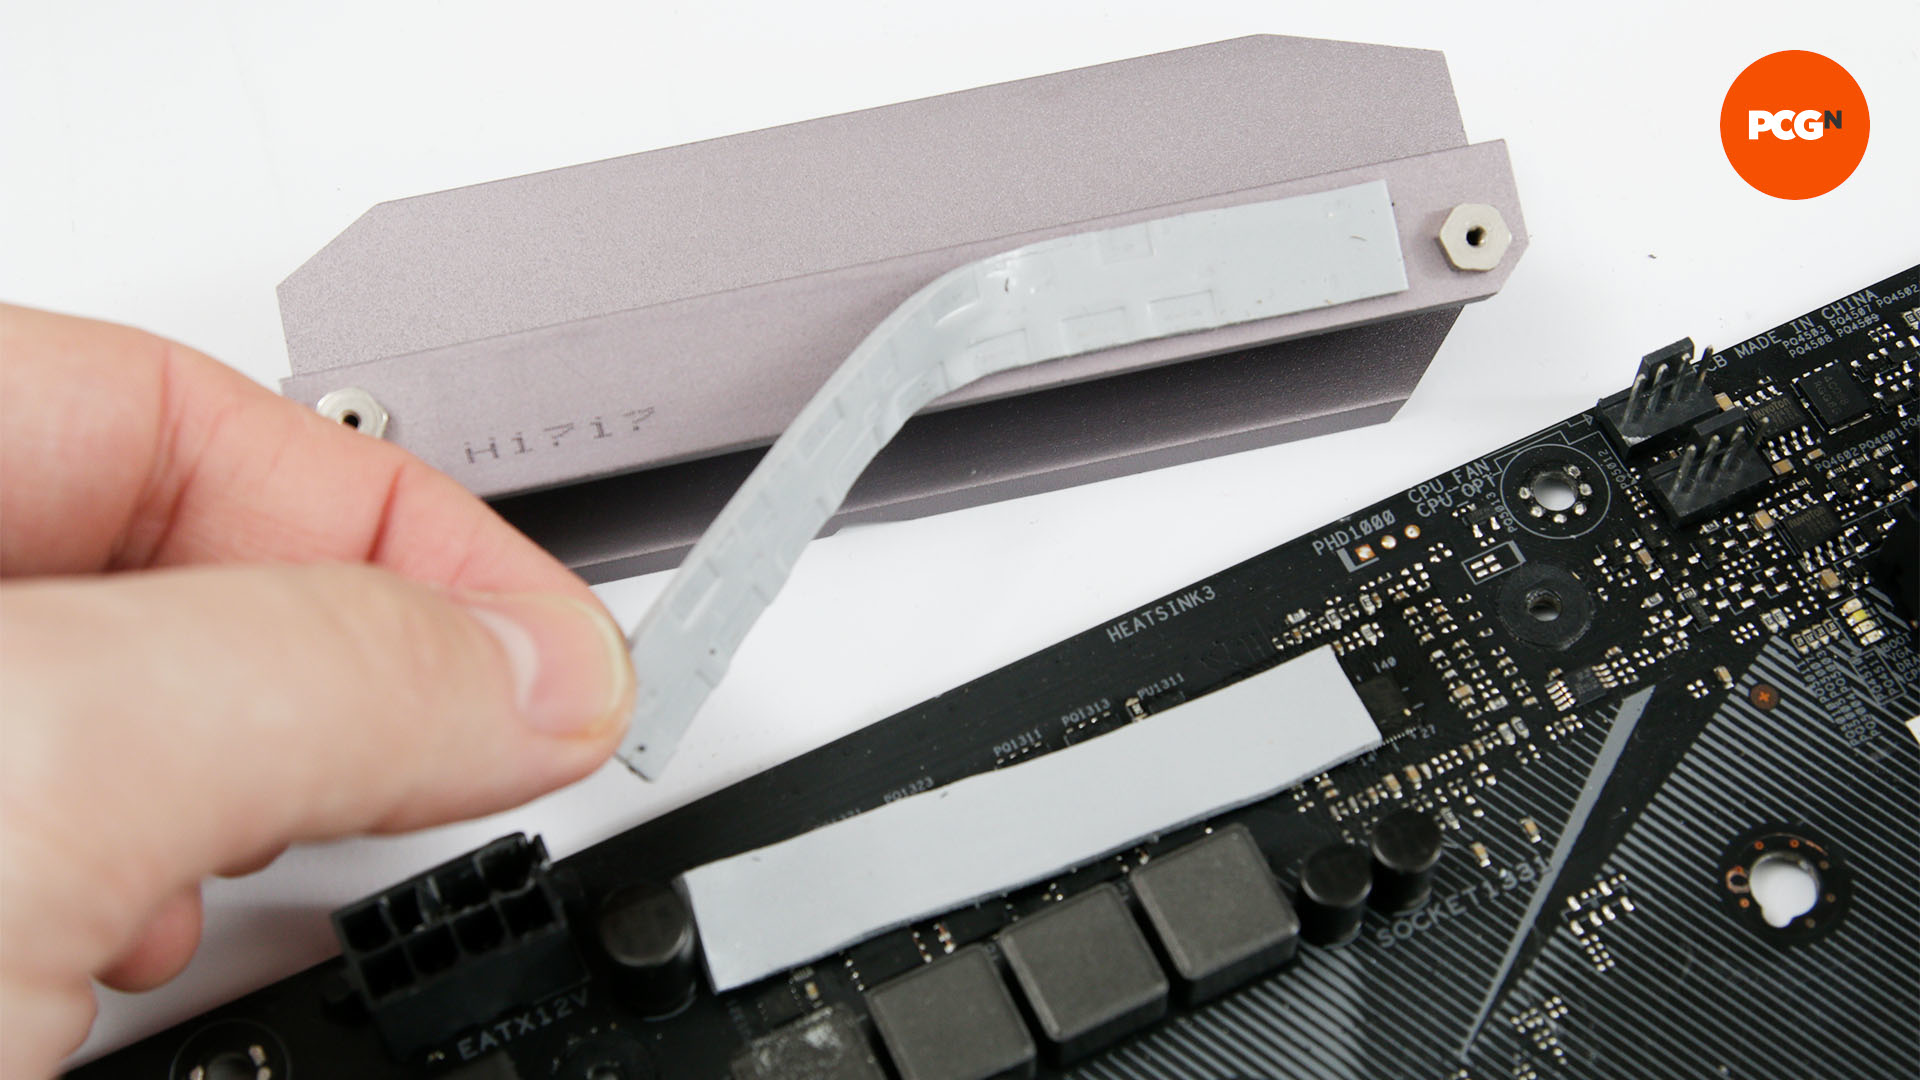
5. Remove thermal pads
Heatsinks, especially those on VRMs, often use thermal pads rather than paste for heat transfer. Keep these pads in good condition, so you can replace them later. If you’re just spraying the heatsinks, place the pads in their corresponding positions on the motherboard.
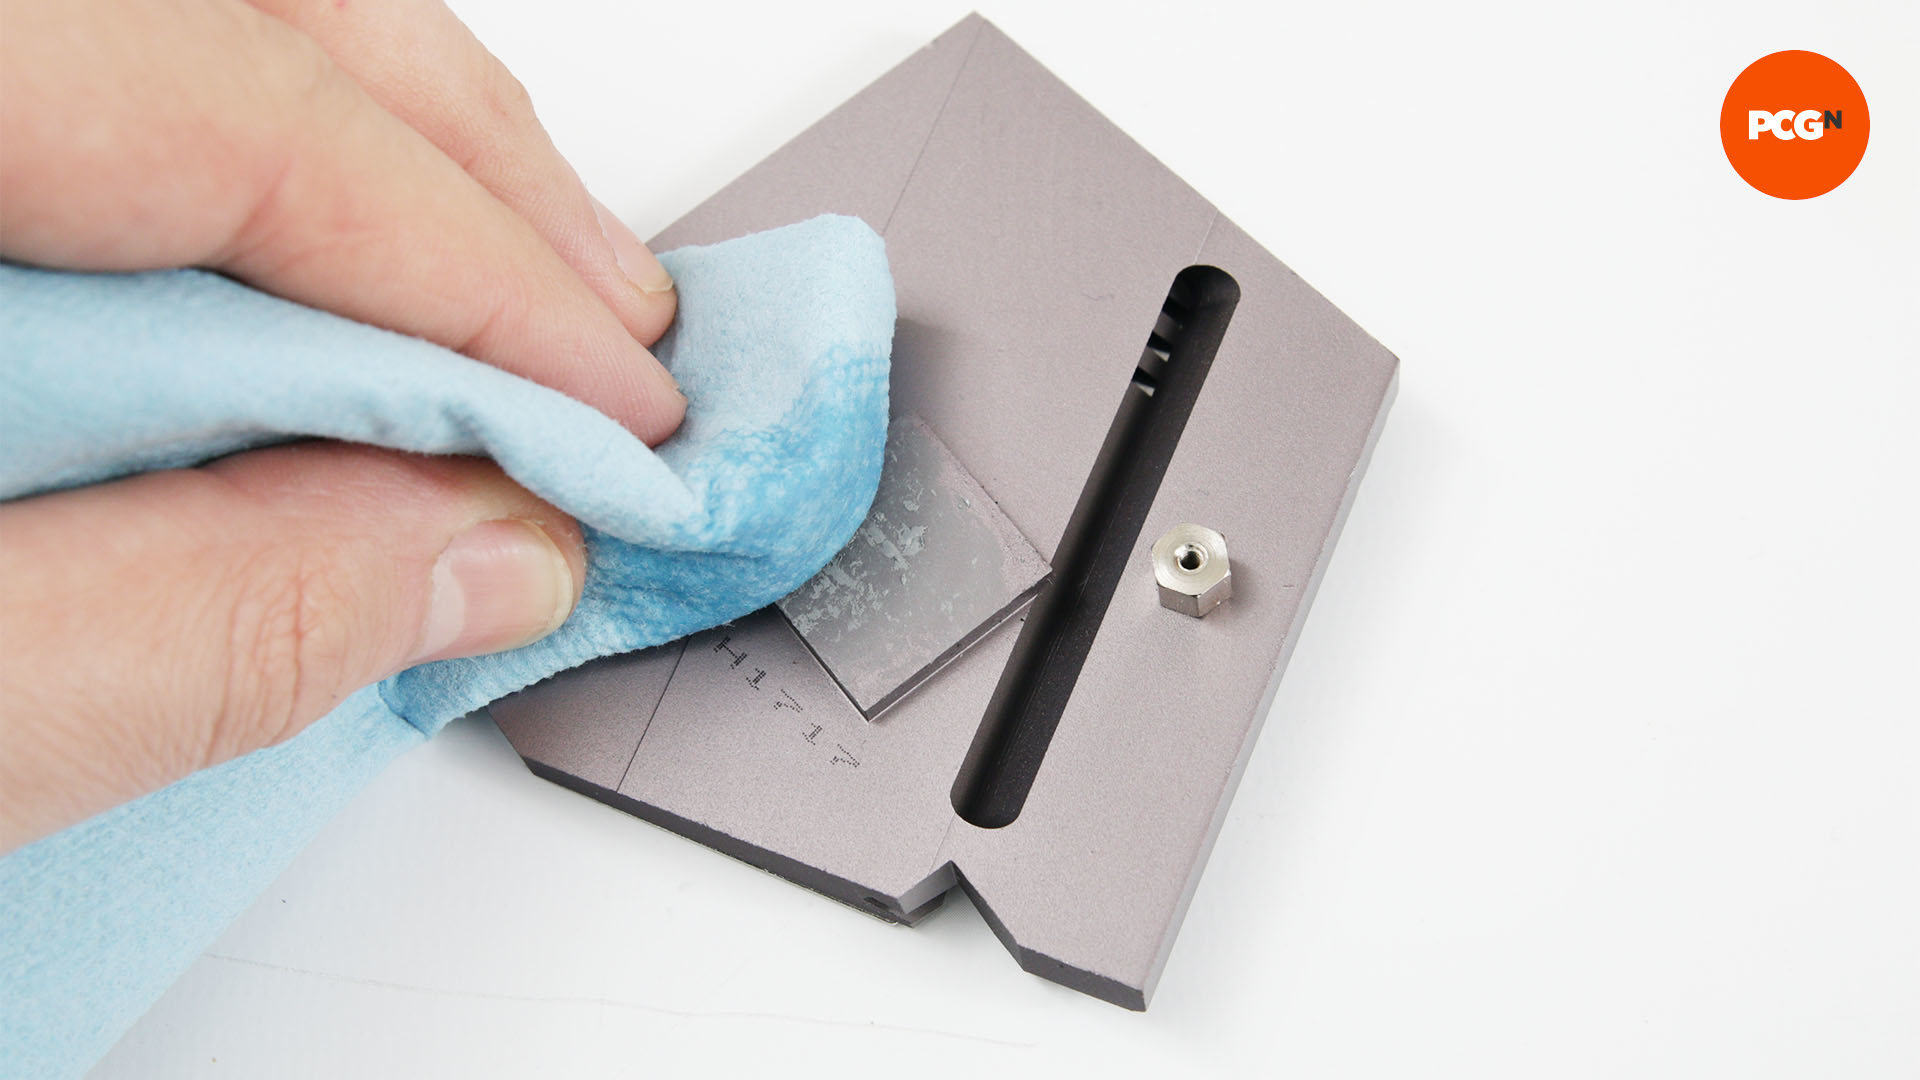
6. Clean thermal paste
Any thermal paste needs to be cleaned off the chips or VRMs, as well as the heatsinks, using a microfibre cloth and either TIM cleaner or isopropyl alcohol. This saves you getting covered in paste while you handle the parts, and replacing the stock paste with high-performing paste can improve heat transfer too.
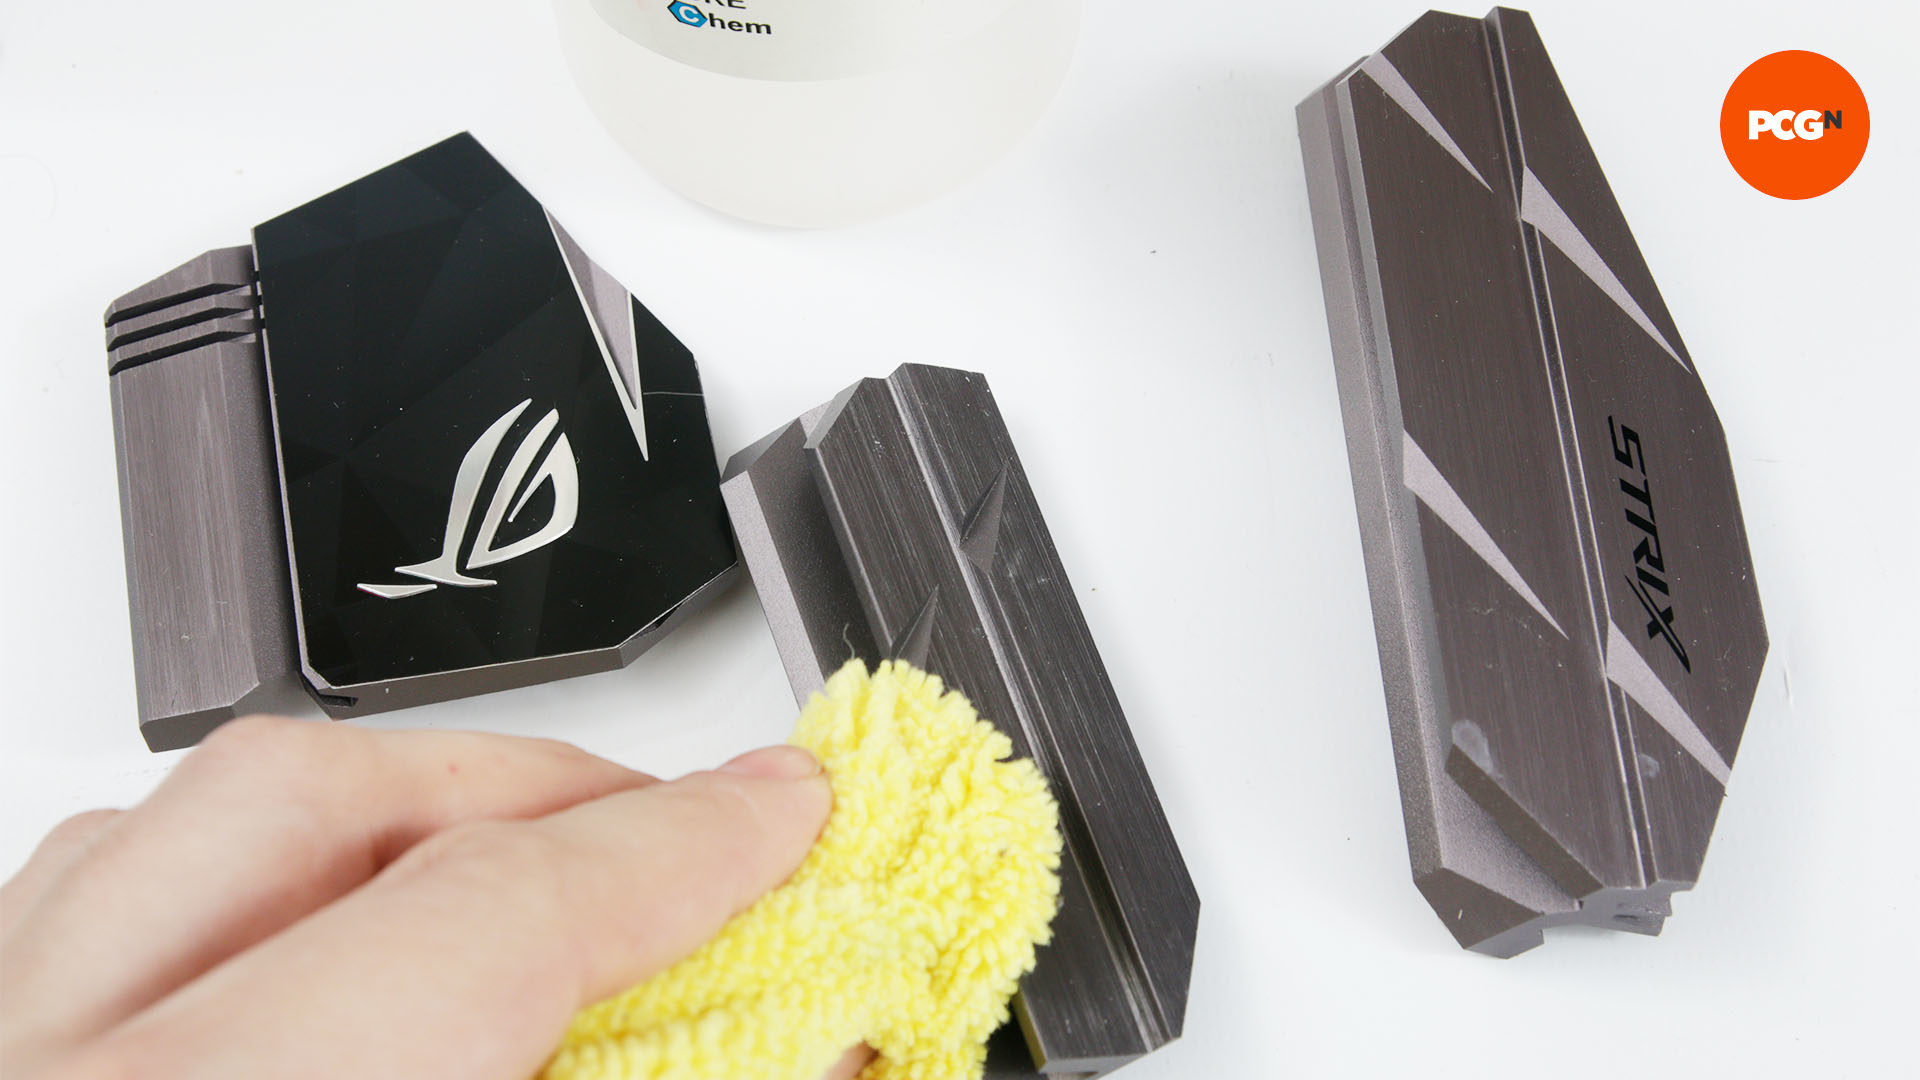
7. Clean heatsinks and IO shroud
Once you’ve removed the components, clean them up. They might look fine, but they’ll likely be covered in dust and any other small particles that have been blown through your PC. You can use diluted washing-up liquid and warm water, rinsed thoroughly with a cloth, or isopropyl alcohol.
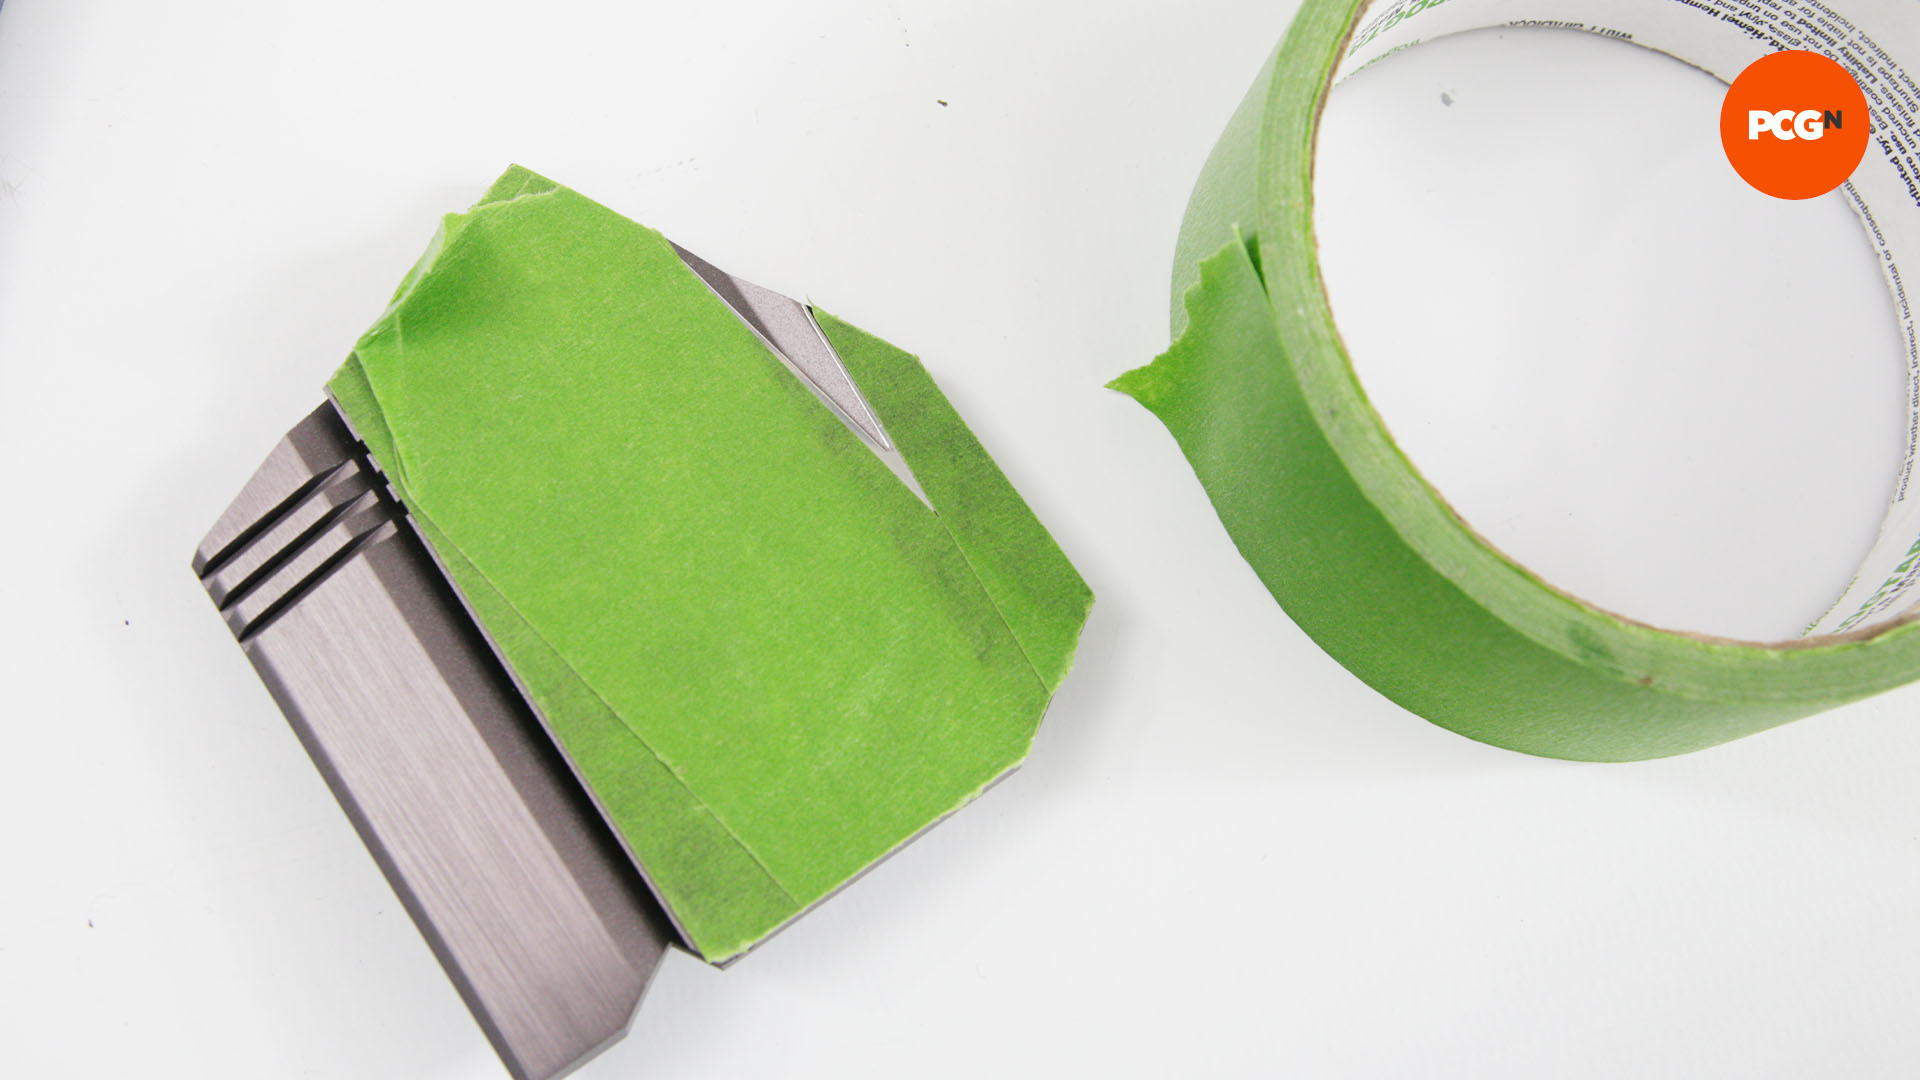
8. Mask heatsinks and IO shroud
You might not want to paint all the heatsinks and components. For example, there may be manufacturers’ logos or LED displays you want to avoid spraying, as well as thermal contact areas. Cut frog tape to size, so you can mask these parts and, if necessary, use edging tape for large curved areas.
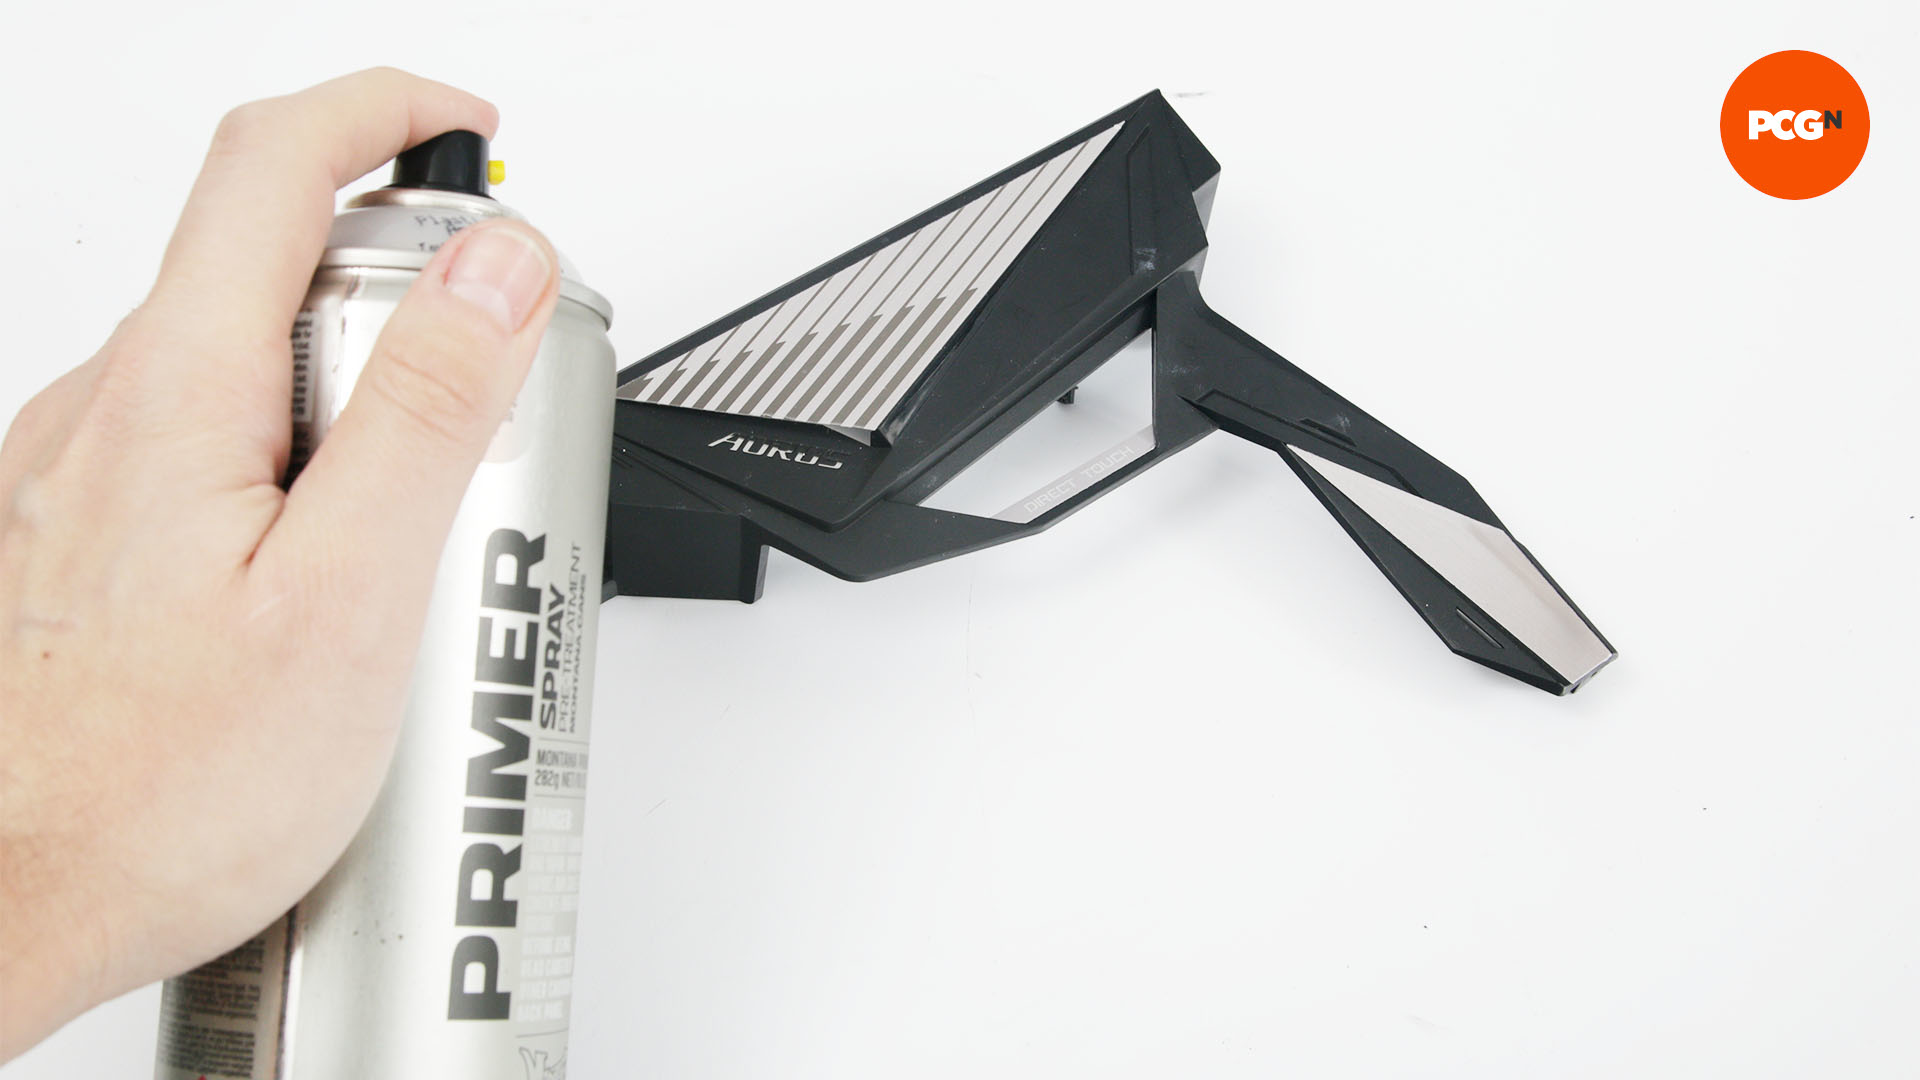
9. Use plastic primer
Some plastics don’t offer a great surface for spray paint to adhere to, but there is a way around this problem by using plastic primer. This primer bonds to the plastic and gives the spray paint a textured matt surface to which the paint can stick.
10. Spray undercoat
Use a normal primer or undercoat on metal objects. This creates an even surface and uniform color before you add the color coat. Apply it in thin coats, spraying two or three times across the object from 8in away, and applying as many coats as necessary to cover it, turning the object to get into crevices.
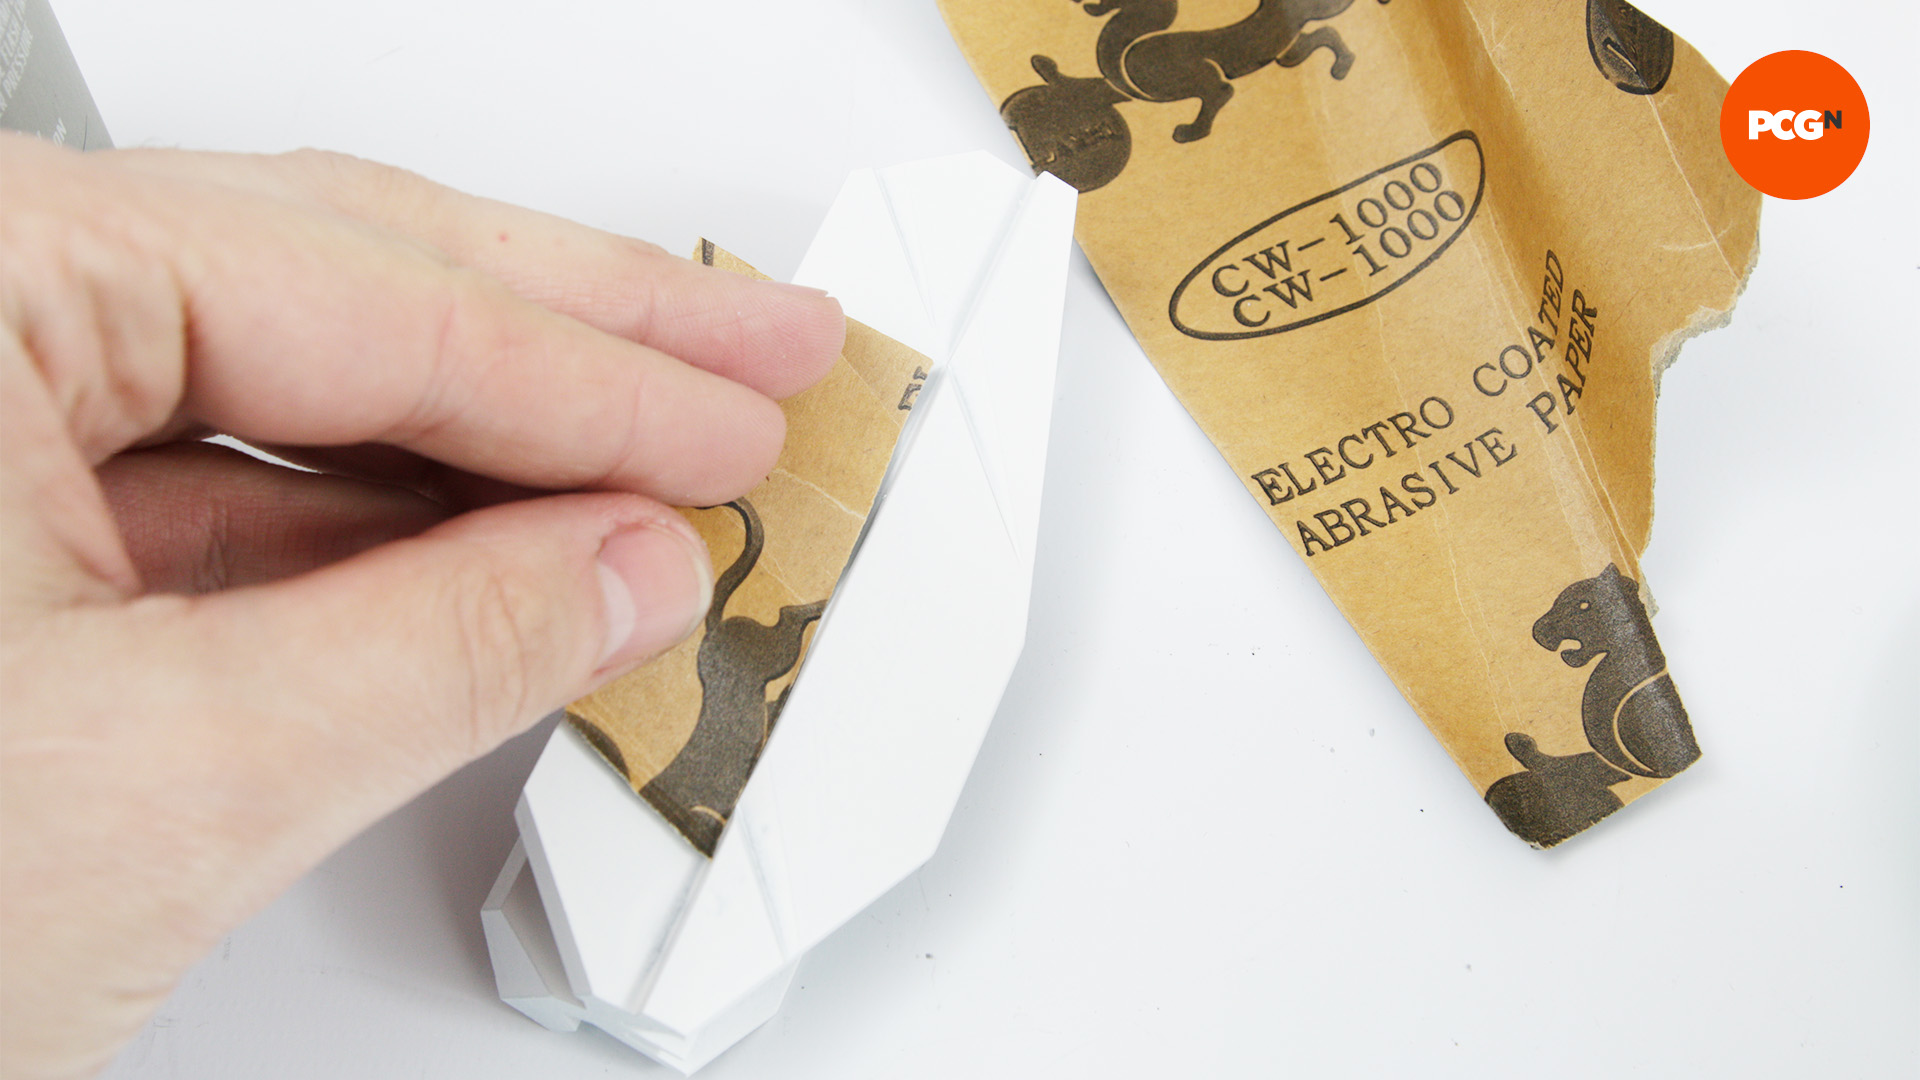
11. Use wet and dry sandpaper
Allow the primer to dry for an hour. Then, so you can achieve the smoothest surface as possible for your color coat, tear off small sections of 1,000-grit wet and dry sandpaper and use water to lubricate them. Rub them lightly for just ten seconds or so on each area of the object.
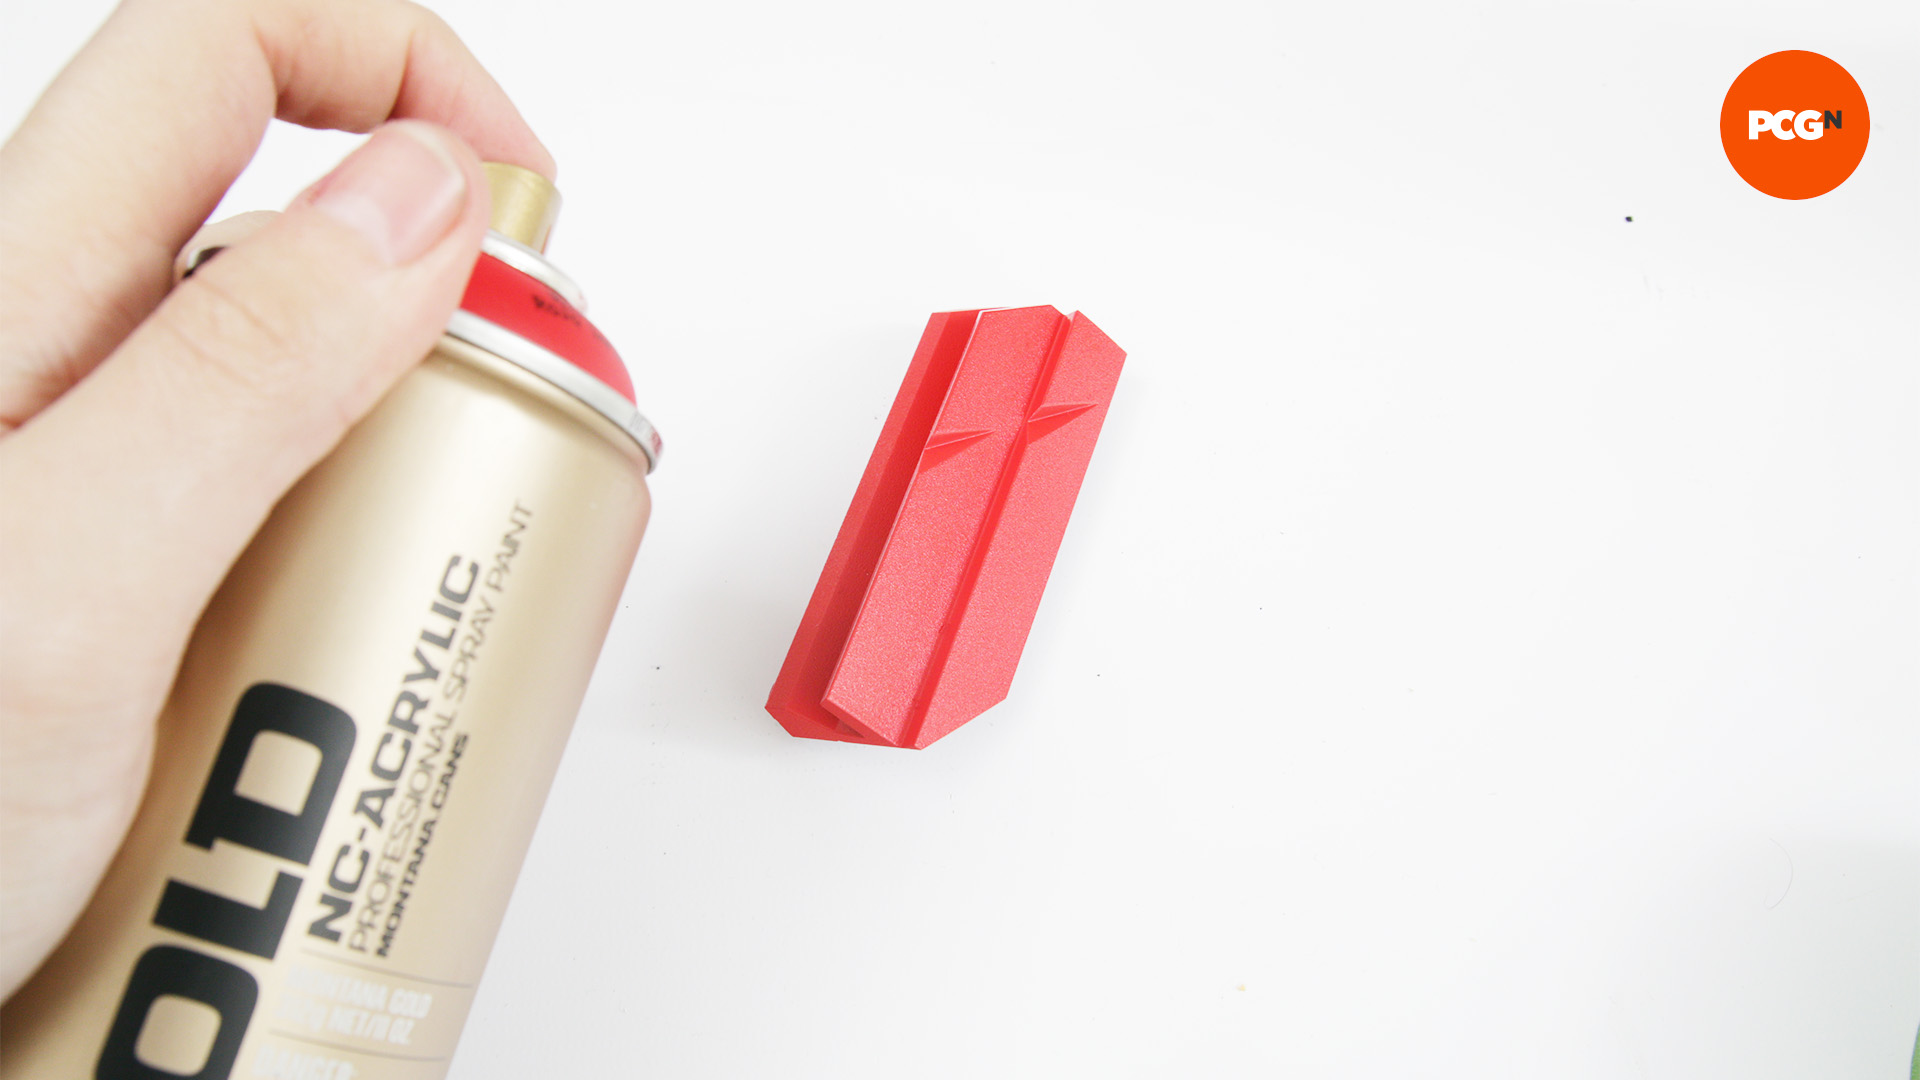
12. Spray color coat
Color coat has a tendency to run, which can be made worse on angled heatsinks, so apply it in multiple light layers, spraying from different angles and allowing each one to dry thoroughly. Once you’re done, remove the masking, as doing this job later can tear the paint. If necessary, reapply the masking prior to adding a clear coat.
13. Consider clear coat
Most gloss coats offer enough shine themselves and, as you won’t be banging into the motherboard on a regular basis, clear coat or lacquer isn’t strictly necessary. However, for more protection and the ultimate shine, it’s worth adding, and you only need two or three light coats.
14. Allow to dry
Once you’ve applied all your paint, allow the objects to dry naturally in a well-ventilated area for 48 hours before you handle them and reinstall them on your motherboard.
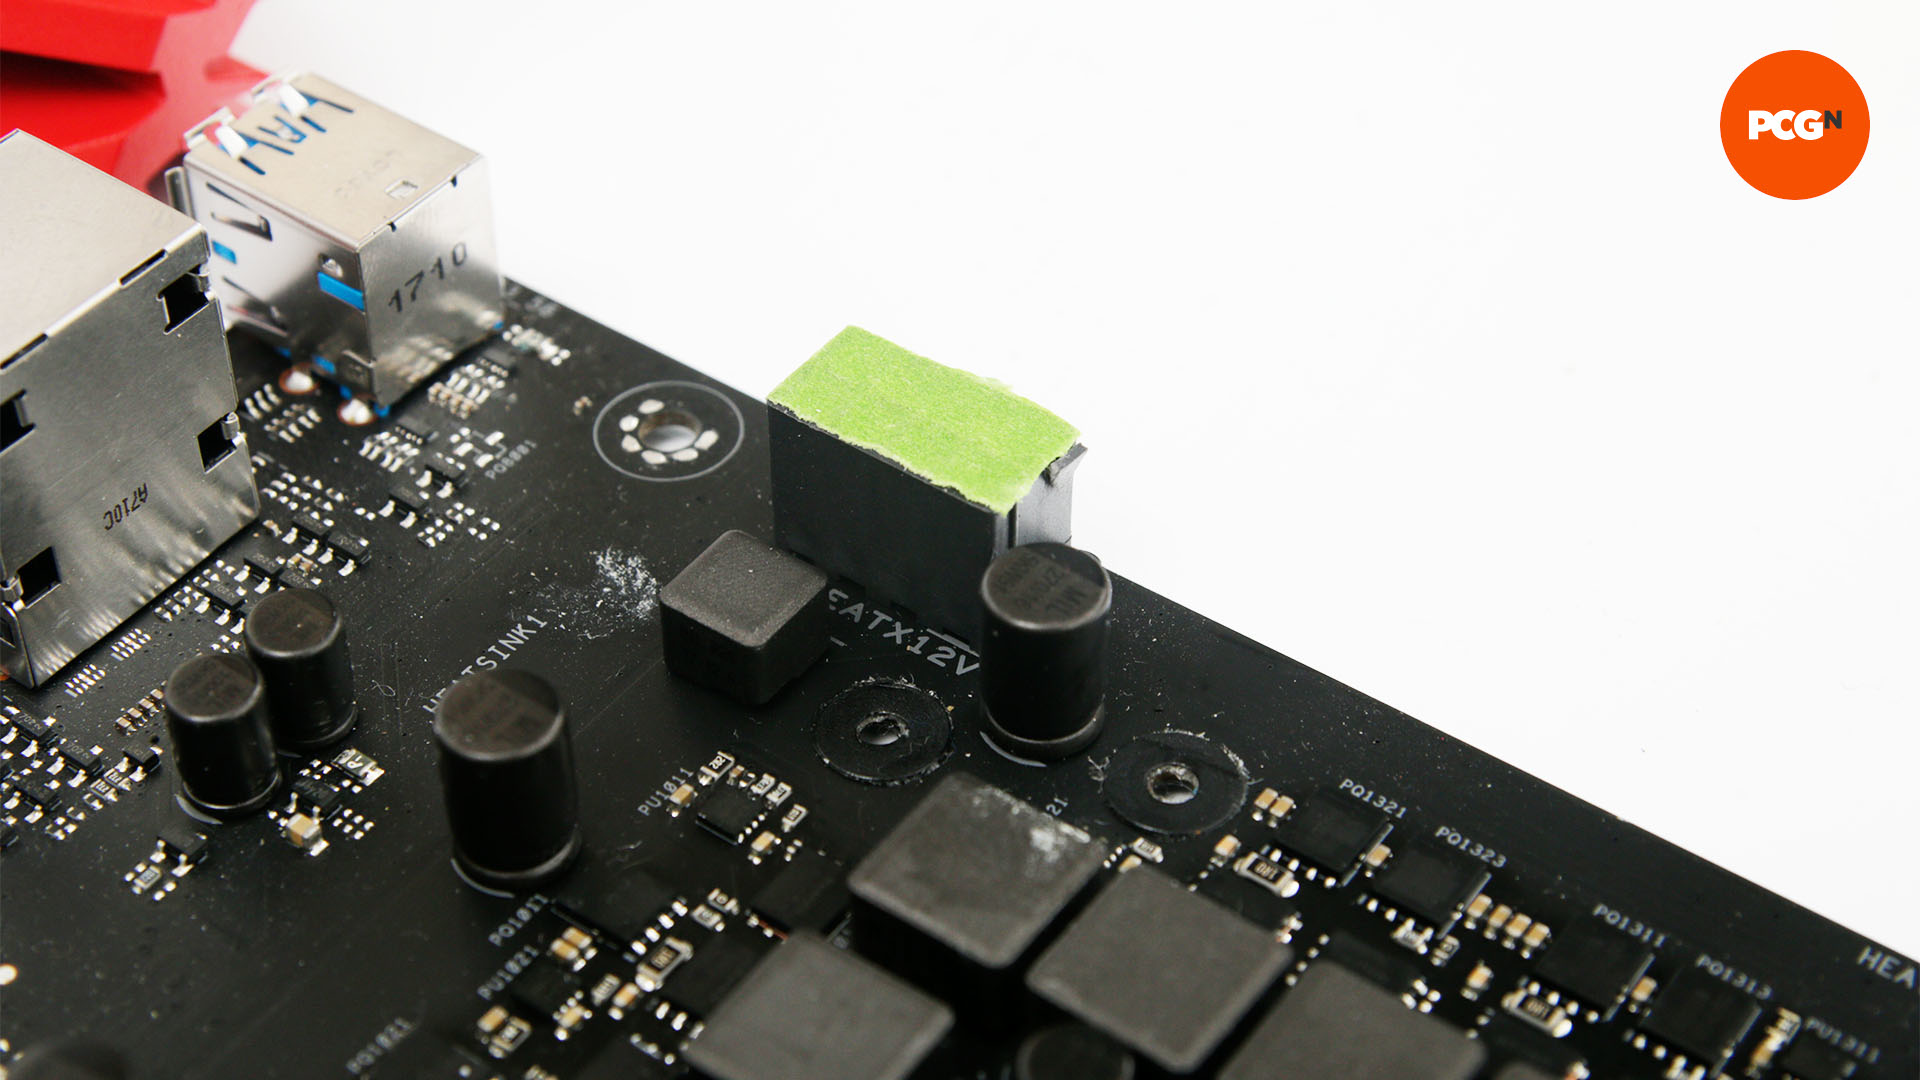
15. Mask power sockets
To spray your motherboard, you’ll need to mask all the important bits. Start by masking the port openings, although you can leave the covers of items such as SATA and USB 3 ports, if you want them to receive a coat of paint too.
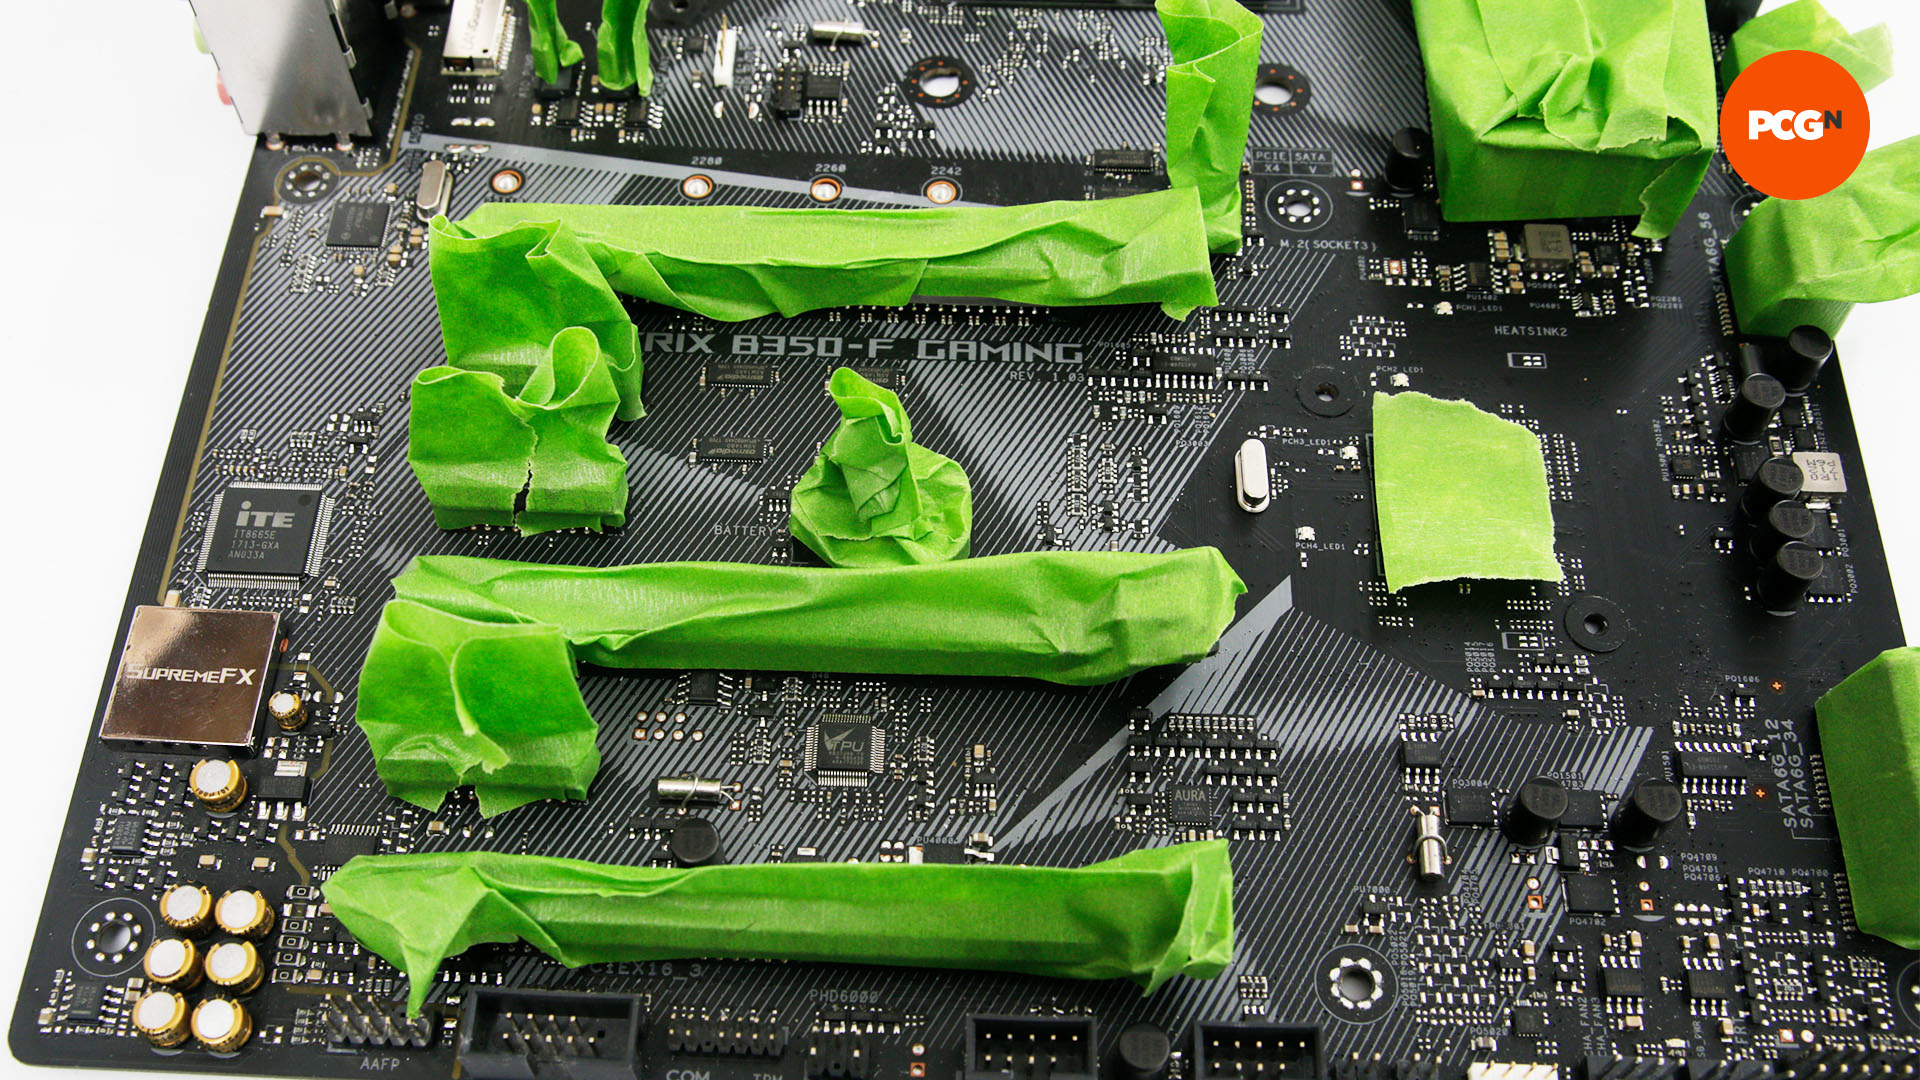
16. Mask slots
You’ll need to paint M.2 heatsinks separately, and you’ll also need to block off the M.2 ports themselves. To do this, wrap the entire connector in frog tape from the base up. Don’t risk paint running into the port itself. Similarly, you will also need to cover any PCIe slots.
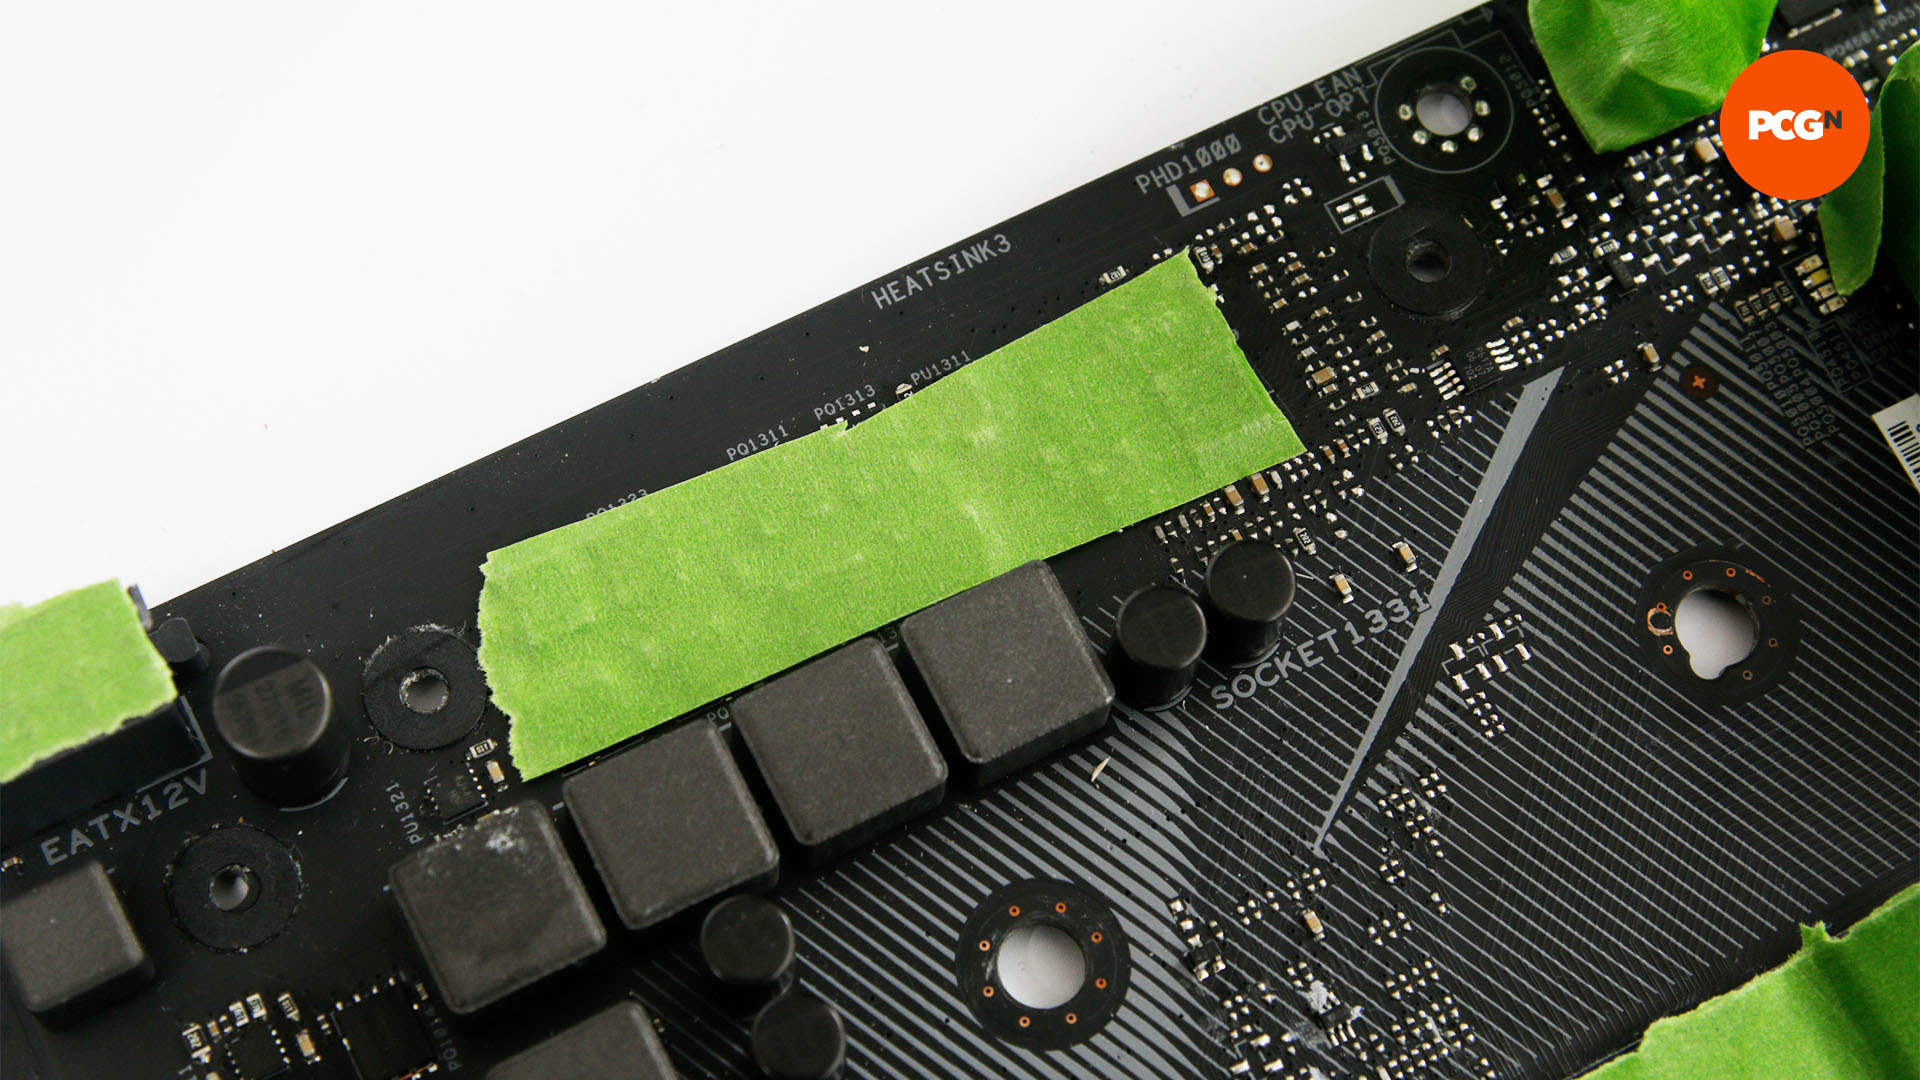
17. Mask heatsink contacts
Just as with the heatsinks themselves, cover any VRMs, chipsets or other hotspots that need good thermal contact with the heatsinks, so they don’t get paint on them.
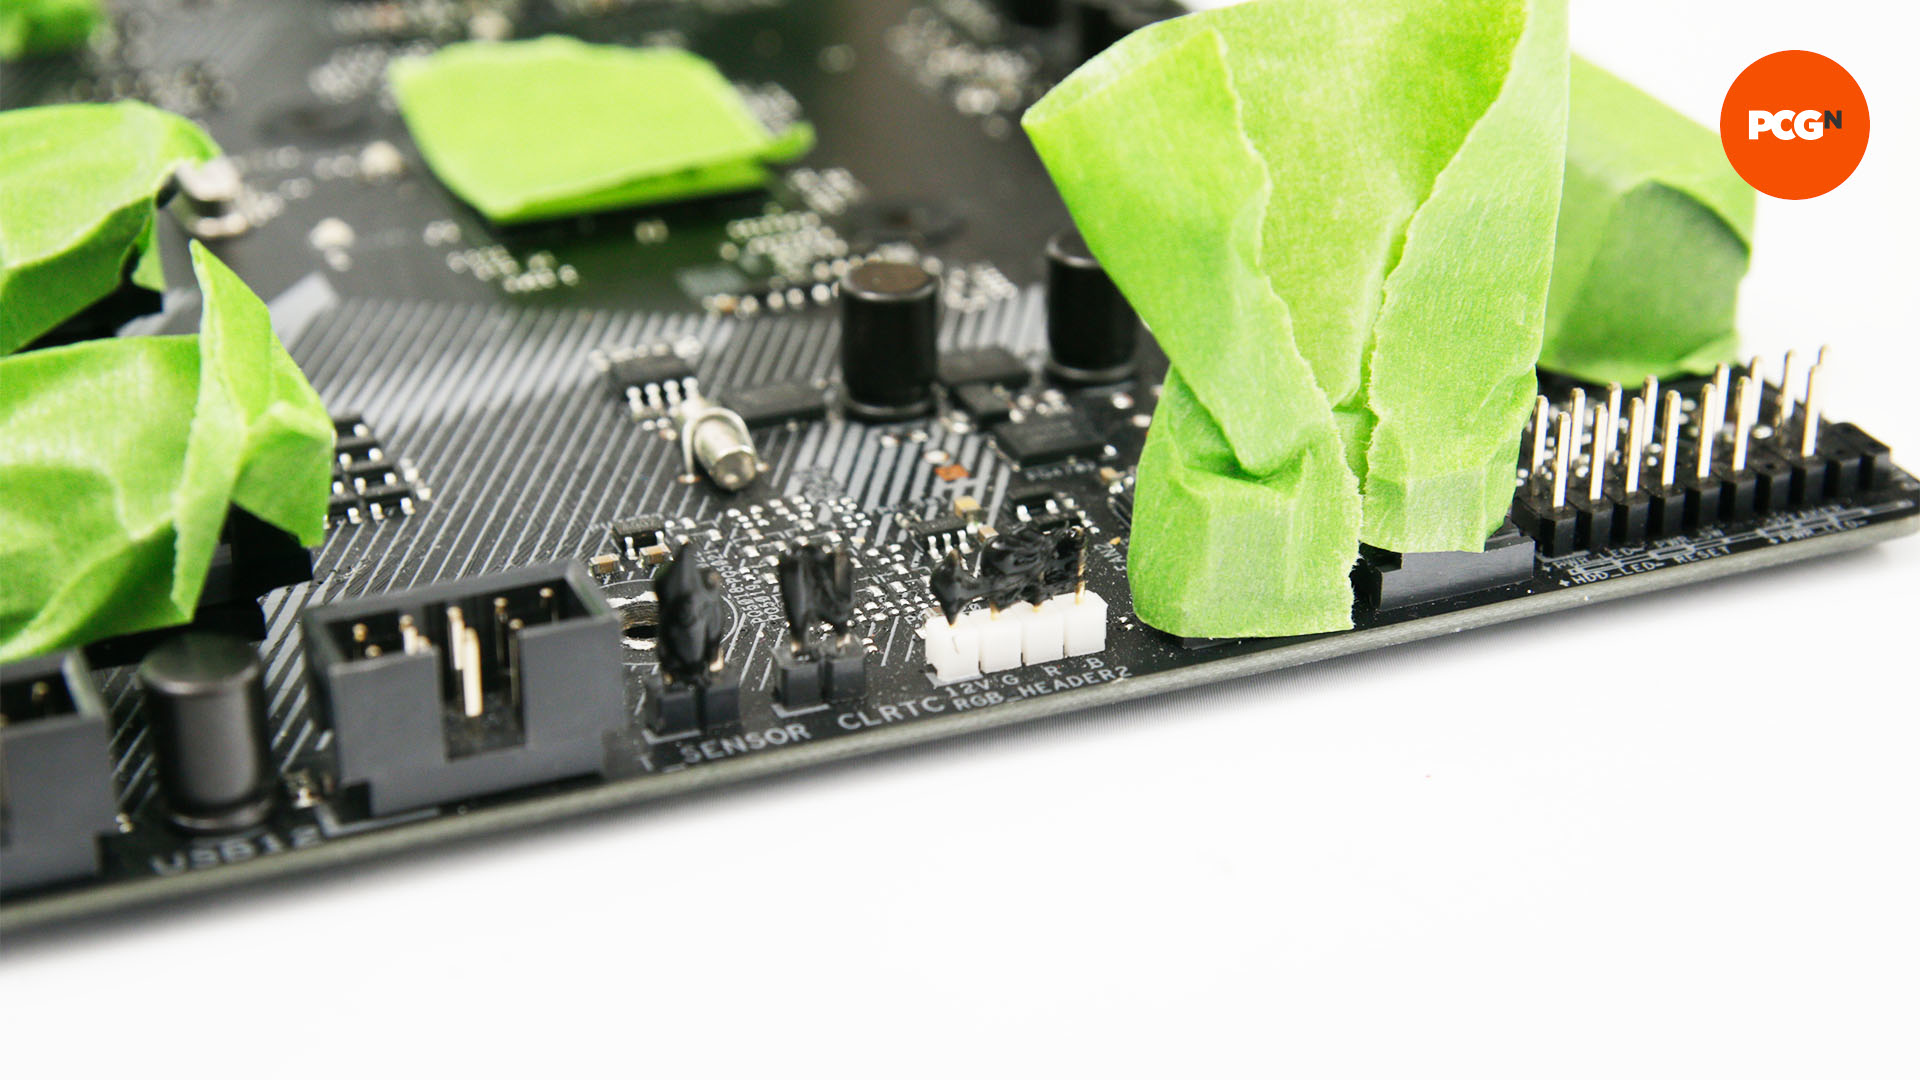
18. Use sealant
You also need to avoid painting pins and open ports. You can either wrap them up in frog tape or, if that proves haphazard, use silicon sealant or liquid electrical tape. This can be peeled off afterward.
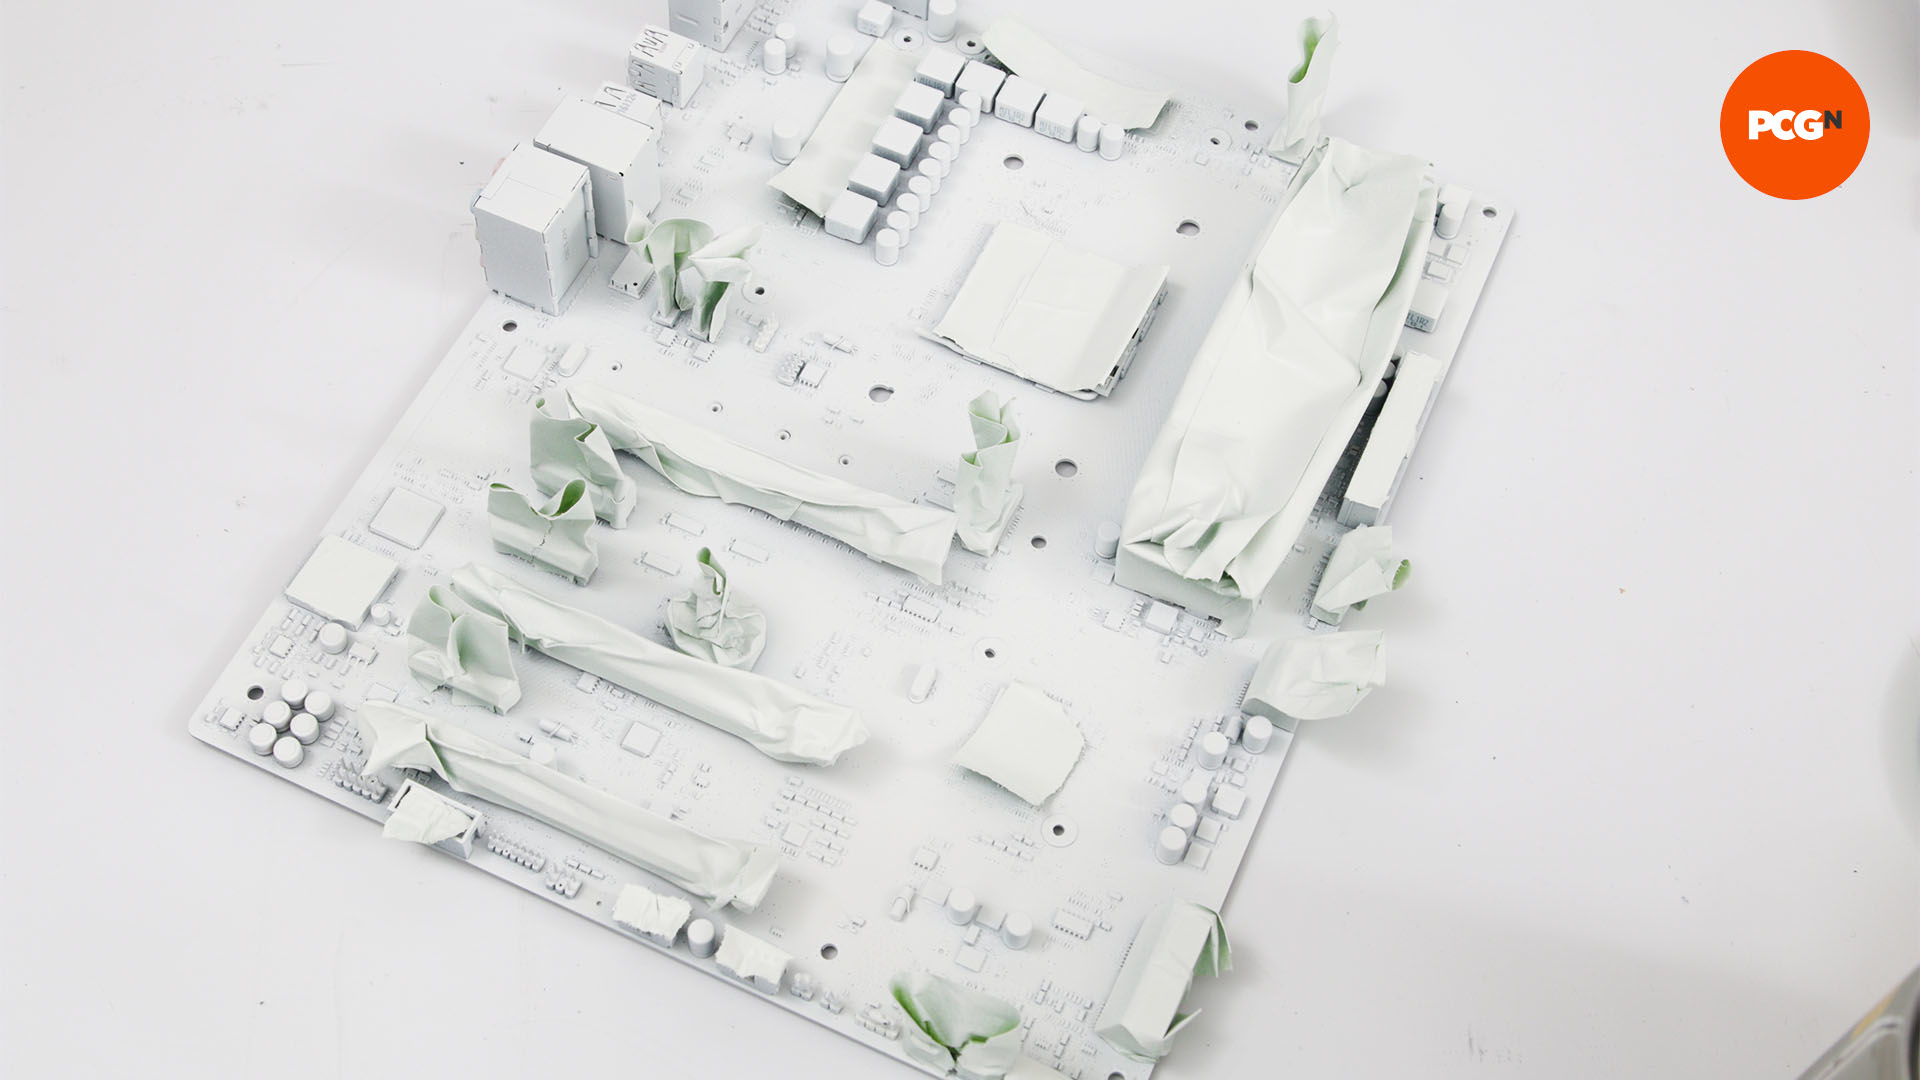
19. Spray motherboard
Lay your motherboard flat, and follow steps 10,11 and 12, to apply both the primer and color coat. You’ll also need to follow step 13 to apply the clear coat, as it’s easy to chip the paint when installing your hardware.
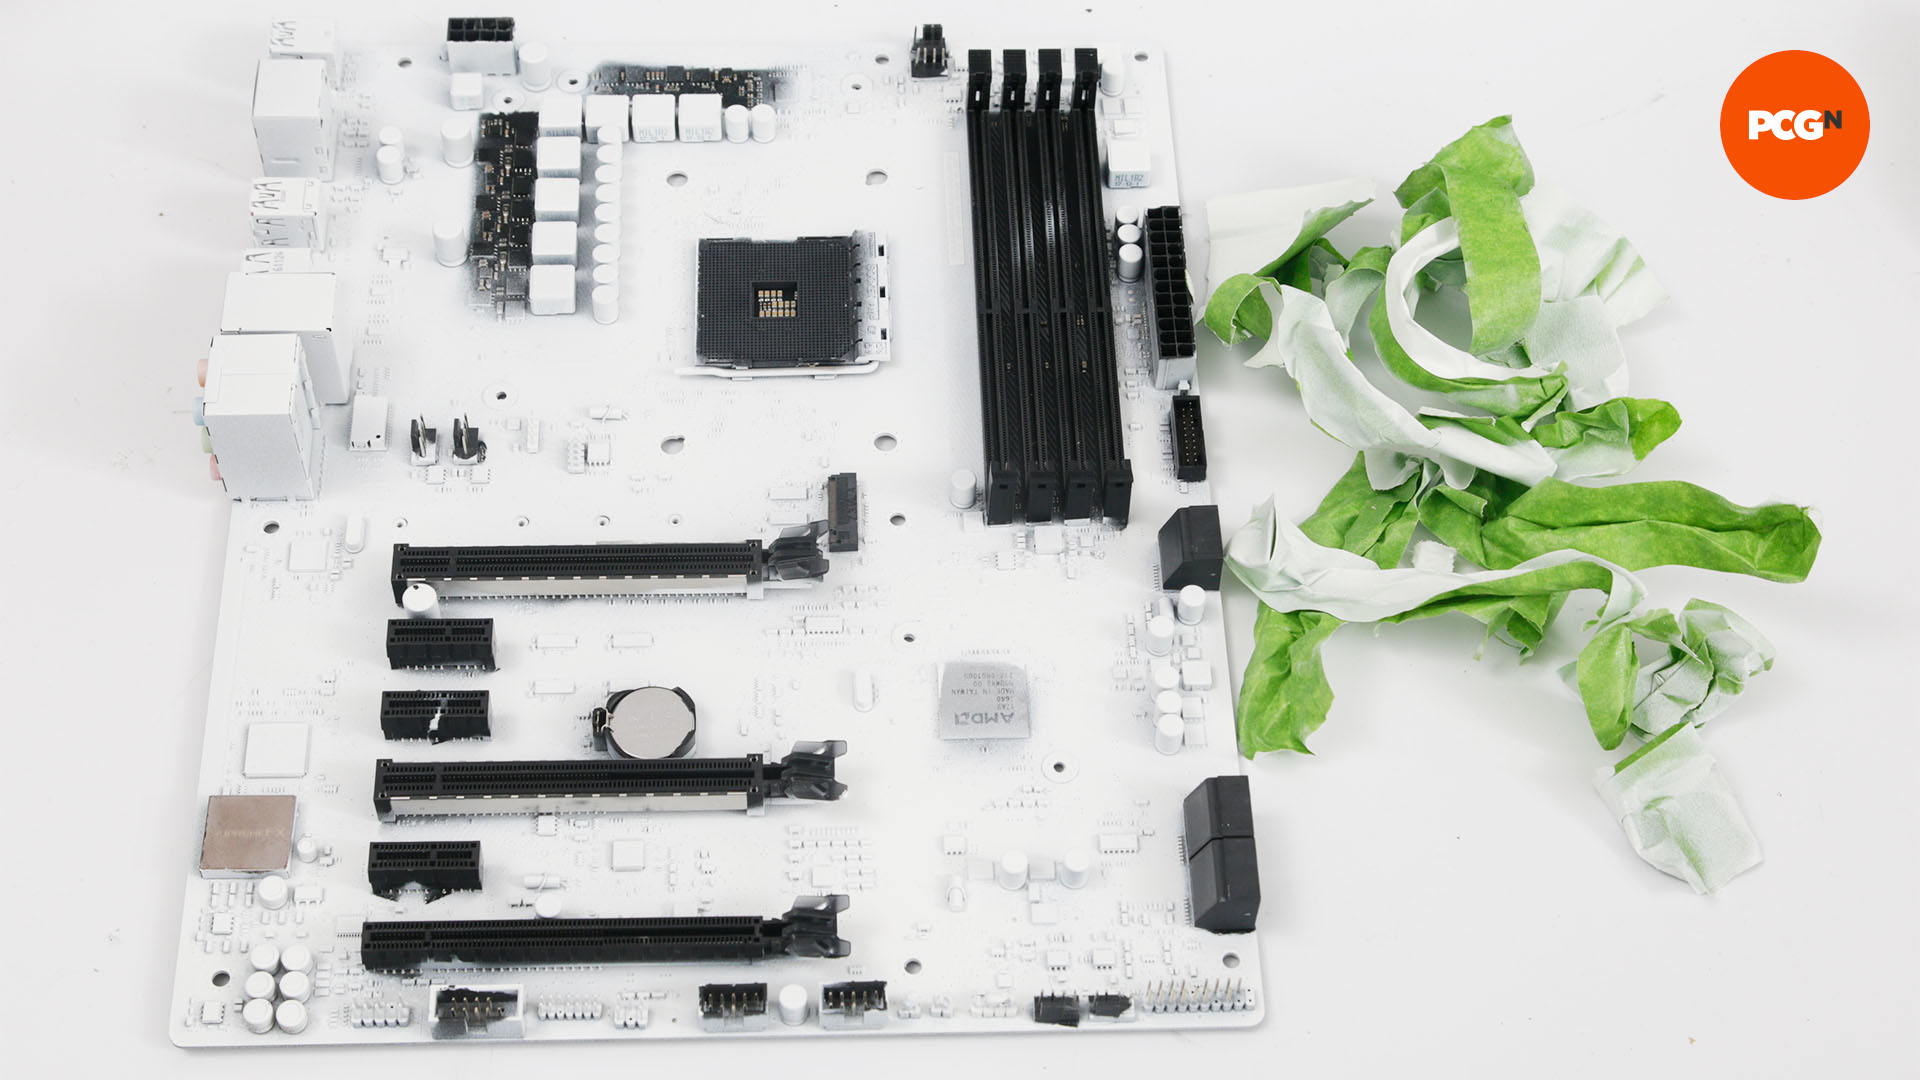
20. Remove masking
With the paints applied, remove the masking as soon as you finish spraying the last coat of lacquer. This will ensure you don’t tear it once it’s dry.
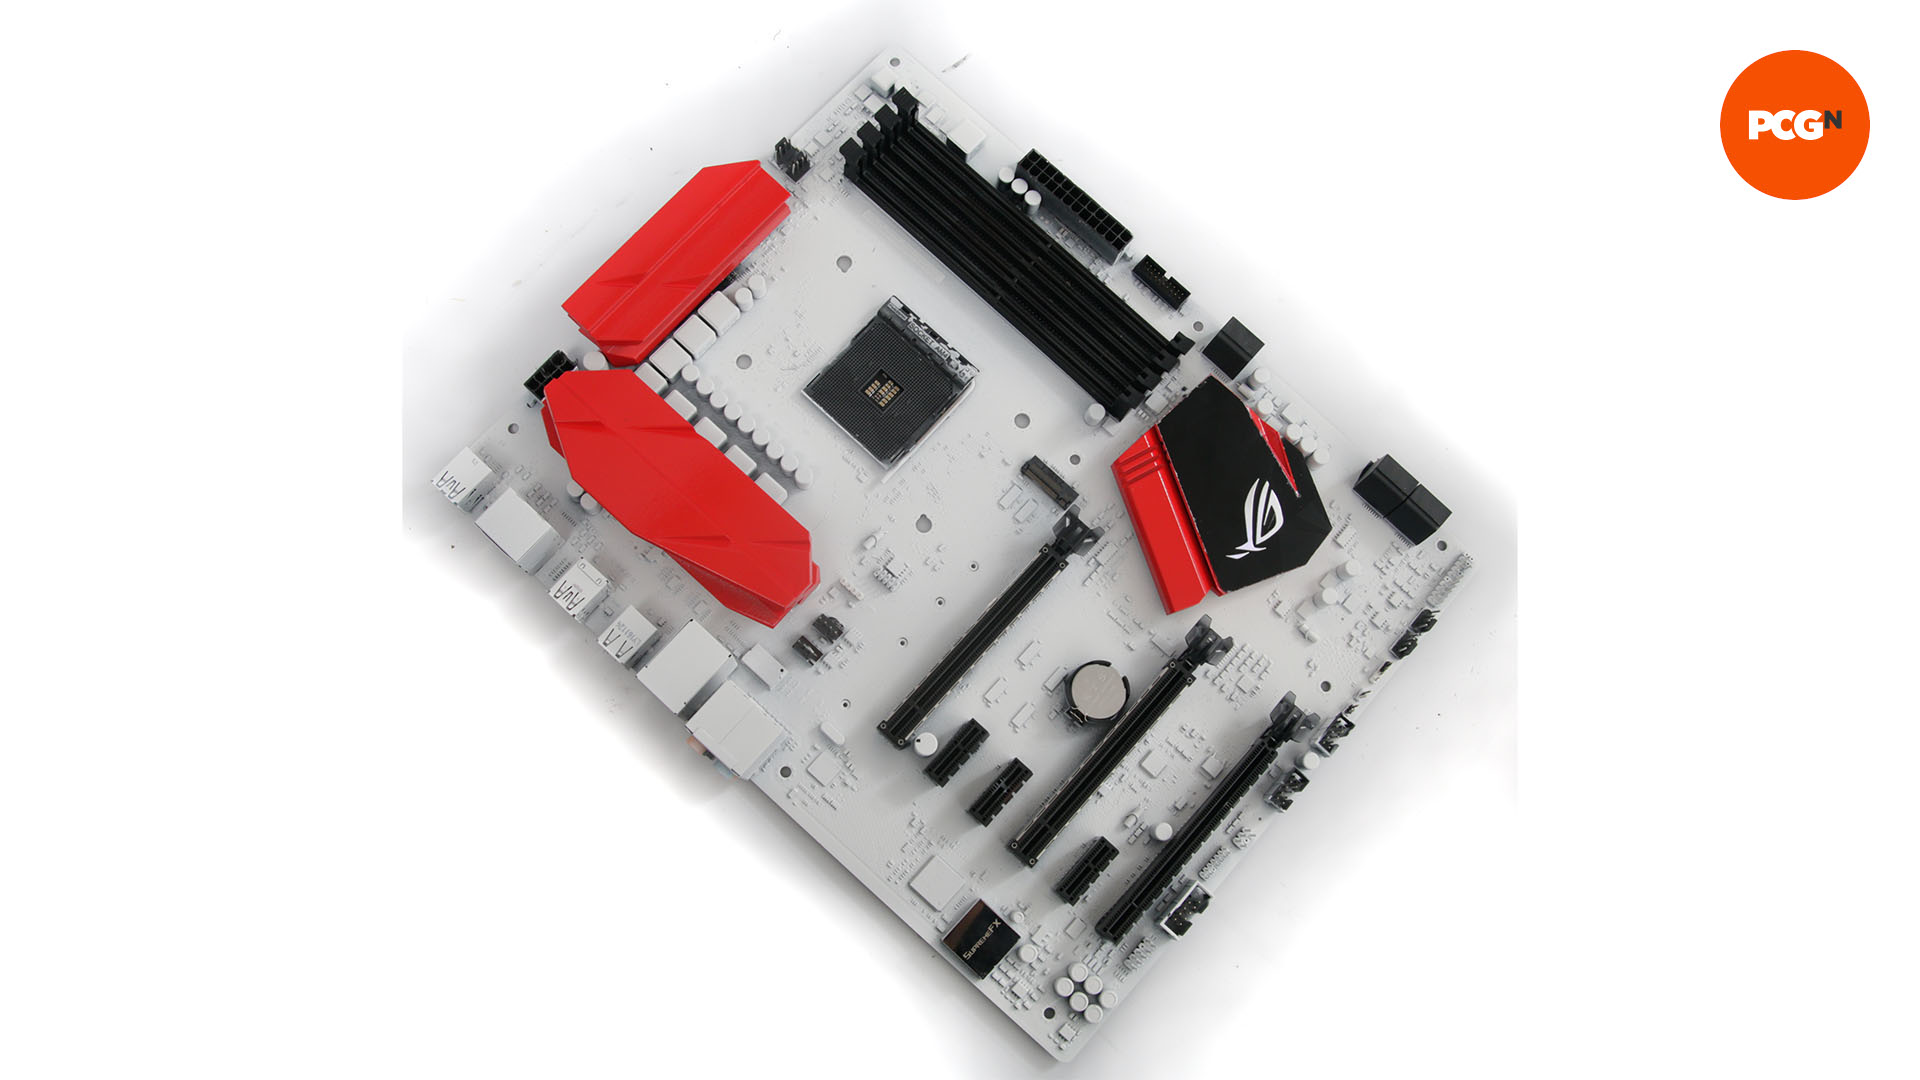
21. Reassemble motherboard
Leave the motherboard for 48 hours to dry, then reassemble the heatsinks and any other parts you removed, remembering to reinstall any thermal pads or reapply thermal paste to the heatsinks. You’ll also need to reconnect any fans and LED cables.
And that’s a wrap for our motherboard painting guide – we hope you enjoy your newly brightened up PC interior. For more PC customization and painting ideas, check out our full guide on how to etch glass on your PC and how to paint your PC case – it’ll make your gaming room feel more like you.
