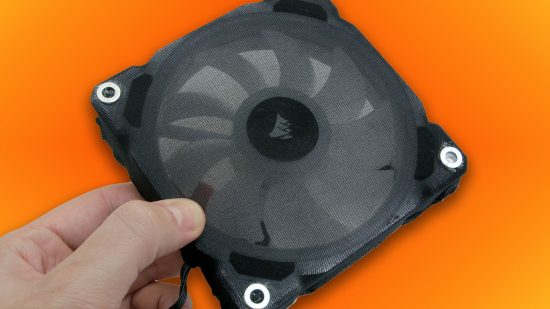
In this guide, we’ll show you how to stop your PC’s interior getting dusty, by making your own PC case dust filter. Even cases that come with filters usually only have them in obvious areas, such as the PSU and front intake fans. There may be additional fan mounts in your case that lack filters, letting dust into the interior, but you don’t have to put up with it.
Now’s your chance to stop dust getting into your PC case, and it won’t cost you much in terms of time or effort either. In this tutorial, we’ll take you through the process off making your own dust filter with metal mesh, as well as simply using some old pantyhose.
Types of PC case dust filters
Ready-made dust filters
There’s already a variety of dust filters available that you can buy and fit to your case and fans. They include kits made for specific cases, or filters simply designed to slot inside unused fan mounts or underneath your case.
Mesh screw-in filters
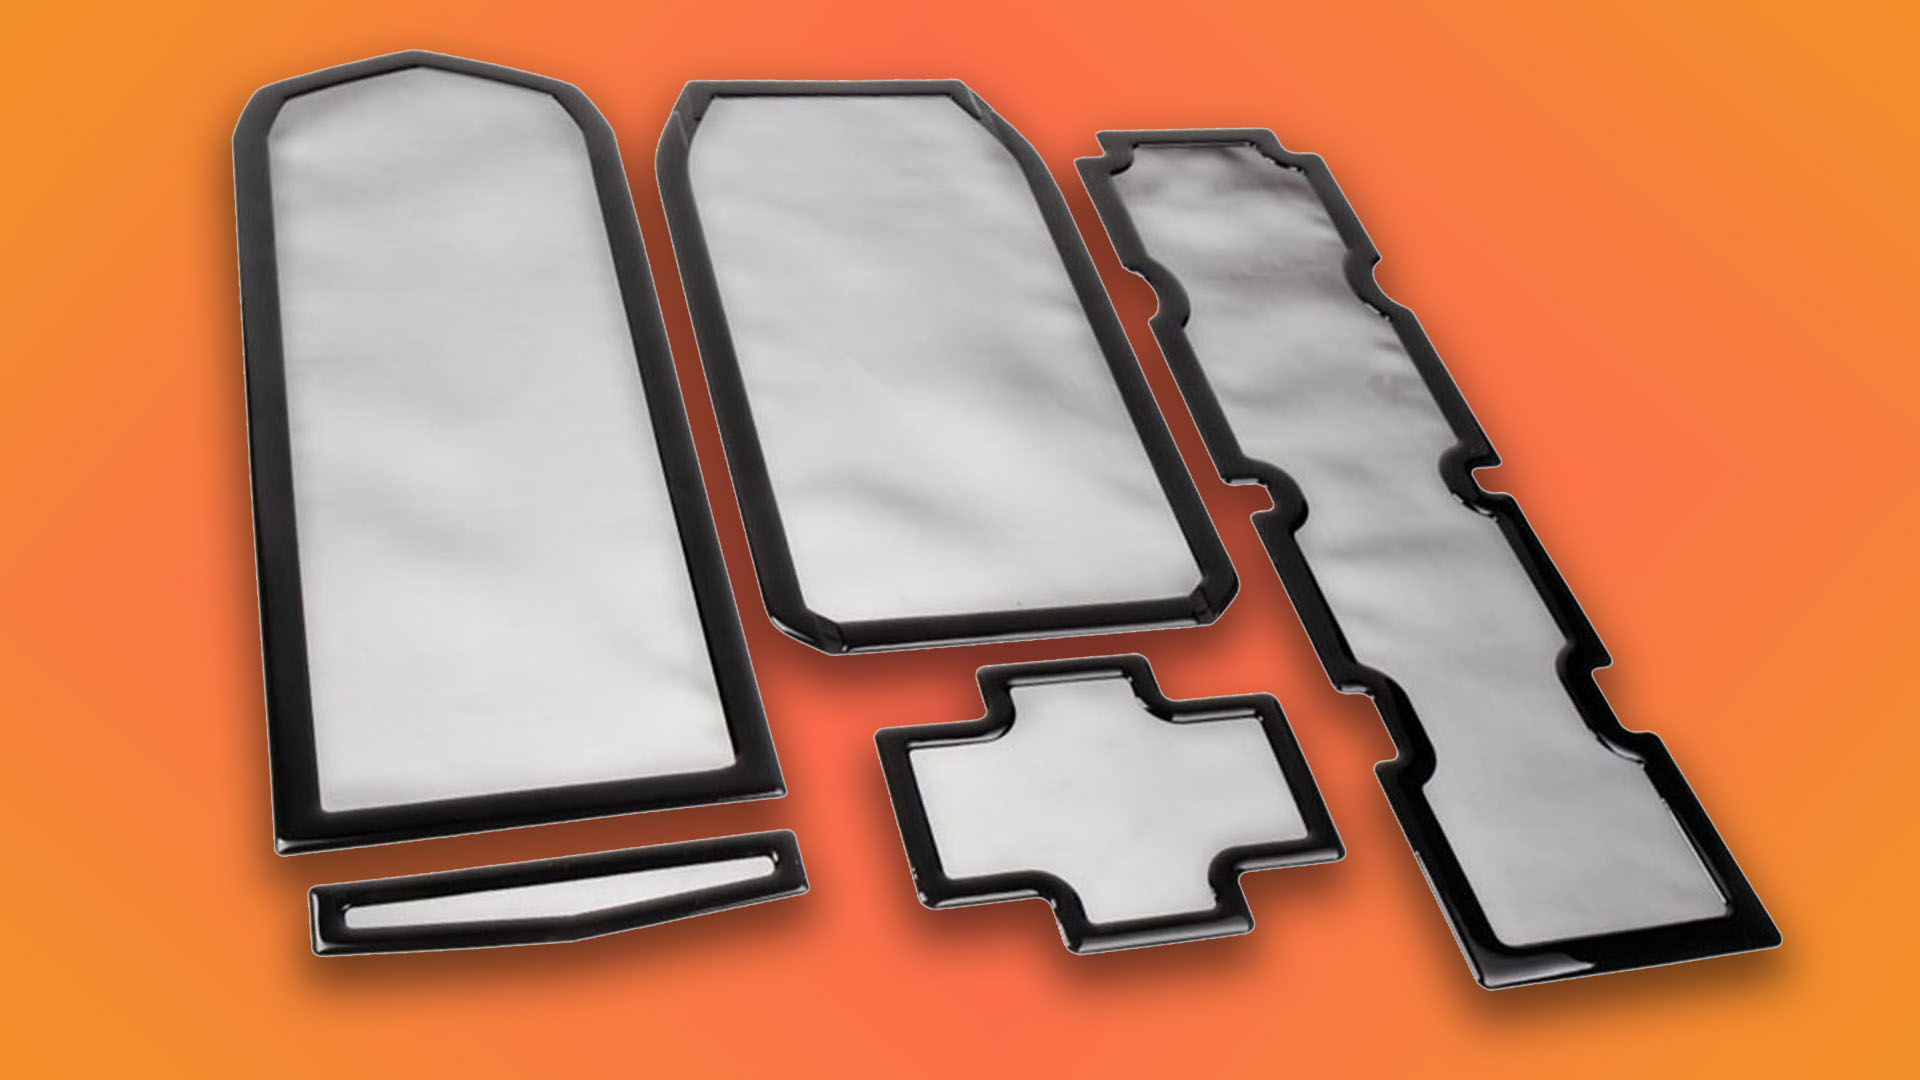
These filters usually come in single fan sizes, such as 120mm or 140mm, and mount directly to fans and radiators using standard fan screws. They’re useful for aluminum cases that won’t work with magnetic dust filters, but they’re tricky to remove.
Magnetic filters
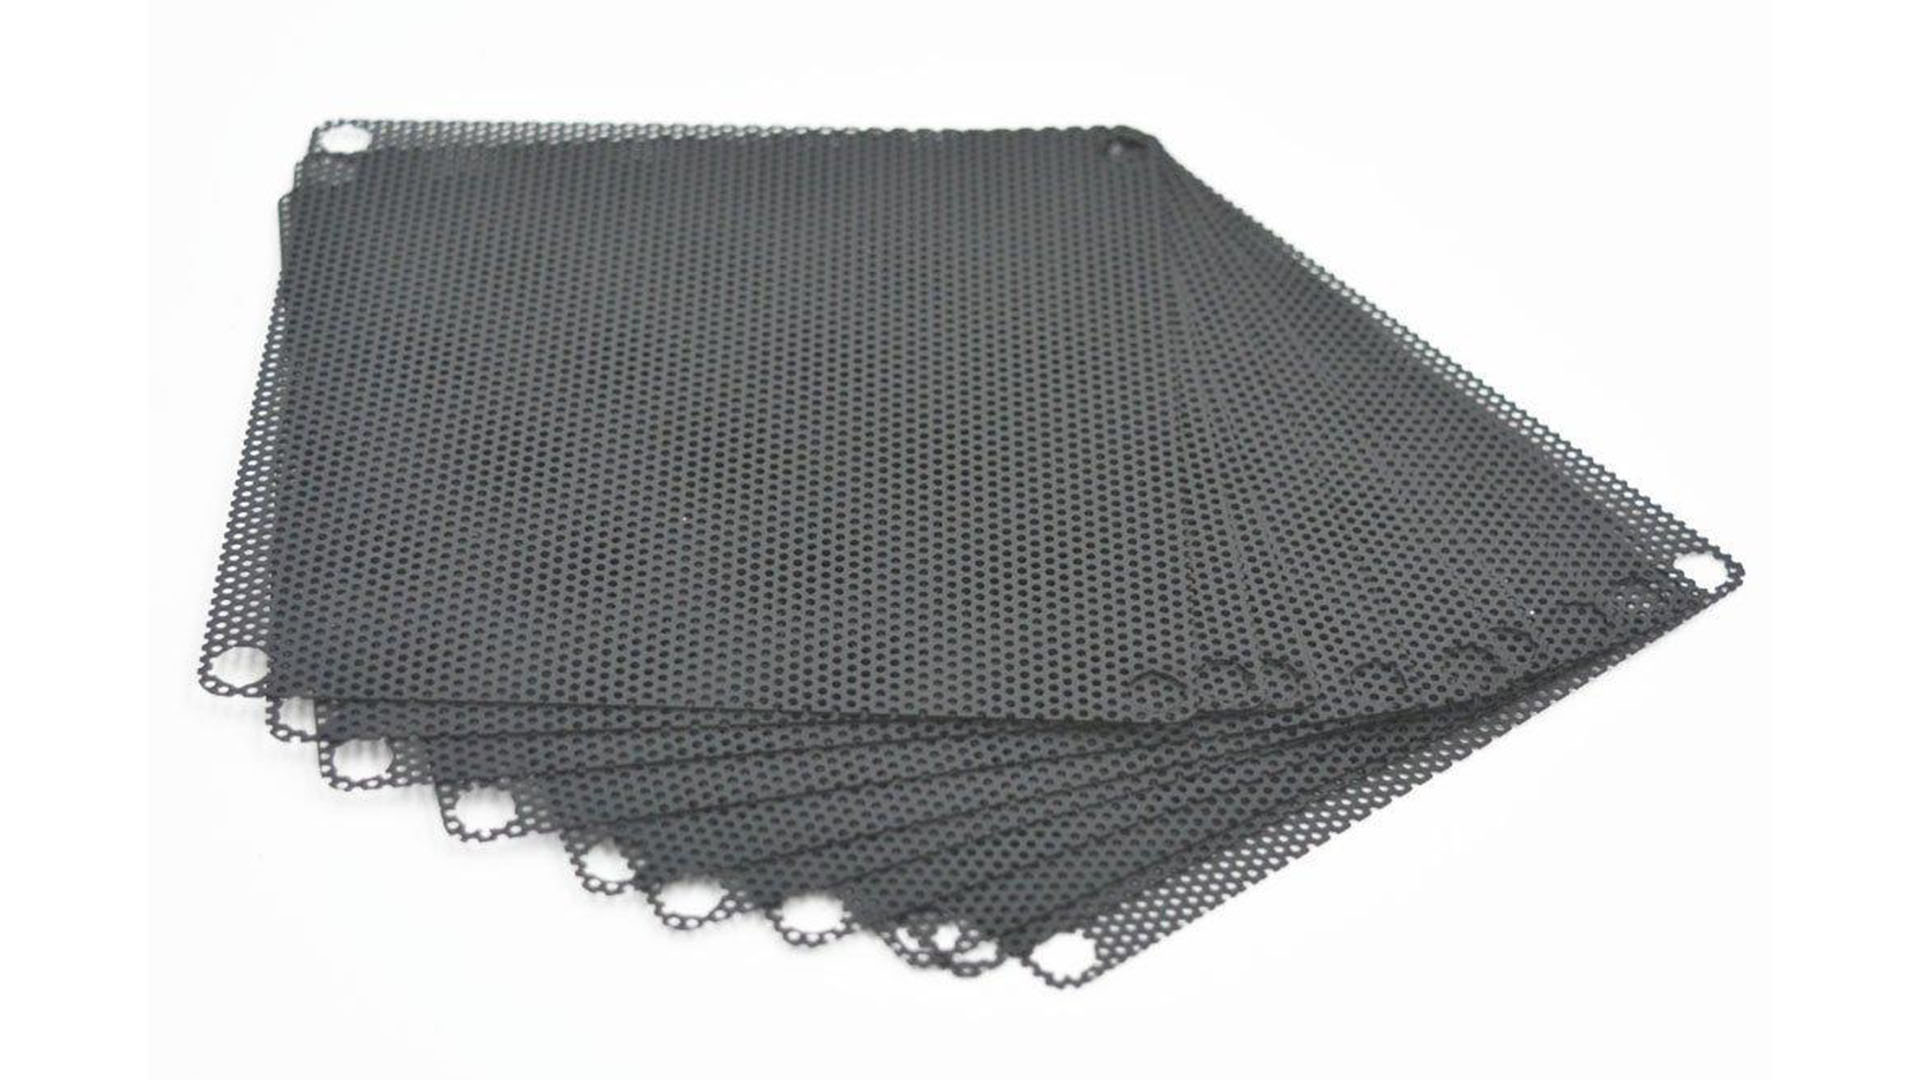
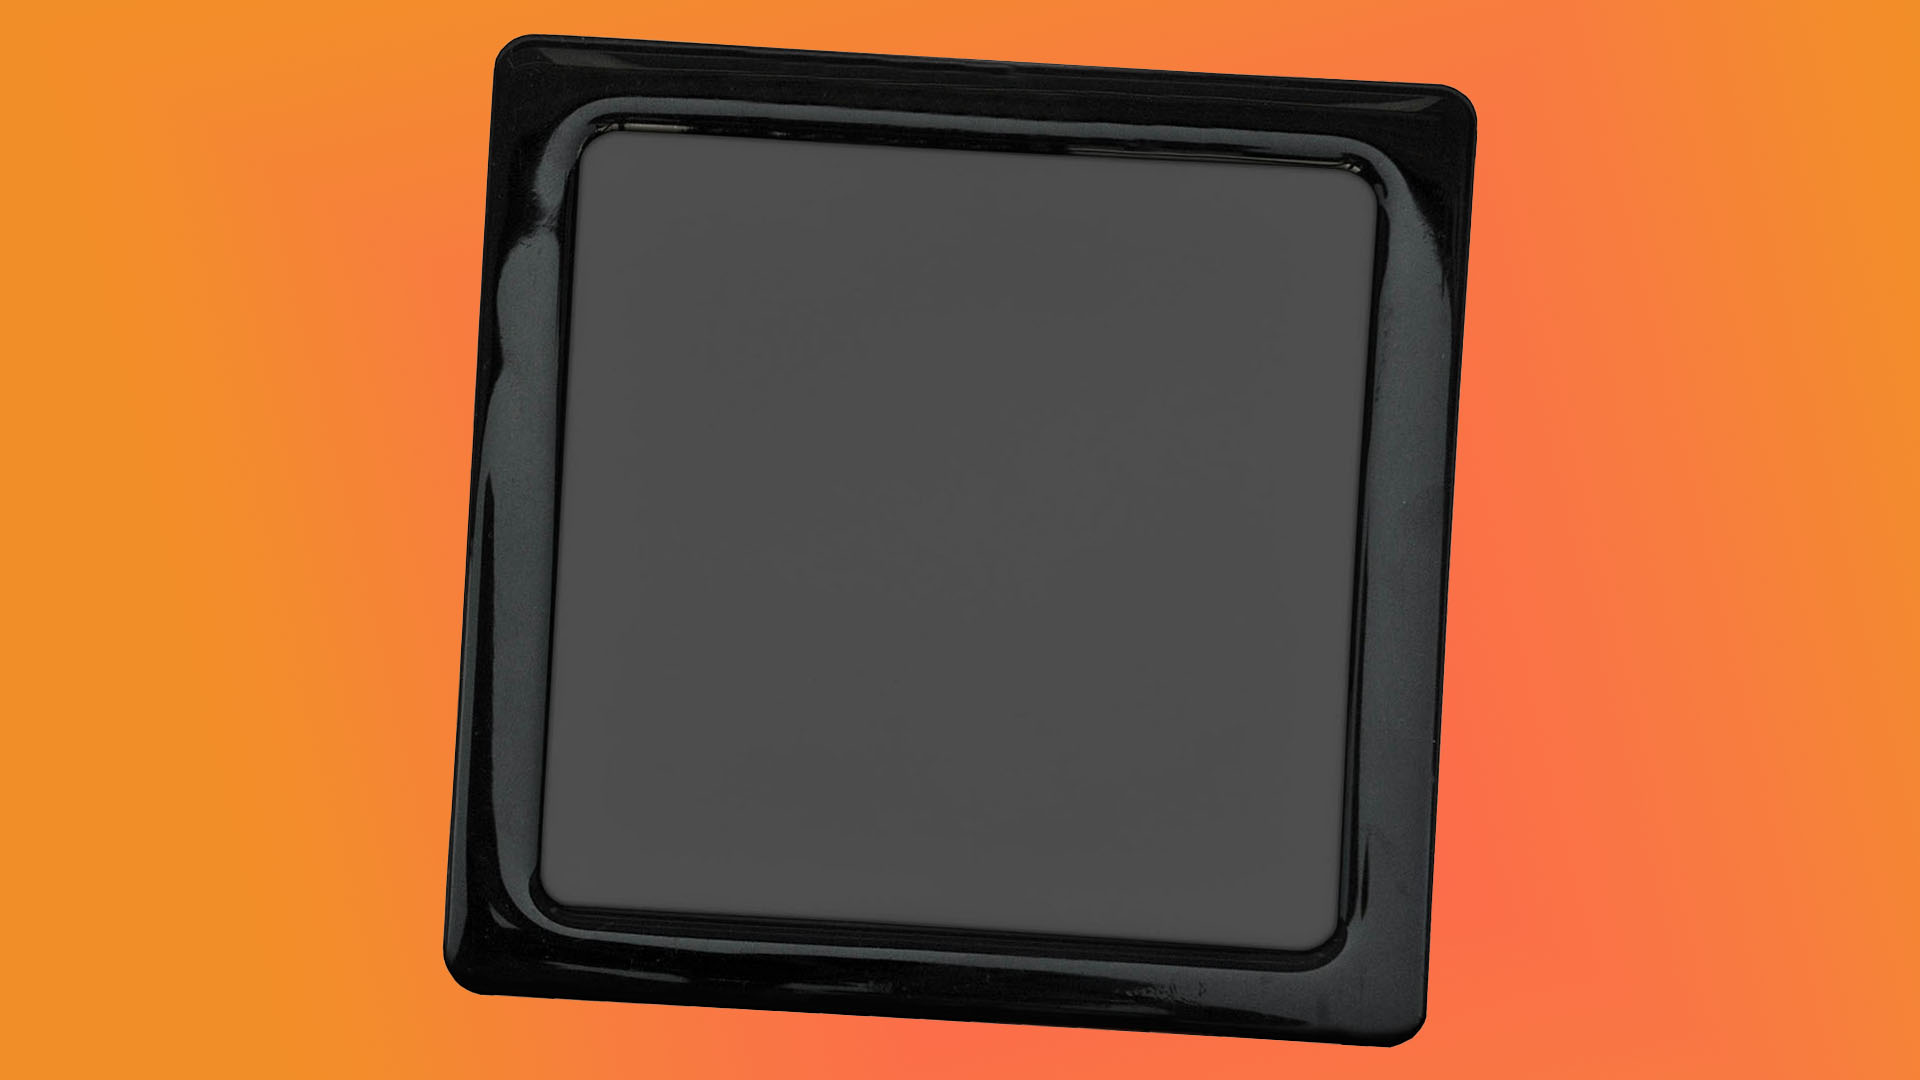
Magnetic filters are sold individually in a variety of sizes, or as complete packs for specific cases. They simply adhere to the surface of steel cases, covering up fan holes or vents and trapping dust, while still allowing air into the case.
Make a magnetic dust filter for a PC case
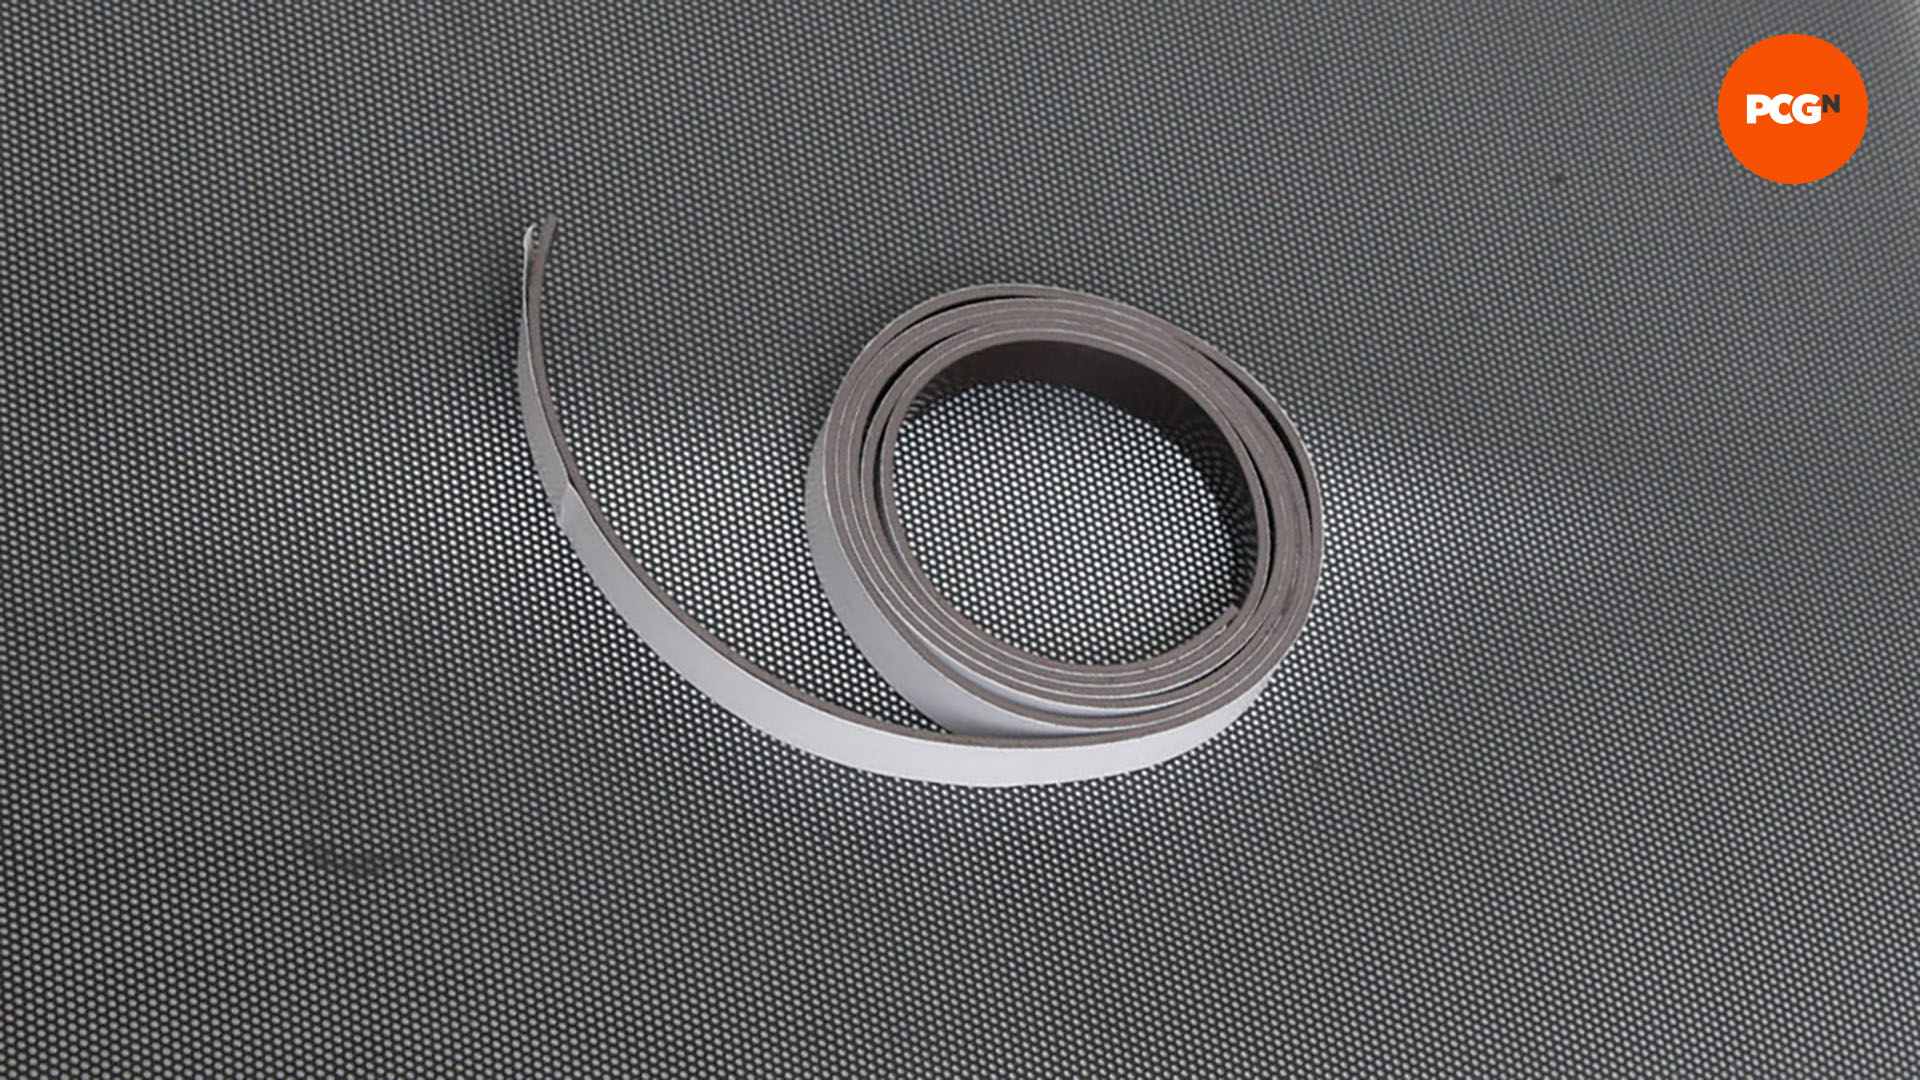
1. Get materials
You may want a more elaborate design than a simple fan filter, while other filters might not quite fit over your intended vent hole. If you want to make a custom filter, you can use magnetic tape and PC case mesh sheet.
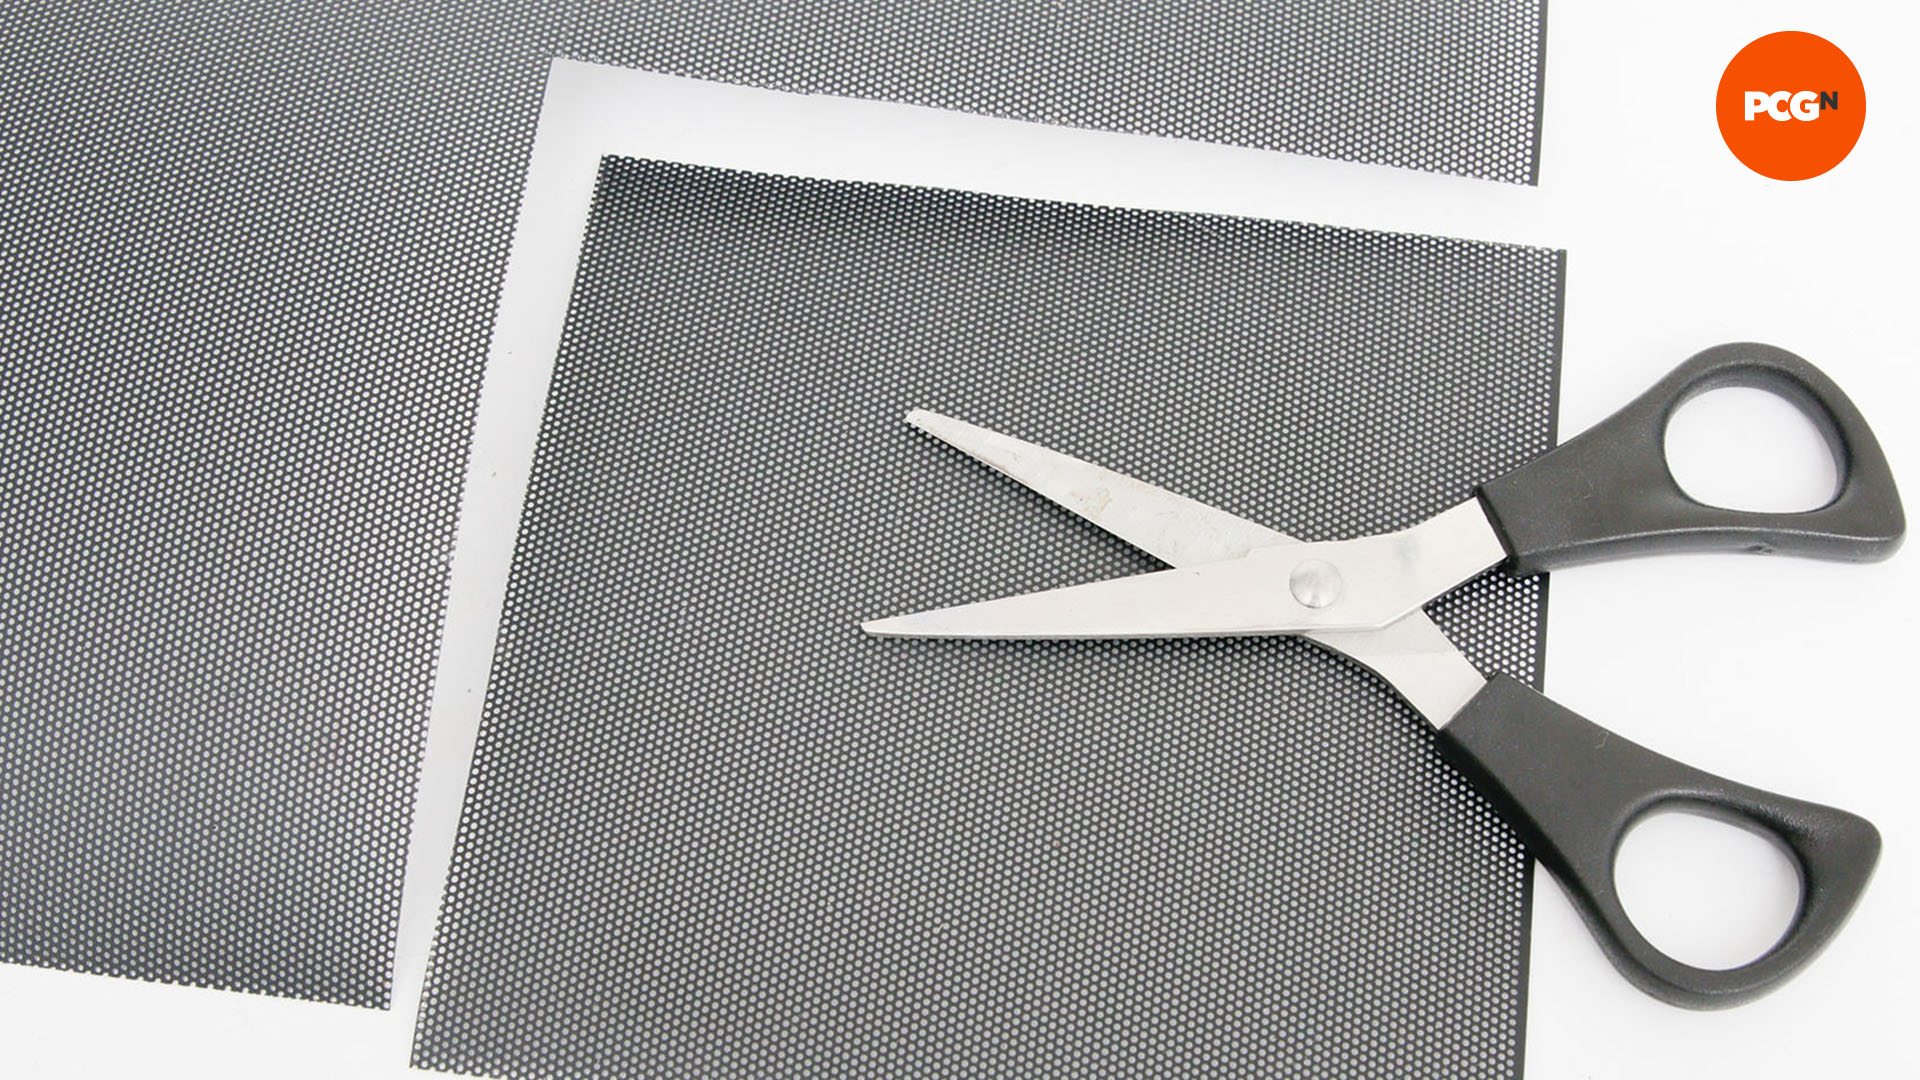
2. Cut mesh to size
The mesh is available in large sheet form and is relatively cheap. Start by measuring the size of the hole you need to cover. Mark up the mesh, then use a sturdy pair of scissors to cut it to size.
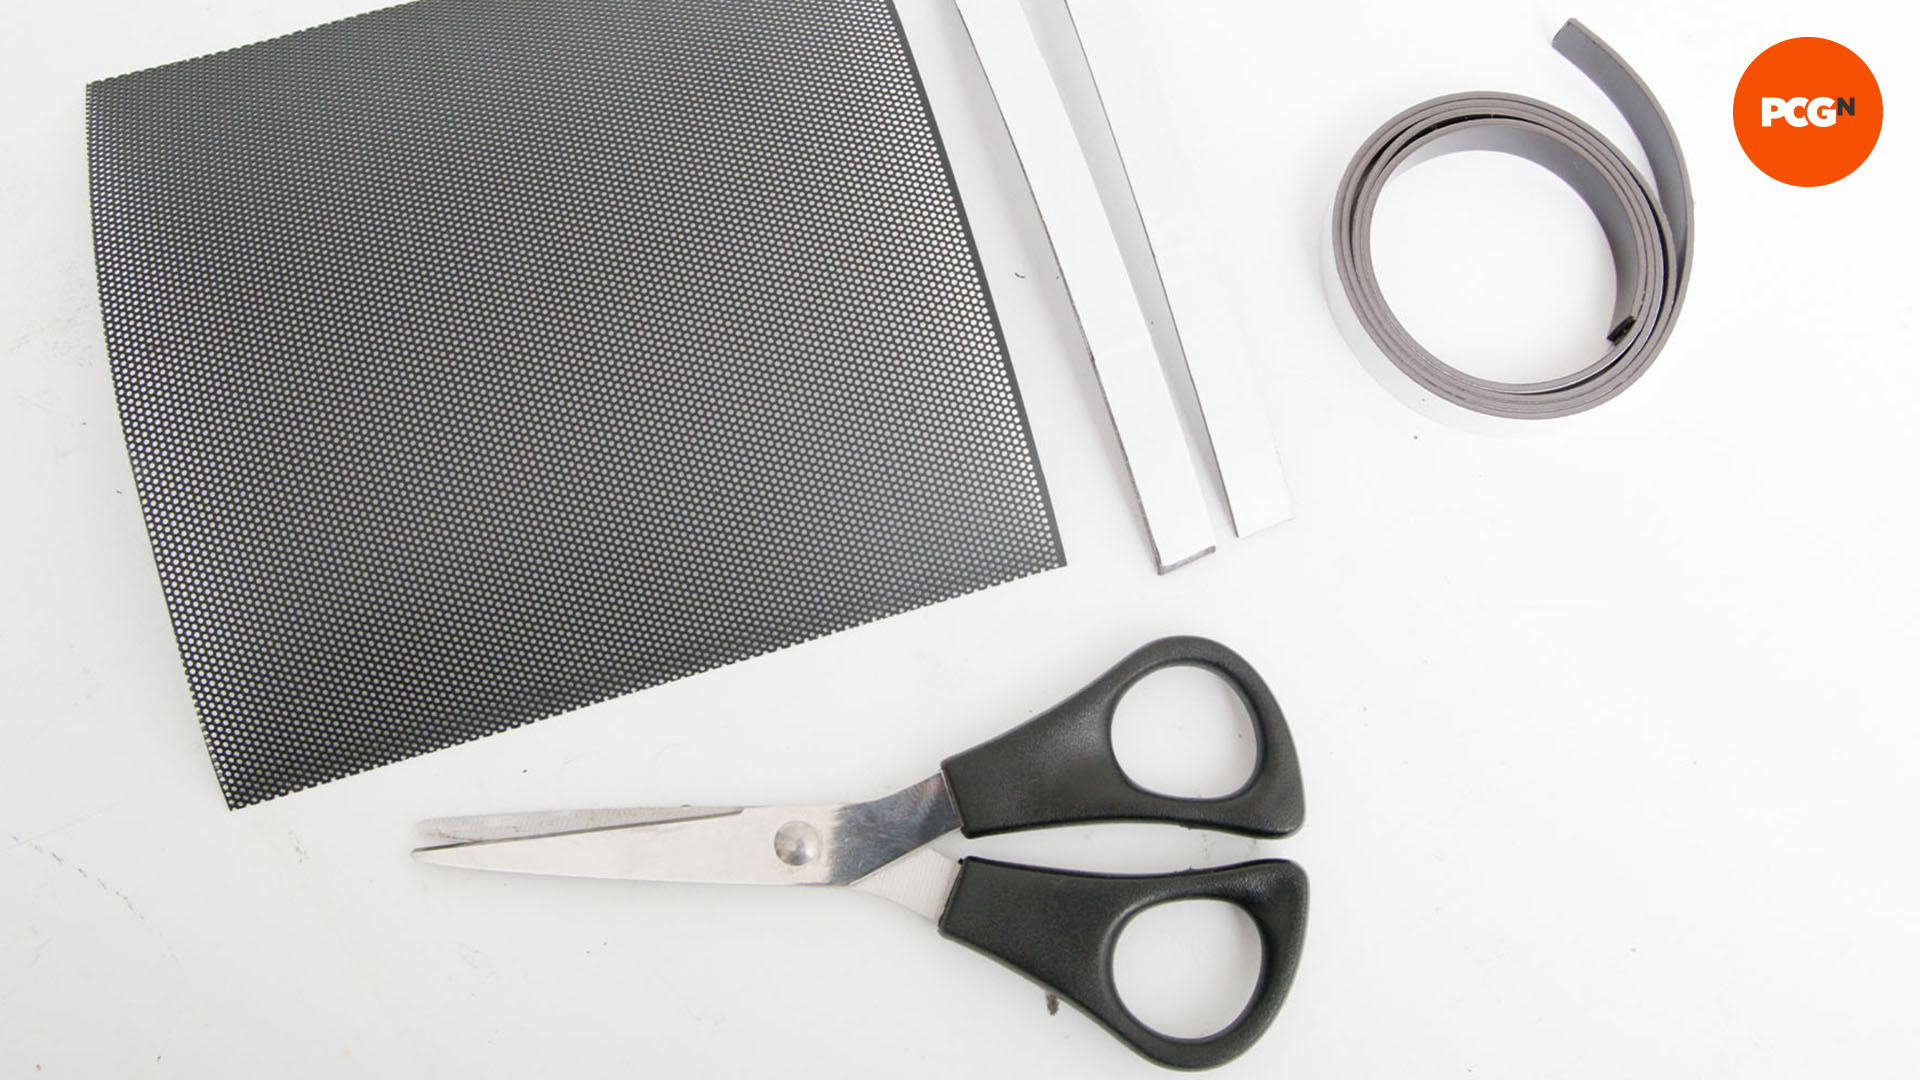
3. Cut magnetic strips to size
Magnetic tape comes in a variety of lengths and widths. We’ve used a 10mm-wide adhesive strip, as this width sticks well to the mesh.
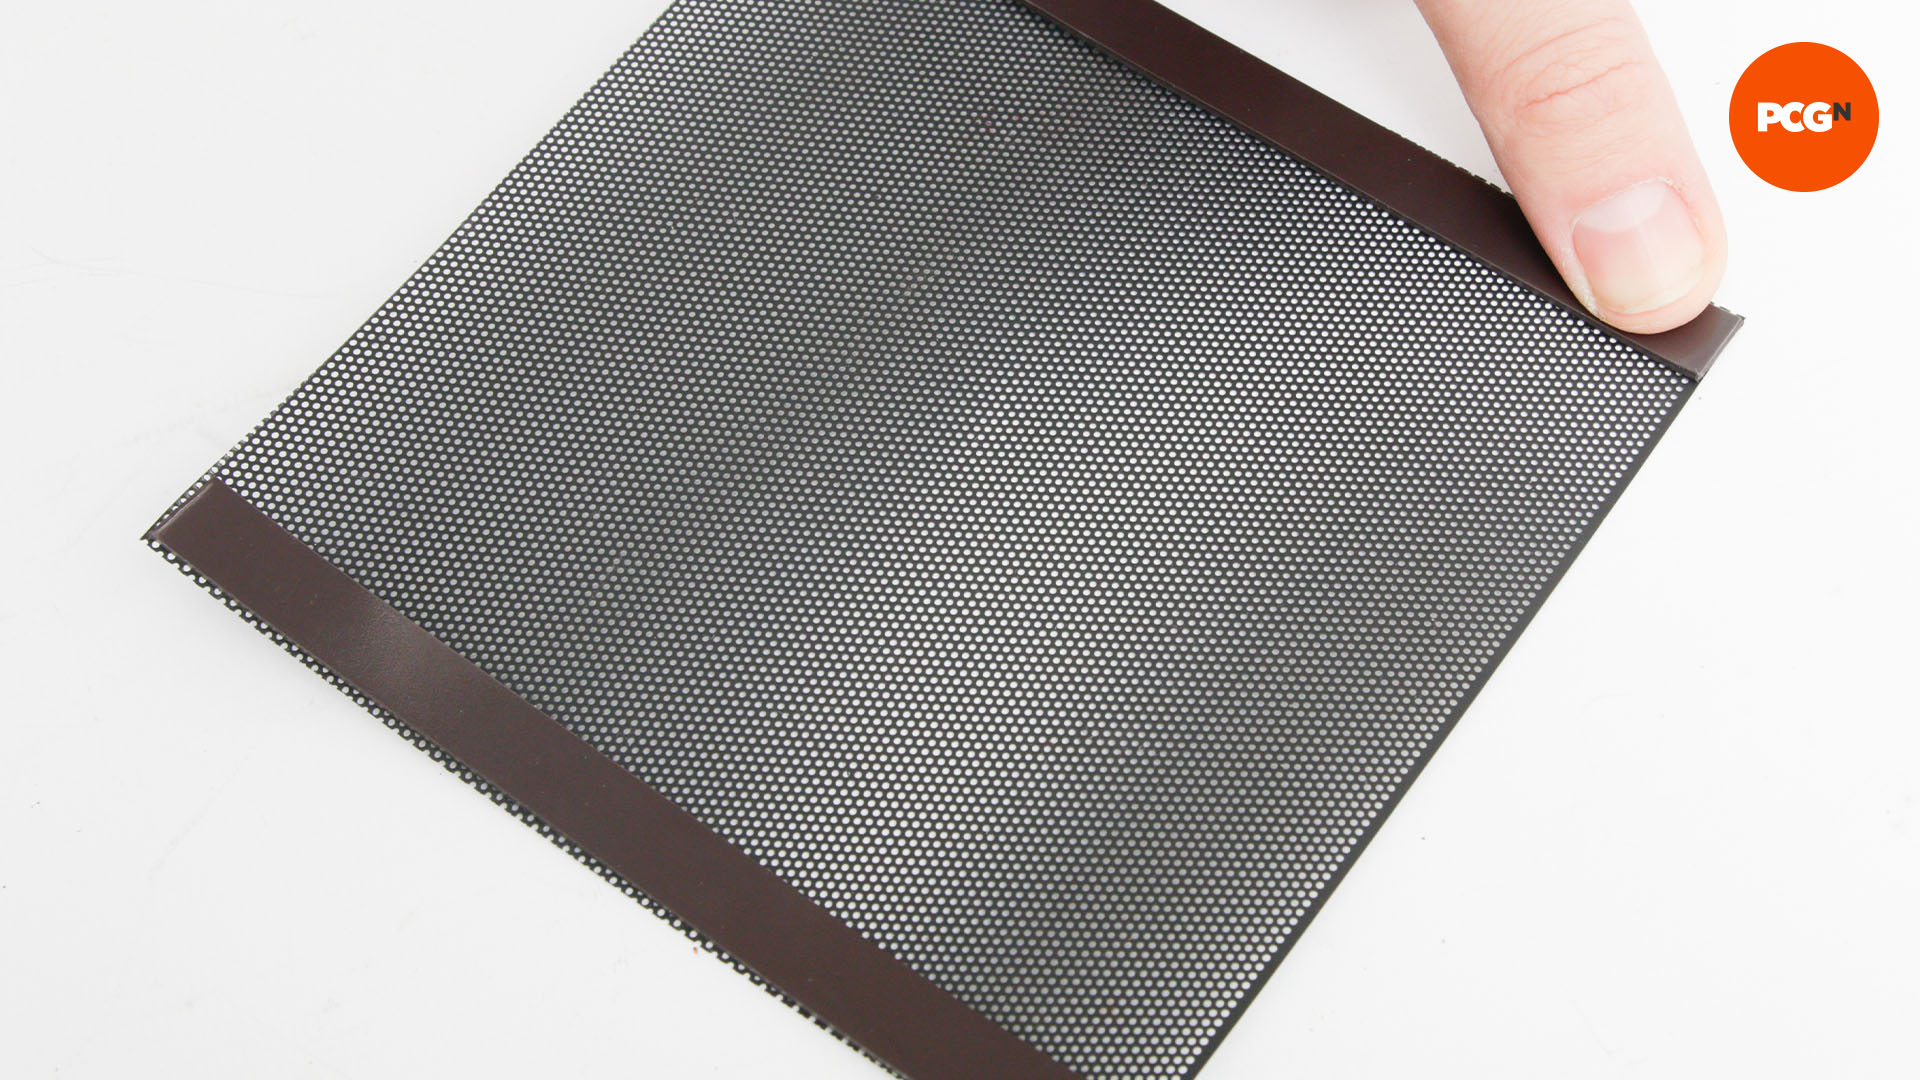
4. Apply to mesh
Press the strip firmly onto the mesh. If yours doesn’t stick securely for whatever reason, you can use a small amount of epoxy or glue from a glue gun to secure it onto the top side.
Make a PC case dust filter from pantyhose
1. Make your own fan filters
If you want a cheap and effective way to battle dust, you can create your own filters using common household materials. You’ll need thin pantyhose or leggings, some washers, and some glue. We’ll be making filters specifically for case fans, but you can secure filter material anywhere in your case using a glue gun.
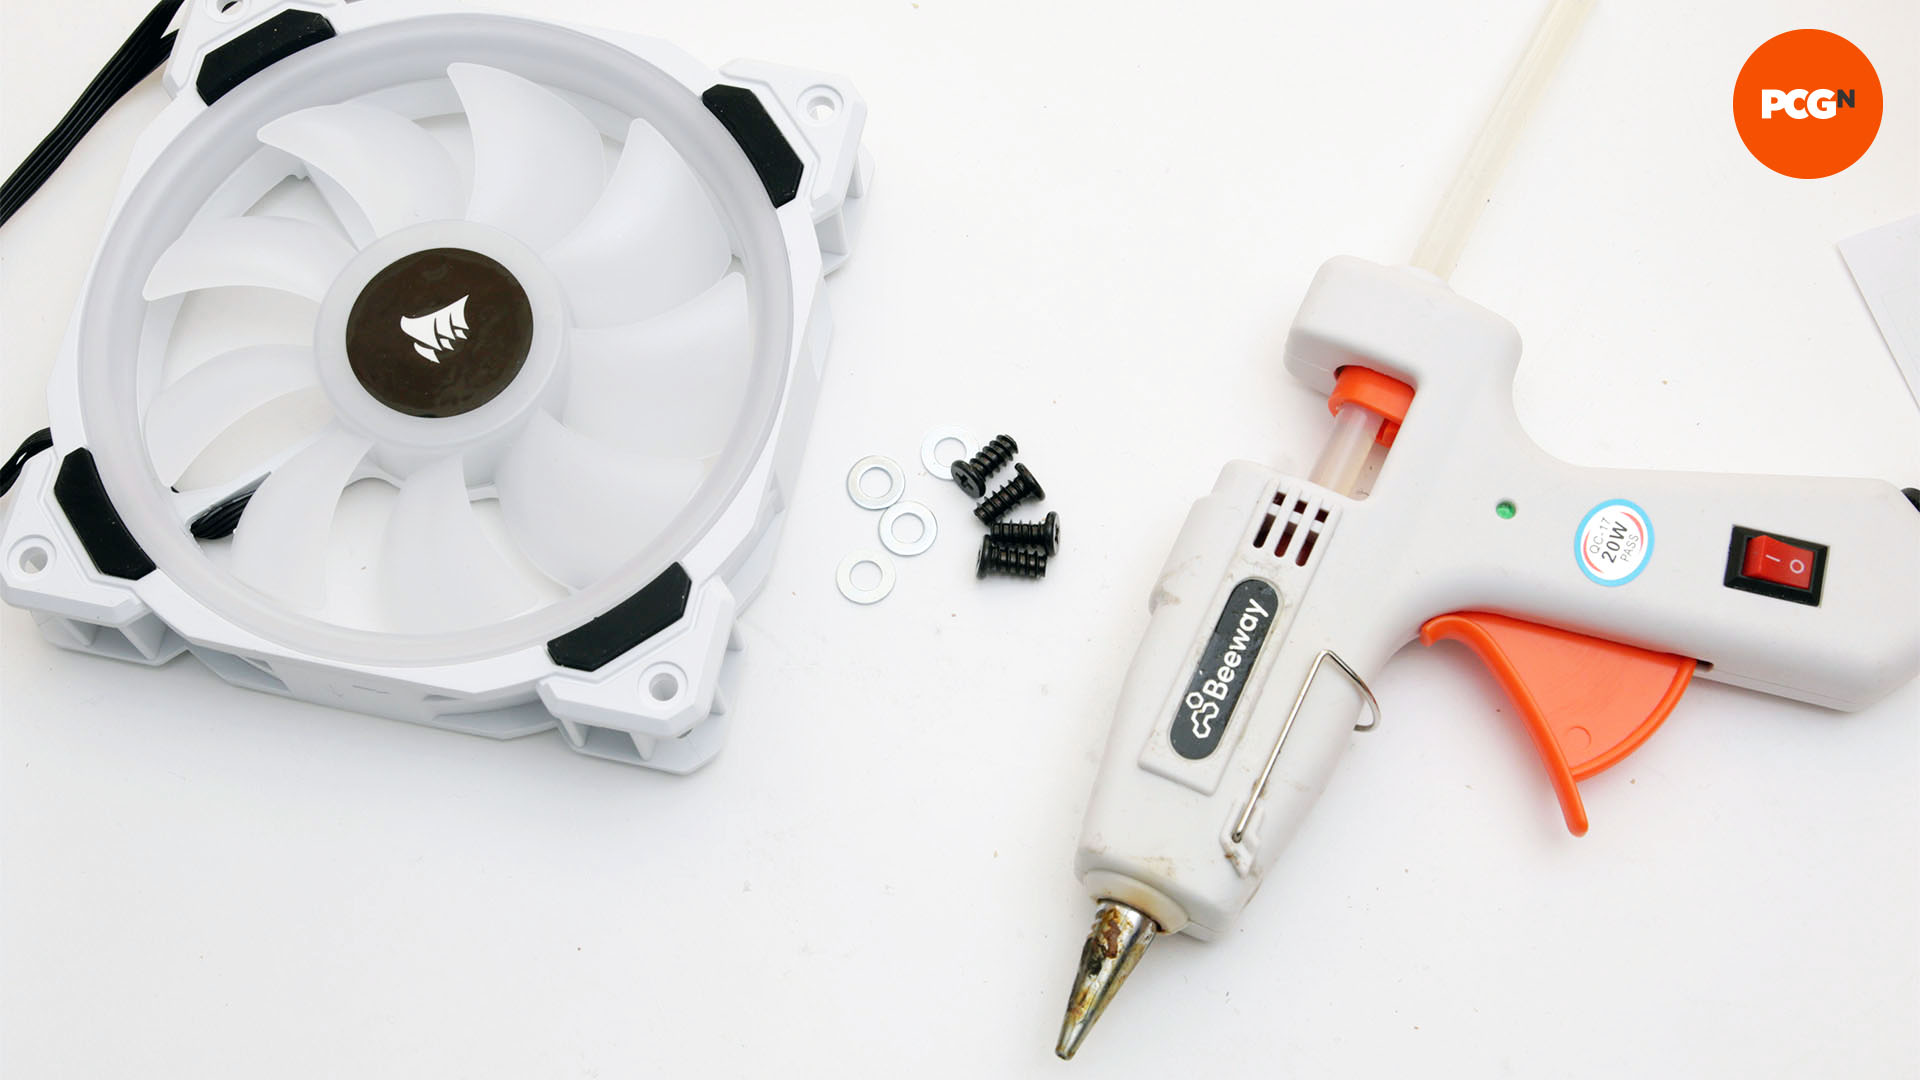
2. Cut pantyhose to size
You’ll want the material to be large enough to stretch taut over the fan intake and to be glued at the sides. The mesh size is already small enough to catch dust, so stretching it will serve to boost airflow.
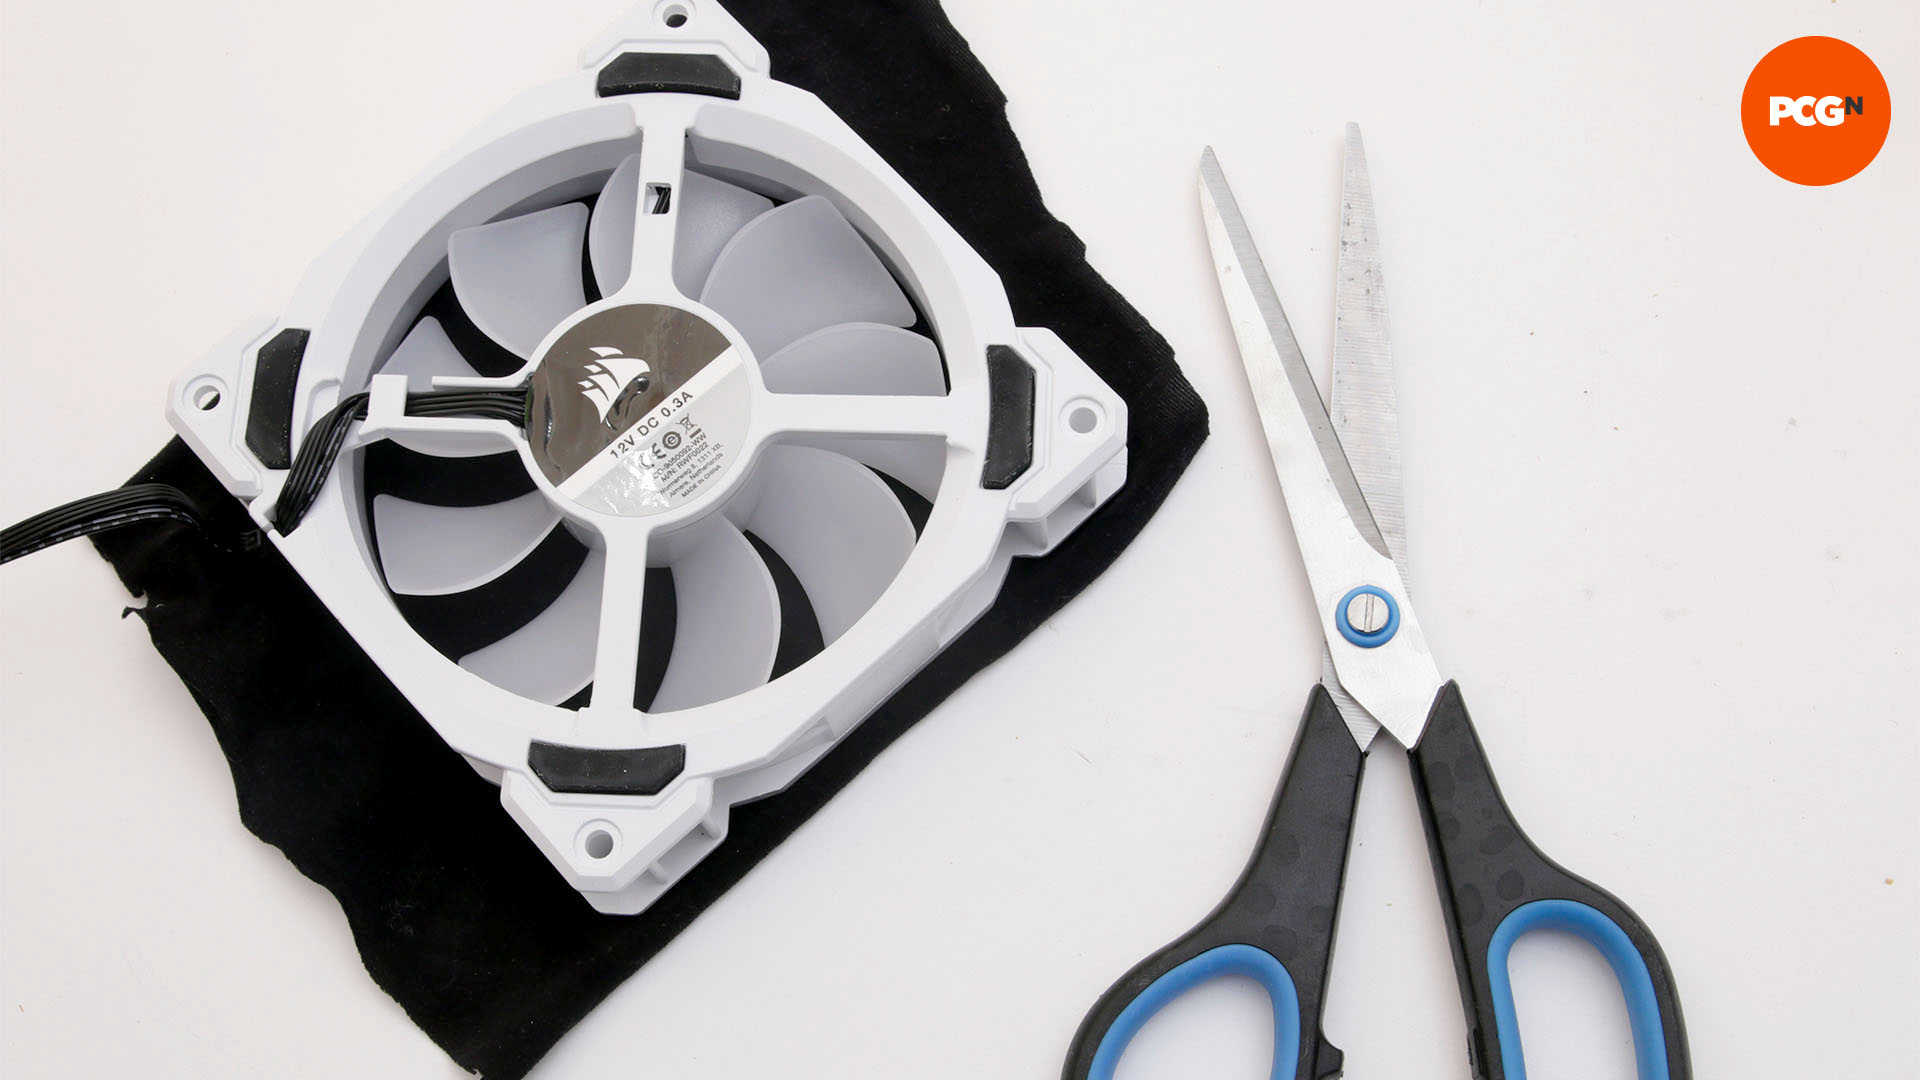
3. Apply glue to fan frame
Glue one edge of the material to the rear of the fan frame, using a thin bead to secure the material. Press the material in place and allow the glue a few moments to dry.
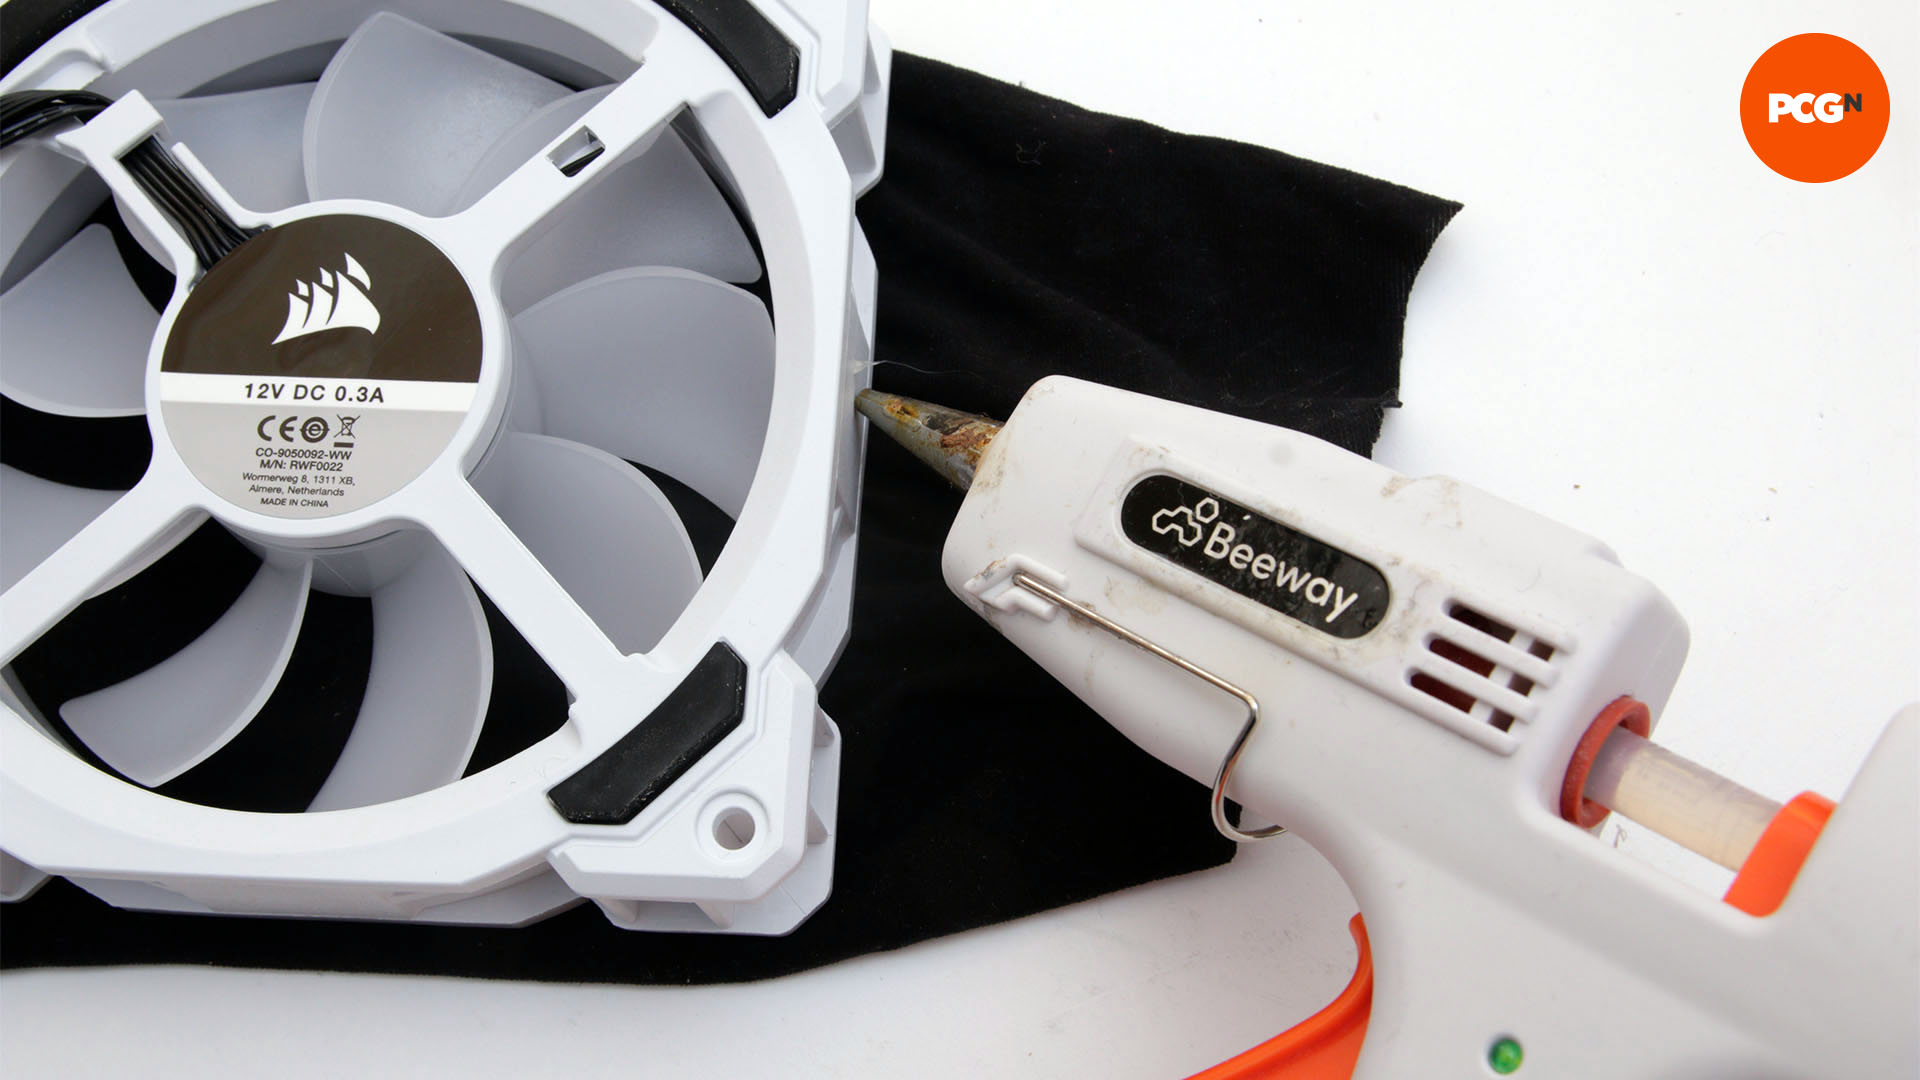
4. Stretch material over fan frame
With one edge secured, stretch the material over the opposite edge. You need to pull with reasonable force, but not so much that the glue can’t hold. After that, go ahead and do the same for the remaining two edges.
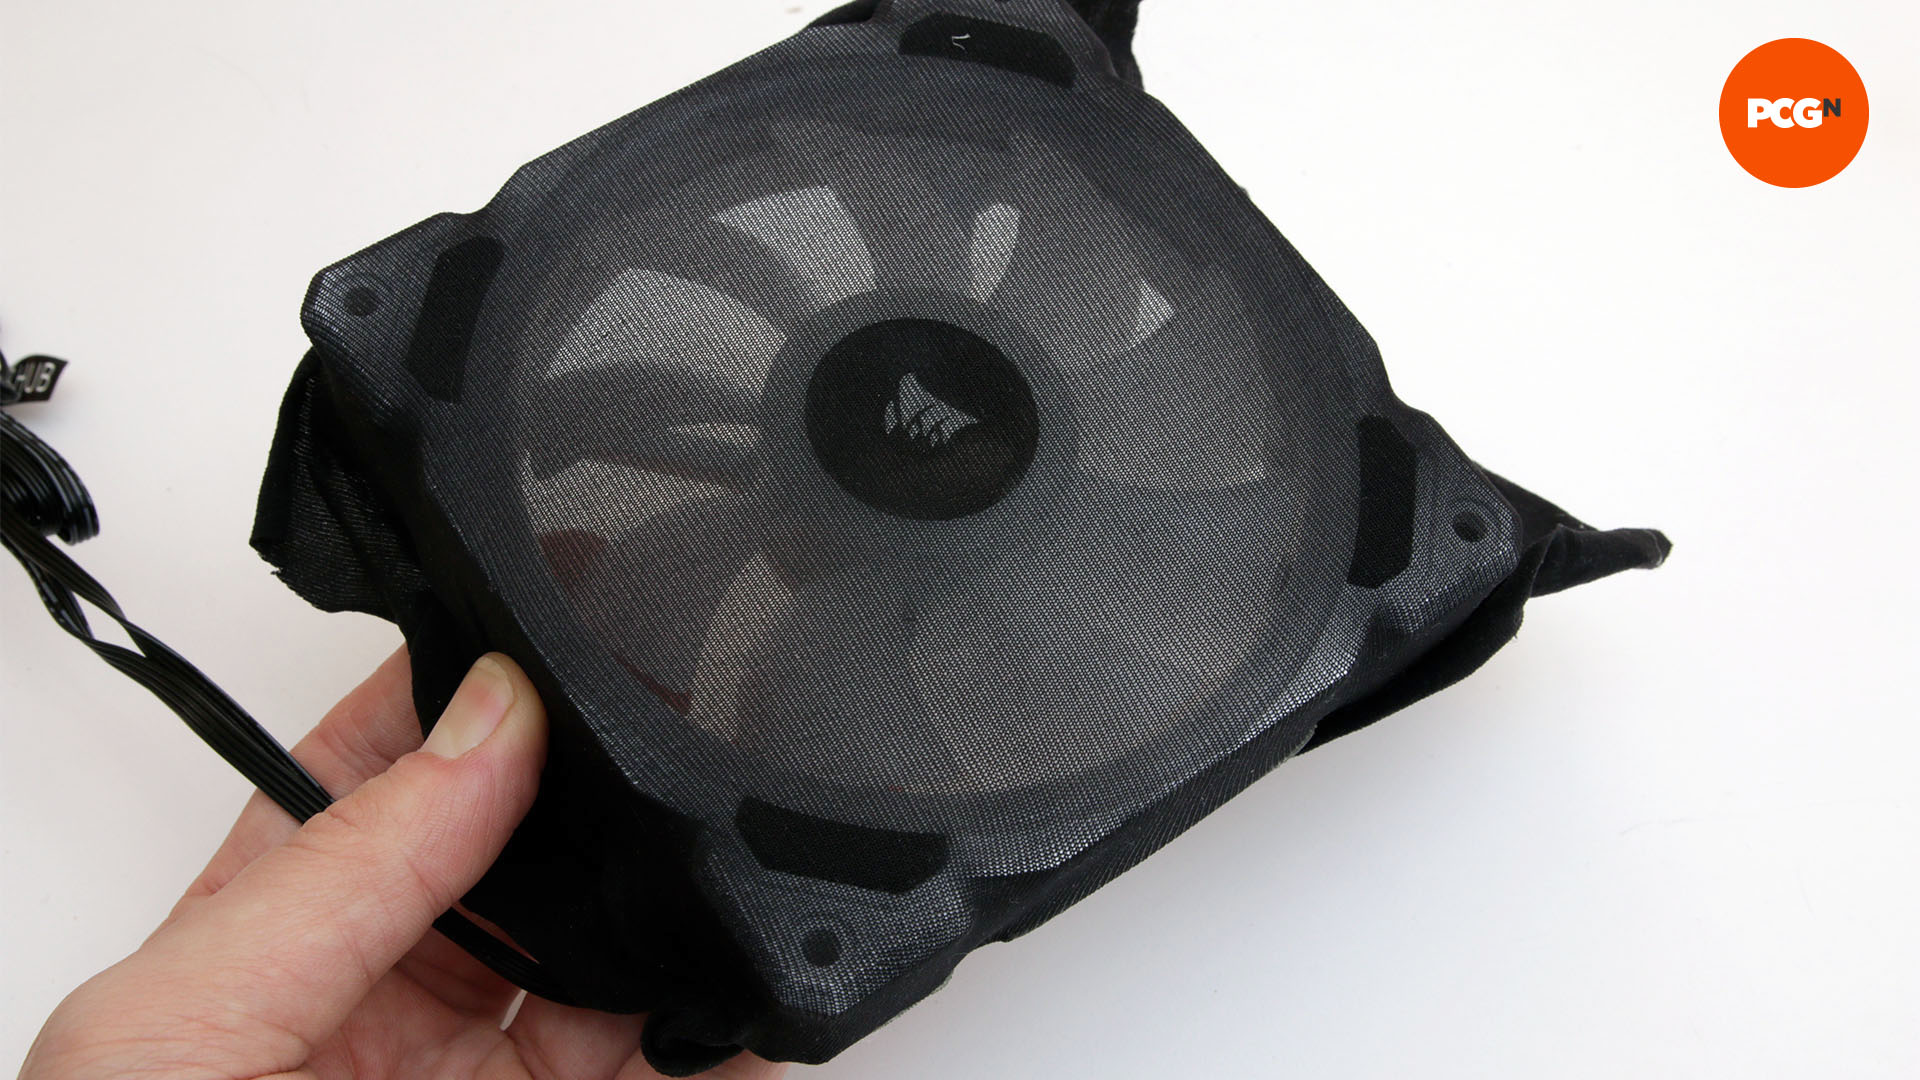
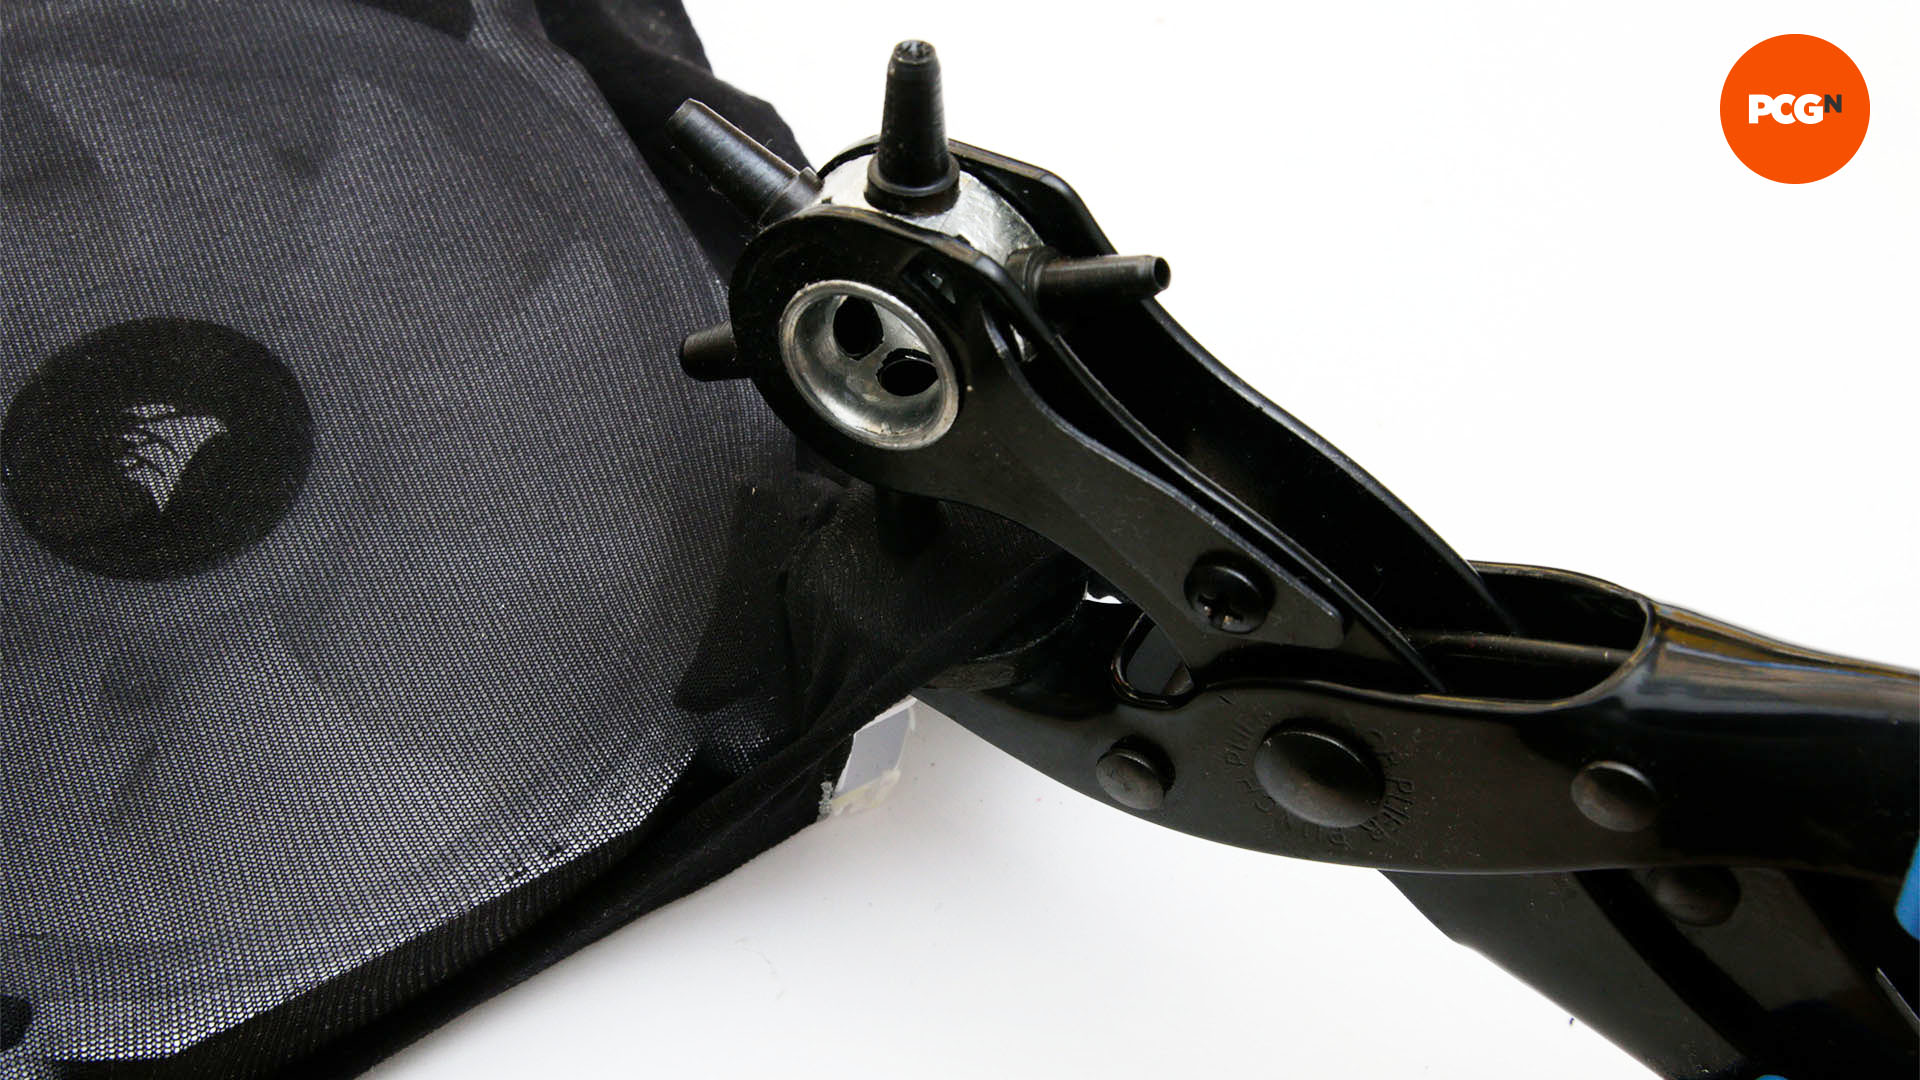
5. Punch fan holes
The material can fray if you screw into it haphazardly, so we recommend punching some clean mounting holes into it with a leather hole punch. This will cut neatly and ensure your filters are durable.
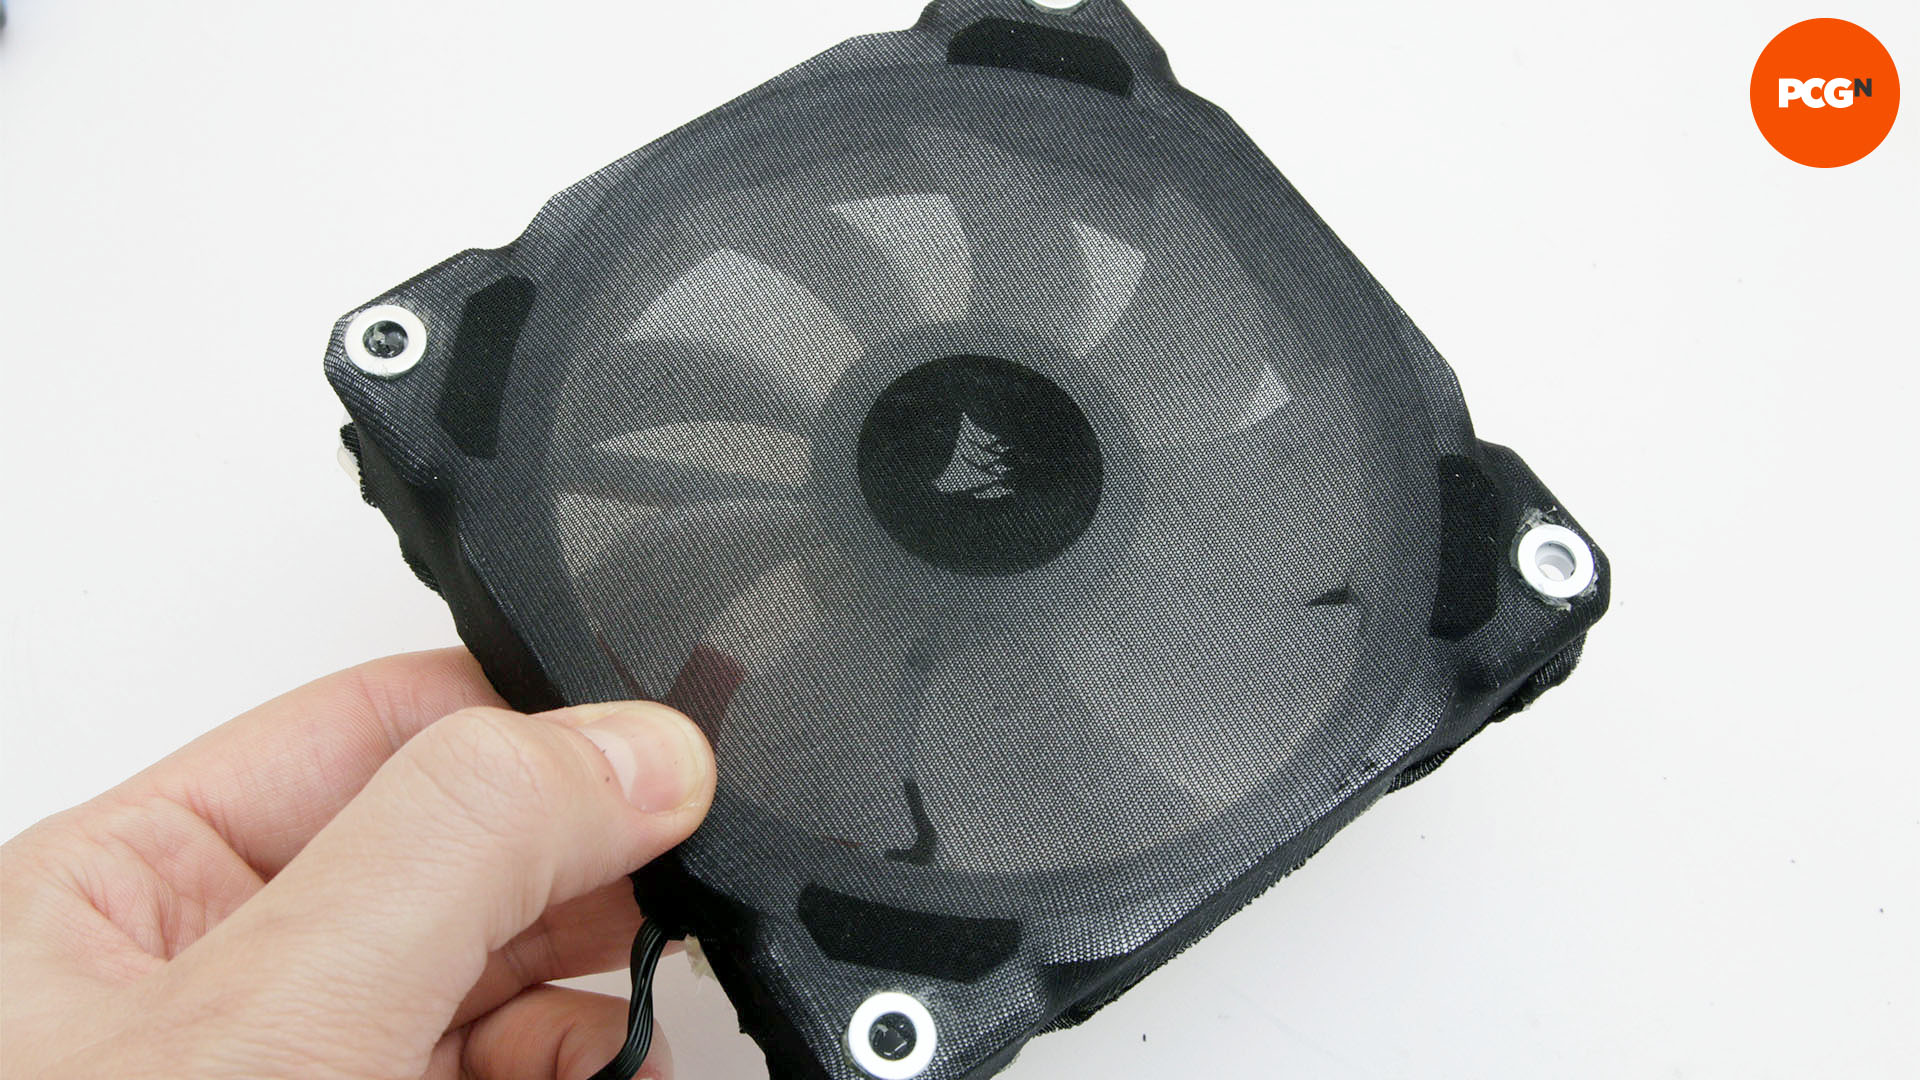
6. Attach washers
To stop the fan screws from twisting the mesh, use washers over the material to separate them. This will allow you to tighten the screws without damaging the filter. Glue the washers in place to make mounting the fan easier.
7. Screw fans to case
Finally, mount the fan into the case or radiator using washers and fan screws. The fan will now have complete dust protection, shielding your PC’s innards. To clean it, just go over it with a vacuum cleaner when necessary.
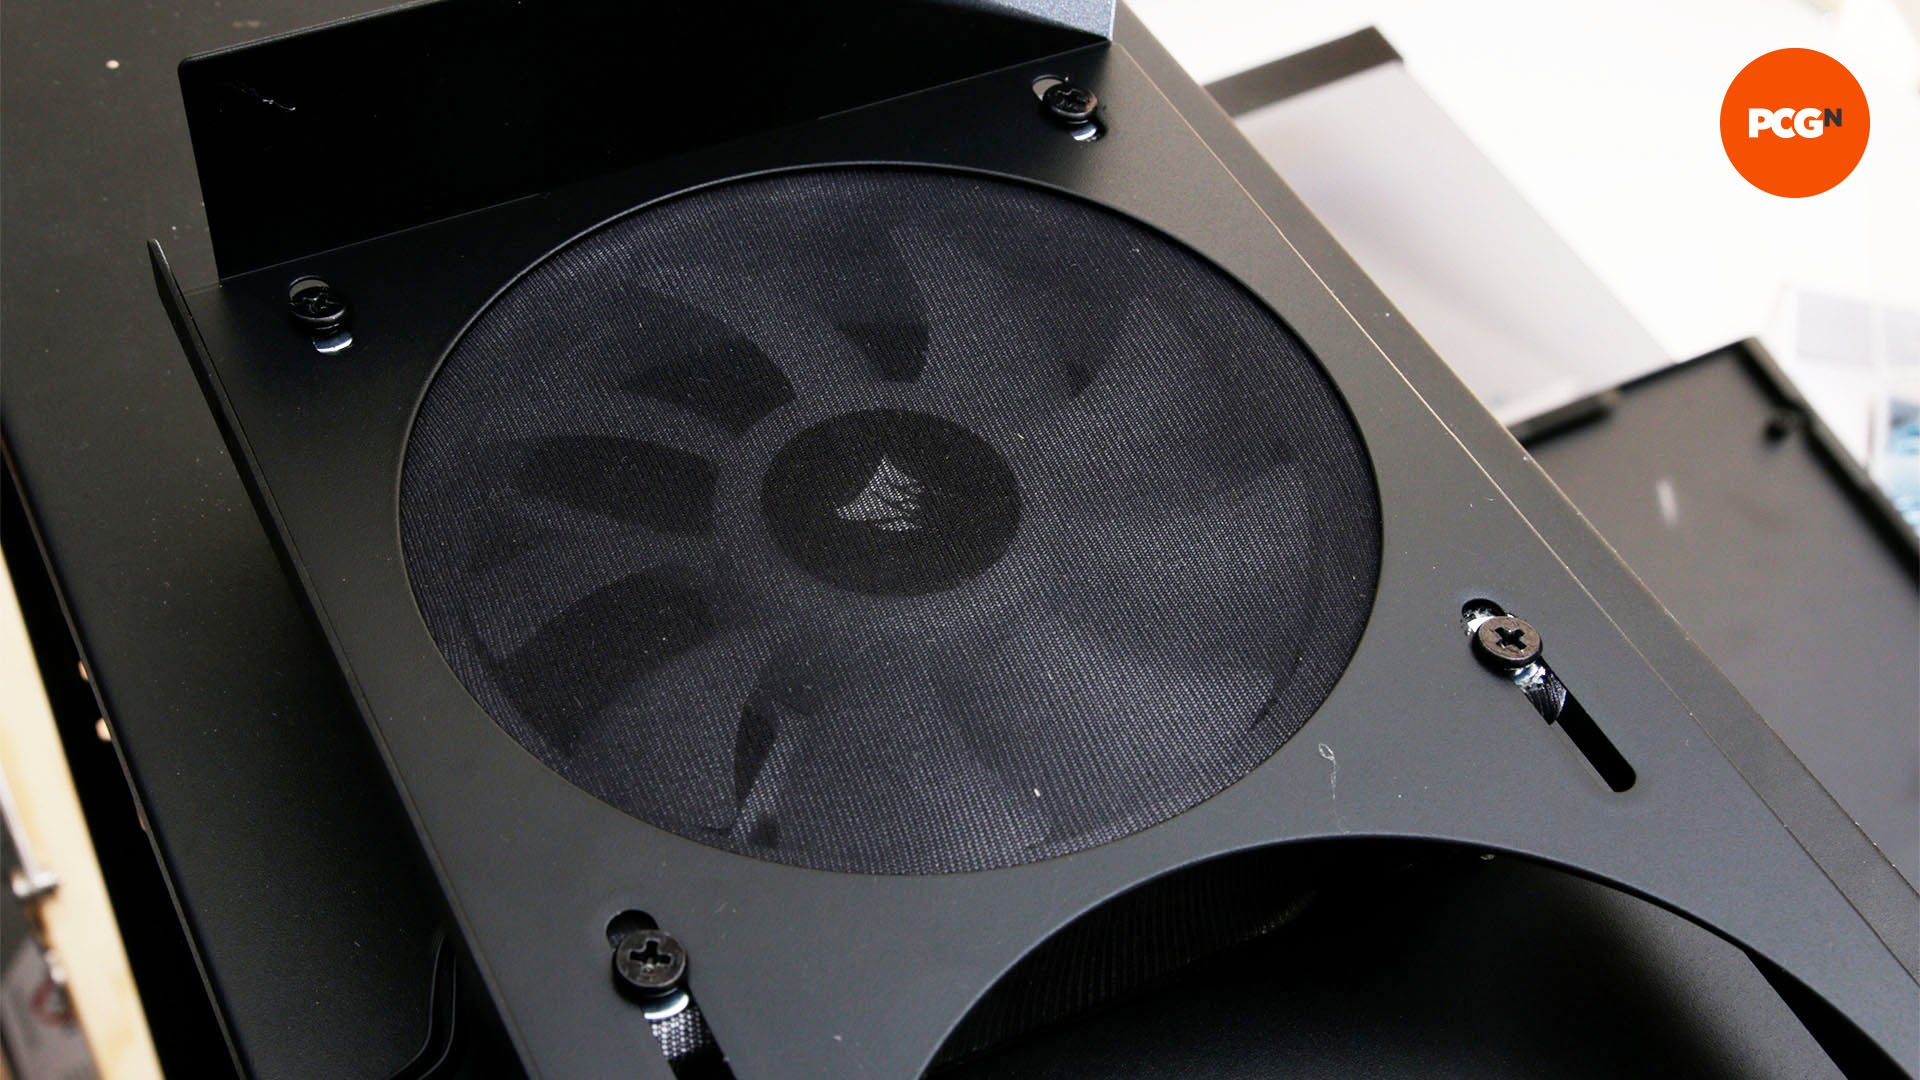
With your new custom dust filter attached to your case, you now just need to enjoy using a cool-running PC with an interior that doesn’t get overly clogged with dust.
Who would have thought some old pantyhose would be so useful for PC building? For more PC customization ideas, check out our guide on how to paint your case. If you’re planning a new build, then you’ll also want to read our full guide on how to build a gaming PC, which covers every step of the process.
