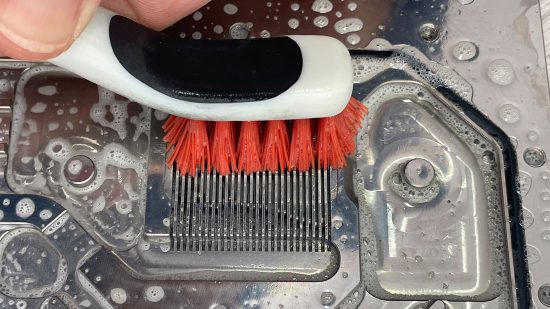
In this guide, we’ll show you how to clean a waterblock. Over time, the waterblocks in a PC water cooling loop can lose their shine, and gunk can build up in their small heat-transferring fins. This not only causes them to lose cooling performance but also means they look far less attractive than when they were new.
While a custom loop will usually be cooler, quieter, and better looking than even the best AIO cooler, it will also need some maintenance to keep it ship shape. Oxidation and residue build-up is unavoidable, and noticeable if you have a see-through top on your waterblock, but it can be fixed with a bit of elbow grease.
1. Use the right cleaner
Check your waterblock’s metal finish. Copper is durable and can be cleaned with most metal polishes, but nickel plating requires a less abrasive polish, so make sure you know what materials you’ll need to clean first.
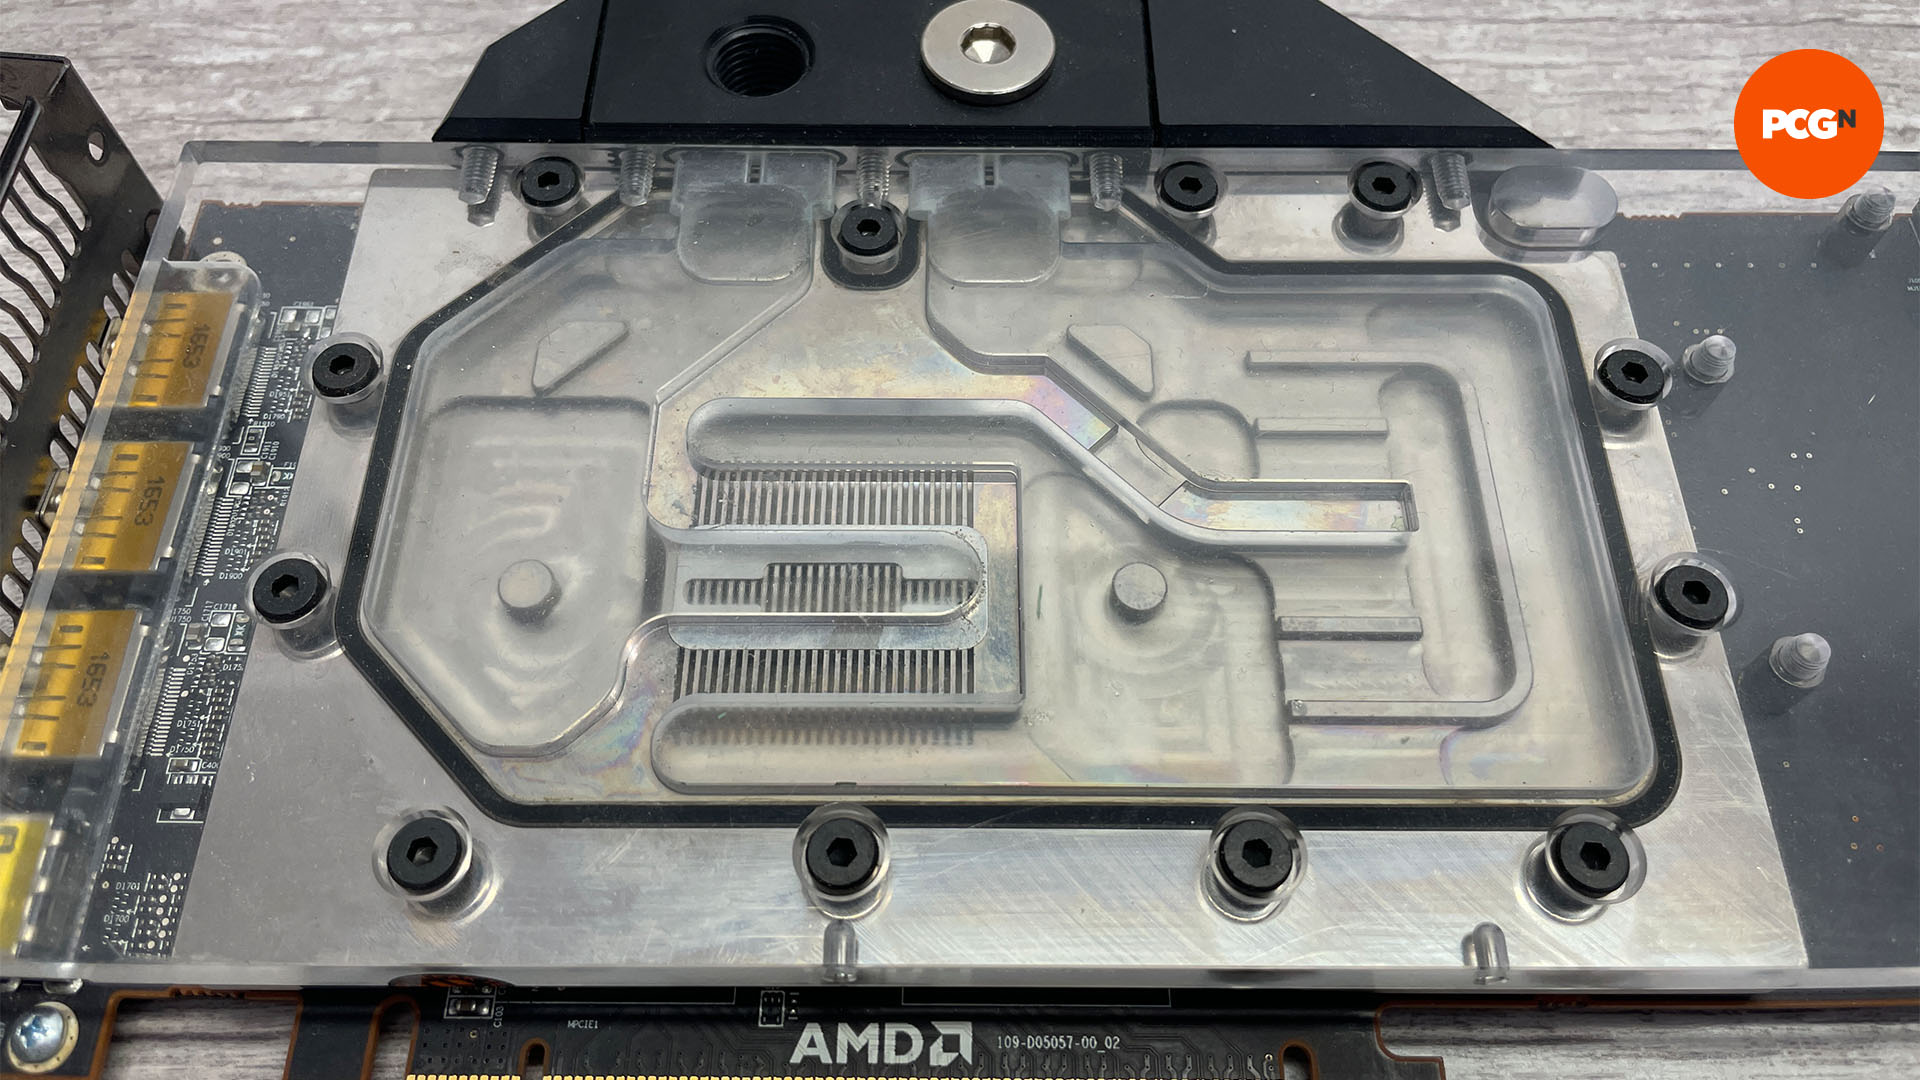
2. Remove screws
Most waterblocks use a single top section, so they’re usually easy to dismantle. Use the appropriate tool to remove the screws and keep them safe in a container, so you can reassemble the block later.
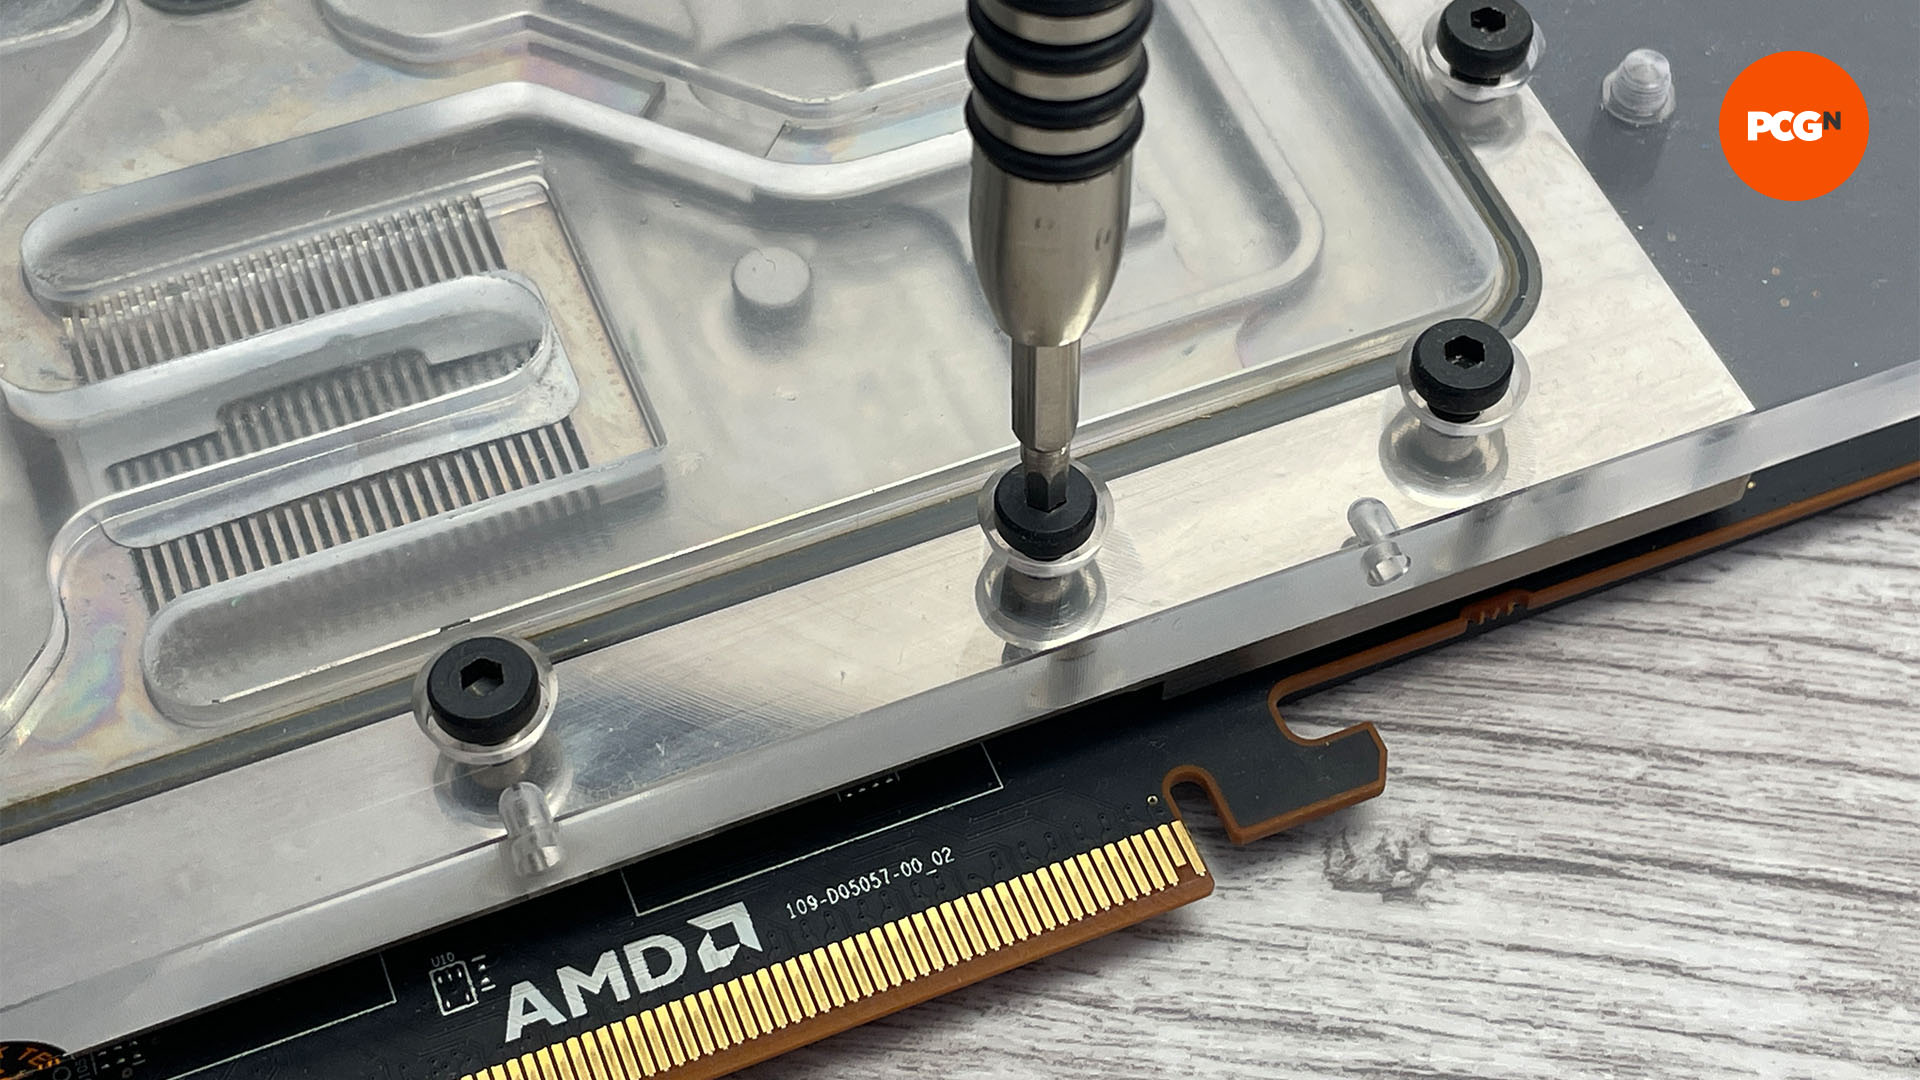
3. Dismantle waterblock
Carefully lift the top away from the block and reseat any O-rings that come loose. Depending on how much gunk is inside the block, it may need to be prised away with a little force.
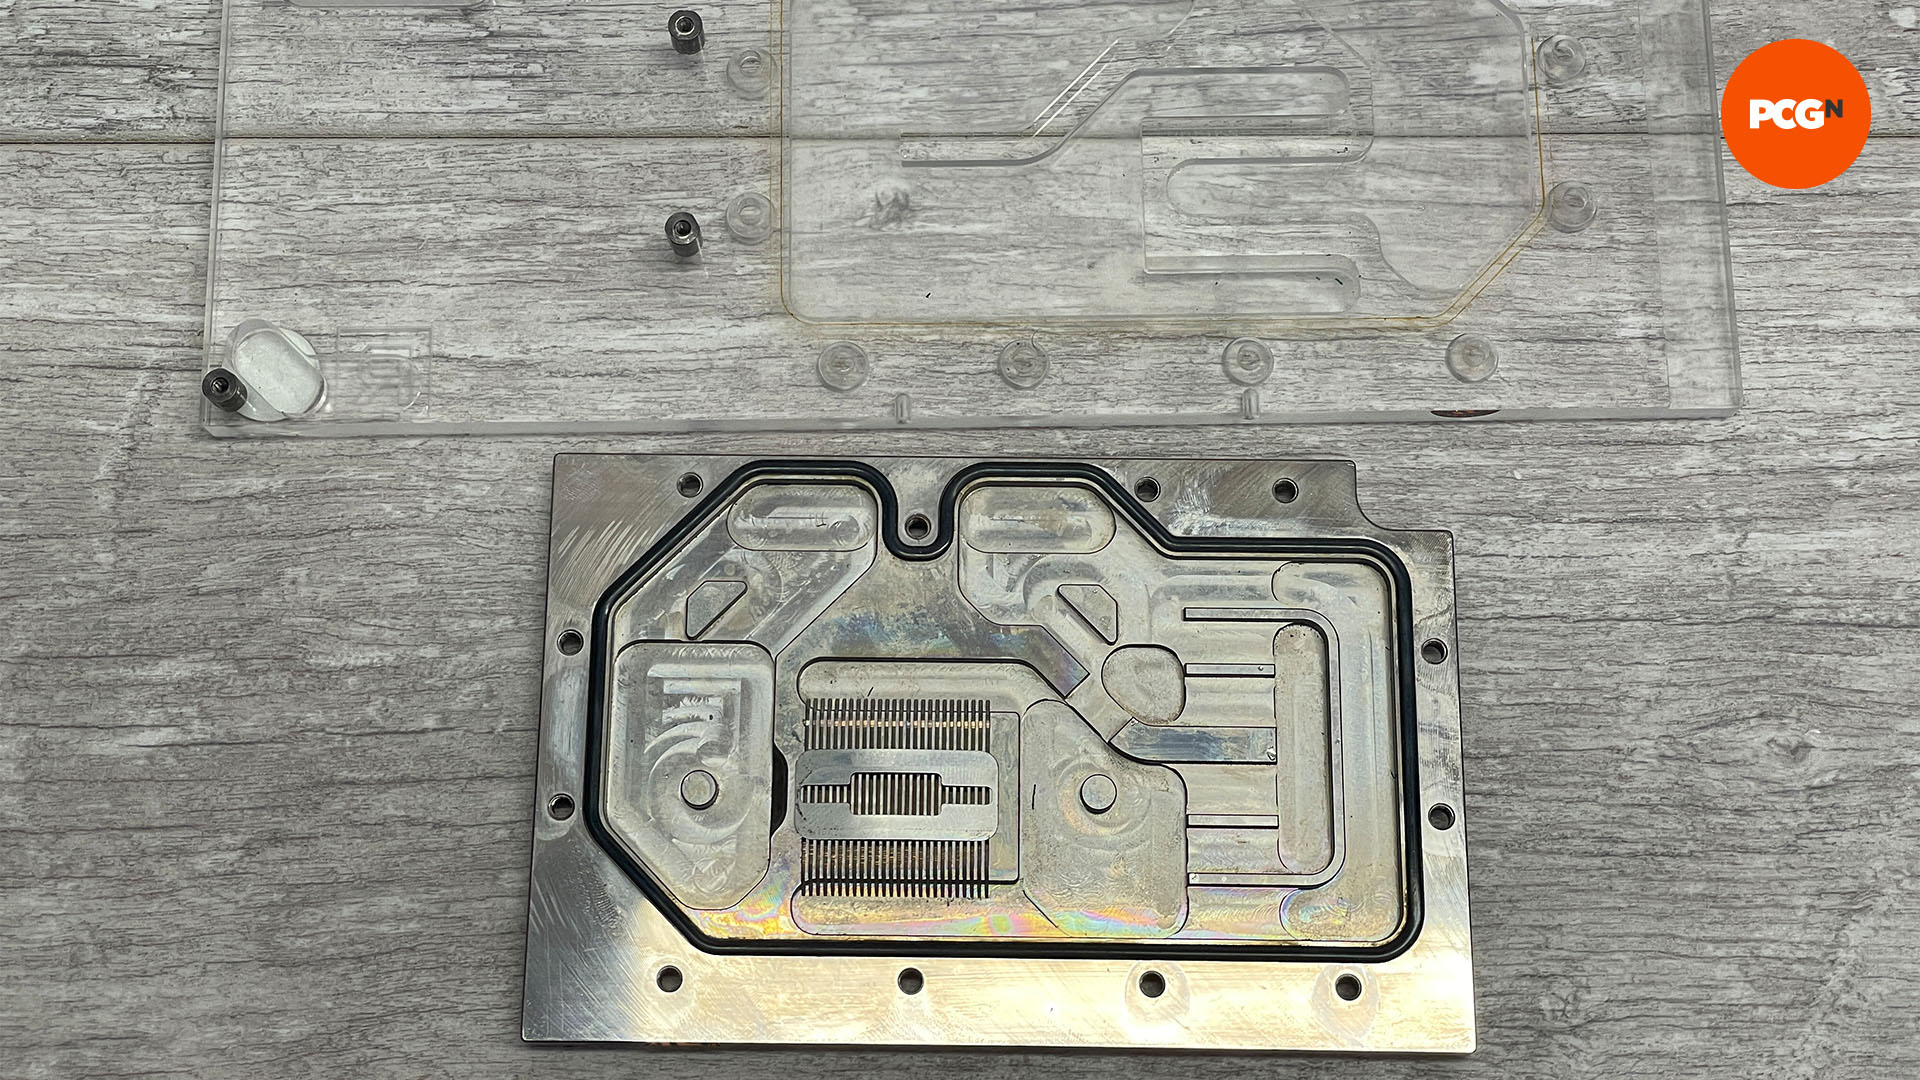
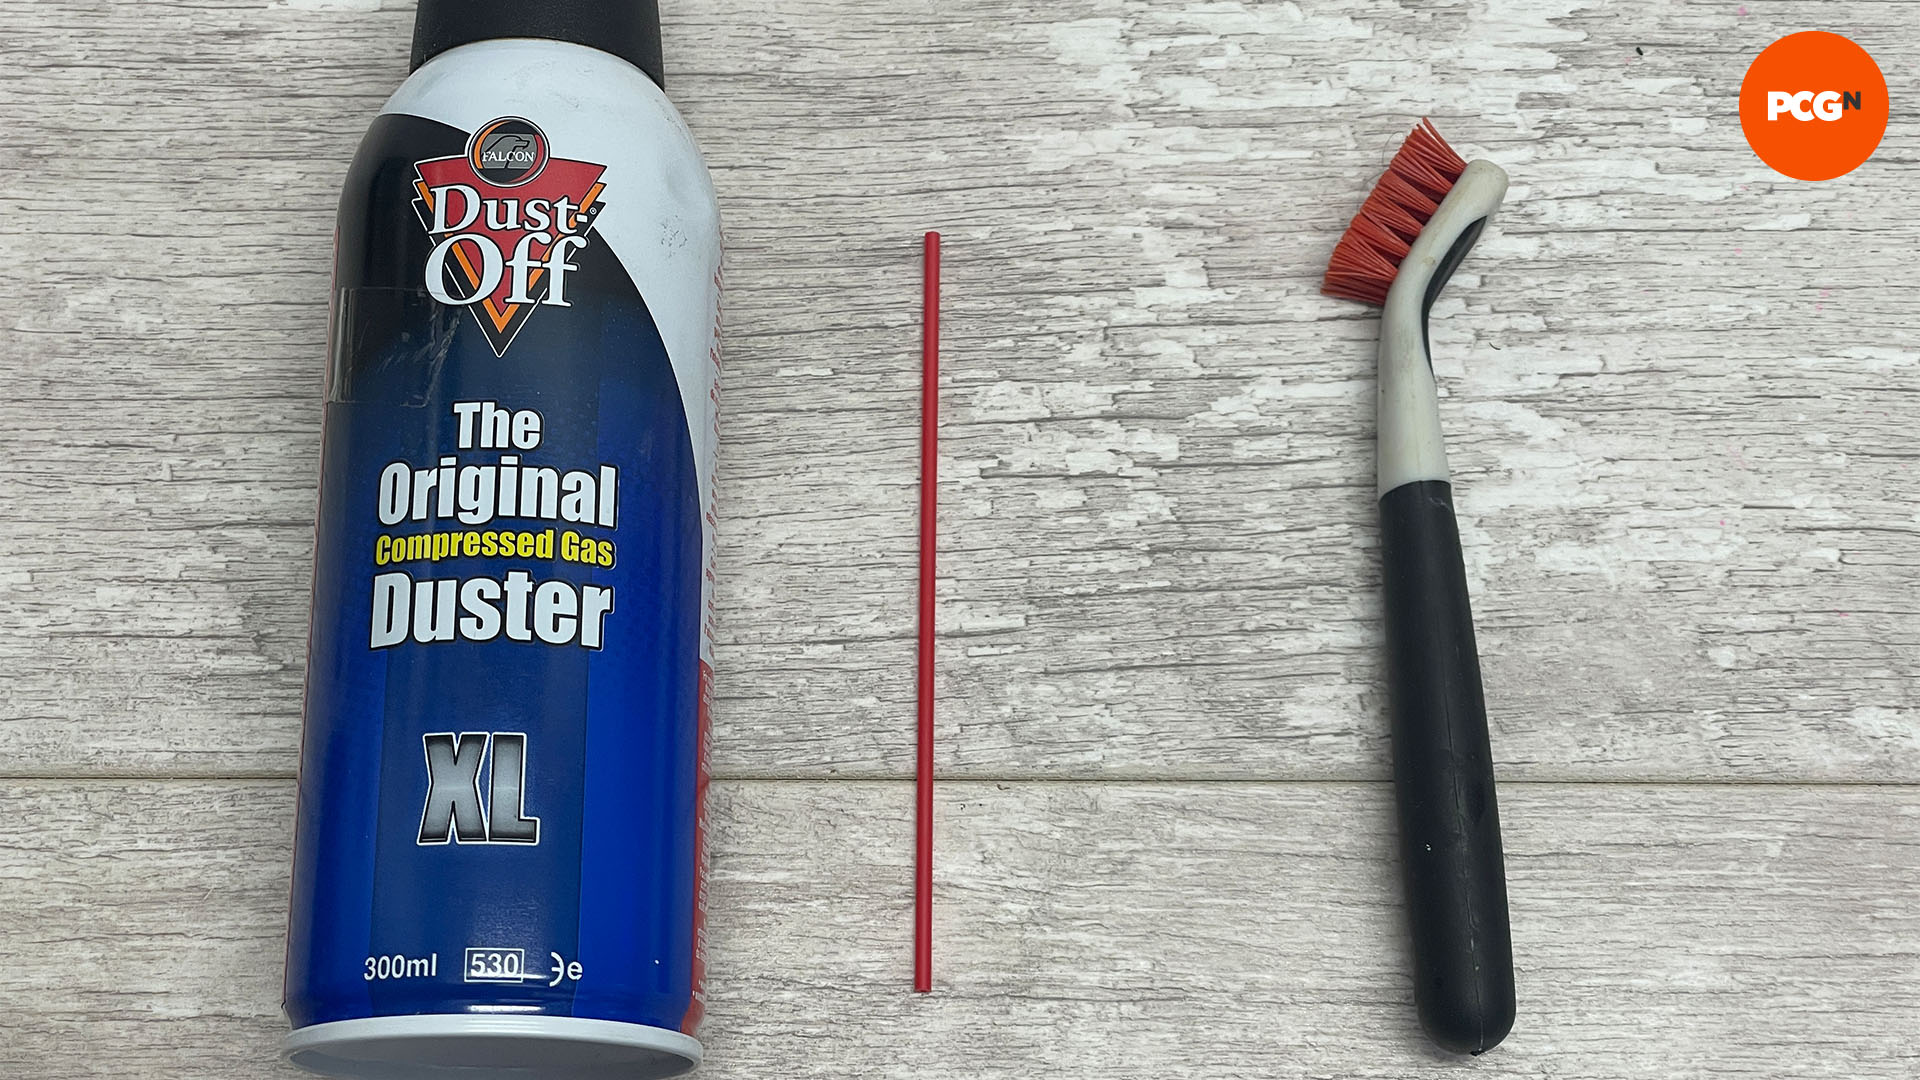
4. Use brushes and air duster
The best tools to clear out any fine channels are plastic brushes and air dusters. Start with the latter and move on to the former if there are any stubborn particles trapped in the cooling fins.
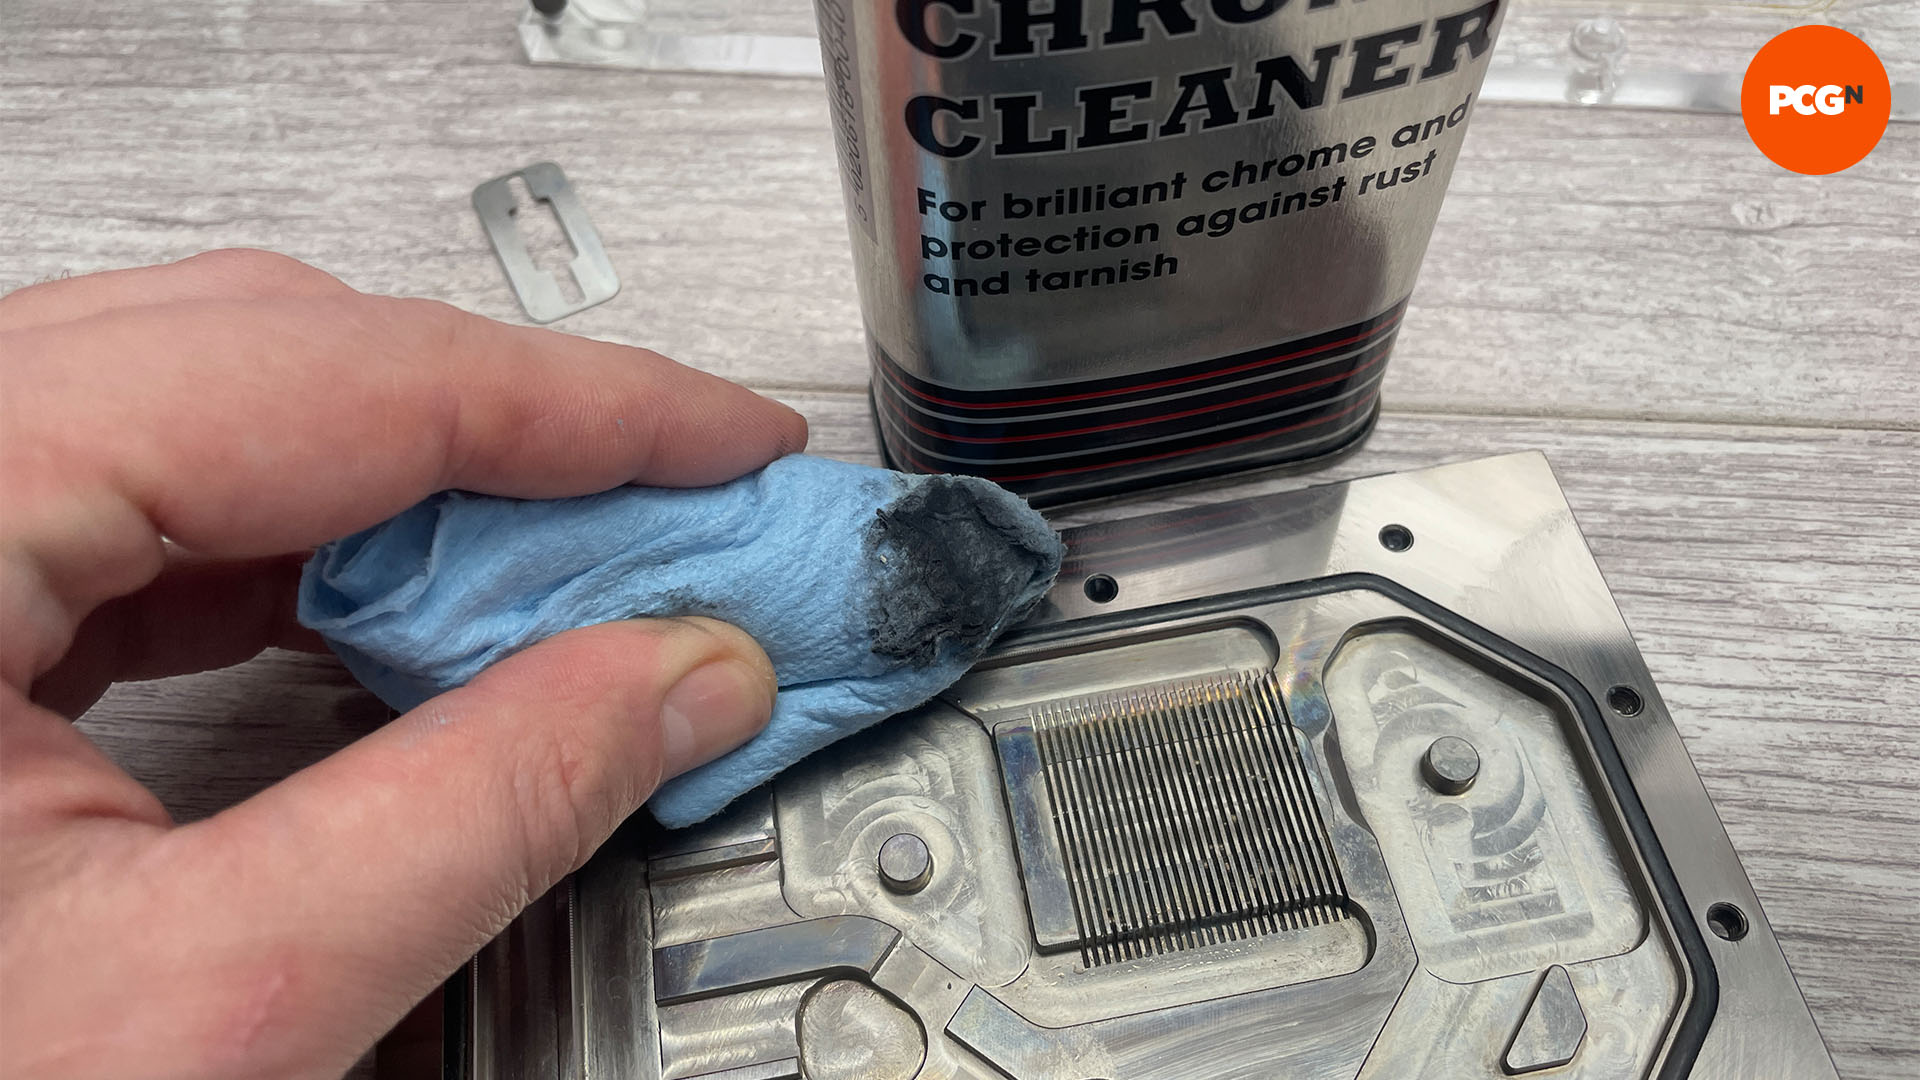
5. Use polish
Exposed copper is durable enough to be cleaned with normal metal polish such as Autosol, but if there’s a plating such as nickel, this is often quite thin, so you’ll need a less abrasive cleaner. The same company makes a chrome polish, which is perfect, as chrome is also delicate.
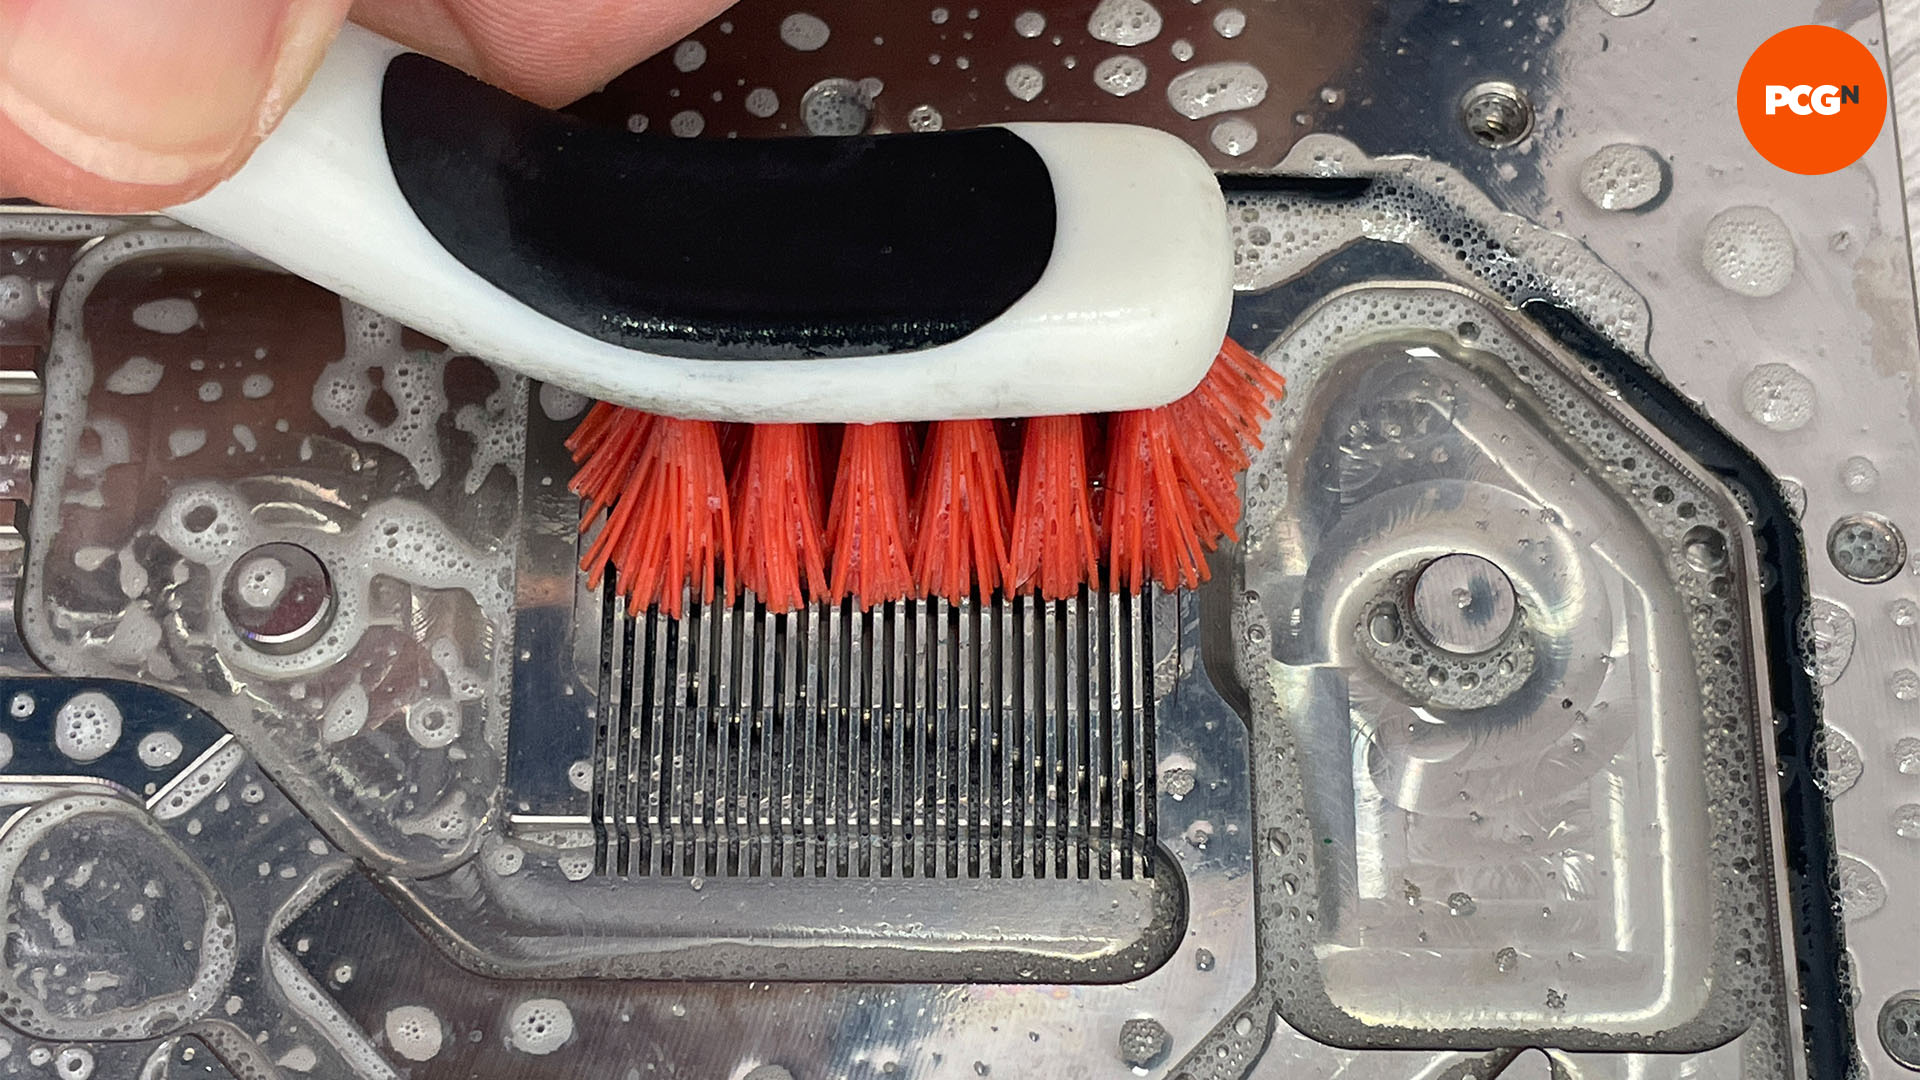
6. Clean block coolant channels
Use a plastic brush, along with some soap and warm water, to clean the waterblock, using the air duster or brush to clear the fine coolant channels over the core area.
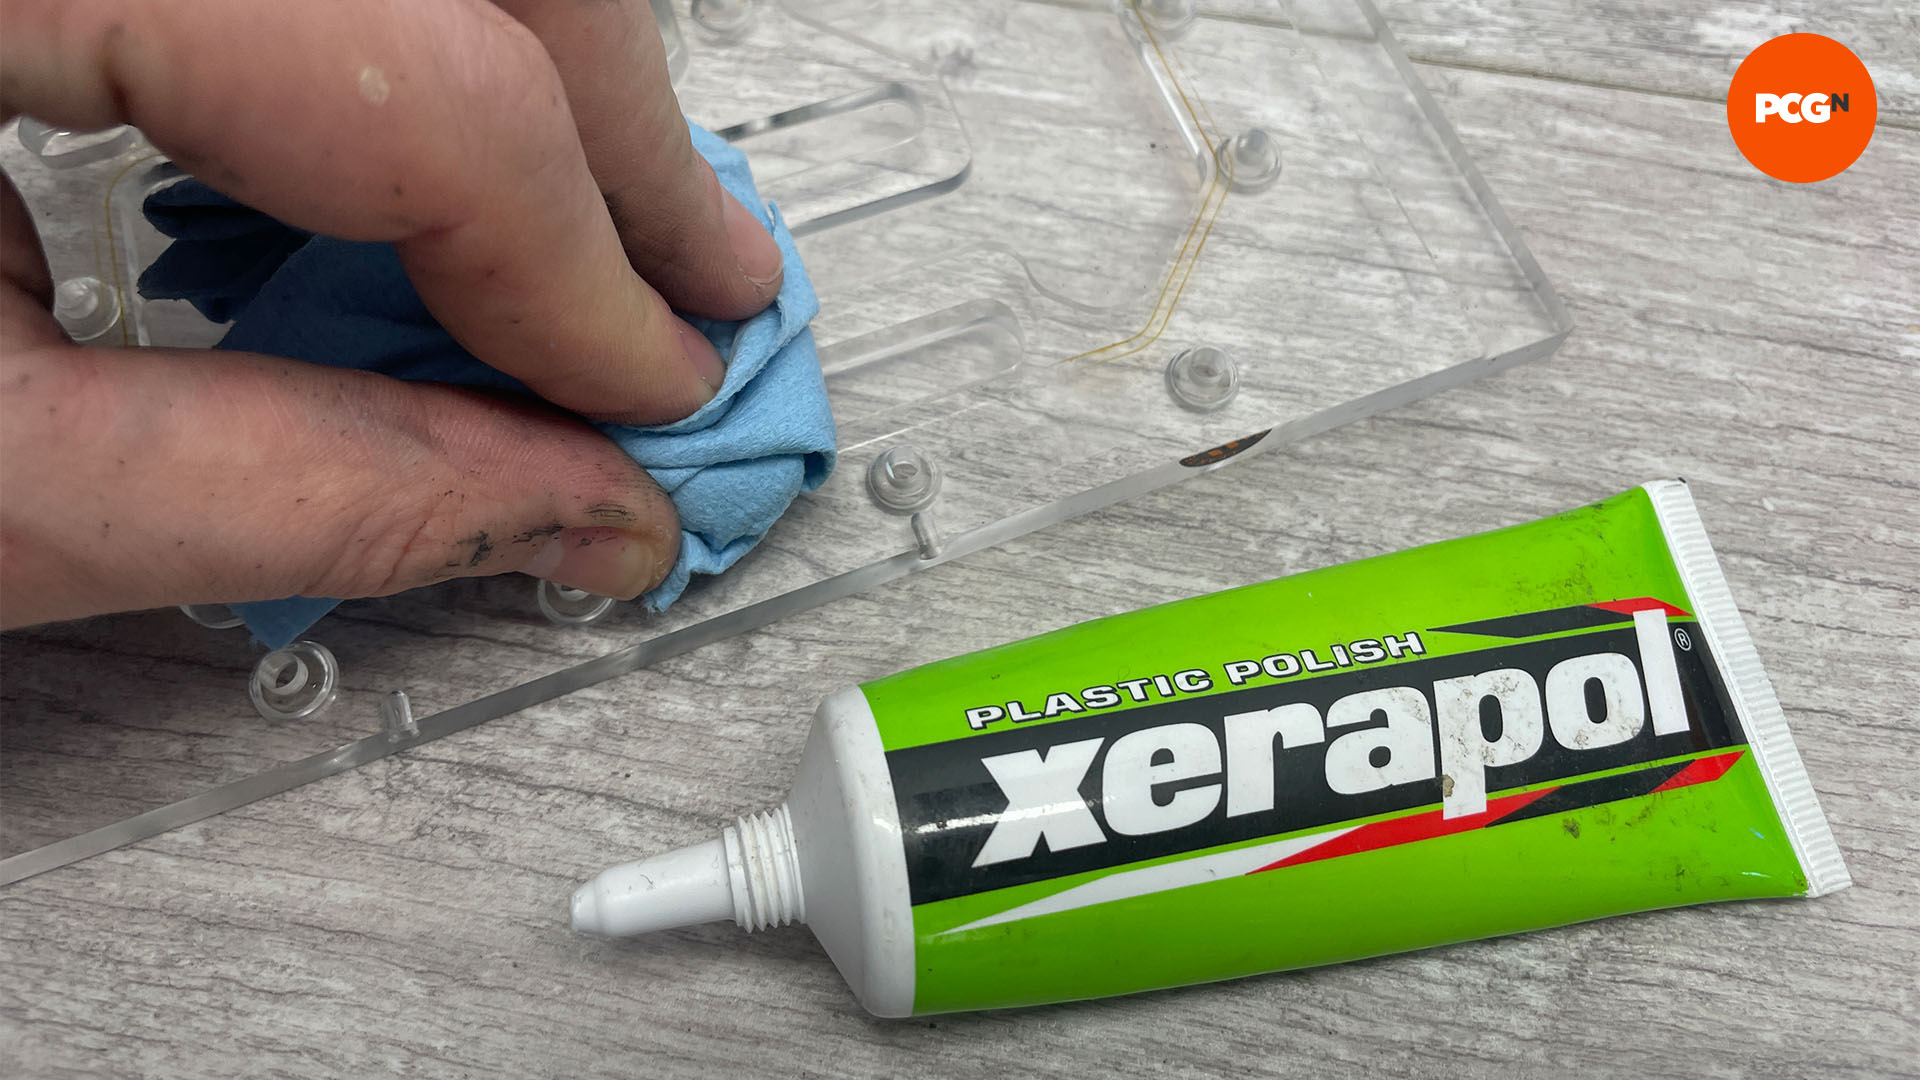
7. Polish acrylic
You can use a plastic polish to clean the acrylic. This will remove stains and minor scratches, so it’s great for banishing coolant marks. Use a disposable cloth and rub the acrylic firmly with a good amount of pressure.
8. Reassemble waterblock
Give the areas you’ve polished a final wash with warm water and wipe them dry. Then clean your hands, as it’s easy to leave fingerprints inside the waterblock that can be visible through the acrylic. Now reassemble the waterblock – you can consider using plastic gloves for this bit to avoid leaving any fingerprints.
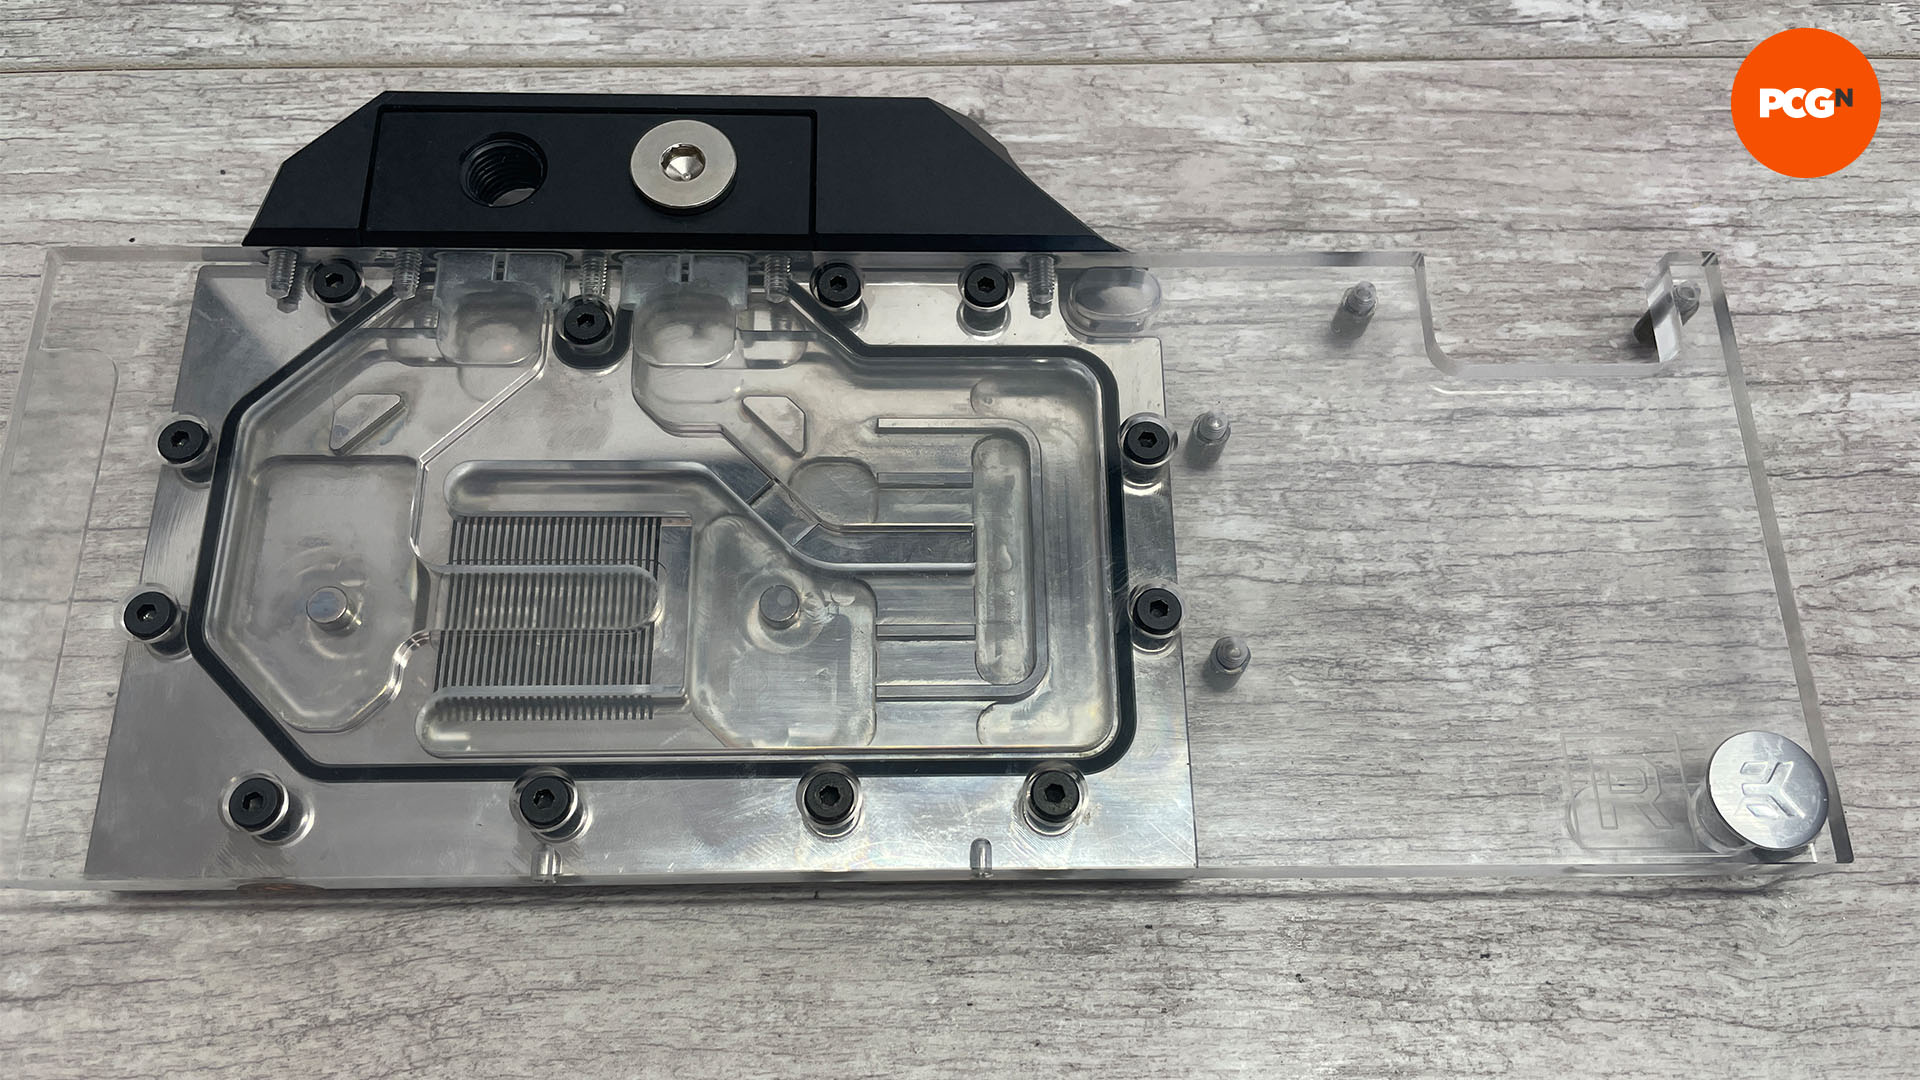
9. Flush waterblock
Finally, you’ll need to flush your waterblock in order to remove any remaining residue inside it. You can use normal coolant or deionized water, but avoid using tap water, as this can leave marks on your freshly polished waterblock, even if it’s only left for a few minutes.
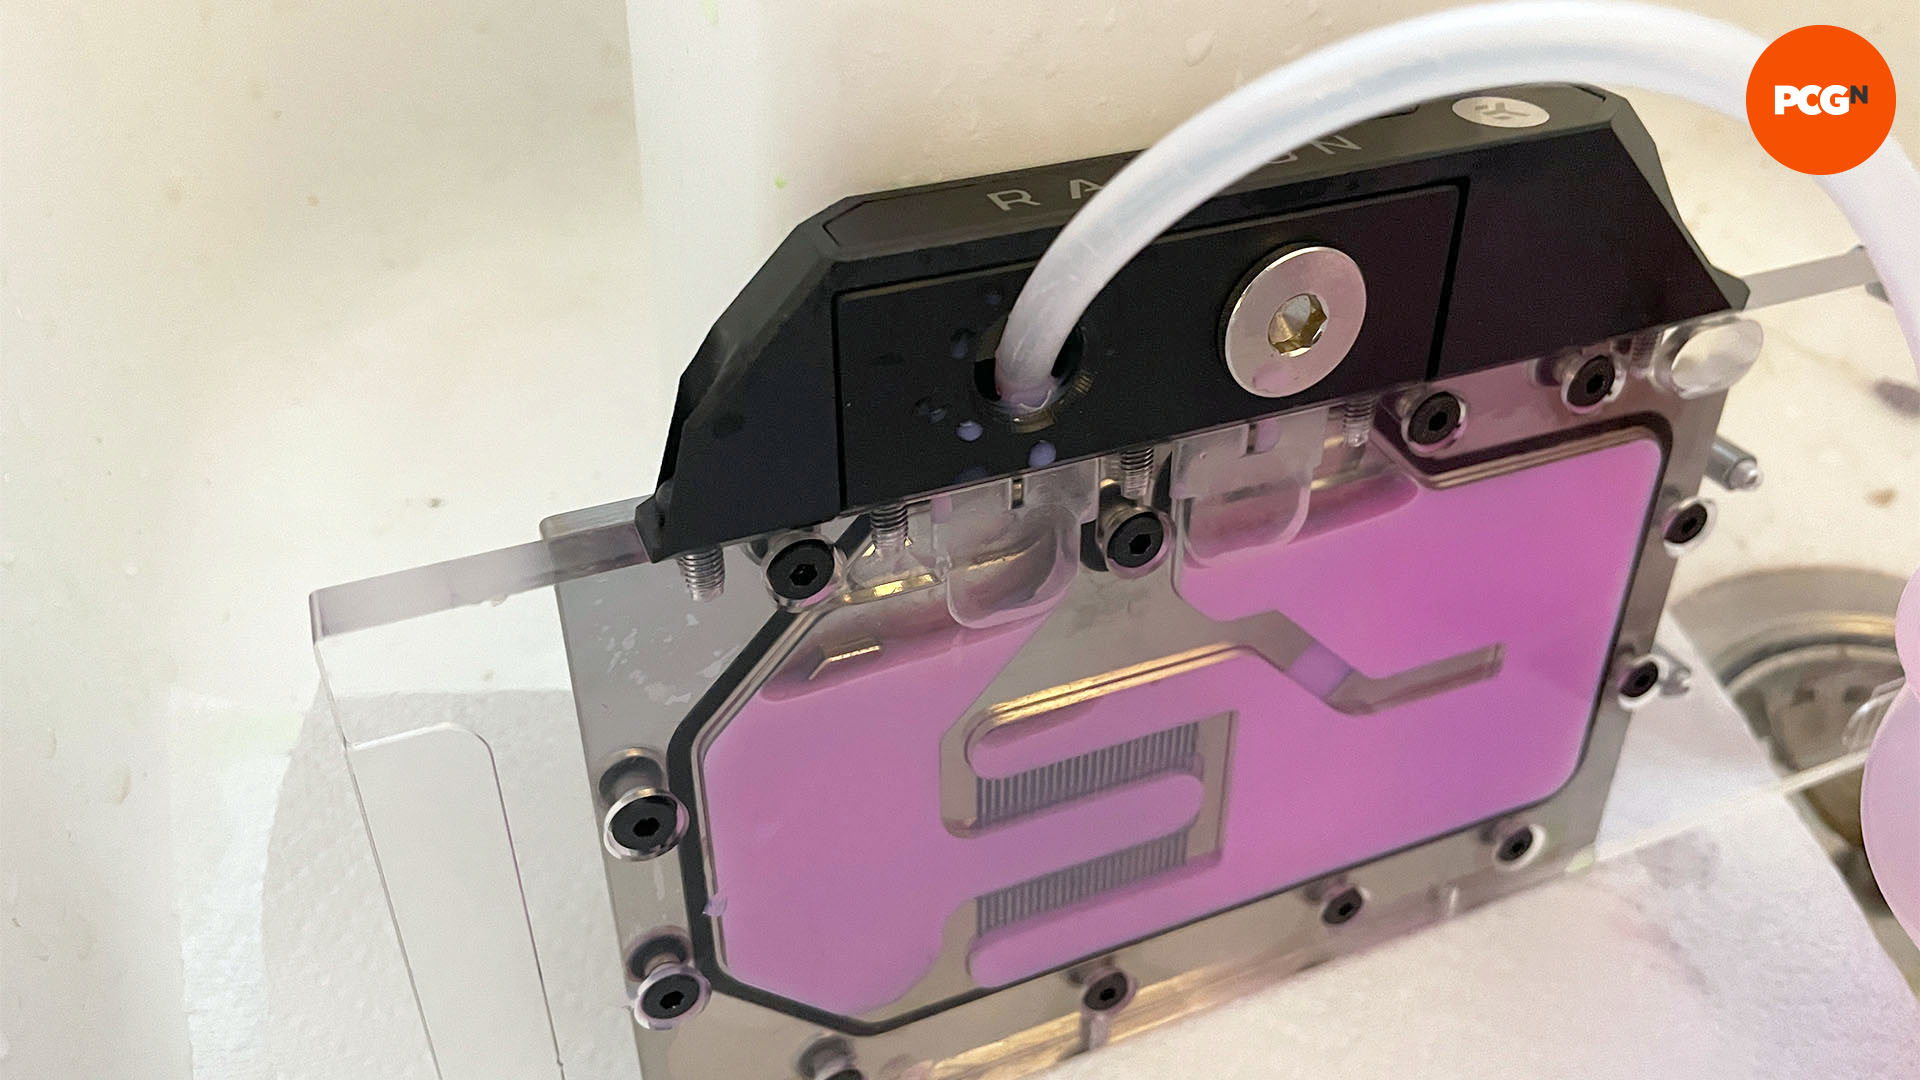
That’s a wrap for our waterblock cleaning guide – enjoy the shiny looks and improved cooling performance of your newly cleaned blocks. For more water-cooling ideas, take look at our full guide on how to water-cool a PC, where we take you through all the gear and knowledge you need to build a complete water-cooled rig.
