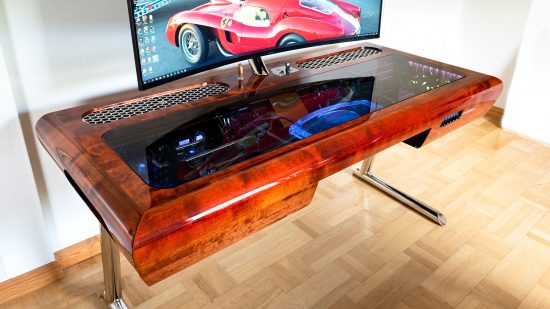
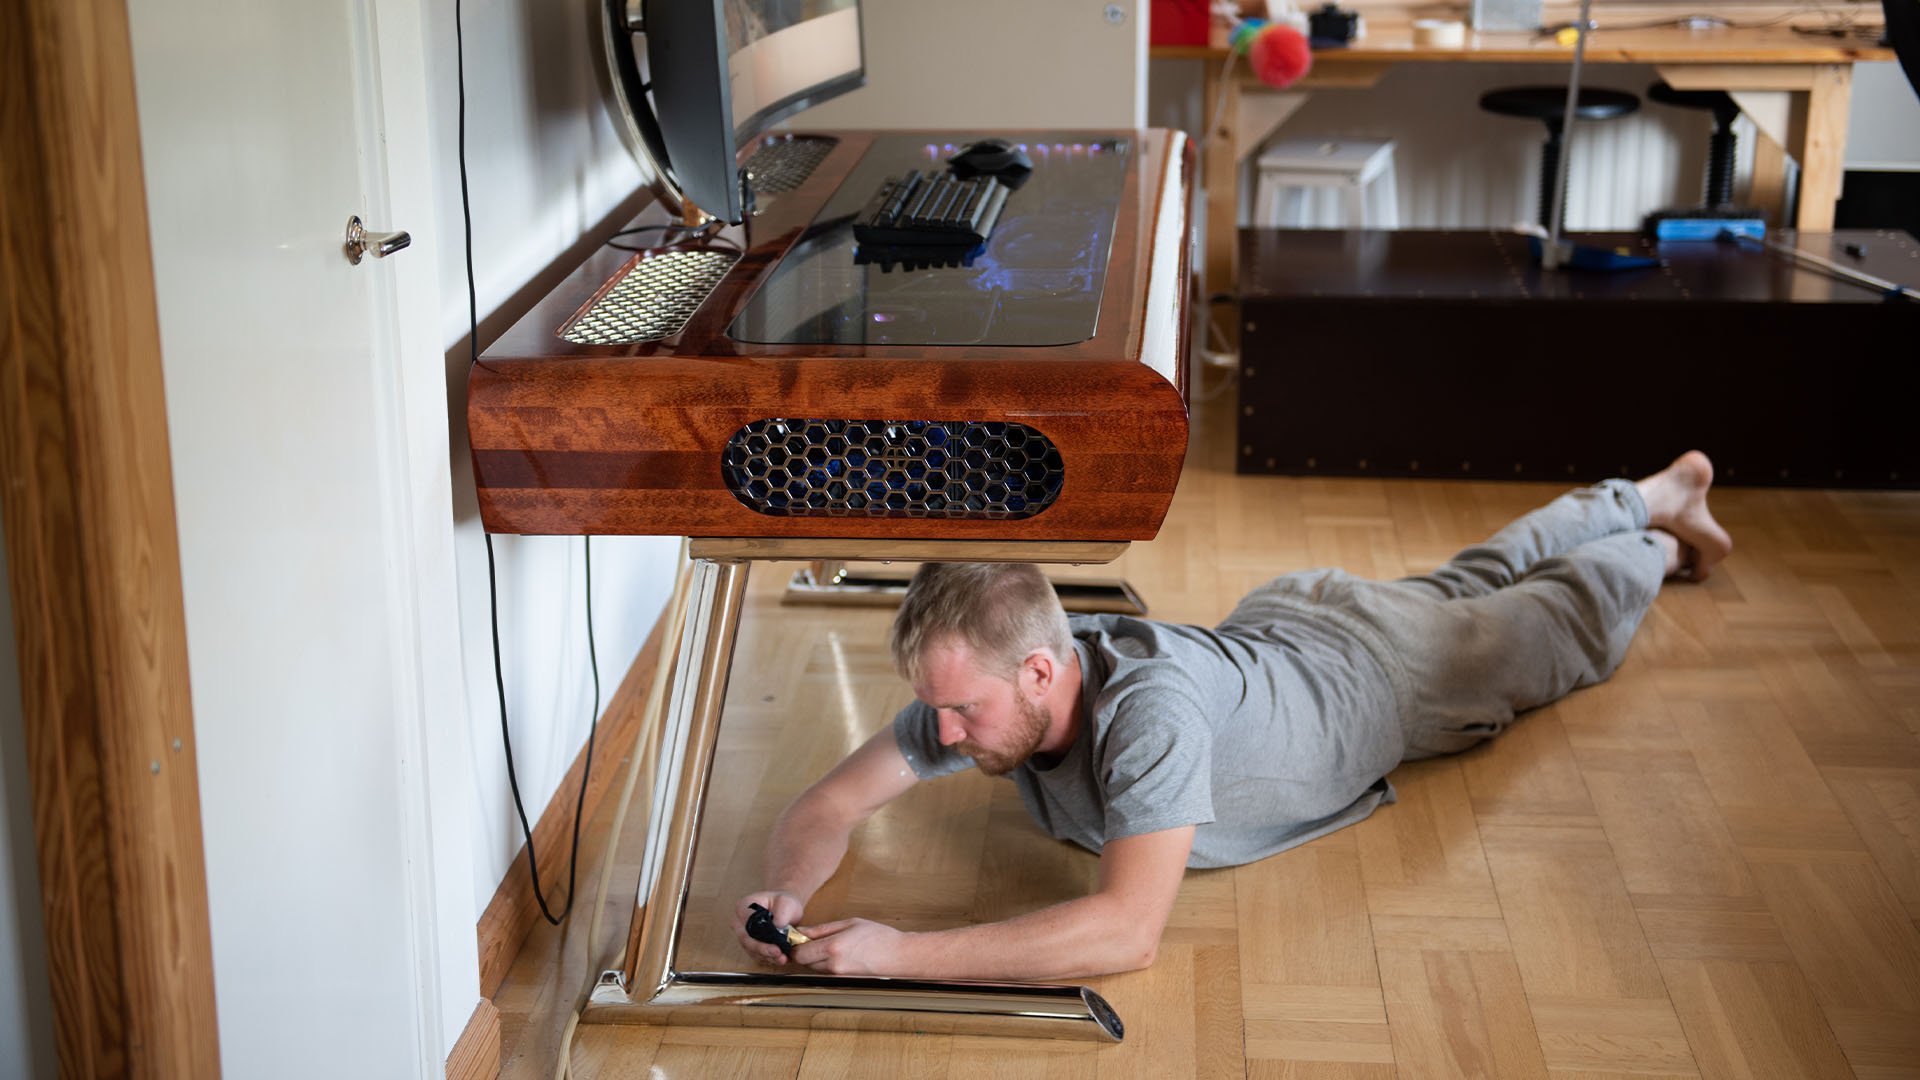
This shiny wooden desk PC is a world away from your usual tower PC case. PC builder Wilhelm Bäckman had high ambitions for his very first scratch-built rig, with this custom piece of furniture taking design cues from Italian sports cars, boats and interior design. After four years and lots of labor, he now has this stunning water-cooled desk PC, which he calls Husky Bongs.
Thanks to our PC building Facebook page, which is the biggest on the social media platform, we’ve seen some truly inspired custom gaming PCs. You can even submit yours for consideration right here. For now though, let’s find out how Wilhelm built this very shiny wood desk PC build.
PCGamesN: Why did you make a desk PC?
Wilhelm: When I got my first real job, I spent everything I had on a sick gaming rig. Reading up on water cooling and all the other neat stuff meant I got involved with the custom scene fairly quickly. I was just an observer on various forums at first, but after a while, I really wanted to make something of my own.
When I saw Peter Brands’ legendary L3p D3sk I was convinced I wanted to make my own desk PC. However, I wanted the design to be a reflection of what I love – high-end Italian sports cars, boats, and interior design.
As a kid, I saw a lot of northern Italy on several occasions, and I’m in love with the runabout boats on the lakes of Geneva and Garda – the most Iconic brands are Riva and Bösch. Basically, I wanted my own mini-Riva in my living room. The project went from there.

Where does the Husky Bongs name come from?
As a kid, my first stuffed animal was a husky dog given to me by my parents on my first Christmas Eve. It was called ‘Hugo Husky Bongs’. I always liked that name and wanted to use it for something at some point, and making this table seemed like the perfect time. I felt that Husky Bongs had a better ring to it than the whole name, though. I wanted the name to be very relatable to me, so it was an obvious choice, although I’ve been told some people think it plays on some other meaning.
What was the aim for this project?
If I’m honest, aesthetics was the main goal. I’m very visual, so I had a design and I just made the table big enough to accommodate that design. I felt that good performance and looks could be achieved simultaneously, as long as I was happy to ignore the time spent building and designing, as well as the weight and size of the build.
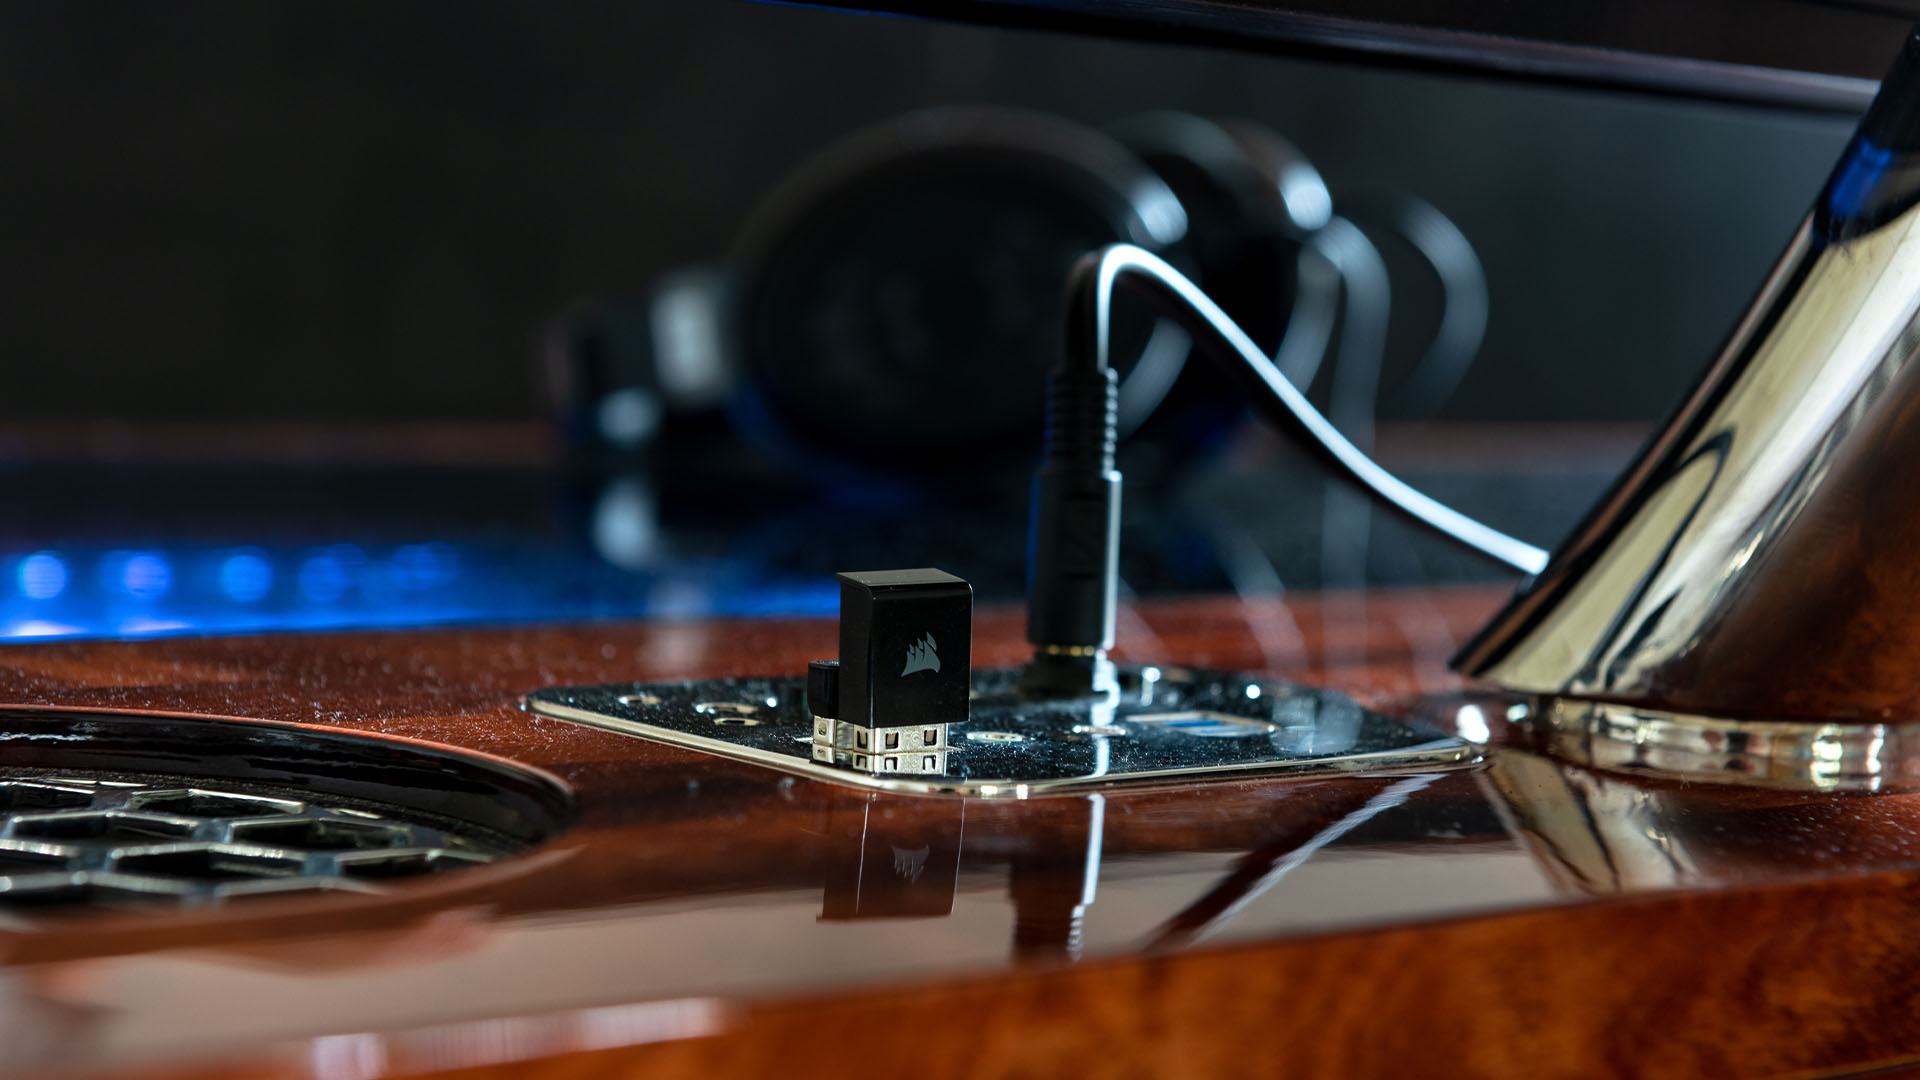
Another purpose was longevity. I don’t like products that don’t last, so I wanted a structure that would hold for at least 50 years. That’s why this build is sometimes so overbuilt. I also dislike cables, so I wanted the whole table to be connected with one AC cable into the wall, covering the PC, screen, sound, and so on.
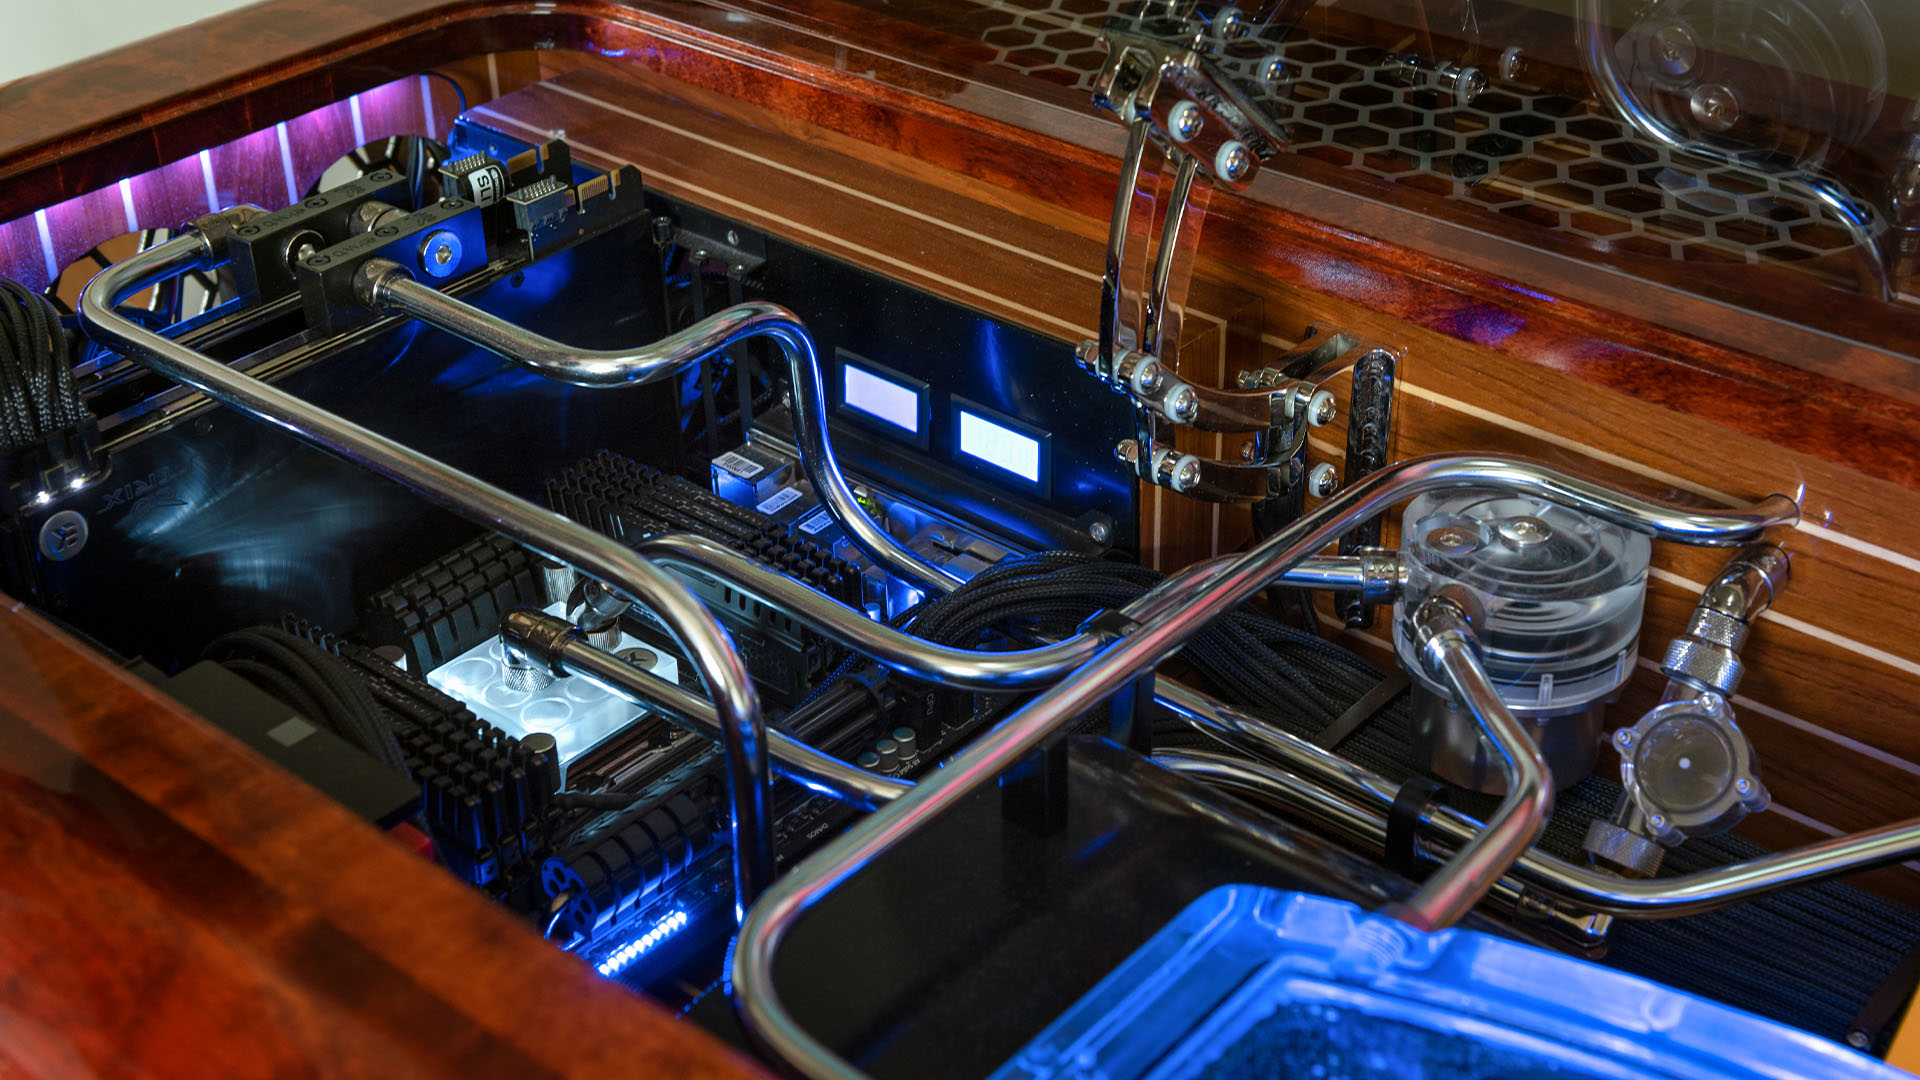
I wanted a water-cooling system that would handle pretty much anything, so I just drew up all the components on a sheet of paper and played around with where I’d want to place each part. The end result became a fairly big rig. Spec-wise I wanted a workstation, so it runs a big old CPU, a lot of RAM, and motherboard expansion features.
What difficulties did you come across?
Almost all of it was difficult at first. Not being the best craftsman, some of the work was incredibly labor-intensive. I always knew what I wanted from the end result, but a lot of the time I had no clue how to get there. The amount of discussions with tradesmen, forum diving, and phone calls to specialist firms has been quite surreal, but very necessary. If you don’t know something, ask. It actually works.
Mainly, though, the scope of the project, combined with the cost (it’s not sponsored), is what made it tough. Not having an established name in modding, I had to prove myself with this build. Sometimes I had to take a break due to a lack of funds, or because a particular aspect of the build felt too daunting at the time.
You come across a lot of unknowns when you do these types of scratch-builds. For example, how do you smoothly bend a 3in-thick pipe to a specific diameter, or how do you achieve a grand piano-grade lacquer job in a ghetto setting? Also, I decided to redo a lot of the parts.
The legs, PSU stand, hinges, screen mount, lacquer, radiator fan-grilles, chroming, and so on were all redone, sometimes two or three times, either because the quality wasn’t satisfactory, it because it didn’t work aesthetically.
How did you make the wooden parts and metal structure?
The outer wood is birch, dried to a very low moisture level and then glued. After the big chunks were glued, I went to a local workshop and used a mill to roughly get the shape, then I hand-shaped and sanded it to its finished state. I made specific sanding tools due to the lengths of the pieces.
The pieces were eventually glued and cross-tapped to form an incredibly strong bond. The holes for the glass and radiator grilles were made with a handheld milling machine, using premade templates. The wood was then stained twice and lacquered 13-14 times with two-component clear lacquer.
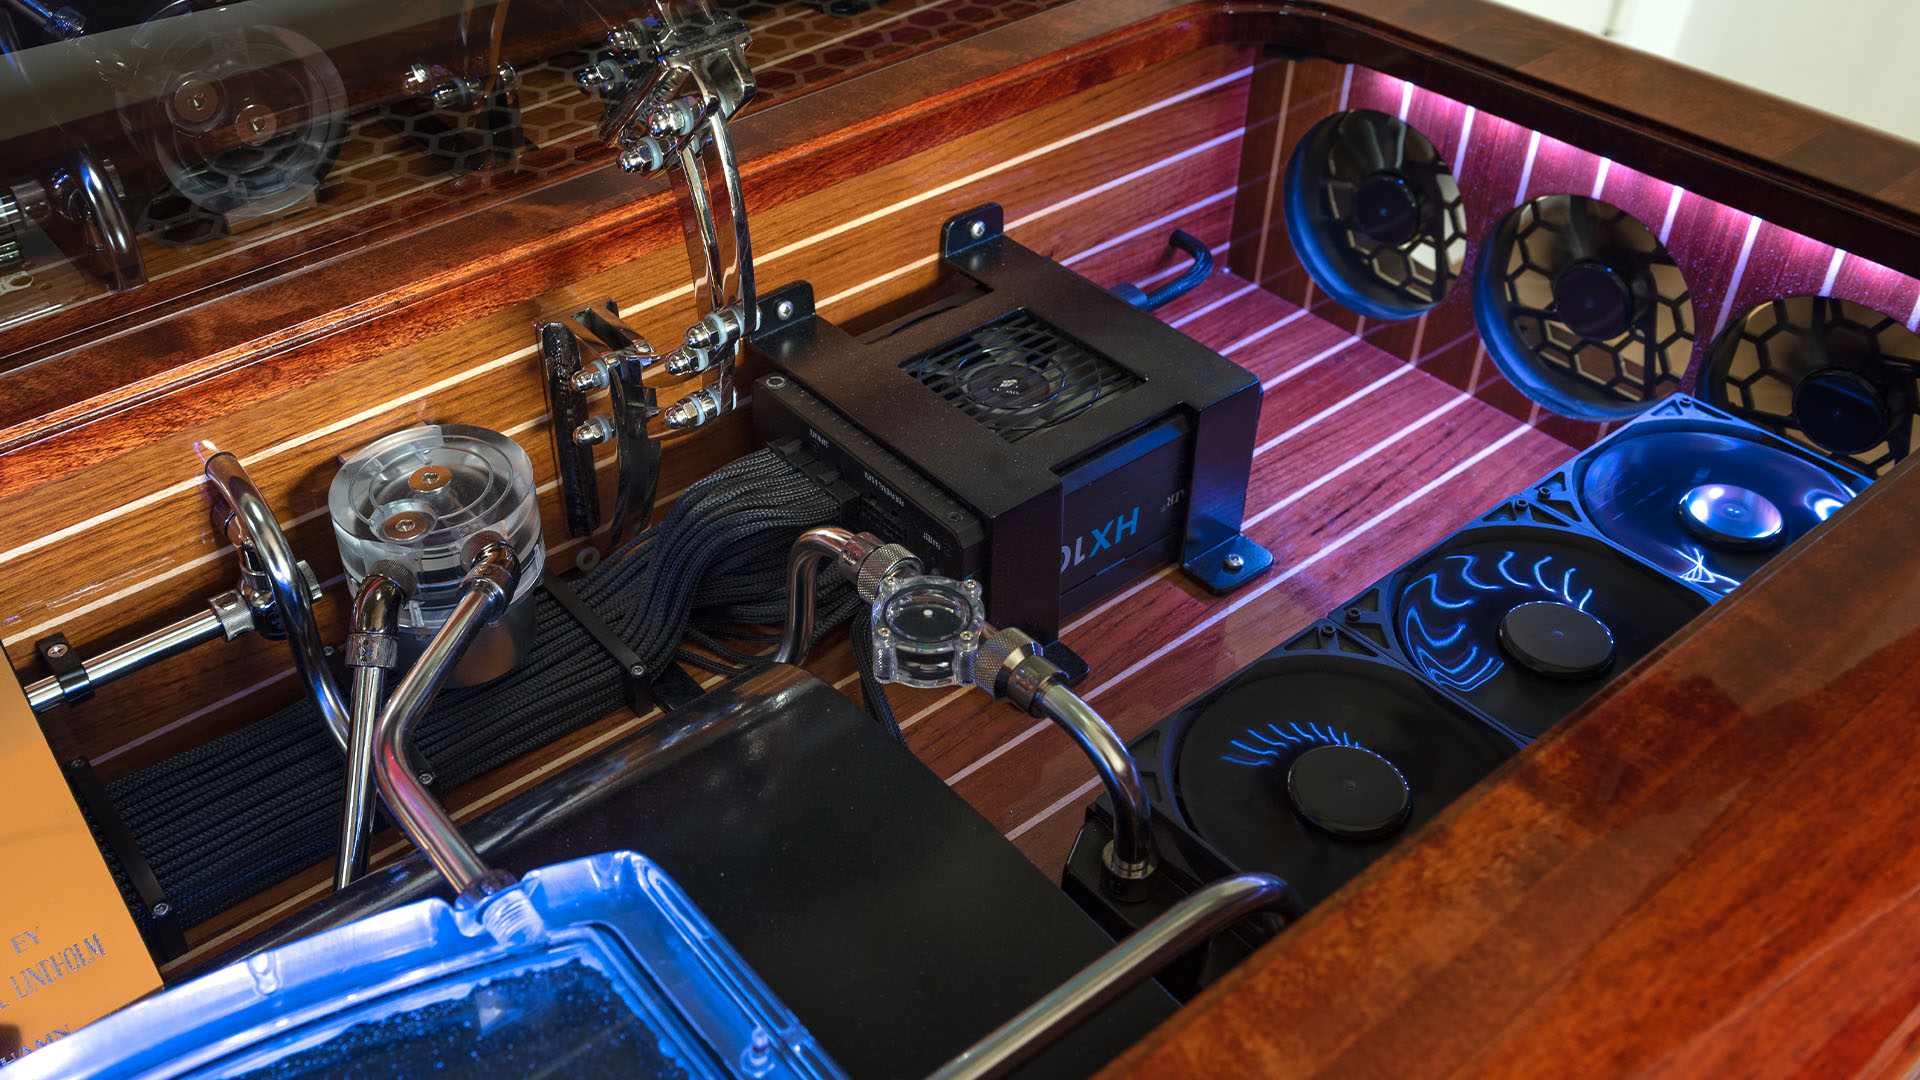
The wood on the inside is Teak and Ash. These pieces were just sawed and milled to shape, and then lacquered with a varnish that would let the gases in the Teak evaporate. The metal structure is all welded. Apart from the hinges, the welds are well hidden. They obviously needed a large amount of prep work to get chromed, but it was well worth it. The non-visible metal was polished and then powder-coated in an oven.

What tools and machinery did you use?
A lathe, welders, CNC machines, water-cutting machines, sandblasters and spray guns. I enjoyed the CAD drawing and polishing work a lot, and water-cutting and prepping stuff is a lot of fun. I’m not a good welder, so my friend Mikael Lindholm did the welds on the legs, hinges and screen mount. I loved working with the handheld tools and the lathe, though. Lathing is just fantastic, and I love the precision available.
How long did the build take?
Four years, but the last year was the most active.
What did you learn from the build process?
An incredible amount, but mainly that if you put your mind to it and just plow on, eventually you get to a point where you’ll be happy. I also learned that I couldn’t make a project of this size by myself. I needed access to big machines and, for example, people who can weld, as I’m not great at it myself.
A lot of the time, the build required to sets of hands and eyes at the same time, so in the end I see this as a team effort between me and my friend, Mikael. Also. I’d like to thank Daniel at Singularity Computers. SC and Icemodz are two companies that chipped in on this project too, and they deserve a lot of praise for that.
What I’ve also learned is that you can pretty much make anything – it’s down to time and effort really. A big concept can always be deconstructed into smaller parts, and eventually you can solve one small problem at the time. I never really had a deadline for the build, which was quite a relief.
Are you happy with the end result, and is there anything you’d do differently if you built it again?
Yes, but there are things to improve. Construction-wise, my next PC will be more cleverly built, and I’d like to improve on parts of the aesthetics. I think the next table will be inspired by aviation – Duesenberg, Charles Lindbergh, Gatsby, and all that good stuff. There’s a lot to explore, and this project is just a prelude of what’s to come.
Husky Bongs water-cooled desk PC specs
- CPU: Intel Core i7-3930K overclocked to 4.7GHz
- GPU: 2 x Asus Strix GeForce GTX 980 in SLI
- Storage: 2 x Samsung 500GB SSDs, 1 x 120GB Corsair SSD boot drive
- Memory: 64GB Corsair Dominator Platinum DDR3 1600MHz
- Motherboard: MSI Big Bang Xpower II X79
- PSU: Corsair HX1000i
- Cooling: Custom water-cooling loop using: 2 x MAINFrame Customs M7 pumps with acrylic tops, running one loop each; 2 x NexXxos Monsta 560mm, 80mm-thick radiators, plus 1 x 360mm Alphacool UT60 radiator; Singularity Computers custom dual-loop reservoir; 12mm chromed copper tubing; EKWB and Bitspower fittings
We always love water-cooled desk PCs, but this one is really special. The curves and sheer shininess just make it a gorgeous piece of furniture – Wilhelm has nailed the boat look.
This post originally appeared on Custom PC, which has been covering amazing setups for over 20 years and is now part of PCGamesN. Join our 500k member Facebook group to discuss this build or submit your own custom PC build for a chance of being featured on PCGamesN in the future.
