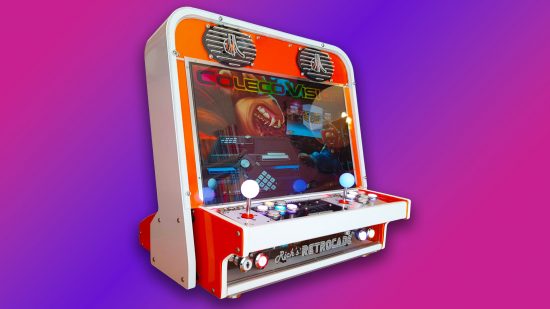
This retro arcade PC is a work of art in our books. Its creator built his own wooden cabinet to house the machine, which also features a 26-inch IPS monitor, proper arcade-style joysticks, and satisfyingly mashable buttons.
Thanks to our rapidly growing PC building Facebook page, we’ve seen many custom gaming PCs, from mods based on existing case designs to scratch PC builds. You can even submit yours for consideration right here. In this article, PC modder Rich Jones tells me about how this retro arcade gaming PC build was created. Over to you, Rich.
I first took an interest in custom arcade machines back in 2012, when I spotted Koenig’s bar-top design called the Weecade. I was hooked immediately; I’d always been pretty handy with woodworking and had a wide variety of different tools on hand to make it happen. My son was also coming to an age where I was about to introduce him to gaming, and I wanted him to experience the classics with which I grew up.
By the end of 2012, I’d built my first arcade machine. It was nice, but I felt I could do better. I’d been thinking of building a machine that would show off both my woodworking and PC-building skills, as I’d been building my own PCs since the late 1990s.
I decided to design a cabinet that was a different shape to the usual bar-top design. It had to be see-through so I could show off all the components and custom wiring. I wanted it to be powerful enough to play modern PC games on high detail, but not so powerful that getting rid of the heat inside it would be a problem. It was at this point that I decided that 1080p gaming would be enough, and that a 26-inch monitor would still allow the machine to be portable without needing a trolley jack just to move it.
Fitting the hardware and arcade controls
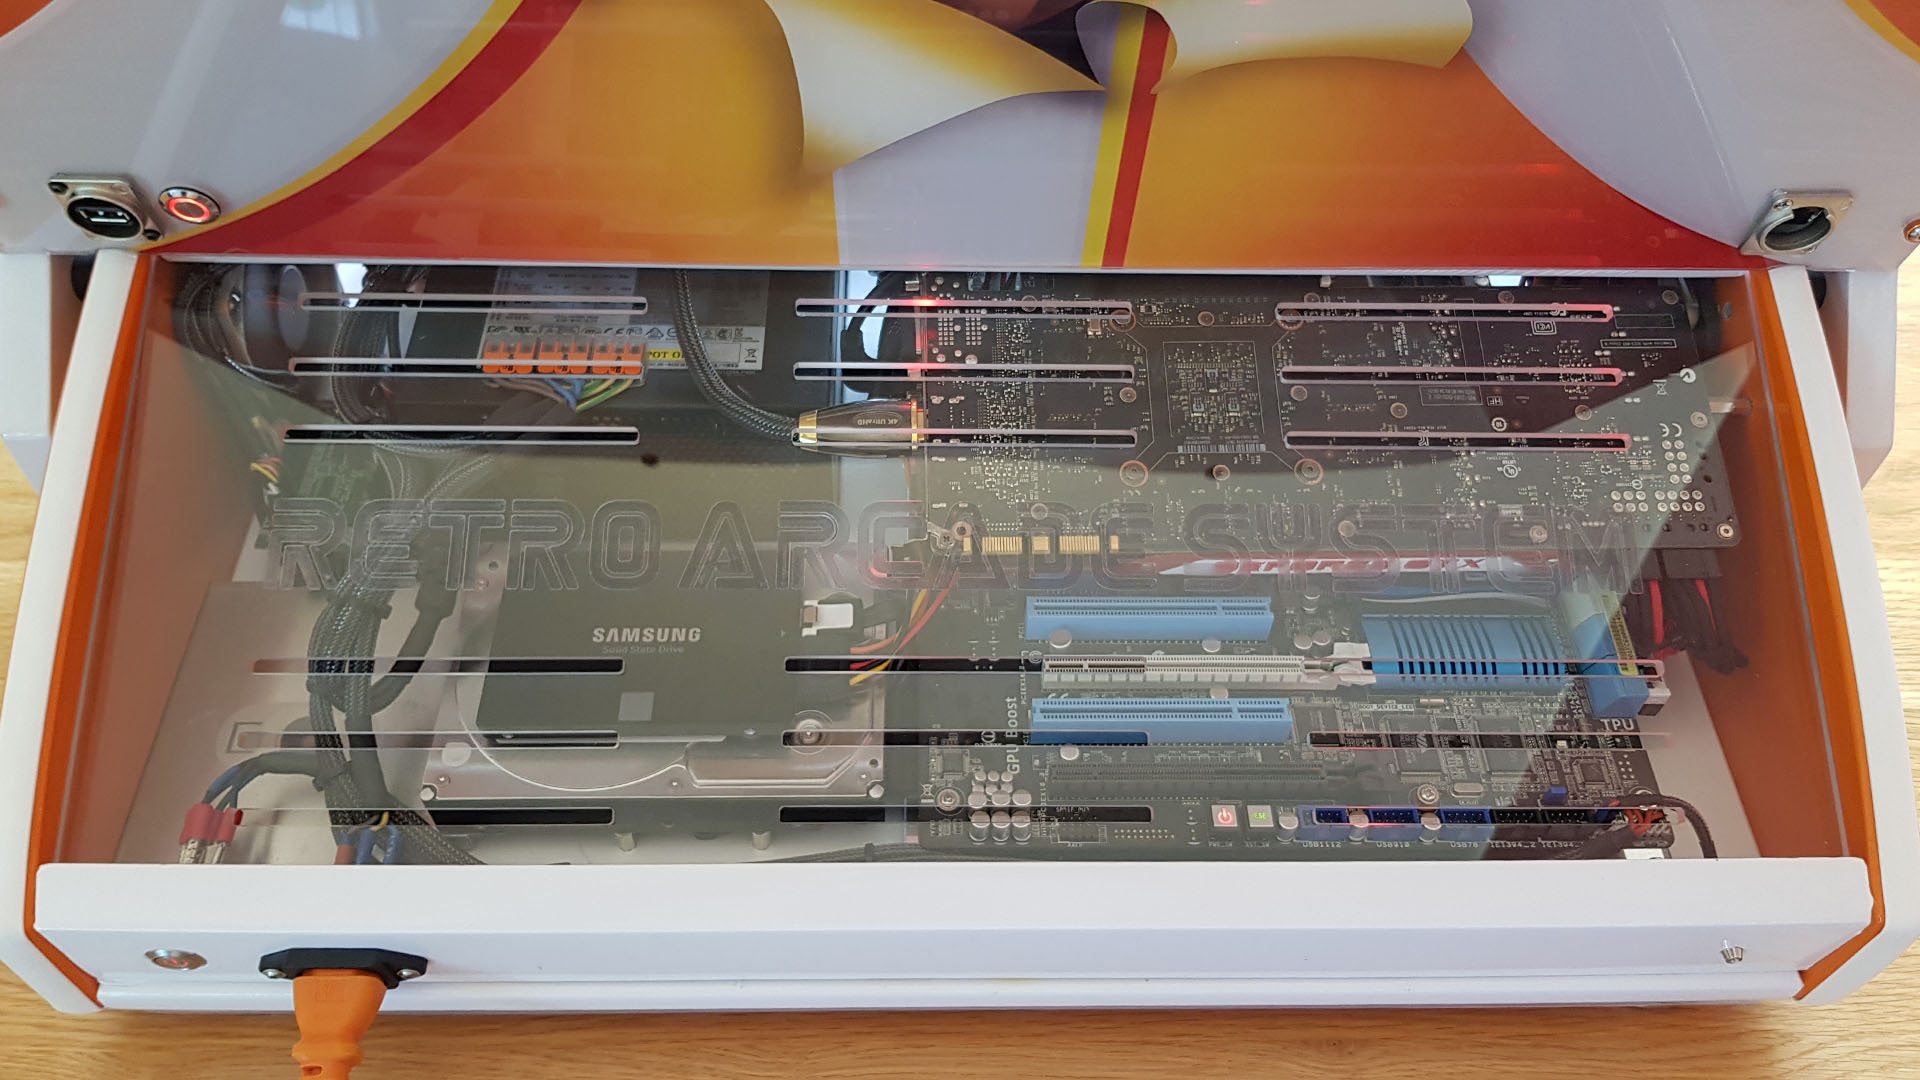
The build consists of two main parts. The bottom half houses the Asus P8Z68-V Pro motherboard, Intel Core i5 CPU, 16GB of RAM, Corsair CX750M PSU, and a slot-loading Blu-ray drive. The graphics card is mounted on a flexible riser ribbon cable, with the fan just clearing the components on the motherboard tray. I also stripped down this card, so I could change the color of the GeForce logo to red.
Meanwhile, the main SSD and one 4TB hard drive are also housed in the bottom section. The top section houses the Dell 26-inch IPS monitor, four JBL speakers, the amplifier, and three more 4TB hard drives, giving me 16TB of storage in total.
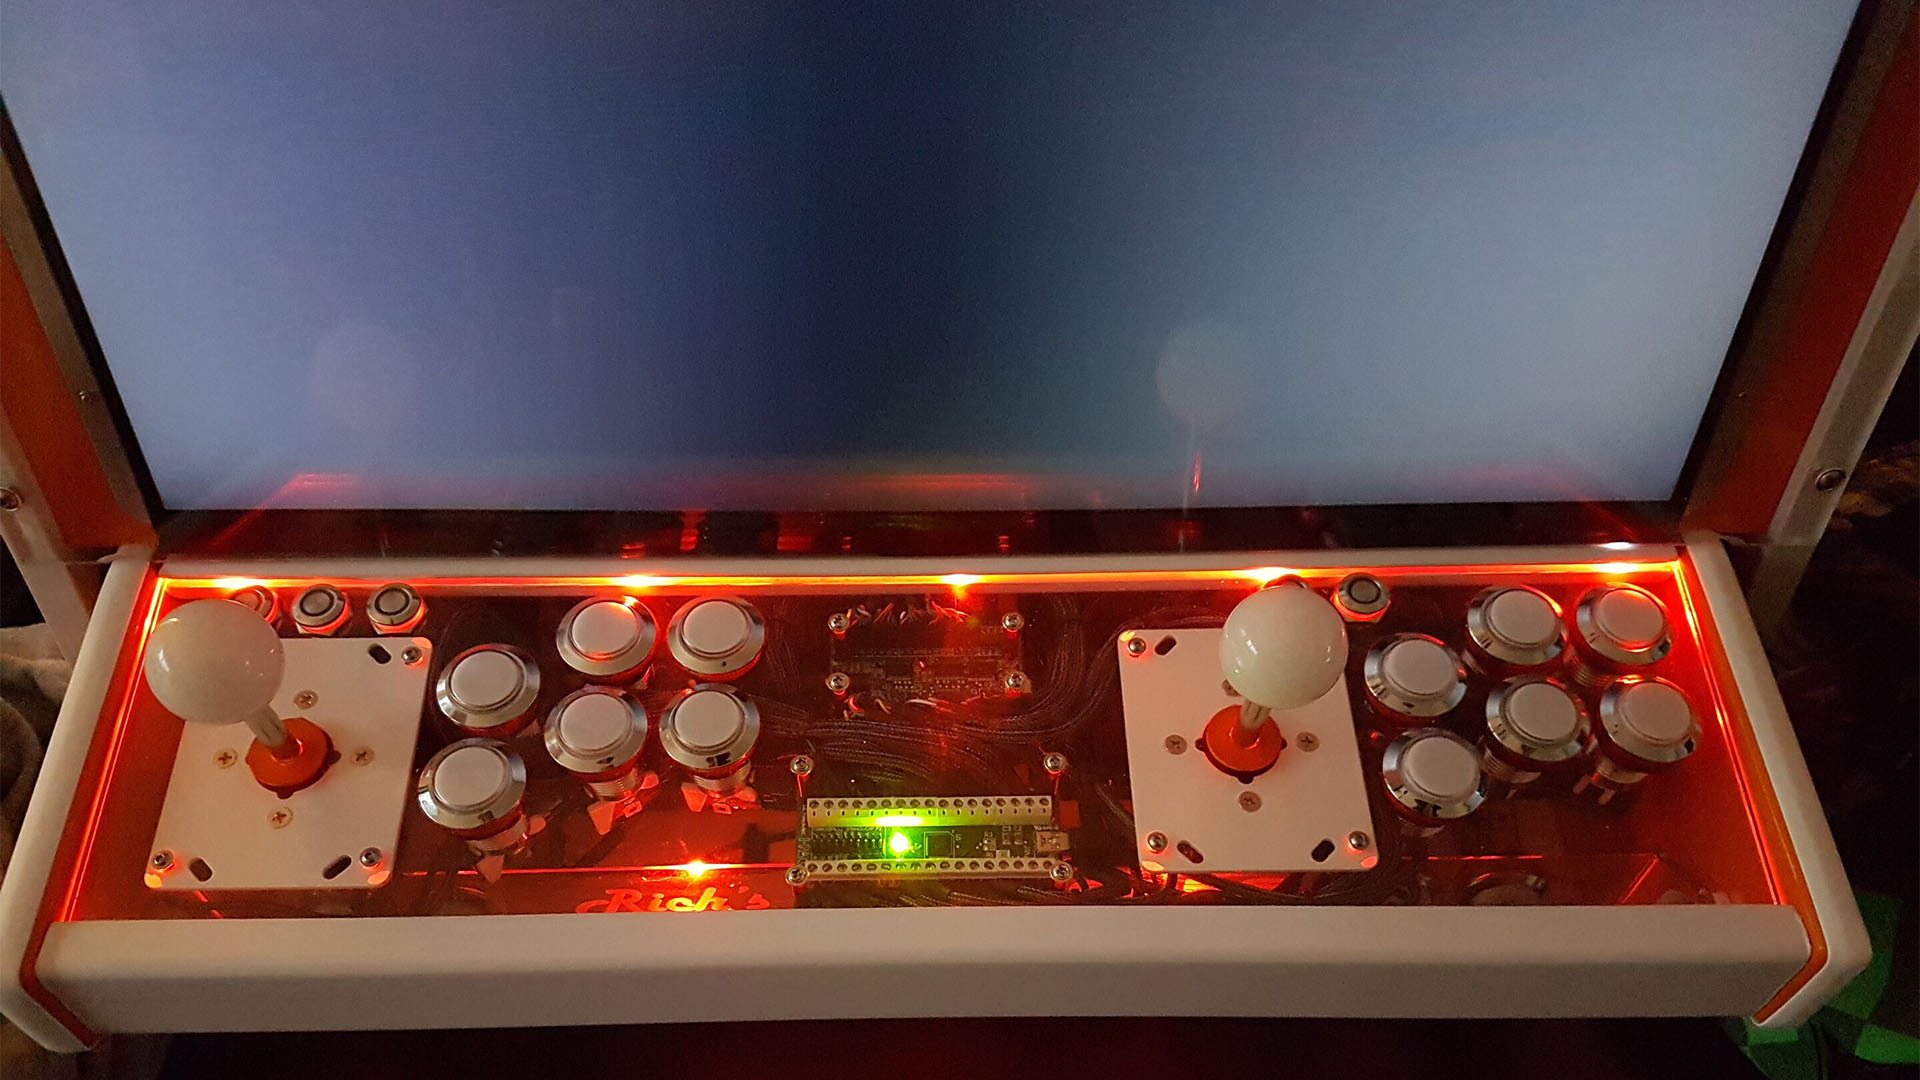
The control panel on the front consists of two RGB ball-top Ultimarc joysticks, with six RGB buttons per player on each side. The software allows for each game to light up the required controls and their function for each individual game. I also fitted ‘coin addition’ buttons, as well as Player 1 and 2 Start buttons.
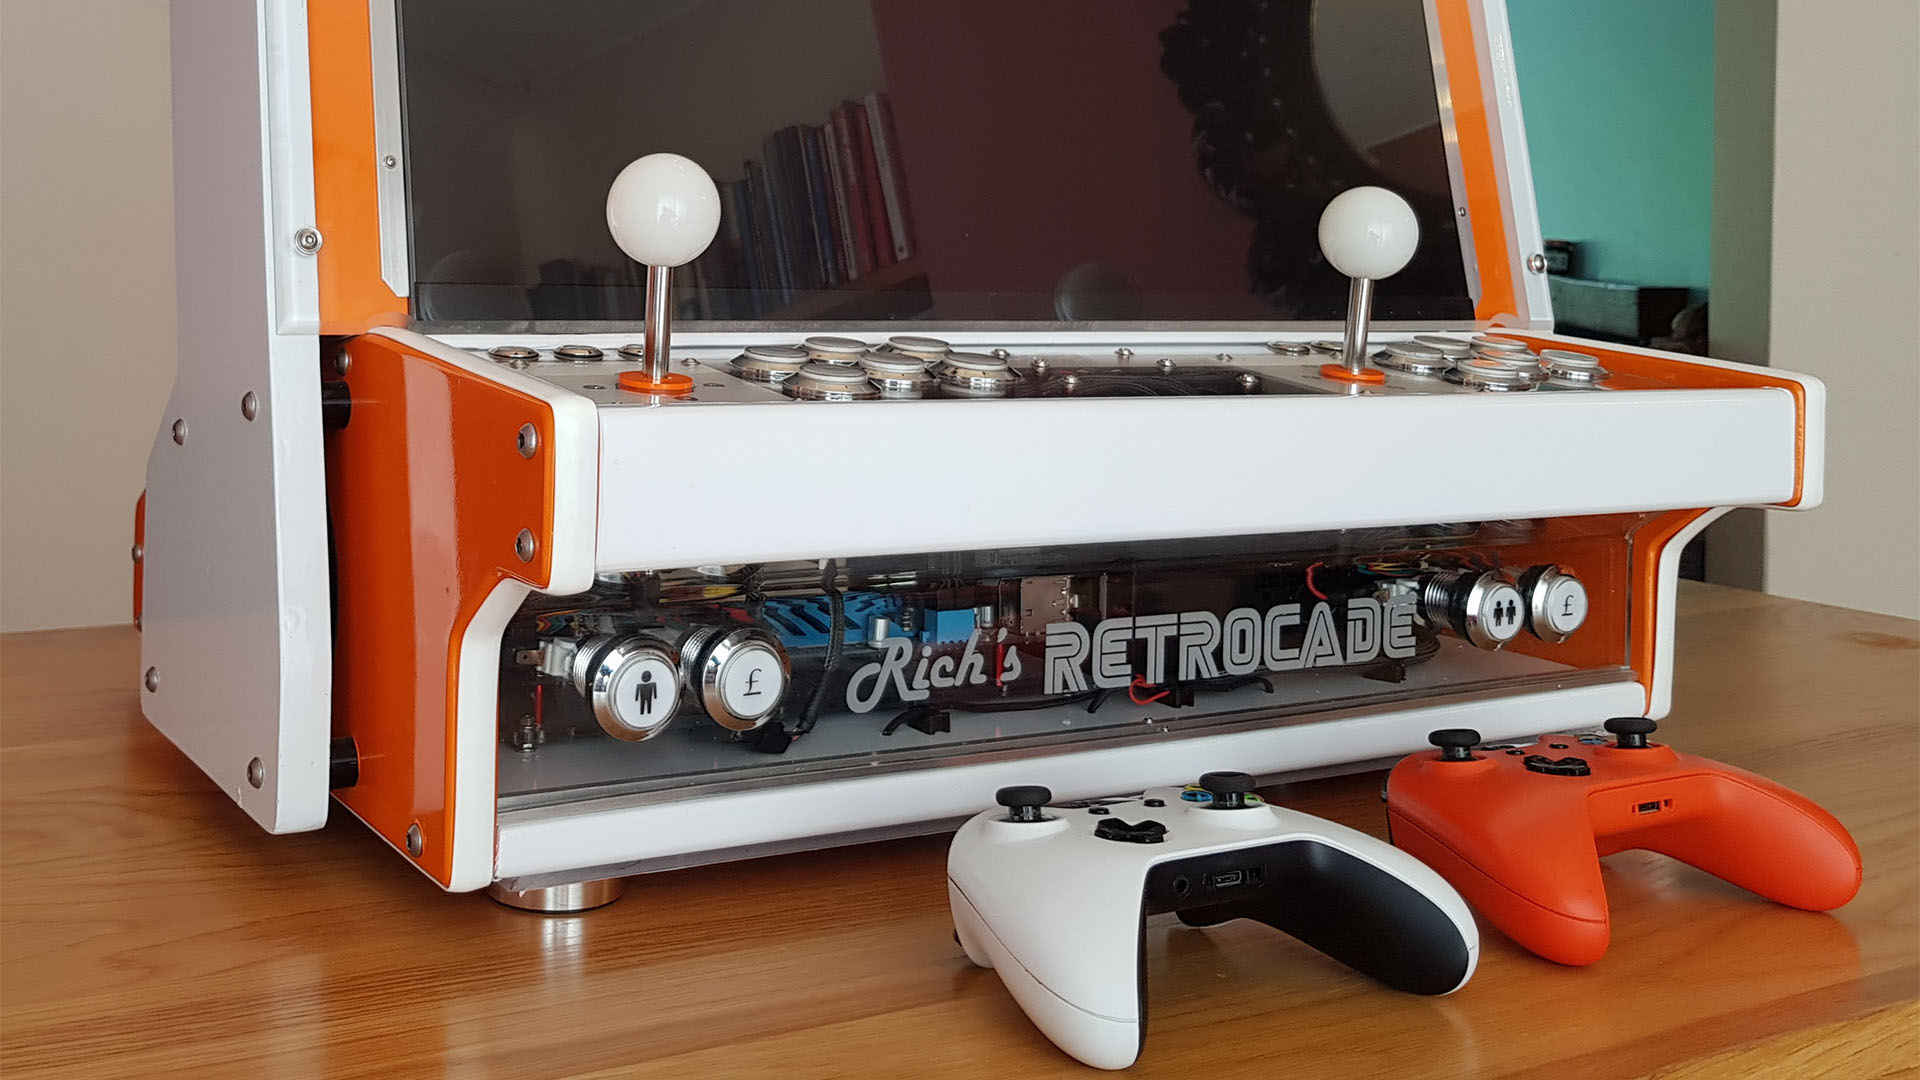
Then there are buttons for exit game, game information, select, and volume up and down. Also housed here are two PacLED64 controllers for driving the LEDs, and an Ultimarc I-PAC32 interface for converting the button strokes into keyboard presses for the emulators. There are also two wireless Xbox One controllers for more modern games.
Arcade cabinet construction
The cabinet itself is made from 18mm plywood. The curved top section is made by kerf-cutting, leaving only the top layer uncut. Each side piece is identical, and they’re joined in the middle. Then, once bent, the gaps are filled with resin and the wood is back to full strength.
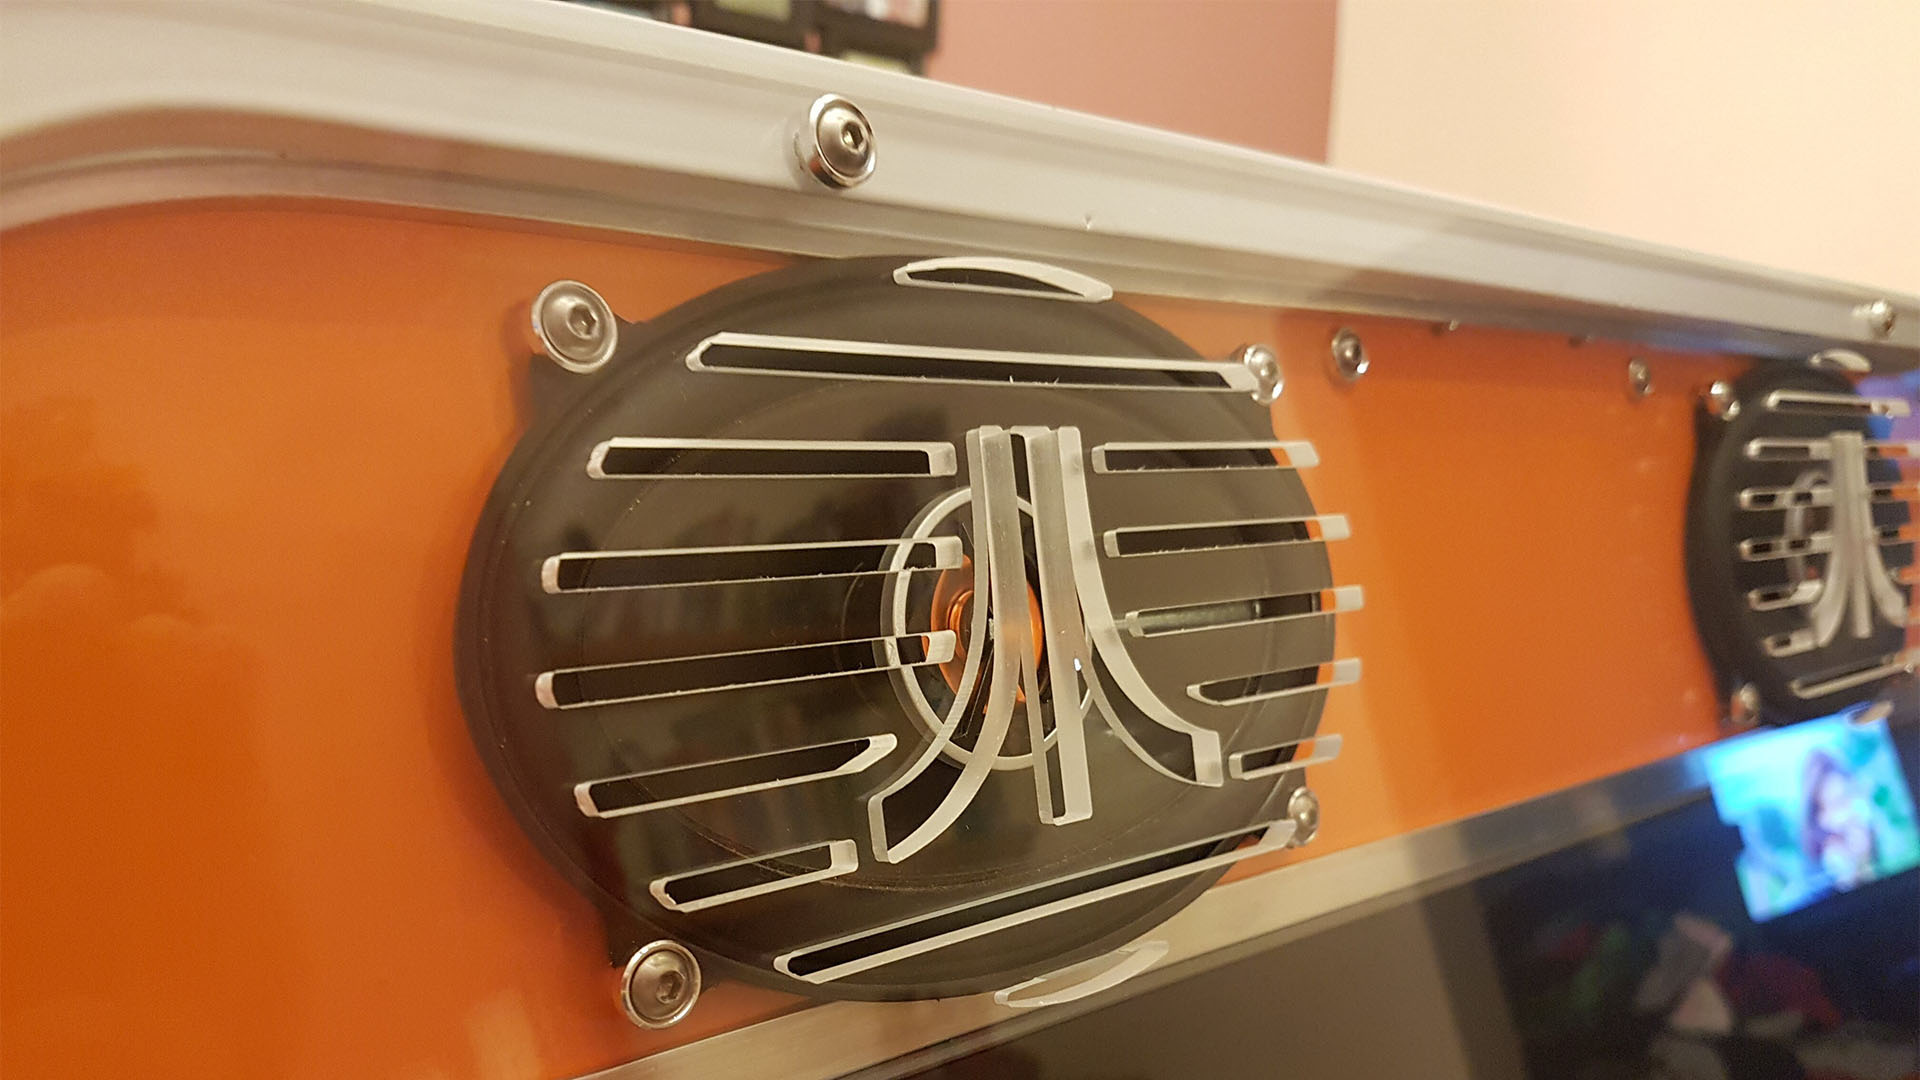
The Perspex was engraved in a local sign shop, and the front piece was bent with a hot wire bender – it’s lit along its edge using 5mm LEDs embedded in the grooved slot in which the Perspex sits. This gives the effect of only the engraving lighting up. In total, there are 128 RGB channels in use, 22 of which are used for the engraving and the rest for the buttons and joysticks.
Meanwhile, cooling comes from two Noctua fans – one on each side. The left fan draws in cold air over the CPU and graphics card, and the hot air is then pushed out by the right-hand side fan. The rear Perspex piece originally had no vents cut into it, but I was unhappy with the temperatures inside the machine, so I cut some slots. It runs at nominal temperatures now, even at full load.
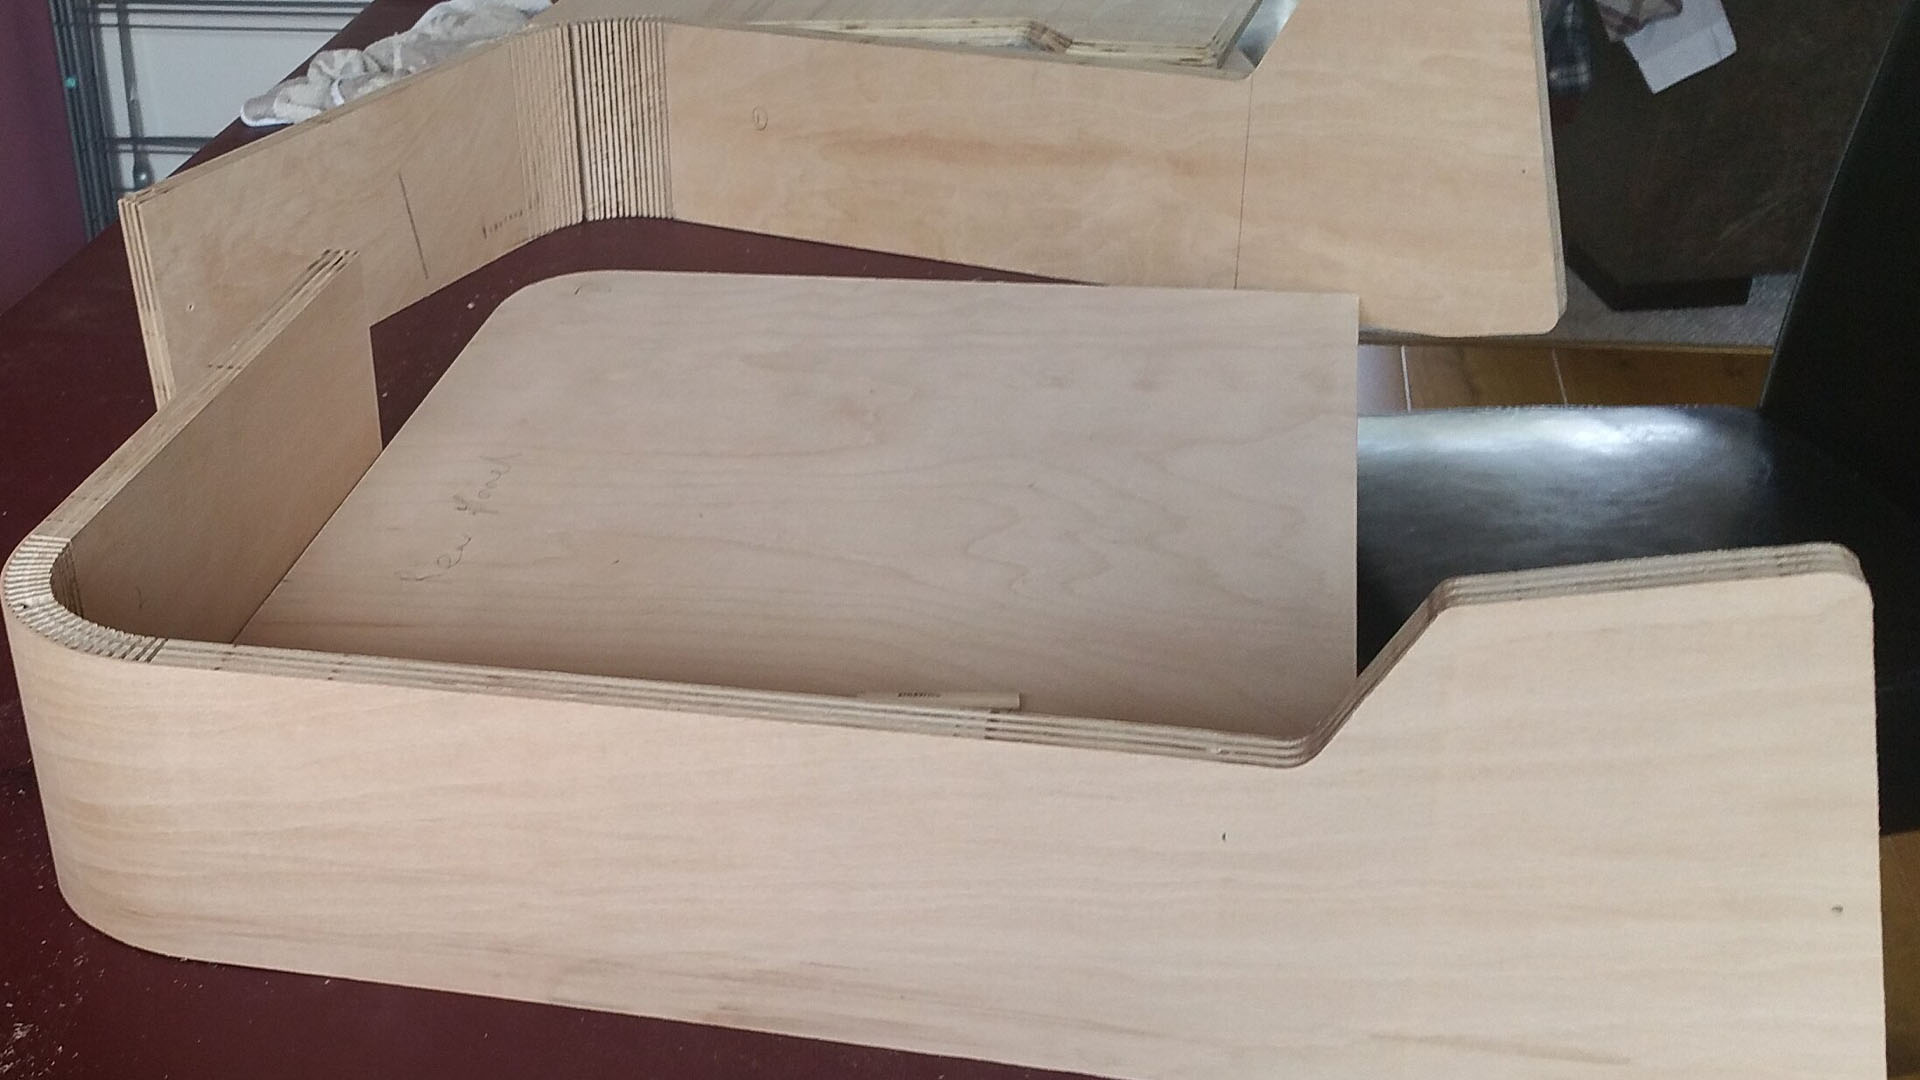
Vinyl wrapping the cabinet
No paint is on the cabinet; instead, it’s all coated with decent-quality car vinyl. The vinyl is hard-wearing and doesn’t rub off like paint over time. Wrapping is relatively easy, but the design needs to incorporate the seams in the wrapping – you have to plan if you want to hide them as best as possible. For example, the T-moulding along the edge was necessary to hide the joint between the two sides of the wrapping.
It wasn’t all easy. I ran into some issues with bad interference through the speakers. I was first concerned that the close proximity of all the components in the top section, and the mass of wires I was hiding in there, was the cause, but it turned out to be the cheap amplifier I was using.
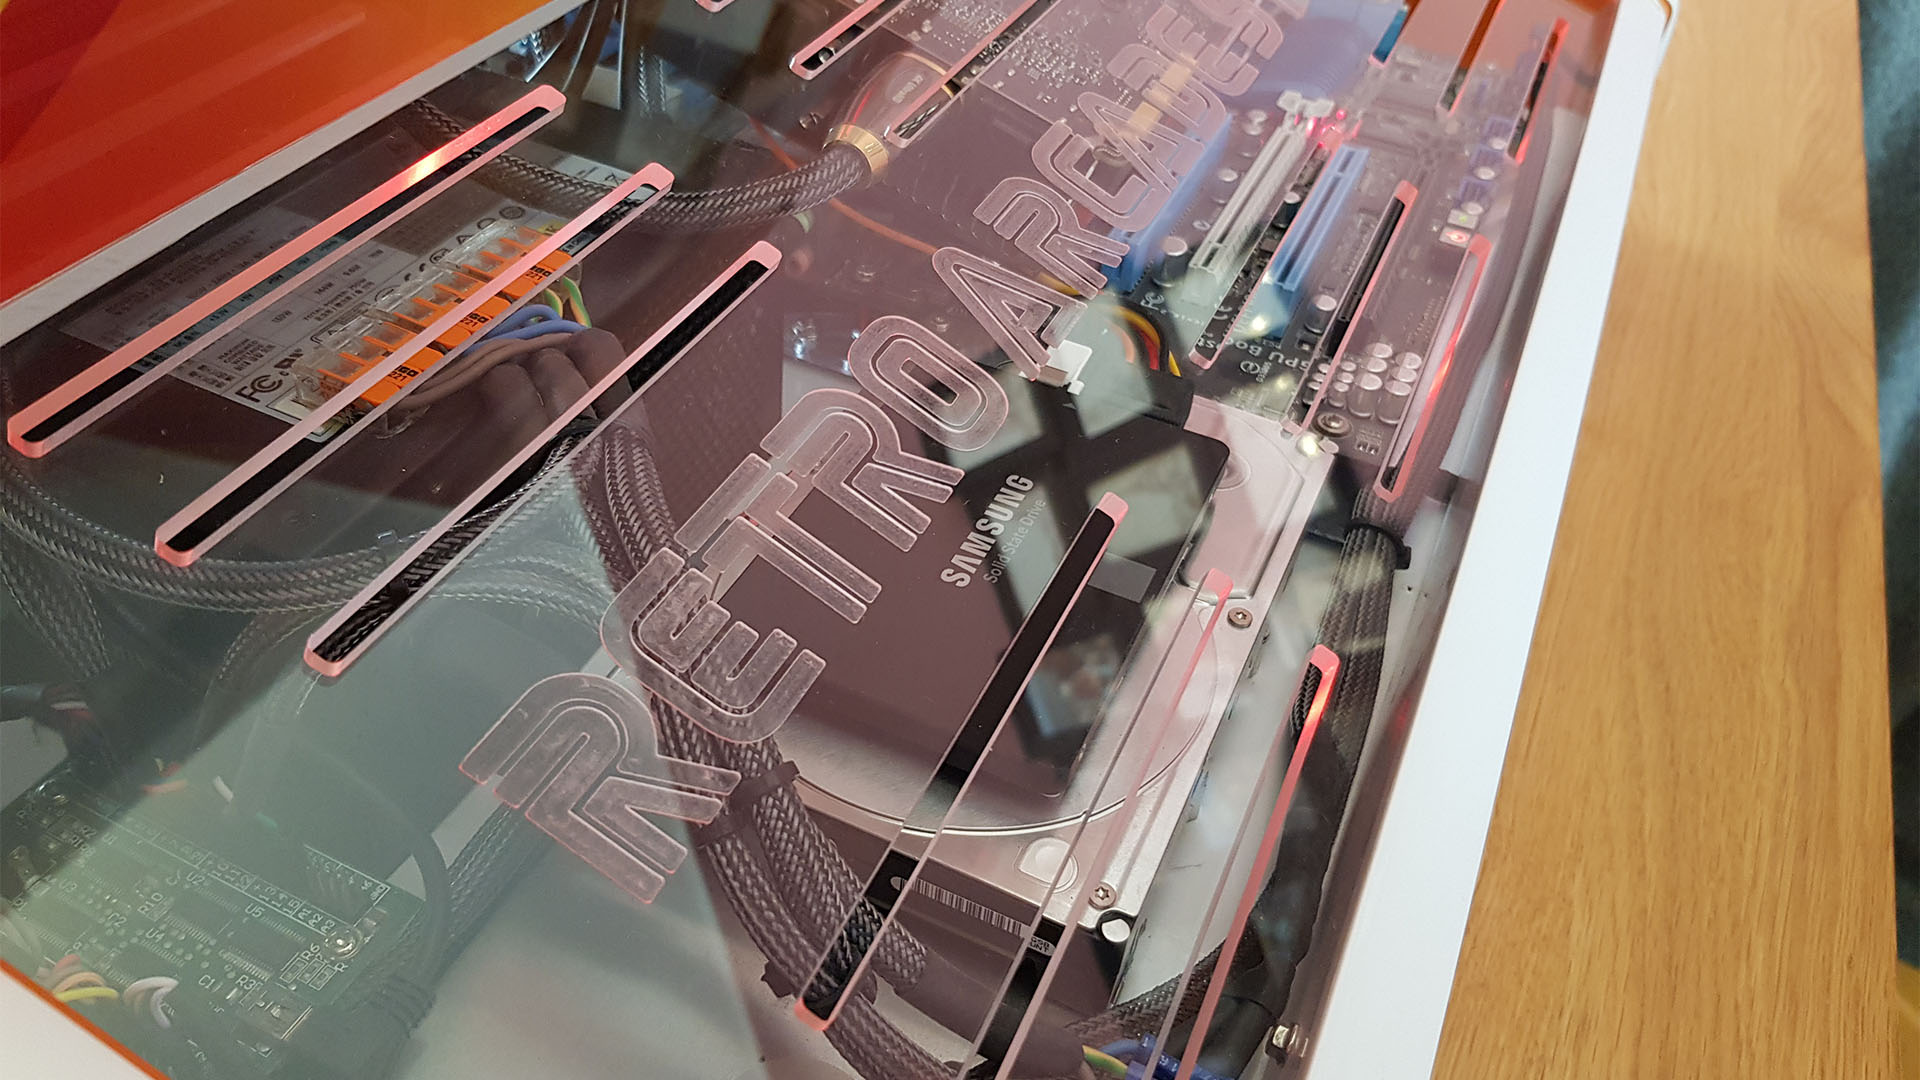
I also wasted many hours making a custom mirrored Perspex motherboard tray with eight red LEDs embedded into it. The idea was that the underside of the motherboard would reflect back onto the mirror, but you can’t even see the tray when it’s inside the cabinet.
RetroCade is running Windows 7, mainly for compatibility issues with some of the older emulators; it runs the front-end Hyperspin and uses Rocket Launcher to launch the games. Every game I could want, from Spacewar (1962) to current-gen titles are on there, using up all 16TB of hard drive space. Pressing the game info key will also pause the game and bring up the original manuals, box art, maps, cheats, and so on for each game.
Retro arcade PC specs
- CPU: Intel Core i5-2500K overclocked to 4GHz
- Graphics card: Nvidia GeForce GTX 780 Ti
- Storage: 4 x 4TB WD hard drives, 500GB Samsung 850 Evo SSD
- Memory: 8GB DDR3
- Motherboard: Asus P8Z68-V Pro
- Gaming peripherals and controllers: 2 x RGB ball-top Ultimarc joysticks, 2 x PacLED64 LED controllers, Ultimarc I-PAC32 controller interface, JBL speakers
- PSU: Corsair CX750M
- Cooling: 2 x Noctua fans and low-profile CPU cooler
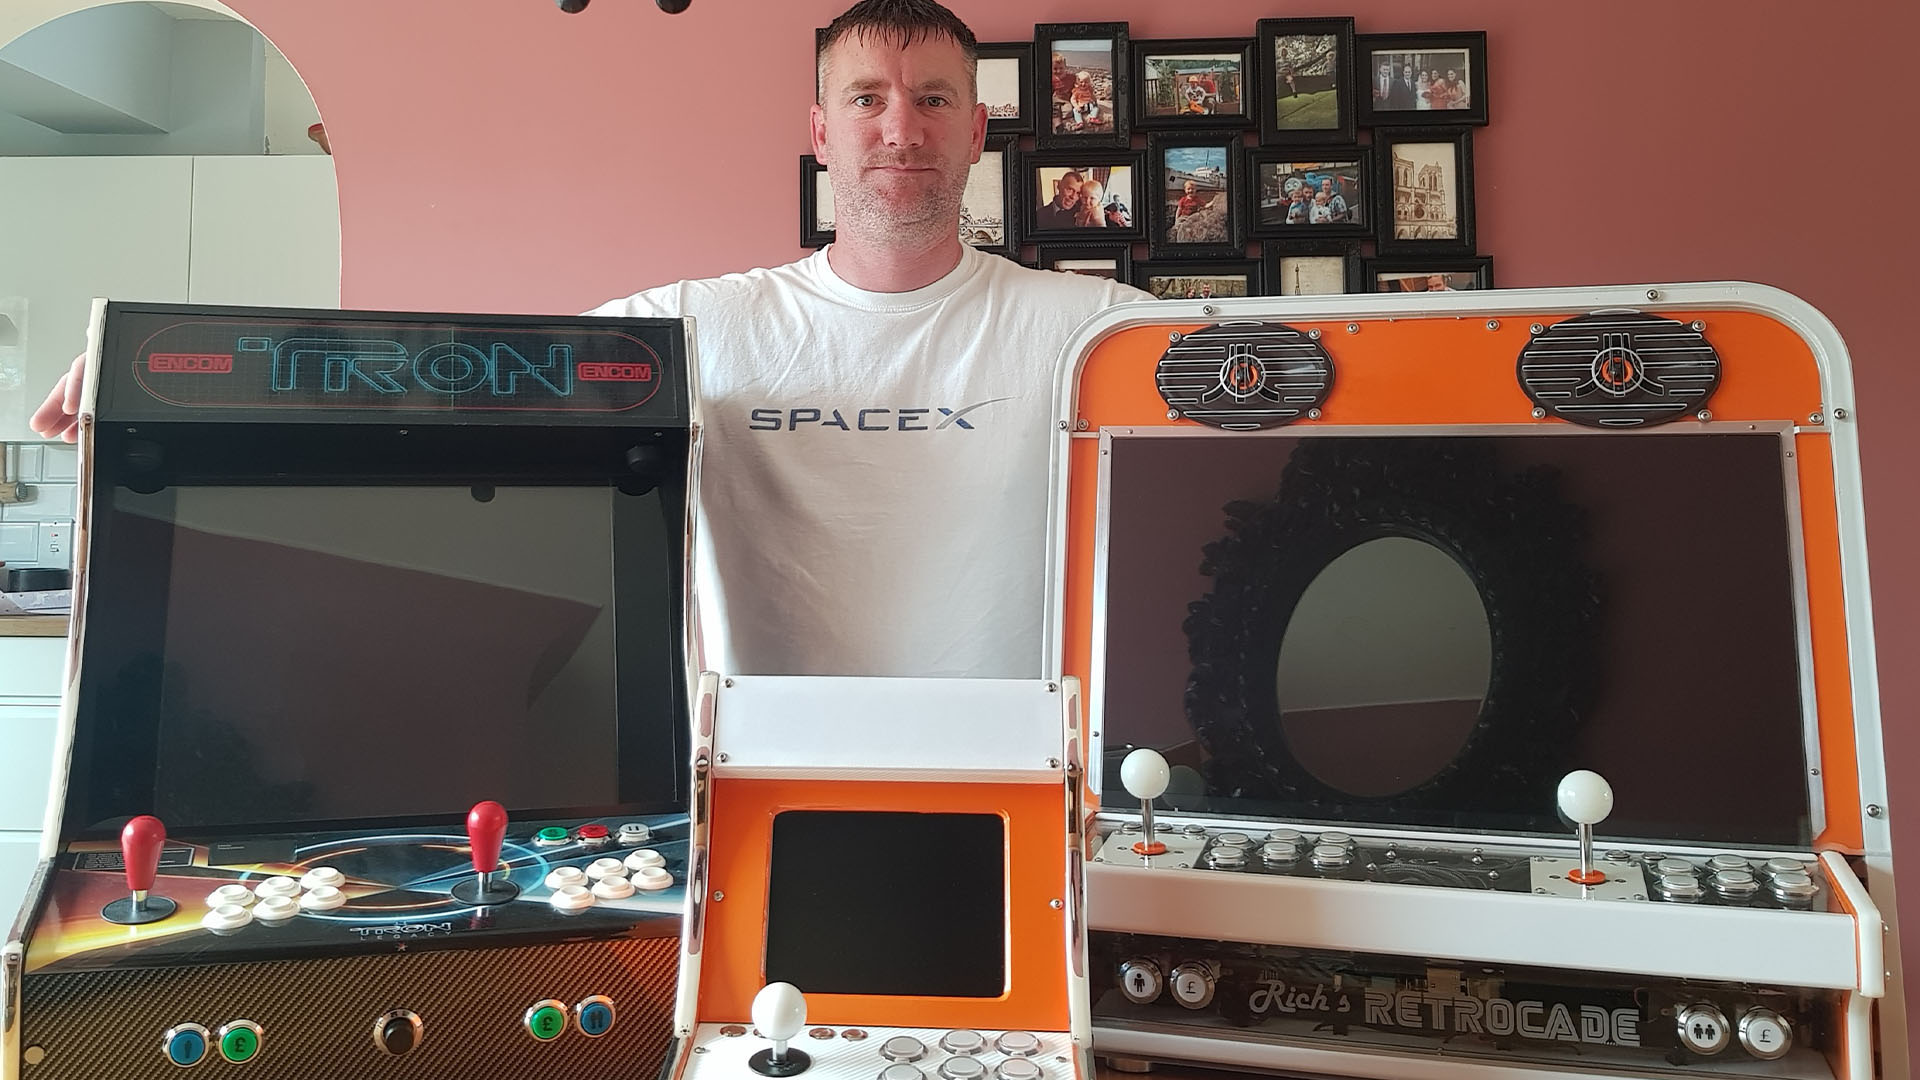
Rich has made a beautiful machine here – it’s amazing that it was all built from scratch with his woodworking skills. I love the chunky buttons and ball-top joysticks, and I bet he has loads of fun playing with this retro arcade PC. If you want to learn how to use vinyl wrap yourself, make sure you also check out our full guide on how to vinyl wrap your PC, where we take you through the whole process.
This post originally appeared on Custom PC, which has been covering amazing setups for over 20 years and is now part of PCGamesN. Join our nearly 500k member Facebook group to discuss this build.
If you consider yourself to be an expert PC builder, you can submit your own custom PC build to us today for a chance of being featured on PCGamesN in the future.
