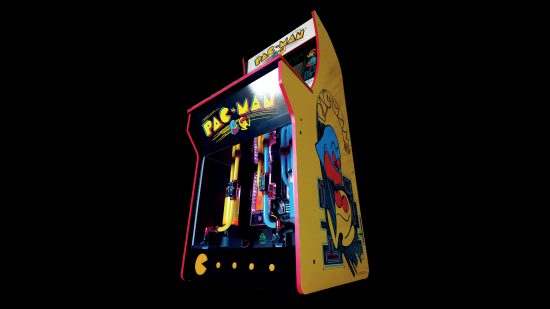
This Pac-Man arcade PC build is button-mashingly brilliant, with a brightly colored water-cooled gaming PC housed in the bottom half of the cabinet. Using some custom-made acrylic panels and boxes, Karl Patterson transformed this Pac-Man arcade cabinet into a high-end gaming PC, which contains two water-cooling loops.
Thanks to our rapidly growing PC building Facebook page, we’ve seen many custom gaming PCs, from mods based on existing case designs to scratch PC builds. You can even submit yours for consideration right here. Here we talk to Karl about how he made this arcade cabinet gaming PC.
PCGamesN: So how did this project start? What inspired you to build this Pac-Man cabinet PC?
Karl: It all started when Intel UK asked me to come up with a retro-themed gaming PC, and I came up with the idea of a Pac-Man theme.
Where did you get the cabinet from, and how did you go about modifying it to suit your requirements?
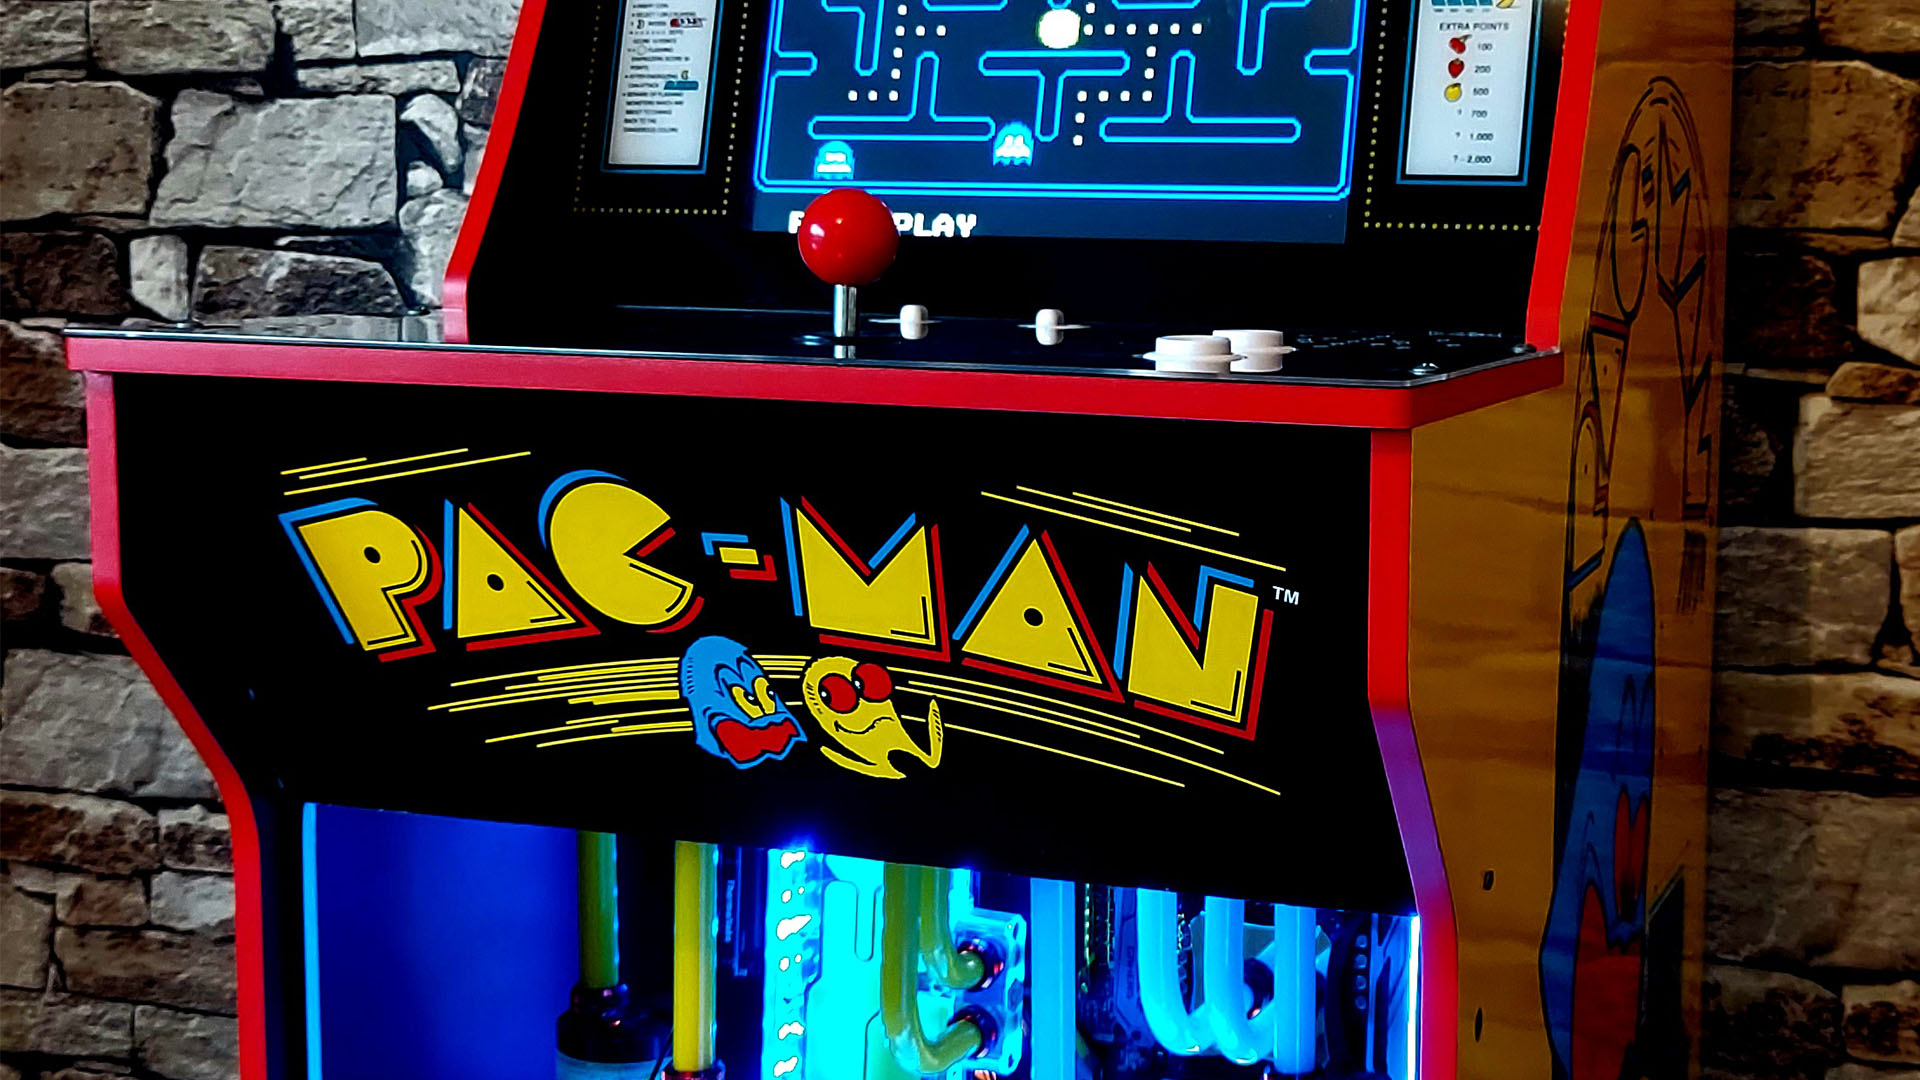
It’s based on the cabinet from a new 1Up machine, and I had to mod it in order to build my fully water-cooled PC in the bottom. First of all, I had to add a back and top panel inside the cabinet – the back panel housed my motherboard, and I used the top panel to run all my water-cooling pipes. I added a mirror-finish acrylic panel to the top, and a black gloss acrylic panel to the back, to give it a clean look
It looks like there are two systems in there at first glance.
Yeah, this was my plan – to make it look there were two systems inside the cabinet, so that’s why I went with mirrored acrylic for the top panel.
Did you make the Pac-Man cutout and pellets at the bottom of the cabinet?
Yes, I made them with my CNC machine – I already had the yellow acrylic to hand, and I thought they would be a nice touch at the bottom of the arcade cabinet. This bit was an afterthought really – I’d originally planned to just use black acrylic here, but I’m glad I went with the Pac-Man logo – it turned out really well and gives it a better all-round look.
Can you still use those controls to play Pac-Man on the cabinet?
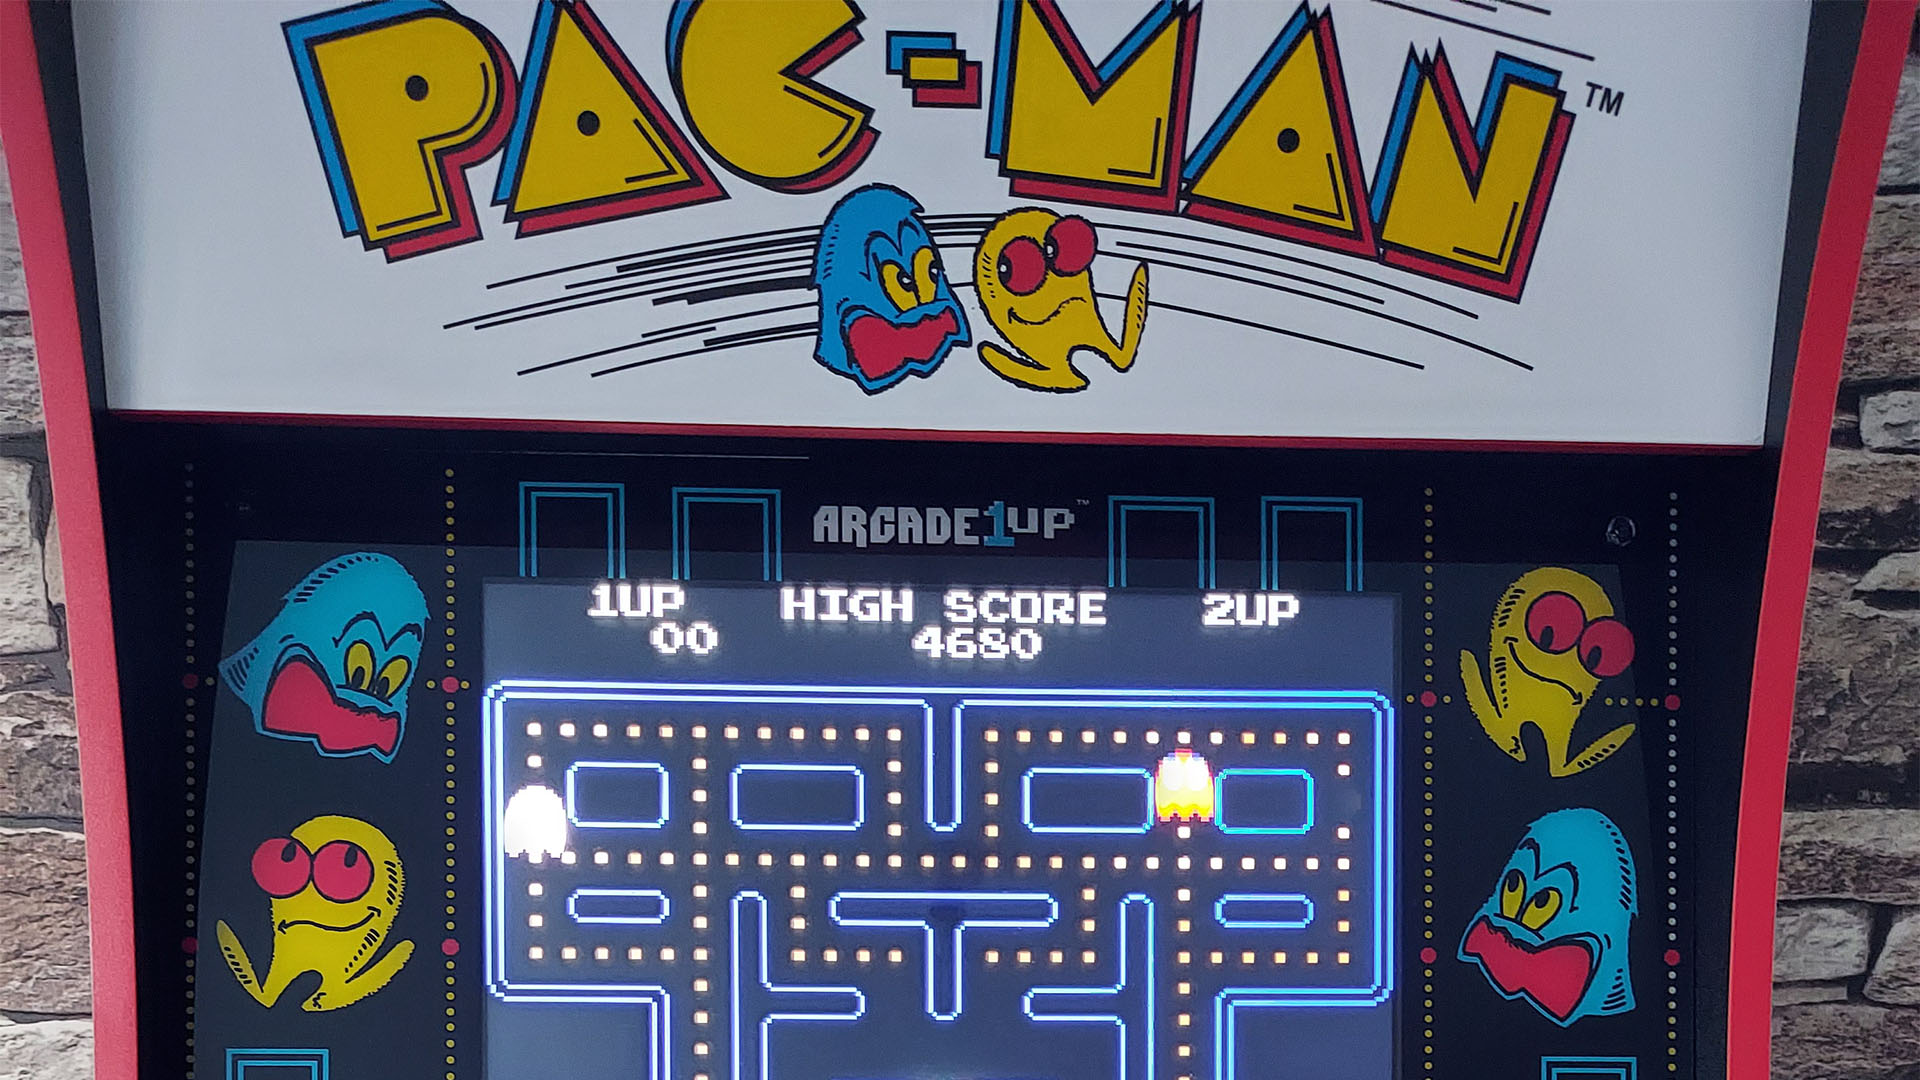
Yes, you can play Pac-Man on this arcade – I wanted to leave the arcade as standard – the PC is separate from this bit. The joystick and the controls all work as they should. My original plan was to remove the screen and replace it with a monitor for the PC, but when I bought the cabinet and set it all up, I decided to leave it all set up as a standard, fully functional Pac-Man machine.
So you can’t play any of the latest PC games on the screen with the cabinet controls?
This is the question I get asked the most about this mod. Yeah, the bottom half of the cabinet is a fully functional gaming PC, on which you can play any PC game – I have it set up to output to another monitor. The top half is for playing Pac-Man, so if you wanted, you could have someone playing a PC game on the monitor, while another person could play Pac-Man on the arcade controls at the same time.
Take us through the process of planning the water-cooling loops. Why did you go for a dual-loop approach and where are the radiators?
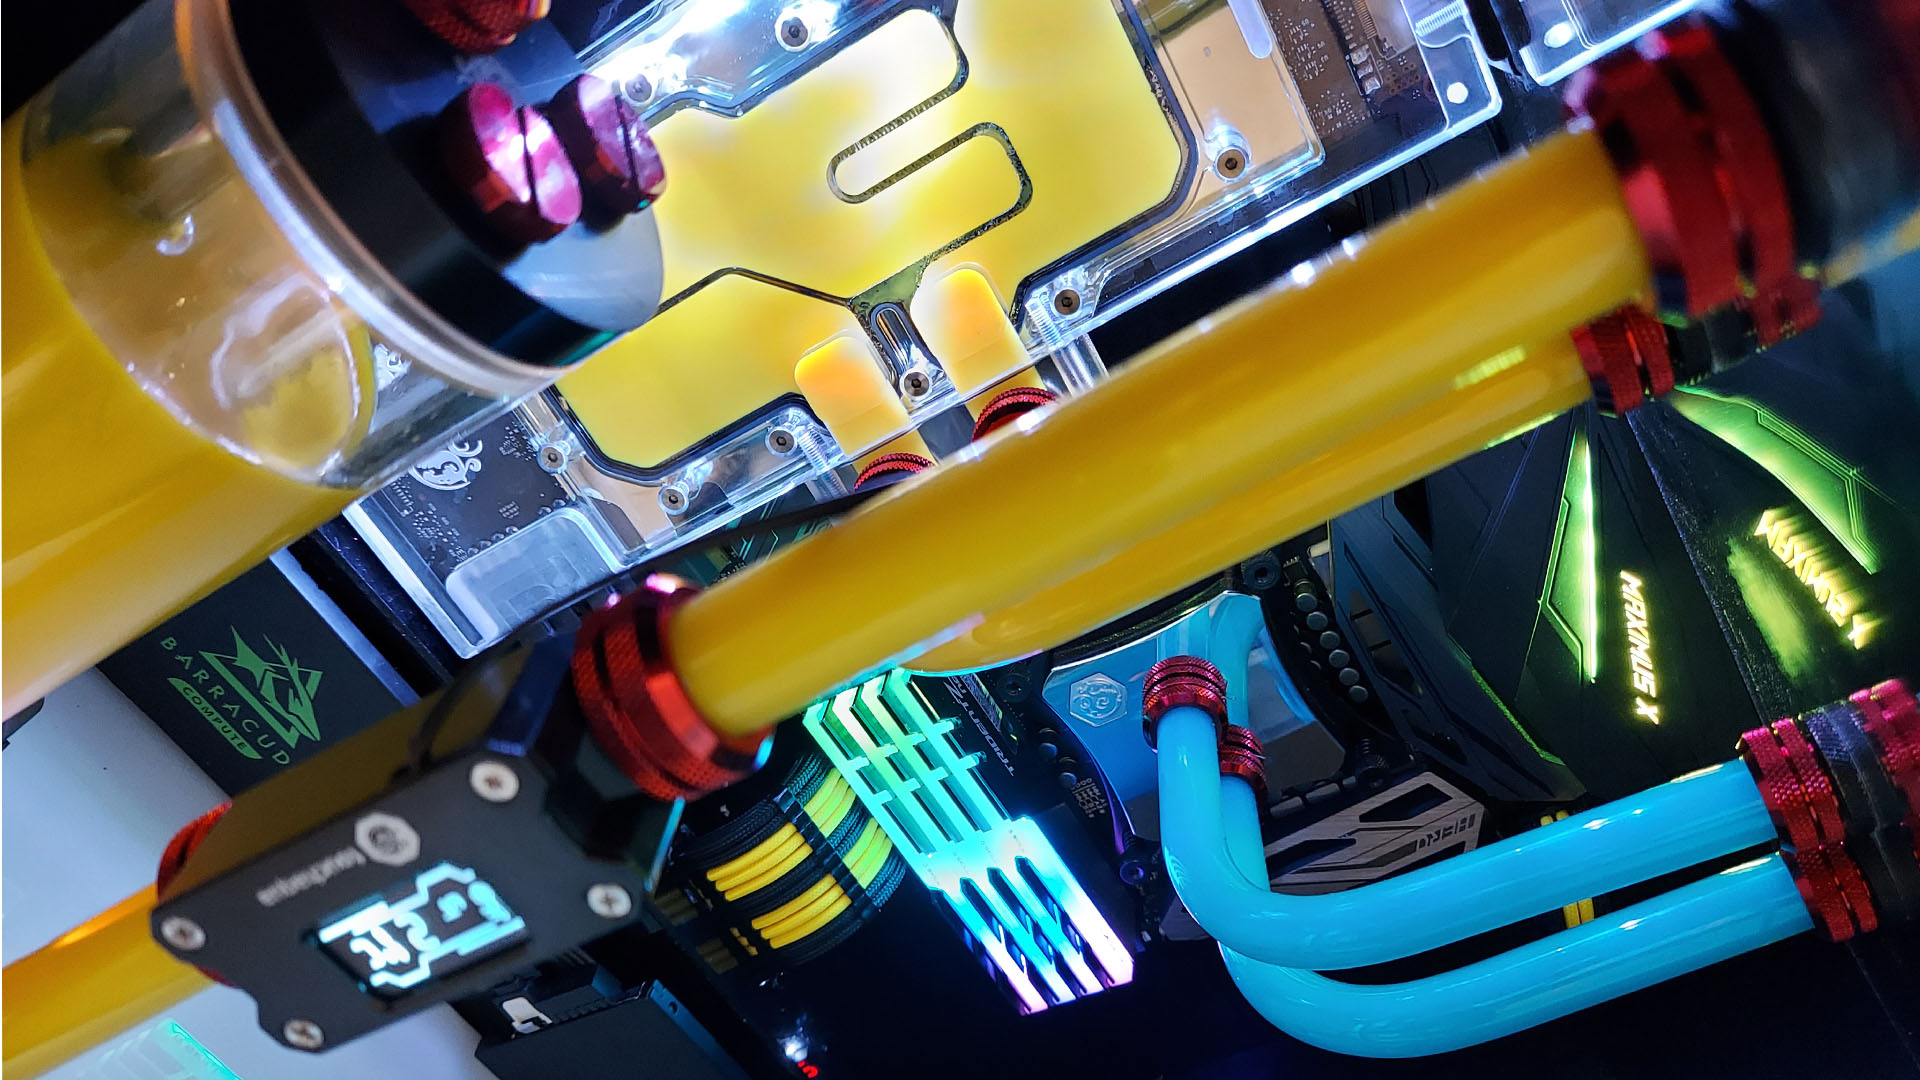
When I came up with the design for the water-cooling loops, I knew right away that I wanted a dual-loop setup in the system. I wanted one yellow loop and one blue loop, to match the Pac-Man color theme perfectly.
The hard part was fitting it all in the cabinet. I had to relocate the radiators to the back of the cabinet, and then run all the pipes vertically, as I wanted the interior to look clean. I used hard tubing in the areas you can see at the front, but then used soft tubing at the back where it was out of sight – the latter choice made it easier for me to connect the tubing to the radiators, as there’s very little room to work in the back of the cabinet.
What coolant did you use in each loop?
For the yellow coolant, I used Thermaltake’s yellow C100 – it was the only yellow coolant I could find that was bright enough to match the yellow on the cabinet. For the blue, I used EK coolant, which also matched perfectly with the colors in the cabinet, as I wanted the colors of the loops to tie in with
the cabinet’s theme.
The lighting in the bottom chamber is clear and bright, highlighting the gear inside, but you can’t see individual LED strips anywhere – how did you do this?
Yeah, this is all thanks to a custom light box that I made – I used mirror-effect acrylic for the bottom, and opal acrylic for the top, then cut strips of black acrylic that are just a bit bigger than the LED strips I was using.
I glued the black acrylic strips around the edges of the mirror-effect acrylic panel, stuck all the LEDs to these black strips inside the box, then added the opal acrylic to the top of it. When it’s all lit up it looks like one big light box – it uses RGB LEDs, so I could make the lighting any color I liked, but I left it on white, as it fully lights up the cabinet.
It all looks amazing from the front, but how does it look at the back, and where does air get in and out?
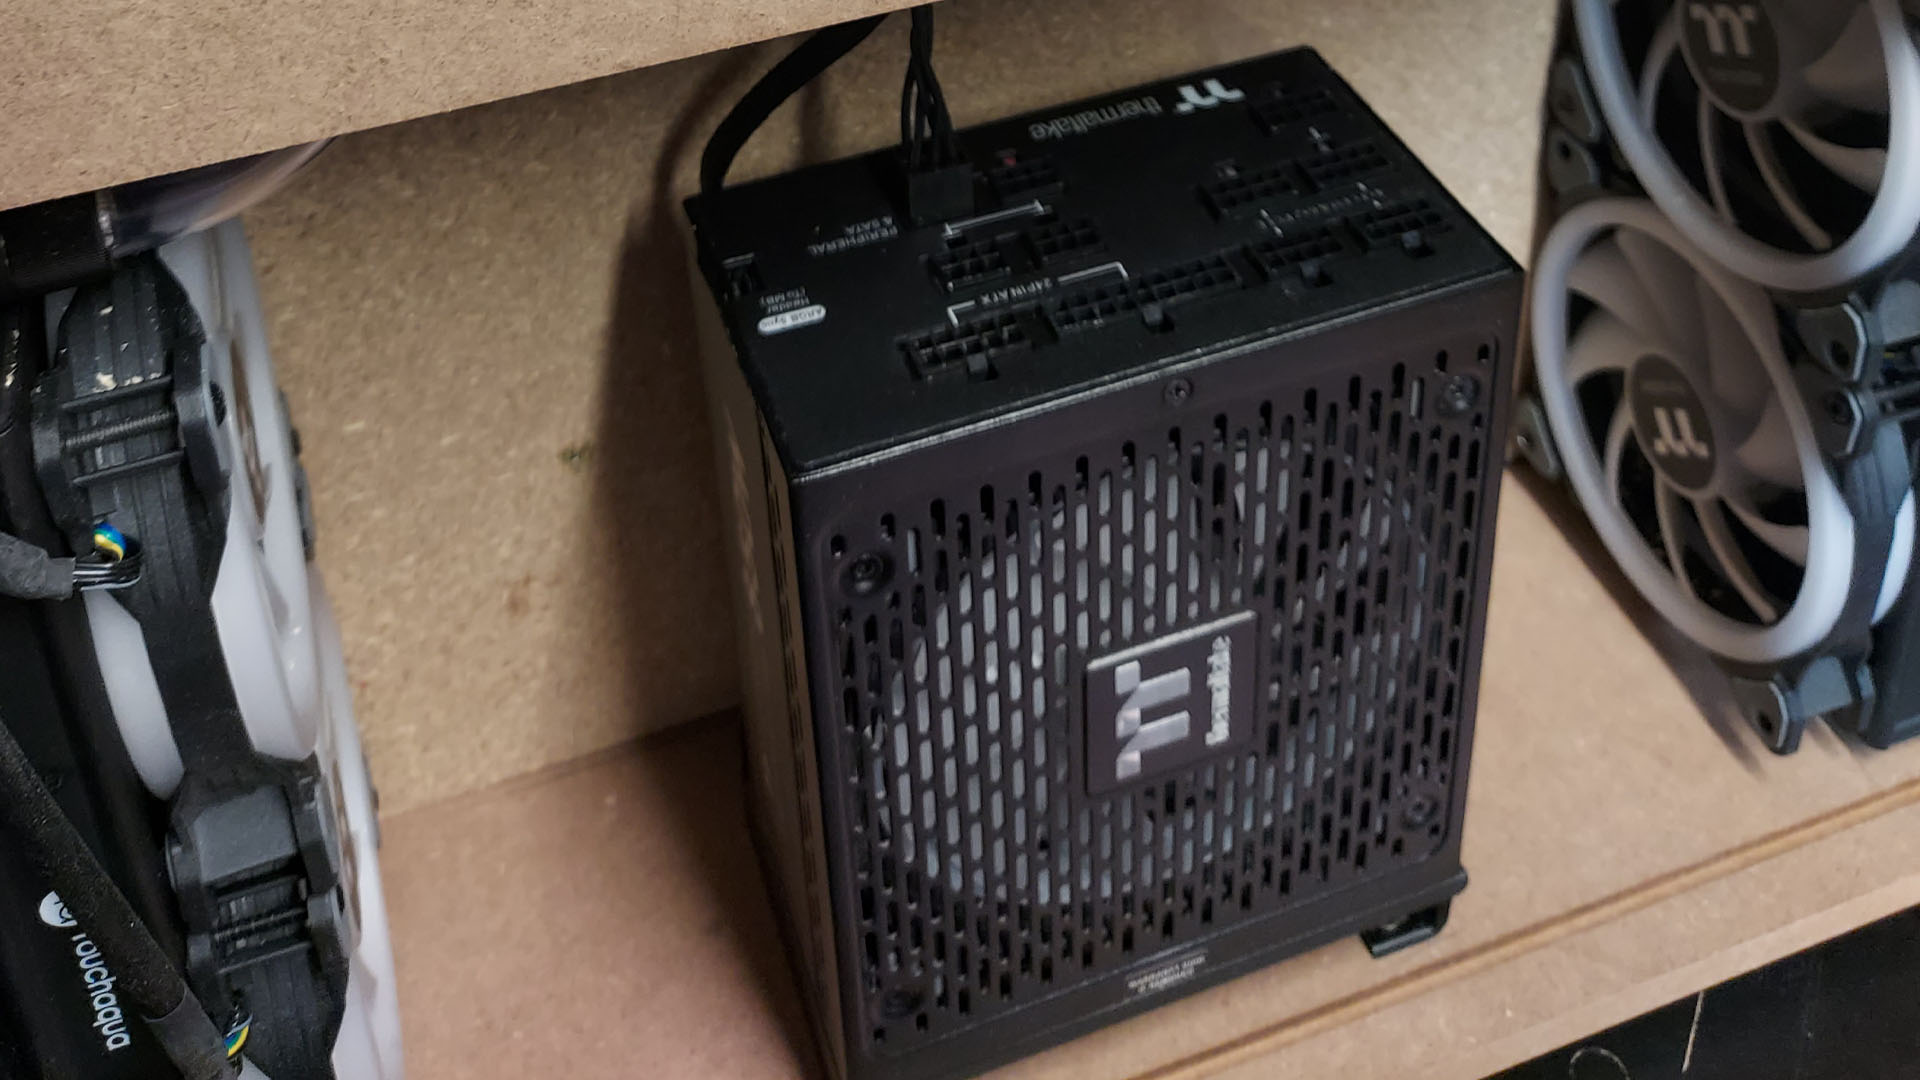
At the back, where the radiators are located, I added vents in the sides of the cabinet, so you get plenty of ventilation. I’m running a pair of 240mm radiators in the back – one for each loop – with the power supply sitting between them. I would like to have used 360mm radiators instead, but I didn’t have room for them in the back of the cabinet.
That’s an immaculate cable-tidying job – where are all the cables hidden?
I made a box that I fitted under the motherboard, so I could run all my cables through to the back of the cabinet. As with the black acrylic strips I used to hide the LEDs, the idea was to hide all the cables as much as possible, as I wanted to create a clean look.
How long did it take you to complete this build, from start to finish?
I think the whole build took me around four months to complete, but I did have some issues getting hold of some of the parts for the build in that time.
Are you completely happy with the end result, or do you wish you’d done some of it differently in retrospect?
Yes, I’m very happy with how it turned out – the end result looks even better than I expected from my original ideas.
Pac-Man arcade PC specs
- CPU: Intel Core i7-8086K
- Graphics card: Asus GeForce RTX 2080
- Storage: 500GB Seagate FireCuda 510 M.2 NVMe SSD, 2 x 500GB Seagate BarraCuda 120 SATA SSDs
- Memory: 32GB G.Skill Trident Z Neo 3200MHz
- Motherboard: Asus ROG Maximus X Hero
- PSU: 850W Thermaltake
- Cooling: Custom water-cooling system featuring Bitspower components and Thermaltake yellow C100 coolant, EK blue coolant
We’re loving your work here Karl – that water-cooling system is divine, and the lighting is brilliant, plus you can still play arcade Pac-Man if you want to.
This post originally appeared on Custom PC, which has been covering amazing setups for over 20 years and is now part of PCGamesN. Join our nearly 500k member Facebook group to discuss this build.
If you consider yourself to be an expert PC builder, you can submit your own custom PC build to us today for a chance of being featured on PCGamesN in the future.
