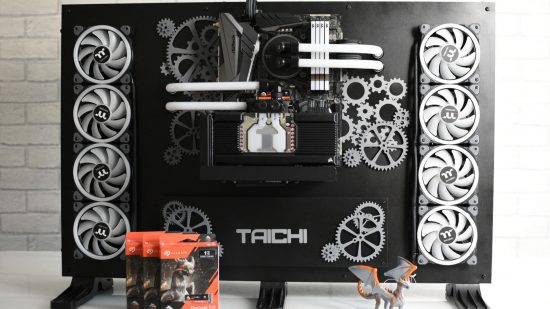
This open-air gaming PC looks a little like it came out of an automatic watch factory since it’s inspired by the design of ASRock’s Taichi motherboards with all their cogs. PC modder Jason Simm went all out on the water-cooling system for this PC build, which sports two 480mm radiators, hand-cut PETG tubing and custom aluminum panels.
Thanks to our rapidly growing PC building Facebook page, we’ve seen many custom gaming PCs, from mods based on existing case designs to scratch PC builds. You can even submit yours for consideration right here. Here we talk to Jason about how he created this imposing open-air PC gaming system.
PCGamesN: What was your inspiration to build an open-air PC based on ASRock’s Taichi design scheme?
Jason: It all started when I won the motherboard back in 2019 at the Tweaktown party in Taipei. I love the layout and the look of the cogs on the Z390 Taichi board. However, due to a shortage of parts as a result of the pandemic, I decided to redesign my old gaming case and utilize the water-cooling parts.
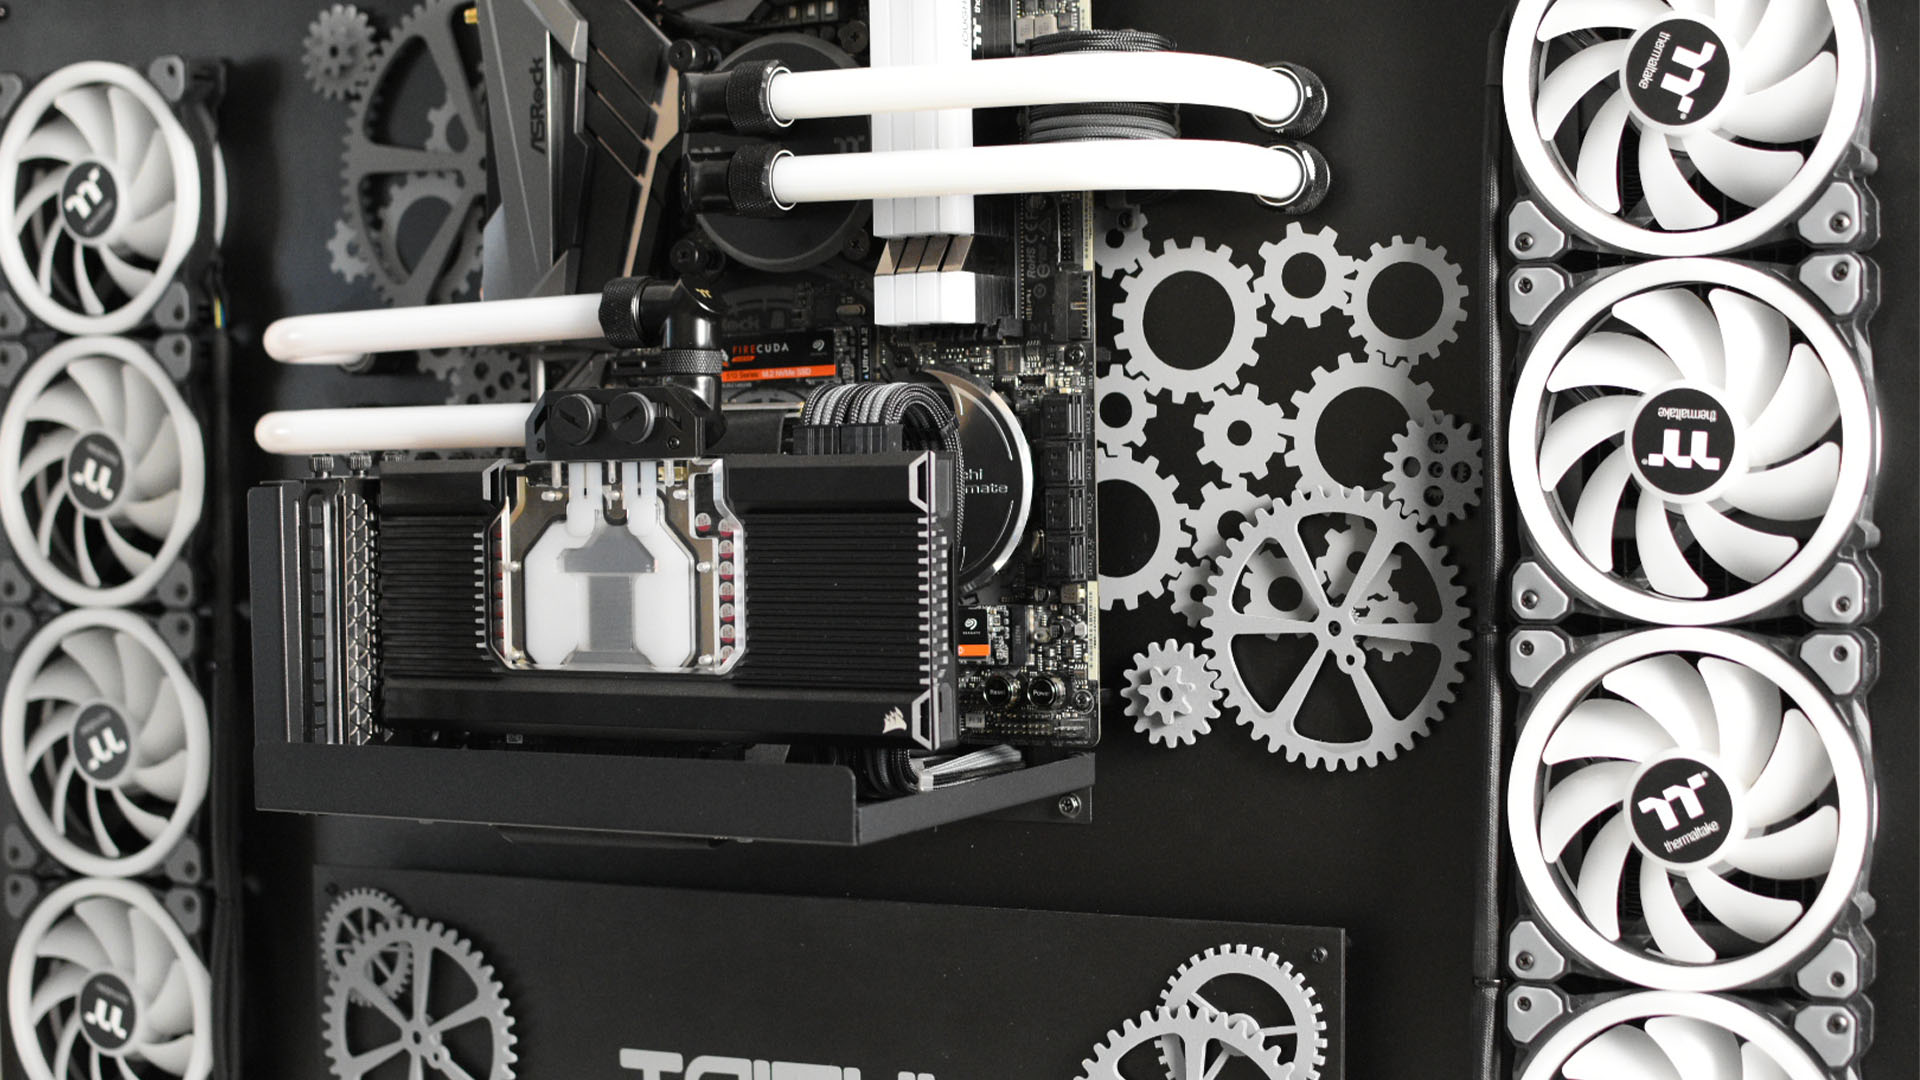
What case is this PC based on?
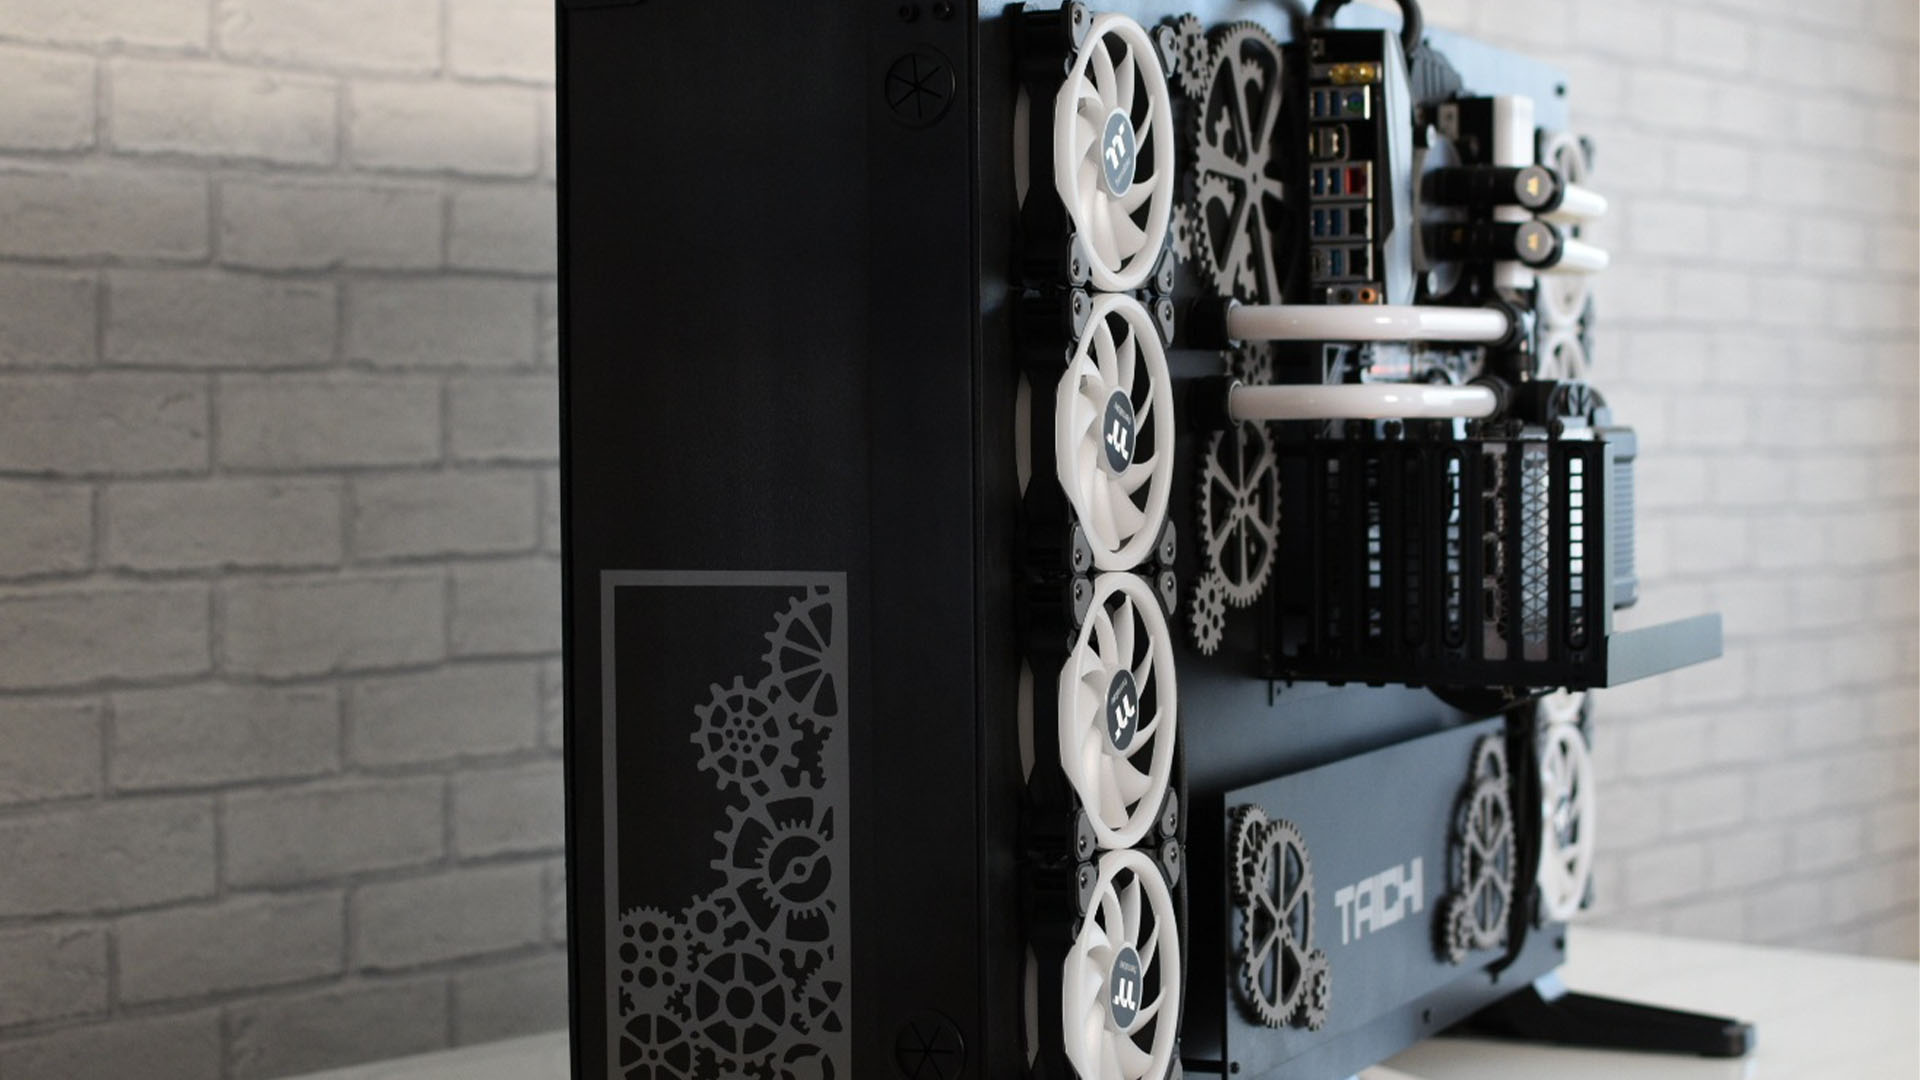
The chassis began as a single Thermaltake Core P5 case, but I wanted to modify it to incorporate a dual liquid-cooling system. Once I had the design in place, I extended the case using an old side panel from a Core P7 case, and reversed the glass panel bars, removing the glass all together.
Tell us about the design process for the main chassis – what did you build yourself, how did you work out the design, and what materials and tools did you use?
I’m old-fashioned, and everything I design is done with pen and paper, rather than CAD. To extend the case, I fixed the left-hand P7 side panel with nuts and bolts so I could incorporate a second radiator.
I used ACP (aluminum composite panels) to cover the front and rear of the case – I cut them by hand using an old sharpened knife for a clean-cut finish. The panels were then measured, drilled and cut, so they could mount the PC components. The panels were sanded and primed before I finished them off with matt black rust-oleum paint to create a flat matt look.
Meanwhile, the aluminum grilles were fitted with a hot glue gun. The cable combs were 3D-printed using SLA/resin, and the panel brackets were 3D-printed with FDM/filament. I also added an extra foot from the Core P7 to give the case more support.
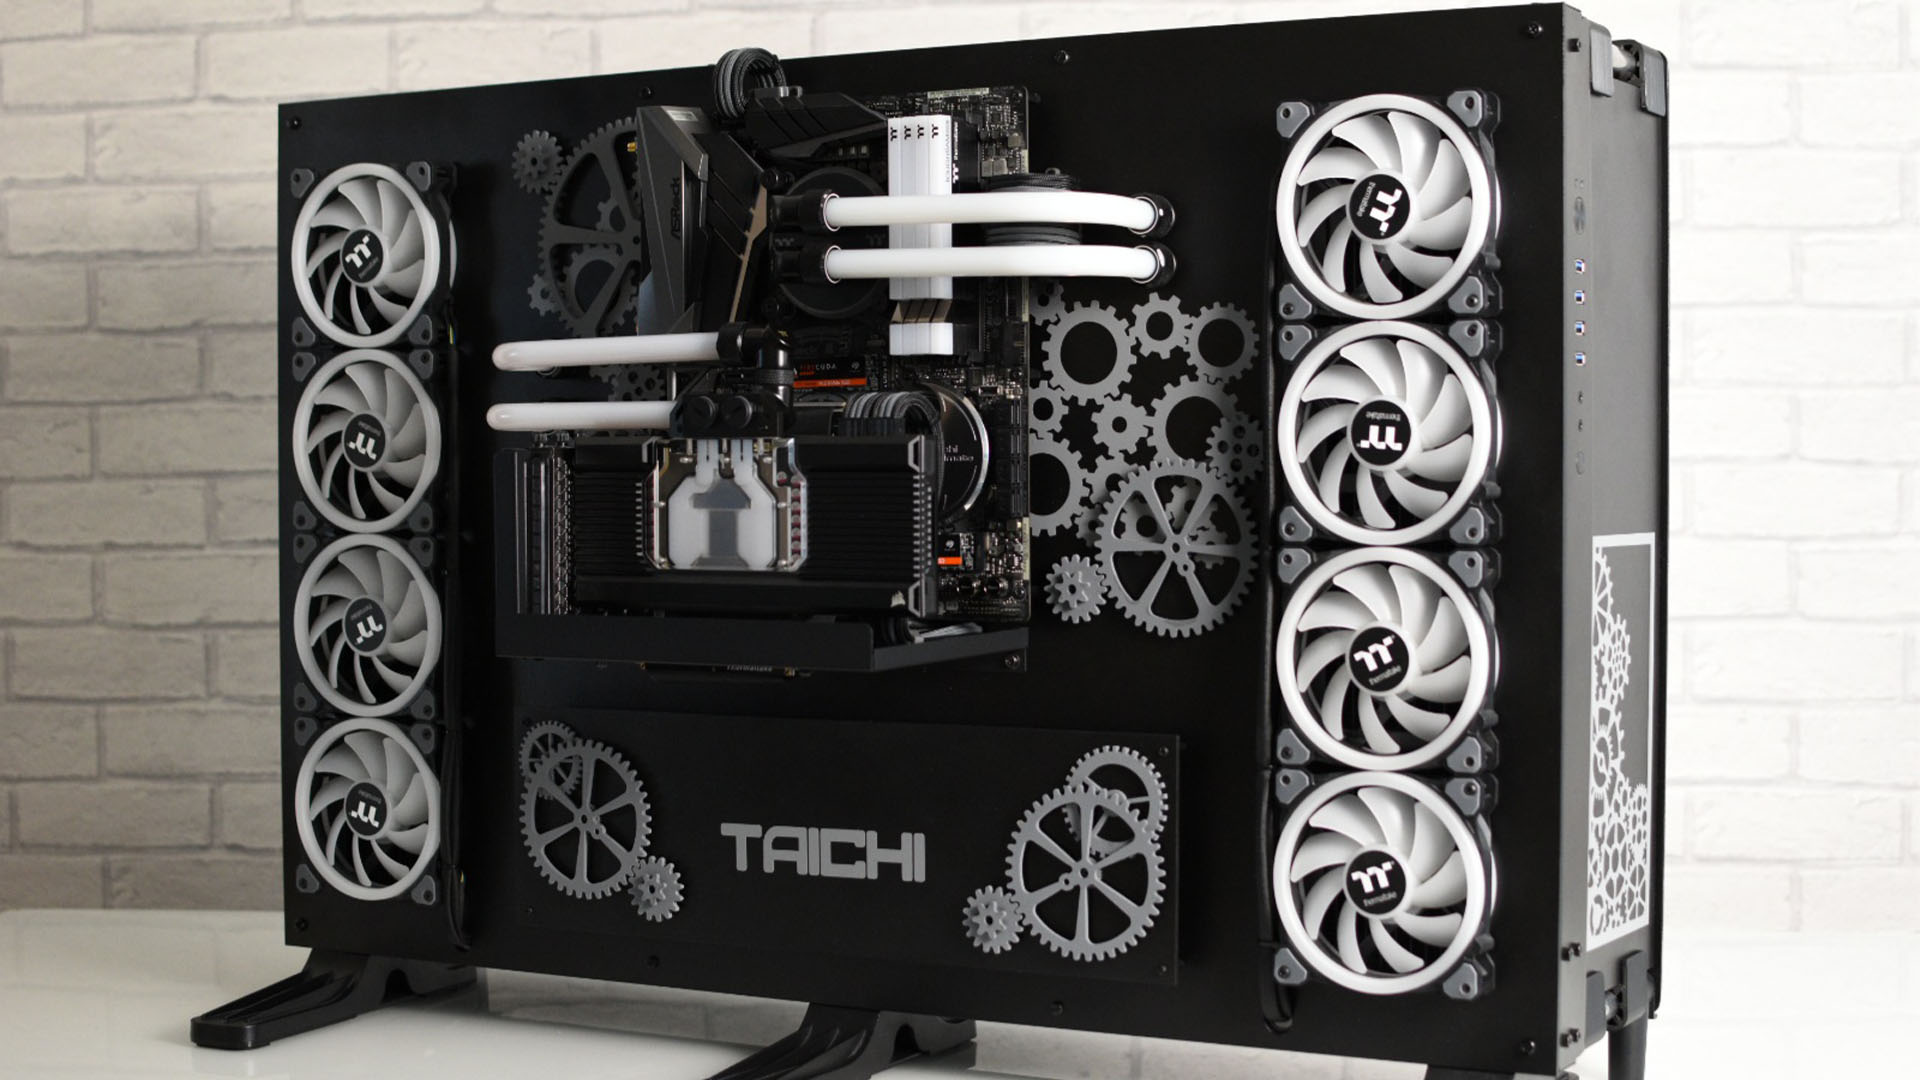
Where did the cogs come from?
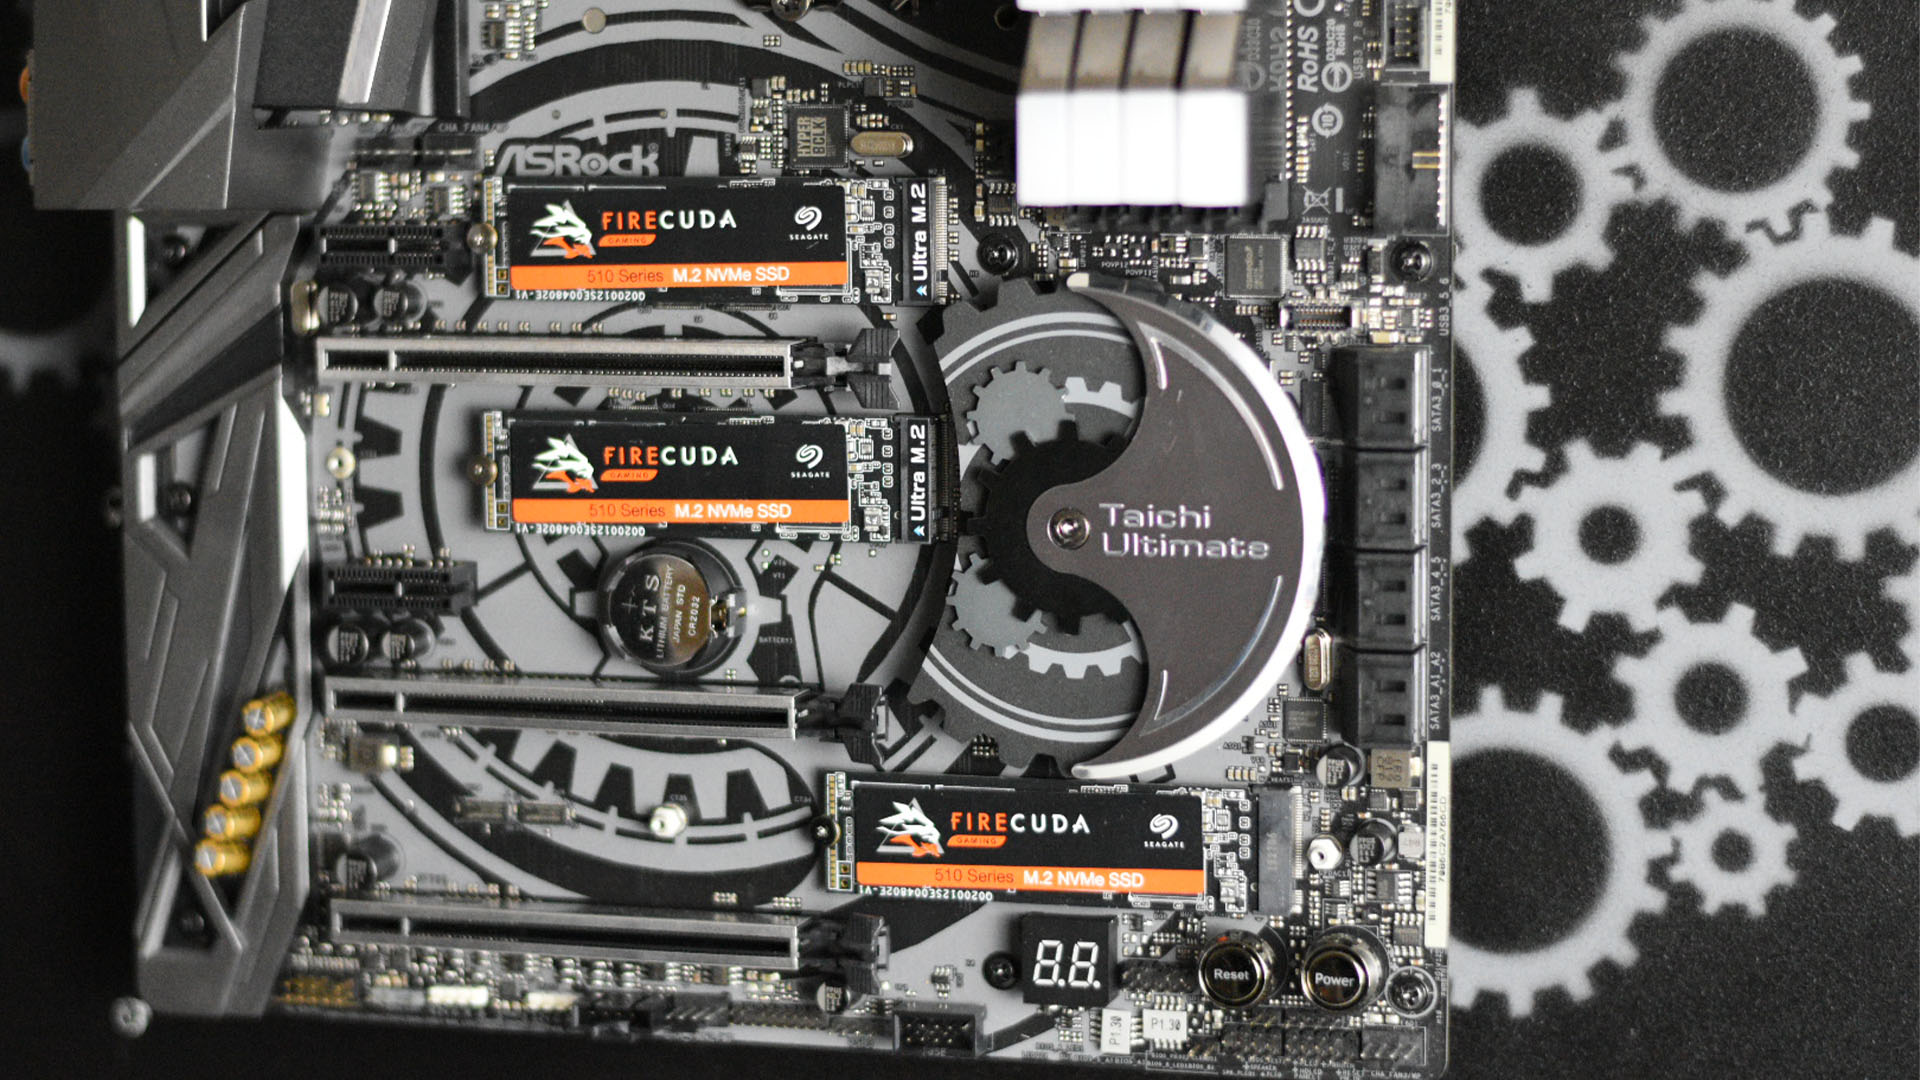
They were bought from eBay – they were laser-cut and the shapes matched the details on the Taichi motherboard I was using, which is what I wanted.
Does this PC light up?
The PC can light up, believe me, but I wanted to do a non-RGB build this time around. I tend to run it with just a soft white light at night.
We’re intrigued by the minimalist look of the water-cooling loop – we can only see four tubes on the front – what does it all hook up to inside?
I used pass-through fittings on each loop to create a clean look from the front. Inside, each loop hooks up to a quad-fan radiator, then back into a D5 reservoir/pump combo and back through the front of the case to the waterblocks.
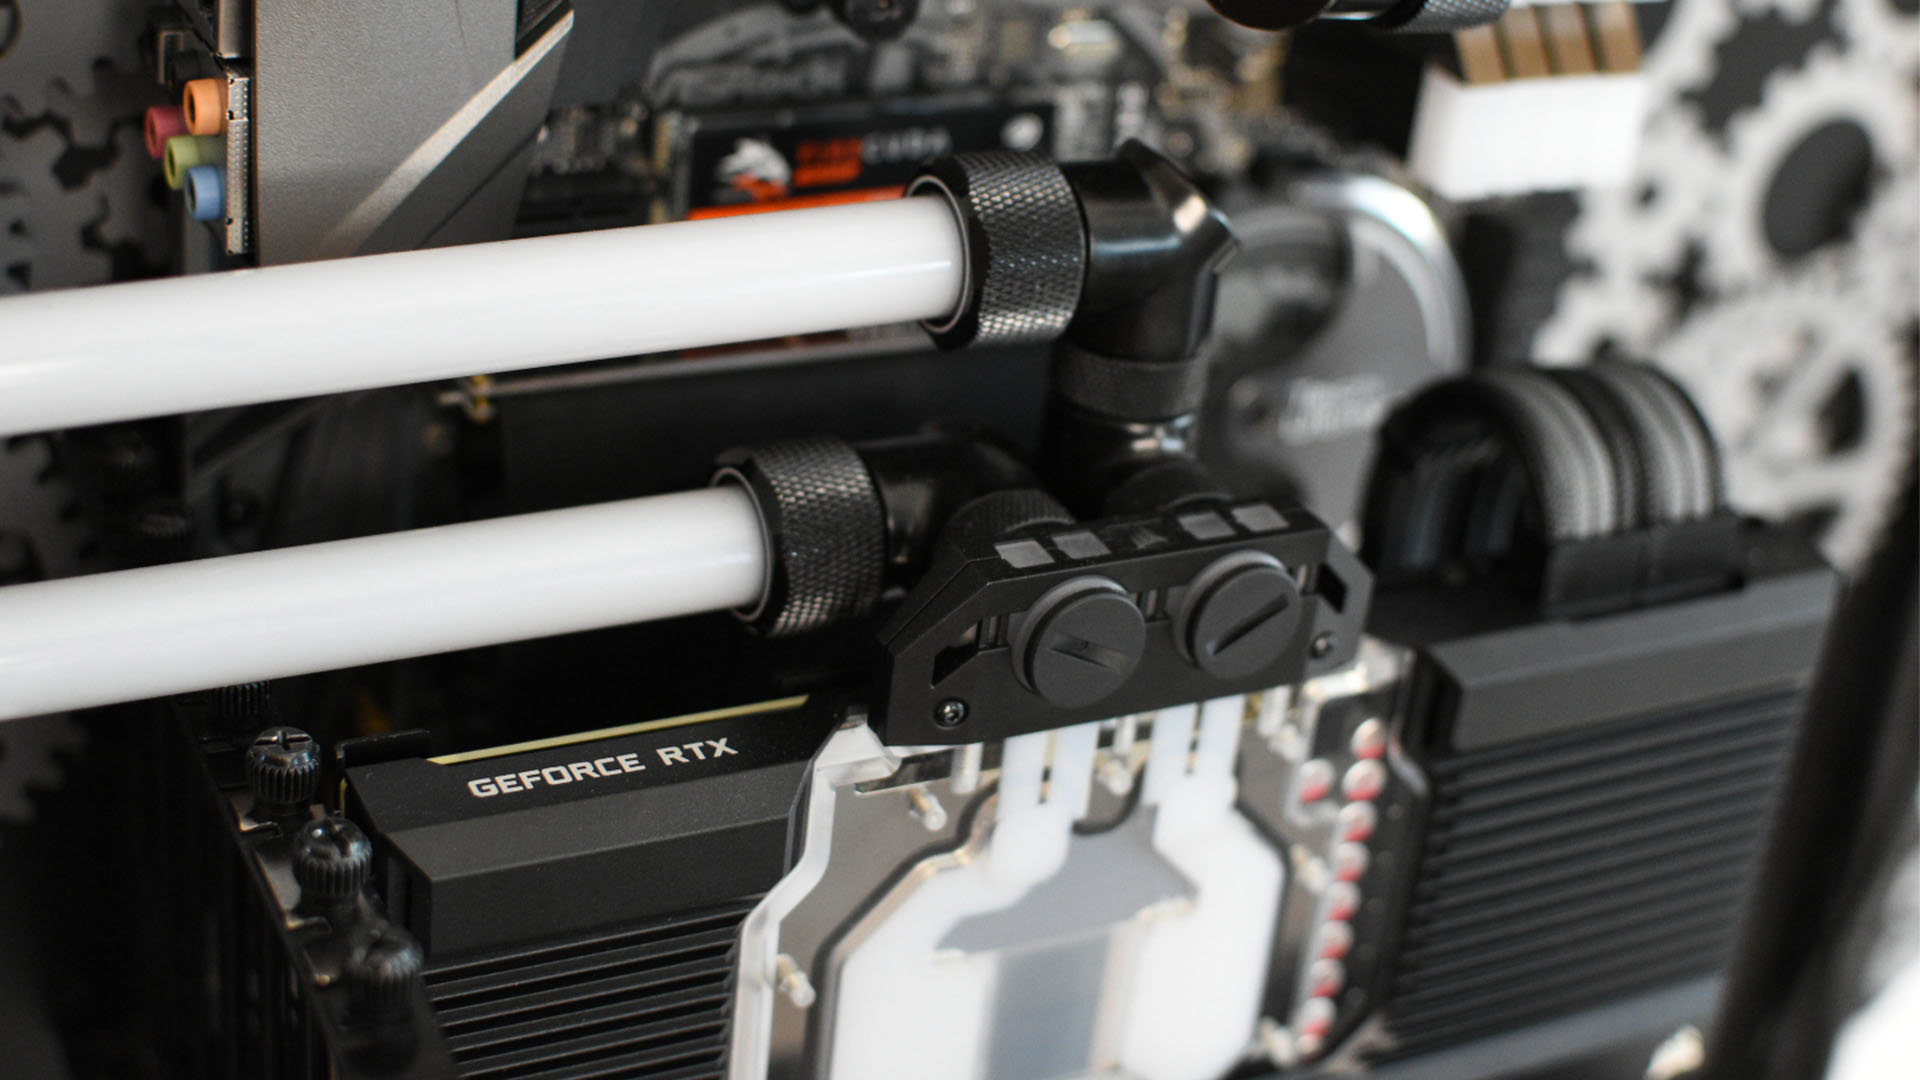
How did you plan and install the water-cooling loop? Did you cut and bend the tubing yourself?
I designed the loop so that I could run a dual water-cooling system, with one radiator for the CPU and one for the GPU. All the tubing was bent and measured freehand – I just use my eyes to gauge where I need to cut, and make my cuts around 5mm longer than necessary to allow for mistakes.
To get the pass-through fittings level and in the right place, I had to build the PC, measure it and strip it down several times to check that the locations were correct and aligned properly, using a small spirit level and tri square ruler.
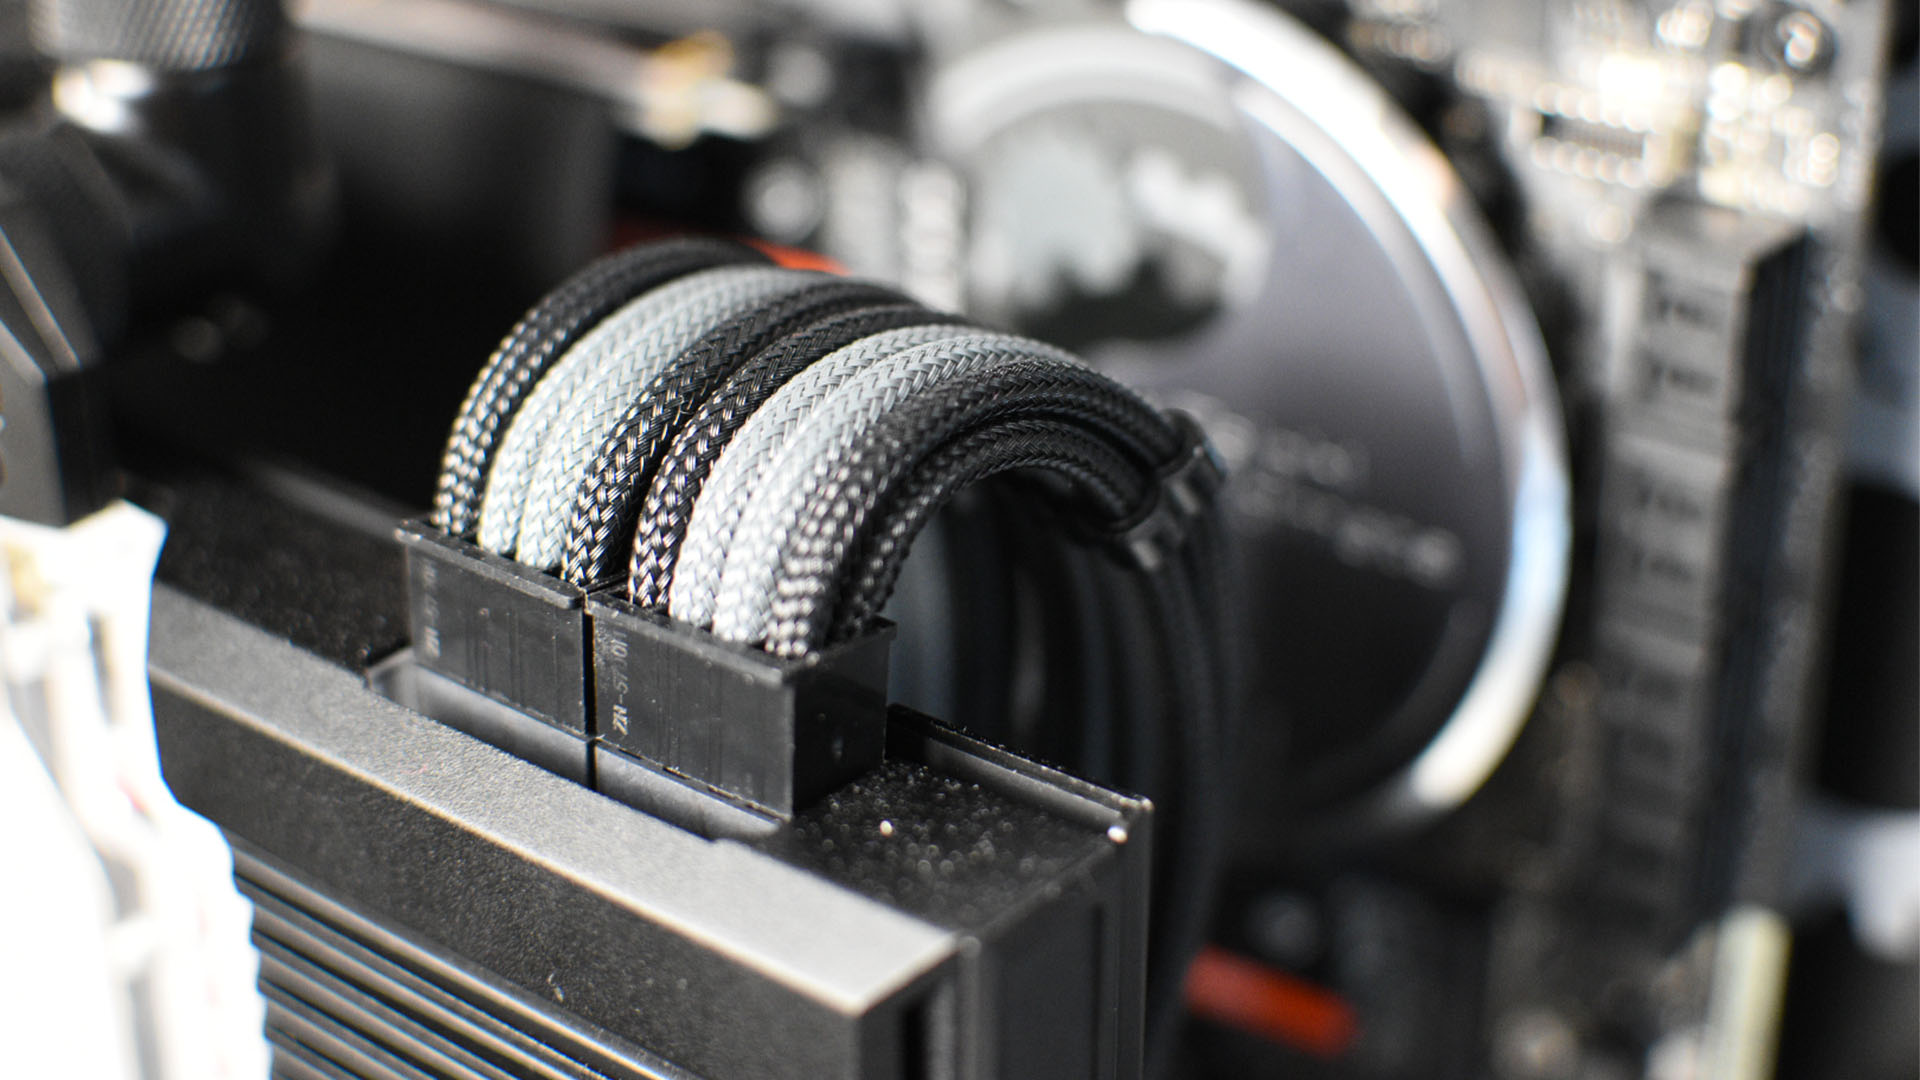
That’s some immaculate cable-tidying work on the power cables – what’s the secret?
I used 3D-printed cable combs, which are screwed to the case to keep the cables tidy – they’re then tucked away behind and under the motherboard.
Where does the airflow from those eight fans on the front go, and how is it exhausted?
The fans on the front are mounted on quad radiators, pushing air at 1,000rpm, but there are also eight fans inside the case pulling air at 1,100rpm. I fitted three aluminum grilles at the rear to allow the fans to exhaust the heat from the rear and top of the case.
What sort of peak CPU and GPU temperatures do you get with two 480mm radiators?
When I’m gaming, the RTX 3080 GPU (which is overclocked to 2070MHz), runs at 34-36°C, while the Core i9-9900K (which is overclocked to 5GHz) runs at 38-40°C.
Is there a way to use the ports on the motherboard’s rear I/O plate without the interior getting messy with cables?
Yes, the motherboard actually sits on 15mm standoffs, so I could run two Anker 4-Port USB 3 slim data hubs under it – this means I can connect all the peripherals inside the rear of the case.
How often do you need to clean this PC?
Every 12 weeks – I just remove the front fans and clean any dust on the radiators with a paintbrush or a can of compressed air.
What specs did you choose and why?
I used the ASRock Z390 motherboard I had previously won at the Tweaktown party in Taipei. I was going to use my old GeForce RTX 2080 graphics card, but I managed to get a Zotac GeForce RTX 3080 Trinity card just in time before I completed the build, which is cooled with a Corsair waterblock I won from bit-tech.net. The other parts came from sponsorships, thanks to Thermaltake and Seagate.
Did you come across any difficulties?
Yes, making the front panel was a challenge. I had it all cut perfectly, and I decided to drill the pass-through holes while the ACP panel was fitted to the case.
As the aluminum panel was soft, the step drill bit slipped while I was trying to drill through the steel case, so the holes where out of alignment. I had to make a whole new panel, putting back the completion of this mod by ten days.
How long did it take you to complete this build, from start to finish?
It was postponed last year due to the pandemic – I managed to make a start in mid-April 2021 and completed the build by mid-July.
Are you completely happy with the end result, or do you wish you’d done some of it differently in retrospect?
Yes, I’m very happy the way the build turned out – the only part I would have done differently, especially if the case was going to be showcased at an event, would be to make the cog parts move.
Project Taichi open-air PC specs:
- CPU: Intel Core i9-9900K
- Case: Thermaltake Core P5 Black Edition
- GPU: Zotac GeForce RTX 3080 Trinity
- Storage: 3 x 1TB Seagate FireCuda 510 NVMe M.2 SSDs
- Memory: 32GB Thermaltake ToughRAM 3600MHz
- Motherboard: ASRock Z390 Taichi Ultimate
- PSU: Thermaltake Toughpower PF1 ARGB 1200W Platinum
- Cooling: Custom water-cooling loop comprising the following Thermaltake parts: 2 x Pacific CL480 radiator, 2 x Pacific PR15-D5 reservoir/pump combo, Pacific W4 Plus CPU waterblock, Pacific PETG G1/4 C-PRO 16mm fittings, Pacific G1/4 90-degree adaptors, Pacific G1/4 female-to-male extenders, 16mm V-Tubler PETG tubing, P1000 white pastel coolant, Riing Trio 12 RGB radiator fans in push-pull configuration, Corsair Hydro series XG7 RGB GPU waterblock
Wow, this open-air PC really grinds our gears in a good way! That’s a stunning custom rig, Jason – amazing work.
This post originally appeared on Custom PC, which has been covering amazing setups for over 20 years and is now part of PCGamesN. Join our 500k member Facebook group to discuss this build.
If you consider yourself to be an expert PC builder, you can submit your own custom PC build to us today for a chance of being featured on PCGamesN in the future.
