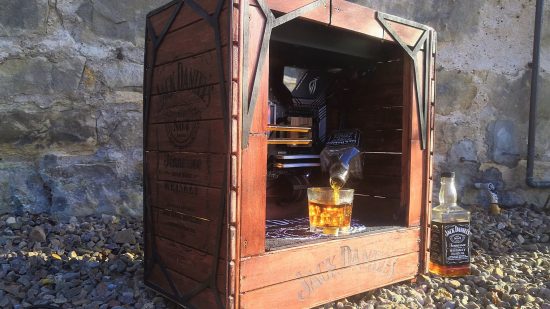
Is the water-cooling loop in this scratch-built wooden PC build really filled with whiskey? Well, obviously not, but we absolutely love what PC builder Craig Ferrie has done with this Jack Daniel’s gaming PC. The wooden case itself is a marvelous bit of craftsmanship, but the centerpiece is the Jack Daniel’s bottle and glass tumbler at the front – these parts genuinely work as part of the water-cooling system, which is filled with whiskey-colored coolant.
Thanks to our rapidly growing PC building Facebook page, we’ve seen many custom gaming PCs, from mods based on existing case designs to scratch PC builds. You can even submit yours for consideration right here. Here we talk to Craig about how he created this fantastic whiskey-themed Jack Daniel’s PC, which he calls Jack Daniel’s On the Rocks.
PCGamesN: Firstly, why Jack Daniel’s?
Craig: Honestly, I just wanted to do something different! Jack Daniel’s is arguably the most well-known whiskey.
What sort of look were you trying to achieve, and what were your whiskey-related design cues?
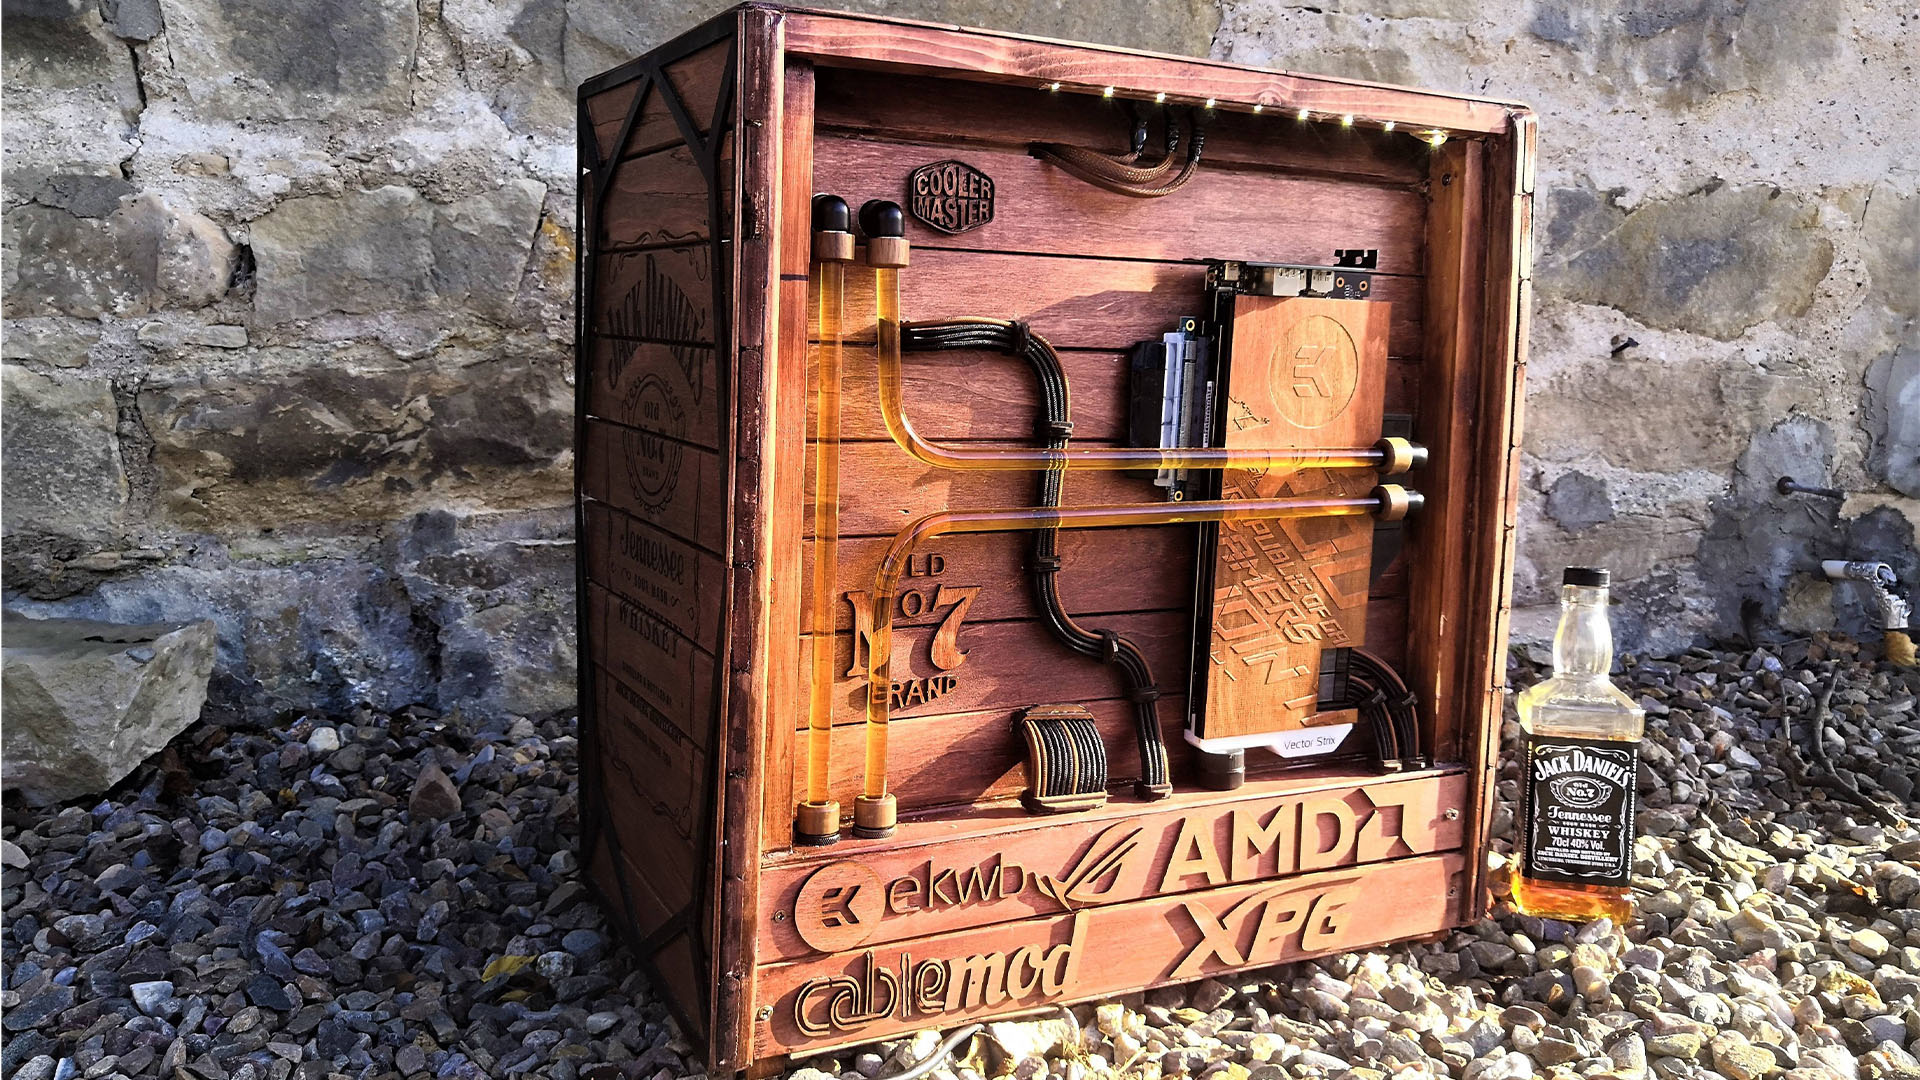
Right from the get-go, it had to be wooden and contain enough space in the back to allow the graphics card to be mounted, and for the water-cooling system to be neat, while somehow still keeping the whiskey barrel theme. Obviously, I could have just hacked out a regular whiskey barrel, but where would the originality be in that?
Take us through the woods you used for the main chassis, and how you went about cutting, prepping, and finishing them to achieve this look.
I’ll be as honest as possible here. I was throwing out a double bed frame and was looking at the slats. My brain tingled and the idea came to me. I had no previous experience with woodworking, and I’d never done a scratch build before either (at least, not like this one).
I took the wooden slats and began by cutting up them up, mostly just winging the initial process – I didn’t do much measuring. I used a jigsaw to cut the slats to matching sizes, sanded down all the edges, wood-glued the slats onto a basic frame and then screwed them together.
Once it was all looking good, I stained the wood with mahogany wood stain, using a household sponge. I actually had to stain it around three times to get the right effect. There were some gaps in the slats, due to irregularities in the wood shape, which I filled with wood filler, and then stained the filler to match the wood. The frame is pine and the flat top, bottom and mid-section are birch plywood.
Did you build the case completely from scratch?
Yes. I actually gave up on case modding around a year ago, as I was always working with black boxes – they’re all the same these days. There are pretty lights here and there, but the layout remains roughly the same. For this, I wanted pure originality.
How did you cut out the logos and the No.7?
For these, I used 3mm-thick birch plywood, and cut them with my own laser cutter/engraver (my personal business uses it). They’re then stained to match the rest of the case, and stuck on with wood glue.
What other materials did you use in this build?
The case is 100% wood – there’s no extra support, absolutely everything is wooden.
How did you make the authentic-looking Jack Daniel’s logos and writing on the front and side?
These were tricky – I was running out of slats of wood, so it was crucial to get them right. I had to test the laser engraver setup on paper multiple times, before I finally put the panels in the engraver. It was a shot in the dark, where I hoped the wood would burn and not just leave markings. I turned the laser speed down and the power up, and ended up with some really nice results.
How did you get the coolant to look so much like whiskey?
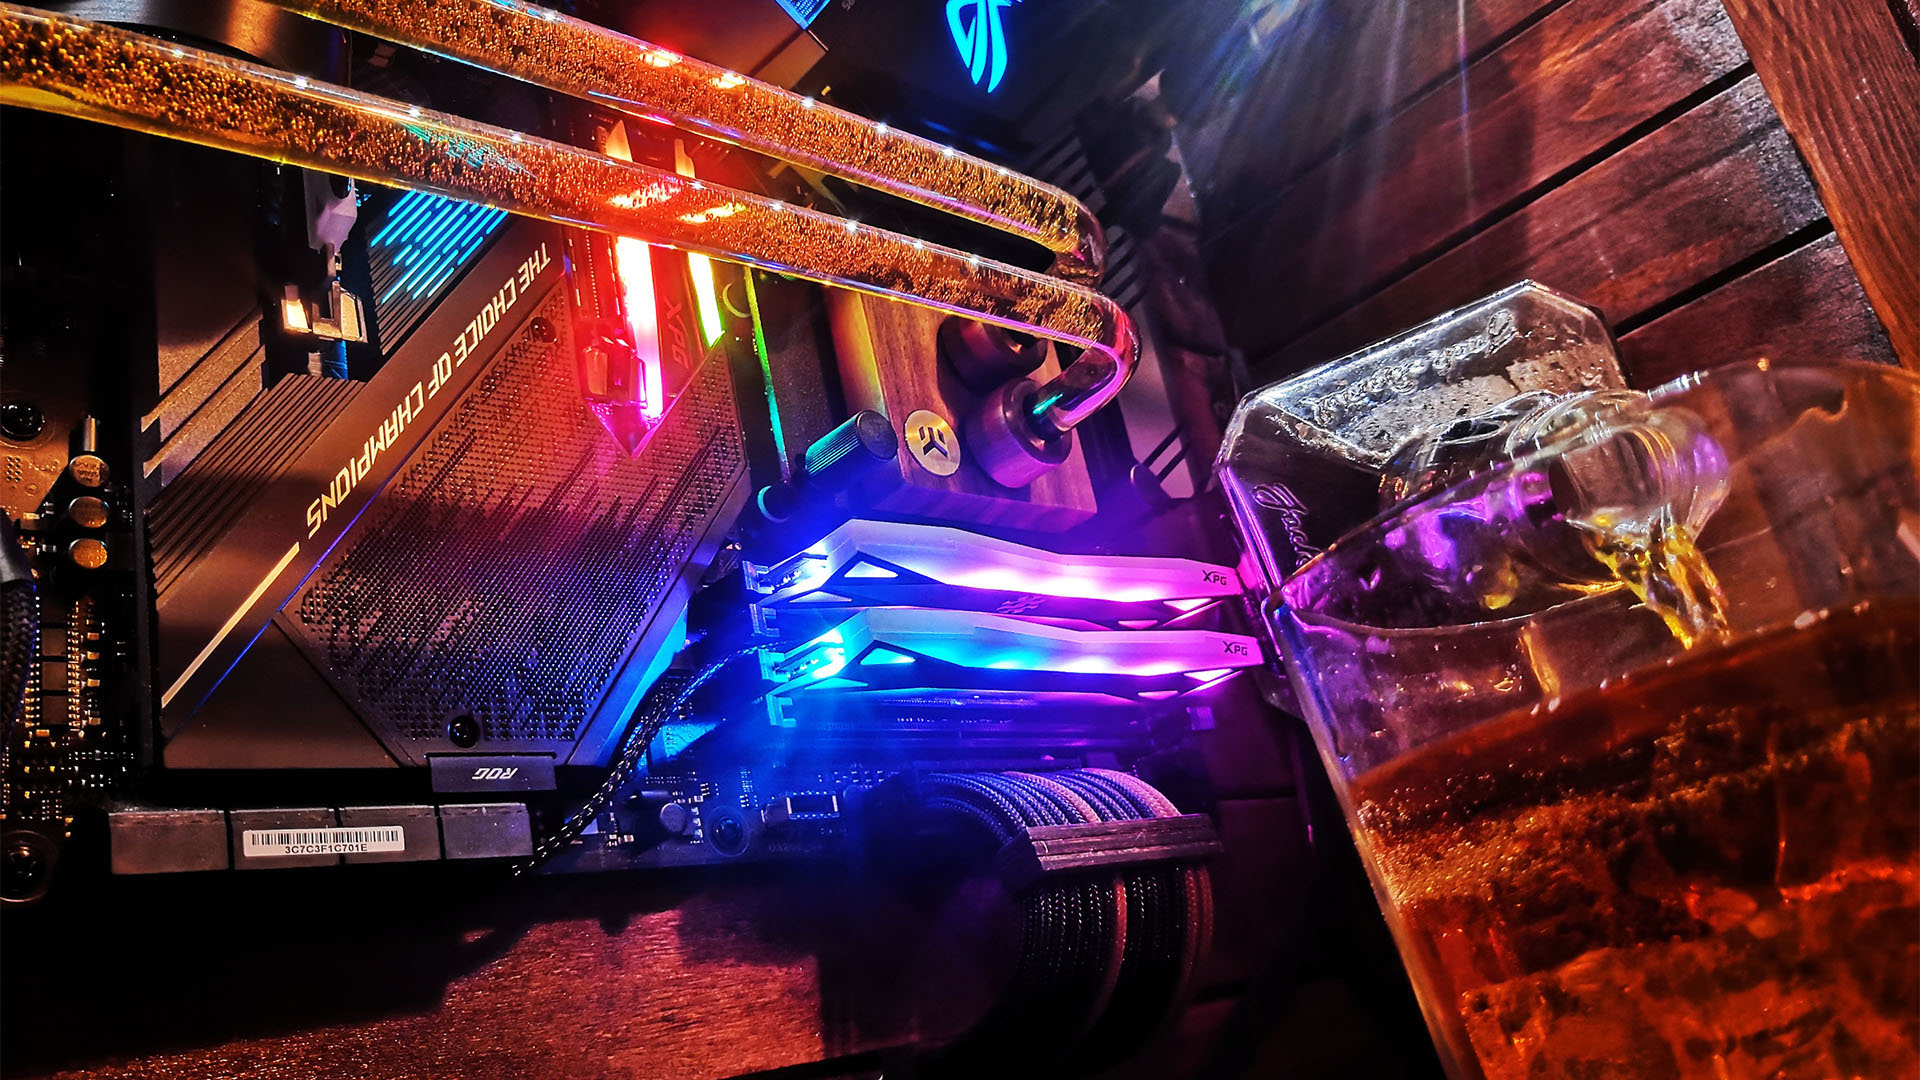
Ahh, the good old ‘is that really whiskey?’ question! Unfortunately, it’s not whiskey. It is, in fact, EK CryoFuel coolant. EK was kind enough to also supply me with its CryoFuel dye pack. Getting this color requires an unusual dye mix. First, you need to add blue and yellow to make a nice green, and then you slowly add red until you get that really dark amber look of whiskey.
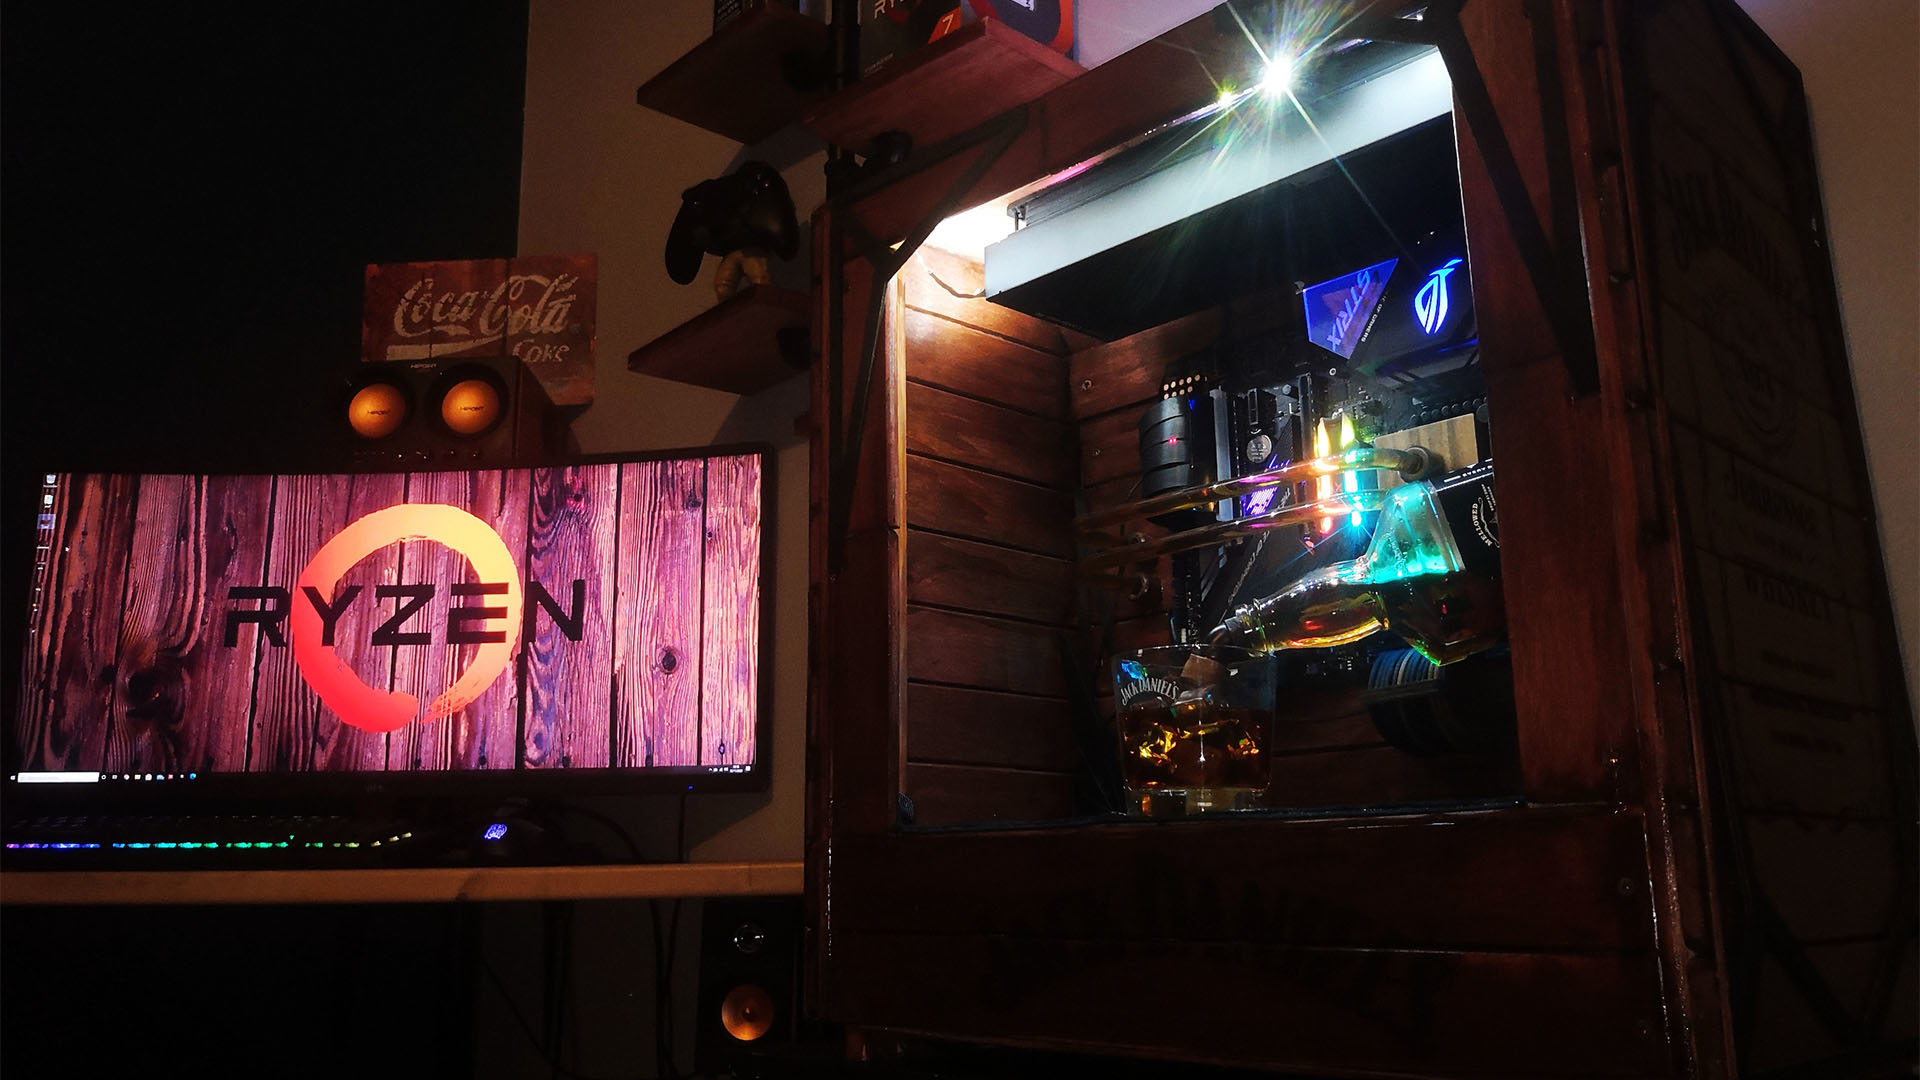
Let’s talk about the bottle of Jack Daniel’s at the front, pouring ‘whiskey’ into the glass. Is this just for show, or is it actually a reservoir?
I’ve been getting this question quite a lot on social media. The pouring Jack Daniel’s bottle is 100 percent a part of the loop. There are multiple filters to avoid debris getting into the loop, and ‘no return’ valves under the shroud that prevent the coolant from returning to the lowest points of the loop (I got this idea from a kitchen sink).
There’s a second reservoir bottle I can switch in and out for at-home use, which is closed, allowing me to play games on the machine without worrying about dust and evaporation.

How did you go about planning the cable routing, and getting the cable colors to fit in with the wooden design?
When I started working on the case, I knew I wanted this build to look classy and clean. I reached out to my friend Matt at CableMod and asked him if I could get some made-to-length cables for this build. He had them made and sent out to me within a couple of weeks.
I knew that regular cable combs wouldn’t cut it here, so I designed my own 9mm-thick combs that had enough surface area to attach to the case. As for the cable color, CableMod has a fantastic website that provides accurate images of its available colors, so it was really a breeze.
How did you make that wooden plate for the GPU waterblock?
Originally, I wanted to use EK’s Lignum Walnut block, but unfortunately that didn’t work out, so I had to make a wooden panel that would fit on an EK Acetyl+Nickel waterblock for this card. After learning I was going to be using the EK Vector Strix block, I got the measurements of the backplate, drew up a template on my laptop and then designed a nice Strix/EK logo combination for etching. I sent them out to the cutter and then stained them to match the case.
Where do you plug in your monitor, keyboard, and mouse?
There are three 15cm USB extensions, which are braided in the top middle of the case – they go from the motherboard to the top panel of the case. I have an 8-port USB hub, so I really only needed one free USB port. The monitor plugs directly into the graphics card – I do have a 15cm HDMI extension I was planning to add to the build, but I can’t decide if I want the case front-facing or back-facing, as all the sides look good!
How did you plan the routing and positioning for the hardline water-cooling tubing?
Again, right off the bat, I knew I wanted it to look sleek, sexy and classy. Basically, you only see two runs of tubing – the ‘to’ and ‘from’ – it’s a little more complex under the shroud, with the return valves and so on. For cutting and measuring, I mark the tube where I want the bend to start and just play it by eye from that point. For cutting, I use basic tools such as a rotating cutter and deburring tool.
How does the airflow system work?
There are three Cooler Master fans at the top, all in one unit – the SF360R. There’s one other vent under the case for the power supply. Other than that, being an open-air case, there’s hardly any need for additional airflow – the system runs extremely cool.
Did you come across any major difficulties?
There were quite a few, such as the legs for the case. I had no idea what to do here – should I get custom ones made, or stick with the original wood? In the end, I stuck with the wood of the frame and it seems to have paid off. The other main issue was leaks (and the fear of them), as this build doesn’t have an easy-access loop – it’s certainly not easy to drain – the return valves don’t allow water to recede, making traditional draining near impossible.
How long did it take you to complete this build, from start to finish?
From start to finish, it took roughly three months. This includes planning, building and waiting for parts. The pandemic definitely didn’t help with couriers and orders.
Are you completely happy with the end result, or do you wish you’d done some of it differently in retrospect?
I’m very satisfied with the final look. Is there anything I would change? Absolutely, but that’s just a part of the process when you’re designing something new. I’d certainly like to look into making a loop that’s easier to manage. I’d also look into using a better wood in the future, should I revisit this idea.
Jack Daniel’s whiskey PC specs
- CPU: AMD Ryzen 7 3800X
- Graphics card: Asus ROG Strix GeForce RTX 2080 OC
- Storage: 512GB XPG Spectrix D40G M.2 SSD
- Memory: 16GB XPG Spectrix D60G DDR4 3200MHz
- Motherboard: Asus ROG Strix X570-E Gaming
- PSU: 1,000W be quiet! Dark Power Pro 11
- Cooling: Custom water-cooling loop, featuring the following EK components: Lignum Walnut CPU waterblock, Quantum Vector Strix RTX 2080 D-RGB Nickel + Acetyl GPU waterblock, Vector Strix RTX 2080 black GPU backplate, HTC Lignum 10/12mm Walnut fittings, CoolStream Classic PE 360 radiator, Quantum Inertia D5 PWM D-RGB Acetyl pump, AF Classic Angled 90-degree black fittings, AF Classic Angled 45-degree black fittings, CryoFuel Clear coolant, AF Extender M-M G1/4 Black, AF ALU T-splitter 3F G1/4 – Natural Grey, CryoFuel Dye Pack, HD PETG Tube 10/12mm 500mm
- Fans: Cooler Master SF360R fans
This is one of the best PC builds we’ve seen, Craig – we’re blown away by it. Not only is the scratch-built wooden case a fantastic piece of work, but the fact that you’ve made a Jack Daniel’s bottle and glass tumbler work as part of a water-cooling loop is just amazing.
This post originally appeared on Custom PC, which has been covering amazing setups for over 20 years and is now part of PCGamesN. Join our nearly 500k member Facebook group to discuss this build.
If you consider yourself to be an expert PC builder, you can submit your own custom PC build to us today for a chance of being featured on PCGamesN in the future.
