
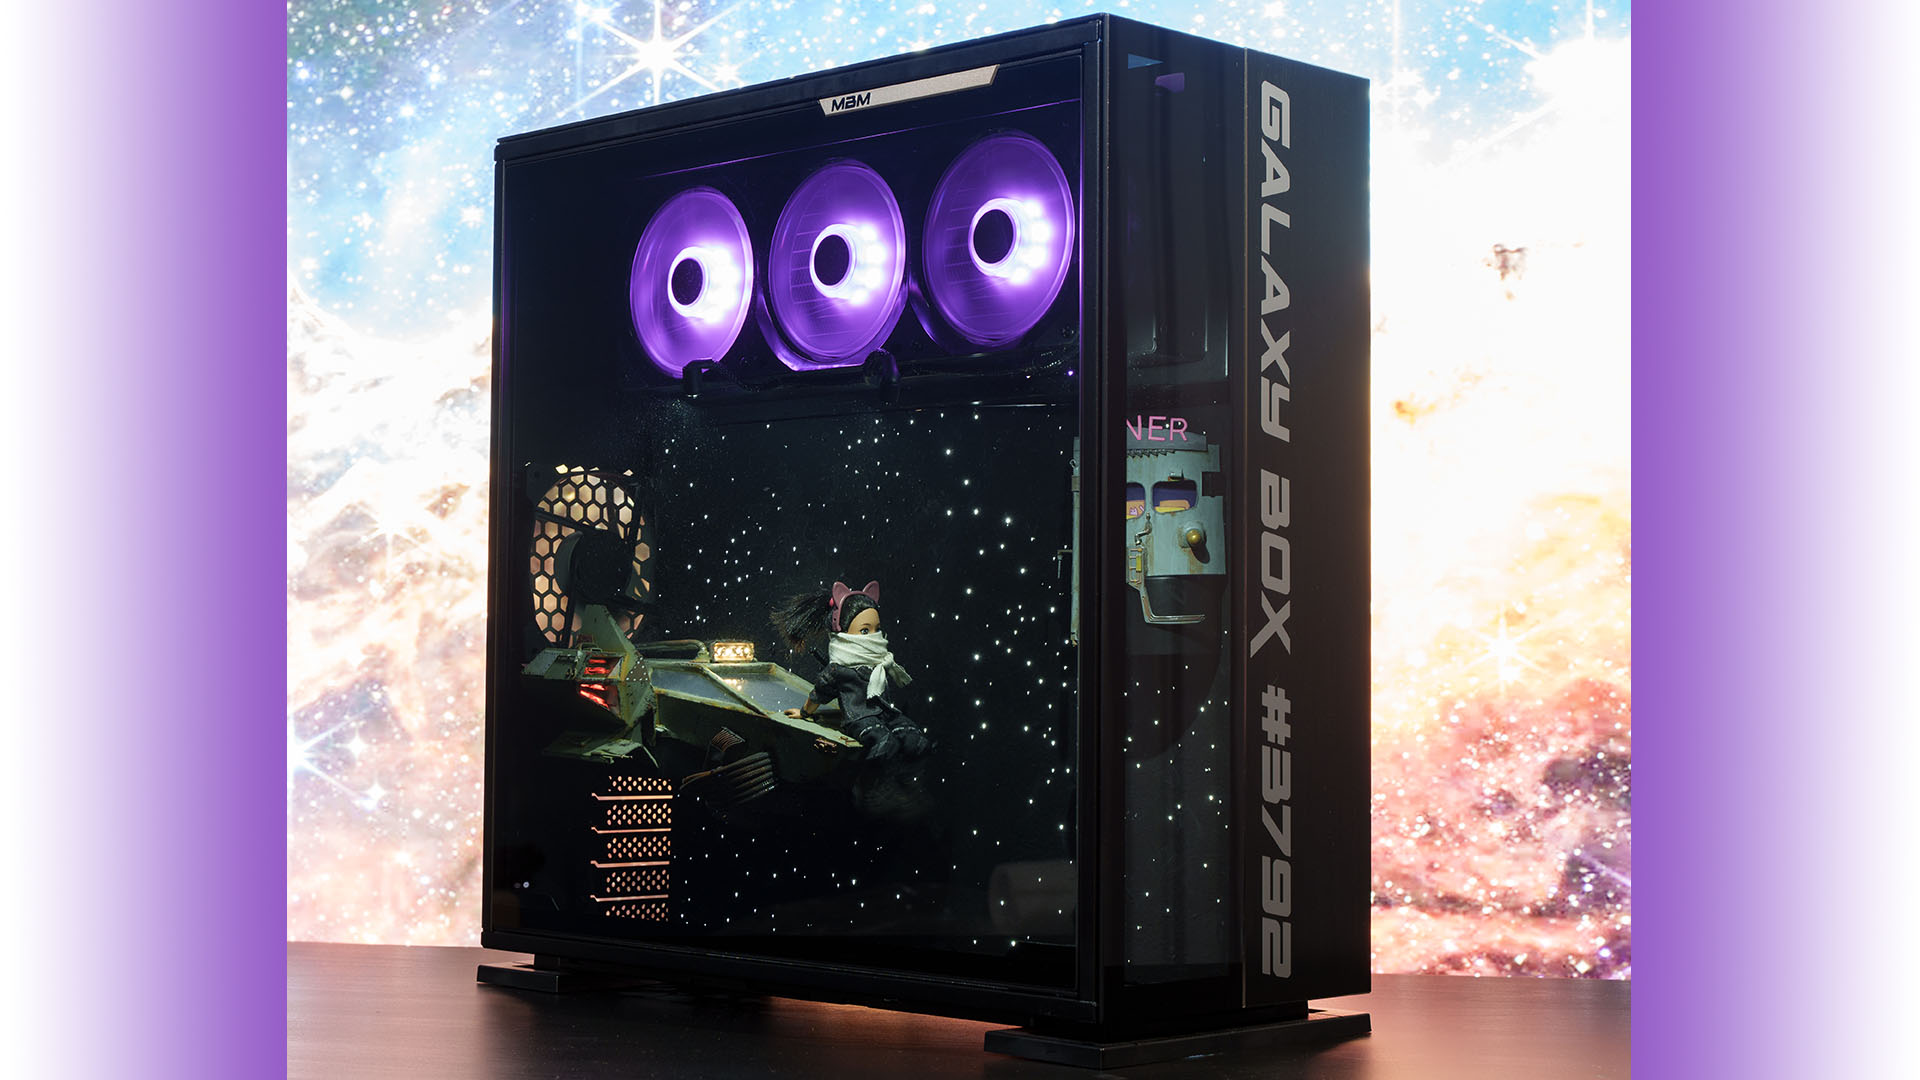
Can you spot any of the components or water-cooling equipment in this custom gaming PC? When building a PC for his wife, modder Josiah Fast wanted to focus the interior on a sci-fi scene with custom-made models, while hiding all the high-end water-cooled PC hardware.
Thanks to our rapidly growing PC building Facebook page, we’ve seen many custom gaming PCs, from mods based on existing case designs to scratch PC builds. You can even submit yours for consideration right here. Let’s find out more about Josiah’s PC first, though.
PCGamesN: Let’s start at the beginning. What inspired you to build this PC?
This PC was inspired ultimately by the desire to build my wife a new PC. She’s somewhat of a space nerd and isn’t excited by seeing hardware or water-cooling components. I wanted to create a space-themed PC that made it fun to look through the glass, so it could be enjoyed by people who aren’t as interested in the latest and greatest PC hardware as we are.
Where did the idea for the space diner come from?
The idea for the space diner was inspired by an artist on Instagram, named spacegoose, who drew a picture that spoke to me creatively. The idea of a simple diner in the distance felt like a perfect place to ground the fact that this is all set in the future.
How did you plan out the models for this build?
Planning the models in this build involved a mixture of many techniques, but they all started as 2D pencil drawings. The spaceship body was a CAD model, as I wanted to be sure it would fit over the GeForce RTX 3080 Ti card, as was required.
I then kit-bashed parts from old model kits and recycled electronic parts until I was happy with the design. The space diner design went directly from pencil drawings to a handmade model. I used polystyrene sheets that I cut, bent, glued, painted and so on. As with the spaceship, I then took pieces from other model kits and added finer details to the diner until I was satisfied.

Where did the spaceship design come from?
The spaceship’s core design was created by an artist named Tom Hull. This design was inspired by artwork of a 1980s Toyota MR2, which furthers the sense of the retro sci-fi style that I wanted to create. In an effort to save time, and support an artist doing great things, I purchased his design and then heavily modified the model to make it 3D-printable at the correct size, and made a few design tweaks.
Tell us how you built the diner and the spaceship models.
The spaceship CAD model was sliced and 3D-printed in multiple pieces. These were glued together and then painted initially with a high-build primer. Plenty of sanding then followed to remove the 3D print lines. I used a couple of different model kits and some recycled electronic parts to add all the finer details to the design.
The final part was the extremely satisfying process of painting the spaceship to make it appear old and well used. This involved some panels being different colors and the addition of grime and rust.
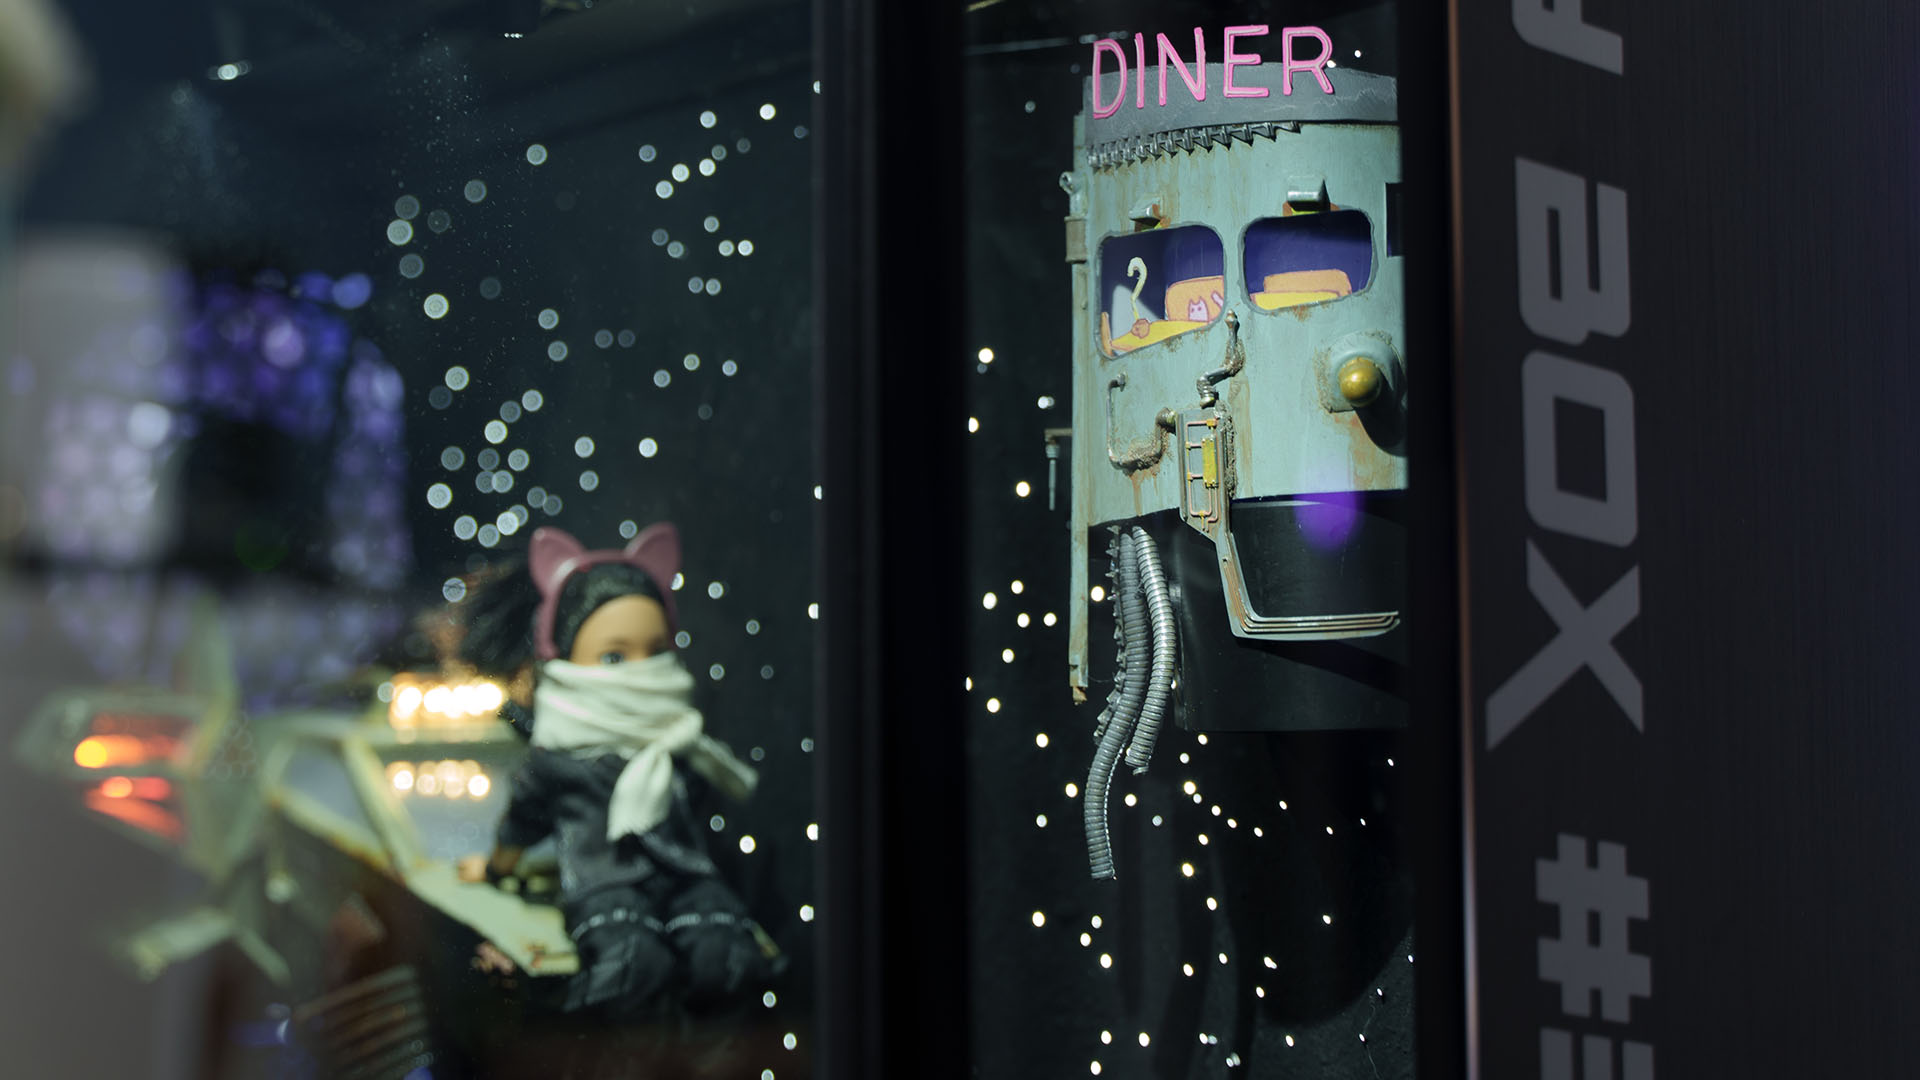
Meanwhile, the diner was a completely kit-bashed model that I made to fit around the reservoir for the water-cooling loop. I wanted to be able to look through the diner windows and see the liquid. I cut and bent polystyrene sheets to build a small diner, using gel superglue to hold all the parts together. As with the spaceship, the finer details were from other kits. Again, I think the painting was my favorite part of building this model, and it really looks like an old, worn-out diner just drifting through space.

We’re really intrigued by the stars surrounding the models in the scene – they look like they’re lights. How did you achieve this effect?
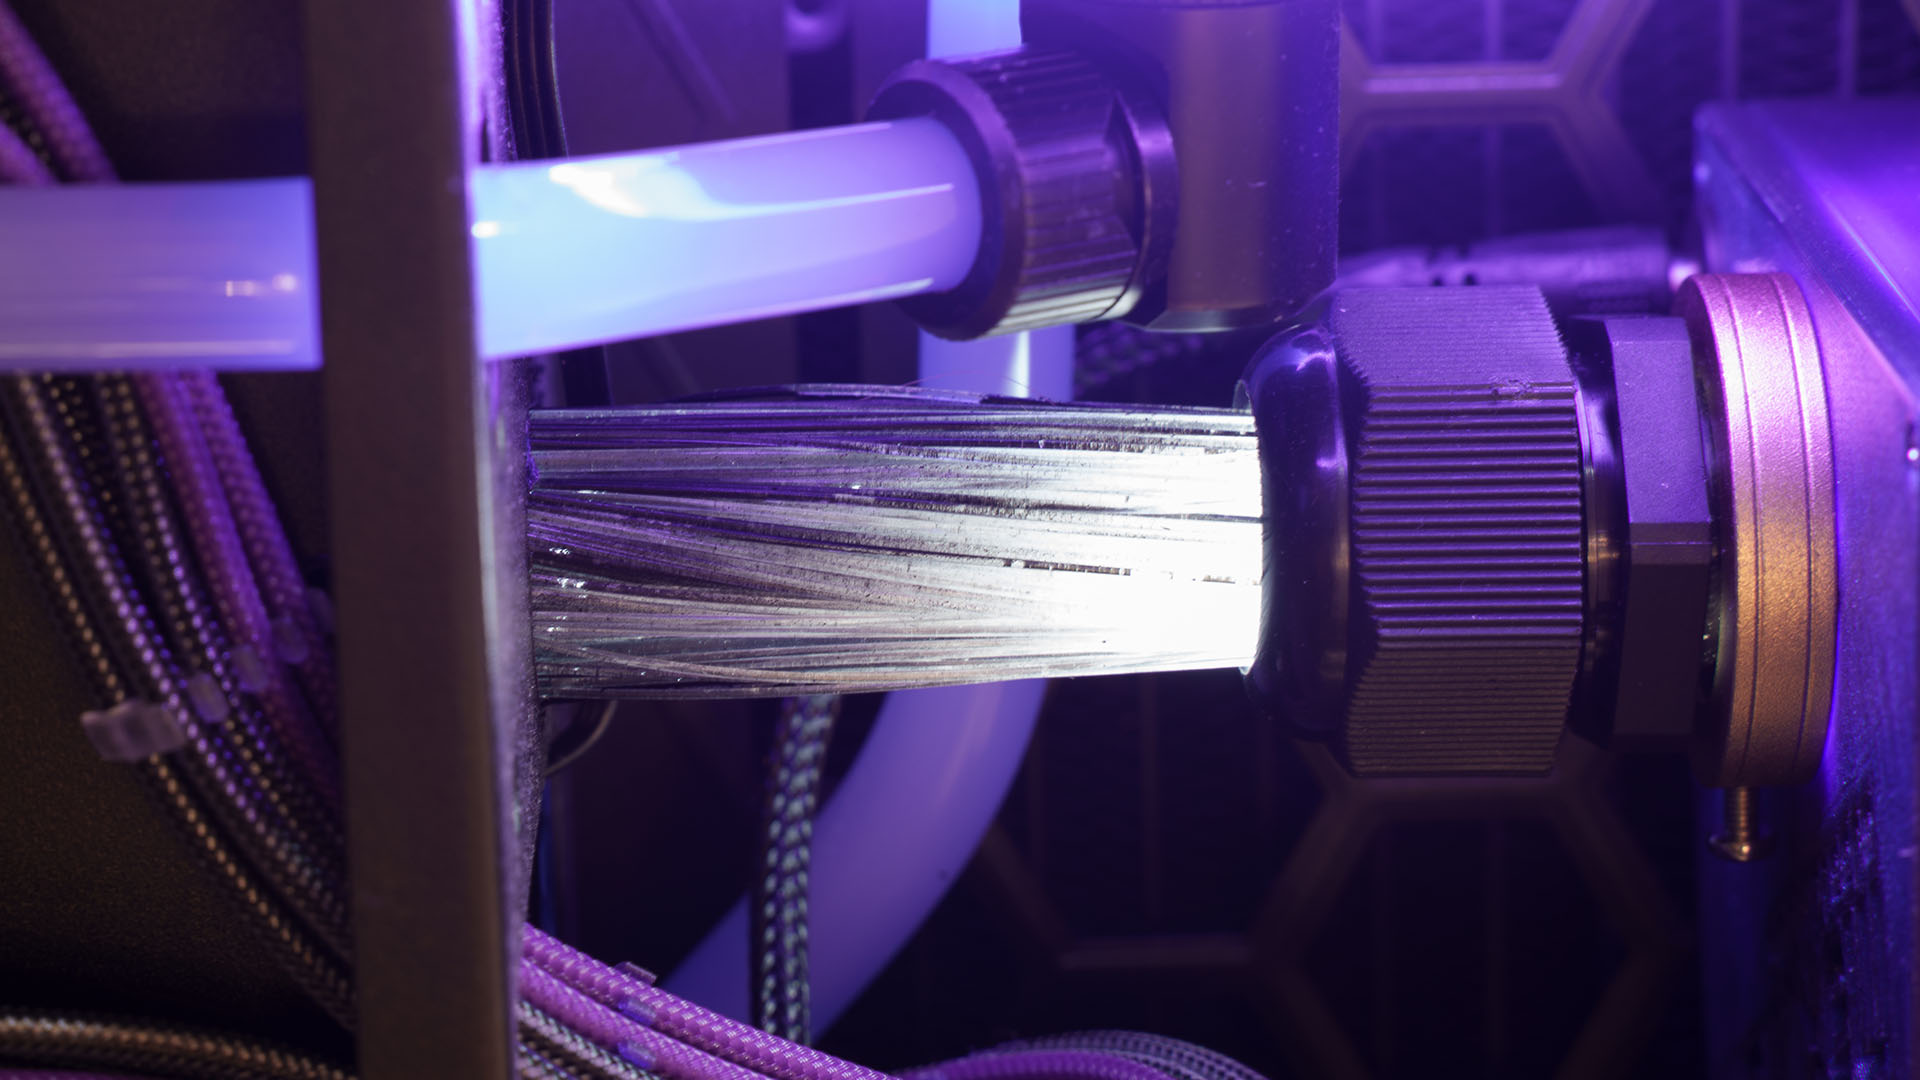
The stars were the most difficult feature to execute on this build. There are just under 400 fiber optic wires that create the backdrop for this space scene. The panel is made from an acrylic sheet, which I cut and bent to fit tightly in the space. I then drilled all of the holes, doing my best to be as random as possible in my placement.
Each wire was placed in a hole and held in place with a drop of glue. You can imagine the bundle of fiber wires behind the bent panel is quite large and unruly, so the management of them was tricky. The panel and interior of the case were painted with a very matt black paint to block as many reflections as possible.
The fiber wires run into a custom-made light box, which I designed and 3D-printed – it has a motor and wheel that spin in front of a powerful RGB LED. The effect you get is stars that go bright and dim as the wheel spins in front of the LED. The twinkling star background adds a tonne of movement and interest to the scene and I think it was well worth the effort.
Who is that sitting on the spaceship, and does she move?
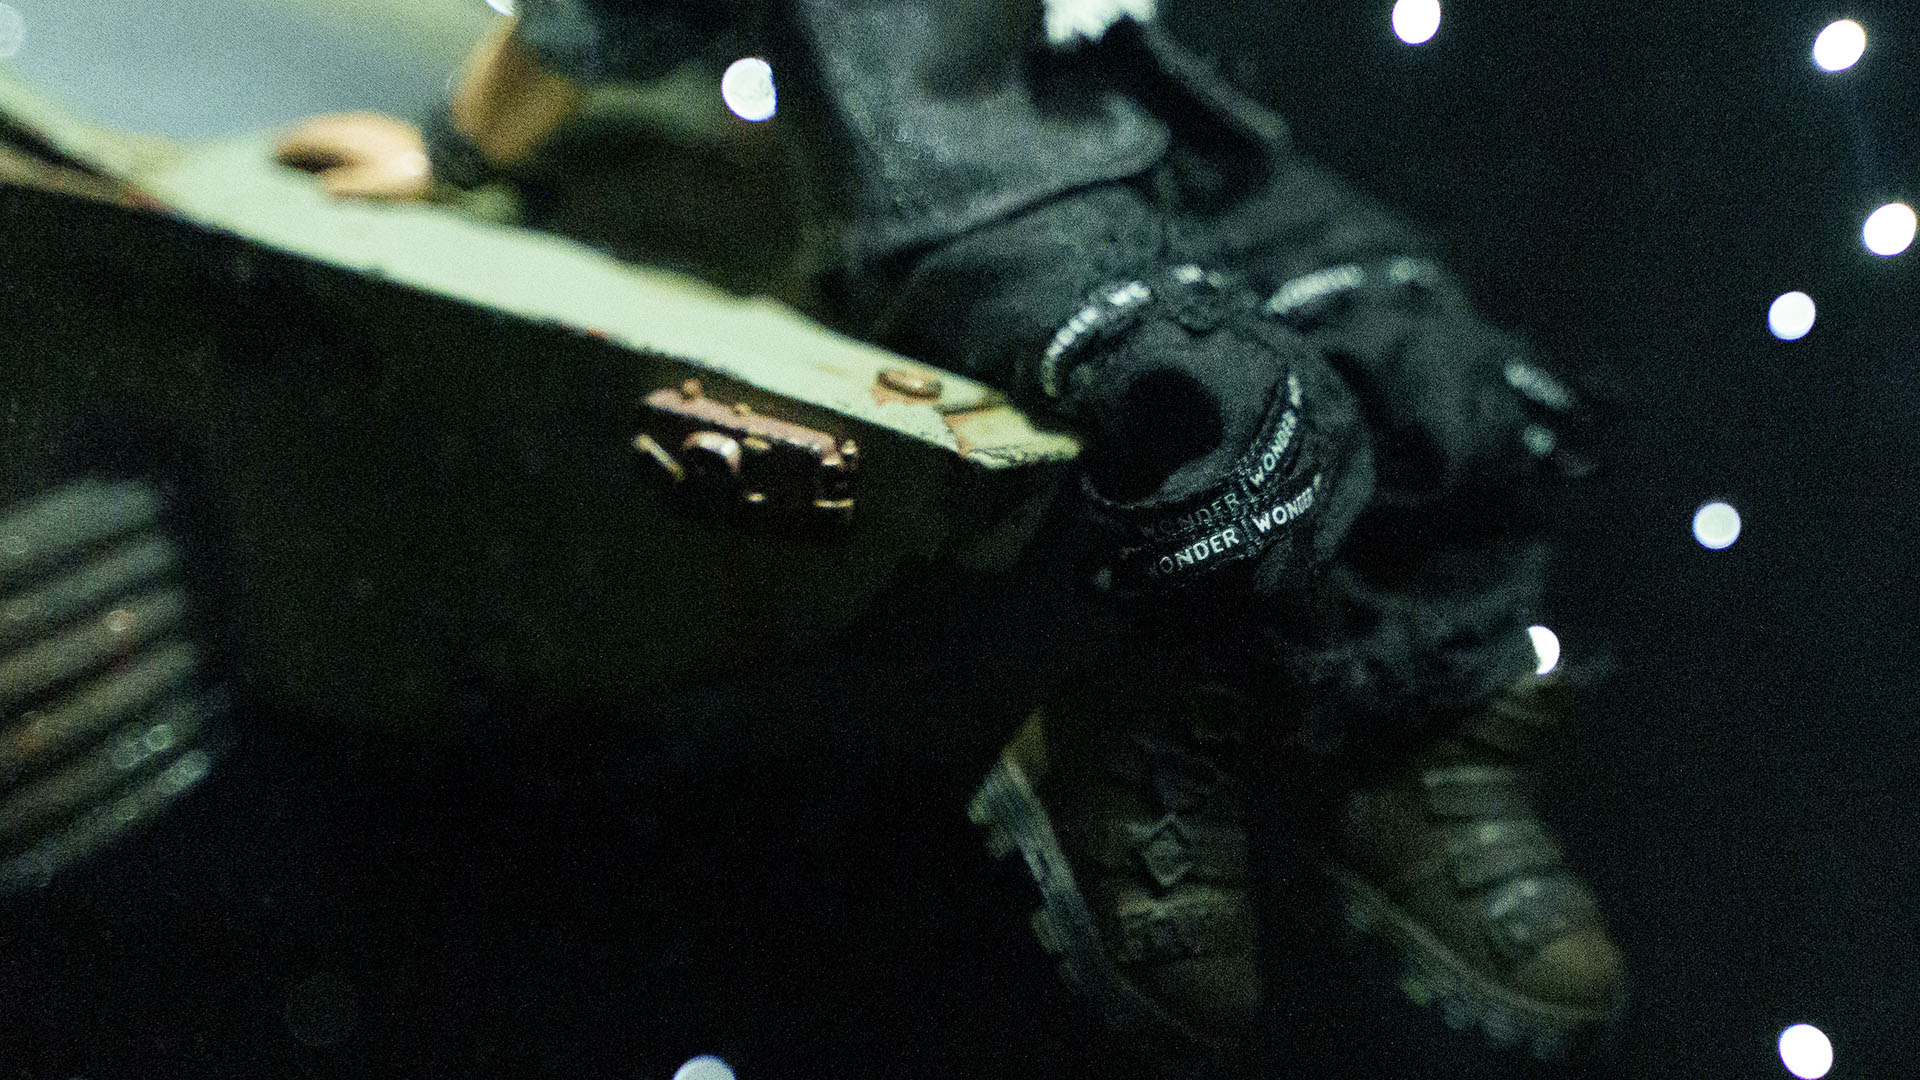
I suppose the girl could be described as a character in a game that my wife would play – a scrappy space girl on an adventure through life. With that in mind, I took my kids to the toy store on the hunt for a small doll or figurine that we could use as the character.
We found a small doll that would be the donor for the head and hands, and an action figure with the clothes and boots we wanted. The clothes were dyed, the boots were painted, and the permanent makeup was removed from the doll’s face, but we had everything needed.
Movement was important to me, so I designed and 3D-printed a body in the pose that I needed for the ship, and created legs with articulation in the knees. Using piano wires inside plastic tubes, I created a path through the ship and around to the back of the case.
The wires were attached to a servo-controlled via a microcontroller. I wrote a program to simply rotate them back and forth at a set distance and speed, and the girl was alive and kicking!
How does the lighting system work?
With the case having a tinted side panel, lighting was required to bring attention to key parts and to add dimension to the build. There is lighting in the engine that cycles from red to yellow to give the effect of a hot engine, and there is also a light bar on the top of the ship, like you might see on an old rally car.
Lastly, there are three custom-made LED spotlights at the top of the space scene, which shine on the girl, ship and diner. I made these with solid core copper wire, so they could be bent and shaped to aim exactly where the effect worked best. Some of the lights were powered by the PSU and others by the microcontroller.
What case did you use, and in what ways did you have to modify it to accommodate your design?
InWin sponsored the build with a 315 mid-tower case and, because of this case’s unusual layout, I was required to make more changes to my design than modifications to the case. I had to cut many holes and pass-throughs for wires and water-cooling gear, but I also cut out a large section of the rear panel so that I could make a window for viewing into the rear of the case. It was a fun and challenging case in which to build.
Where is the actual PC, and what spec is it?
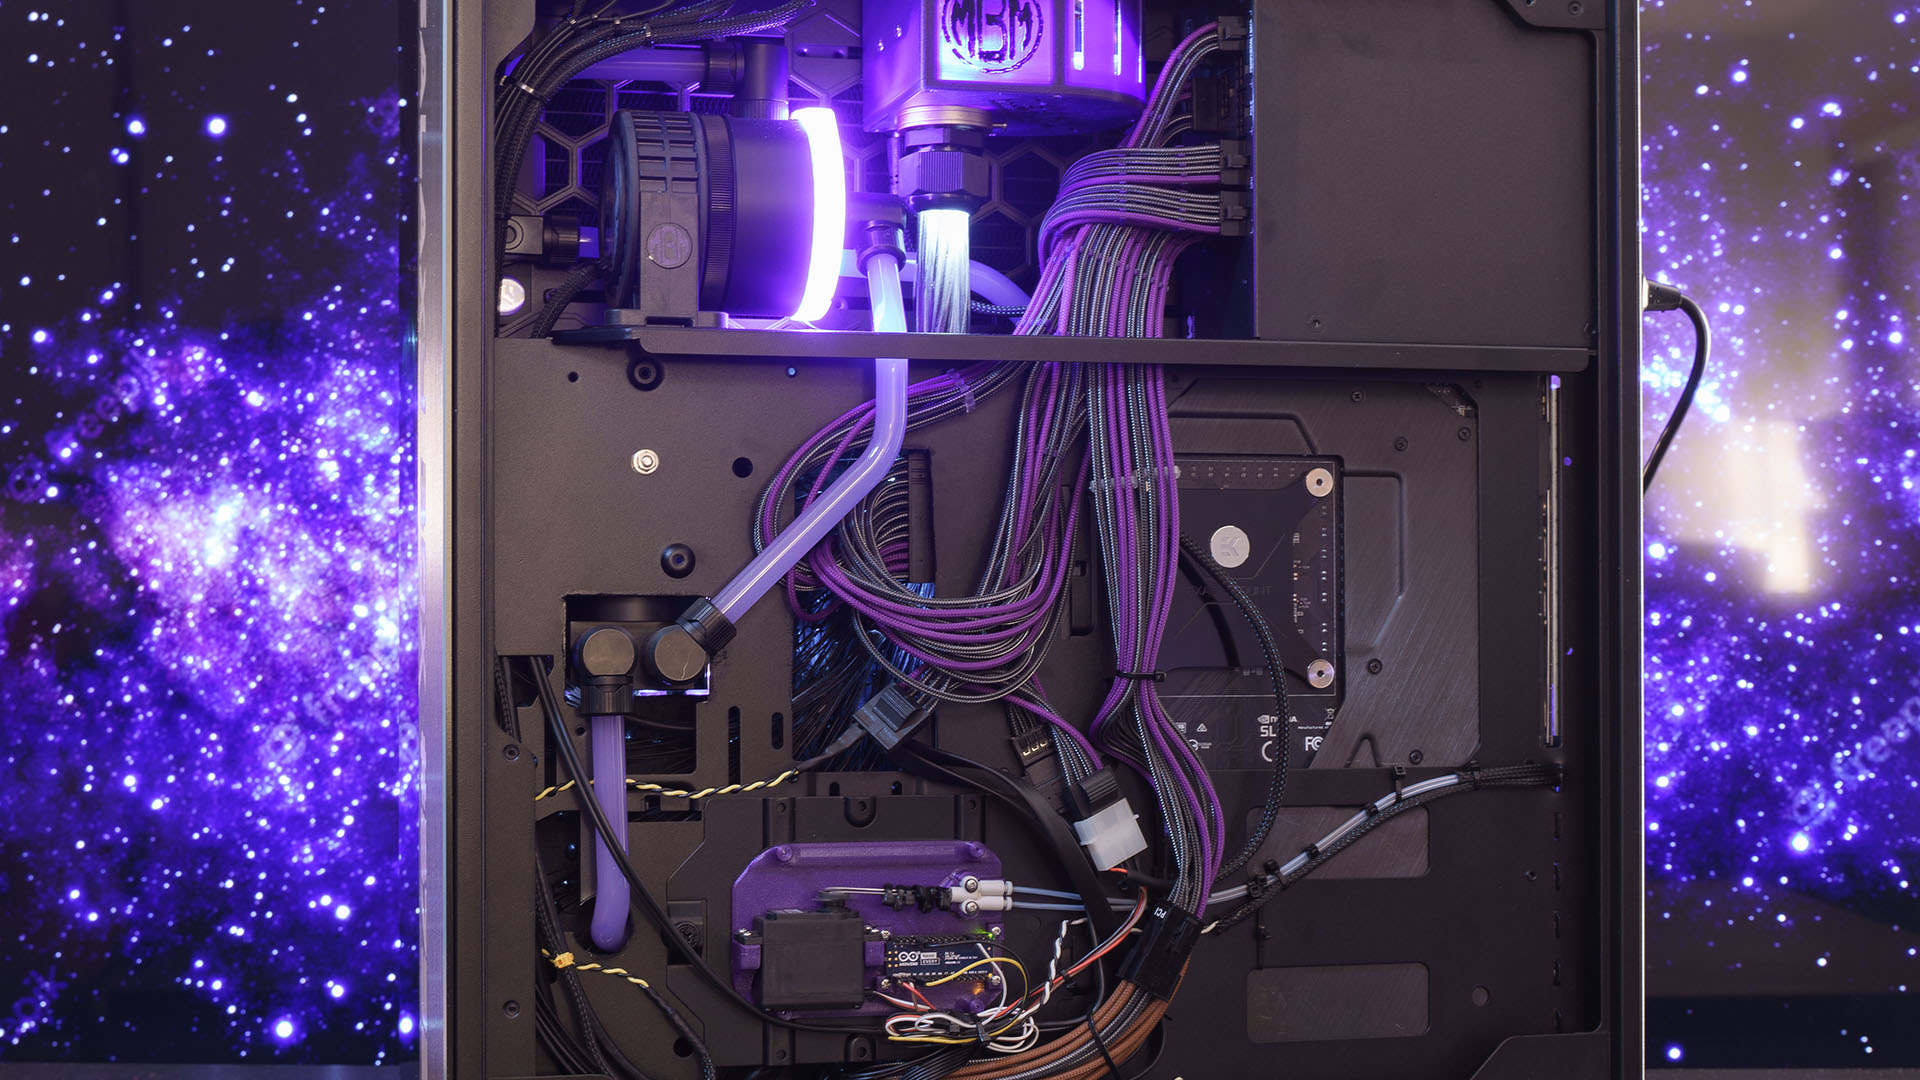
The actual PC is mostly hidden behind the back panel. The GPU is the only part clearly visible, and it’s located within the spaceship. The exhaust pipes from the front of the ship are actually the power cables, sleeved and painted to look like rusty metal pipes. All the other PC components are completely hidden away.
There was no compromise on the hardware though. The PC consists of an Intel Core i9-12900K and Nvidia GeForce RTX 3080 Ti mounted to an EVGA Z690 Classified motherboard. The hardware is all water-cooled with a custom hard-line loop made from EKWB components. These companies were all sponsors of the project.
Did you come across any difficulties?
The largest difficulties with this project revolved around the fibre optic wires, as I previously described. They all had to be managed and aligned carefully around hardware, tubing, panels and so on – it was honestly frustrating. I originally used hot glue to hold each wire in place, but it didn’t hold as well as I would have liked.
I began to remedy the problem with super glue, which ended up melting some of the wires. I stepped away from the build for a couple of weeks and when I came back to it, I was able to finally wrap up that part of the build with a fresh dose of patience. I ended up handling the fibre optics with extreme caution, so I didn’t lose any more lights. Once they were in place in the build, I left them alone. This was probably the most time-consuming part of the build.
How long did it take you to complete this build, from start to finish?
I have a full-time job, a hobby farm and a family of five, so this build took me around eight months. Most of this work was done a couple of nights a week after the kids go to sleep.
Are you completely happy with the end result, or do you wish you’d done some of it differently in retrospect?
I’m completely happy with the result. It was a gift for my wife and she loves it too, so that is all that matters. If I had to do it all again I would probably do it in a full-sized tower, so I would have room to do more!
Galaxy Diner custom gaming PC specs
- CPU: Intel Core i9-12900K
- GPU: Nvidia GeForce RTX 3080 Ti
- Case: InWin 315
- Storage: WD Black SN750 SE 1TB
- Memory: 32GB G.Skill Trident Z5 DDR5 5600MHz
- Motherboard: EVGA Z690 Classified
- PSU: InWin P105
- Cooling: EK-Quantum waterblocks for the GPU and CPU, CoolStream 360 radiator, X3 150 Lite reservoir, standalone Quantum Inertia D5 pump, 12mm hard tubing, Quantum Torque fittings
This post originally appeared on Custom PC, which has been covering amazing setups for over 20 years and is now part of PCGamesN. Join our nearly 500k member Facebook group to discuss this build.
If you consider yourself to be an expert PC builder, you can submit your own custom PC build to us today for a chance of being featured on PCGamesN in the future.