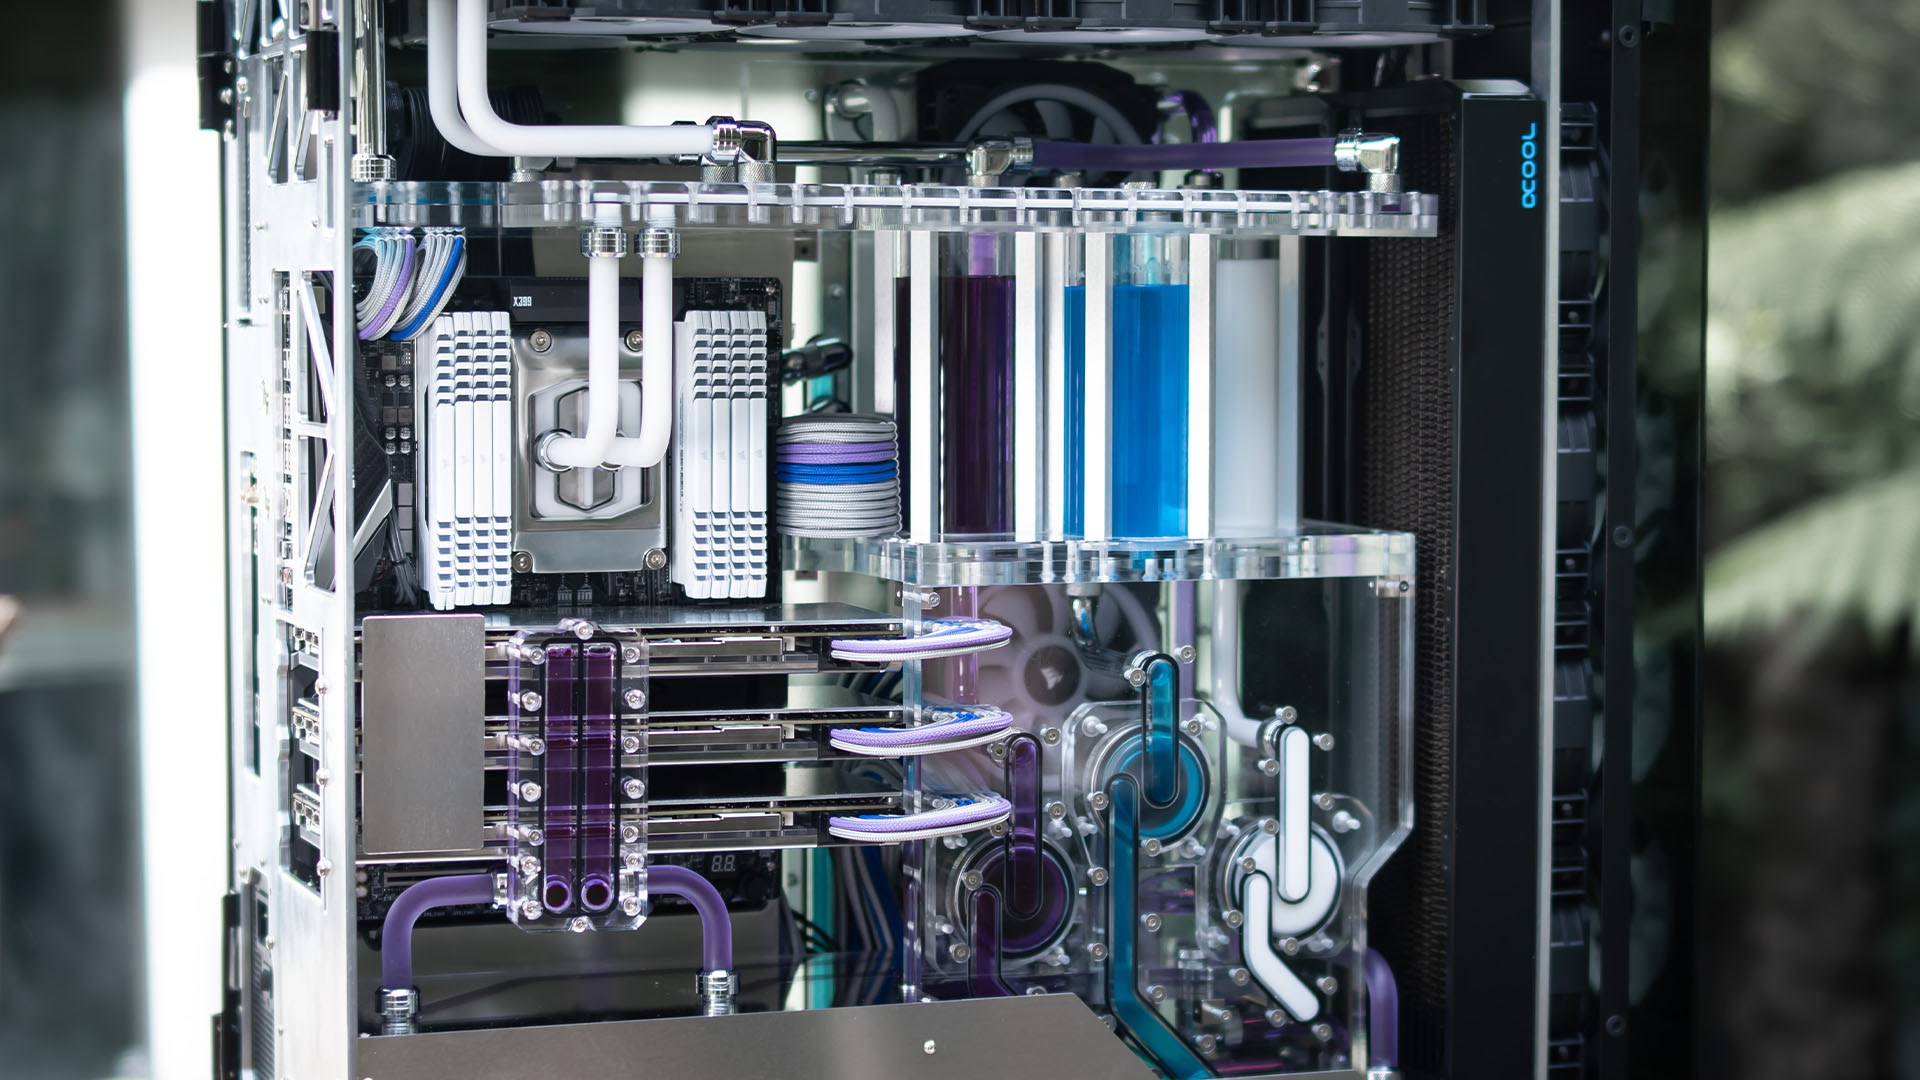
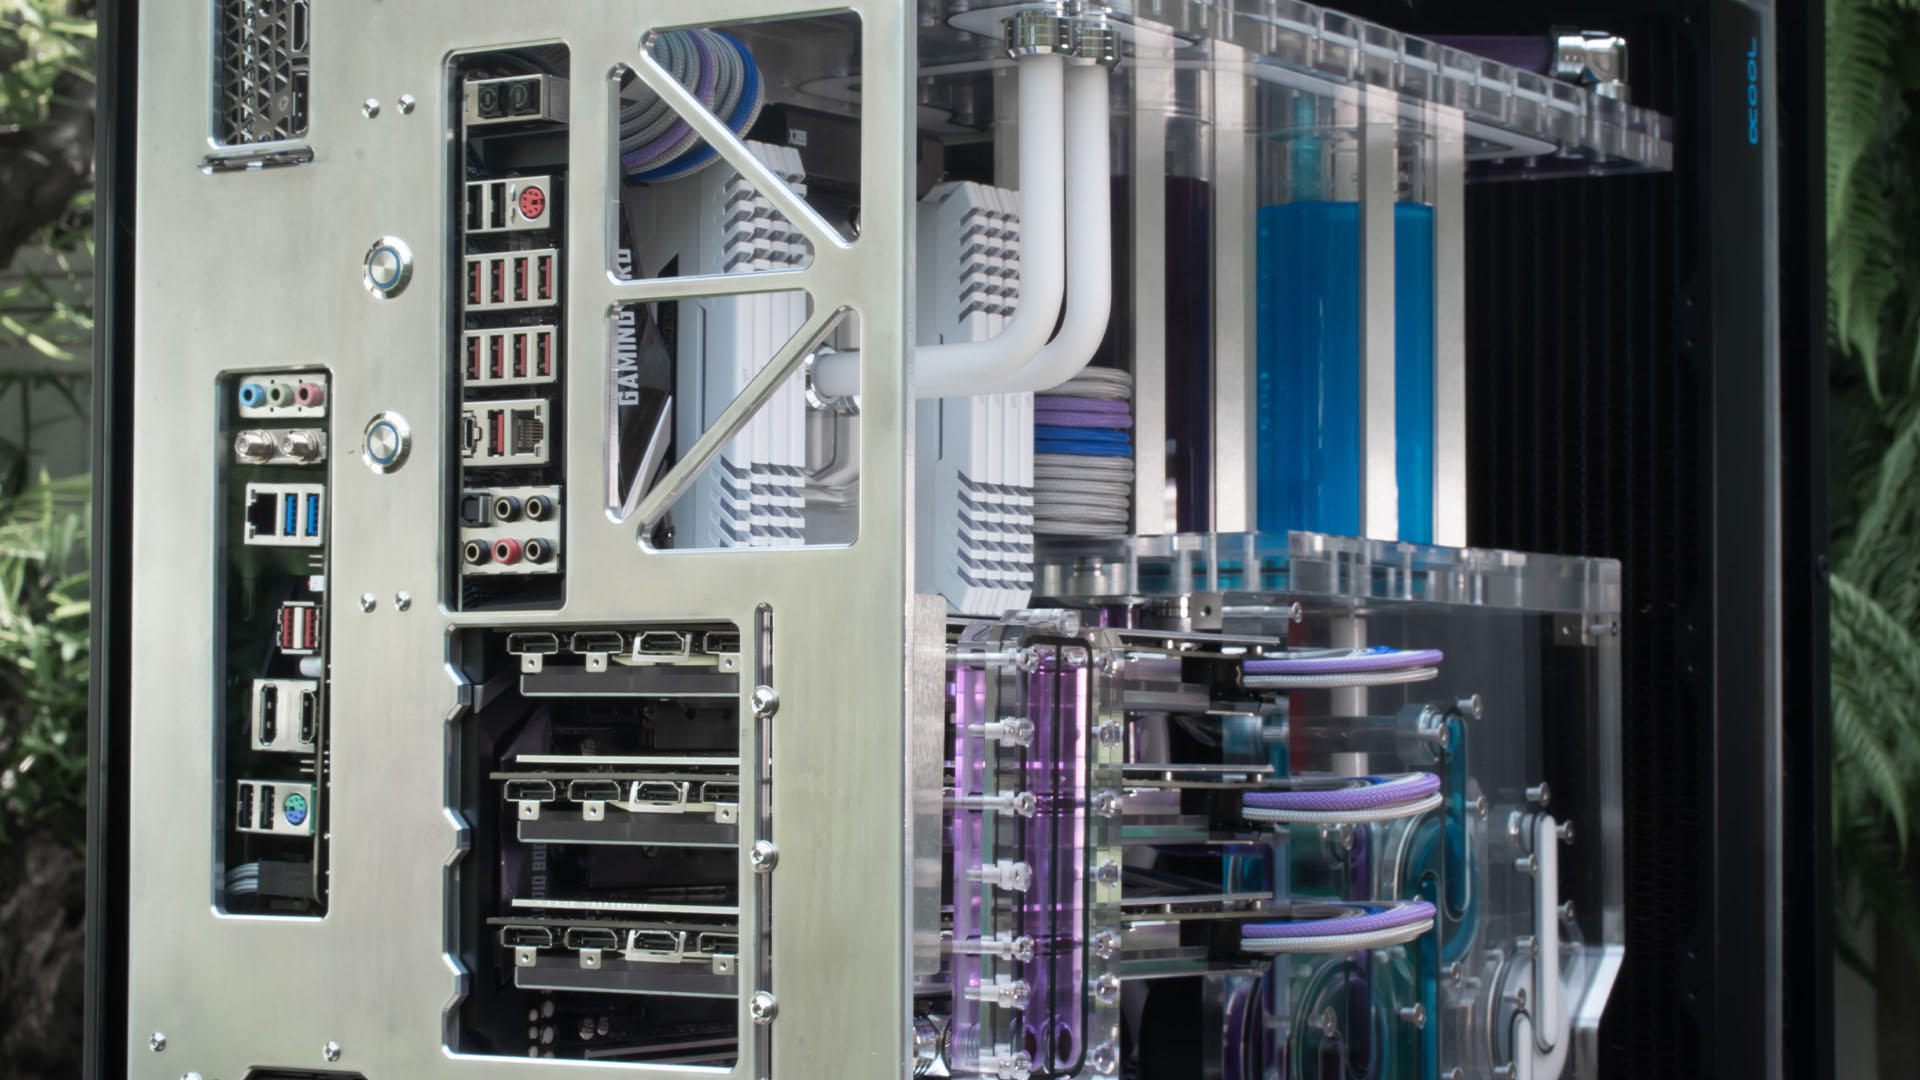
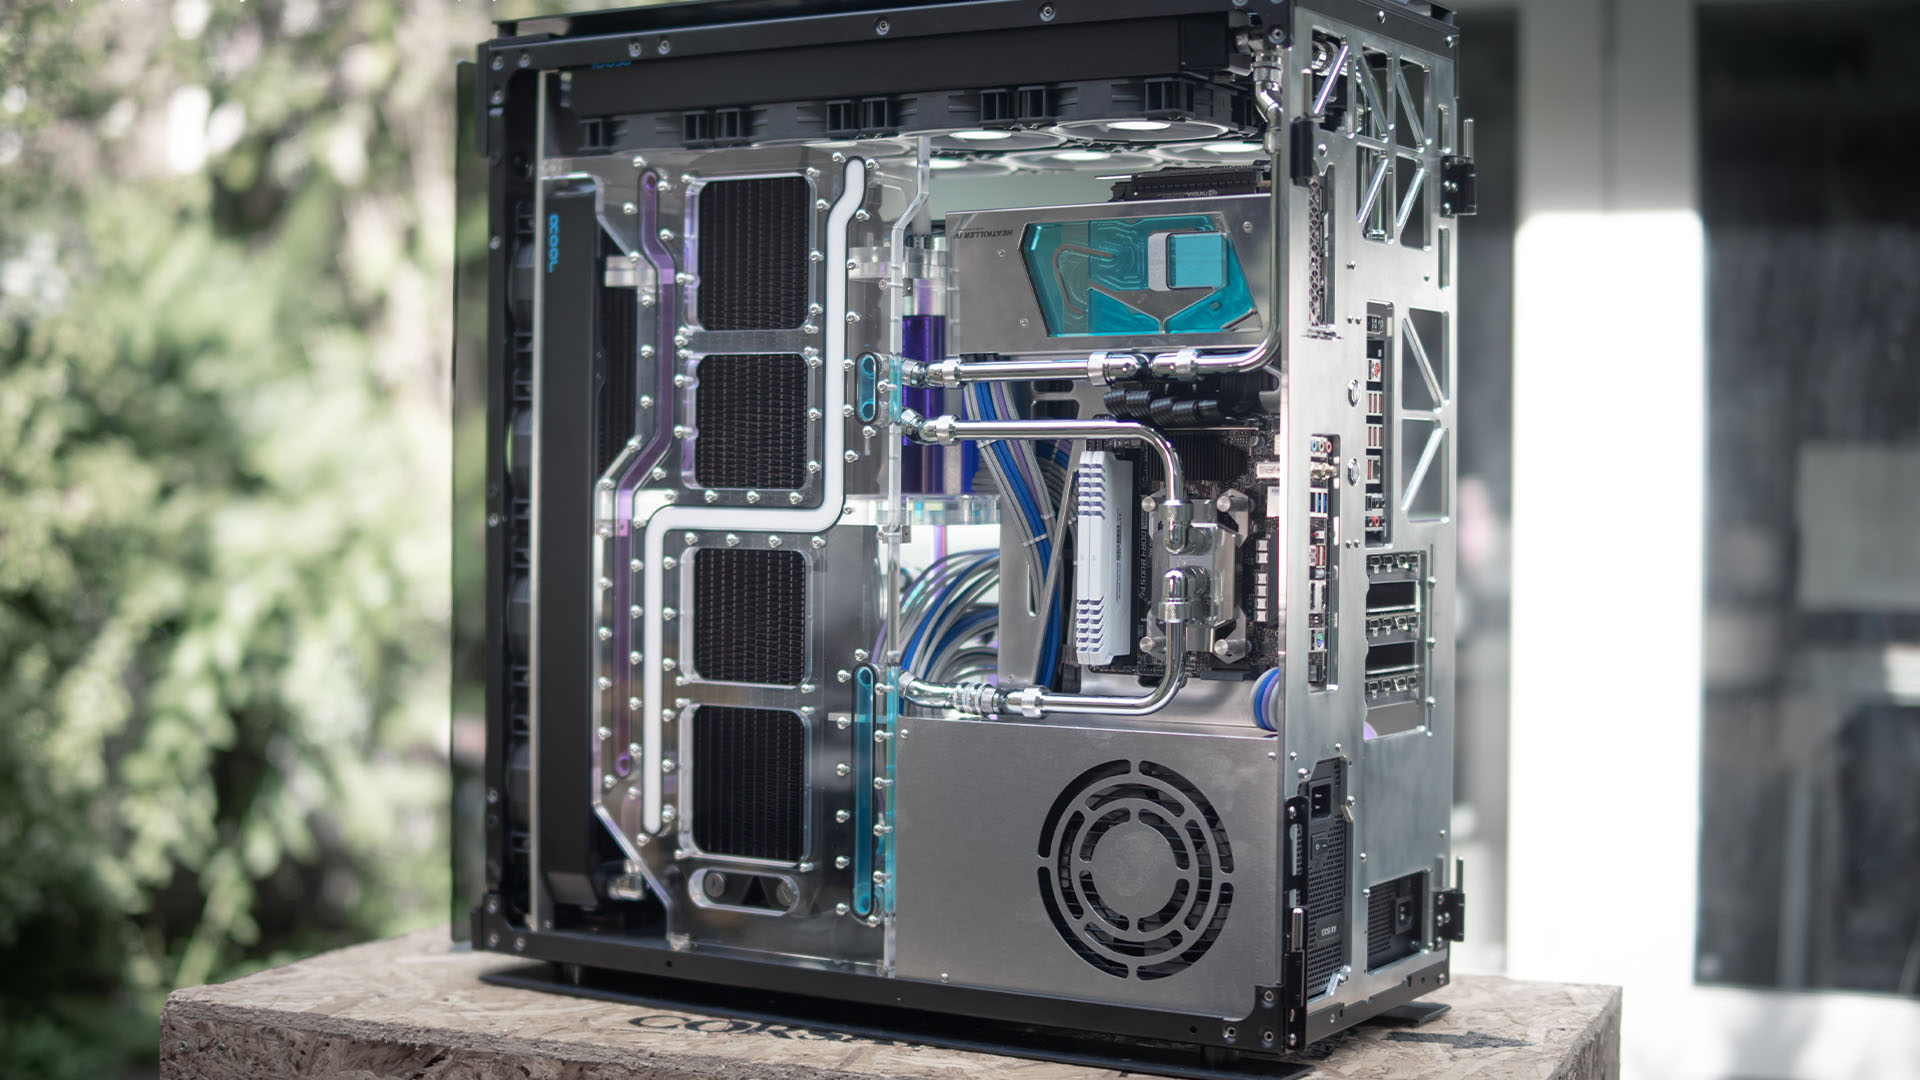
We’ve never seen a gaming PC that’s so packed with gear as this stunning dual water-cooled Corsair Obsidian 1000D build. Created by expert PC modder Alexander Banks to show off at Corsair tech shows, this incredible dual-system contains four Nvidia GPUs, three water-cooling loops, and loads of custom cables.
Thanks to our rapidly growing PC building Facebook page, we’ve seen many custom gaming PCs, from mods based on existing case designs to scratch PC builds. You can even submit yours for consideration right here. Here we talk to Alexander about how he created this stunning dual water-cooled PC build.
PCGamesN: Why did you use the Corsair 1000D for this build?
Alexander: Corsair approached me with the idea of building a show-stopping rig for use at events such, naturally in its (at the time) new Obsidian 1000D super tower chassis. I’ve never really built an extreme machine in terms of both scale and specs before and certainly not with the fabrication techniques to which I now have access, so it was quite an exciting proposition.

What specs did you choose, and why?
The main purpose of this build is a showcase. In other words, overkill in as many areas as possible. The 1000D is a dual-system chassis, so it was important to retain that feature, even if it was in a heavily modified form. We opted to go for an AMD Threadripper main system, so we could fill the case with Nvidia GeForce GTX 1080 Ti GPUs, memory, SSDs and a genuine reason for including such a beefy cooling system.
For the secondary system, we stuck to mini-ITX with a Ryzen CPU, but still sporting a GeForce GTX 1080 Ti. For the cooling, it seemed only fitting that the build was fitted with an equally extreme setup – there are three separate cooling loops, seven distribution plates, and five 480mm radiators.
What difficulties did you come across?
Probably the hardest part was simply filling up the case. The 1000D is monumental, and trying to use up all that space is no mean feat. That said, the further I got into the project, the smaller it began to feel. Three loops and five radiators take up a lot of space, not to mention all the cabling required for the power-hungry components.
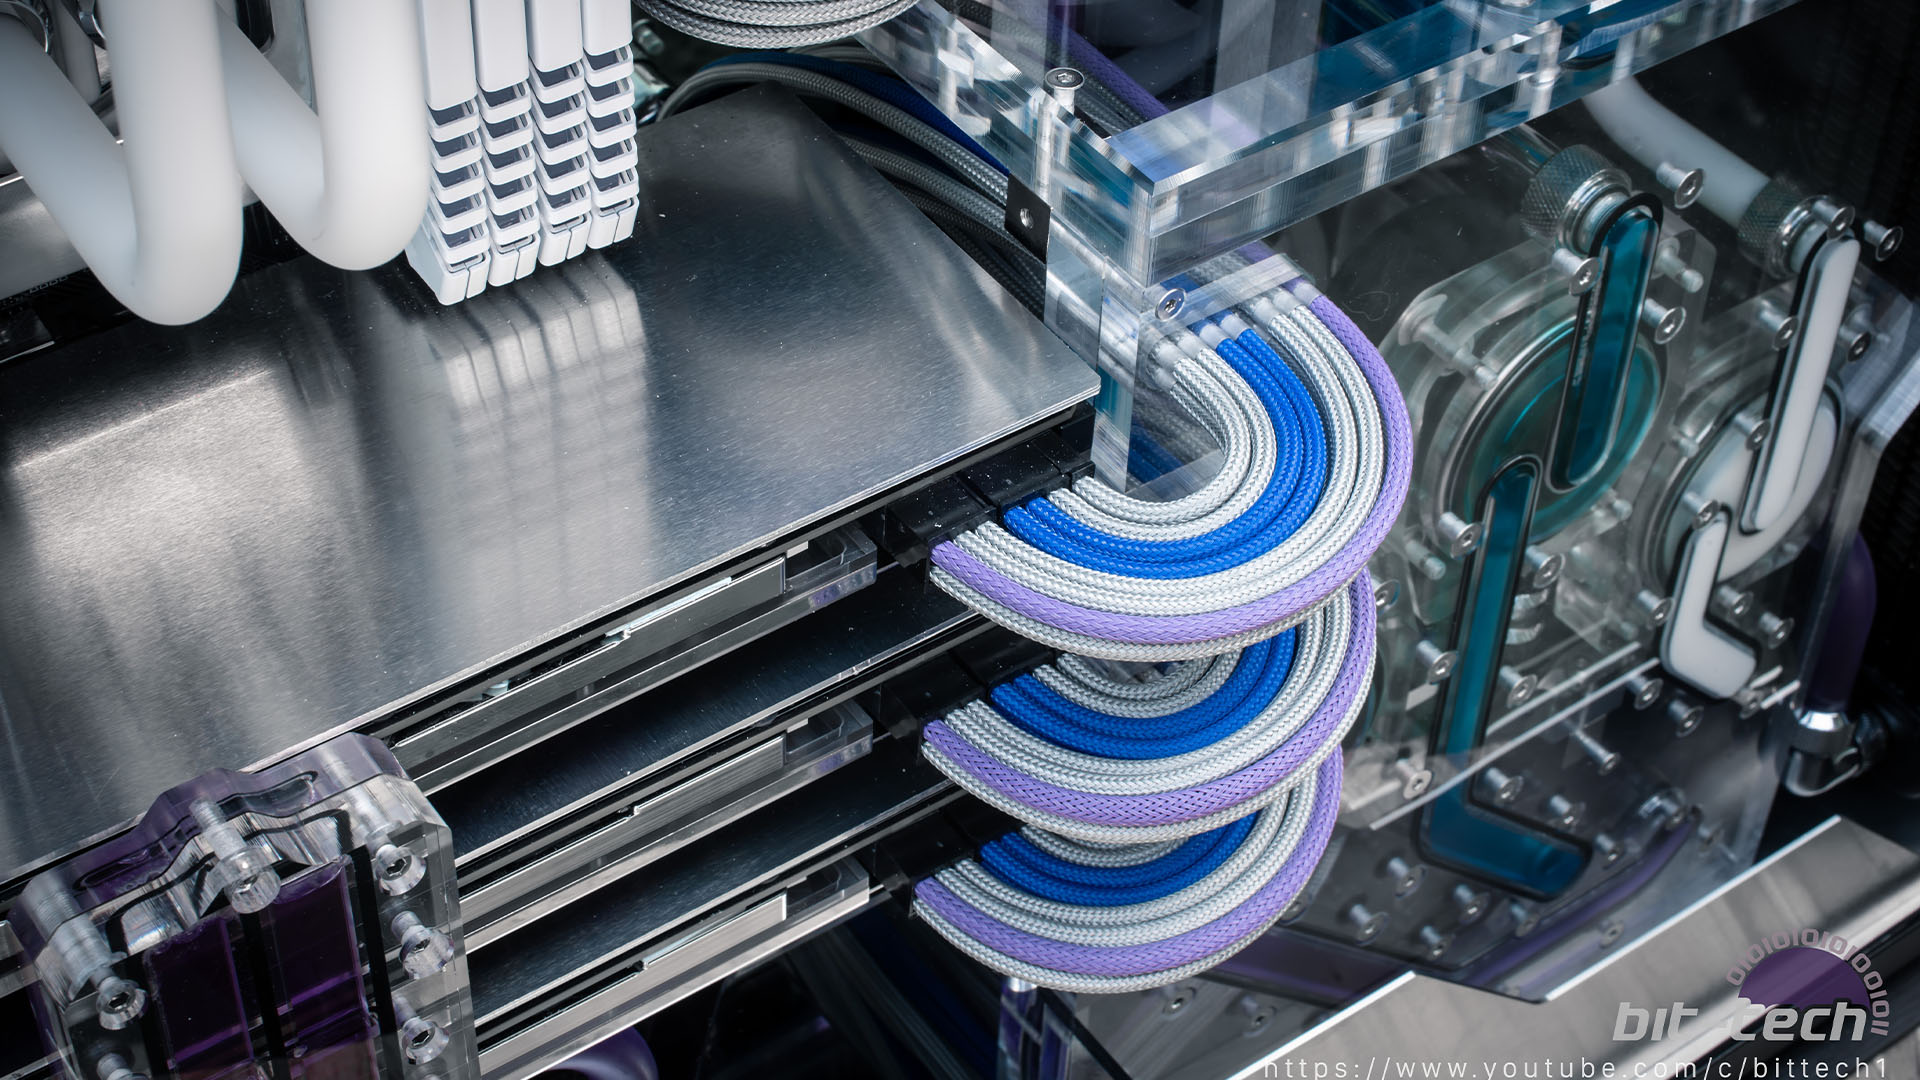
Designing all the coolant routes so that they didn’t intersect with crucial cables, or structural parts of the case, was very challenging too. Similarly, it was important to make the case feel full, but not busy. The cables pass through the distribution plates so they can be kept neat and ordered. Likewise, the tubing runs are kept short and only use a single bend at maximum – every part has a direction and a reason.

How did you make the distribution plates?
The plates were first sketched by hand so I could work out the best routes to attempt – I find it much easier to start this way rather than jumping straight into CAD. They were then drafted in Autodesk Fusion 360 and inserted into the broader 3D model of the whole build to check the fitting.
Lastly, I tool-pathed them all and exported them to cut from acrylic on the CNC router. Being able to do all of this work in-house felt very liberating, even if some parts were perhaps a little ambitious given my limited practical experience with it. After cutting, it was simply a matter of building O-rings to provide a watertight seal and fastening the plates together.
One of the key elements of this build was integrating the three tube reservoirs into the distro plates. I wanted them to be very visible, but also worked into the plates in a way that meant there were no tubes going in nor out. As far as I knew, this design hadn’t been accomplished before, so it felt quite exciting and novel.
What tools and machinery did you use?
This build used quite an extensive number of tools and techniques, because of its scope. The majority of the heavy work was achieved with the CNC router, which I used to construct the 5mm aluminum panels and distro plates. There was still modifying work to be done inside, though; cutting with jigsaws, drills and angle grinders. Plus, of course, there are all the cabling-related tools – I made all the cables from scratch for this build.
All the panels were also polished after cutting so that they would reflect the lights inside, adding some visual flair. There’s just something about thick-cut metal that looks rather special when polished to a satin finish.
The CNC was very much a new tool for me, and proved to have quite a learning curve. While I’d already designed parts to be cut in previous mods, designing and producing in-house is a whole different kettle of fish. It’s really exciting, not least because you can prototype and push the boundaries a bit.

How long did the build take?
All in all, it took about two months of work. There was a lot of prototyping, and almost the entire internal structure was replaced in the process too. While it’s unmistakably a Corsair 1000D, there’s really very little left of the original chassis.
The cabling for this build was a serious undertaking too – the chosen design requires multiple sets of cables and extensions in order to remain remotely practical. It’s completely possible to do it all with a single set, but swapping any alterations then becomes almost impossible without redoing a large portion of the build the same way.
What have you learned from this build?
That cables take a long time! Truthfully, it was also a trial-by-fire of sorts for learning how to use the CNC machine, along with a number of other tools in the workshop. Time management is a key point too. There were so many parts to run in parallel on this build in a short space of time – having to develop a more efficient workflow system is probably going to be one of the most crucial points I’ll take away from this build.
Are you happy with the end result, and is there anything you’d do differently if you built it again?
While I’m very much happy with the final result, I always end up being my own biggest critic. If I did it again I would definitely change the internal structure to make it easier to fill and drain the water-cooling system. The rig wasn’t really designed to be flexible in terms of what hardware configurations it can accept, so making some changes to the way particular components are mounted and connected would likely add a lot to the build’s usability.
I also can’t stand the tinting on the stock doors of the case either. They’re so dark that when they’re placed on the case you can’t see inside it at all, even with all the RGB fans blaring at full intensity. Perhaps switching to a plain glass panel with the same shape would improve this situation considerably – I left off the panels in all the photos for this reason.

Dual water-cooled Corsair 1000D specs
System 1
- CPU: AMD Threadripper 2950X
- Graphics cards: 3 x Nvidia GeForce GTX 1080 Ti Founders Edition
- Storage: 3 x 480GB Corsair MP500 NVMe
- Memory: 64GB Corsair Vengeance RGB White 3200MHz DDR4
- Motherboard: MSI X399 Gaming Pro Carbon AC
- PSU: Corsair AX1600i
System 2
- CPU: AMD Ryzen 7 2700X
- GPU: Nvidia GeForce GTX 1080 Ti Founders Edition
- Storage: 480GB Corsair MP500 NVMe
- Memory: 32GB Corsair Vengeance RGB White 3200MHz DDR4
- Motherboard: MSI B350I Pro AC ITX
- PSU: Corsair SF600
Cooling for both systems: 5 x 480mm Alphacool NexXxos XT45 radiators with 20 x Corsair LL120 RGB fans; 3 x separate cooling loops for the TR4 CPU, GPUs, and mini-ITX system; Watercool Heatkiller TR4, AM4, and 4 x GPU blocks; 3 x Watercool Heatkiller Tube glass reservoirs; Alphacool Eiszapfen fittings and angled adapters; 13mm Alphacool Eisrohr satin acrylic tubing; 13mm chrome plated brass tubing, 3 x Alphacool VPP 655 Vario pumps
Wow, Alex really delivered on his brief to create a show-stopping system here – this is a stunning build. There’s just so much going on, from the immaculate cable work to the multiple hardline water-cooling loops, not to mention the killer hardware at the time. If you’re new to the world of water-cooling and want to have go yourself, then make sure you also read our full guide on how to water-cool your PC.
This post originally appeared on Custom PC, which has been covering amazing setups for over 20 years and is now part of PCGamesN. Join our nearly 500k member Facebook group to discuss this build.
If you consider yourself to be an expert PC builder, you can submit your own custom PC build to us today for a chance of being featured on PCGamesN in the future.
